
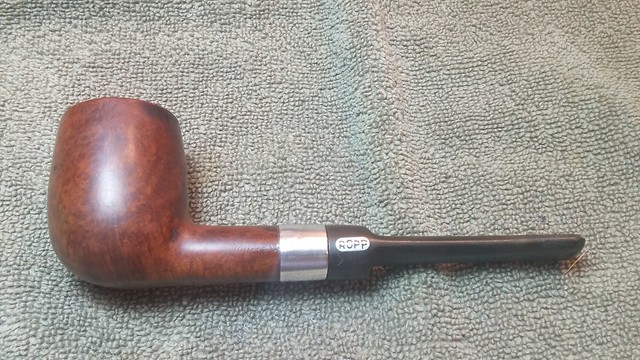
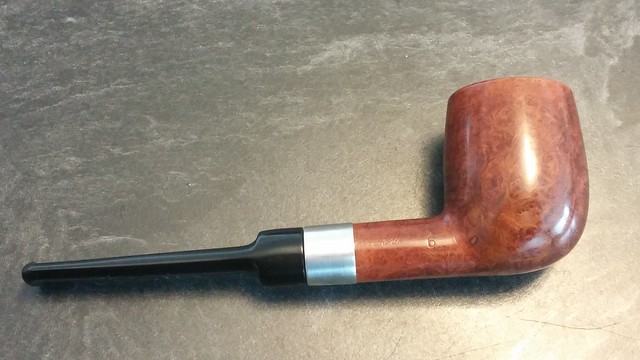
My personal pipe preferences, notwithstanding the handful of Danish-style freehand pipes in my collection, tend toward classic, English shapes. This ROPP Virgin Deluxe, though battered and bruised in the eBay listing, had just the classic charm that I can’t seem to ignore, which is a bit ironic given its French heritage.
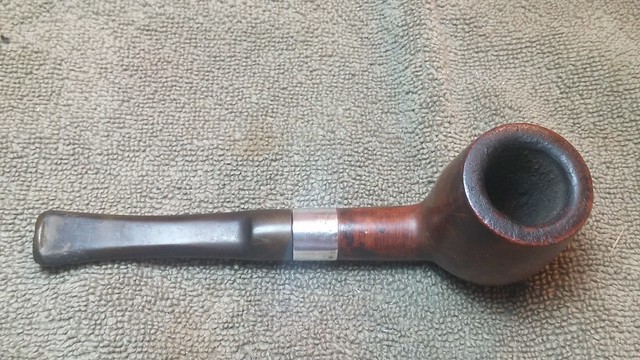
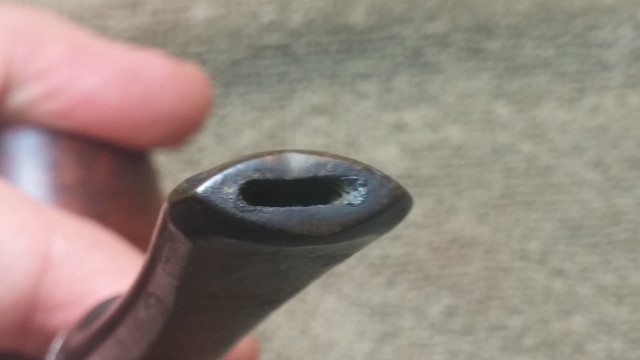
When the pipe arrived on my worktable, I figured I might be able to salvage a halfway decent shop or camp pipe out of the worn briar in front of me, but I did not expect much more than that. The previous owner had clearly smoked this pipe steadily if not continuously and just as clearly did not pay much heed to regular cleaning. The bowl was heavily caked, and a thick crust of lava covered the rim and spilled over the rear edge, darkening a portion of the briar above the shank. The saddle stem, inset on the left flank with the ROPP logo, was oxidized and grimy; the slot at the end of the bit was partially clogged with tars and debris.
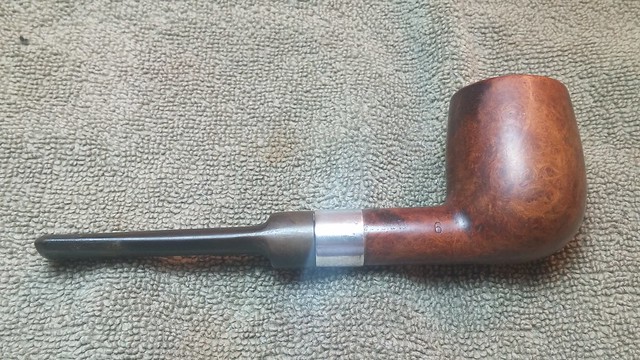

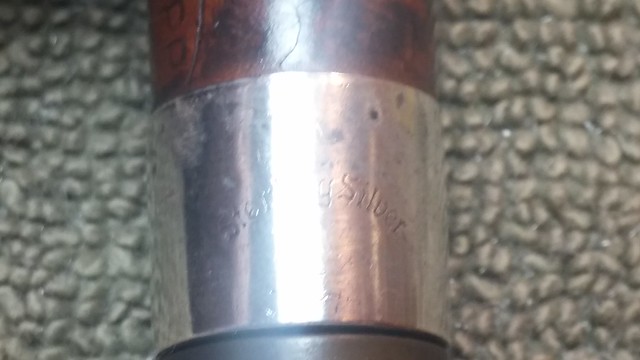
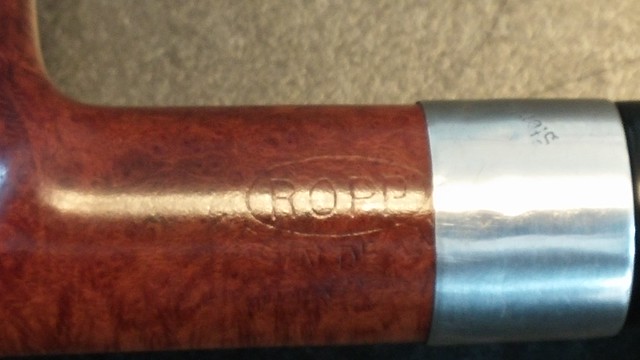
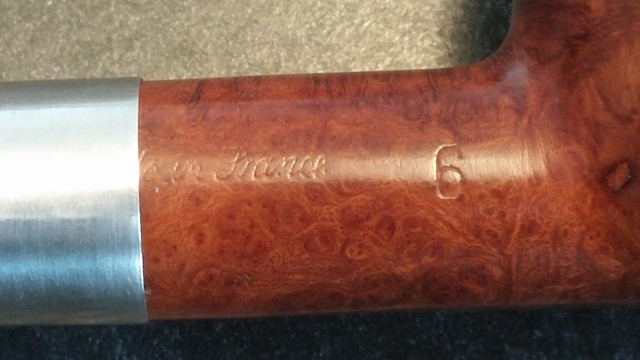
The shank was banded at some point in its life after it left the ROPP factory. The band, which turned out to be marked “Sterling Silver”, partially obscured the stamps on the shank; I assumed the band was installed to repair a cracked shank.
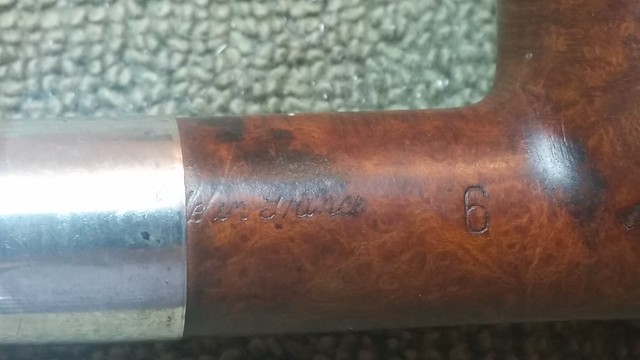
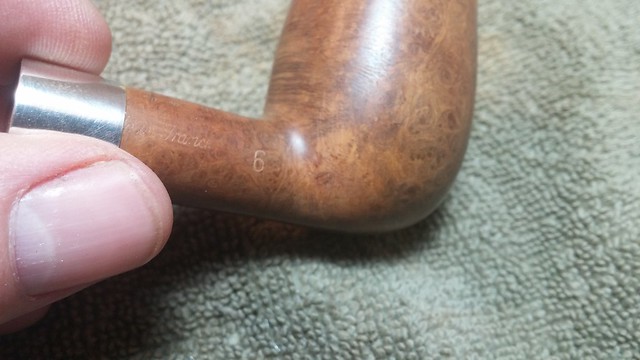
The pipe is stamped on the left shank with “ROPP” in an oval, over “Virgin Deluxe”, and on the right shank with “Made in France” in script and a shape number, “6”.

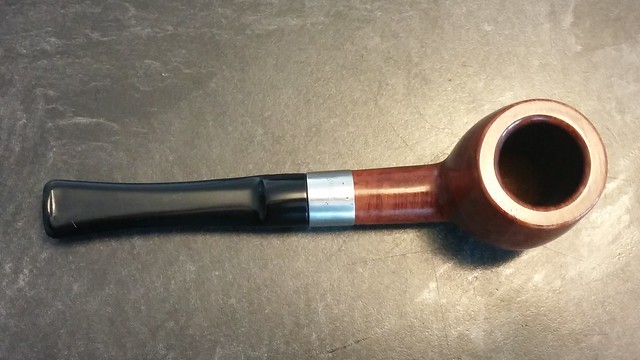
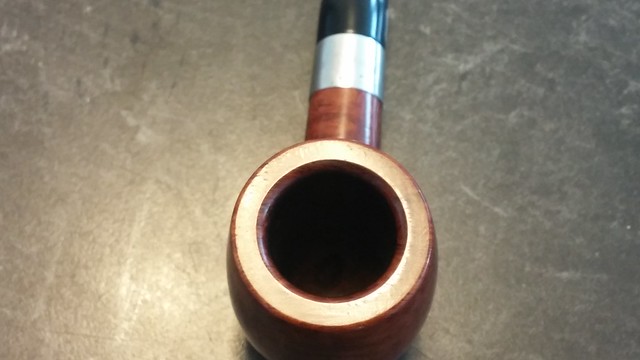
I started this pipe rescue at the beginning, by reaming the bowl and scraping the lava from the rim. The bowl was actually in fine condition underneath all the carbon.
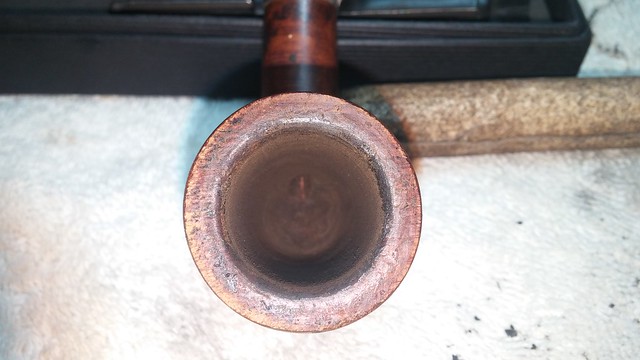
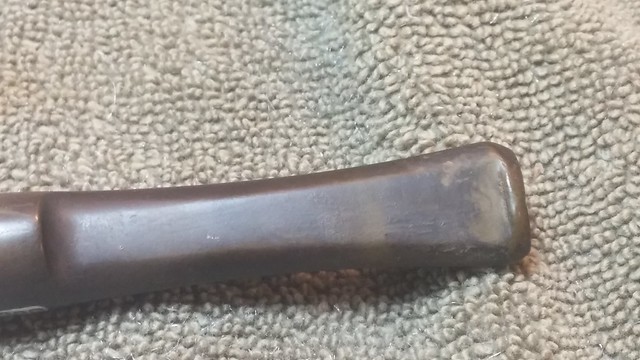
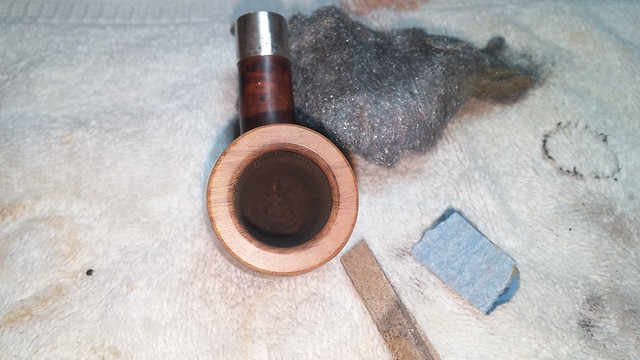
The rim was in decent shape as well, though the factory bevel around the inner edge of the bowl would need some help. It was a bit dinged up and out of round. I topped the bowl very lightly to remove the last of the lava crust and re-cut the inner bevel with a scrap of 180-grit sandpaper.
I also sanded a small bevel into the outer edge to clean up the dents and dings there without having to top the bowl further. When I was happy with the rim, I smoothed the briar with 220-grit sandpaper followed by 0000 steel wool. Much improved!
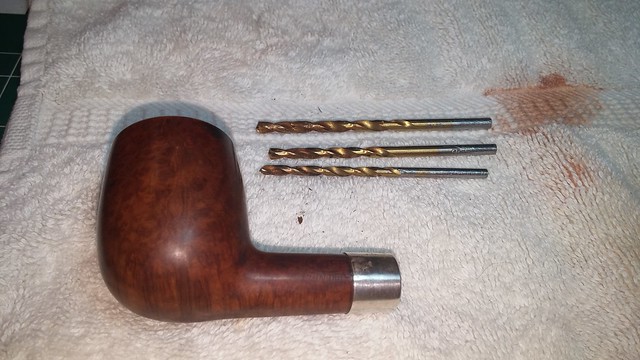
The airway would accept a pipe cleaner from shank to bowl, but grudgingly. I used increasingly larger drill bits, turned by hand, to auger out the built-up tars and debris and restore the factory dimensions and draw.
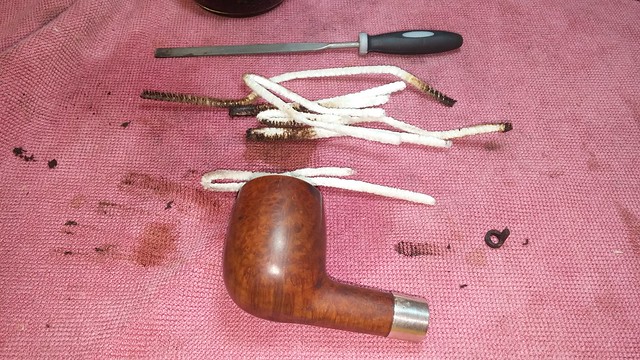
I followed the drill bits with pipe cleaners dipped in alcohol. This was when the true state of the internals was revealed. The pipe cleaners came out black and smelly. Lovely.
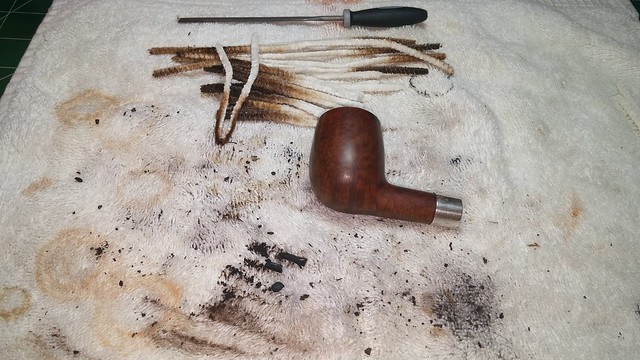
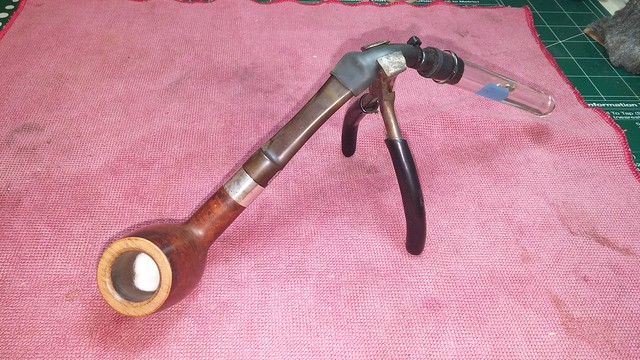
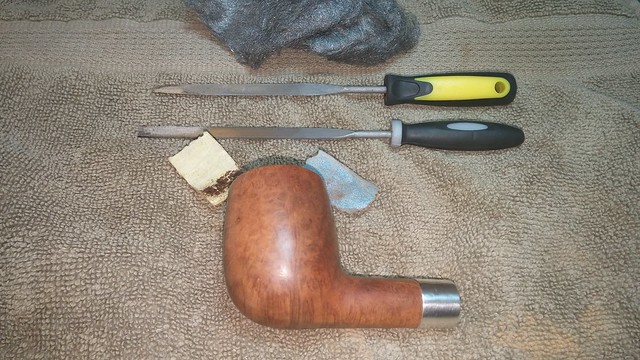
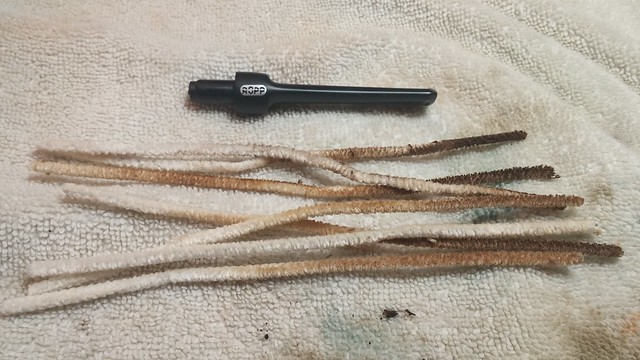
I worked at the shank with more pipe cleaners, more alcohol and a flat-ended file to clear the accumulation of tars. This pic shows the extent of the job – the larger black pieces in the foreground are actually semi-cylindrical chunks of solid tar that came away from the walls of the airway as I cleaned.
I reached a point in this cleaning where I felt the pipe cleaners were no longer doing their job removing the tars and debris from the stummel. To soften and clear the remaining muck, I set up the alcohol retort and sent boiling alcohol through the internals. In all, I used six tubes of alcohol before I was satisfied.
I disconnected the pipe from the retort and once again used pipe cleaners dipped in alcohol to wipe up the last of the now soft tars from the shank and airway.
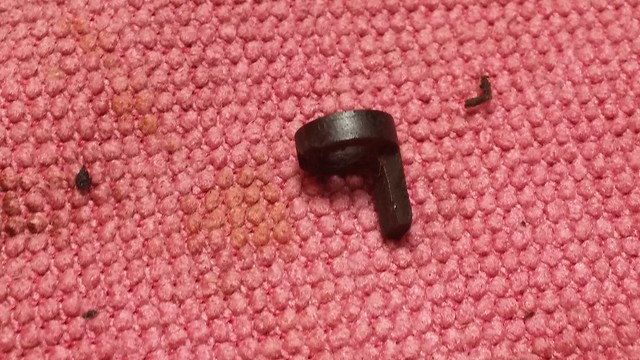
I also discovered an odd bit of plastic lodged in the shank. It looked like a circle of black plastic with one perpendicular leg coming off the side. There was a scar on the circle opposite the leg, indicating that there had been a second leg at some point. This bit of flotsam is pictured to the right in the above pic; below is a close-up from another angle.
Trying to figure out my mystery piece, I looked at the end of the stem, where I found a set of matching scars. On further investigation, the piece in the end of the stem tenon was threaded in place. I removed the threaded end and snapped the pic below.
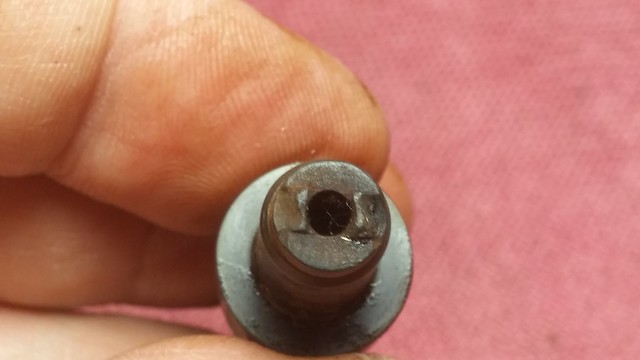
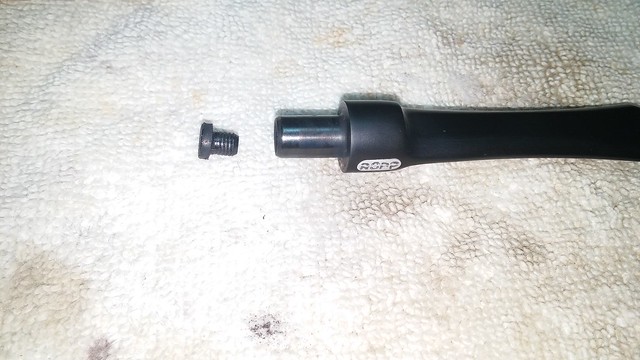
ROPP clearly installed this plastic doodad for a reason, but its purpose eludes me. It seems far too short to have held a filter, though I suppose it could have served as a stinger mount of some kind. If anyone knows what this apparatus is, please let me know.
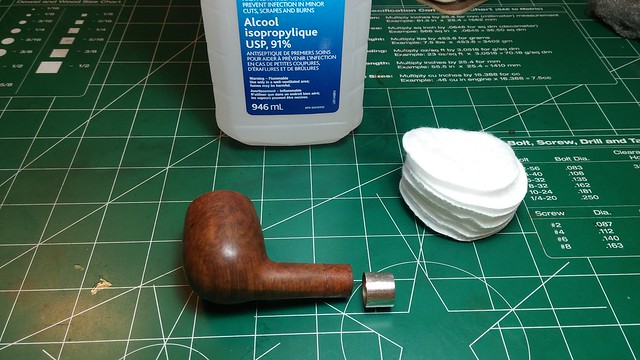
Leaving the mystery of the tenon extension behind, I wiped down the stummel with alcohol on a cotton pad as a first move in cleaning the exterior of the briar. The alcohol softened the grime, but also softened the glue holding the shank band in place.
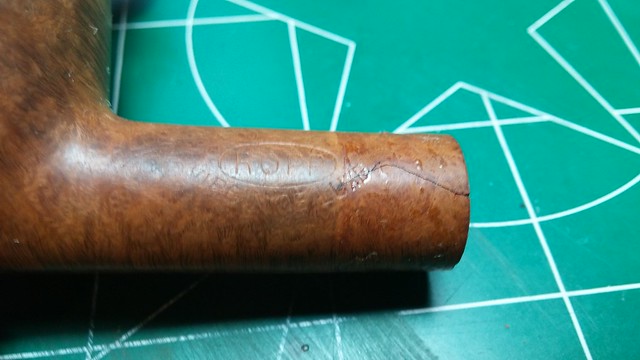
The band came off in my hand, and exposed the anticipated shank damage. There were two cracks hiding under the dirty silver band, along with an uneven runnel of old glue. The larger of the two cracks is shown below. Thankfully both cracks were tightly glued and I felt confident leaving them as found.
I dropped the band into a shot glass with isopropyl alcohol to dissolve the rest of the glue stuck to the inside of the sterling, and used needle files and sandpaper to clean up the end of the shank. After wiping away the remnants of old glue, I re-installed the shank band with a bit of CA glue to hold it in place.
Cleaning the exterior of the stummel revealed two small fills that needed topping up. The old putty had shrunk over the years, leaving small depressions in the surface of the briar. I added CA glue and briar dust to the pits and sanded the new fills smooth after the CA glue had cured.

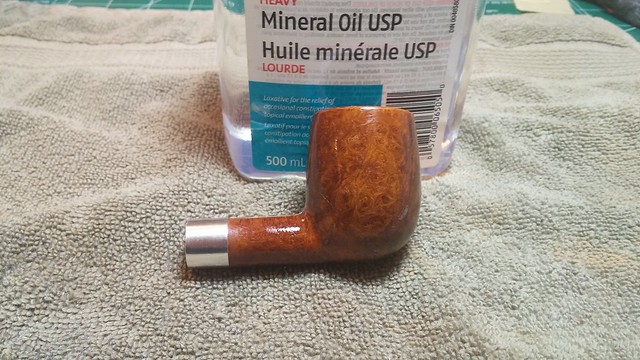
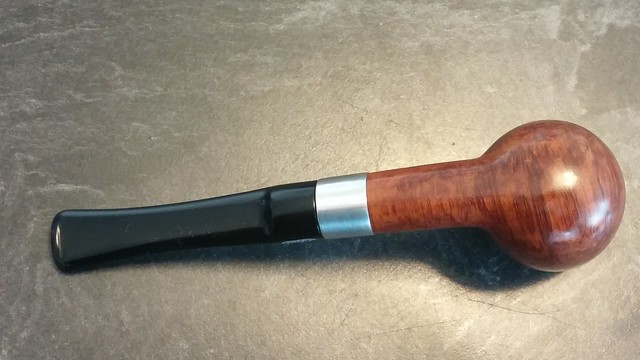
I refreshed the briar with a light coat of mineral oil and was amazed to see the birdseye grain pop through. Now I understood why this piece of briar was chosen for a virgin finish!
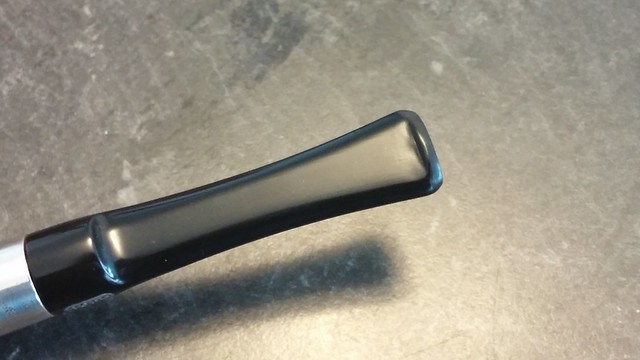
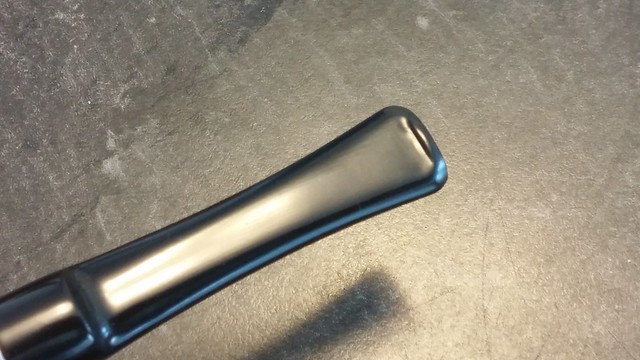
While I was working on the stummel, the stem had been soaking in an Oxyclean bath to raise the oxidation and help remove oil and dirt from the vulcanite stem. I scrubbed away the loose oxidation with 0000 steel wool and Magic Eraser. A handful of pipe cleaners dipped in alcohol made short work of the accumulated tars in the stem’s airway and slot.
Somewhat remarkably, this pipe’s previous owner was not a clencher. There were no tooth marks to contend with after cleaning the stem, so I took both stem and stummel to the buffer. A run of White Diamond compound removed the last of the handling marks from the briar and brought the stem to a nice gloss, heightened by several coats of Carnauba wax.
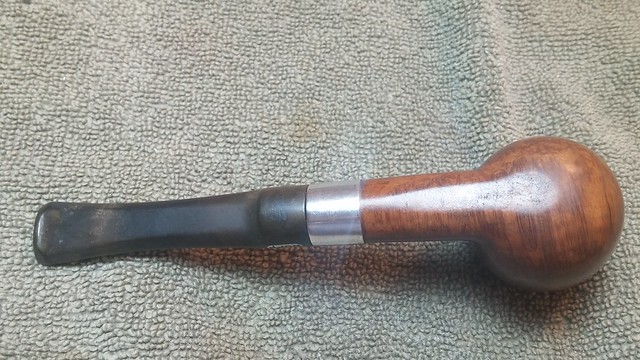
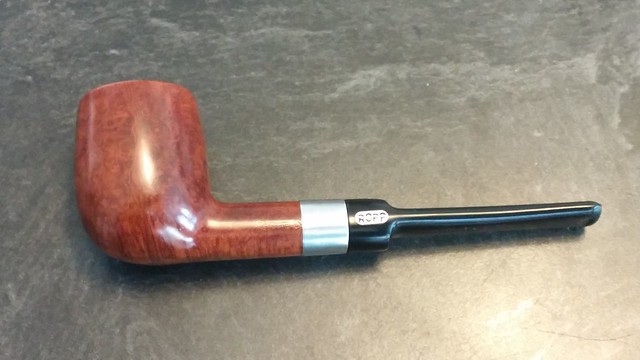
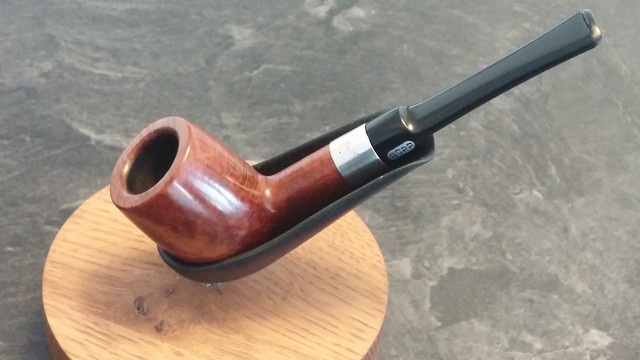
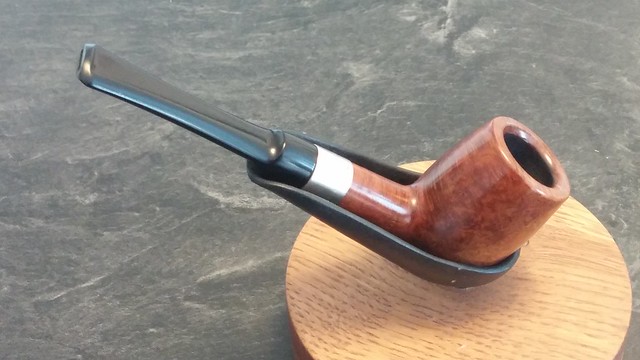
Looking at the finished pipe, I have to admit that this unpromising ROPP Virgin Deluxe has turned out to be much more than a basket pipe. It’s quite the looker now, with its mix of cross- and birdseye grain enhanced by the understated but unmistakable richness of the sterling silver band. The once-tired briar glows with renewed life and energy, and the deep black of the vulcanite stem provides a pleasing contrast with the natural golden brown of the unstained wood.
I had initially intended to drop this ROPP Saddle Billiard into my tackle box as a fishing companion, but have decided to make it available to a new piper through the DadsPipes Store. It is available now if you’d like to add it to your rack and rotation. I also think it would make a lovely first briar for the beginning piper.
Thanks as always for following along with this restoration. Here is the finished pipe, and until next time, Happy Piping!

Another very thorough rejuvenation, Charles. Ropp briars are wonderful smokers and you certainly did justice to this one.
LikeLiked by 1 person
Thanks Todd. This one surprised me. Turns out there was a silk purse under the sow’s ear!
LikeLike