
This larger Ardor pipe belongs to a fellow pipe club member who asked me to clean it up for him. It is the first Ardor I’ve worked on, so I did a bit of research to bring myself up to speed on the brand.
The company that would become Ardor Pipes was founded in 1911 by four brothers of the Rovero family in Varese, Italy. The Ardor name is a combination of initials from the second and third generations of pipe carvers in the family, AR(Angelo Rovera) + DOR(Dorelio Rovera). Angelo passed away in 1999, but Dorelio’s son, Damiano, continues the family tradition of pipe carving with his father. A full history of the company is available on the Ardor website.
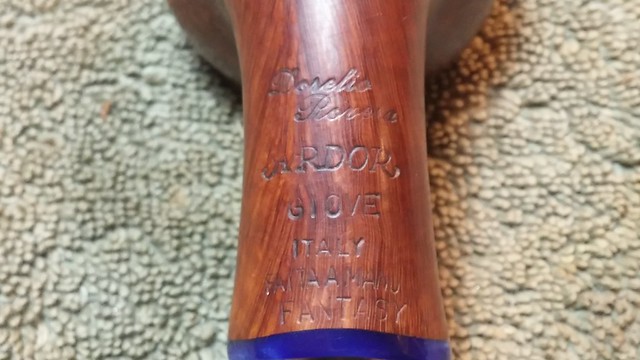
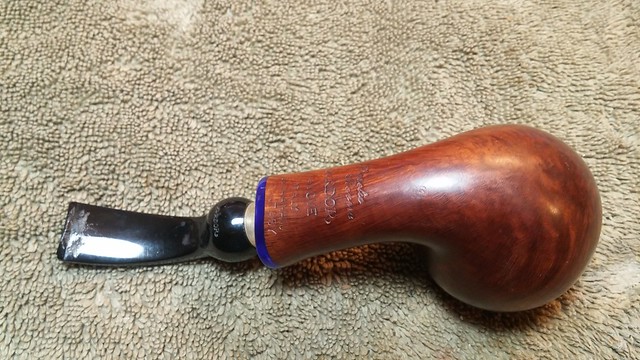
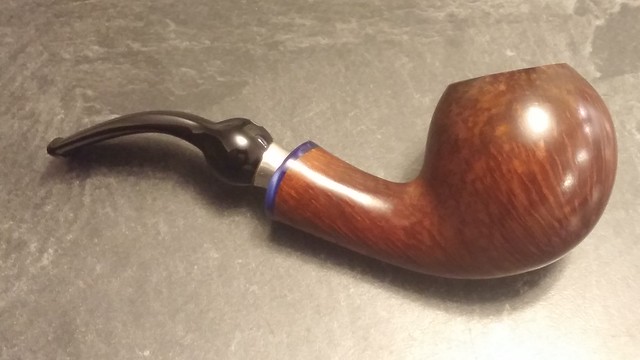
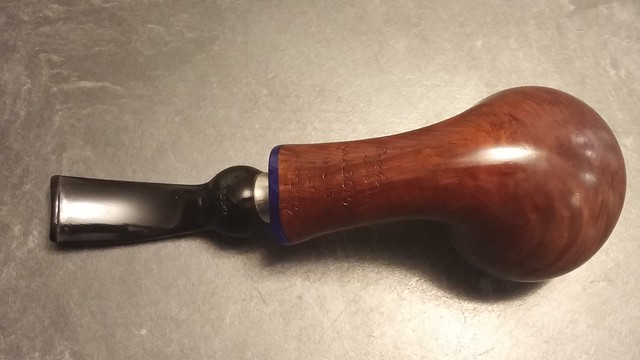
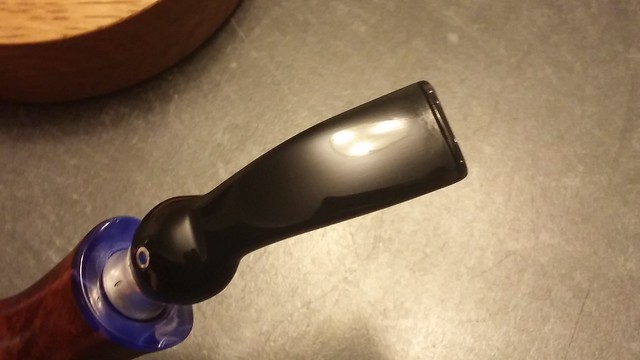
The Ardor pipe on my worktable is stamped “Dorelio Rovero” in script over “Ardor” over “Giove” over “Italy” over “Fatta A Manno” over “Fantasy” along the underside of the thick shank. The stem is also stamped “Ardor” on the underside of the “ball” located lust above the Sterling band which is marked “925”. The stem also carries a silver dot with a turquise/blue centre.
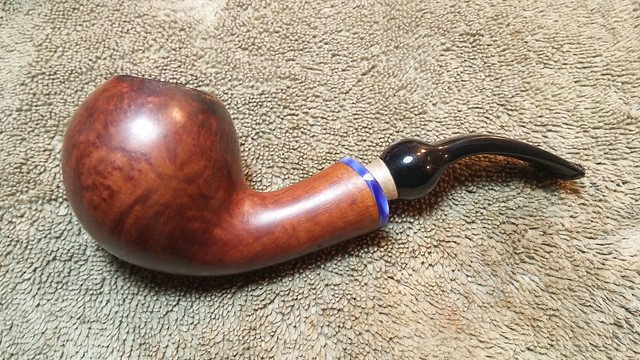
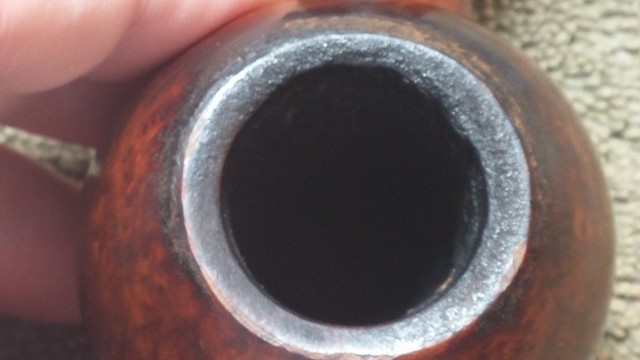
The large ball-shaped bent pipe was in decent used condition when I received it. The pipe had obviously been well-loved, though it needed a bit of sprucing up. There was a fair bit of rim darkening around the chamber opening, especially at the rear edge of the bowl. The inward-sloping rim surface was hidden under a layer of lava, but even with this camouflage a degree of out-of-roundness was apparent, again focused on the rear edge of the chamber.
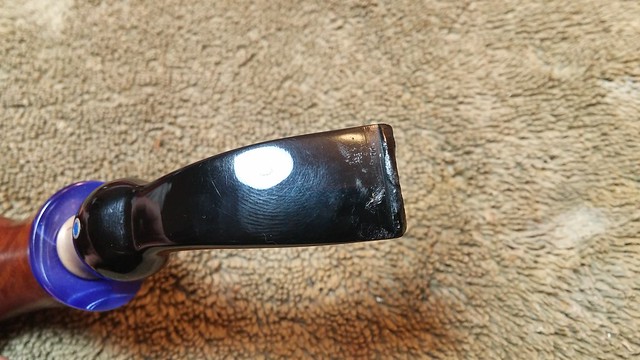
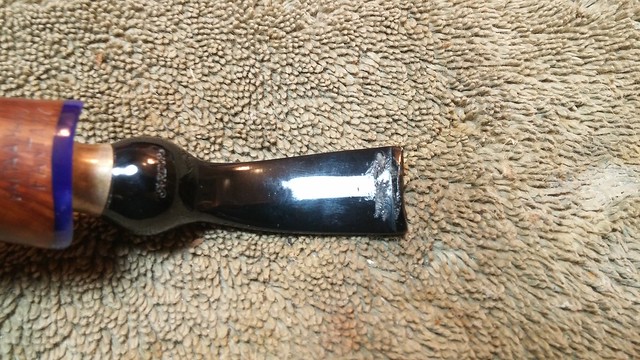
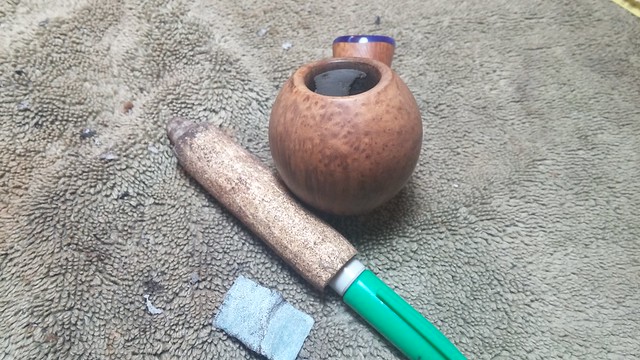
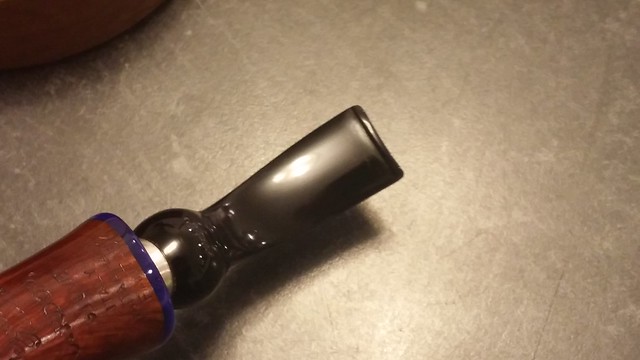
The stem had tooth marks top and bottom of the lucite bit, but otherwise was in good shape, barring a layer of dirt and grease. The silver band would need some polishing as well.
I reamed a surprising amount of cake from the bowl – the tobacco chamber was a lot larger than I had anticipated. It took all four reamer heads and sandpaper wrapped around a marker to find the briar again.
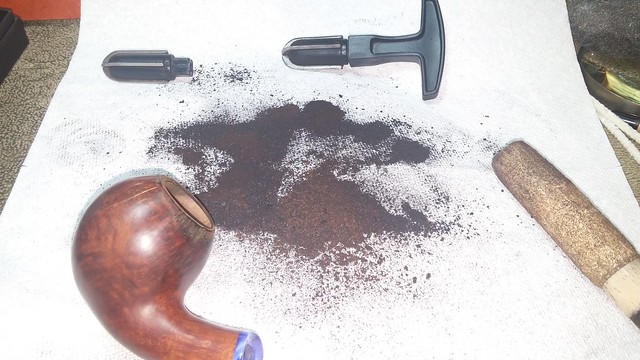
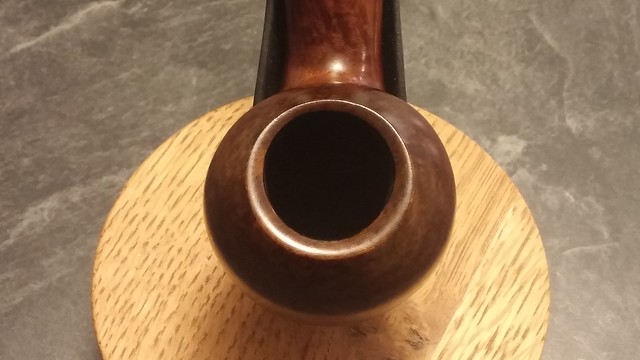
I scraped the worst of the lava from the rim with a pen knife and then cleaned up the bevel with some 320-grit paper. It is clear to see from the pictures that the rim bevel is thinner at the back side (nearest the shank). A careful examination of the chamber wall in that area revealed a section of missing briar underneath the rim of the bowl.

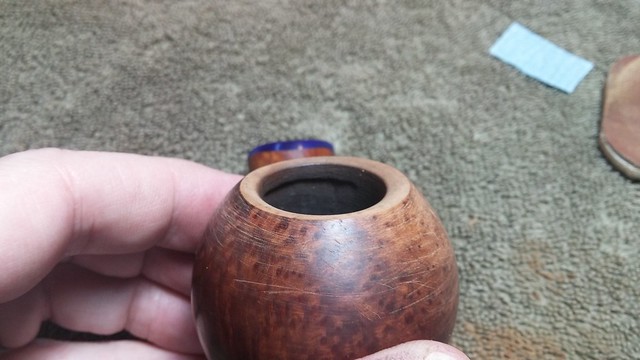
It almost looked like a reamer head had undercut the rear edge of the bowl. The briar of the rear chamber wall was also fairly charred, so perhaps hot smoking had added to the problem. My best guess is that at some time in this pipe’s past, charred briar was mistaken for cake and reamed out of the chamber by mistake.
I also have a theory about bowl-heavy pipes like this one – I think the weight of the stummel pulls the pipe downward, especially if the piper is a clencher. This angle focuses the heat of the burning tobacco on the upper rear wall of the chamber instead of straight upwards through the chimney, resulting in damage like that seen here.
Regardless of how the damage occurred, it would have to be corrected as much as possible now. The cosmetics were fairly simple. I sanded the rim, gently flattening and widening the bevel along the back edge to restore a more round appearance. It’s not perfect, but it’s an improvement. I would have had to remove a lot of material to produce a truly uniform bevel. When I was satisfied with the bevel, I polished it lightly with 1200-grit micromesh.
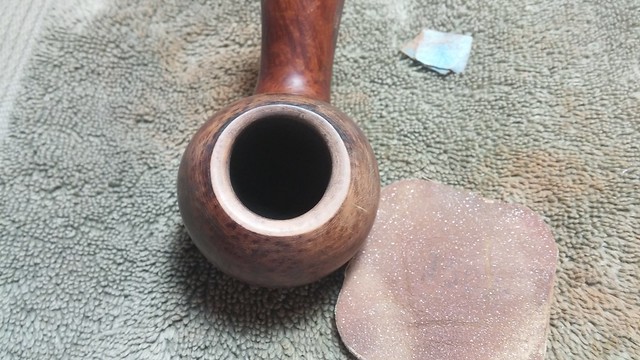
All the sanding at the rim required some clean-up work around the outside of the bowl to remove the sanding scratches there. I used 220 and 320-grit sandpapers, 0000 steel wool and 1200-grit micromesh to smooth and polish the stummel. This also lifted away mush of the rim darkening around the exterior edge of the chamber.
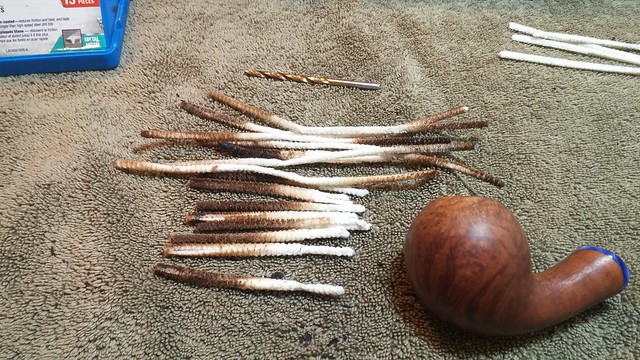
From damage control, I moved to maintenance – cleaning the internals of the stummel with pipe cleaners and alcohol. I had to work through a small blockage near the draft hole, but after that the cleaning proceeded quickly.
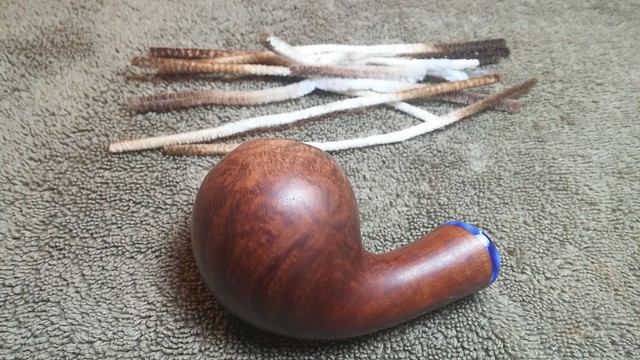
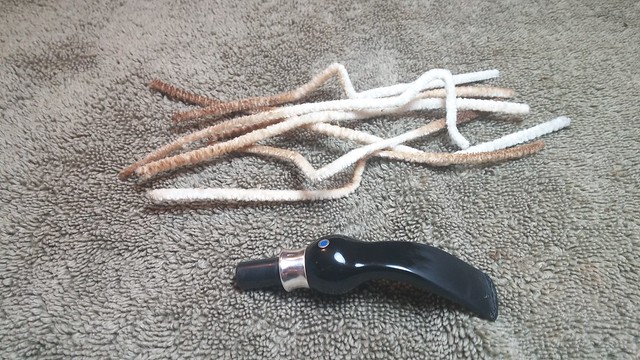
I did the same to the stem. The airway here was surprisingly clean compared to the shank.
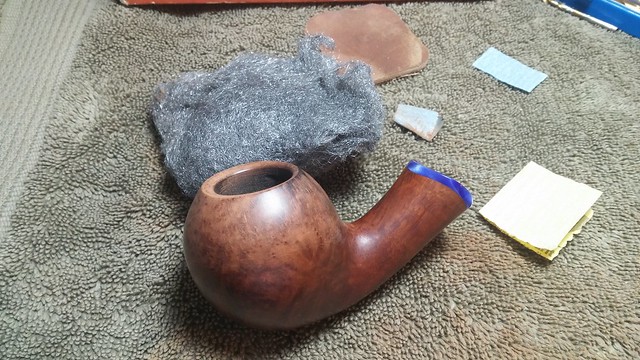
I wiped the sanding dust and dirt from the briar with a cotton pad dipped in alcohol. This also removed the old wax finish. The stummel is starting to look good!
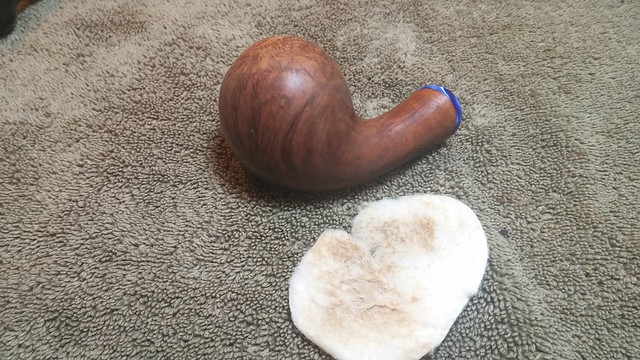
I finished this phase of work on the stummel with a salt and alcohol treatment to pull the last of the tars from the internals and freshen up the briar.
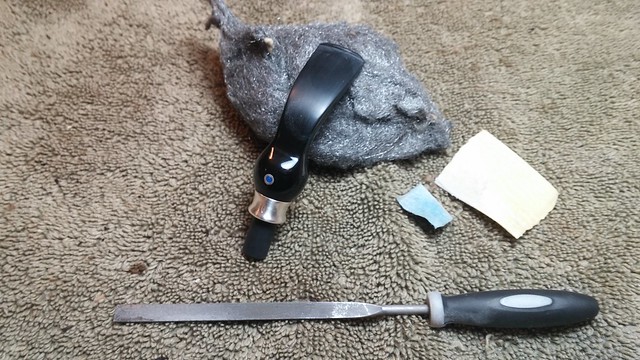
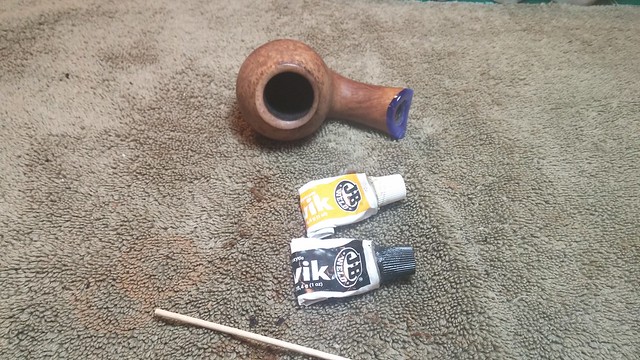
While the stummel soaked, I worked on the tooth dents in the stem, first sanding out the worst of the chewed-up Lucite, then filling the damaged areas with CA glue mixed with charcoal powder. When the patch had cured, I used a needle file, sandpapers, and steel wool to smooth and shape the repairs.
Moving back to the stummel, I dumped out the now brown salt from the chamber and once again gave the internals a good scrubbing with pipe cleaners and alcohol. The overnight salt treatment had softened quite a bit more of the gunk hiding in there, which I was now able to remove.
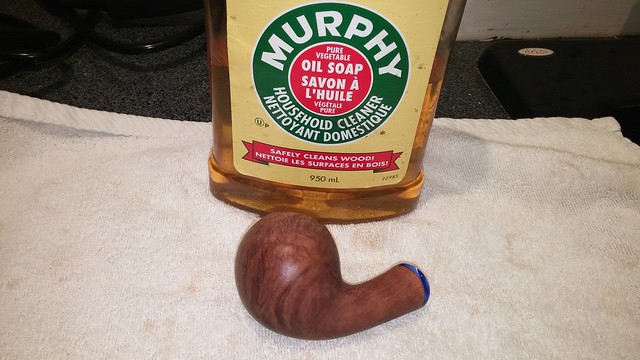
I finished up the stummel cleaning with a good scrub with Murphy’s Oil Soap to clean the exterior of the briar and remove the last traces of the old wax finish.
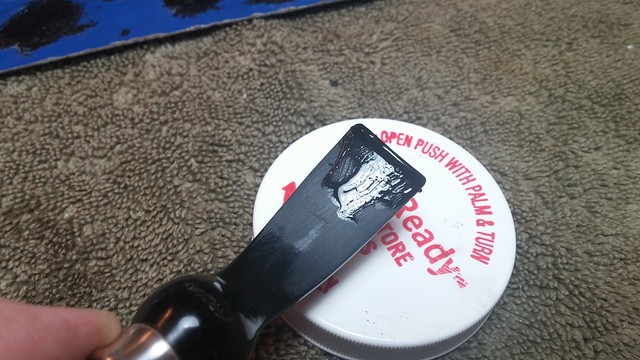
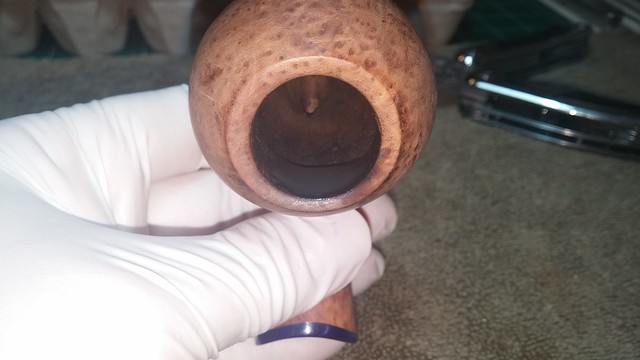
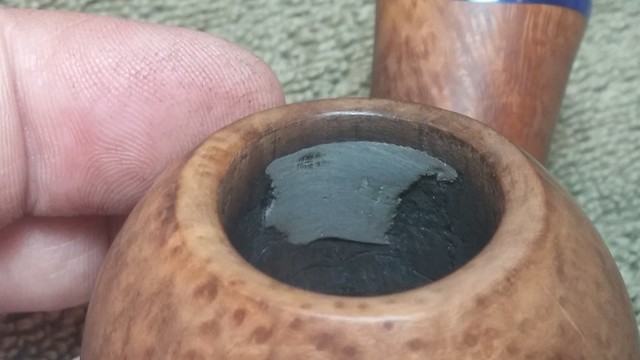
Then it was time to address the damage to the chamber walls. As you can see in the first close-up picture below, the undercut area at the rear wall of the chamber was surrounded by tiny heat fissures. They look like tiny worm trails in the scorched briar.

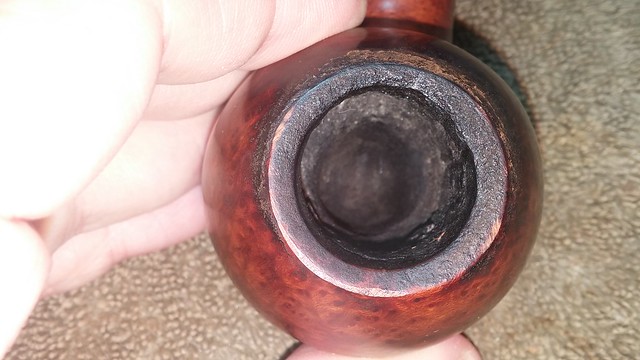
I decided to fill the gouged-out area and reinforce the scorched area of briar at the same time with a JB Weld patch. I mixed up equal amounts of the heat-resistant epoxy and applied it to the repair area. I propped the stummel on end to allow the JB to settle into the desired area, filling the gouge and covering the worst of the scorched briar.
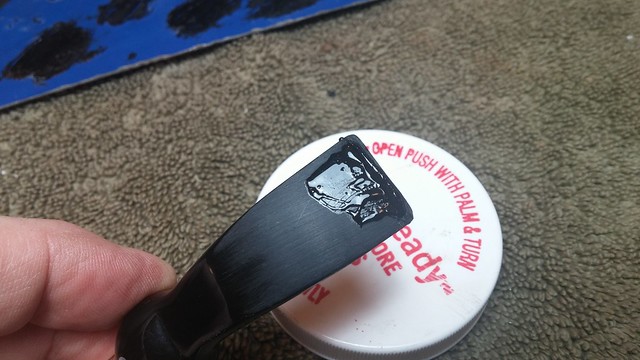
When the JB Weld patch was set, I used coarse sandpaper wrapped around a marker to sand it smooth and blend the patch into the contours of the chamber wall. There is still some finesse work to do on this patch as shown in the pic.
For the pipe purists out there, the same repair could also be accomplished using Pipe Mud (cigar ash and water). I used JB Weld because of the depth of the gouged out area; I wasn’t certain a mud patch would hold up well in this instance.
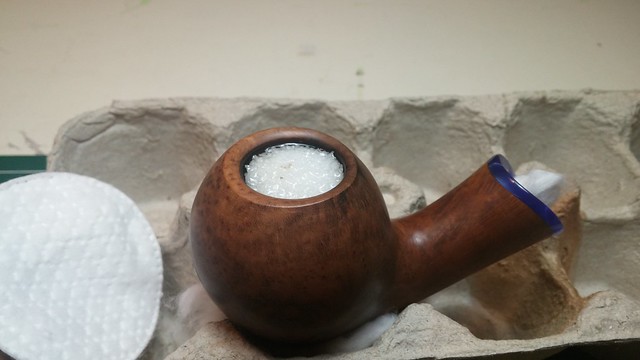
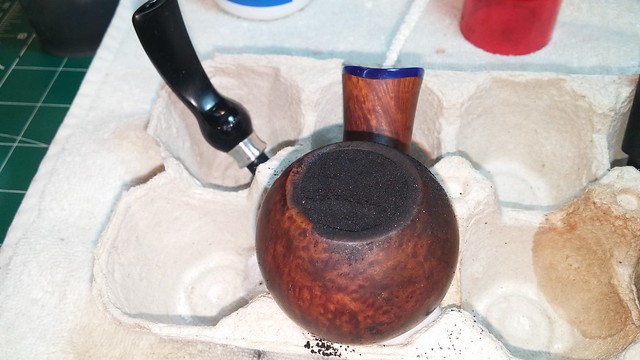
When I was happy with the shape of the patch, I applied a bowl coating of maple syrup and charcoal powder. This coating serves two purposes: cosmetically it covers the light grey JB Weld repair, and functionally it provides a consistent base upon which the new cake can be built.
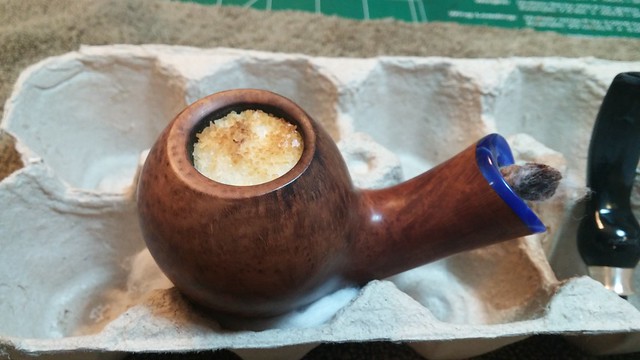
To apply the coating, I plugged the pipe’s airway with a pipe cleaner and then wiped a roughly 1 millimeter thick layer of maple syrup around the inside of the chamber. I then filled the bowl with activated charcoal powder and let the stummel sit for an hour. This gave the syrup enough time to absorb as much charcoal as it could before I dumped out the excess charcoal.
The coating needs several days to dry completely, usually 3 to 6 days depending on ambient humidity levels, and results in a nice smooth, uniform bowl coating that is hard to the touch and slightly gritty feeling – perfect for holding on to that new cake. Here is the stummel filled with charcoal powder.
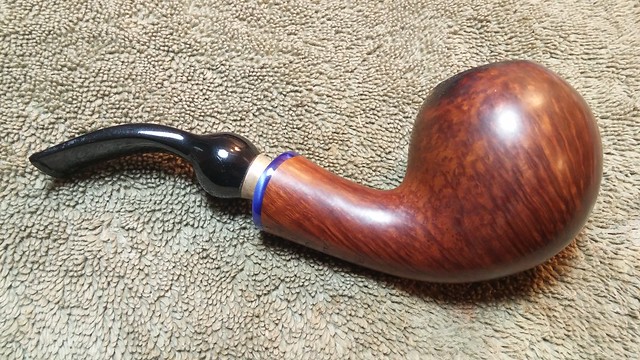
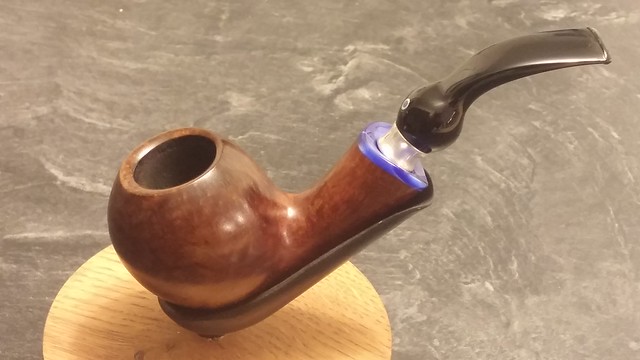
All that was left to do now was the final buffing and polishing. A run of White Diamond compound on the wheel brought out the glow in the briar and gave the Lucite stem a glass-like shine.
This Ardor pipe is looking nearly new and is ready to be returned to its owner at next week’s Pipe Club meeting. I’m sure he’ll be pleased with its renewed appearance, and with the patch in place, he will be able to enjoy this lovely pipe for many years without fear of burning out the back chamber wall.
Thanks for following along on this restoration, and until next time, Happy Piping!
Here’s the finished pipe.
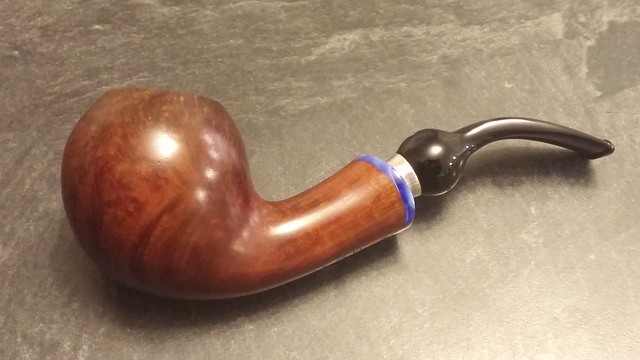


Looks good as new…No…wait…better than new!
Say, do any of the pipe shows (Chicago/TAPS/Columbus/KC/etc.) also do a pipe repair clinic? Would be worthwhile.
LikeLiked by 1 person
Thanks Todd. I agree, a repair workshop would be a great show addition!
LikeLike
A good assessment and theory of how that kind of damage occurs. And nice work on the repairs. I bet that club member was happy to get this one back in proper smoking condition.
LikeLiked by 1 person
Thanks Al. One of the fascinating parts of this hobby for me is trying to understand a pipe’s previous life. Dottle-knocking scars are fairly straightforward; determining the possible cause of a burn-out is a lot trickier!
LikeLike
And exactly why reamers are a dangerous thing in the wrong hands!
LikeLiked by 1 person
Indeed! Briar is a hard wood but a reamer blade is harder and sharper.
LikeLike
Great job Charles ! The rim correction is impressive, turned out very becoming.
What kind of needle files do you prefer, the diamond coated or the metal ones.? I hesitate.
Is the flat one 5 mm ?
LikeLiked by 1 person
Truthfully, both sets of needle files in my kit are of the cheapest-of-the-cheap variety, usually bought on sale. Better files would probably be nice, but I’m used to these. 😀
LikeLike
And yes, the flat file is 5mm. 😀
LikeLike
Thank you Charles.Did you ever try the diamond coated ones ?
LikeLiked by 1 person
I have not used the diamond files on pipe work but have tried them on other projects. I seem to have better luck with the metal files but your mileage may vary.
LikeLike
There is actually quite a difference, but I’ll try my luck on both 🙂
LikeLiked by 1 person
Being one of the first high end pipes I ever purchased (and at the time all I could afford ) I never would of thought that one day I would ever enjoy it in the pristine glory it has been restored to. I am so looking forward to the first smoke. Thanks Charles.
LikeLiked by 1 person
Thanks, Adam!
LikeLike
It was beautiful before the restoration, and so near perfection afterwards that it’s amazing a human made such a beautiful piece of art. This is why I love seeing these restorations. Good work once again Mr. Lemon!
LikeLiked by 1 person
Thanks Mike. I couldn’t agree more. That’s what makes pipes so interesting to collect. The blending of form and function is a real art form!
LikeLike