
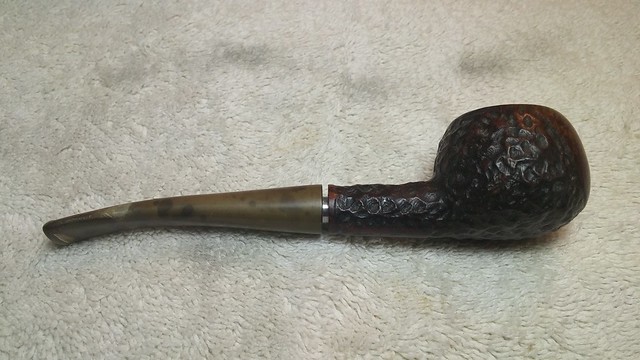
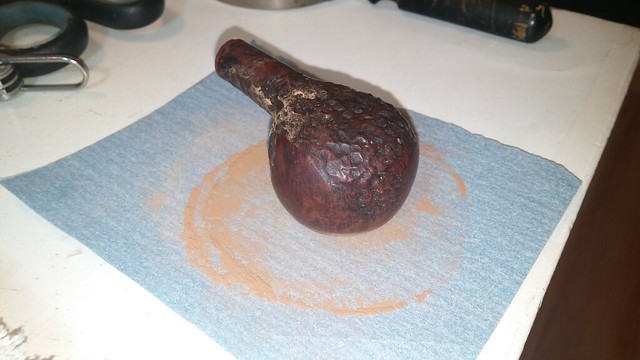
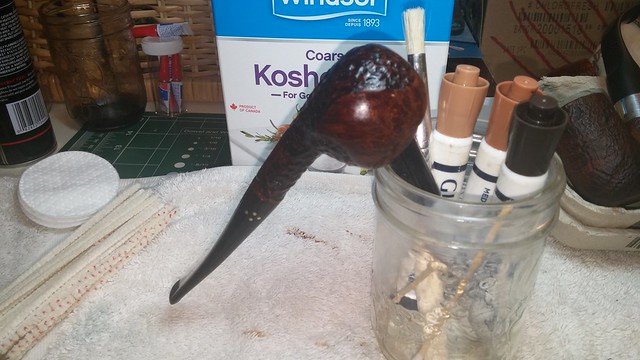
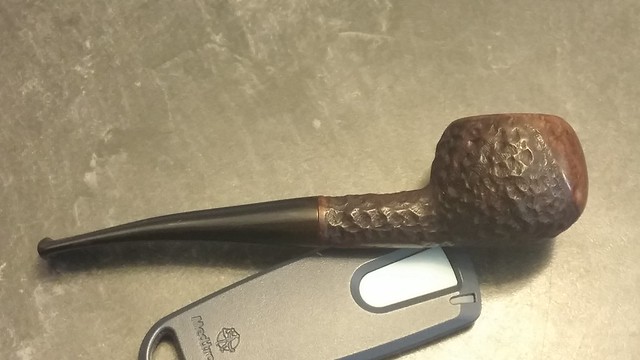
I picked this Prince shaped pipe off eBay some time before Christmas. As I recall, the online photos weren’t the best quality but sufficient to show that this pipe had seen some hard use.
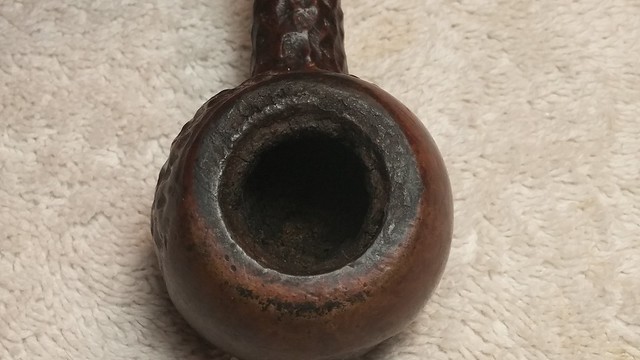
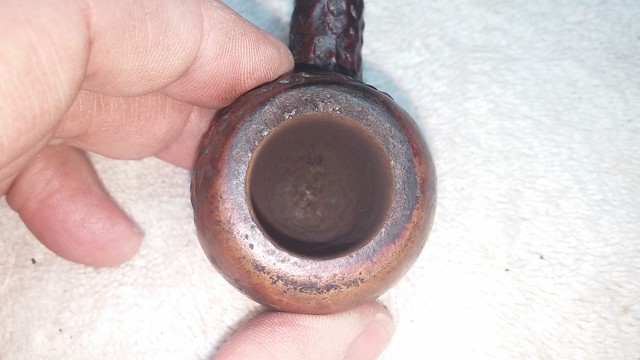
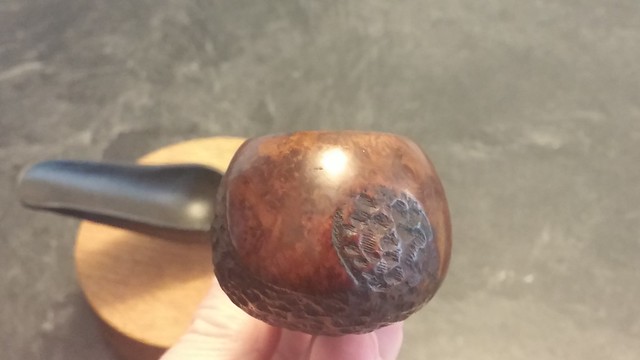
When I brought it to the worktable, the scars of the past were obvious – the bowl was thickly caked, the rear rim was crusted over with lava, and the front of the rim and leading edge of the bowl were worn down by dottle knocking against a hard surface.
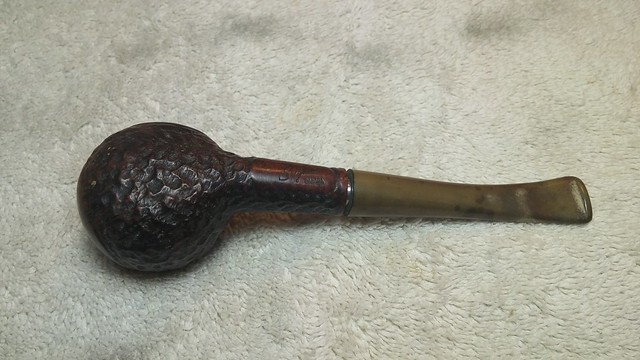
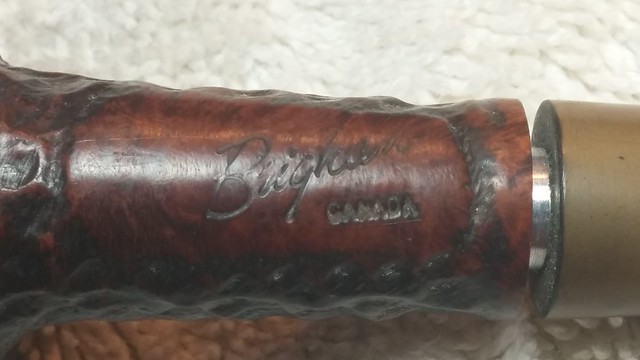
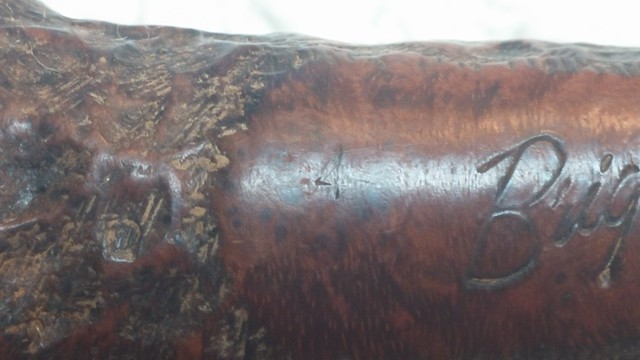
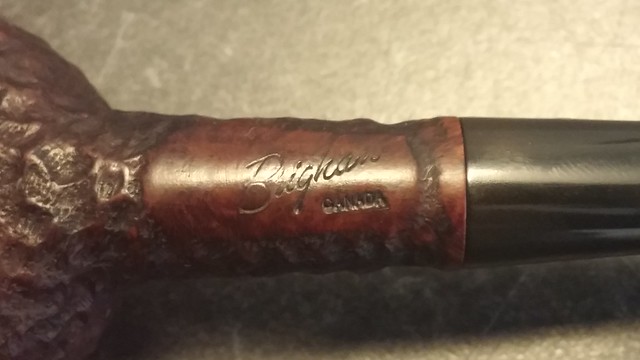
The pipe is stamped “Brigham” over “Canada” on the smooth area of the shank, which puts this pipe’s production year in the mid to late 1980’s. Looking closely, there are the remains of a “4” stamped to the left of the Brigham stamp, but no sign of the complete three-digit shape number.
I have come across a few Brigham pipes stamped like this. I assume they slipped out of the factory before the shape number could be added to the grade stamp. This pipe would have been stamped “412”, denoting a 4-Dot grade pipe in a Bent Prince shape #12 .
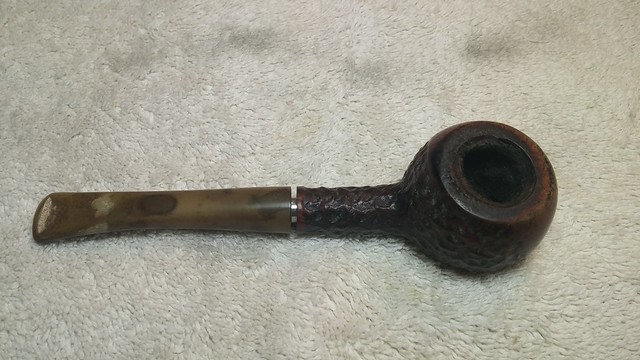
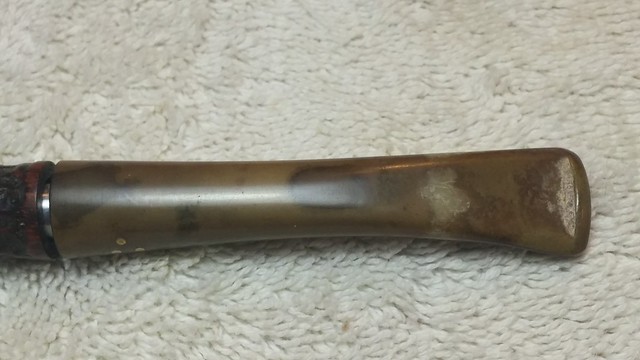
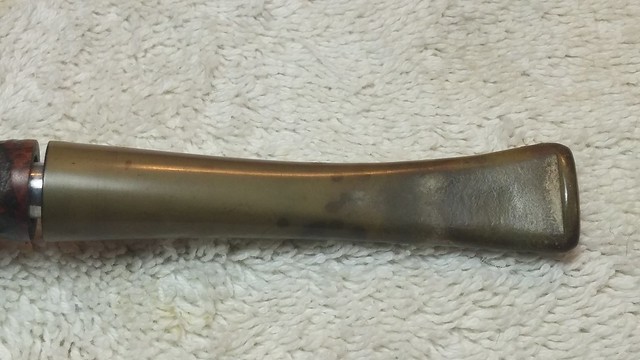
The copious cake evidently continued down the airway to the shank as the stem would not seat against the shank face despite my best efforts. The stem itself was heavily oxidized, one of the worst I’ve seen in a long time; the entire stem had turned a sickly yellow-green with blotches of white and brown.
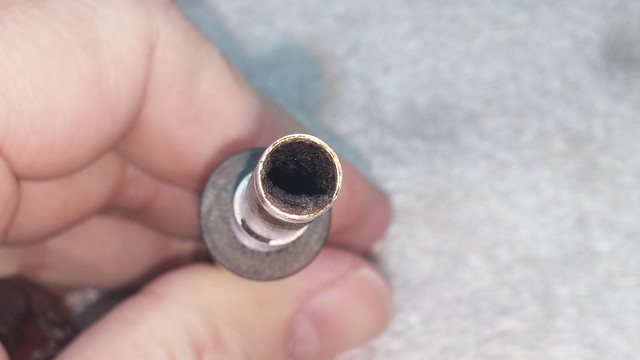
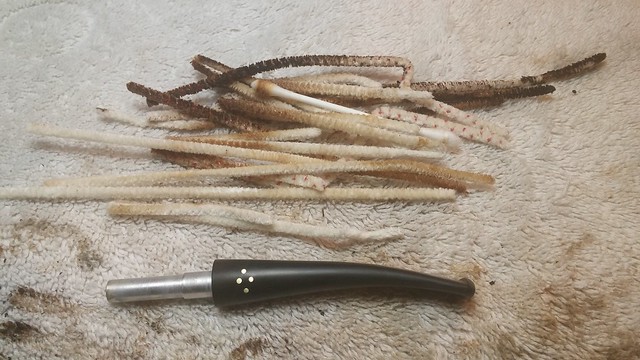
The original piper evidently disliked the Brigham Rock Maple filter system and smoked the pipe without a filter in place. The aluminum filter holder had been “silted up” by a crescent of tobacco tars and residue that filled the bottom quarter of the airway. The slot and airway at the bit were likewise fouled with gunk. I’m not sure this piper had heard of pipe cleaners!
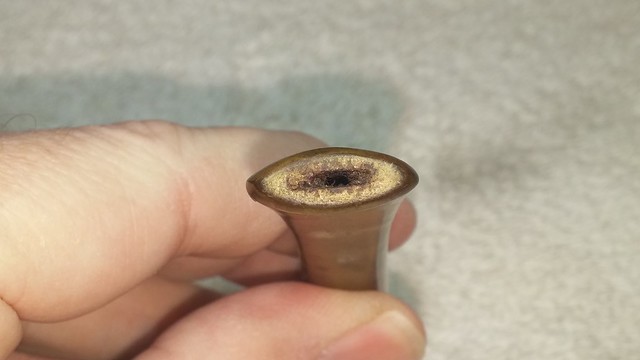
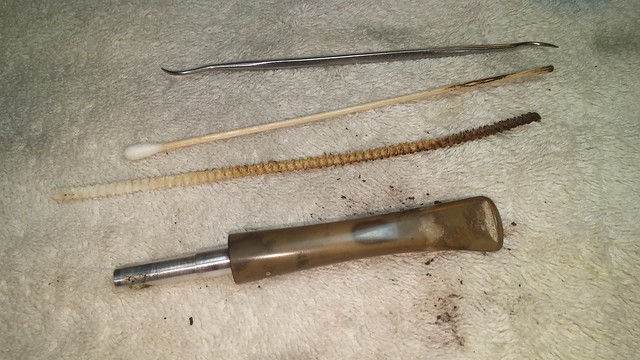
As I had the stem in hand, I decided to start the cleanup there. As expected, the airway was nearly completely blocked. I used the shaft of a long wooden cotton swab to force my way through the accumulated crud, after which I was able to feed a pipe cleaner through the stem.
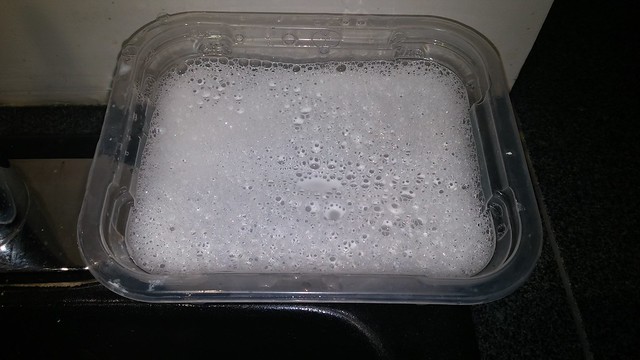
With the airway open, I used a dental pic to scrape the hard accretions from the slot at the bit end and dropped the stem into a nice warm Oxyclean bath. The soak would dissolve a lot of the remaining tars blocking the airway while working on the oxidation at the same time.
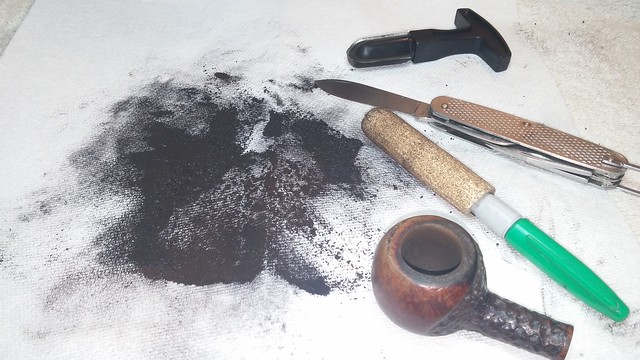
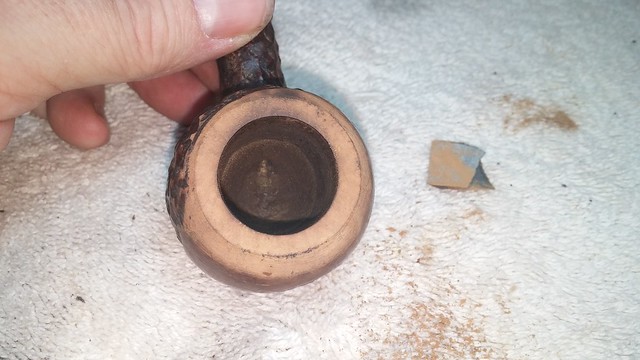
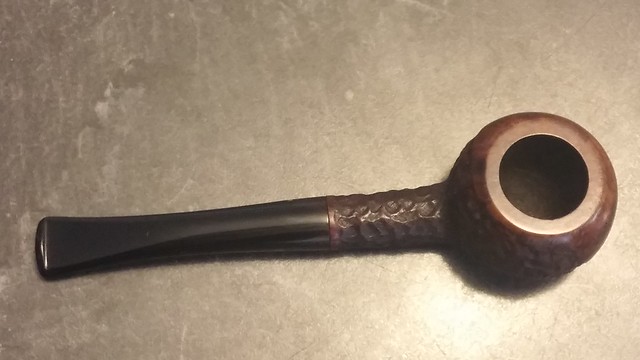
While the stem enjoyed its bath, I reamed the bowl back to briar using my Castleford reamer, penknife and sandpaper wrapped around a Sharpie marker. There was a lot of cake to clear, but it yielded gracefully to my onslaught. Thankfully the tobacco chamber was in excellent condition underneath it all.
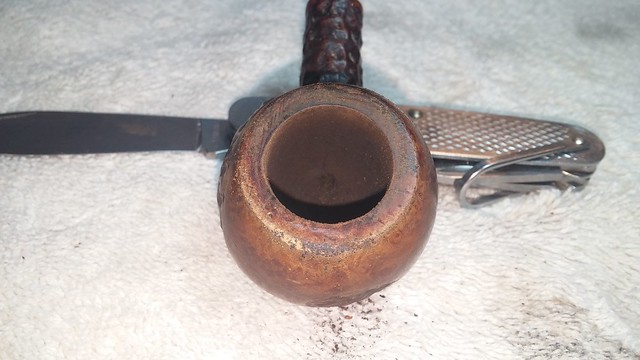
I scraped the worst of the lava from the rim with the blade of my penknife, and then topped the bowl gently on some 220-grit sandpaper to regain a flat rim surface. I used a folded scrap of sandpaper to smooth out the knocking dents on the front face of the bowl.
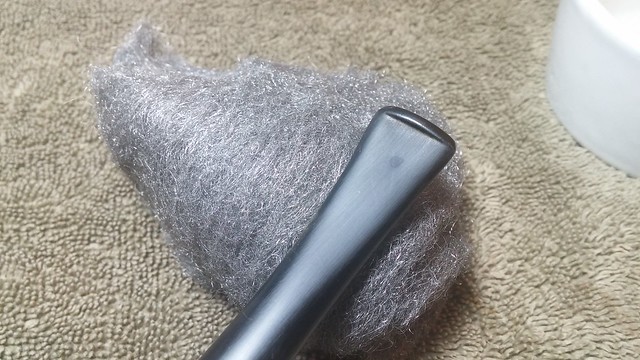
I tidied up my sanding scratches with 320-grit sandpaper and 0000 steel wool and then gave the stummel a wipe with alcohol on a cotton pad to remove sanding dust and good old dirt.

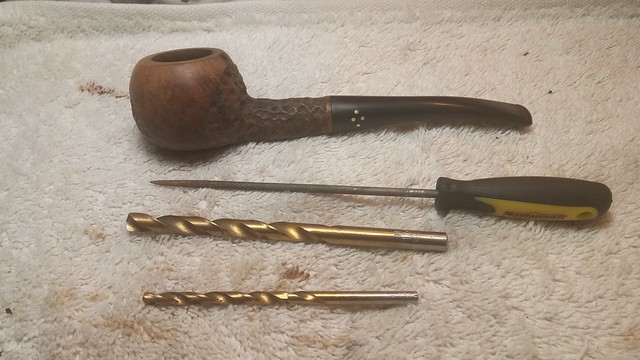
Moving to the shank and airway, I used a series of drill bits turned by hand to ream the airway back to its original dimensions. Smoking a Brigham without a filter in place really gums up the works! The tars and bits of tobacco had significantly narrowed the airway. It took a concerted effort with drill bits, cotton swabs, alcohol and needle files to clean the rock-hard crud from the shank and airway.

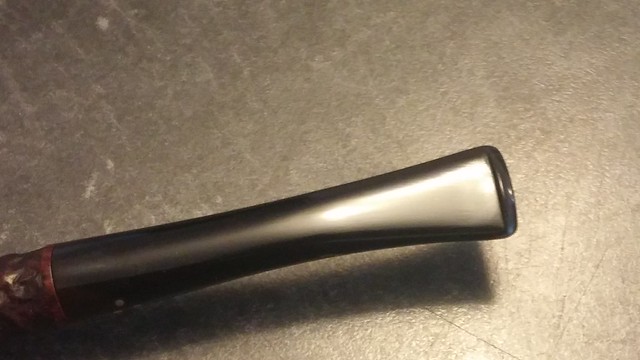
At this point I pulled the stem from the Oxyclean bath and scrubbed away the now softened oxidation. More pipe cleaners and alcohol were used to clear the old tars and muck from the airway.
A test fit of the stem to the shank showed that there was more work to be done to achieve a smooth union. Once again I pulled out the drill bits and a round needle file. A look inside the shank with a light and magnifier revealed a ridge of tars at the bowl end of the shank that I had missed the first time. A few more minutes of careful work brought the stem face tight against the shank.
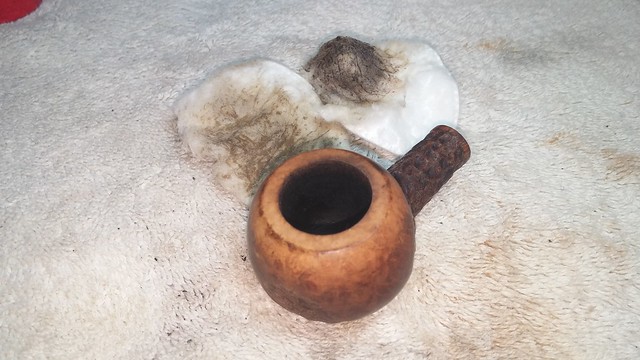
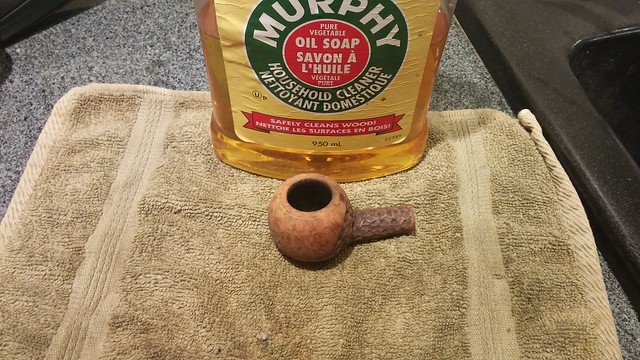
Before refinishing the stummel, I gave the briar a quick scrub with Murphy’s Oil Soap to lift the last o the dirt and grime from the rustication as well as remove any lingering traces of wax.
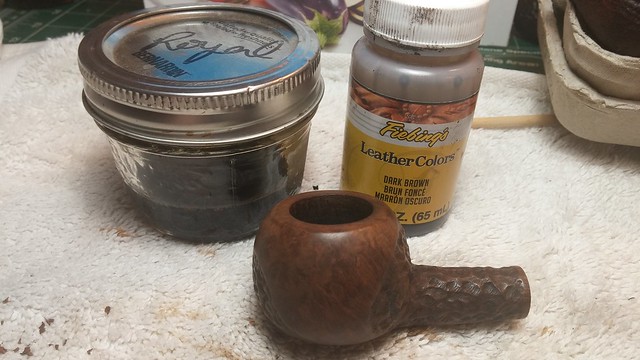
To recapture the original colours of the pipe, I gave the stummel a coat of Fiebing’s Dark Brown leather dye followed by a wash coat of my own Royal stain, a blend of Dark Brown and Saddle Tan dyes that nicely approximates the original Brigham stain. When the dye was dry, a final wipe with mineral oil refreshed the briar and gave the finish a deep warm glow.
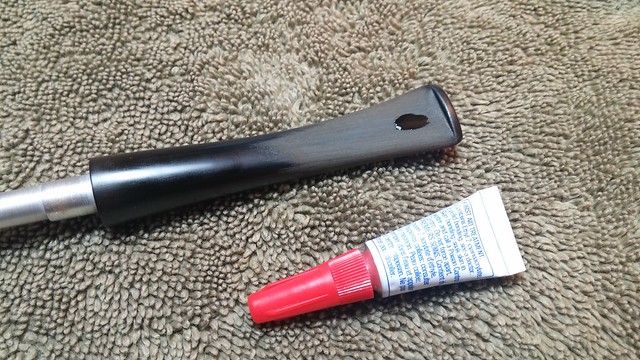
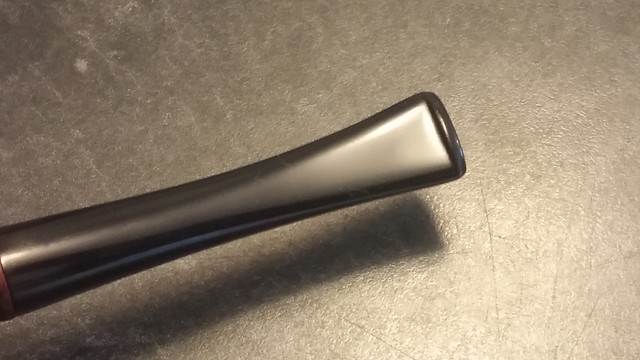
One last repair before final buffing and polishing – a single tooth dent in the lower bit. A drop of CA glue filled the depression. When the glue had cured, I sanded the stem with 220 and 320 grit sandpapers and smoothed out the sanding scratches with 0000 steel wool.
Then it was time to go to the wheel for a run of White Diamond compound (lighter on the stummel, heavier on the stem) and several coats of Carnauba wax.
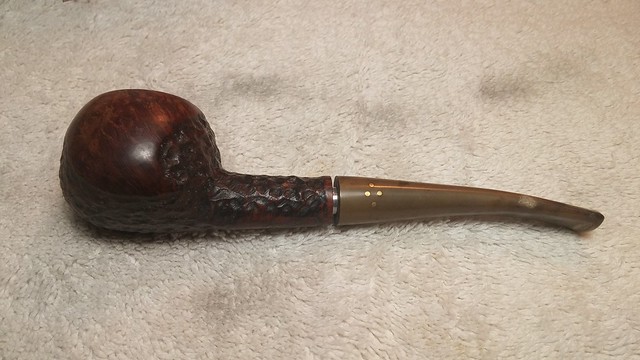
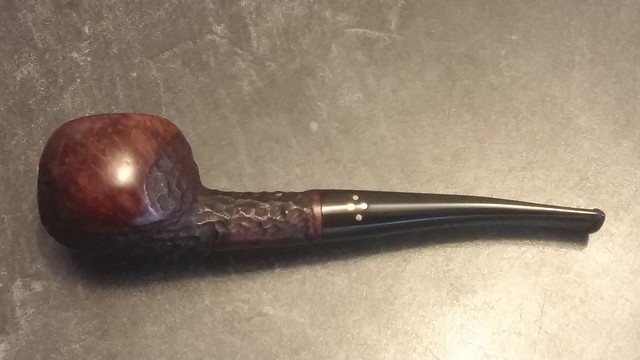
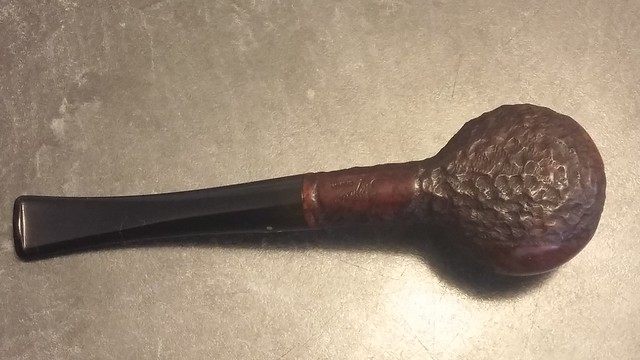
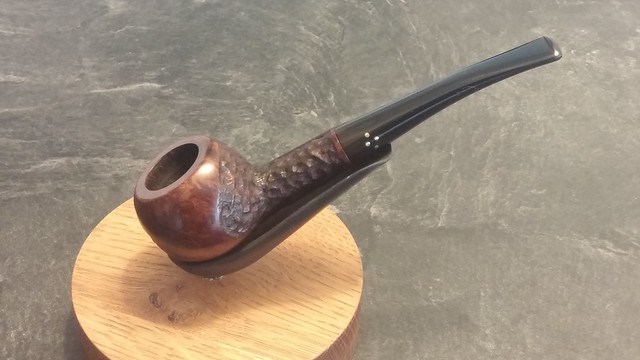
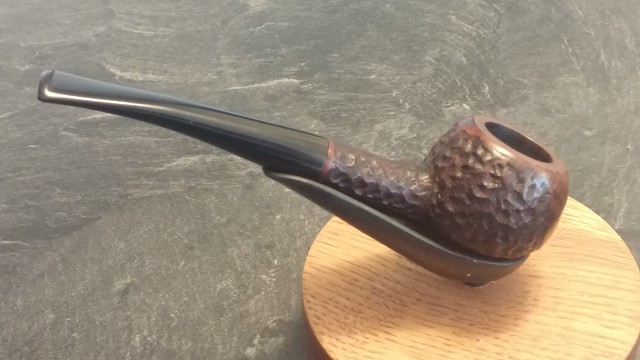
This 1980’s Brigham Prince is hardly recognizable as the sickly looking pipe I started with. This, for me, is one of the real joys of pipe restorations. Even though I see the incremental improvements along the way, looking at pictures of the pipe before and after restoration never fails to amaze me. This pipe has gone from Ragged Beggarman to Prince once again.
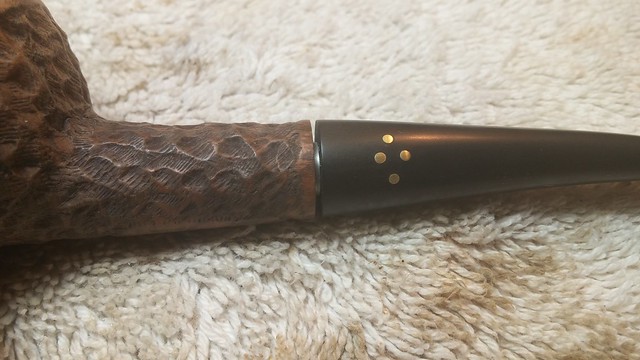
The lines of the bowl are crisp and clean, and the briar glows with health. The sickly oxidation is gone from the stem, leaving a deep black colour to the vulcanite against which the Brigham Dots glow like tiny brass stars.
I’m quite pleased with this pipe’s restoration, but I already have several Patent Era Princes in my collection, so I will offer this pipe up on the DadsPipes Store with the hope that it finds a new home with an appreciative piper.
Thanks as always for following me through this pipe journey. Here’s the finished pipe. Until next time, Happy Piping!


Like night and day Charles, beautifully done. You are without a doubt the go to man for Brighams.
LikeLiked by 1 person
The one time an obsession is a good thing, perhaps! 😄
LikeLiked by 1 person
Very nice restoration. Charles, I do hope your recovery after Christmas has continued to go well!
LikeLiked by 1 person
Thanks Dal. Every day a little better 😀
LikeLiked by 1 person
The saver of Brigham rescues a Prince! Nice work on an equally nice pipe.
LikeLiked by 1 person
Great recovery of a beautiful pipe Charles. I was given a Savinelli Prince two days ago that also needs a lot of work. Having seen this post I am eager to start working on it.
LikeLiked by 1 person
You’re an inspiration, man. I’ve been scoring vintage pipes at various online auctions, and your blog is THE invaluable resource for restoring them to their glory.
LikeLiked by 1 person
Thanks very much. Glad these posts are useful for you!
LikeLike