
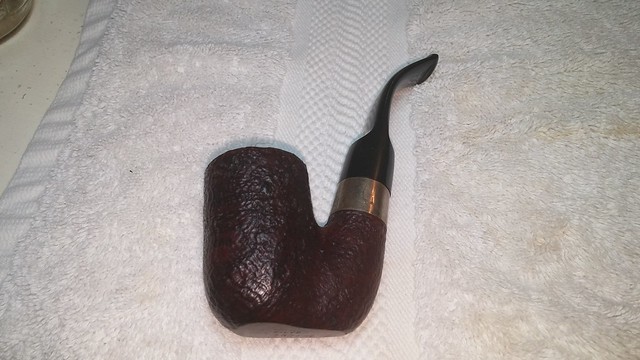
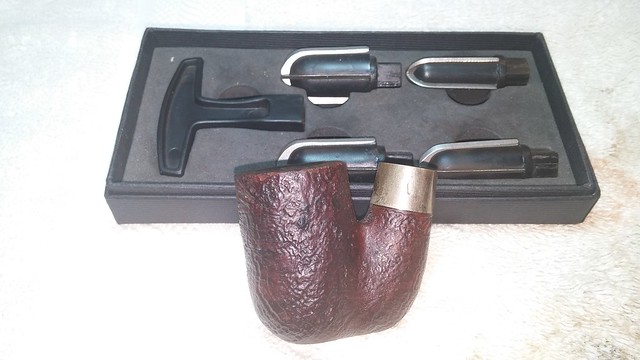
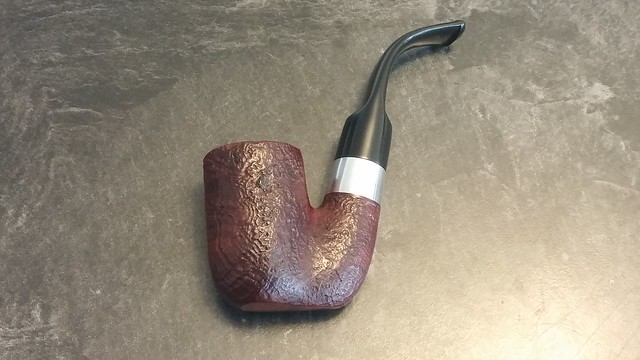
This Savinelli Silver 604 KS Oom Paul is another pipe I acquired at my pipe club’s Swap Meet last November. It has languished in my refurb box since then, but I finally got it to the worktable.
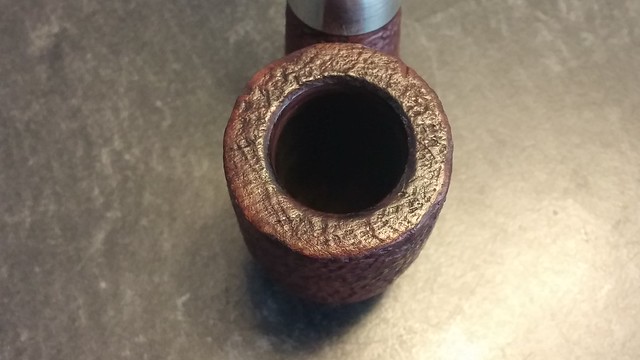
After so many months, I had to give the pipe a good inspection to refresh my memory. This Savinelli had obviously been previously enjoyed – a few tooth dents in the stem, worn finish, a medium-thick cake and a bit of lava on the rim all attested to this – but I felt it should clean up nicely.
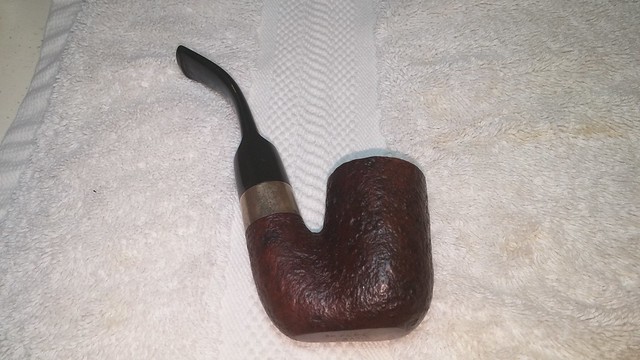
I got the feeling that the pipe had been sitting unused for some time. The sandblasted stummel was a bit greasy in the hand, and the sterling band showed a layer of grime consistent with disuse.
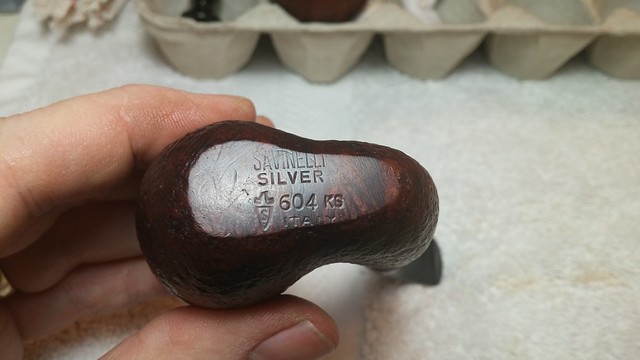
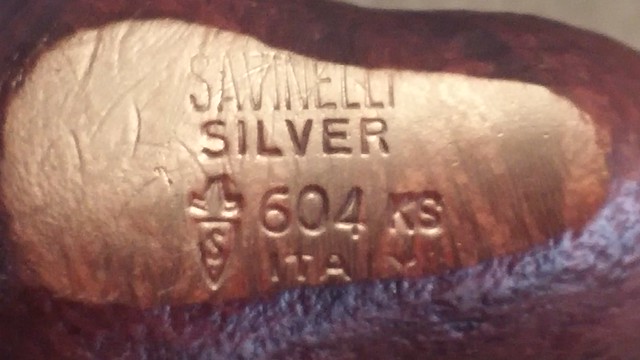
The flat bottom of the deep stummel is stamped “Savinelli” in tall block letters over “Silver” over “604 KS” over “Italy”. The Savinelli shield logo is stamped to the left of the shape number.
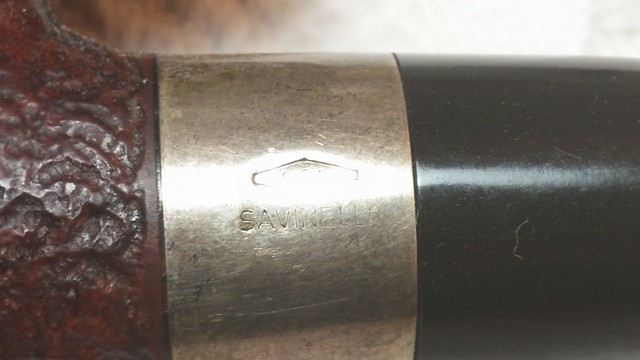
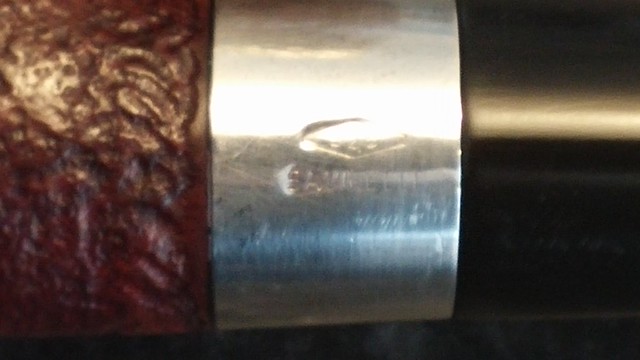
Though rather over-buffed, the marks on the silver shank band are just readable. The left flank is marked “925” inside a diamond over “Savinelli”. The right flank is marked “Sterling” over “Mounted”.

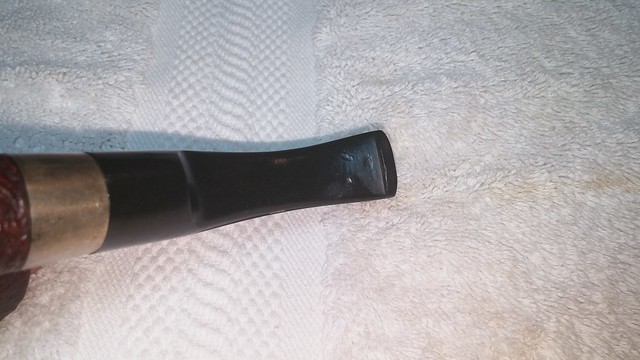
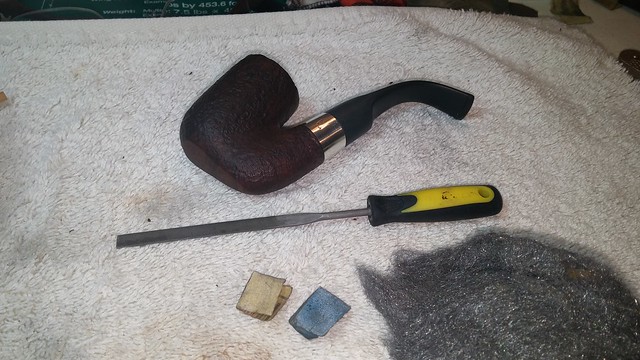
The stem is a replacement that would need a bit of work to bring up to standard. Whoever had fit the stem had neglected to sand out the factory mold marks completely. There were also several places around the shank where the stem overhung the briar slightly. A bit of filing and sanding would need to be done to correct these oversights.
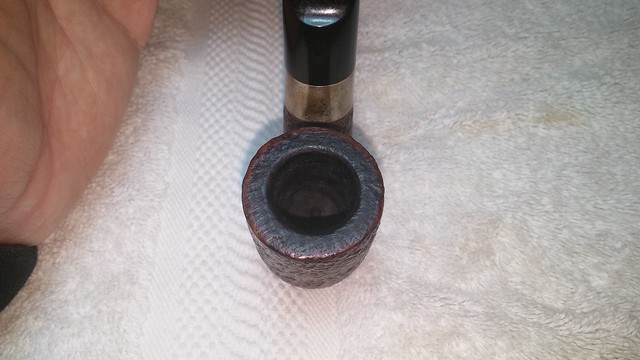
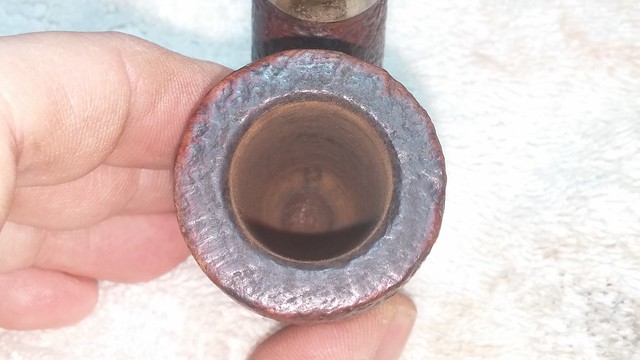
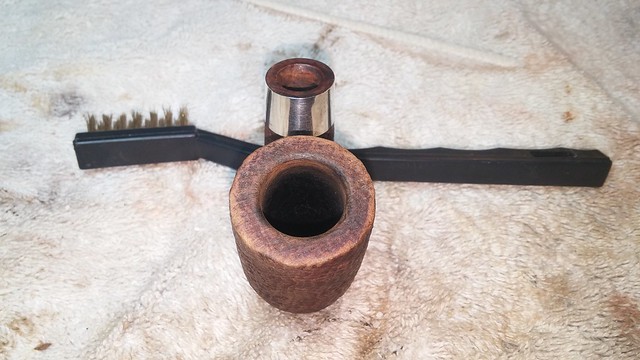
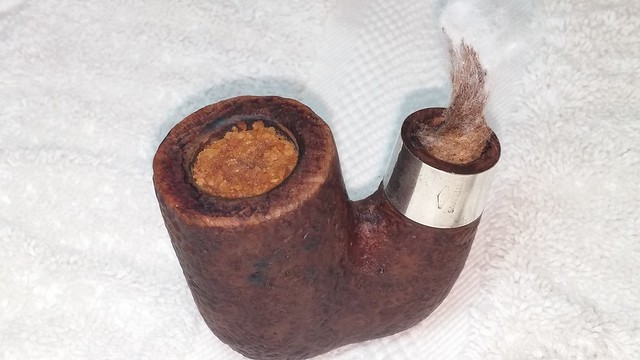
As usual, I started this cleanup by reaming the old cake from the tobacco chamber. This Oom Paul has a deep bowl which just about maxed out the reach of my Castleford reamer.
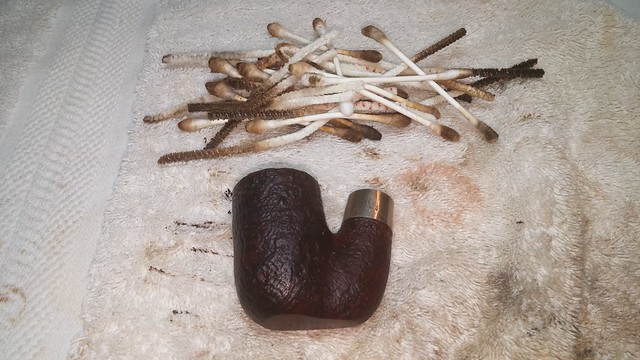
It took a goodly pile of pipe cleaners, cotton swabs and alcohol to clear the accumulated tars and grime from the stummel’s shank and airway. There are lots of sharp turns inside an Oom Paul, providing lots of corners where crud can build up.
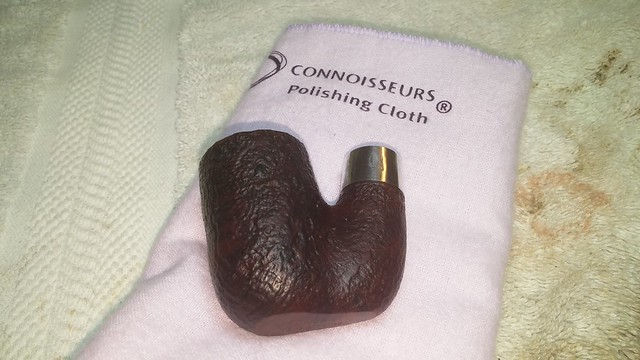
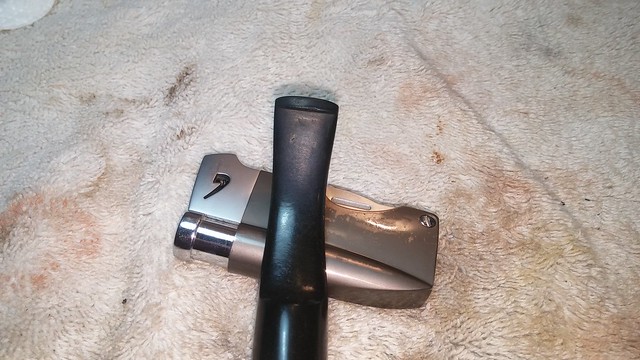
The grease and tarnish came away from the shank band with a few twists of a jeweller’s cloth, leaving the silver gleaming.
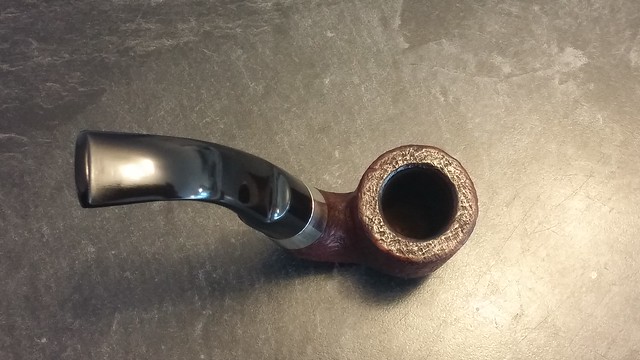
I used a brass bristle tire brush to gently scrub the lava from the sandblasted rim of the bowl. Hey! There’s briar under there!
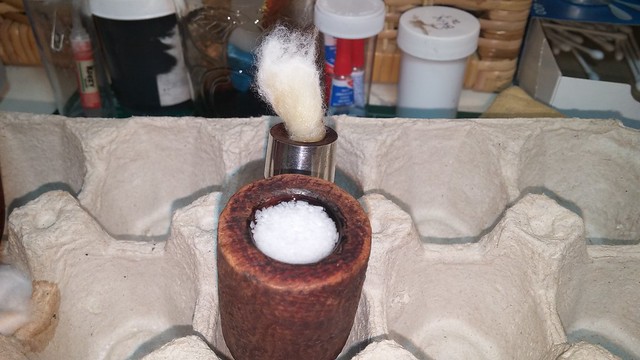
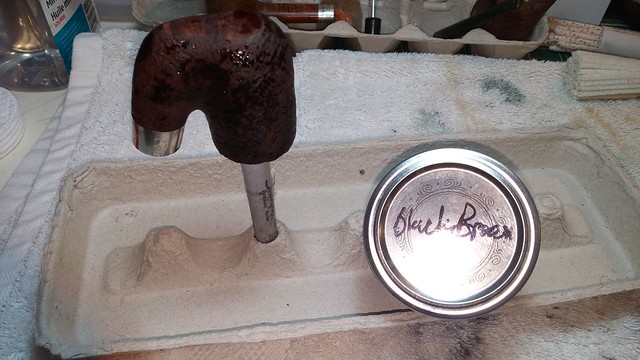
I finished the stummel cleaning by scrubbing the exterior with Murphy’s Oil Soap before setting up the briar with a salt and alcohol treatment to purge the last remaining tars and odours from the internals.
I moved to the stem while the stummel sat. The worst of the tooth dents lifted with the application of a bit of heat from my lighter, but there was a lot of sanding left to do anyway to eradicate the seam marks running up the sides of the vulcanite stem.
Before getting too far into the sanding, I cleaned the stem’s internals. Surprisingly it took just a few pipe cleaners dipped in alcohol.
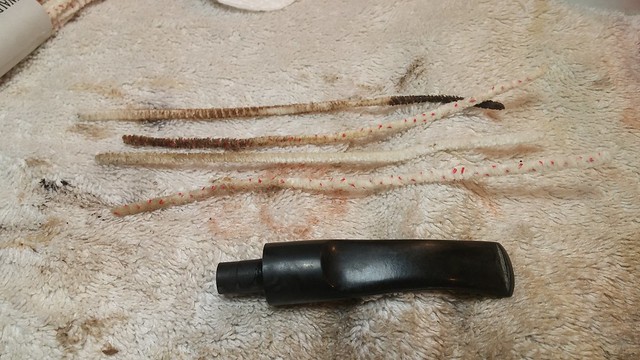
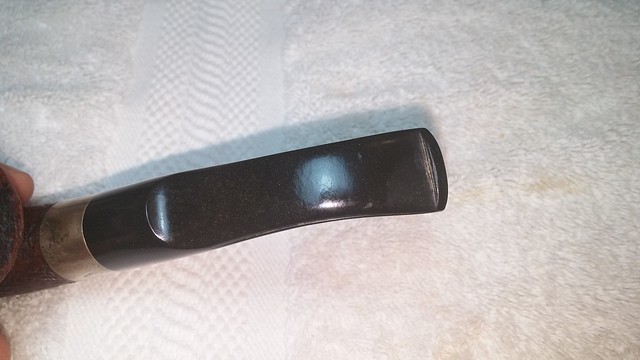
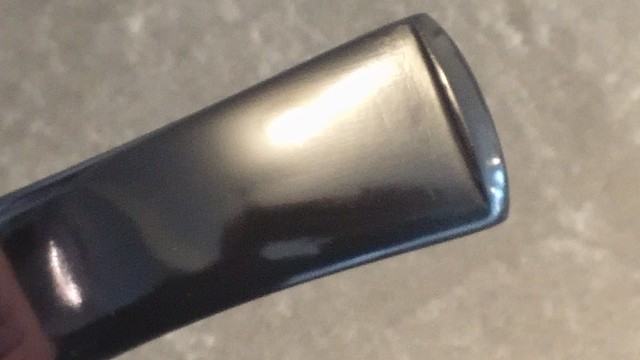
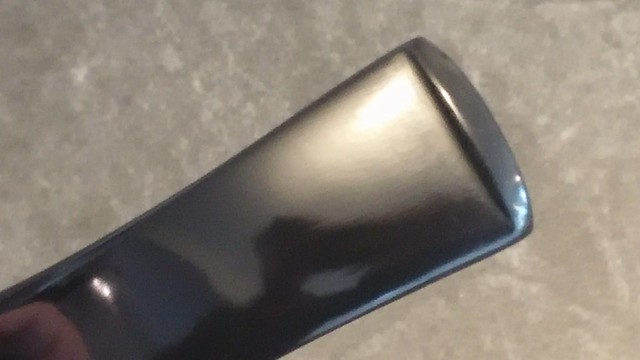
This pic gives an idea of how much sanding was necessary to smooth out the mold marks on the stem. The vulcanite used here is fairly soft; sanding produces a fine black powder which clogs up the sandpaper quickly. I’d sand a bit, then wipe both stem and sandpaper clean on the towel, producing the large blotch of black visible in the picture.
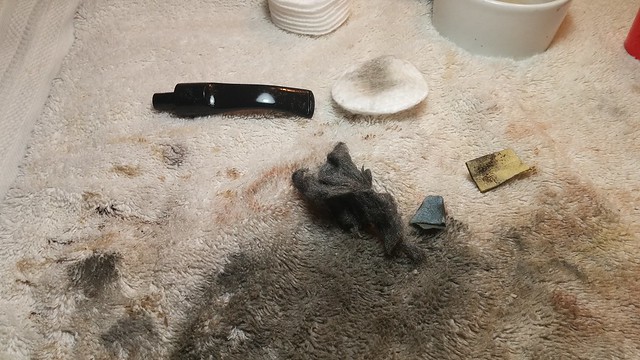
In the end I used 220 and 320 grit sandpapers to smooth the stem out and finished off with 0000 steel wool which erased the sanding scratches. A wipe of mineral oil refreshed the vulcanite.
I let the stummel sit overnight to allow the salt and alcohol to work their magic. When I came back to the pipe, the salt and the cotton ball in the shank had turned quite brown. I dumped out the bowl and ran a pipe cleaner through the shank and around the inside of the bowl to remove any lingering salt crystals.
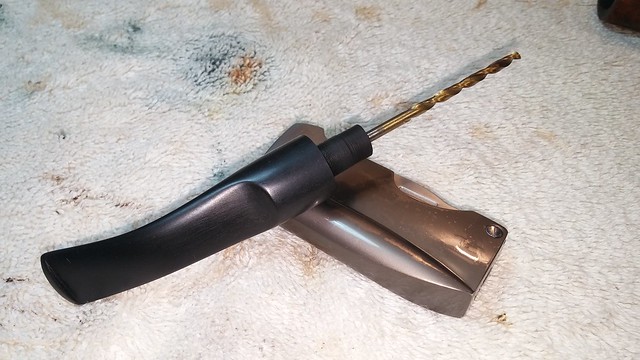
The stem was a bit loose in the mortise, so I used my lighter again to warm up the tenon. When the vulcanite was pliable, I pushed the smooth end of an appropriately sized drill bit into the tenon, gently expanding the entire length of the tenon. When the stem cooled, the tenon retained its new dimensions.
I refreshed the finish on the pipe with a coat of Fiebing’s Black leather dye mixed 50:50 with Dark Brown dye. When the dye as dry I buffed off the excess with an old towel.
As noted in the opening paragraphs, the stem to shank fit was a bit off in a couple of areas. The stem was wider than the shank in several places – not enough to be a visual distraction, but once I identified the offending areas by touch, they nagged at me like a splinter. To sort them out, I first wrapped the shank and silver band with masking tape and then mounted the stem in the mortise.
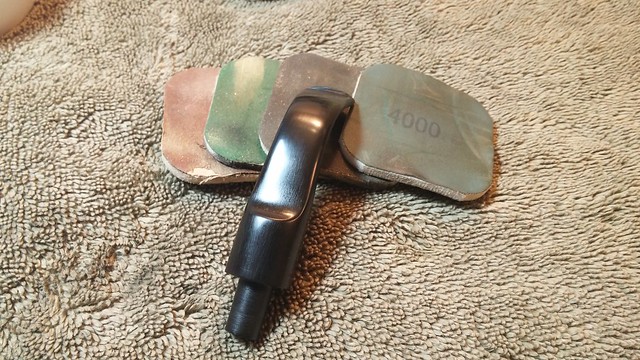
I used a needle file and various grades of sandpaper to carefully remove the excess material from the stem. When I was happy with the fit, I smoothed out the file marks and sanding scratches with fine sandpaper and steel wool. I finished off the stem work by polishing with 1500-4000 grit micromesh pads. On this soft vulcanite the buffing compound would easily remove the remaining small polishing marks.
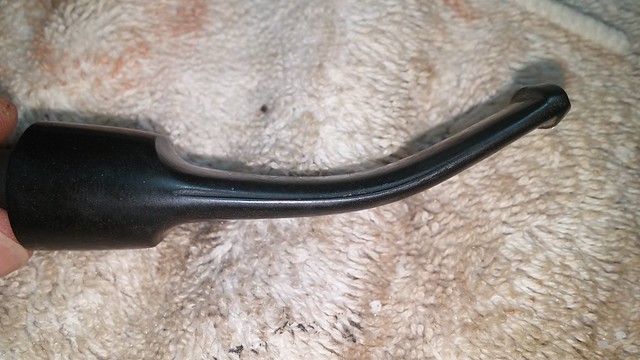
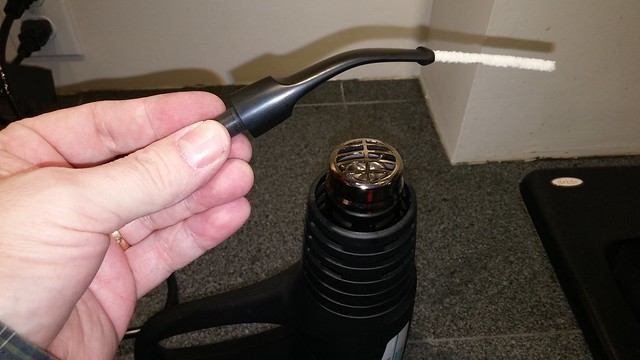
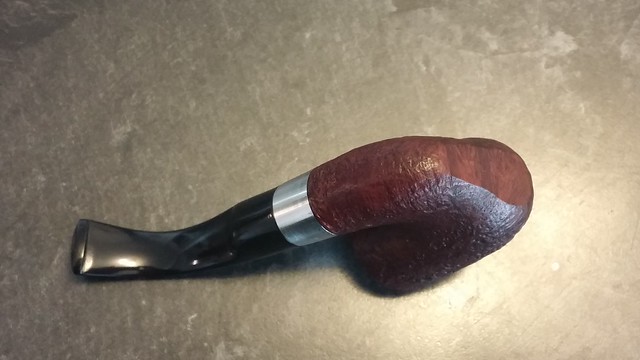
Before going to the buffer, however, I wanted to reset the bend in the stem. As it was, the stem was too straight for the pipe to balance properly in the mouth. To remedy this I slid a pipe cleaner through the stem and heated it over my heat gun until soft.
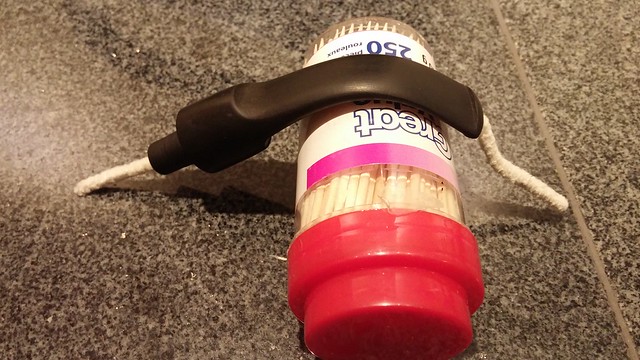
Holding both ends of the pipe cleaner, I bent the stem over a container that looked like it had the curvature I was after. I held the stem in place until it cooled enough to hold its new shape, then set the bend permanently under cold water.
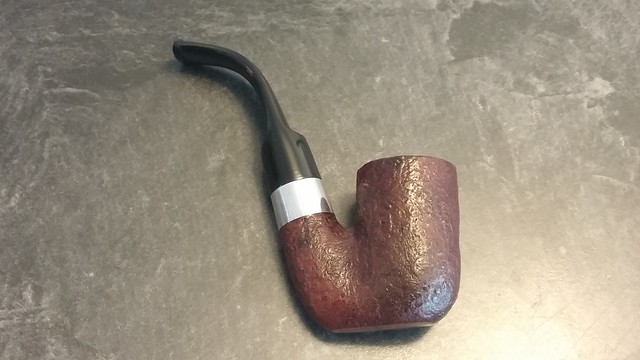
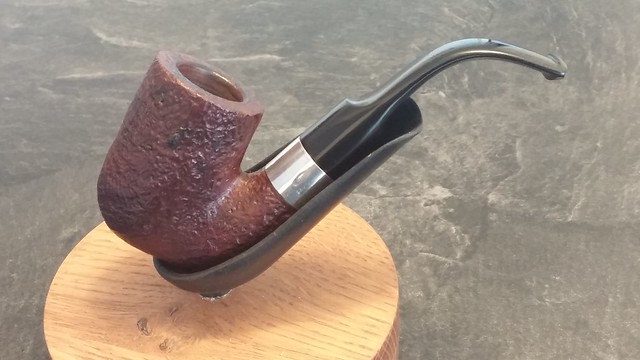
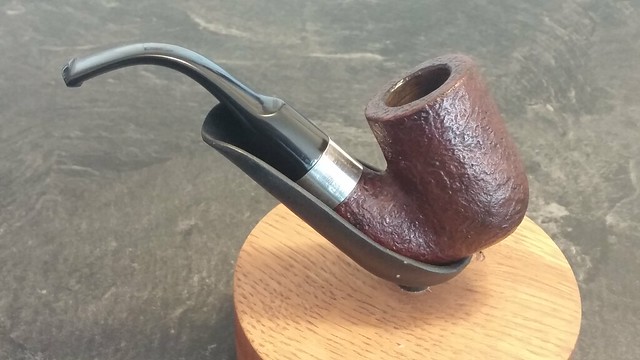
With the new bend set in the stem, the pipe hangs much more easily from the jaw. This will be a comfortable clencher for a leisurely smoke.
It was time to finish off the restoration of this Savinelli Oom Paul. A quick run on the wheel with White Diamond compound and a few light coats of Carnauba wax brought up the finish on the briar and gave the stem a deep gloss.
Sadly I can’t restore the worn stamps on the sterling shank band, but otherwise, this 604 KS is looking nearly as good as it did new. With its deep chamber and easy balance, I think this pipe will be a great companion during activities like reading, writing or even fishing.
I enjoyed working on both of the pipes I traded for at the pipe club swap meet; it will be interesting to see what makes it to the trade table next time!
Here’s the finished pipe. Thanks for following along on this restoration, and until next time, Happy Piping!

I’ve never been much for those chin club pipes, but this one is pretty attractive. What’s the weight? Looks like it would be a nice shop companion if it could be used hands free. Nice work, Charles.
LikeLiked by 2 people
Definitely an easy pipe to use hands-free, David. Weight us somewhere around 50g if I remember, but the balance of the pipe is such that if feels much lighter in the jaw.
LikeLiked by 1 person
Nice job getting the stem to match!
LikeLiked by 2 people
Thanks Al. It was pretty close when I started, but the bits that weren’t flush really buffed me! 😦
LikeLiked by 1 person
Another fine job Charles, I barley recognize it!
LikeLiked by 2 people
Great work Charles.
LikeLiked by 2 people
Thanks Troy. I fired this one up yesterday. Smoked nicely!
LikeLiked by 1 person