
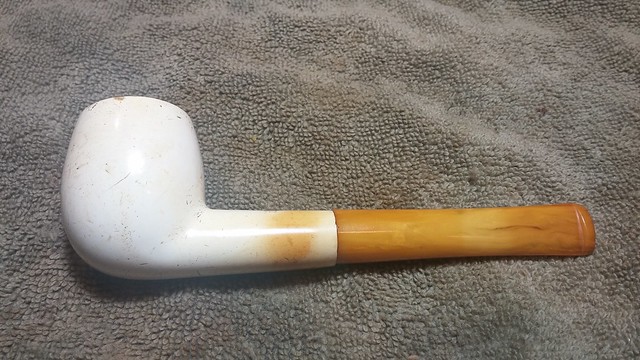
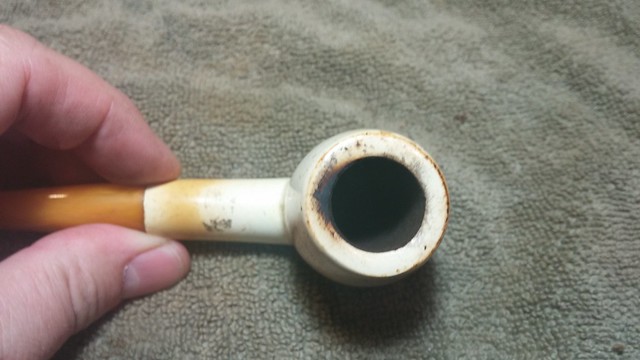
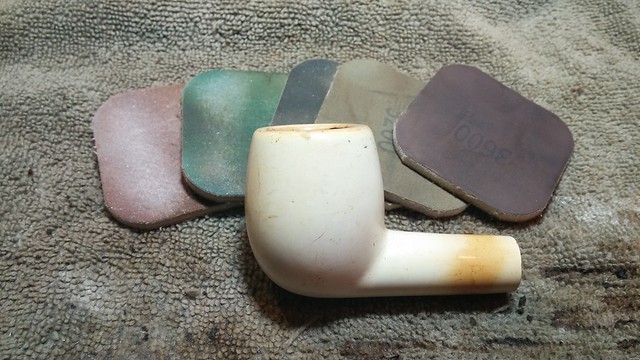
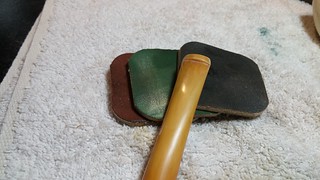
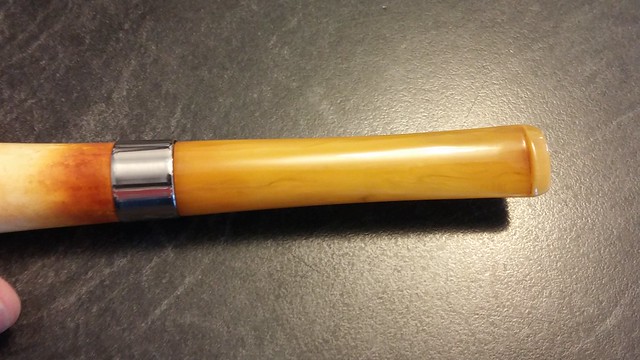
I found this somewhat battered meerschaum billiard at a local antique sale recently. It’s unmarked, so I can’t even begin to guess at who made it, but the Bakelite stem with orifice style opening puts the year of production somewhere between 1907 (the year Bakelite was invented) and the late 1920’s when orific stems were phased out of use.
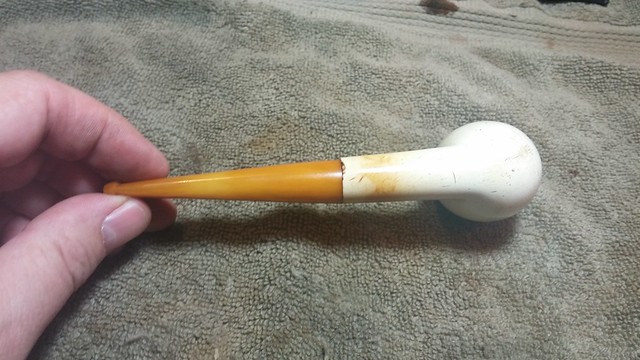
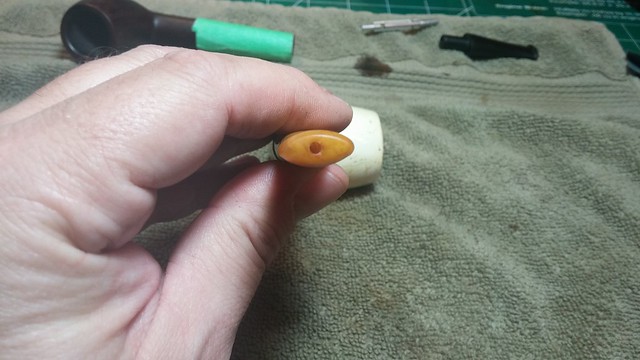
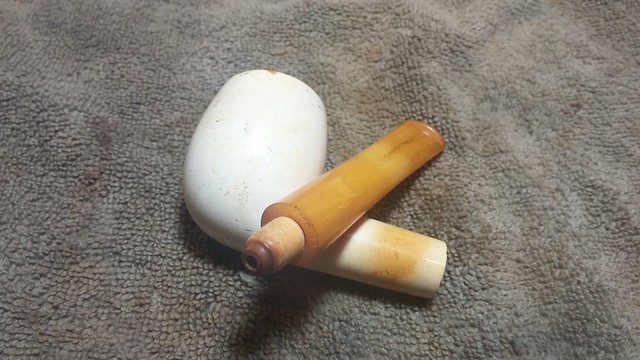
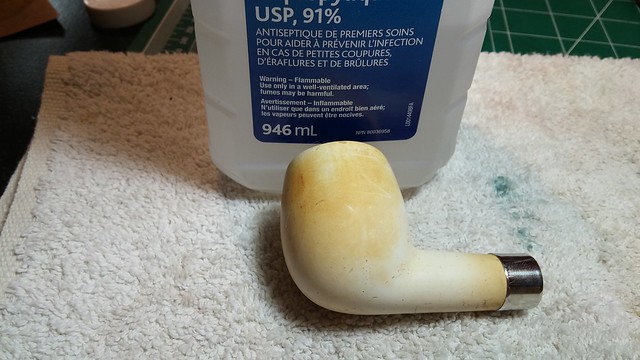
Apart from some surface scratches, stains and tar buildup, the meerschaum looked to be in good shape. There was a fair bit of cake built up in the bowl, though, so it was hard to tell what might be hiding in there. The stem was overclocked, but had little to no tooth chatter and basically just needed a good cleaning. A fat bone tenon screwed directly into the threads cut into the meerschaum shank.

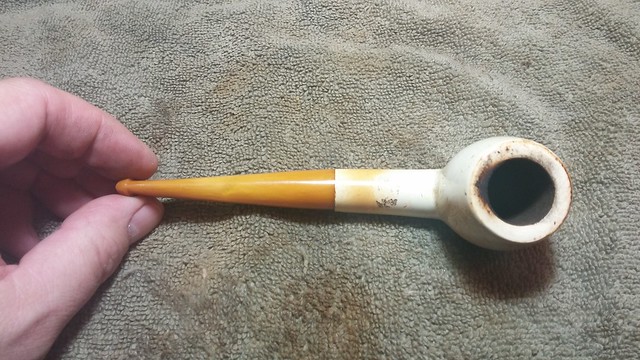
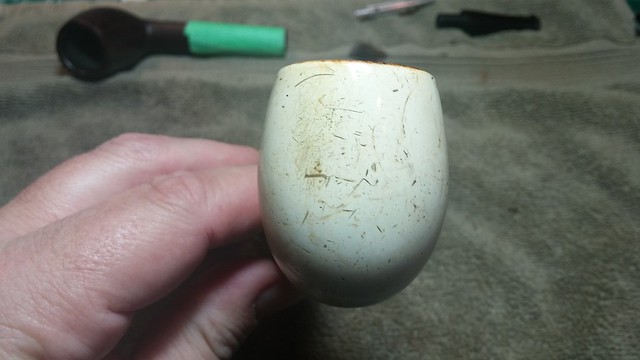
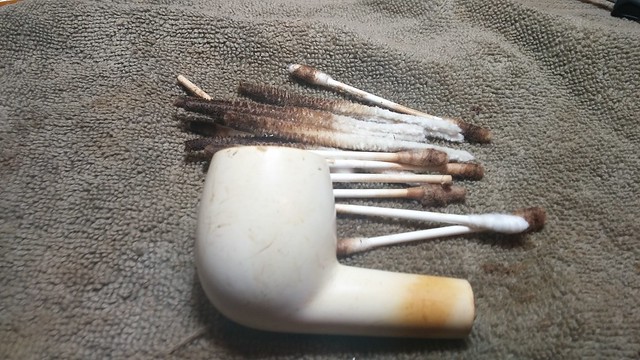
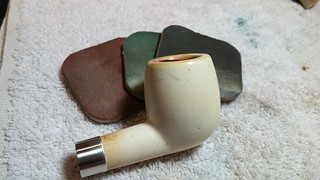
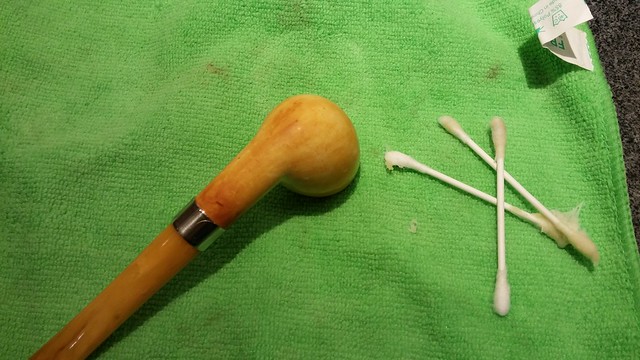
I set to work cleaning the pipe up before working on the overclocked stem. I reamed the bowl as close to the meerschaum as I could manage, using both my Castleford reamer and sandpaper, and working gently so as not to put too much pressure on the walls of the chamber. I used pipe cleaners and cotton swabs dipped in alcohol to clean our the shank and airway.
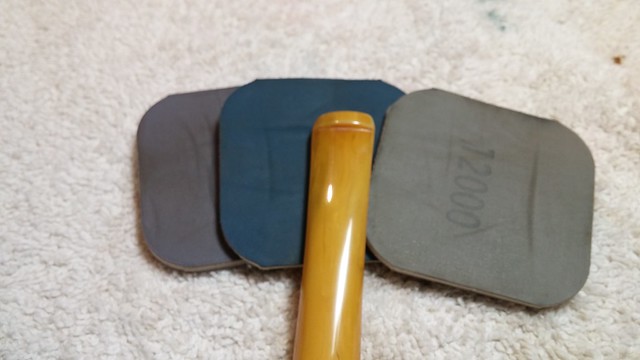
Most of the surface dirt and grime came off the exterior of the stummel with a cotton pad dipped in alcohol. If you take on a meer, be careful about how much liquid gets into the pipe at any one time. Meerschaum is quite porous, and water can damage cheap pressed meerschaum. That’s why I use alcohol – it cuts the grime better, and evaporates quickly so the meer doesn’t have a chance to get saturated. After cleaning, I polished the stummel with micromesh pads from 1500-4000 grit. This doesn’t remove the deeper handling marks, which I like to retain as part of an old-timer pipe’s character, and brings up the shine a bit.
In the case of a vulcanite stem with an overclocked threaded tenon, the usual repair method is to heat the tenon sufficiently to melt the glue holding it in the stem and then screw the stem into the shank until it registers properly again. When the glue cools and sets, the change is permanent. I tried to work the same technique on this Bakelite stem and bone tenon, but to no avail. Perhaps I didn’t heat the stem sufficiently or perhaps the Pipe Gods simply decided to play games with me that day, but I eventually gave up and decided to effect a repair another way.
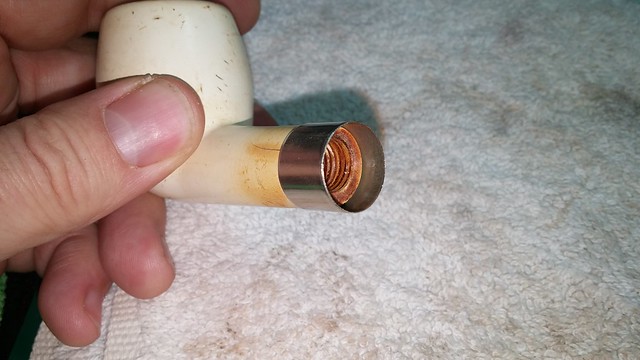
The bone tenon was in good shape, but the threads inside the meer shank were not. They had been eroded by years of use and were not deep enough to grasp the tenon firmly. The pipe is an excellent candidate for conversion to a push tenon, but I didn’t have the parts on hand. (I have meant to add some push-pull tenon sets to my J.H. Lowe parts order for a while now, but somehow haven’t managed to do it.)
Rebuilding the female threads inside the mortise would be very difficult in this case, but I could make the tenon a bit larger. With that goal in mind, I applied a layer of CA glue to the threads of the tenon and let it cure. A test fit showed improvement but the stem was still loose and overclocked.

I added another layer of CA glue, which made more improvements to the stem fit. A third application of glue proved to be slightly too much improvement, as in my haste to make progress, I twisted the stem in a little too enthusiastically. A short sharp “Crack!” told me everything. I had failed to heed the growing resistance on the tenon and had cracked the meerschaum shank.
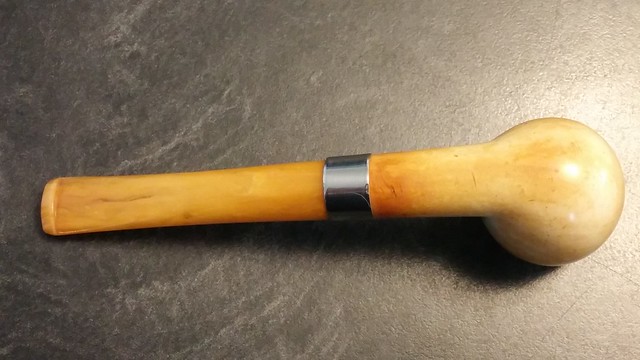
After a few choice words for my own stupidity and a few more on the vagaries of estate pipes in general, I set about repairing the damage I had caused. I flowed a bit of CA glue into the crack and clamped it tightly in my fingers for a few seconds until the glue took hold. I sanded the excess glue from the shank and dug out a suitable repair band from my supplies. I needed to tweak the end of the shank slightly, sanding the end until the band could slide about 2/3 of the way on.
I heated the band over the heat gun to expand it before turning the shank end-first onto the table top and pressing the band home. When it cooled and shrunk back to size, I had a nice tight pressure fit.

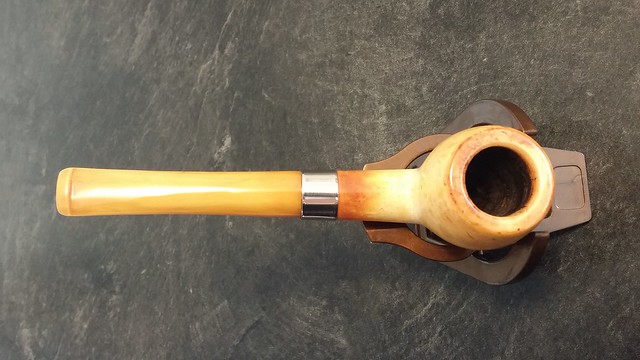
Both stem and stummel then received a full course of micromesh sanding pads to remove the sanding scratches from the banding work and bring up the shine. In the pics it looks like I’ve sanded away decades of patina, but fear not!
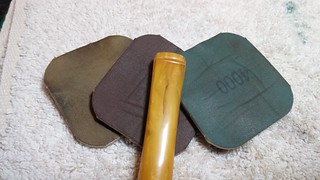
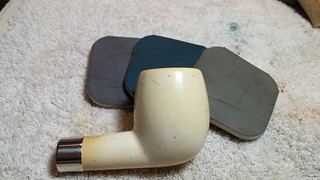
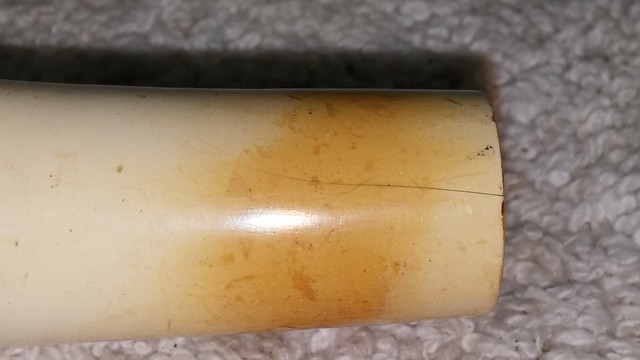
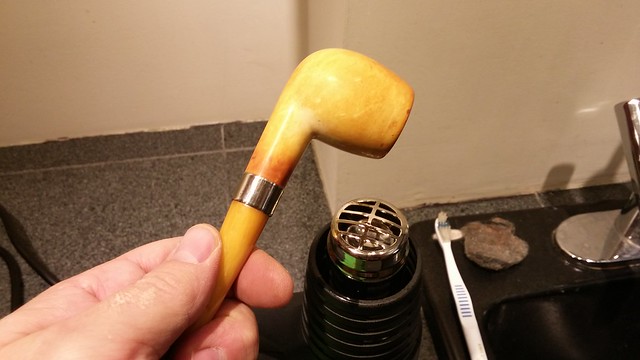
The thing with meerschaum is that the colouring doesn’t really “live” at the outer surface; rather it migrates to the surface from the interior due to the porous nature of the meerschaum. This next pic shows the colour starting to return to the surface of the pipe just from a quick wipe with a cotton pad and alcohol. The alcohol gets into the pores of the meer, dissolves a bit of the tars and residue hiding inside, and pulls it to the surface as the alcohol evaporates. I wiped with alcohol here to remove the sanding dust before waxing the pipe, but it demonstrates the nature of the beast nicely.
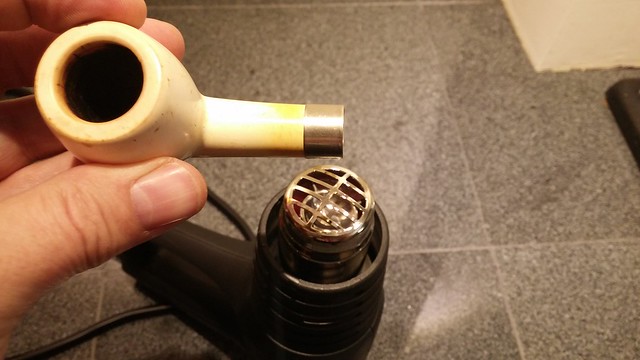
Of course, we use alcohol to clean pipes, as it breaks down t0bacco tars. Beeswax, on the other hand, absorbs the tars without destroying them, and thus makes an ideal carrier for the sought-after meerschaum colouring. Regular waxing of a meerschaum pipe will help to improve the colouration. I use pure beeswax for this, first melting a tablespoon or so in a small jar and then painting it onto the stummel with a cotton swab. When there is enough wax on the meer, I heat the stummel over my heat gun to remelt the wax and allow it to soak into the meerschaum. As the wax is absorbed, it pulls the colour to the surface.
I repeat the waxing and heating until it looks like the meerschaum has stopped absorbing the wax. At that point, the pipe is set aside to cool. If there are dry looking patches on the pipe after it cools, more wax is needed in those areas.
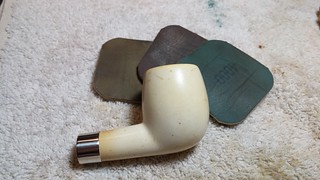
In this case, the pipe was good to go, so I hand buffed it in a soft towel to remove the excess wax from the surface, and then brought up the shine with a microfibre towel. With the stummel finished, I gave the Bakelite stem a light buffing on the wheel with White Diamond compound followed by several coats of Carnauba wax.
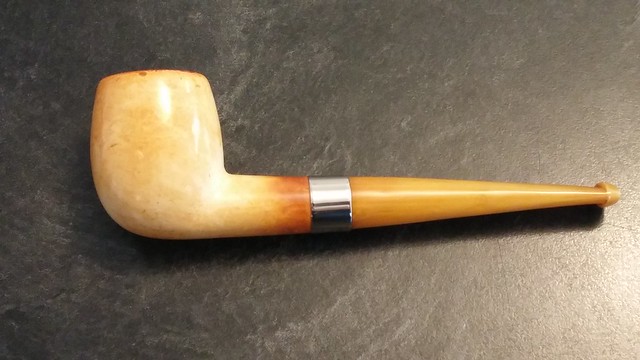
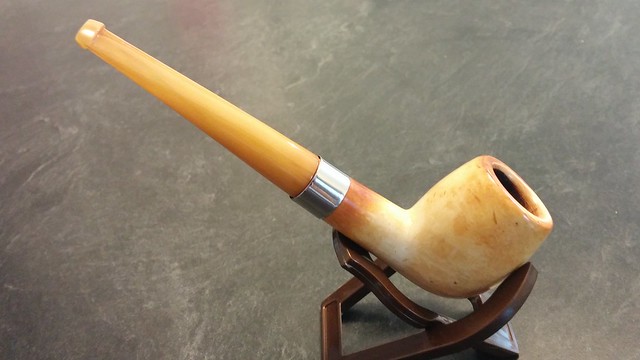
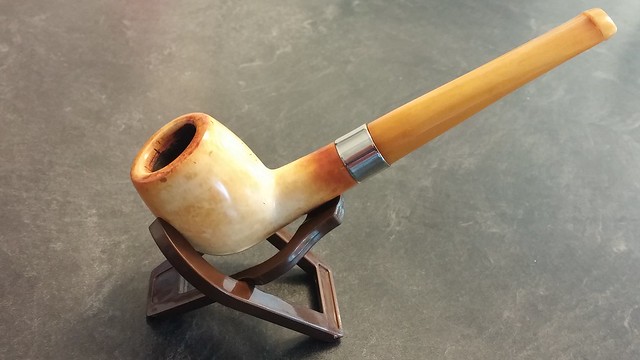
That completed this restoration. Despite the careless flub en route, I’m pleased with where the pipe ended up. It’s clean, sweet-smelling and ready to be put back in action. The stem fits properly again, and the fresh waxing has brought out the gold and amber patina that promises to keep getting better and better as the pipe is smoked. This is the real key to colouring a meerschaum pipe. Observant readers will note that some of the colouring has retreated from the surface of the finished pipe as it cooled after waxing. Regular use will push more colour through the bowl from the chamber to the surface of the meer.
I have a feeling that my glue-fattened tenon is a bit of a Cowboy repair that will eventually give out on me. When that happens, I’ll have a few options open to me: convert the Bakelite stem to a push tenon, or simply fit a new acrylic or vulcanite stem to the pipe. Until then, I’ll try to work on colouring this meer a bit more – a dirty job, but someone’s got to do it!
Here’s the finished pipe. Thanks for looking and until next time, Happy Piping!


Been there done that Charles. Good resolution to one of the irritations of repairs. Looks great.
LikeLiked by 1 person
Thanks Steve. I’ve had a chance to fire this pipe up once already. It’s a decent smoker, though I personally don’t care for the feel of the Bakelite stem. I’m already eyeing a nice acrylic amber swirl stem 😀
LikeLike
Personally I think the repair band adds to the looks of the pipe. Nicely done, Charles!
LikeLiked by 1 person
Thanks Greg. I will admit to a fondness for banded pipes as well. A bit of bling goes a long way! At the same time, I’d like to stop cracking shanks…. 😀
LikeLiked by 1 person
LOL understand
LikeLiked by 1 person
Nice repair, Charles! Band and all. I have. It had an opportunity to restore a meer. I took some notes so I’ll be ready when I do!
LikeLiked by 1 person
Thanks Aaron. Show us yours when it’s done!
LikeLike