
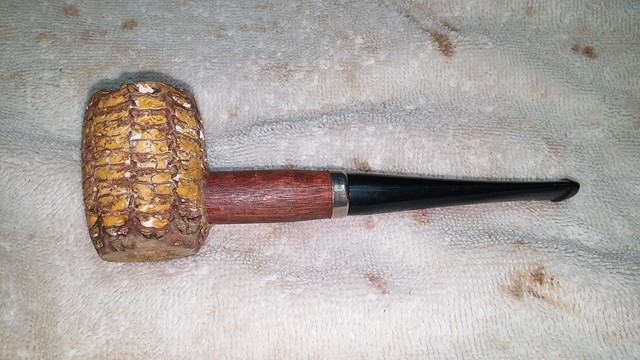
I haven’t paid all that much attention to corn cob pipes; I generally find briar and meerschaum more compelling materials from which to create a smoking companion. This time, however, I felt like changing things up a bit. I’d had this old cob for some time, acquired as part of a jumble sale purchase. I’d never smoked it nor given it any real consideration before now.
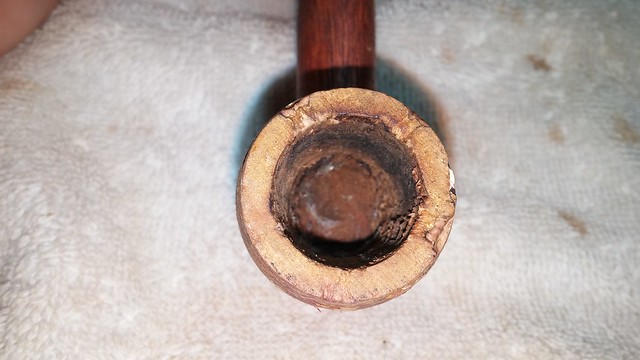
To say that this old cob was in poor condition when it hit the worktable would be overly generous. The rim was bashed in several places, the bottom of the bowl had turned mushy, and the stem seemed jammed in the end of the shank. Just under half of the original plaster of Paris coating the exterior of the cob was missing, making the pipe look a bit pockmarked. The chamber was over-reamed, or else the drilling was WAY off. The airway met the bowl a good 1/8” above the chamber floor. The cheap plastic stem, however, was in decent shape under the grime, showing only light tooth chatter.
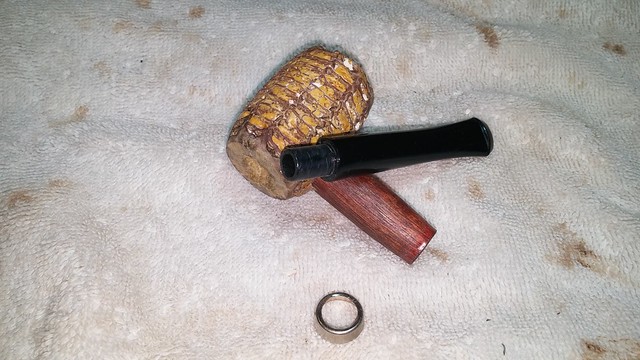
I managed to muscle the stem out of the mortise. It turned out to be drilled for a 6mm paper filter. The cheap metal ferrule fell off the end of the shank when the stem came free.
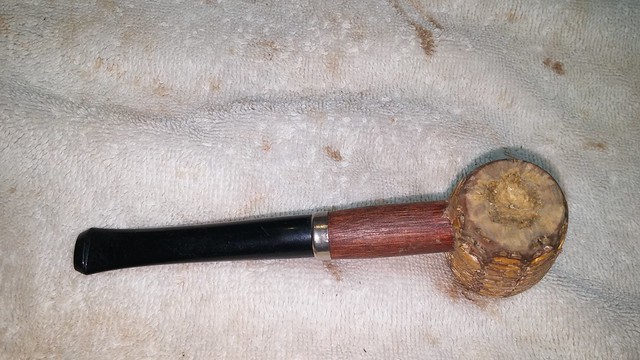
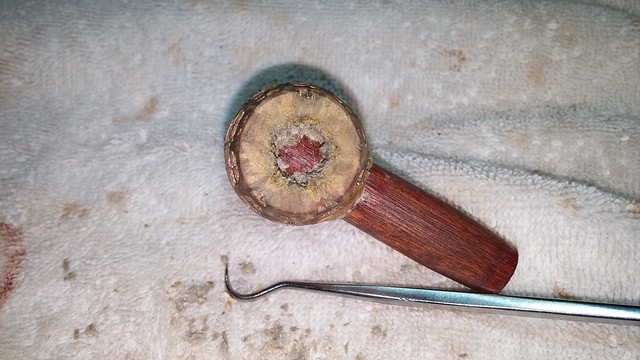
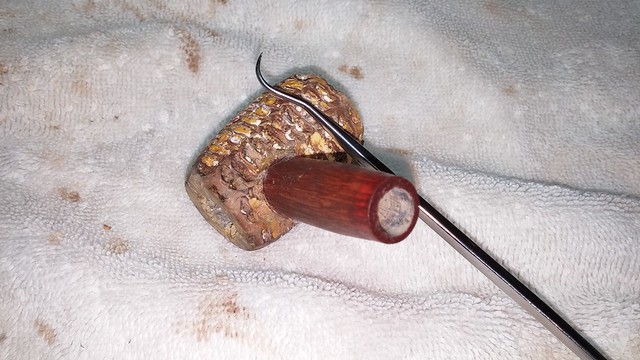
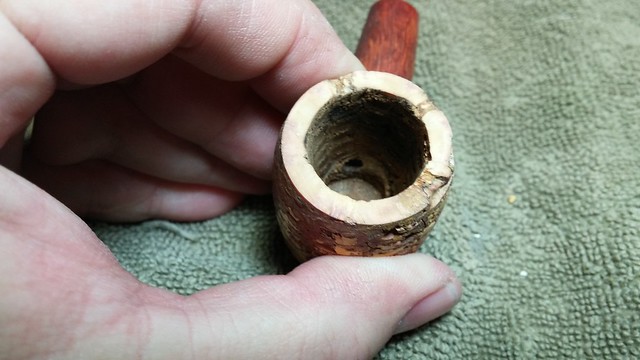
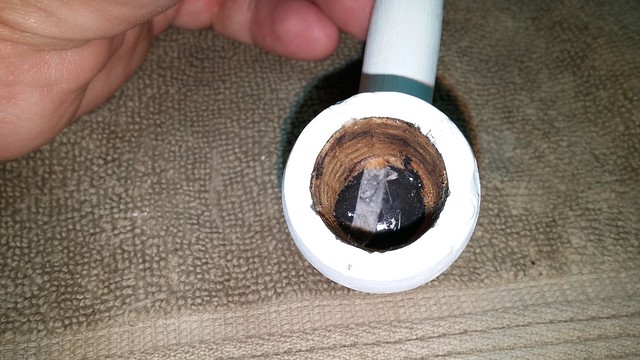
I poked around at the soft bottom of the bowl with a dental pick. It didn’t take any effort to excavate the rotten material. This pic shows most of the soft spot removed; you can see the bottom of the hardwood stem through the hole.
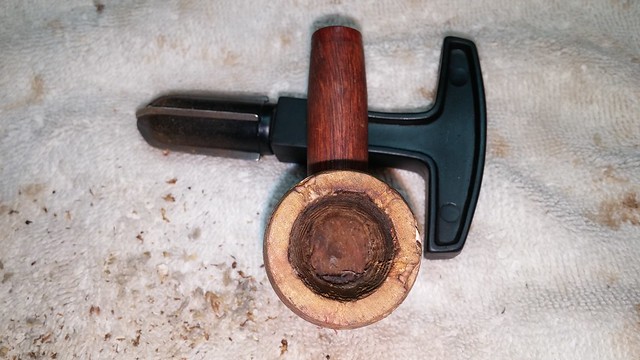
There wasn’t really any cake in the bowl, but my Castleford reamer clearer the chamber of accumulated debris.
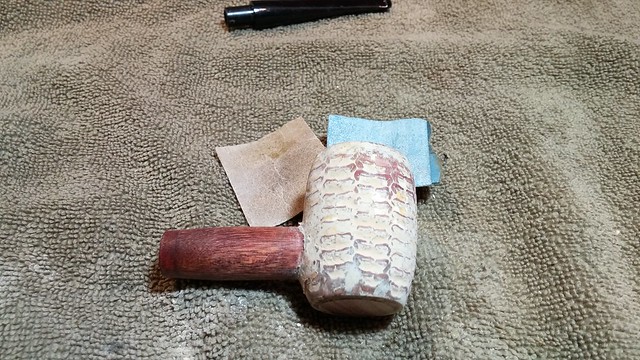
My dental pick came in handy again for picking out loose or damaged plaster of Paris from the exterior walls of the cob.
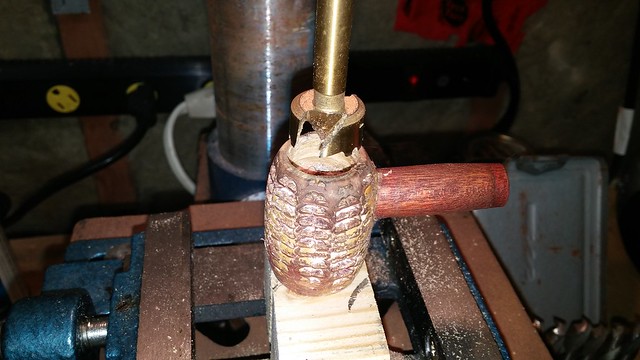
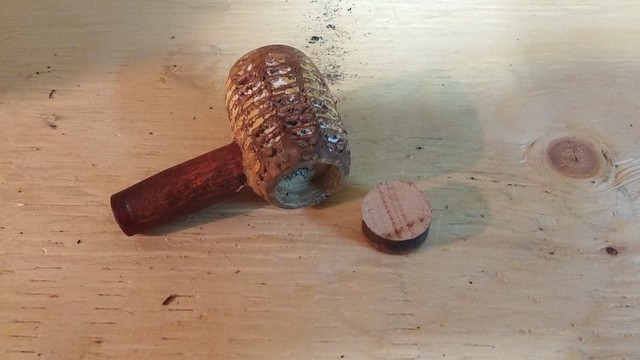
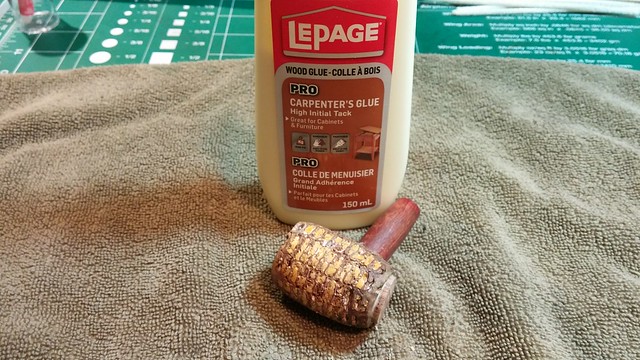
Before I re-coated the outside of the cob, I had to repair the rotted bottom. I drilled out the remaining soft material from the base of the cob and cut a section of hardwood dowel to fit. The hardwood plug was glued into the cob with a bit of carpenter’s glue, and when the glue had cured, I sanded the plug flush with the bottom of the cob.
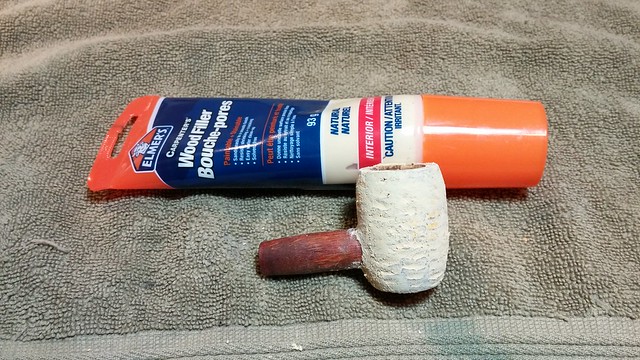
With the rotted area taken care of, I moved on to re-coating the exterior of the bowl. Instead of plaster of Paris (which I didn’t have on hand), I elected to use some natural coloured wood filler to fill the divots and smooth out the pipe. I let the filler dry and then sanded the bowl smooth.
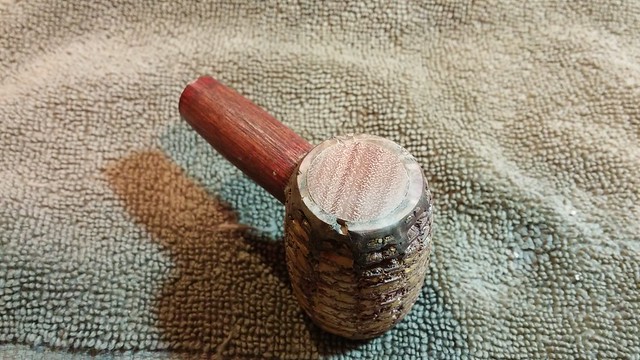
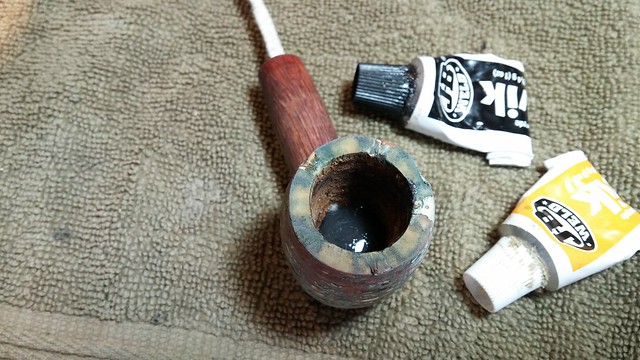
To raise the bottom of the tobacco chamber to meet the draft hole properly, I mixed up some JB Kwik-Weld epoxy and dripped it into the bowl, careful to keep it off the chamber walls. When the JB just met the draft hole, I set the stummel aside to let the epoxy cure. A suitable drill bit run through the airway ensured a good open draft.
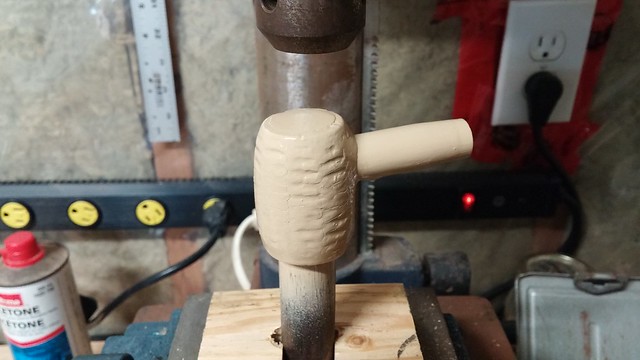
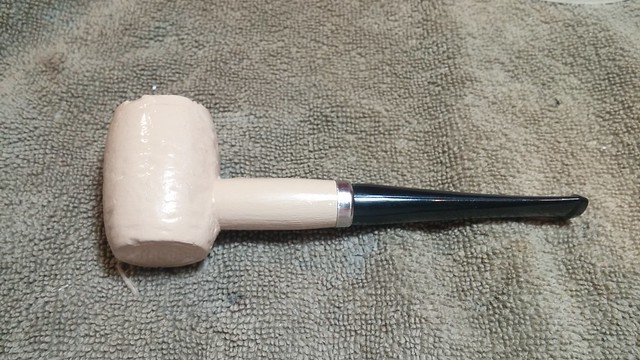
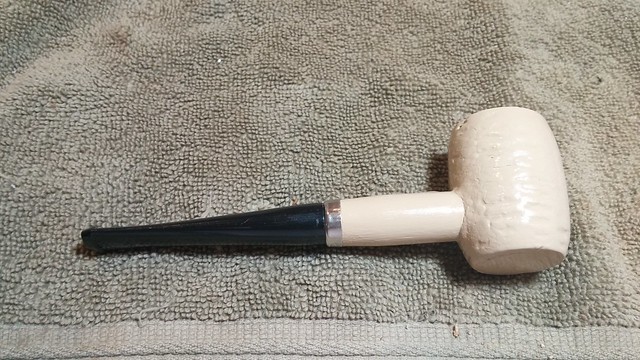
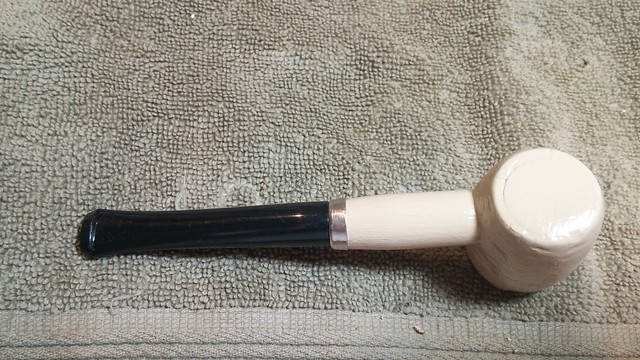
I wasn’t thrilled with the look of the pipe at this point, so I decided to give it a coat of sand/tan paint – not something normally done with a cob, but I’ve certainly seen coloured corn cob pipes before, so I figured I wasn’t completely nuts. I rather suspect that the paint will crack and peel eventually, but so would a fresh plaster of Paris coating. And given that the pipe originally sold for about $3.00, I felt I had sufficient leeway to experiment a bit.
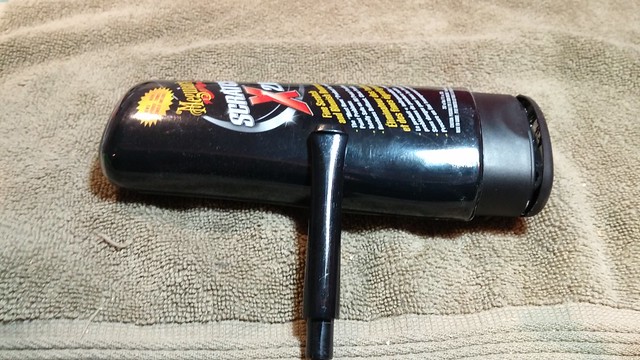
Like the stummel, the stem was pretty clean to start with. A few pipe cleaners dipped in alcohol assured me that it was good to go. With the internals clean, I polished the exterior of the stem with Meguiar’s Scratch-X plastic polish. This removed the dirt and added some shine back into the stem .
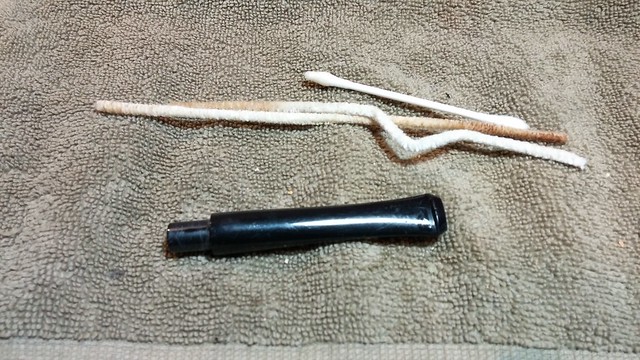
Plastic stems like this are a pain to get smooth again after sanding, so I decided I could live with the small amount of tooth chatter left after the cleaning and polishing. This pipe is destined for the garage, shop or garden anyway, so there’s no point in prettying it up too much.
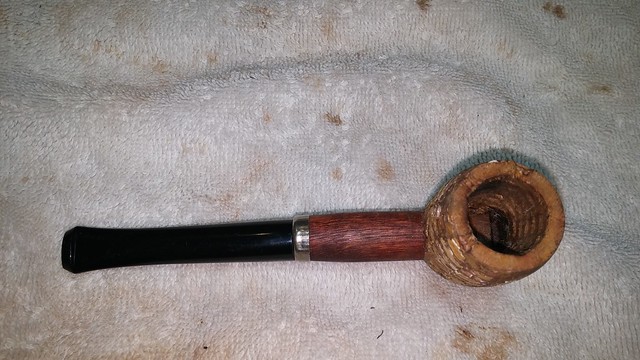
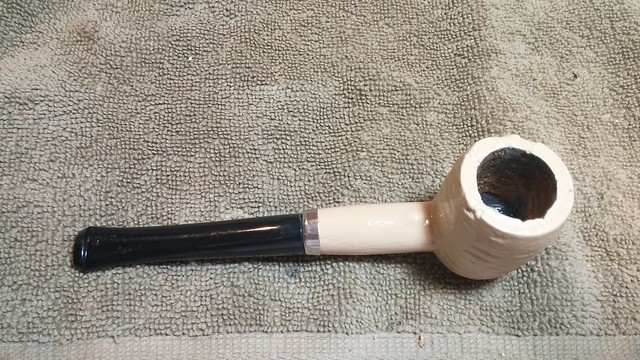
I slipped the metal ferrule back onto the shank (it fit much better thanks to the coat of paint), adjusted the fit of the stem in the mortise, and took these pics of the rebuilt cob. I debated adding a bowl coating to cover up the less-than-elegant JB Weld at the bottom of the chamber, but thought that might be too posh for this humble cob so I left it as is.
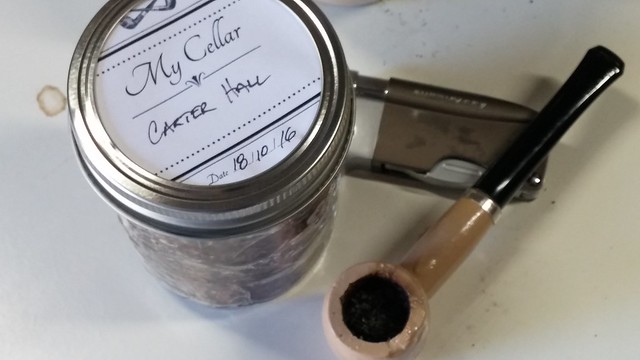
The last thing to do was to load up the pipe with a bowl of Carter Hall (an appropriate enough “codger blend” for a cob) and take it for a test run. I’m pleased to report that the pipe smoked just fine, without any off-tastes or other unpleasantness from its makeover.
The draw is more open than most of my briars (I smoked it without a 6mm filter in place), but that was easily accommodated; my only real complaint is that the plastic stem is a bit hard on the teeth. I may dig around in my stem box for a vulcanite or even nylon stem, but for now, I’ll declare this a successful salvage job.
Thanks for looking. I hope this article gives you a few ideas about how to deal with the old corn cob pipe rattling around your own pipe room.
Until next time, Happy Piping!

Charles, I enjoyed your creativity on the old cob. I have one as well that spent years in my fishing tackle box. He’s definitely an old timer now.
LikeLiked by 1 person
Thanks Dal. I had fun with the cob and was pleasantly surprised by how well it smokes!
LikeLike