
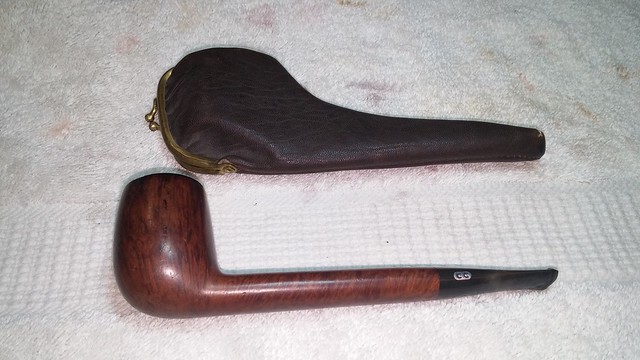
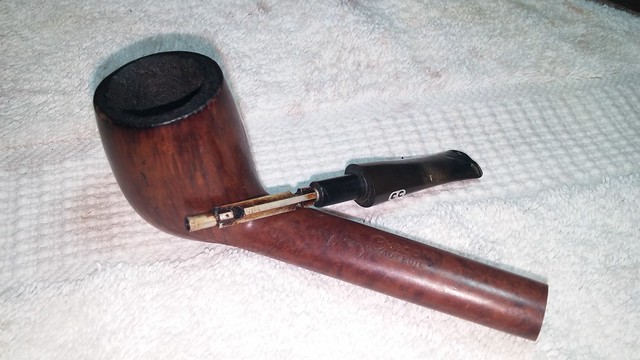
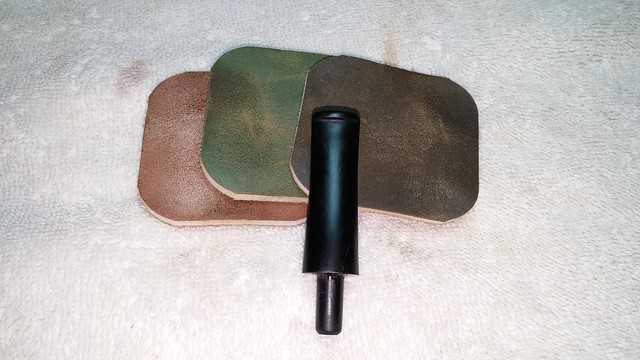
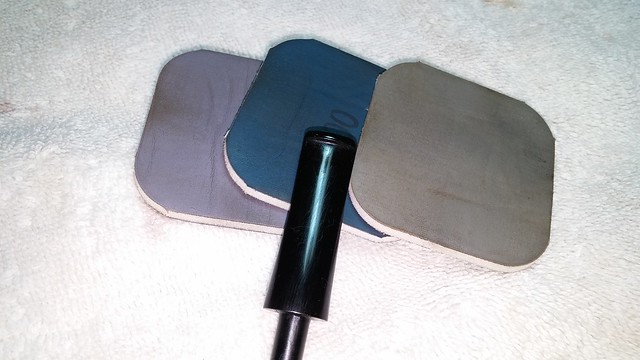
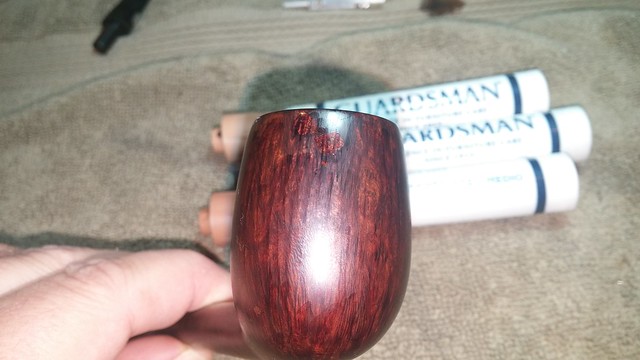
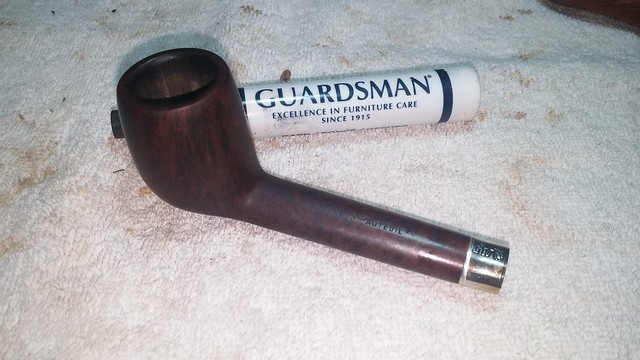
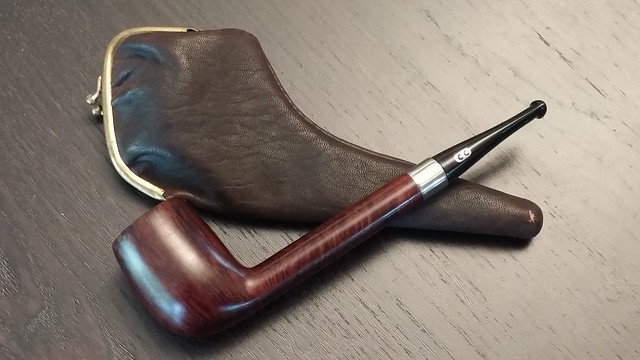
I came across this Chacom 296 Canadian pipe at a local antique market, and though it was in rough shape, it had a few things going for it in my mind. First was the unique leather pipe case it came in that featured a snap closure just like Grandma’s change purse. The case is unmarked, so I don’t know if it is original to the pipe or was simply purchased to use with it. At any rate, its novelty caught my attention.
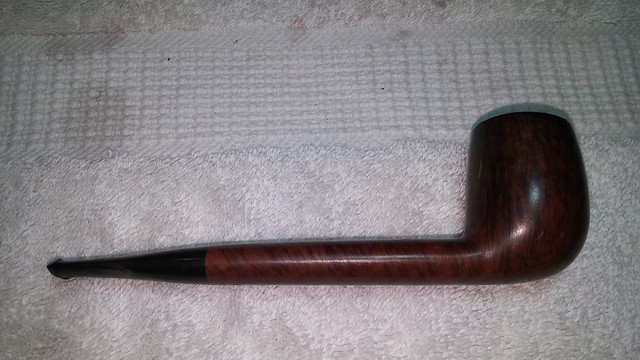
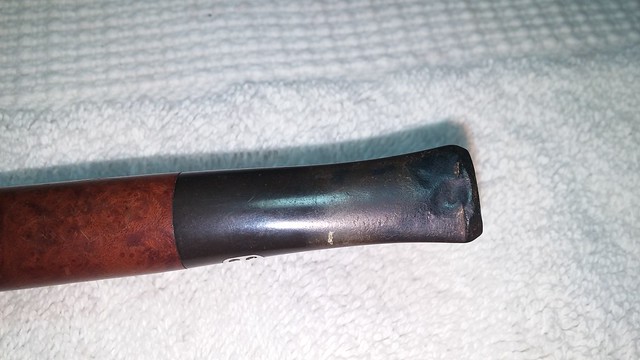
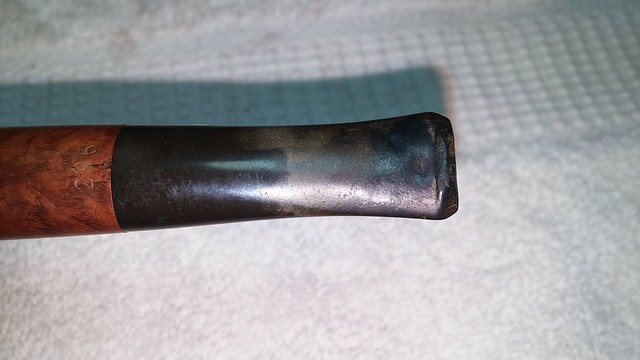
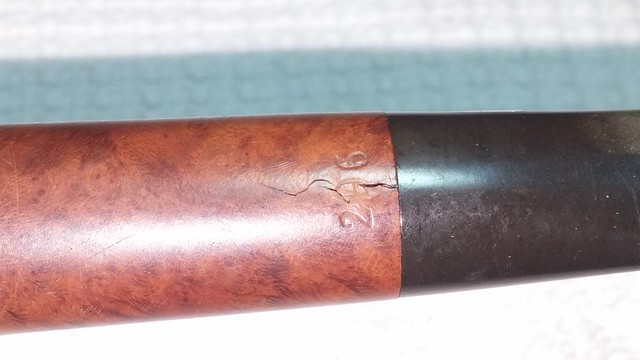
Releasing the pipe from its case, I could see that the pipe was a Canadian, one of my favourite pipe shapes. It had been a constant, though poorly maintained, companion to its previous owner. The rim was hidden under a thick crust of lava, the bowl was nearly choked off with cake, and the stem looked like it had been chewed on by a puppy instead of a piper. I spotted a short crack in the shank, running from the mortise towards the bowl. As it turned out, this wasn’t the only crack I’d have to deal with, but more on that later. Not surprisingly, the body of the pipe was covered with myriad small handling marks, nicks, dings and scratches. A few small fills on the bowl would need attention as well.
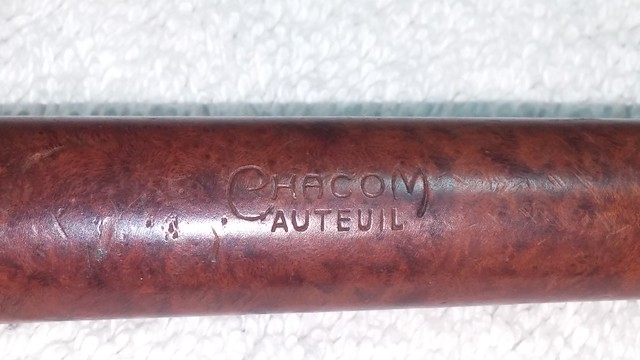
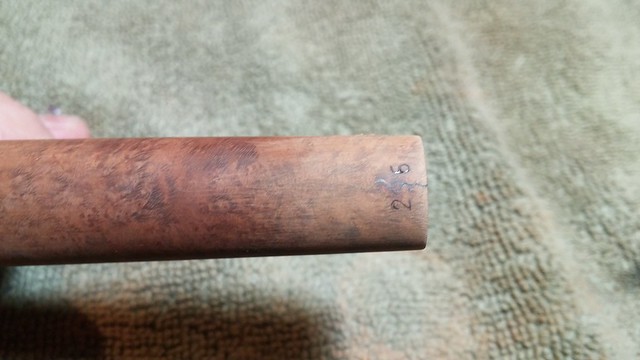
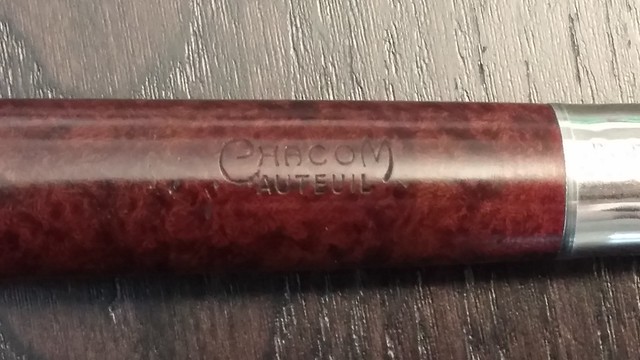
The pipe is stamped on top of the shank “Chacom” over “Auteuil”, with a shape number, “296” on the bottom shank parallel to the shank/stem junction. If anyone would like to read a short but comprehensive history of Chacom pipes, this article is worth the time.

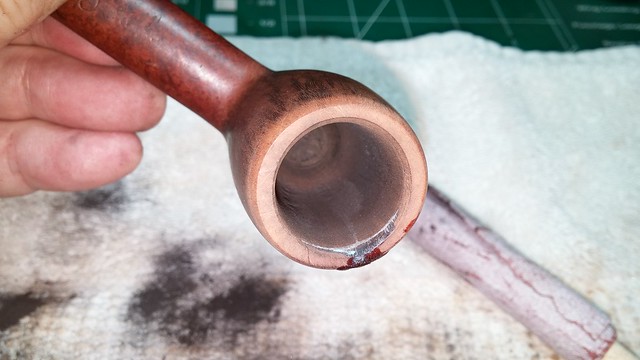
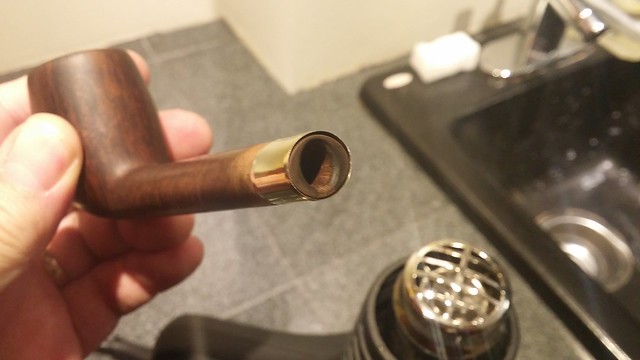
Removing the stem to start the cleanup process, I found one of the longest stingers I’ve seen in a while, but I suppose that makes sense given the Canadian shape’s long oval shank.
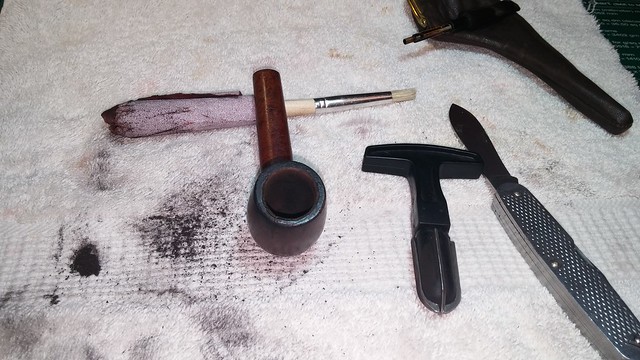
I reamed a LOT of carbon cake from the tobacco chamber. I started with the smallest cutting head on my Castleford reamer and bored down the middle of the bowl to the chamber floor, and then repeated the process with the next larger head. A few minutes work with 60-grit sandpaper finished the process.
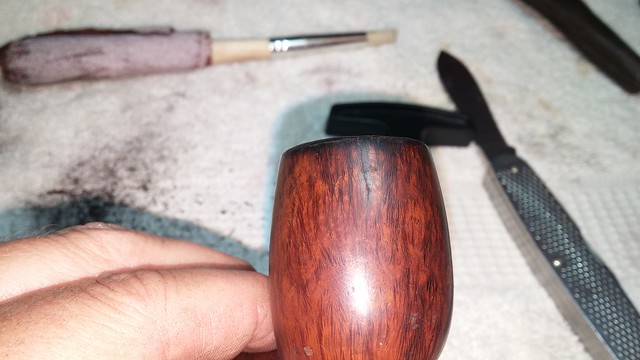
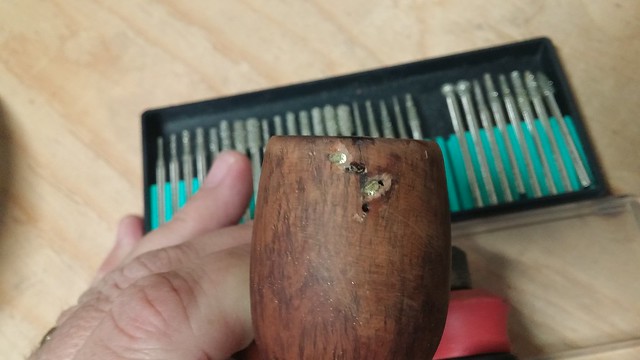
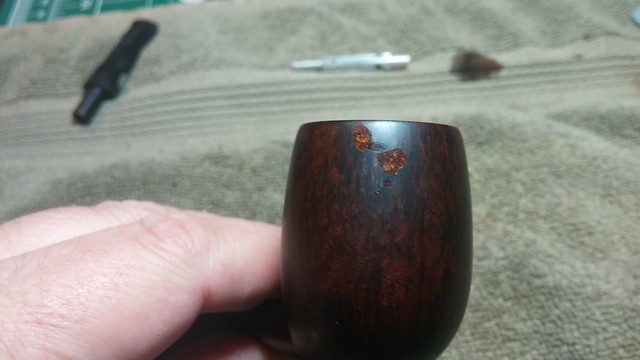
Without the cake clogging the bowl, a few issued came to light, the most serious being a vertical crack in the right front face of the bowl (the 7 o’clock position if the shank is noon). The crack went right through the chamber wall, and extended about halfway down the bowl’s height. I can’t say that I was surprised; the bowl had been in dire need of a good reaming for quite some time.
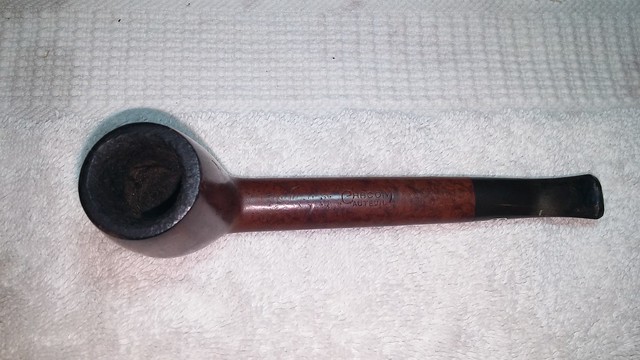
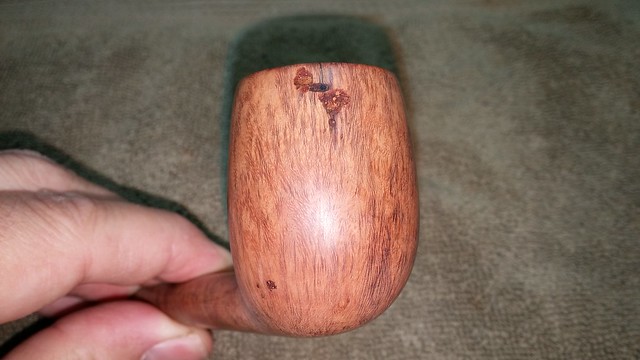
In addition to the crack, the cake and lava had been hiding a fair bit of damage to the rim of the bowl, which looked to have been caused by careless scraping with a sharp knife. The entire front section of the inner rim was chewed up and a few deeper gouges reached down the inner chamber walls.
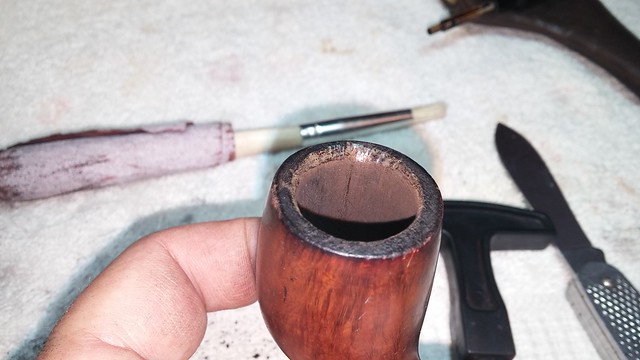
I topped the bowl to clean up the lava and get a better idea of the true state of the briar underneath. These pics show the extent of the mauling the rim had received and clearly shows the crack across the top of the rim.
Using a scrap of 220-grit sandpaper, I created a bevel on both the outer and inner edges of the rim to erase the worst of the damage. I’d have to tidy things up a bit more later, but I was pleased with the overall improvement at this point.
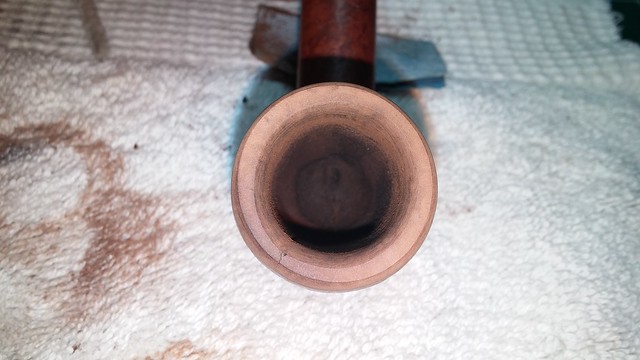
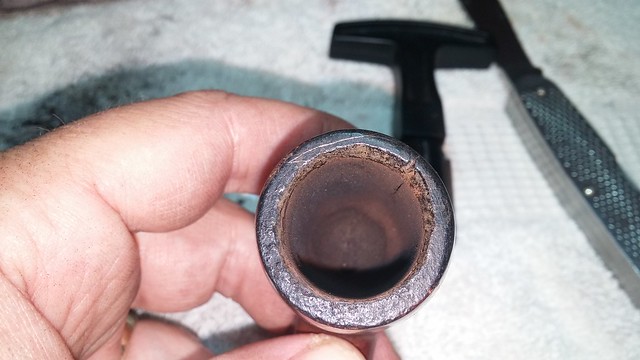
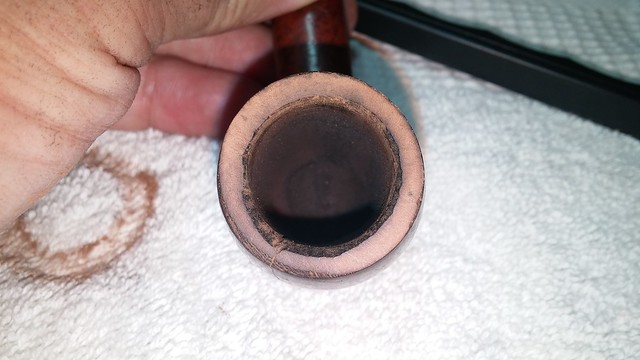
I cleaned the shank and airway with a fair pile of cotton swabs, pipe cleaners and alcohol. As you could have guessed based on the original state of the bowl, it wasn’t clean in there.
Now that the stummel was clean, I had to deal with the structural problems. I used a micro drill bit to put a halt to the crack by drilling a small hole at the bottom end of the crack. I did not drill through into the tobacco chamber.
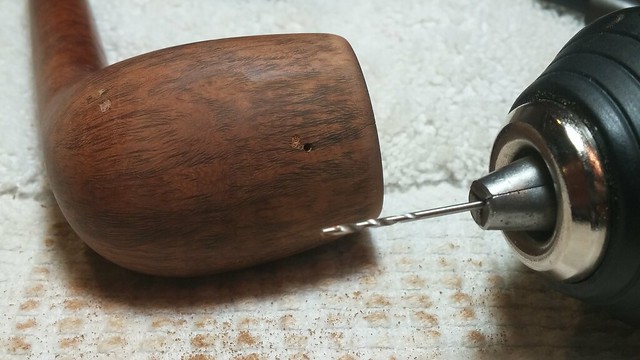
I traced the crack with a Sharpie marker to make it easier to keep track of while I drilled two shafts crisscrossing the crack in preparation for brass pins that would “stitch” the bowl back together.
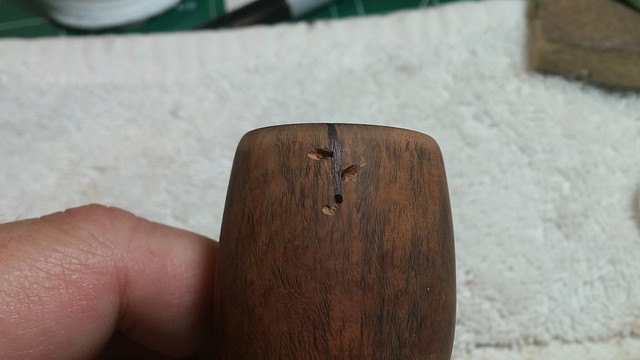
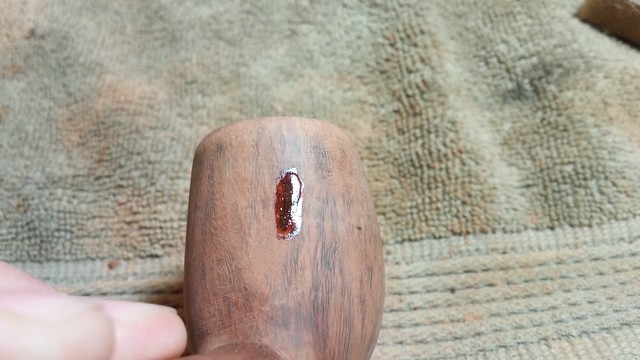
This is only the second time I have tried this pinning technique, and I realized that I had made my work a little trickier by drilling so close to the crack; it got the job done, but in future I will try to give myself more wiggle room. As you can see in the pics here, a longer pin shaft would have given more room to hide the end of the brass pins. The first pic show the pins inserted and glued up, and the next shows everything sanded smooth.
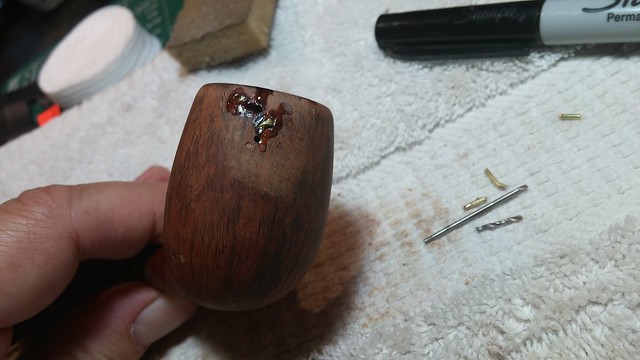
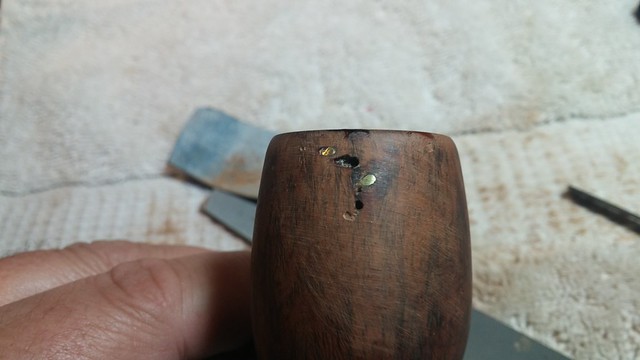
I solved the problem of the exposed brass by grinding the pins down with a round ended diamond burr in the Dremel until they were below the finished surface of the briar. It actually didn’t take much work and there is lots of pin left in there to hold the crack shut. After grinding, I filled the repairs with CA glue mixed with briar dust and let the fill cure.
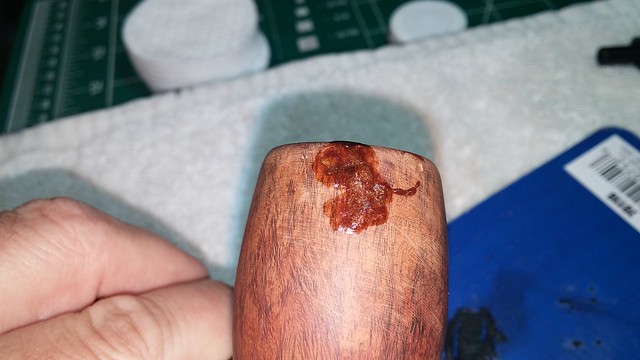
While I was at it, I repaired the interior of the tobacco chamber with a little JB Weld two-part epoxy. I pushed the JB into the crack and let it set. A bit of 60-grit sandpaper removed the excess epoxy.

There were a few other areas on the stummel in need of attention – an old putty fill and a few dents that wouldn’t steam out. They were treated to CA and briar dust as well.
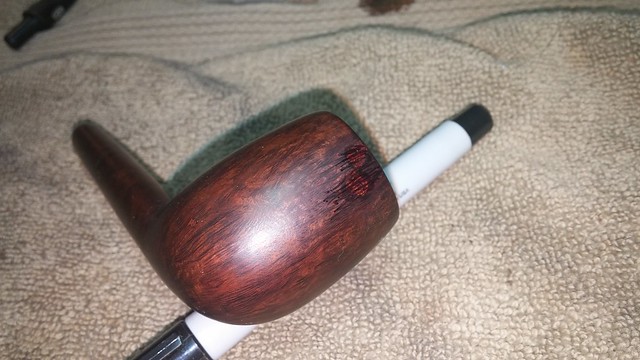
The crack in the shank ran right through the shape number stamp, which was unfortunate. I drilled the far end of the crack here too before running a drop of CA glue into the crack and squeezing it shut while it dried. A little bit of sanding had everything smooth, but I’d have to band the shank to keep the crack from reopening.
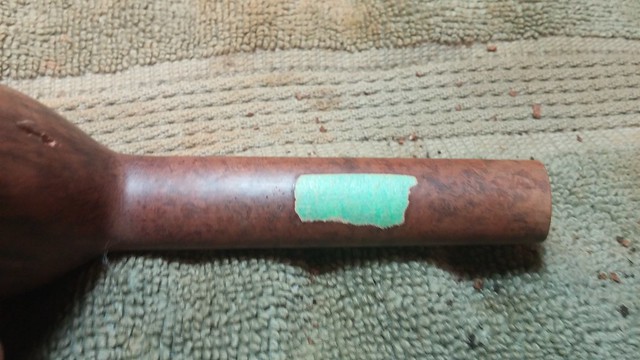
With all the repairs done, I sanded the entire stummel to remove the excess fill materials along with the dents and dings the pipe arrived with. I put a bit of masking tape over the stampings to protect them from errant sandpaper while I worked. You can see in the second pic that the crack repair is going to take some work to blend in to the final finish.
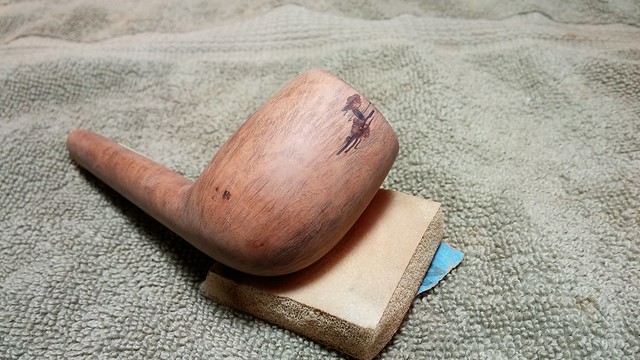
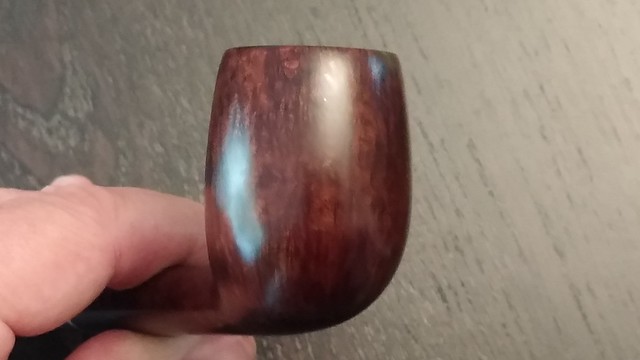
I prepped the stummel for stain by sanding with micromesh pads in 1500 – 4000 grits. The colour came up nicely and the briar took on a bit of shine. Those fills are still screaming out though!
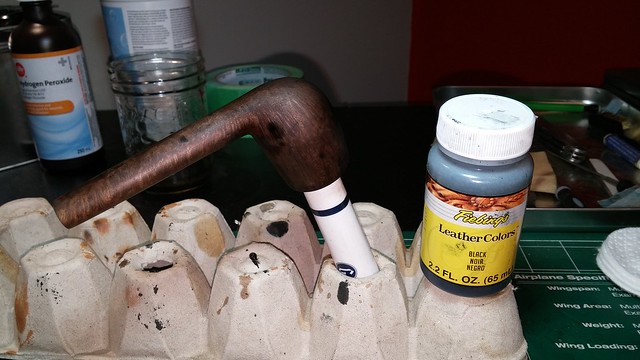
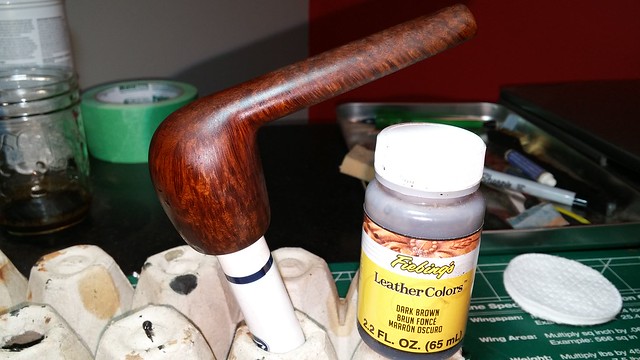
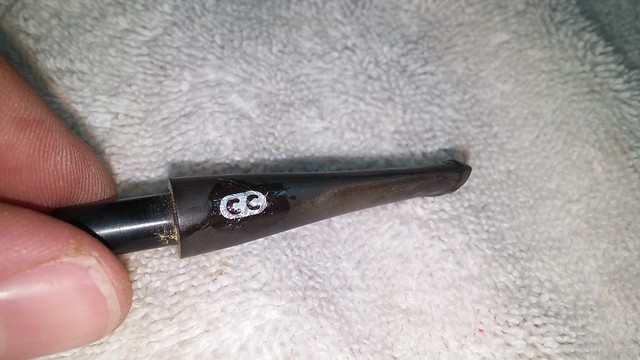
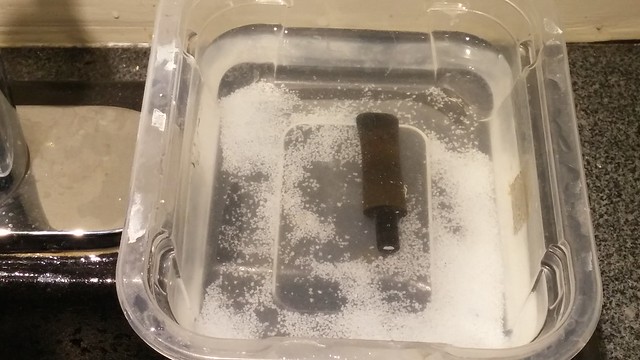
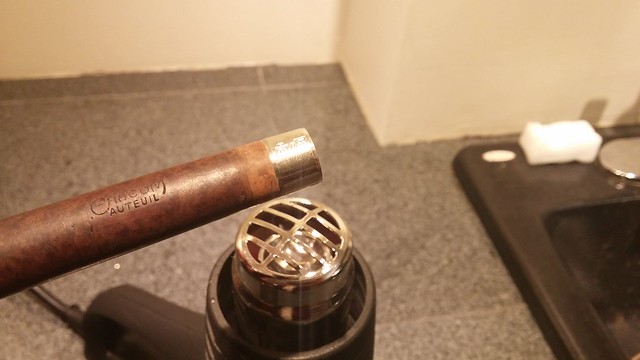
I went with a dark, vintage style stain job with Fiebing’s Black leather dye in the grain and a Dark Brown top coat. While the stain dried, I put a bit of Vaseline over the stem logo and dropped it into an Oxyclean bath for an overnight soak.
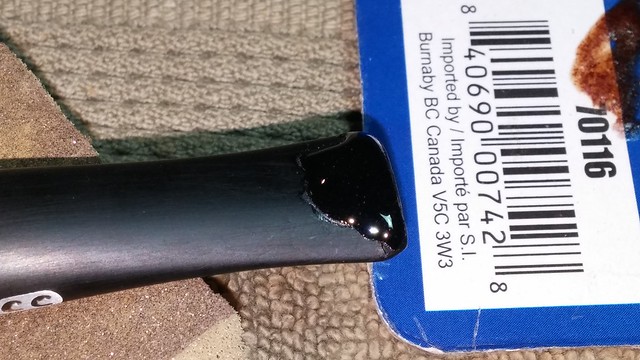
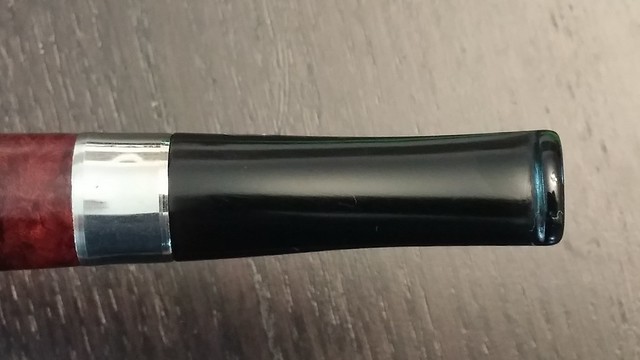
The next day, I pulled the stem from its bath and scrubbed away the oxidation with a bit of Magic Eraser. A quick sanding with 220-grit paper prepped the stem for the fill/rebuild work, then I mixed some thick CA glue with a bit of charcoal powder and applied it liberally to the damaged stem. I made sure to over-fill the dents so I had more than enough material to work with.
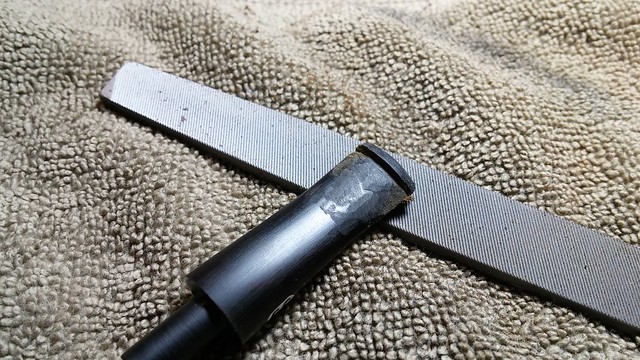
When the CA glue had cured, I used a needle file to cut the new button and smooth the contours of the stem. 220 and 320 grit sandpapers and sanding sponges removed the file marks.
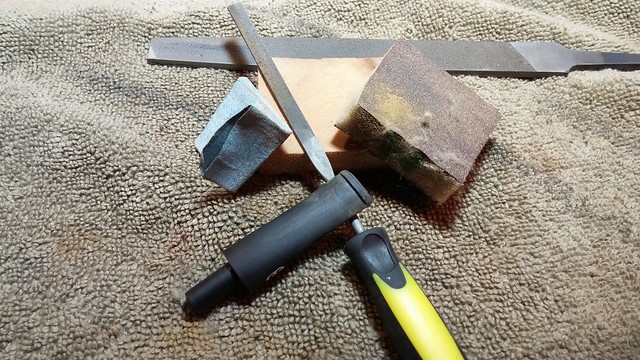
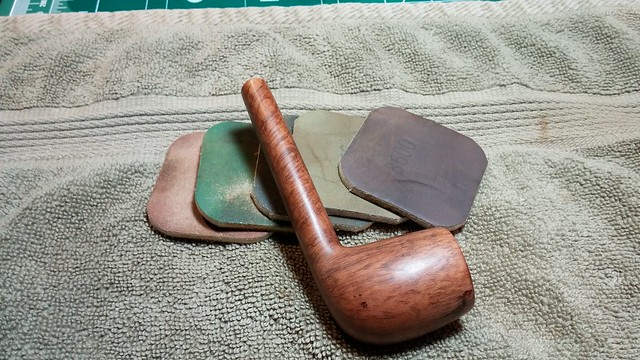
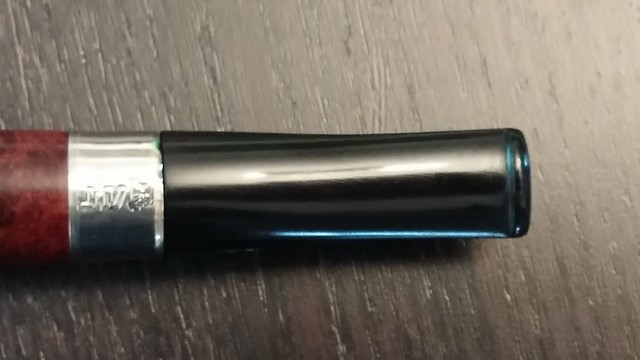
A full run of 1500 – 12000 grit micromesh pads polished out the sanding marks and brought the stem to a nice shine.

I set the finished stem aside and had another look at the stummel to see how the repaired areas were looking. The smaller fixes had blended nicely into the new stain, but the pin fills shone through.To push them further into the background, I used an ultra-fine Sharpie marker to draw vertical grain lines through the fills and applied stripes of stain marker in all three shades over the bowl to blend everything in.
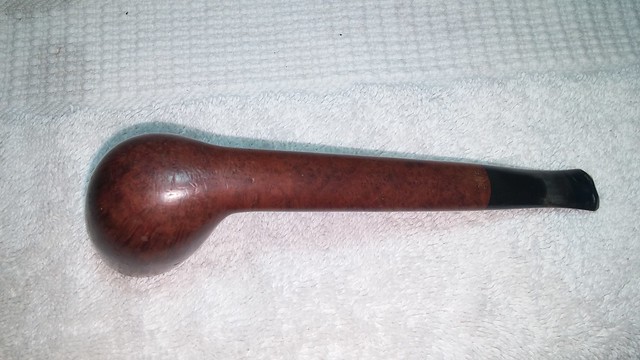
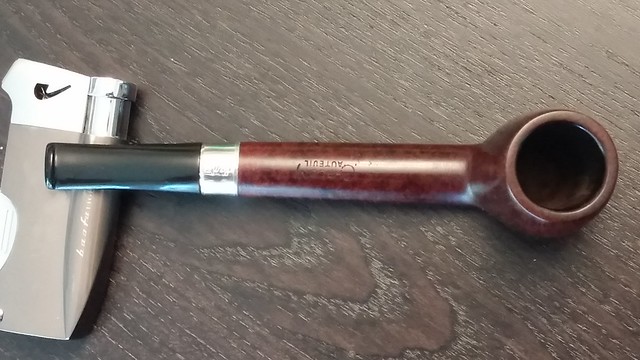
The last element of this restoration was to reinforce the shank repair with a nickel shank band. I dug through my bands to find a suitable candidate and found one with some nice looking faux hallmarks that would just about do it with a few adjustments to the shank. A little tweaking is usually necessary, especially when fitting a round band on an oval shank. I needed to sand the end of the shank down slightly to get the band to fit tightly against the contours of the shank without gapping.
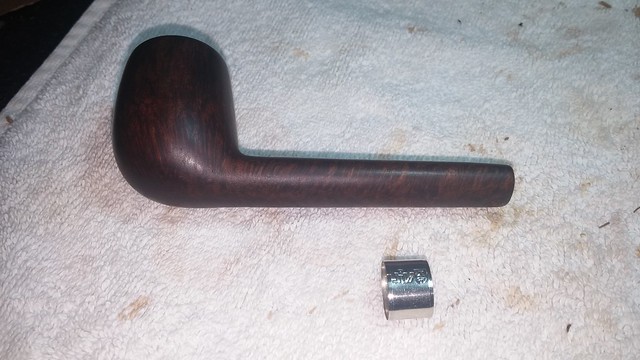
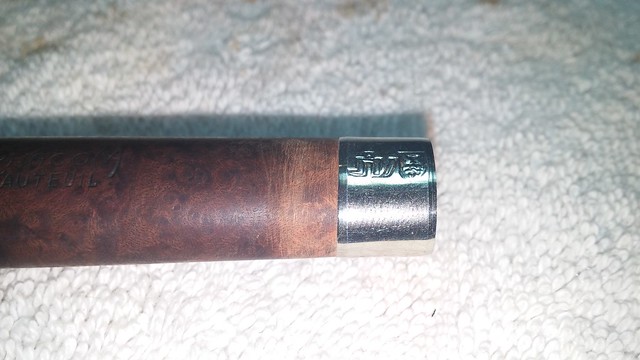
When I was happy with the fit, I pushed the band onto the end of the shank and heated it over the heat gun. This expanded the metal sufficiently to let me push it on the rest of the way. When it cooled I had a nice, tight fit.
I used my darkest stain pen to touch up the finish around the band. With the cleaned stinger in place, the stem tenon was now too large for the mortise. I tweaked the fit with a bit of 220 grit paper, sanding the tenon down until I achieved a comfortably snug mating.
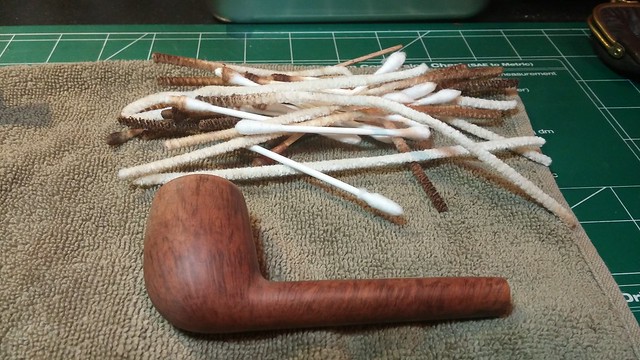
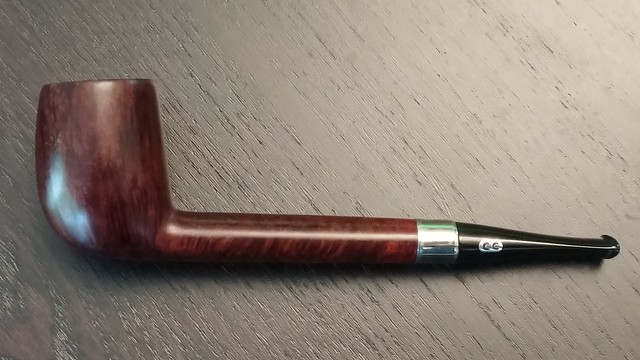
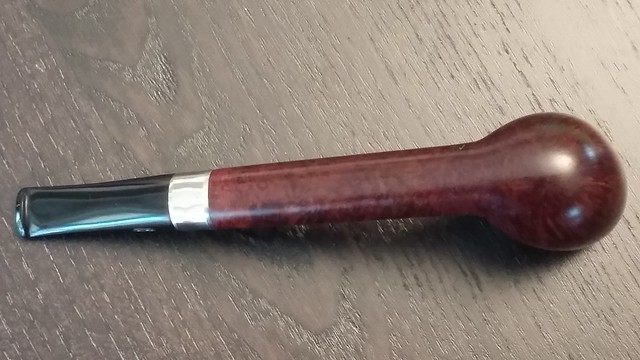
Then it was off to the buffer for White Diamond compound and several coats of Carnauba wax. I have to admit that I was uncertain at several points along the way whether this restoration was going to turn out, but it seems my worries were for naught. This Chacom Autueil Canadian is looking very smart indeed after its cleanup and repairs.
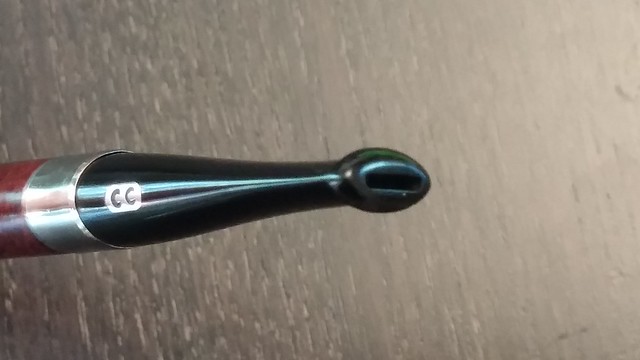
The dark finish hides the repairs well while still allowing enough light through to show off the lovely vertical grain of the briar. The nickel band adds a touch of Old World richness to the look of the pipe and complements the Chacom CC logo set in the stem, now restored to its former glory.
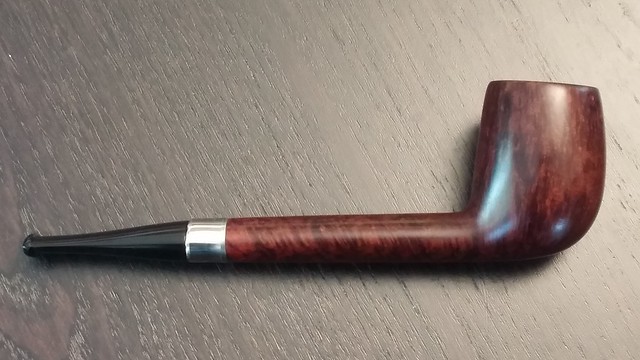
I’m happy to add this pipe to my collection of Canadian shapes. I’ll be watching to see how the crack pinning holds up over the first dozen bowls of so, but I’m not expecting any problems.
Here’s the finished pipe. Thanks for looking and until next time, Happy Piping!

Amazing repair, Charles! You saved that pipe from becoming firewood. Very good looking pipe now.
LikeLiked by 2 people
Thanks. I’m still working the kinks out of my pinning process but I got there in the end 😀
I’ll be taking the pipe for a test drive soon to see how the repair reacts.
LikeLiked by 2 people
That’s crazy good work, Charles. Your patience in inspiring. I have a mini pipe in similar condition and haven’t mustered the guts to touch it. Let us know how it smokes.
LikeLiked by 2 people
Thanks David. I try to let a restoration unfold at its own pace; mistakes tend to happen when I rush. 😀
LikeLiked by 1 person
Nice work on a great Canadian!! I been thinking about getting a Chacom Sanblast but have not pulled the trigger as of yet. I think Chacom has some great looking pipes.
LikeLiked by 1 person
Thanks Troy. I think this one is looking pretty snazzy now 😎
LikeLike
I have a GBD panel that Charles used the same method to repair the cracked bowl. Mine had a lot of cracks and splits around the bowl and he pinned them/stitched them with the brass pins. I have been using for a long time now and there is no flex in the cracks. The method works. Great job on that one Charles. I too like the pipe bag and it reminds me as well of granny’s change purse.
LikeLiked by 1 person
Cheers, Steve. Glad the GBD is performing well!
LikeLike
Reblogged this on rebornpipes and commented:
I have a GBD panel that Charles used the same method to repair the cracked bowl. Mine had a lot of cracks and splits around the bowl and he pinned them/stitched them with the brass pins. I have been using for a long time now and there is no flex in the cracks.
LikeLiked by 1 person
Great work and such an inspiration to us amateurs who sometimes need advice duch as: my tenon doesn’t fit snugly into my mortise. The tenon is metal and a ferrule screws into the tenon so I can’t enlarge the tenon. Is there a way that I can enlarge by swelling, the mortese? Or that you have any other tried and tested method?
LikeLike
Wikus, I’ve often had success applying a bead of CA glue (aka Krazy Glue) to a metal tenon to up-size it to fit a worn mortise.
If you would like to email me a pic or two of your pipe (lemoncrmobile@gmail.com) I could see what you’re working with and perhaps come up with other solutions.
LikeLike