
I recently returned from a family vacation to Charlottetown, Prince Edward Island. It was great to see family and friends again and do a bit of “touristing” with the kids before the back-to-school maelstrom hit. My father-in-law helped me track down this pipe at an antique shop not too far from the Confederation Bridge, which links PEI with New Brunswick.
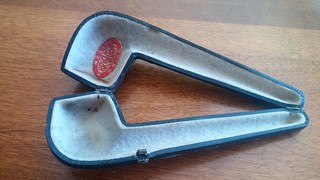
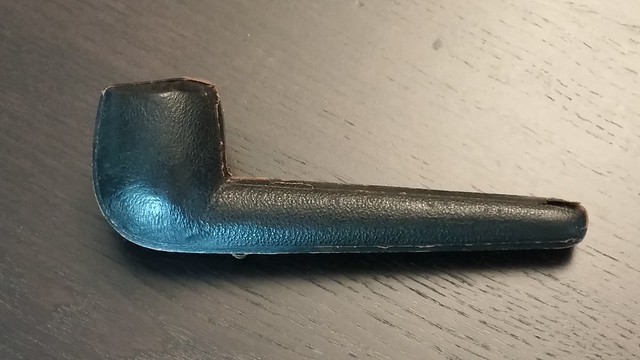
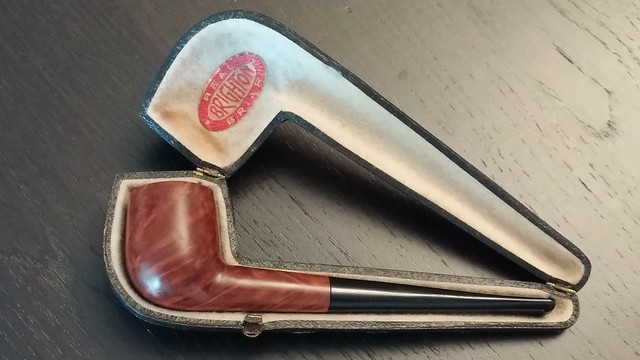
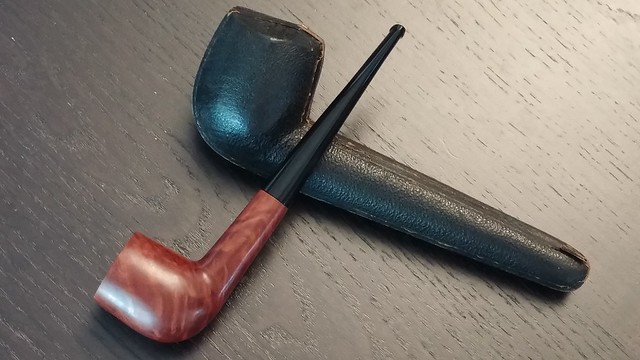
The shop had a few estate pipes on offer, but after sifting through the cracked bowls and gnawed stems, I discovered this little beauty hiding on a shelf among the flotsam and jetsam. The case caught my eye first, and I wondered if there could be a meerschaum pipe inside. Upon opening the case, however, I was presented with a neglected but still elegant looking long-stemmed briar billiard.
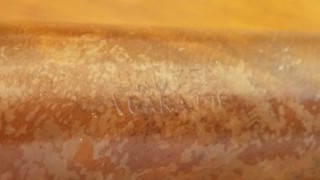
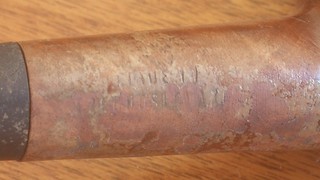
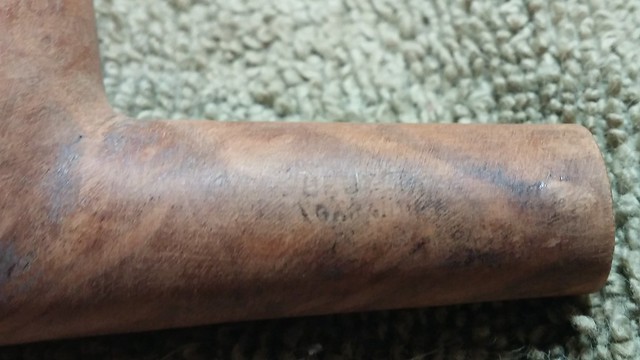
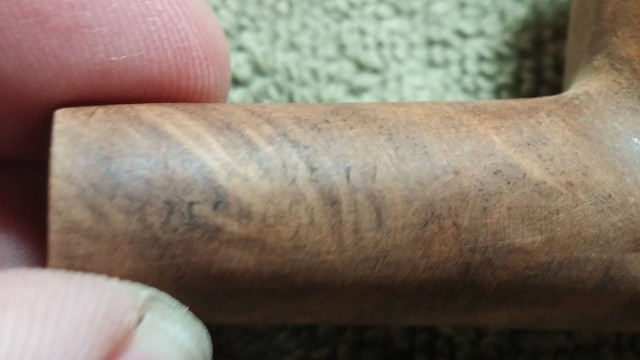
The pipe looked to be in ok condition under the dirt, so I looked a little closer for clues to the pipe’s origins. In this case, however, the stamps raised more questions than answers. The sticker on the inside of the case reads “Real Brighton Briar”. The pipe itself, under bright light and magnification, was very faintly stamped “Bruyere Garantie” on the left shank and “Made In” over “Czechoslovakia” on the right.
The mismatched markings initially made me wonder if the case was borrowed from a different pipe, but the fit of the pipe in the case is excellent. Perhaps the Real Brighton Briar sticker indicated a pipe shop rather than a manufacturer? All of my usual repositories of pipe knowledge came up empty. What I do know is that “Bruyere Garantie” is French, so my guess is that this stummel was first roughed out in a pipe factory in France (likely somewhere in St Claude) before being finished in Czechoslovakia. The jury is still very much out on the provenance of this pipe and case; if anyone has any insights on this one, please let me know.
Dating the pipe is also a (huge) guess. Czechoslovakia was formed (somewhat arbitrarily) in 1918 after World War I, endured decades of Soviet rule after Word War II, and became a democratic republic in 1989. The country split into the two independent nations of Czech Republic and Slovakia on January 1, 1993. The pipe in question could thus have reasonably been produced anywhere between about the late 1920’s to late 1980’s. If the case is indeed original to the pipe, it’s more likely to be of “between the wars” production.
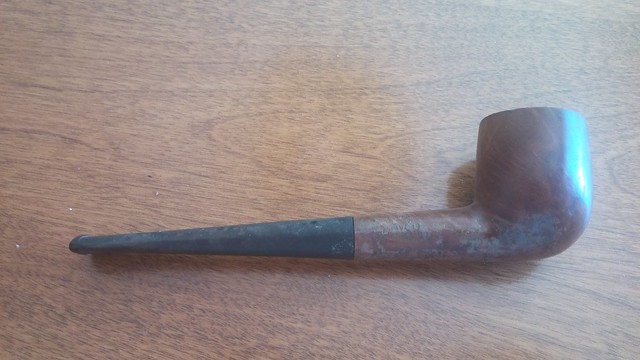
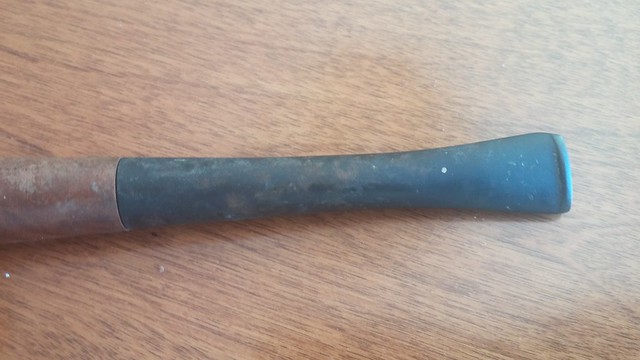
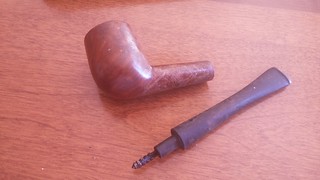
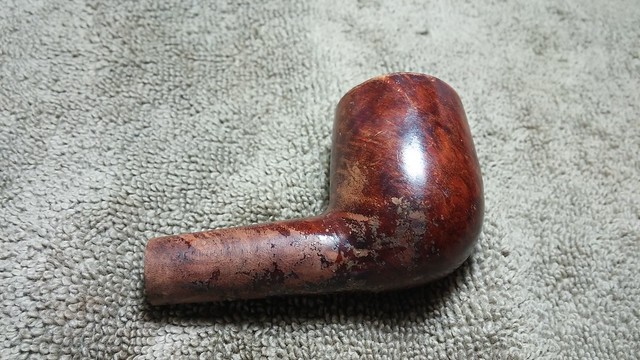
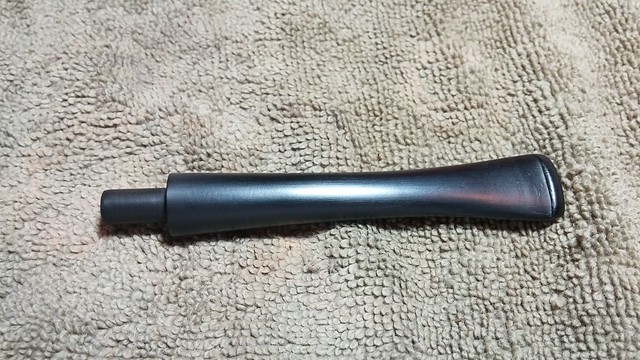
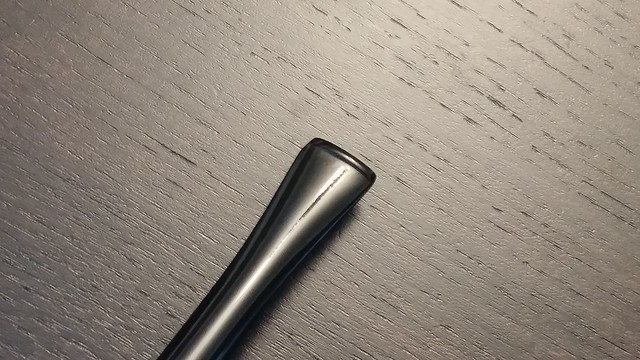
Getting back to the restoration, I had my first chance to give the pipe a good once-over when I got it back to the house after the purchase. The stem was oxidized and greasy feeling, and had a bit of tooth chatter. It fit poorly in the mortise – the tenon was loose enough to allow the stem to fall out – and there was a slight ridge where the shank met the stem face. This tells me that the stem is a replacement and that the repairman rushed the job a little. A very dirty metal stinger graced the end of the tenon.
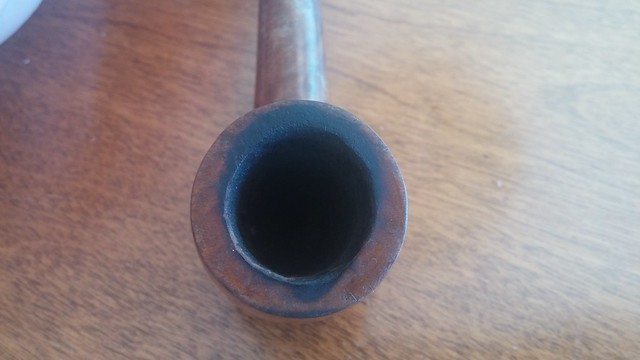
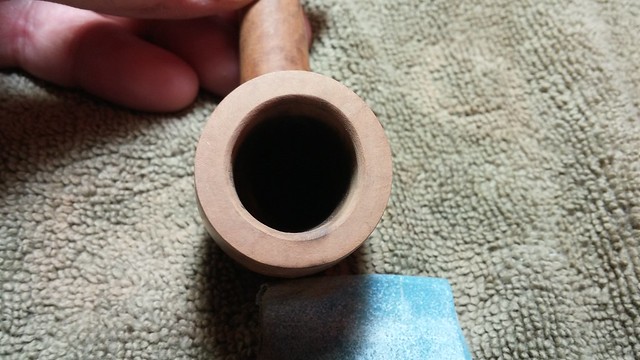
The stummel had originally been finished with some kind of lacquer, which was now chipped and flaking away, giving the briar a rather scabrous appearance. There was some lava built up on the rim of the bowl and a scorch mark near the front edge of the rim.
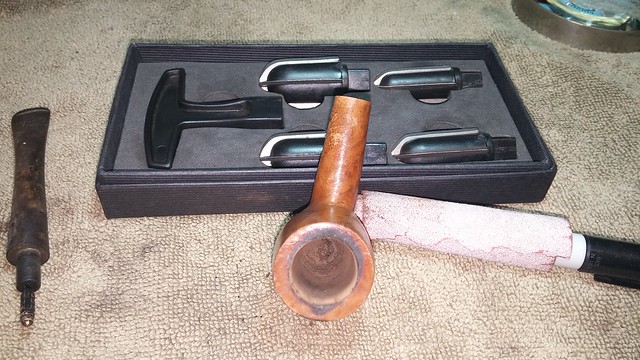
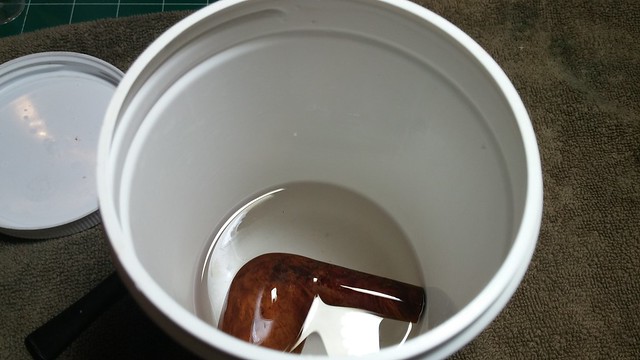
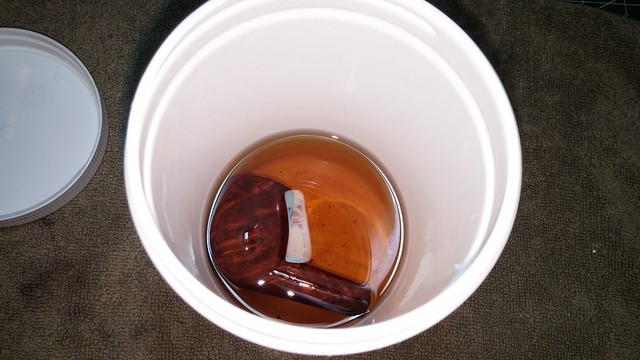
I got the pipe home to Kitchener, Ontario last weekend, and began the cleanup with a gentle reaming to clear the old cake from the bowl. There wasn’t much there, so this was a quick job. With the bowl clean, I ran a pipe cleaner through the airway to make sure it wasn’t plugged, and then dropped the stummel into an isopropyl alcohol bath to soak overnight to soften up the old lacquer and anything else stuck to the briar.
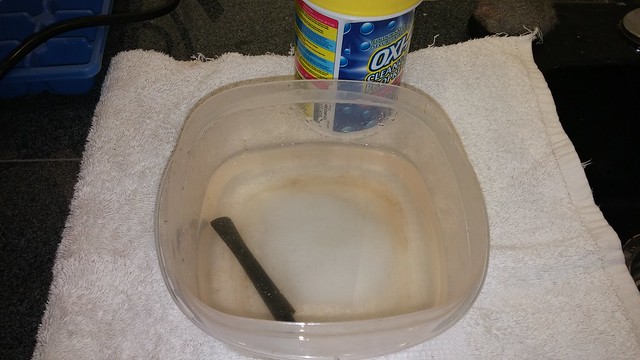
The stem went into a bath of its own – this time a bit of Oxyclean and warm water – to lift the oxidation to the surface of the vulcanite. I left both halves of the pipe to their respective soaks and went to bed.
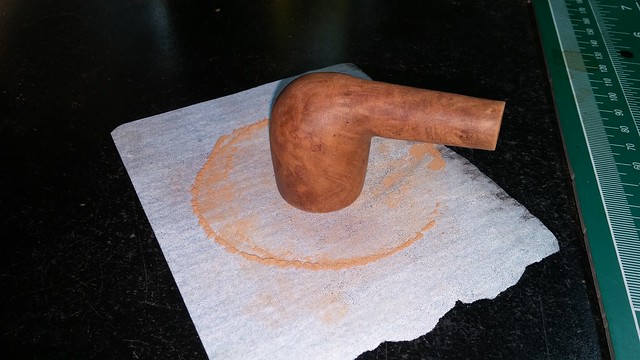
The next day I retrieved the stummel from the alcohol. You can see in the pic below just how much tar and other gunk was pulled into the alcohol. I’ll filter this muck out before using the alcohol again.
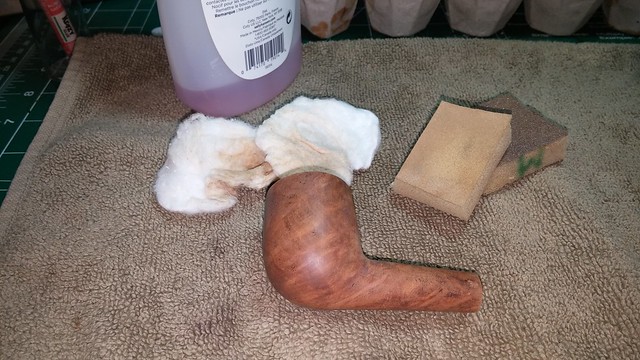
The alcohol soak had made some progress on removing the old finish. Most of the shank was clear of the lacquer now, but the bowl remained mostly covered. I used a bit of fine-grit sanding sponge to gently scrub away the now-soft finish. The stampings, unfortunately, did not survive the cleaning. I’ve had this happen before with thickly lacquered pipes. The stamps were added after the briar was lacquered. This process gives a nice clear stamp, but one that rests mainly in the lacquer coat instead of the briar below the finish. When the lacquer came off, so did 99% of the stamps.
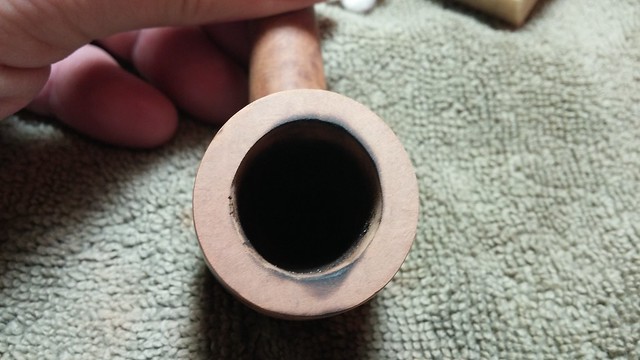
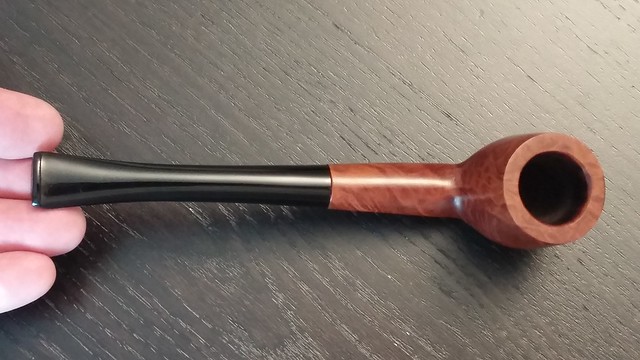
Moving on, I topped the bowl to remove the lava buildup and a few dents around the outside of the rim. This series of pictures shows the progress. I ended up removing a bit more briar than usual in order to erase the scorch mark at the front of the rim. I finished the rim work by sanding a small bevel into the inner edge of the rim. This cleaned up a few small knife gouges as well as the remaining charred briar at the scorched area.
A few pipe cleaners and cotton swabs dipped in alcohol cleared the stummel’s airway of dirt, dust and old tars.
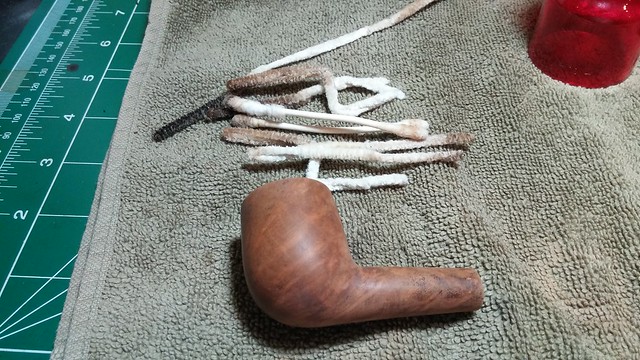
I set the stummel aside at this point and retrieved the stem from the Oxyclean soak. A quick scrub with 0000 steel wool and Magic Eraser had the oxidation and grime off in no time. A half dozen or so pipe cleaners and a bit more alcohol sorted out the internals.

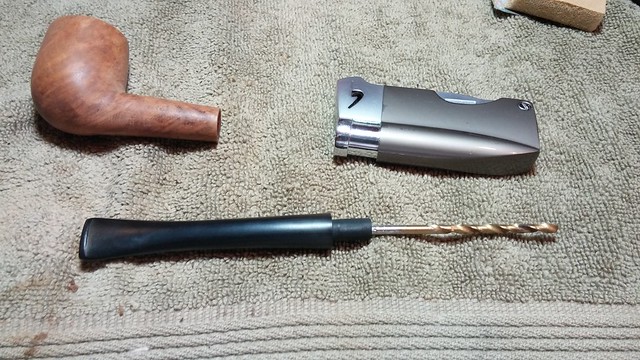
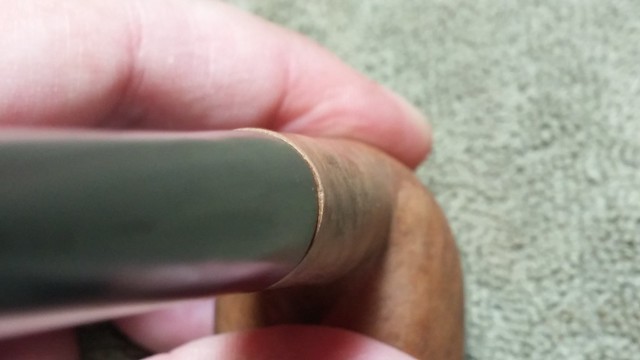
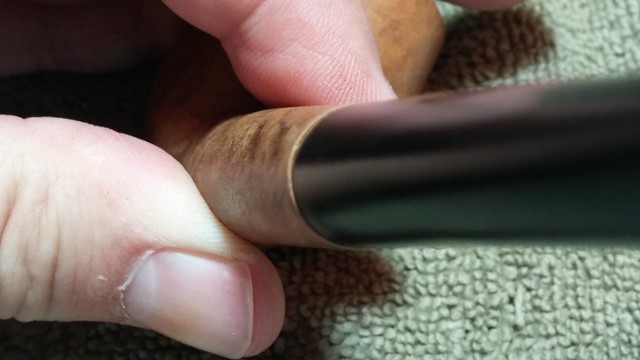
With both parts now clean, I reassembled the pipe and evaluated the stem fit. I’d have to do some work to achieve a smooth transition from shank to stem, but before I could do that I needed the stem to stay put in the mortise. I expanded the tenon diameter by heating it with a lighter flame and then pushing a slightly oversized drill bit into the tenon’s airway. I set the new shape under cool running water and removed the drill bit. A small amount of tweaking had the stem fitting snugly once more. The expanded airway was a bit too large for the stinger to fit securely, so I simply tidied the stinger up and added it to my parts box. It will come in handy somewhere else.

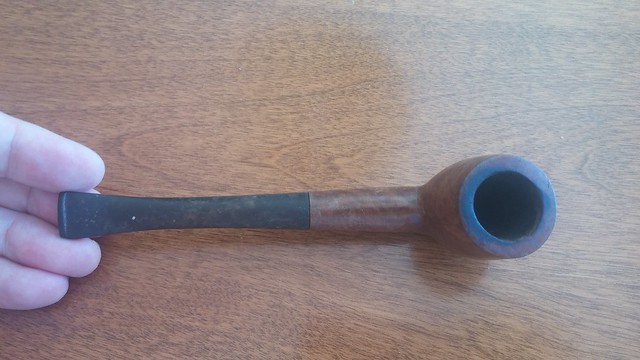
These pictures highlight the spots where the shank is slightly larger than the stem. I used 220 grit sandpaper and both medium and fine grit sanding sponges to reshape the shank and stem. A side benefit of no stamps to work around was that I could sand the entire length of the shank to get a smooth flow from bowl to button.

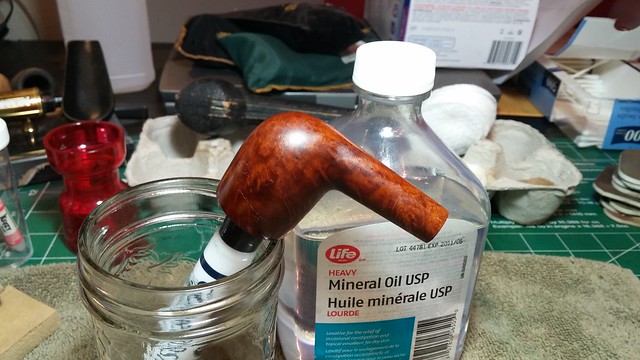
I went over the shank and stem with micromesh pads to remove the sanding marks left by the stem fitting and leave the pipe smooth and shiny. When I was finished, I gave the stem a wipe of mineral oil and left it to sit.
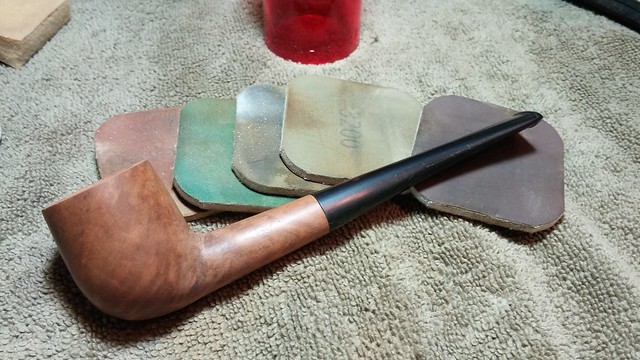
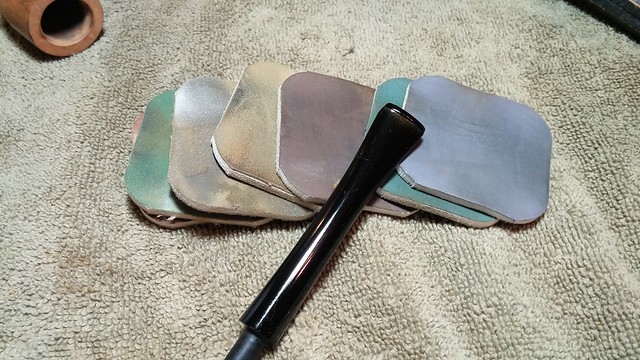
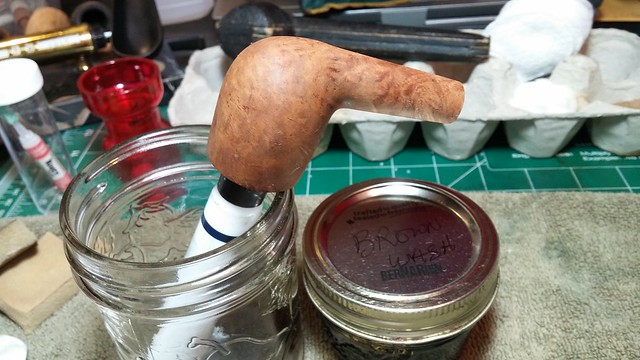
A wash coat of diluted Fiebing’s Dark Brown leather dye refreshed the look of the briar and brought a bit of contrast to the grain. When the dye was dry, I hand buffed the pipe with a bit of old towel and applied a coat of mineral oil to hydrate the briar and give the finish depth and pop.
Then it was off to the buffer for a run of White Diamond compound and a few coats of Carnauba wax for both stummel and stem. I also cleaned the case up a bit, brushing the interior to remove dirt and debris and giving the leather exterior a wipe of oil before taking these pics of the finished pipe.
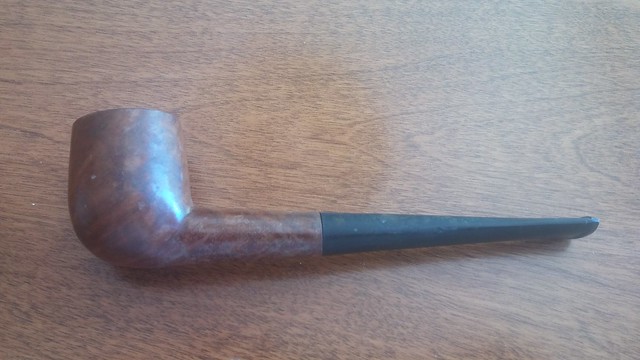
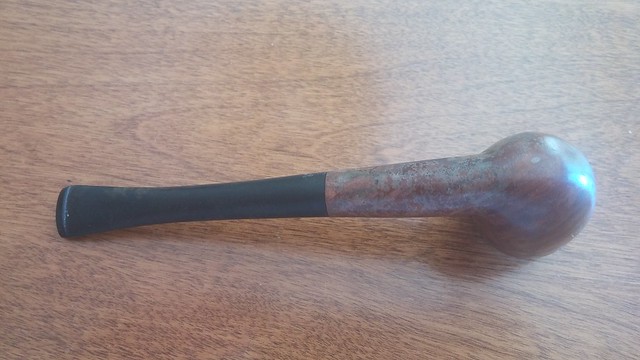
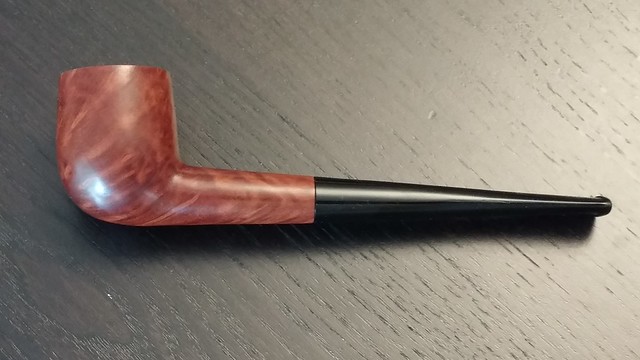
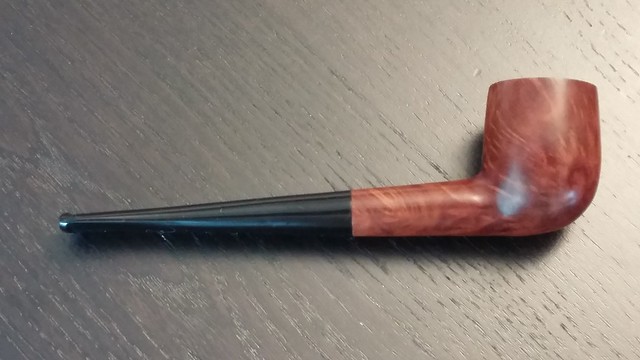
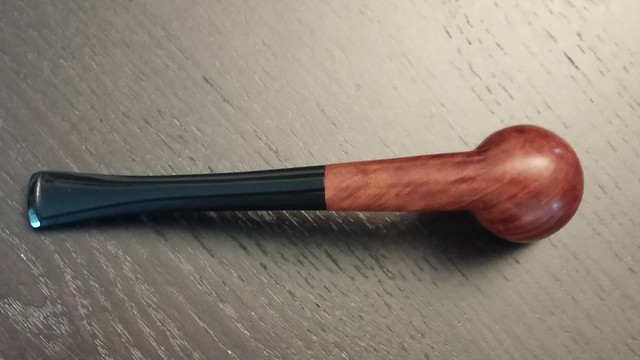
This nameless Czechoslovakian pipe is a rather jaunty fellow now, and its long slender shank has a certain Bing Crosby-ish flare. The vintage briar is without fills, and there is some really nice grain showing through the new finish – to think all this was hiding under the old lacquer!
I’ll likely hold onto this fellow as a memento of our trip, unless someone out there would like me to reconsider. (My wife says I have more than enough pipes already, but would she really notice one more?)
Here’s the finished pipe. Thanks for looking, and until next time, Happy Piping!

This is darn magic Charles, I love it 🙂
The case is charming too.
How would the good old microwave do to butter up the stem, before expanding the tenon ?
I sometimes apply a little black nailpolish when I feel anxious to heat the tenon, when it comes the lighters
I’m clumsy and a melt is easily done.
Cheers,
Roland
LikeLiked by 1 person
Thanks, Roland.
I would avoid the microwave, as it will heat/soften the entire stem and not just the tenon (assuming it doesn’t simply melt everything). If you’re anxious about using a flame, I suggest hot water. Dip just the tenon into very hot water until it is just soft enough to be malleable. Insert your expander tool (aka drill bit) and set the new shape under cold water.
Your nail polish method will also get the job done without altering the airway diameter.I sometimes use CA glue like this.
LikeLiked by 1 person
Thank you Charles,
Yep, that was my doubt about the mw too . A drop of CA glue does the job, it should run along the tenon, but when it dries too quick 😦 .
Should the water be near be boiling ?
Working on a nice family era Weingott Temple Bar briar now, the stem needs just a tiny more.
LikeLiked by 1 person
Yes, the water will have to be quite hot.
LikeLiked by 1 person
Thanks Charles,
I will try and post about the result.
LikeLiked by 2 people
Looking forward to seeing your work!
LikeLiked by 1 person
Reblogged this on rebornpipes and commented:
Good quick tutorial of a refurb from the ground up. Nice work.
LikeLiked by 2 people
Thanks, Steve!
LikeLiked by 1 person
That pipe has a real classic look about it. Beautiful. I love the history lesson as well as your restoration blog. And being a Canadian immigrant myself, PEI is on my list of future destinations.
LikeLiked by 2 people
Thanks, Dave. A lot of the time it’s the history that makes a pipe stand out for me. I like knowing where they come from and where they’ve been. 🙂
LikeLiked by 1 person
Charles, really enjoyed the history – I wish you could have saved the stamping for the old Czech memento. I’m partial to Eastern European efforts! Also, really appreciate the tenon expansion technique – makes total sense but never came to my mind without your help! One more thumbs up: “scabrous”. Asked my wife if she had ever heard it – of course, she had, and gave me the correct definition. I knew it was correct because I had just looked it up on dictionary.com. I’ll add that adjective to the repository. Great looking pipe – I would keep it – she won’t notice – unless of course, she reads your blog.
LikeLiked by 3 people
I may be safe to add it to the collection, then! 😄
I try hard to preserve stamps during restorations but sometimes it’s just not possible to salvage the remains.
LikeLiked by 2 people
Also glad to know I’m upholding the vocabulary!
LikeLiked by 2 people
Love a classic billiard and that one ooozes class…..very nicely done Charles!
LikeLiked by 2 people
As Troy said, it oozes class. Super job on the refurb. That pipe has interesting grain and a now lovely finish to go with it. I might suggest that the alcohol soak raised the stampings. Almost like when we steam a dent out. A long soak will raise grain back up. You may want to try lacquer thinner or acetone by hand with a rag to remove stubborn finishes. It has worked for me in the past. Again, Charles, great work.
LikeLiked by 3 people
Could the hot water method help to raise toothclatter and dents from the ebonite Charles ?
I never succeeded using a lighter.
LikeLike
It’s certainly worth a try! Give it a go and let us know how you fare. 👍
LikeLike
Thank you Charles, I will !
LikeLiked by 1 person