
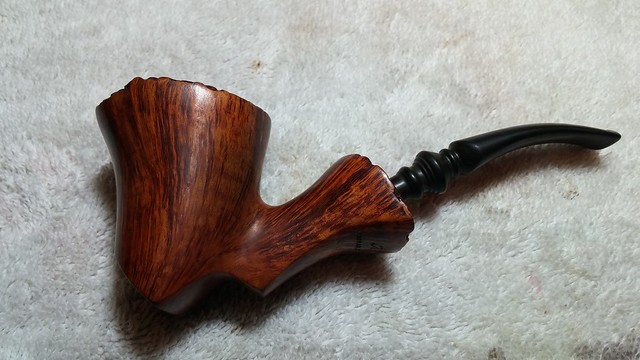
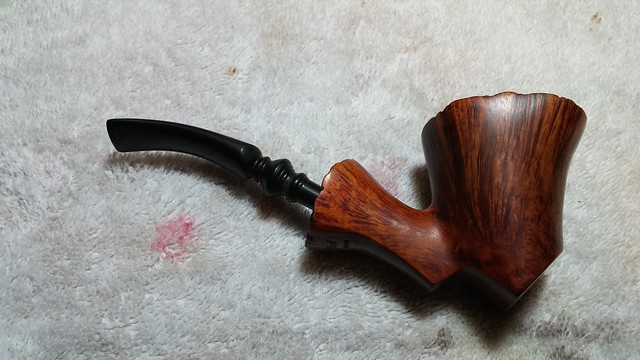
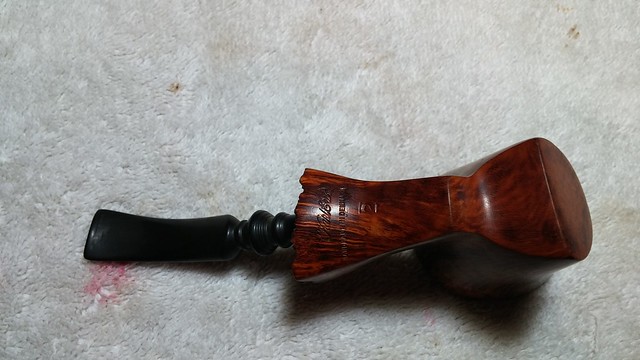
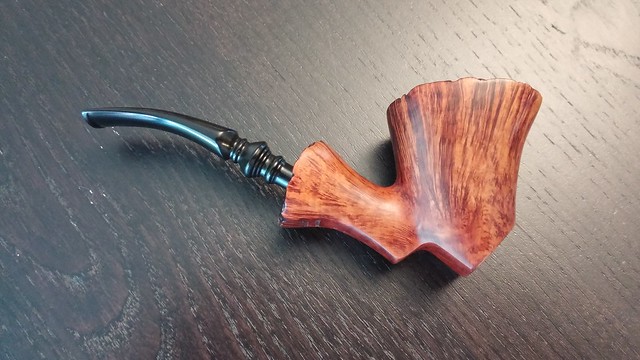
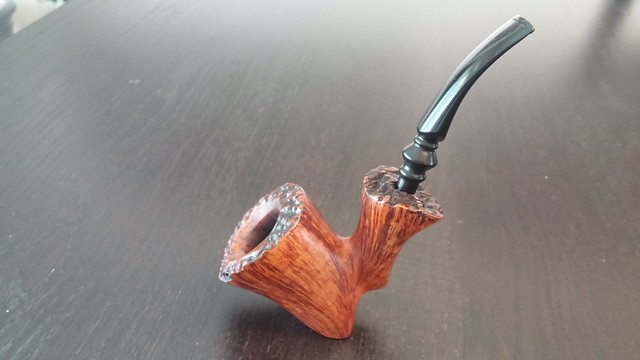
My apologies on the wait for this post. I had hoped to get it done before our family vacation but there you have it. This one is for all you Danish Freehand pipe fans. The Danes invented Freehand pipes and have proven to be darned good at it. This example is a Karl Erik pipe, stamped “Karl Erik” over “Handmade in Denmark” over “2”.
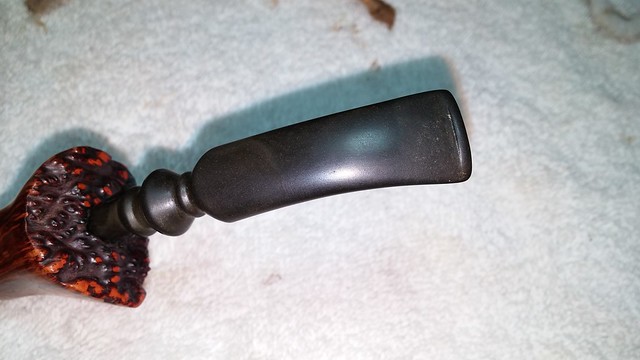
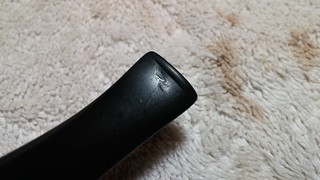
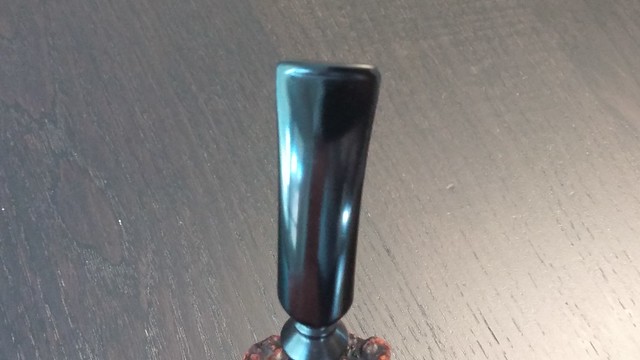
The pipe arrived in good estate condition. There was a decent cake built up in the chamber and a light crust of lava around the rear of the rim, spreading into the plateau top. Underneath it all, though, was superb grain that shot straight up both the bowl and shank, a testament to the carver’s expert reading of the wood. The stem was a bit grimy, with a few tooth marks and light oxidation, and it is missing the “KE” logo. This omission and a loose fit in the shank lead me to conclude that the stem is a replacement.

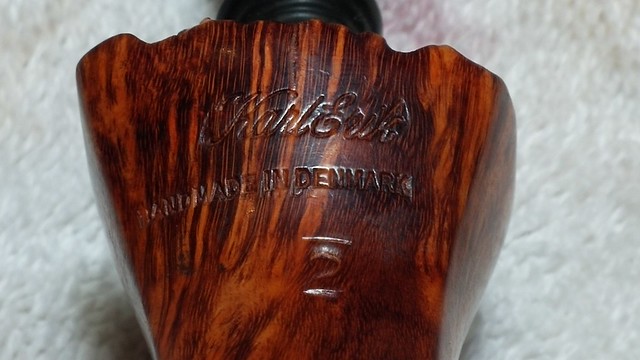
Pipephil.eu tells us here that Karl Erik is a “Brand created in 1965-66 by Karl Erik Ottendahl (1942 – 2004 †). In the best years he employed up to 15 craftsmen among which Bent Nielsen (see Benner) and Peder Christian Jeppesen. Former grading (ascending): from 4 to 1, and “Ekstravagant” (entirely hand made)”.
Also, under Ottendahl, Pipephil says that “Shortly before he passed away he (Karl Erik Ottendahl) sold the rights to use the “Karl Erik” name to Design Berlin and stamped his own freehands with “Ottendahl”.” This little bit of research indicates that the pipe on my worktable is a medium-high grade of pipe for this label, and that the latest possible year of production would be about 2000 or 2001, as Ottendahl passed away in 2004.
I strongly suspect that the pipe is older than that by up to a few decades, as the bulk of the collection from which this freehand comes dates between the late 1960’s to the mid 1980’s. It is also unlikely that a replacement stem would be needed for an otherwise well cared for pipe from the early 2000’s. I’m tempted to date the pipe to the 1970’s but I just don’t have enough information to state this decisively.
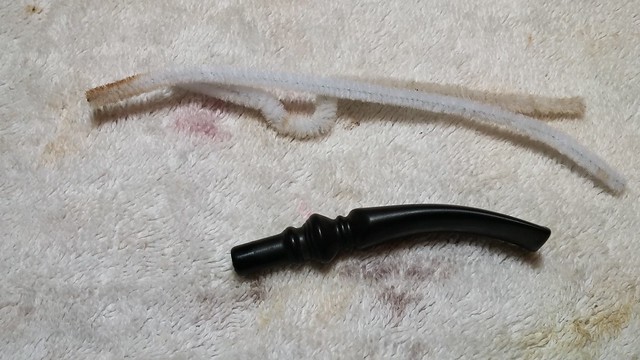
I started work on this pipe by cleaning the stem, mostly because it kept falling out of the shank, but more on that issue later. The stem proved to be quite clean inside. It only took a few pipe cleaners to spruce up the airway.
I then went back to the stummel and reamed out the old cake from the chamber using my Castleford reamer set and a bit of sandpaper wrapped around a Sharpie marker. The cake came out easily, and I was able to inspect the chamber. I didn’t expect to find any problems, but it’s always nice to know for sure!
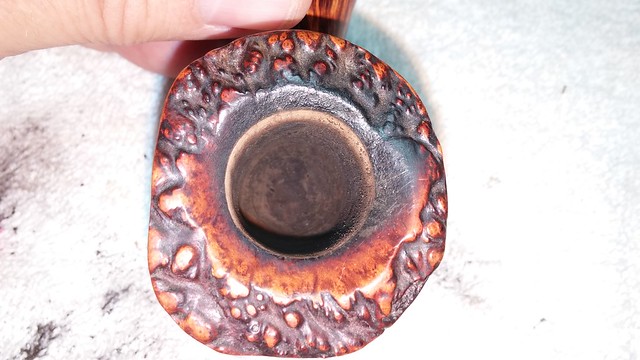
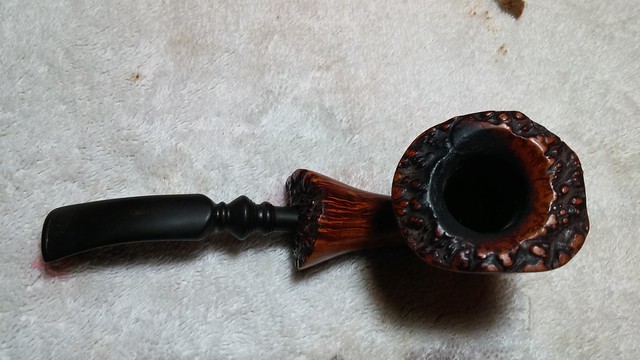
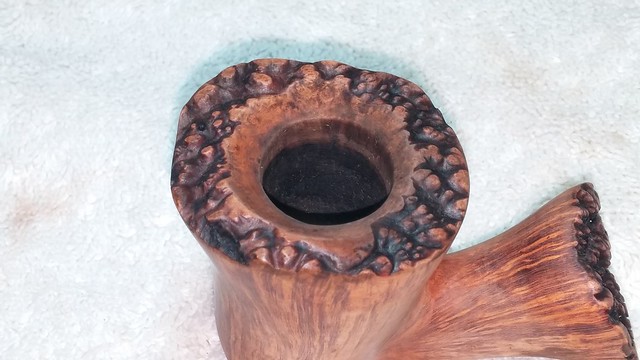
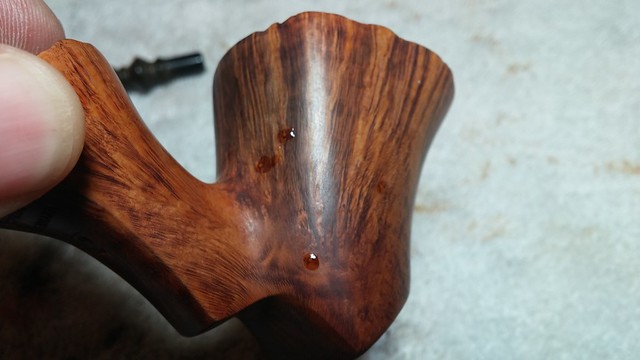
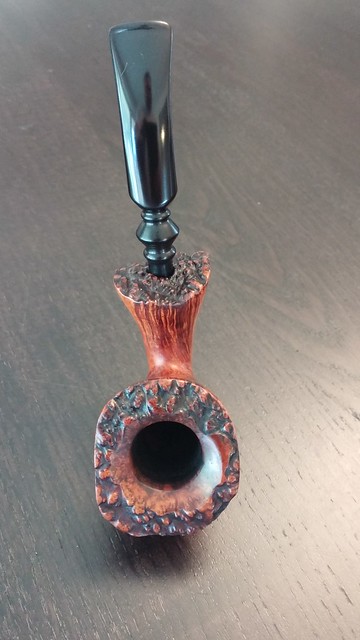
The thin crust of lava and other goodies on the rim took a bit of work to clear away. I used a handful of cotton swabs and good old saliva to soften and scrub away the tars and muck. The swabs proved more than up to the task of cleaning the hills and valleys of the plateau top. There was some nice birds-eye hiding under the muck.
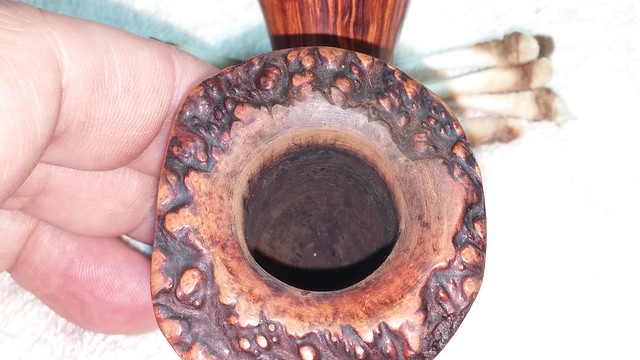
The stummel was then treated to a scrub with Murphy’s Oil Soap and a toothbrush. This removed even more dirt and oils from the plateau on rim and shank as well as the remains of the old wax finish.

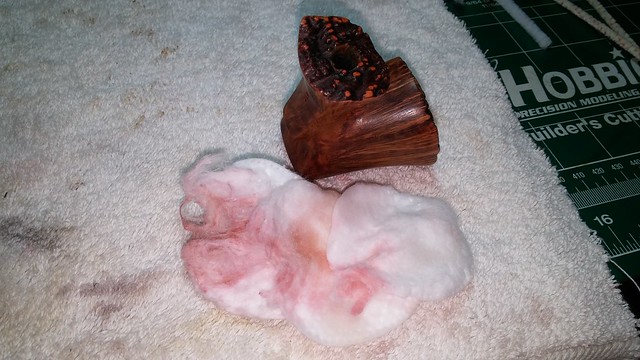
The Murphy’s scrub also loosened up a reddish stain on the plateau of the shank. Based on prior experience, I’m pretty sure someone applied a (thankfully) small amount of oxblood shoe polish to the plateau as a quick and dirty spruce-up. I used cotton pads and nail polish remover (aka acetone) to get the last of it off the shank.
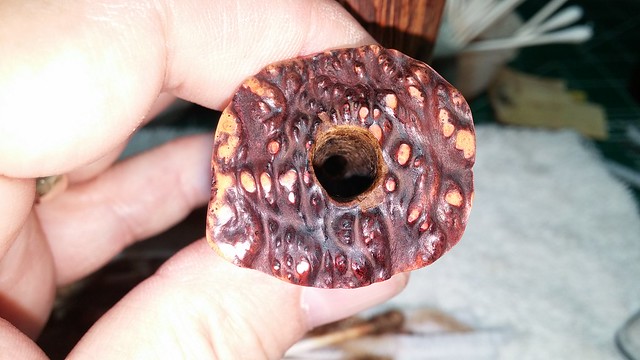
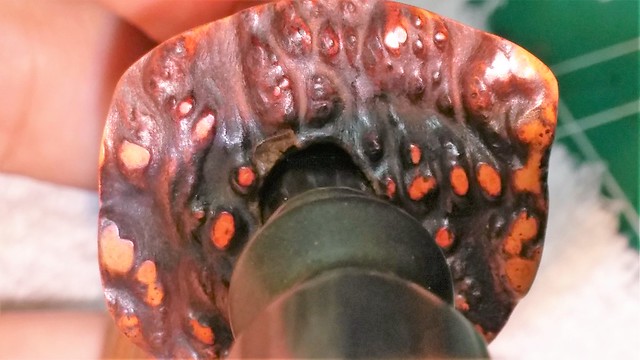
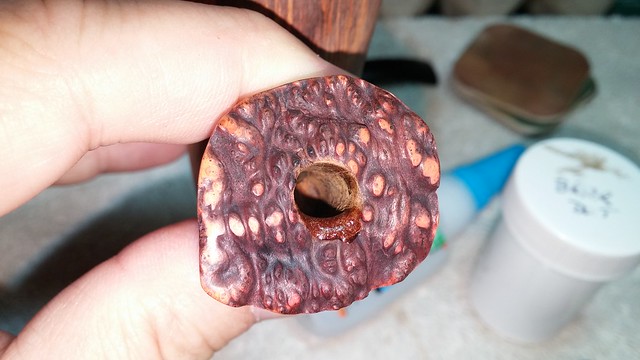
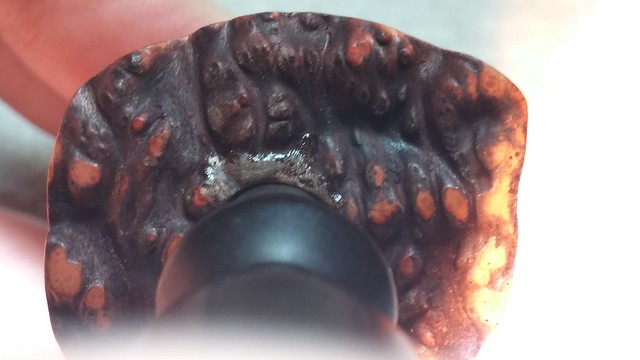
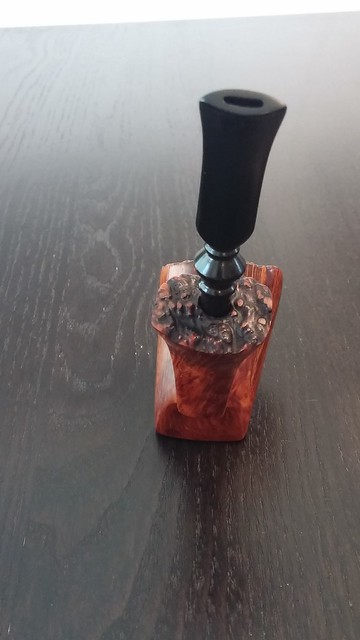
Now that the end of the shank was clean, I could get a good look at the mortise. I quickly realized why the stem wasn’t sitting firmly in the shank – the stummel’s airway had, by necessity, been double-drilled; one bore for the mortise and a second bore for the airway to the tobacco chamber. The second drilling, however, hadn’t been as cleanly done as it could have been and it had distorted the shape of the mortise into a long oval instead of a circle. Here are a few pics with and without the stem in place. The gap is large enough that the stem could pivot downwards and fall out of the shank.
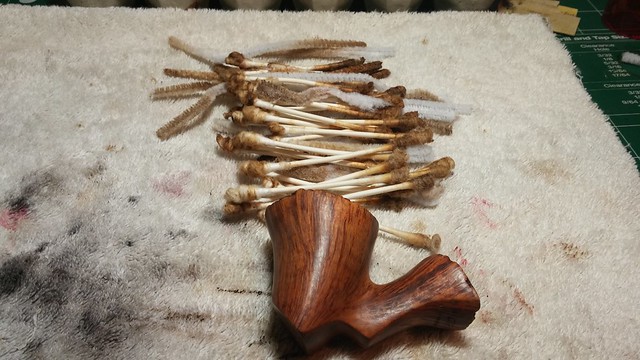
Before I could attempt a repair to the mortise, I needed to complete the internal cleaning of the stummel. The double drilling had created a bit of a well in the shank, in which moisture and tars would collect during a smoke. There was quite a lot of built-up crud in there that had to be removed. I used pipe cleaners, cotton swabs and a lot of alcohol to loosen and remove all the gunk.
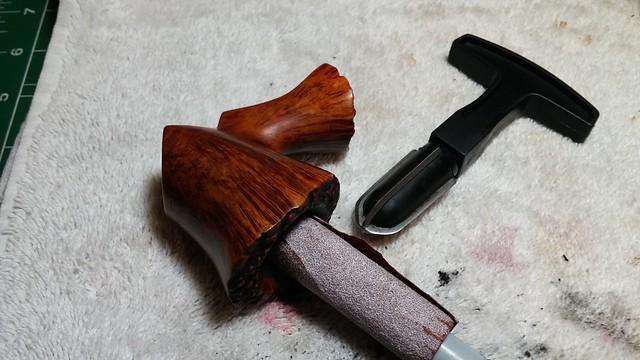
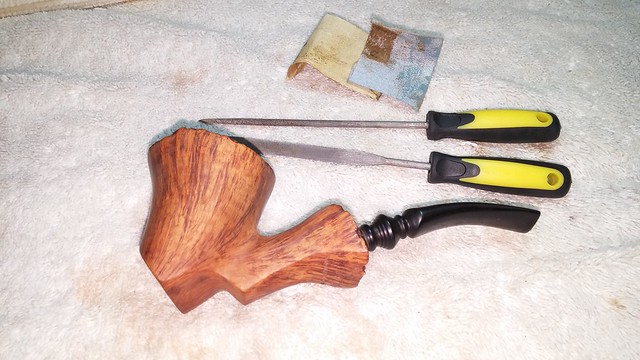
After a bit of pondering (ok, maybe I nodded of for a while), I decided that the best approach to repairing the mortise would be to fill in the missing areas and make the opening round to match the stem. To this end, I mixed up a bit of CA glue and briar dust and applied the fill to the damaged areas with a toothpick. A few needle files and sandpaper scraps quickly reshaped the briar dust filler.
I hit a small hitch at this point, as the mortise was now round, but the tenon of the replacement stem was ever so slightly too large. Instead of tediously sanding the tenon, I took a decidedly cowboy approach (which could have backfired badly) and instead heated the tenon over a lighter flame to soften it and pushed the stem into the mortise. The soft tenon conformed to the dimensions of the mortise, making a perfect fit. I left the stem in the shank until the tenon had cooled and set in its new shape.
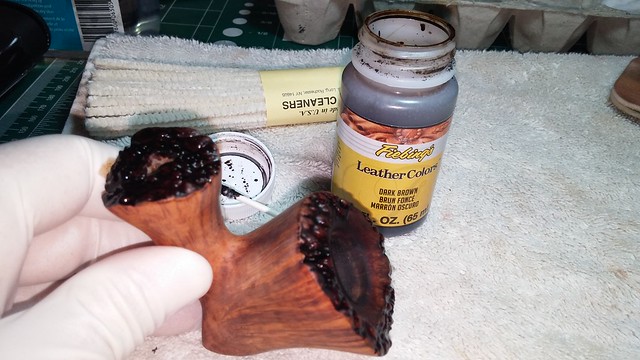
In the last pic above you can see how I filed and sanded the CA/briar dust fill to blend into the plateau. To further hide the repair and also restore the original look of the pipe’s plateau finish, I stained the shank end and bowl rim with Fiebing’s Dark Brown leather dye. When the dye had dried, I buffed the plateau gently with damp 0000 steel wool. Since I use water-based dyes, the combination of moisture and light abrasive removed the dark brown colour from the high points of the plateau and the smooth area around the chamber rim.
The repair still stood out a bit from the stain, so I darkened it down with a swipe of black Sharpie marker. I forgot to take a pic, but it did the trick!
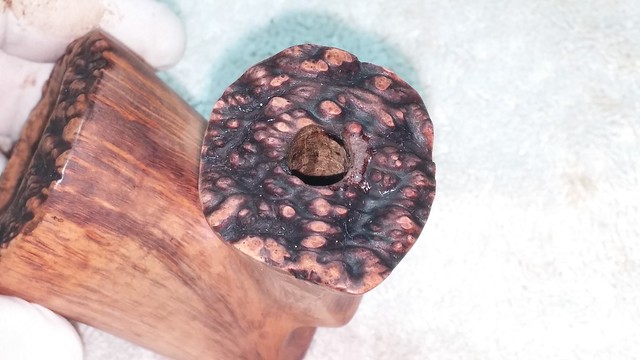
Time to deal with a few other small flaws in the briar. My recent scrubbing had exposed a few pinhead-sized fills near the shank/bowl junction. The putty had shrunk, leaving the fills a little hollow. I drop-filled over the original putty with CA glue and let the fills cure before sanding them flush.
A small, horizontal dent in the lower bowl face needed a bit of attention as well. I steamed the dent to lift it as much as possible and then lightly sanded the area smooth. The scar remains, but the dent is gone.

I finished the work on the stummel with a wipe of mineral oil to revive the original near-Virgin finish, and then moved back to the stem.
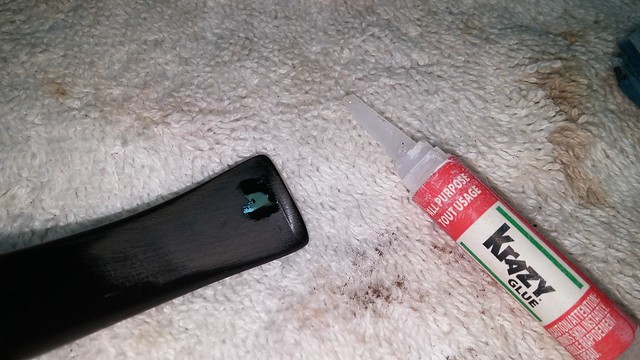
I cleaned the stem with alcohol on a cotton pad to remove the grime from the surface of the vulcanite. A lighter helped raise the tooth dents a bit, but not enough to avoid fills. A drop or two of clear CA glue in the remaining dents smoothed the surface up nicely, but created a bit more fiddly work as I sanded off the excess glue and polished out the sanding marks.
Both stummel and stem got a buffing with White Diamond compound on the wheel followed by several coats of Carnauba wax. This Karl Erik Freehand has come along very nicely indeed – the briar is smooth and lustrous, highlighting the stunning grain and providing an eloquent contrast to the rough texture of the plateau.
The stem now sits firmly in the shank, and its deep glassy black sheen belies the grimy, loose-fitting bit of vulcanite that once detracted from the pipe’s beauty. One little quirk – the pipe’s “foot” is a little off-kilter, causing the pipe to sit with a slight, but nonetheless secure, list to starboard that is evident in the finished pictures. This, of course, does not affect the functionality of the pipe in any way; instead, I actually find it rather charming.
This pipe would make a fine beginning or addition to any piper’s collection. Here’s the finished pipe. Thanks for looking and until next time, Happy Piping!


Reblogged this on rebornpipes and commented:
Charles made this one look really good – the art of restoration at work! Well done.
LikeLiked by 1 person
High praise coming from you, Steve! Thanks much.
LikeLiked by 1 person
It is not given lightly Charles. Well done.
LikeLiked by 1 person
Welcome home, Charles. Looks like a lot went into that one. 👌
LikeLiked by 1 person
Thanks Dave. There were certainly a number of things to take care of during this refurb. Just like amps, though, it’s one thing at a time until it all comes together 😄
LikeLike
Very nice pipe indeed ! Top notch work .
LikeLiked by 1 person
Thanks Troy!
LikeLike
Beautiful work, and an inspiring write up for those of us who love to maintain the beauty and functionality of our pieces. Thank you for posting!
LikeLiked by 1 person
Thanks Jason. While pipes are obviously meant to be smoking tools, I also enjoy the aesthetics of their design and the level of craftsmanship evident in a good-smoking pipe. And once cleaned up, a pipe is quite easy to maintain in top shape during use.
LikeLike