
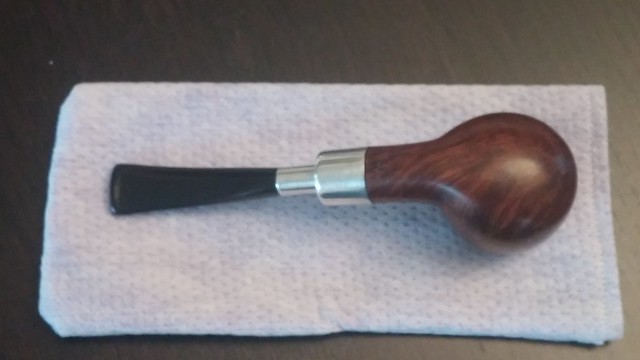
Having served in the Canadian Forces Reserve during my university days, I’m a big fan of all things Army, including military mount pipes, so when this Nino Rossi Sterling 167 hit my worktable, I was quite excited to see what lay under the layers of tar and tarnish.
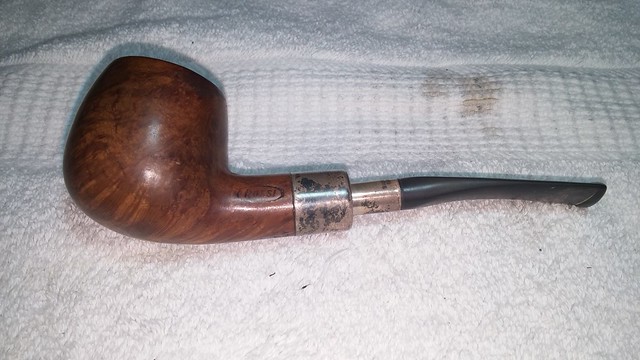
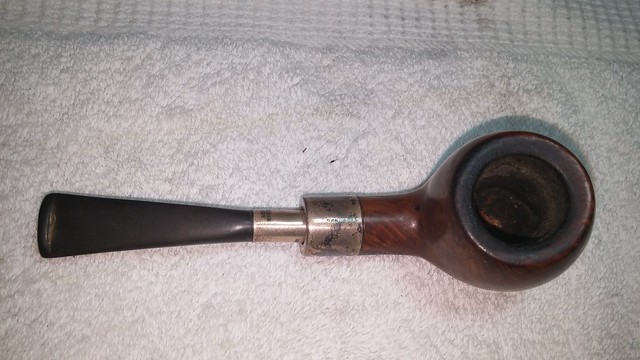
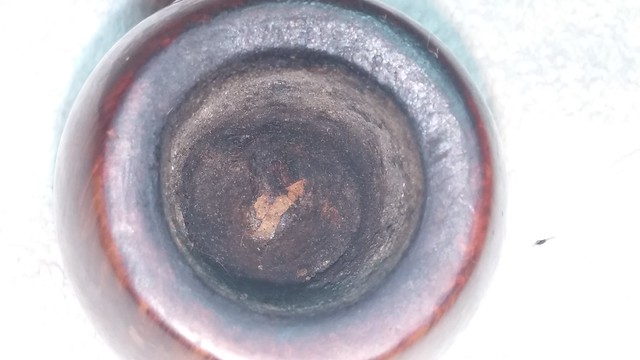
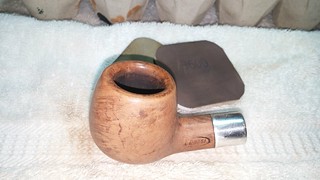
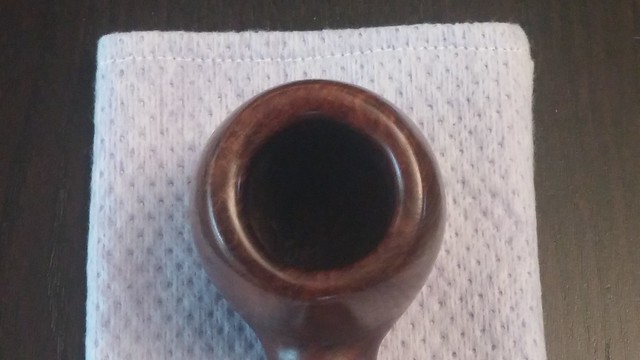
This pipe was obviously a favourite of its previous owner, and it showed all the hallmarks of a reasonably well cared for constant companion – a fairly thick layer of what turned out to be very dense cake in the bowl, tars on the rim and a bit of road rash here and there on the outside of the bowl from handling over the years. The bowl had been reamed at some point with a knife, leaving a ragged and somewhat out of round chamber.
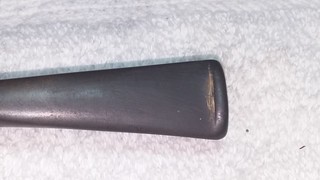
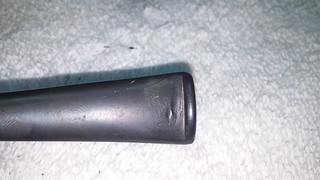
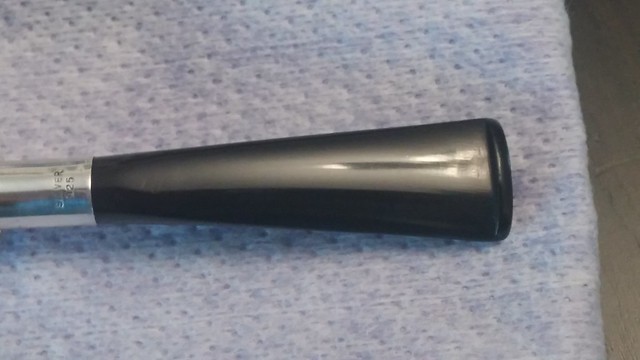
The sterling silver shank cap and tenon were heavily tarnished and greasy feeling, while the vulcanite stem was oxidized with tooth dents top and bottom. There were also long, thin, lengthwise gouges on the top reaching halfway to the tenon. These gouges were likely the result of the piper absentmindedly pulling the stem through his front teeth while reading or working on a problem. The mortise was fairly gunked up with old tars, as was the end of the tenon – in fact the tars had caught in the tiny gap between the silver tenon cap and the vulcanite underneath.
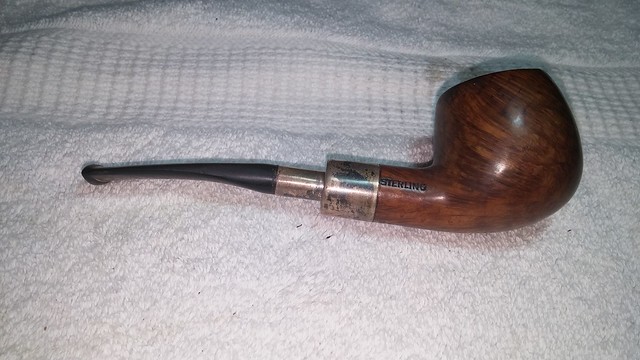
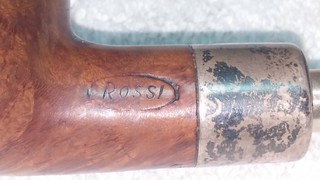
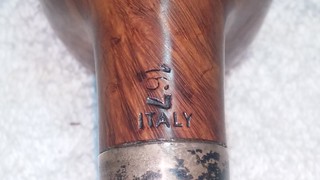
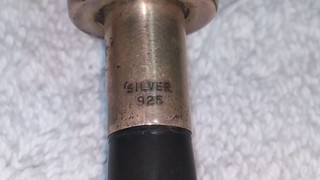
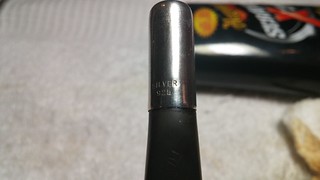
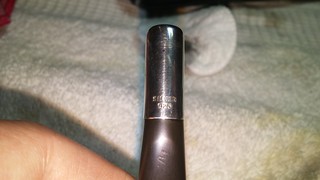
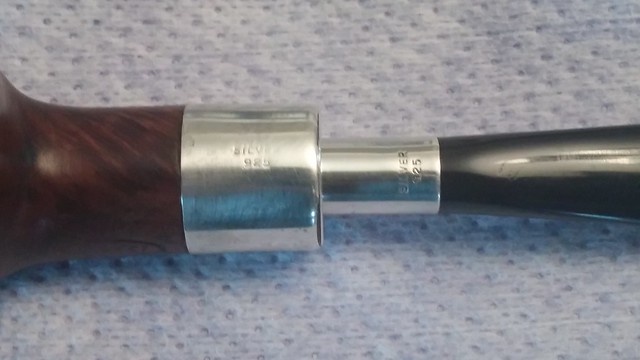
The stummel is stamped on the left side with “Rossi” in an oval – an evolution of the original inlaid oval metal Rossi marque. On the underside near the silver cap the shank is stamped “167” and “Italy”, while the right side is stamped “STERLING”. Rather than hallmarks, the sterling fitting is stamped “Silver” over “925” on both the shank and tenon parts. The stem bears the faint but still readable remains of the “N” logo representing the Nino Rossi line.

I could find very little about the Rossi brand online other than that Ferdinando Rossi founded the company in 1886, production peaked at 50000 pipes per day (!) in 1936, and the business closed in 1984. Savinelli picked up the rights to the brand and continues to produce Rossi pipes as a low-cost series to this day.
I did find another Rossi 167 pictured on Pipephil.eu here, though the markings are a bit different. Unfortunately I could find no information on when the changes in logo listed on Pipephil were instituted, so dating the pipe on my worktable is tricky. I know the pipe came from an estate collection that began in the late 1960’s or early 1970’s. A bit of research also indicates that there are no silver-mounted pipes in the current Savinelli-Rossi line-up. Based on these facts, I am tending towards labelling this pipe as a pre-1984 Rossi, but more information is needed to be certain. If there’s a Rossi aficionado out there who can help me out, please leave a comment and let me know!
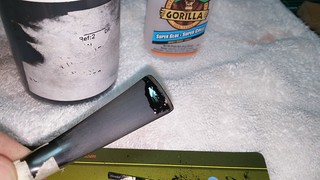
I began work on restoring the pipe by cleaning up the stem. A few pipe cleaners dipped in alcohol cleared out the airway, and alcohol on cotton pads removed the tars and muck from the end of the silver tenon.
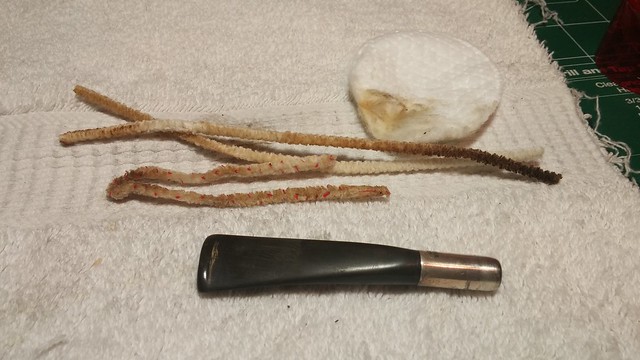
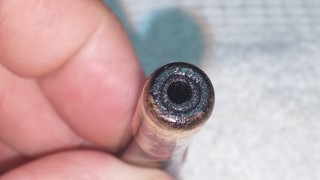
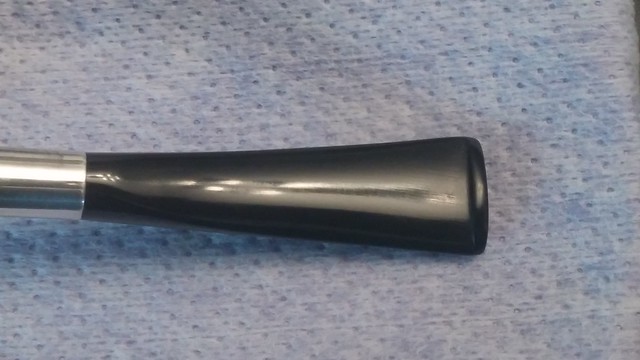
I scrubbed the dirt and oxidation from the vulcanite with a bit of Meguiar’s Scratch-X plastic polish. The Scratch-X also worked surprisingly well for removing the grease and tarnish from the silver tenon cap.You can see in the pic below the long scrapes in the stem I mentioned earlier.

Without the tarnish hiding the stamps it was clear that the silver tenon cap had rotated slightly to the left on the tenon. The stamps were off-centre. I heated the silver cap over a lighter to expand the metal slightly and very carefully twisted the cap back into its proper position.
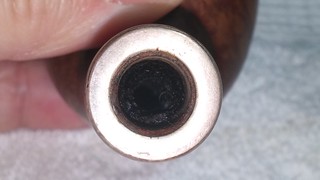
I used the Scratch-X polish again on the stummel’s silver shank cap before scraping the worst of the cake from the chamber with an old pen knife – ironically, the knife is a keepsake from my military days. I then used all four cutting heads on the Castleford reamer to remove the rest of the cake from the bowl.
The cake nearest the briar walls was extra hard, and it took quite a bit of work to get the reamer through it, but a combination of reamer, knife blade and sandpaper finally got the chamber clear. I was relieved to find that underneath all that cake the briar was in good shape other than a rut dug into the bottom by years of pipe cleaners.

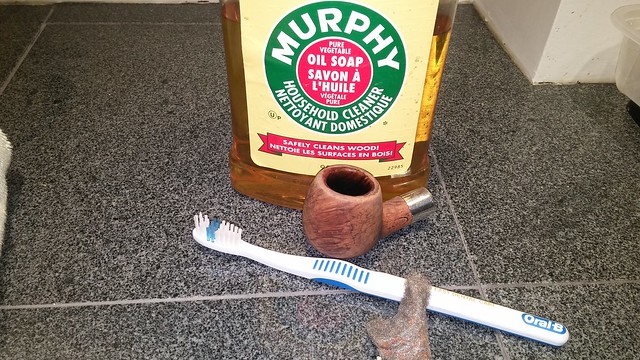
I then took the stummel to the sink for a good scrubbing with a toothbrush dipped in Murphy’s Oil Soap. Murphy’s cuts through grease and wax, removing any remnants of old polish as it cleans away the dirt. It also softened the rim tars sufficiently to allow me scrub them away with a scrap of 0000 steel wool.
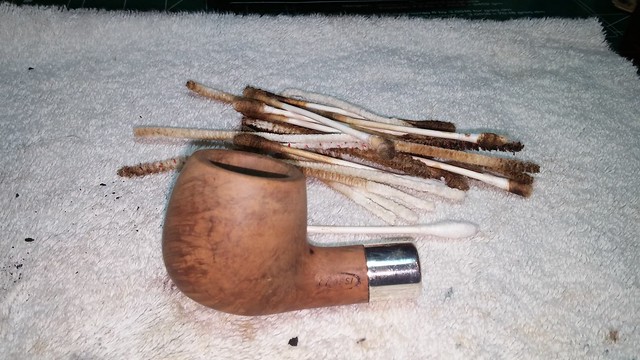
With the exterior clean, I worked on the interior, scrubbing the mortise and airway with cotton swabs, pipe cleaners and alcohol. As expected there was a LOT of gunk in there, but eventually the swabs came out clean.
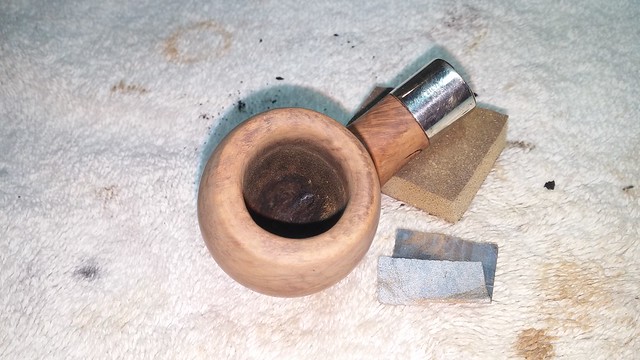
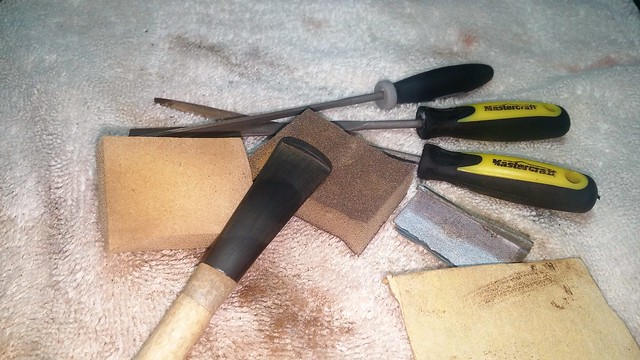
I used various grits of sandpaper and sanding sponges to smooth and reshape the rim and inner edge of the bowl. This removed the last of the tar stains and improved the roundness of the bore.
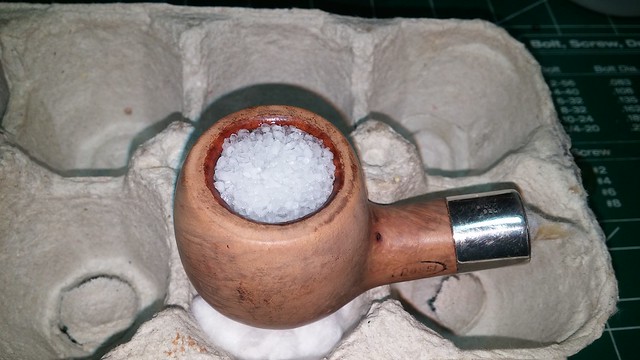
To make sure I cleared out all the remaining tars and removed the ghosts of tobacccos past from the briar, I prepped the stummel for a salt and alcohol treatment and left it to sit overnight.
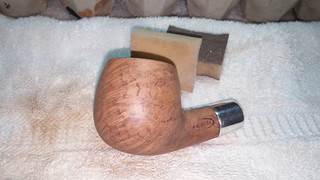
The following day I dumped the salt from the bowl, wiped out the interior, and gave the entire stummel a gentle sanding to remove the small handling marks, avoiding the stamps. A quick once-over with 3600 and 4000 grit micromesh pads prepped the briar for stain and brought up the shine.
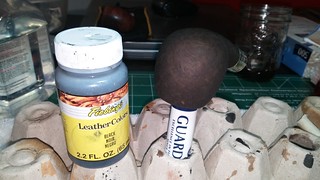
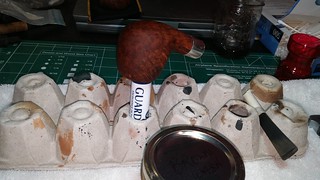
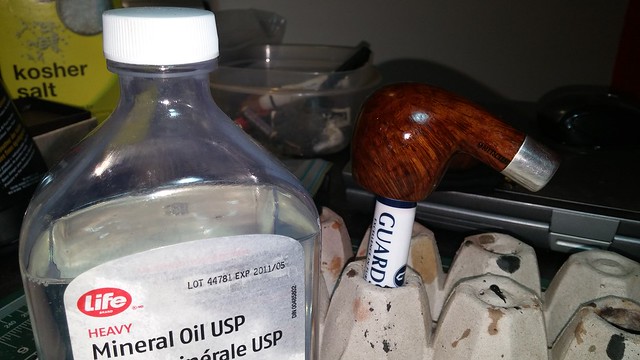
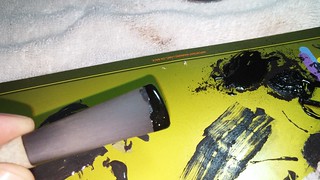
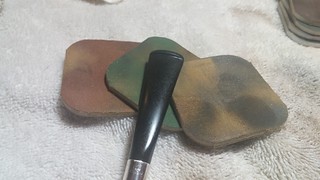
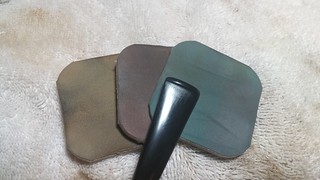
I re-stained the stummel in a contrast stain to reproduce the original finish, starting with a coat of black Fiebings’ water-based leather dye. I let the dye dry, then wiped most of the black off under running water with a bit of 0000 steel wool. This left the black colour only in the soft grain. A wash coat of diluted Dark Brown dye restored the briar’s deep walnut colour. A light wipe with mineral oil deepened the new finish and helped to rehydrate the briar.
The stummel was now looking sharp, but the stem still had dents and scratches to take care of. I taped off the silver tenon cap and the worn stem logo before sanding the remaining vulcanite with 220-grit paper to remove the longitudinal scratches and tooth chatter.
The larger tooth dents would need filling; the upper button was also worn down, so I built it up at the same time I applied the fills. A mixture of thick CA glue and activated charcoal powder makes a super fill material for vulcanite. I dripped the glue mixture into the tooth dents and along the top of the upper button. When the glue had cured, I used needle files and sandpaper to smooth the fills and shape the new button.
Micromesh pads further smoothed the fills and removed the sanding scratches.
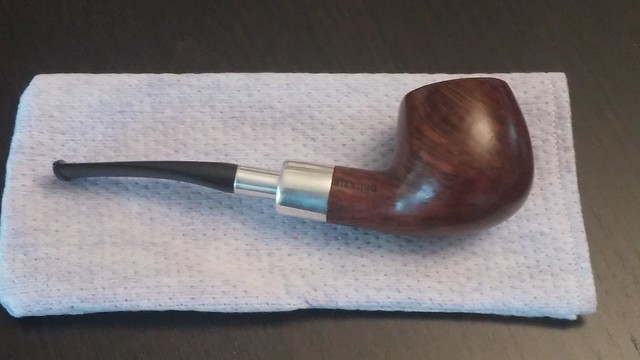
Then it was finally time to take this pipe to the buffer. Both stummel and stem got a run of White Diamond compound and several coats of Carnauba wax to shine and protect the new finish. This Rossi Sterling is a real eye-catcher now as the deep glow of the briar and the glassy shine of the stem are both enhanced by the lustre of the polished silver fittings. A little too glamorous for field duty, perhaps, but it would look right at home in the Officer’s Mess!
I’m very tempted to hold on to this one for my own rack, but I’m still debating, so it may still show up in the DadsPipes Store. If you don’t see this one listed soon, perhaps another pipe in the catalog might catch your eye, or feel free to get in touch – I may still be convinced to let this one go.
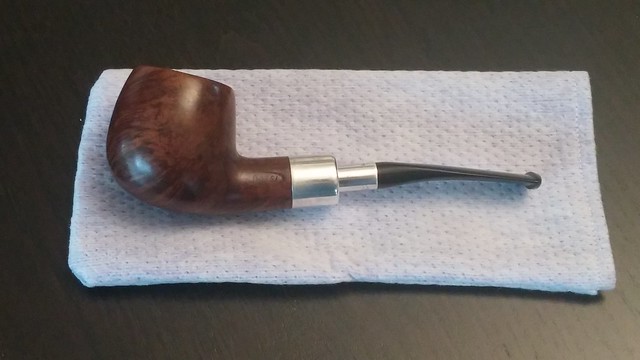
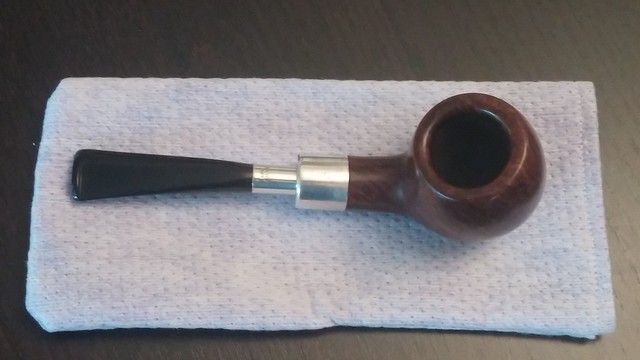
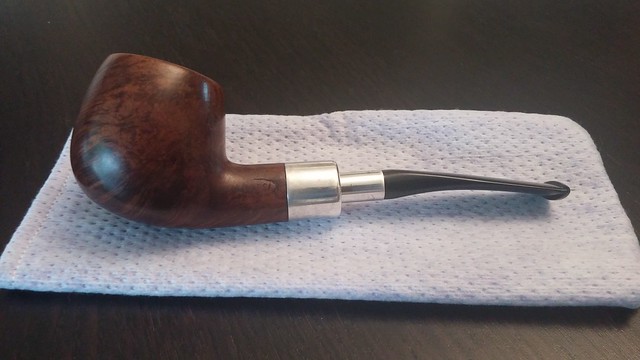
Here’s the finished pipe. Thanks for looking, and until next time, Happy Piping!

Handsome pipe, for sure. Beautiful job on the finish work.
LikeLiked by 1 person
Thanks – there was some nice grain hiding under there!
LikeLike
Reblogged this on rebornpipes and commented:
I am still trying to figure out how Charles uses the Meguiar’s to get it to take that much oxidation off… I use it and never have that result. What is the trick?
LikeLiked by 1 person
Repeat, repeat, repeat!
LikeLike