
OK, it’s not THAT kind of brass band, but this Stanwell Brass Band 25 Freehand is almost as much fun. This is the second pipe I’ve cleaned up from what I’ve taken to calling The Stanwell Lot, a collection of mostly-Danish pipes from an estate outside of Saskatoon, Saskatchewan, Canada.
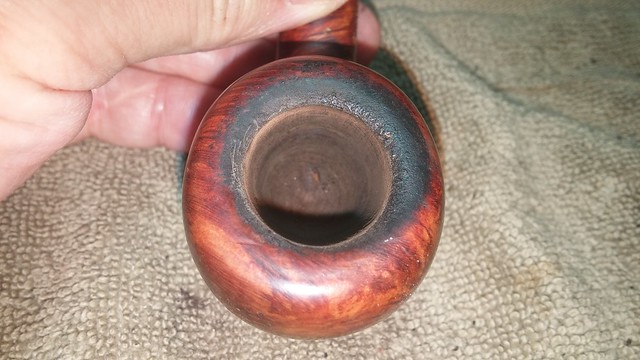
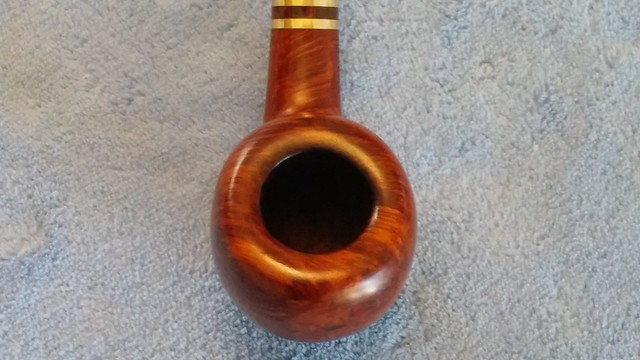
This Brass Band arrived on my worktable looking a little worn – well-loved, mind you, but a little on the tired side. The finish was worn off on both sides of the bowl, and greyish patches of oils marred the exterior where the original piper held the bowl. The rounded rim top was covered in tars and the chamber was thickly but unevenly caked. It looked as if a round reamer had been used to trim the cake once upon a time, leaving a crescent of carbon packed into the front of the oval chamber.
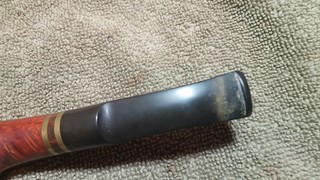
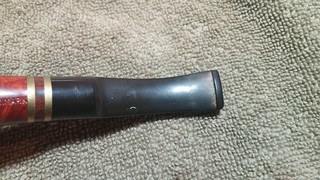
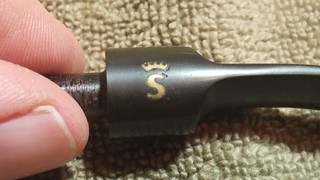
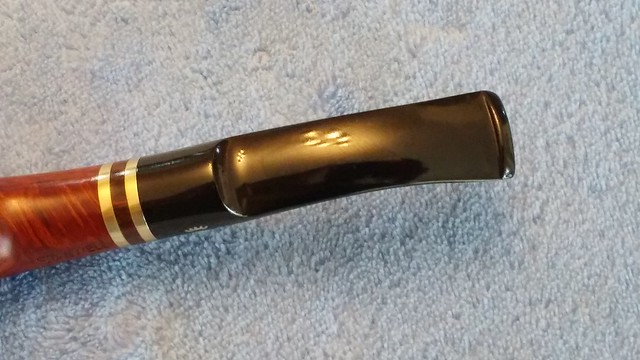
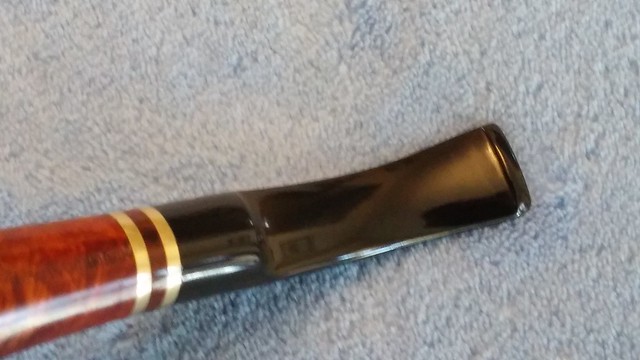
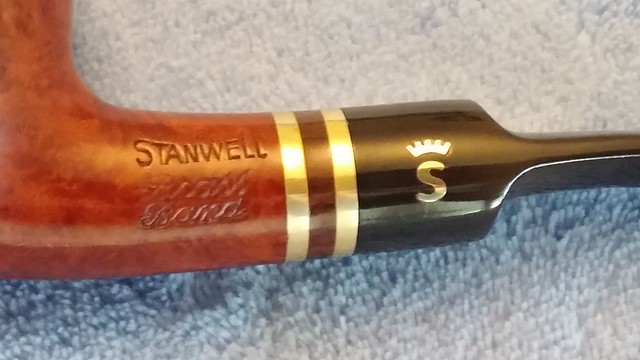
The pipe stem was lightly oxidized, with a rime of calcification at the bit, but no tooth chatter or dents. The brass Crowned S logo was intact but tarnished and grimy. The gunk built up in the corners of the logo made it appear shrunken and ill-fitting.
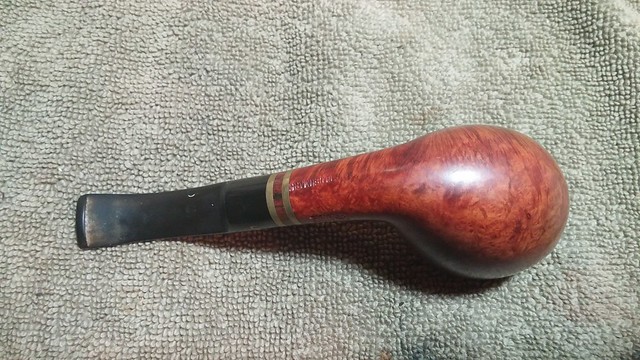
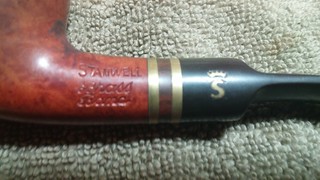
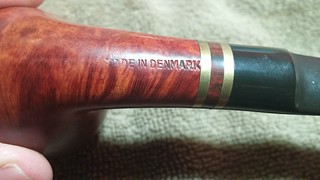
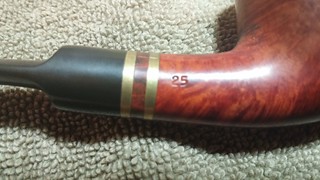
Stamped on the left shank of the stummel is “Stanwell” in scooped-out block letters (the middle letters are shorter than those at the ends of the word) over “Brass” over “Band” in script. On the underside of the shank is stamped “Made in Denmark” in block letters. A shape number, “25”, is stamped on the right shank near the shank extension made up of two brass bands flanking a section of Cumberland rod. Overall the stamps are in excellent condition except for a bit of wear on the “M” and “D” in the “Made in Denmark” stamp.
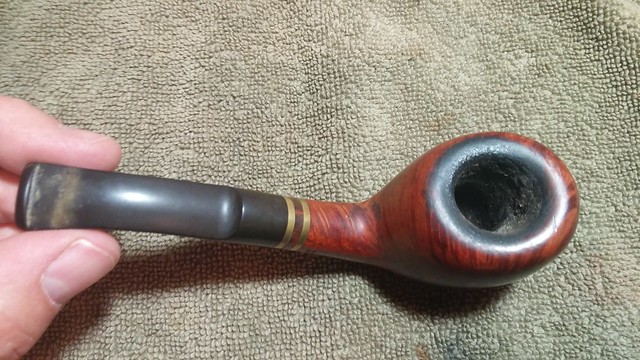
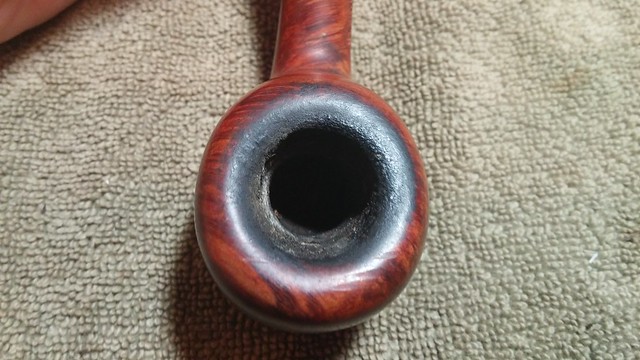
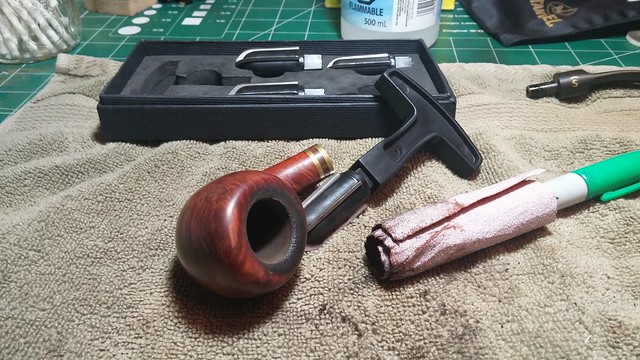
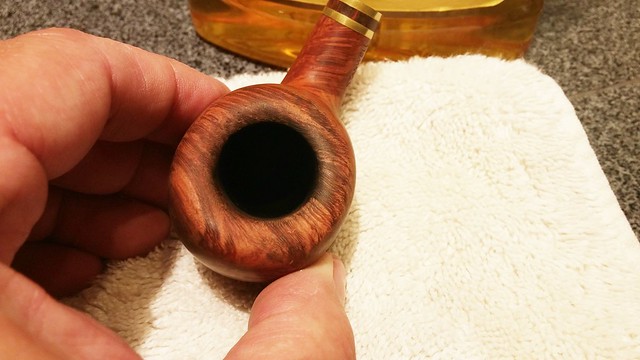
I started the restoration by clearing out the old cake from the tobacco chamber and re-establishing the oval shape of the bowl. For this I used my Castleford reamer and a scrap of 80-grit sandpaper wrapped around a Sharpie. The reamer removed the lion’s share of the cake, but the sandpaper was essential in smoothing out the lines of the oval bore.
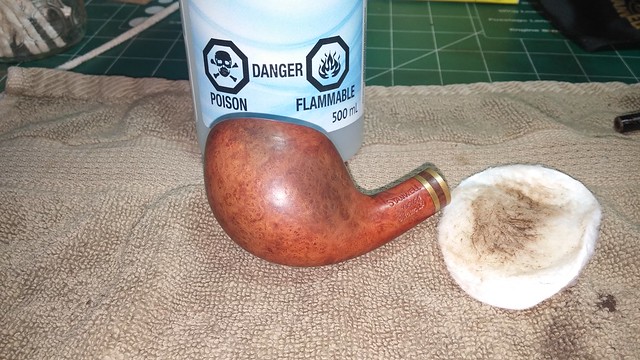
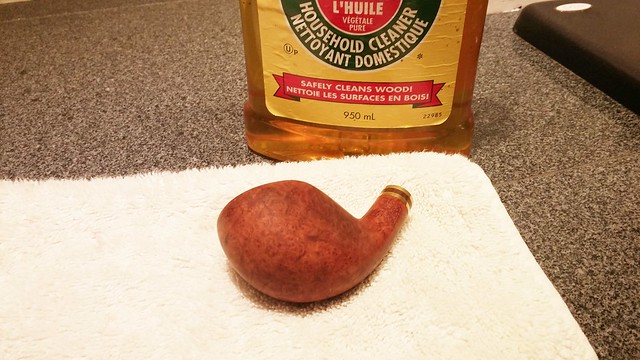
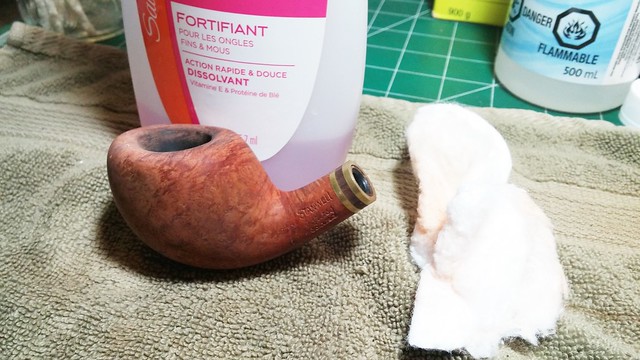
I then began the process of cleaning the exterior of the stummel and removing the remnants of the old finish. A few cotton pads soaked in alcohol dissolved and removed the rim tars as well as a surprising amount of grime from the wood. I used Murphy’s Oil Soap and a toothbrush to scrub the last of the dirt and old wax from the briar, and stripped off the remnants of the old stain from the wood with nail polish remover (aka acetone) and cotton pads. The pics below show the gorgeous grain that was hiding under the dirt and grime. I couldn’t find any fills, either, in this handsome piece of briar.
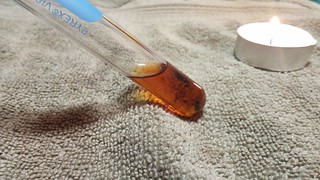
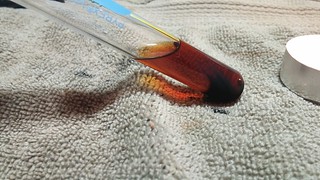
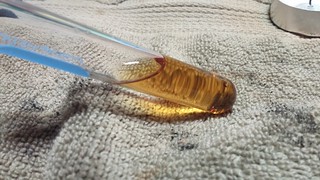
With the exterior of the pipe clean, I turned my attention to the internals, which took a bit more work than anticipated. I could pass a pipe cleaner through the stem and shank without resistance, but a few exploratory cleaners dipped in alcohol indicated a pretty good buildup of tars and gunk waiting for me. I decided to expedite things with the retort. I boiled three tubes of alcohol through the pipe. Below are pictures of the alcohol after each tube. The first tube came out a light-ish caramel colour, and the second came out much darker, which showed that there was some tough gunk lurking in there. The third tube, however, came out a light honey colour – the worst was over, and I moved to fresh alcohol and pipe cleaners to scrub the now-loosened tars out of the airway. Even after the retort, it took a fair pile of cleaners to get things ship-shape.
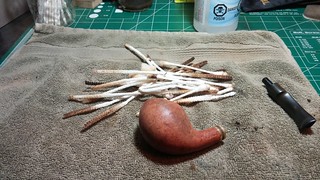
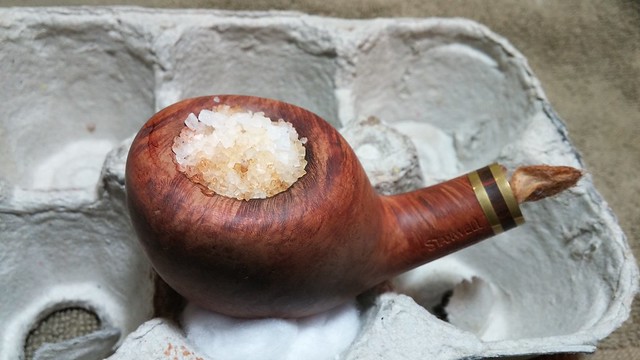
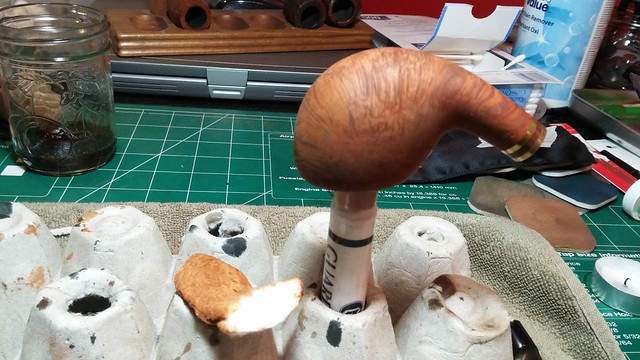
I completed the internal refurbishment with a salt and alcohol treatment to both pull out any remaining tars and sanitize/deodorize the stummel. I stretched out a cotton ball and twisted it into the shank to block the airway. A bowl full of kosher salt, a drip of alcohol and 24 hours of wait time later, I was ready to dump the dirty salt and remove the stinky cotton from the pipe.
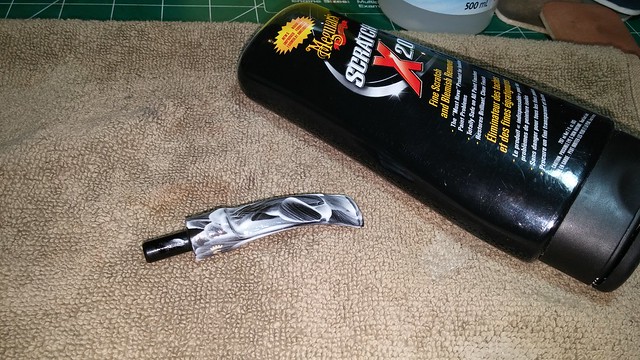
The stummel was ready for refinishing, so I switched gears for a bit and scrubbed the oxidation and good old dirt from the surface of the stem with a bit of Meguiar’s Scratch-X plastic polish. It worked like a charm, lifting the discoloration from the stem and polishing up the brass inlaid logo as well.

I set the stem aside while I stained the stummel. There really hadn’t been enough of the original finish intact to give me a good idea of the factory colouring of the briar, but Google kindly provided several good photos of other Brass Band pipes to work from.
I laid a base coat of Fiebing’s Dark Brown leather dye and let it dry before removing most of the stain with a light wiping with 0000 steel wool under running water (I use the water-based dyes, so this works great. If you have the alcohol based dyes, you’ll need to wipe with alcohol-soaked pads to lighten the stain.)
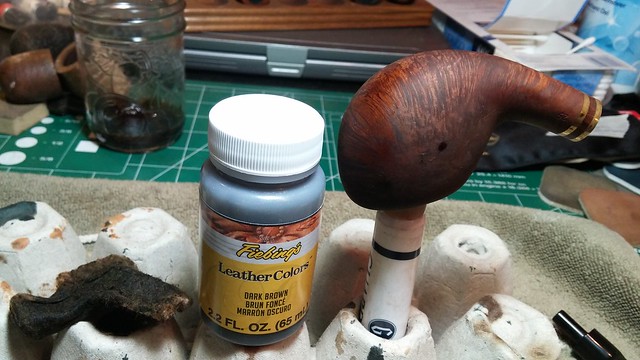
This rinse left the dark brown in the softer grain of the briar, providing a good contrast to the red/brown top coat I mixed up by blending Saddle Tan with a little Dark Brown dye.
When the top coat of stain had dried, I rubbed the stummel vigorously in an old towel to remove the excess stain and put a bit of shine on the briar. I deepened the final colour and re-hydrated the briar with a light wipe of mineral oil.
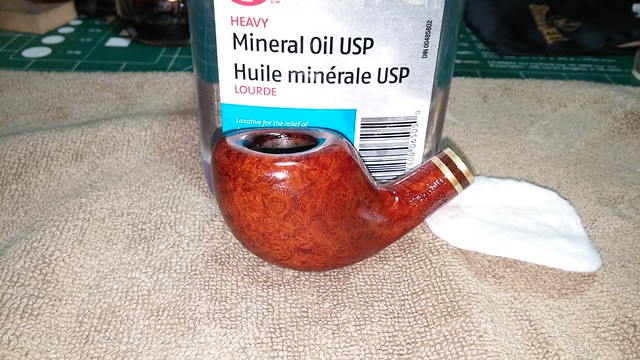
I let the mineral oil soak in the wood for a while before again using the towel to remove the leftover oil. I then brought the pipe to the buffing wheels for a run of White Diamond compound and several coats of Carnauba wax.
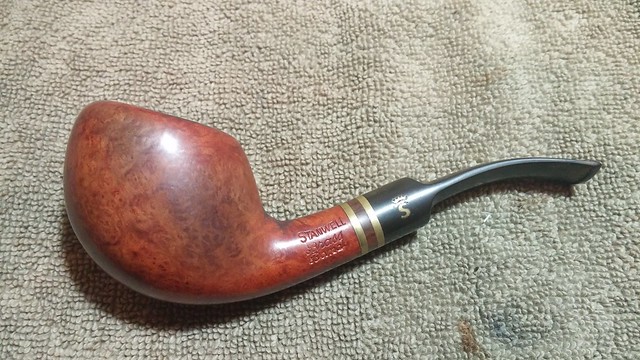
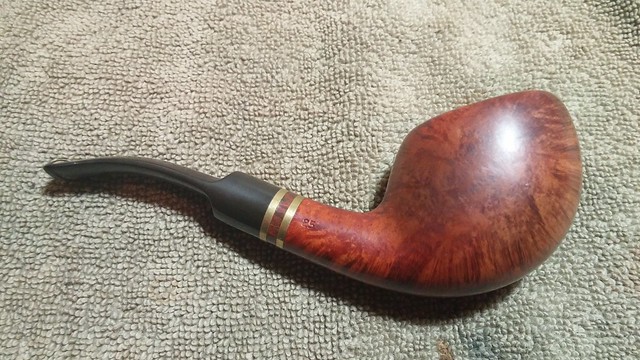
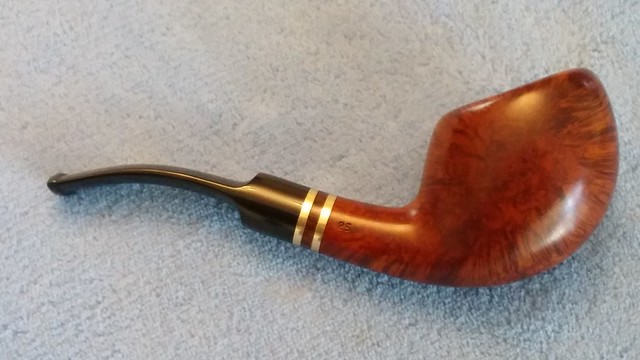
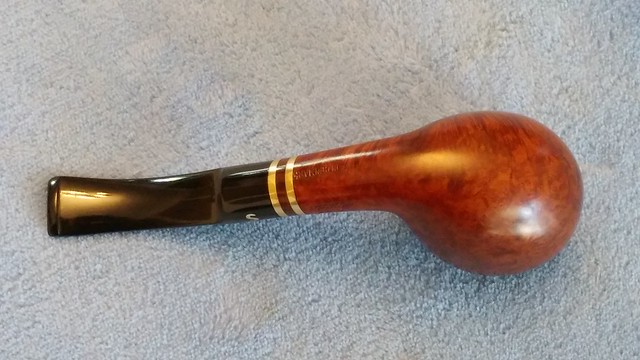
Looking at the pipe now you’d never guess it was a veteran briar. The stem is a deep black, set off by the bright shine of the inlaid brass logo and double band. The briar glows with a deep richness that gives the grain an almost three-dimensional look. This Brass Band is ready to play on for decades to come with a new piper conducting the music.
Here’s the finished pipe. Thanks for looking and until next time, Happy Piping!


Another gorgeous transformation. I’m thinking that pipe must feel great in the hand.
LikeLiked by 1 person
It really does – the gentle freehand curves of the bowl just seem to fit the palm beautifully. The original owner must have thought so as well as he wore the finish right off the pipe!
LikeLike