
This is another pipe sent to me by a fellow member of the Canadian Cigar Forum. As with the Sabra Apple, the pipe belonged to his grandfather and was in need of a bit of work before the owner could use it.
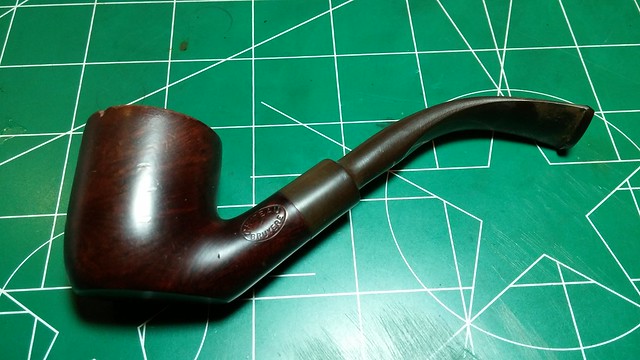
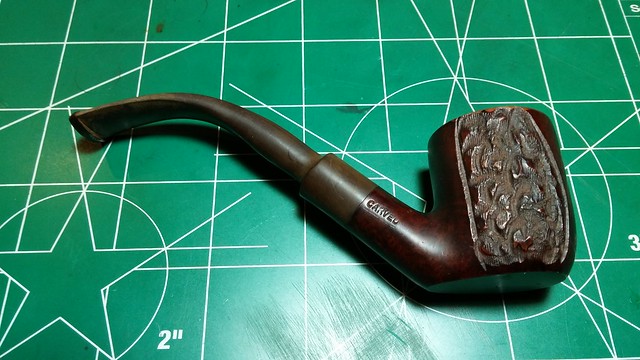
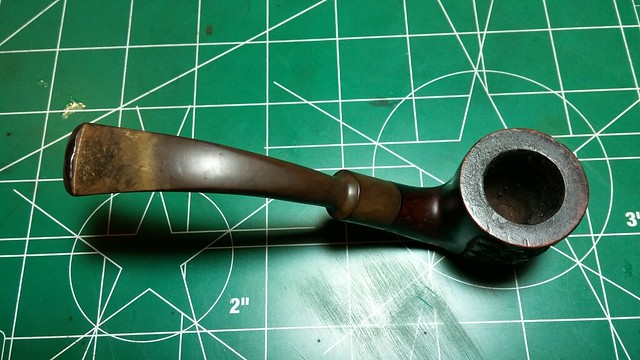
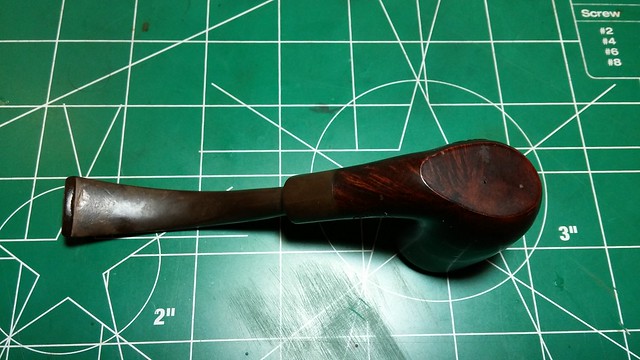
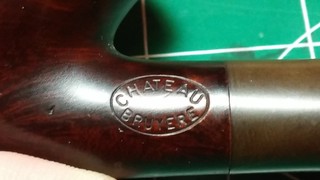
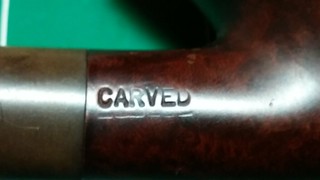
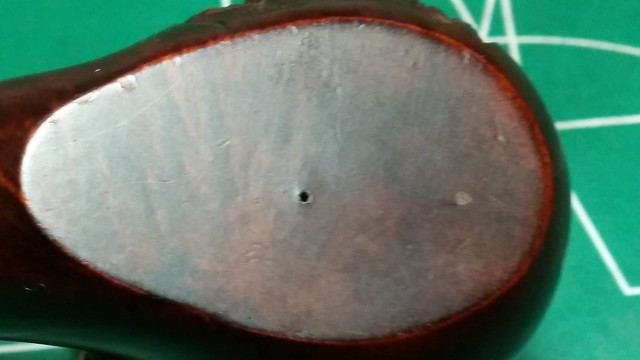
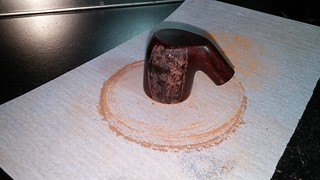
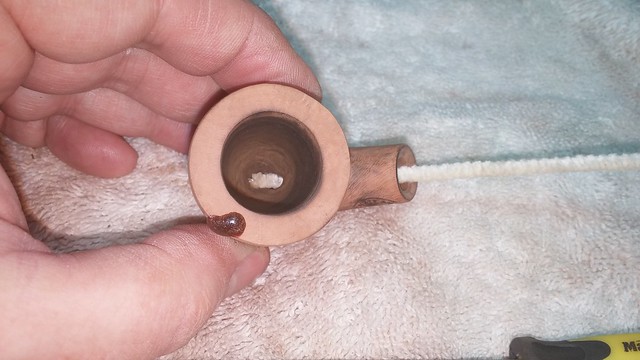
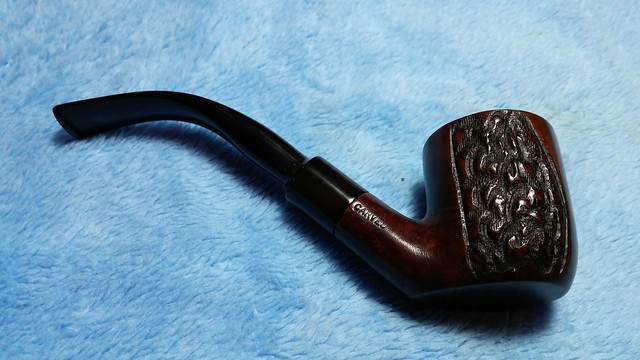
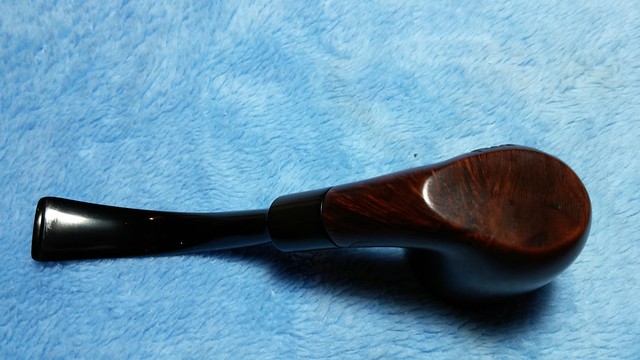
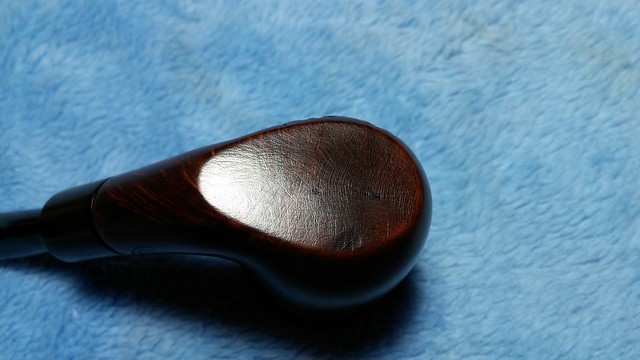
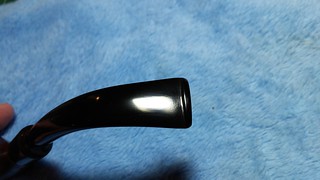
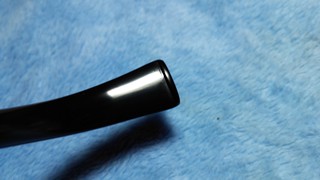
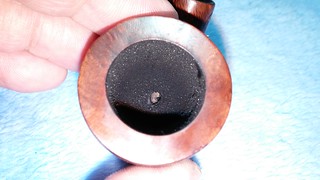
I took this series of pics when the pipe arrived. Overall it appeared in pretty good shape – a little oxidation on the stem, a bit of rim crust and one larger chip out of the rim. The pipe is stamped “Chateau Bruyere” inside an oval on the left shank and “Carved” on the right shank and features a rusticated panel on the right side of the bowl. The pipe was beginning to look like a straight-up ream and clean job, until I turned it over. A tiny pinhole in the centre of the flat bottom indicated a potentially large problem.
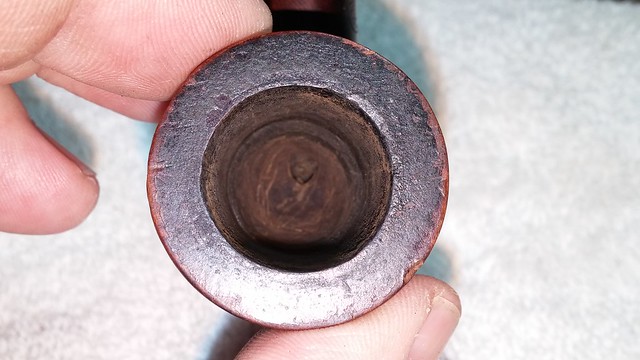
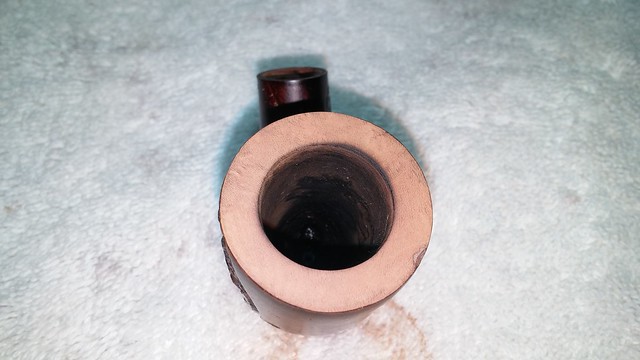
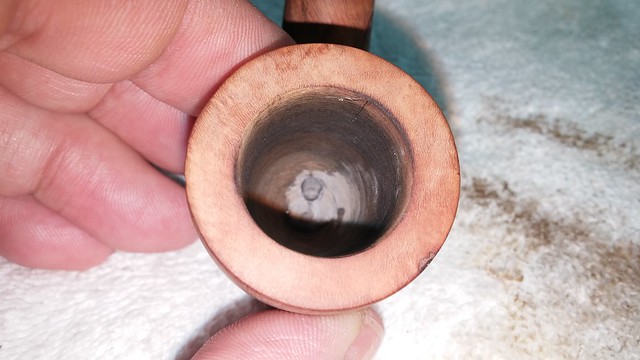
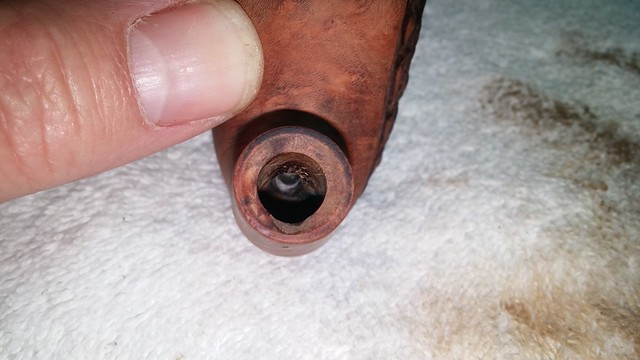
I reamed the bowl back to bare briar with my Castleford reamer in order to get a good look at what was going on in there. The slight bulging around the pinhole visible in the pic above indicated that the problem lay within the pipe; a hole drilled or pushed in from the outside would be flat or slightly concave. My hunch proved correct. After reaming and running a pipe cleaner through the shank, I could see that the pinhole was perfectly centered inside the draft hole. These two pics show the inside of the bowl with the pinhole burnout just visible as a dimple in the draft hole, and again without the flash. The second pic clearly shows that the hole goes right through the bottom of the pipe.

I probed the airway with a round needle file to understand the cause of the burnout. In this case the culprit was poor drilling at the factory. The angle of drilling was too sharp and the shaft too deep. Instead of a clean draft hole at the terminus of the airway at the bottom of the bowl, the airway extended below the bottom of the tobacco chamber, with the draft hole located approximately 3mm up the airway. I’ve drawn the picture below to illustrate. 
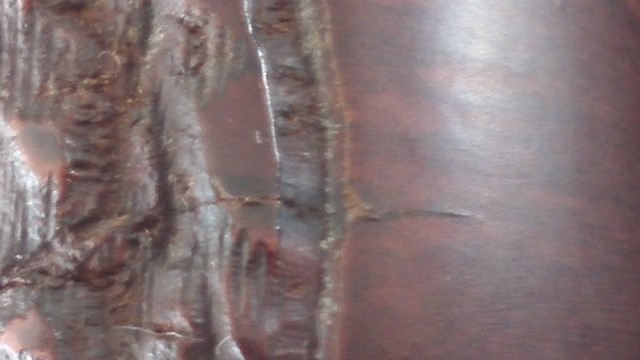
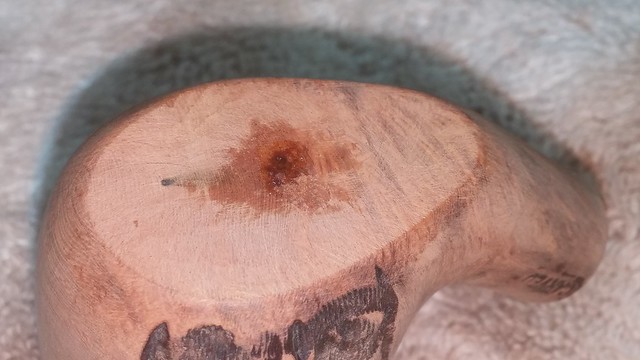
I also discovered a hairline crack running horizontally across the rusticated area into the smooth adjoining briar. The crack was fine and tight, but would need attention before sending the pipe home to its owner.
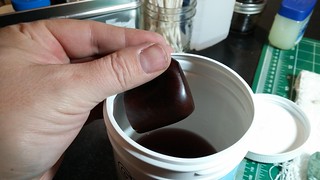
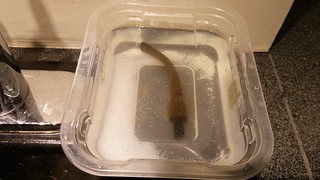
After discussing the pros and cons of several repair methods, the owner decided to have the burnout repaired using JB Weld. A briar plug would have been the traditional repair route, but in this case with only a tiny area to repair, I felt that JB Weld would accomplish a lasting repair quickly and easily. With the way forward set, I began cleanup work on the pipe to prepare it for the structural repairs. The stummel went into an alcohol bath to soak off the old finish and tobacco tars, while the stem went into an Oxyclean bath to lift the oxidation and grime from the vulcanite.
When the stummel came out of the alcohol, I flowed some thin CA glue into the crack on the outside of the bowl. The crack did not extend into the tobacco chamber, so the CA alone should keep it stable. When the CA had cured, I sanded the patched area flush and also topped the bowl gently to remove the remaining rim tars and smooth out most of the rim damage. You can see in the pic below the large chip missing from the rim.
With the extend of the repair work ahead of me, I’d have to refinish the entire stummel. I used a scrap of 220 grit sandpaper to remove the last of the old finish and sand out the small handling marks accumulated over time. Then I mixed up some CA and briar dust and filled the rim chip and the pinhole burnout from the outside.

When the fills cured enough to handle, I used the round needle file again to carefully reroute the airway. I filed at a shallower angle than the original drilling, levering the file down at the mortise end and up at the chamber end in order to “lift” the draft hole and provide a thicker floor under the tobacco chamber once the JB was pressed into the burnout. The picture shows the file mark on the inside edge of the mortise. The results aren’t perfect, but a pipe cleaner fed in through the shank now has a far better chance of entering the tobacco chamber instead of wearing away the briar underneath it.
Before applying the JB, I filed and sanded the CA fills flush with the surrounding wood. I mixed up a small amount of JB Weld and dripped it off a toothpick through the draft hole into the burned out area. I repeated the application until the JB was level with the chamber floor, filling the burnout, the draft hole and also a bit of the airway. A few sharp taps on the table top ensured that no air bubbles remained in the epoxy to create a potential weak spot.
I went with original JB Weld instead of JB Kwik-Weld for this job because of its higher heat resistance rating (up to 500F sustained, 600F for 10 minutes). Original JB has much longer set and cure times (4-6 hours versus 4-6 minutes), so after filling the damaged area, I set the stummel aside for 24 hours to cure. You’ll notice I did not slip a pipe cleaner into the airway before applying the JB.


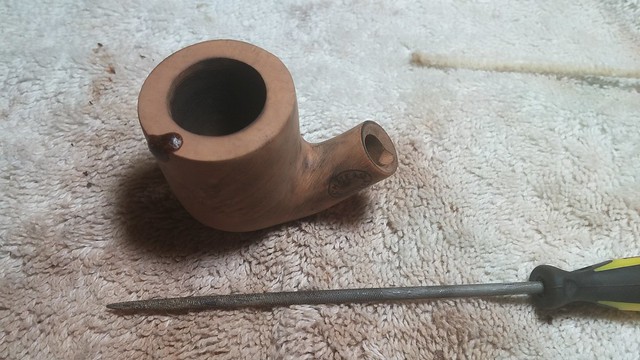
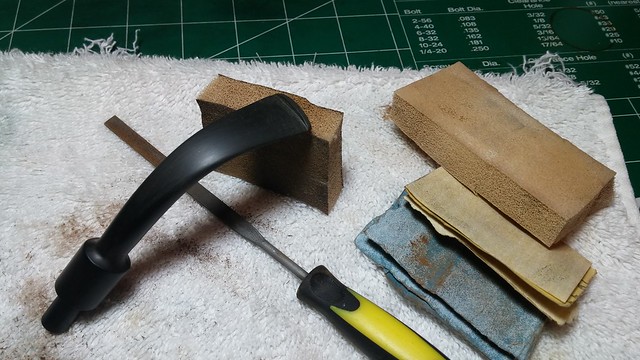
While the stummel repair cured, I pulled the stem from the Oxyclean and scrubbed it down with 0000 steel wool, Magic Eraser and finally 2000-grit wet sandpaper. This removed the oxidation and smoothed out the stem surface. A few pipe cleaners sorted out the internals. I used a flat needle file and an assortment of sandpaper and sanding sponges to sharpen the lines of the button.

After the stummel had had time to cure, I re-drilled the airway, being careful to maintain the new, shallower angle. The plug of JB Weld at the bowl helped provide an “anchor” of sorts for the new, realigned airway. The first pic below shows the new draft hole. The airway no longer extends under the chamber floor. The second pic is a shot down the shank of the pipe. You can see the layer of JB at the bottom of the shaft, illustrating the change in drilling angle. I also smoothed the repair inside the chamber with a bit of sandpaper wrapped around a dowel. It didn’t need much as I hadn’t overfilled it.
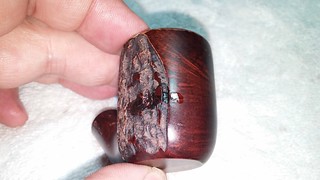
With the heavy work accomplished, it was time to refinish the pipe. I applied a two-colour contrast finish of dark brown dye over black to approximate the original finish, then tidied the tobacco chamber up a bit with a bowl coating of maple syrup and activated charcoal powder. The pipe then went to the buffer for a run of White Diamond compound and several coats of Carnauba wax. The finished pipe is shown below. This Chateau Bruyere is ready for another lifetime of companionable service with its new owner. The new stain lets the grain pop through, and the repairs are nearly invisible. I’m quite satisfied with the results and am confident that the new owner will be as well.
Thanks for looking and, until next time, Happy Piping!


Nice work on it Charles. Did you microdrill a hole at each end of the crack to keep it from spreading? Just curious.
LikeLiked by 1 person
Good question, Steve. I didn’t drill in this case. The crack looks long in the close-up pic but it’s actually only about 1/4″ long. It might come back to bite me, but I’m fairly certain the CA will hold everything in place on this one.
LikeLike
Just curious. Done the same myself.
LikeLike
Charles, that is a very clean bowl repair, with the side crack repair well done too. The carbon should also allow for better protection on the bottom as cake begins to form. That JB Weld is some amazing epoxy. Nice deep stain job too.
LikeLiked by 1 person
Thanks Al. This pipe was fun to work on. I liked figuring out the burnout’s probable cause. Nice to know it’s not always user error!
LikeLike
Very professional! My father had a simpler method for pipes he burned out at the base — stuck a toothpick in the hole and cut off the excess from each end. What can I say? I sure wouldn’t buy one of his if it appeared on eBay, but he seemed to be fine, smoking away.
LikeLiked by 1 person
Ingenious solution if not perhaps the most permanent! 😂
LikeLike
Indeed, nothing is permanent, grasshopper.
LikeLike
Great job on an heirloom piece!
LikeLiked by 1 person
Thanks. It was definitely worth the effort. The owner is thrilled to be able to light up his grandpa’s pipe.
LikeLike
Very nice work! The repairs are top notch.
Its a great thing to bring back a pipe from a family member. I can imagine the powerful feeling it gives the owner to smoke it. I wish i had some of my uncles old pipes but they are long gone.
LikeLiked by 1 person
Thanks Troy. Working on pipes with great value to their owner is nerve wracking but very rewarding.
LikeLike