
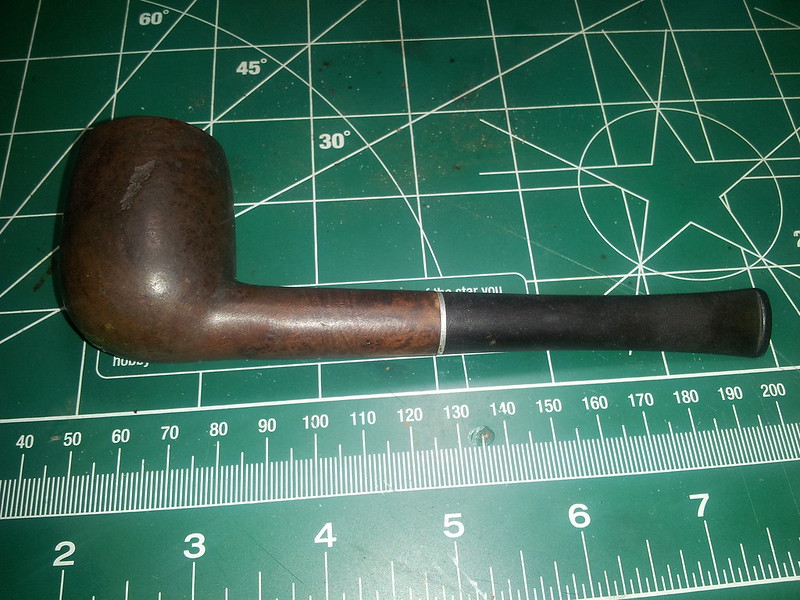
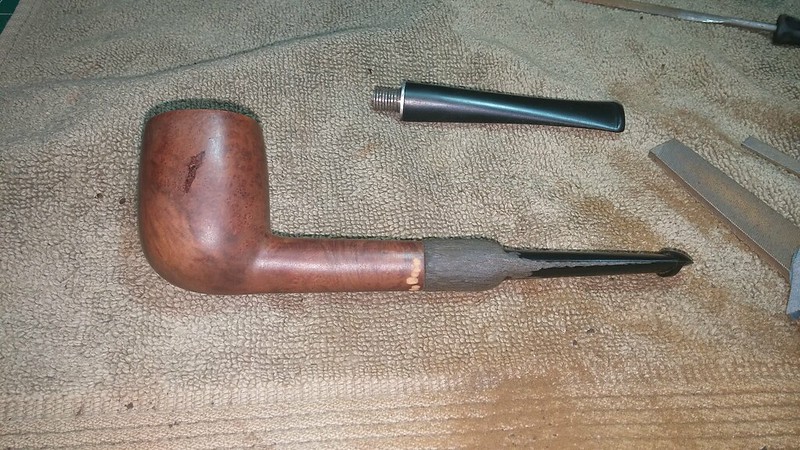
I picked up this old billiard pipe at a local antique market. The stampings were so far gone as to be unreadable, but the pipe seemed to be in decent shape otherwise. The stem was overclocked, and there were a few fills that would need replacing. The pipe was dirty overall, with a cake buildup in the bowl and a LOT of tars and other crud nearly filling the screw-on stem. This is what happens when you smoke a filter pipe without the filter in place. Ick.
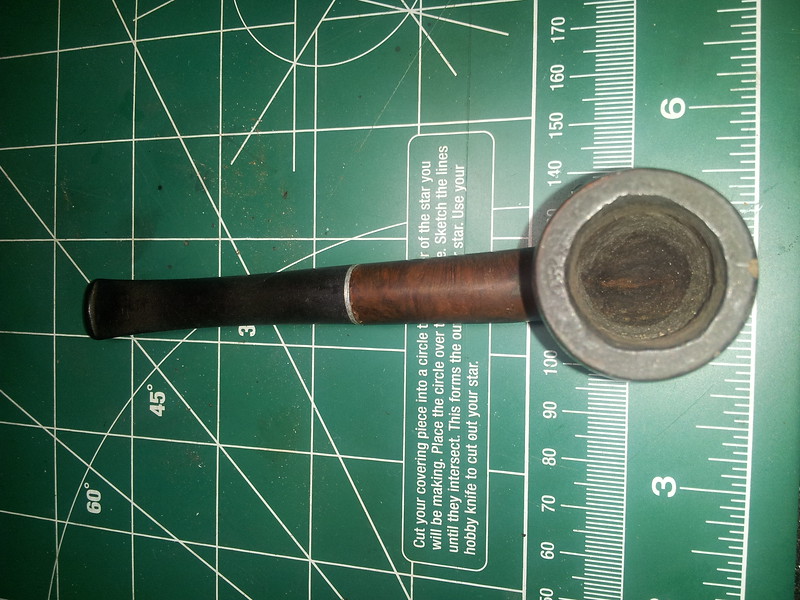

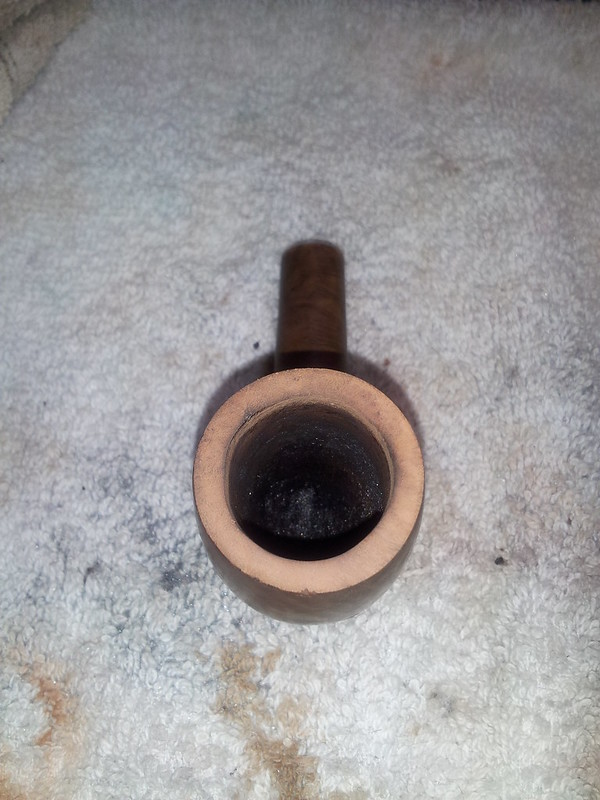
I started things off by reaming out the bowl and checking the tobacco chamber for damage. So far so good – no burnouts or cracks!
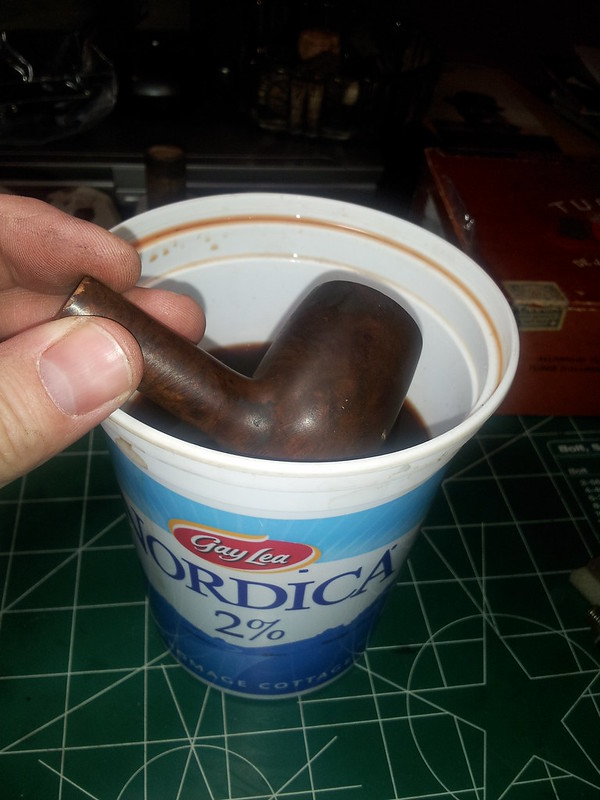
Knowing I had fills to deal with, I dropped the reamed stummel into an overnight alcohol soak. The alcohol softens the pink putty fills, making them easy to pick out of the briar. The soak also dissolves the tars and other crud inside the pipe’s airway. Bonus. The stem went into its own bath of Oxyclean and warm water.
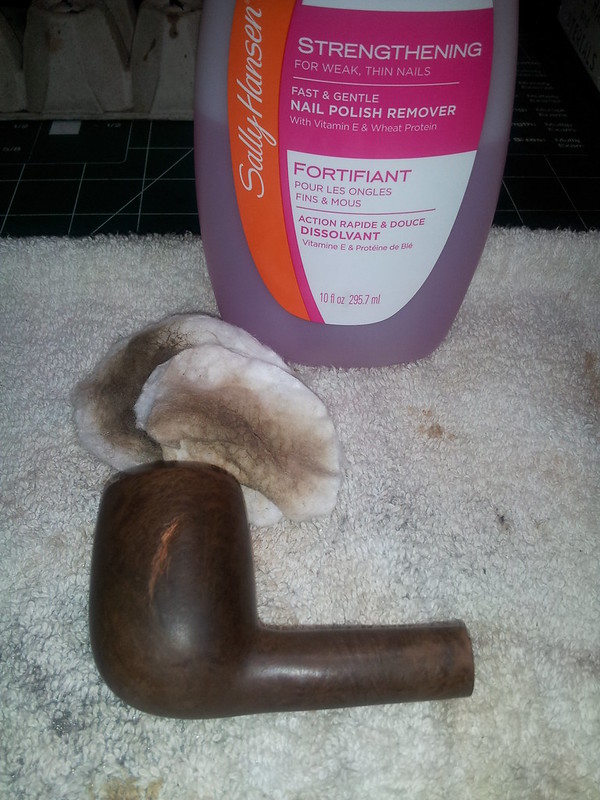
The next day I pulled the stummel from the alcohol and scrubbed it down with an old towel. I scraped out the old putty fills with a dental pick and followed up with a wipe of nail polish remover (aka acetone) to remove the last of the old finish.
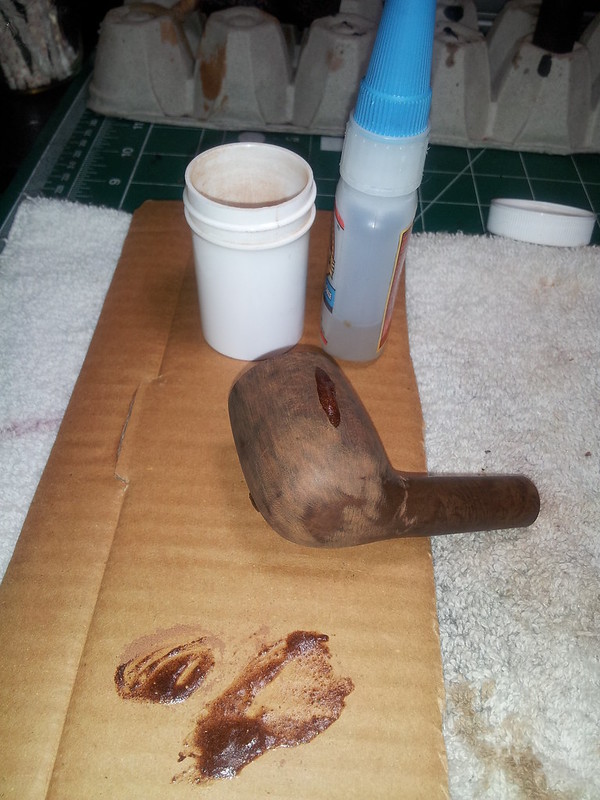
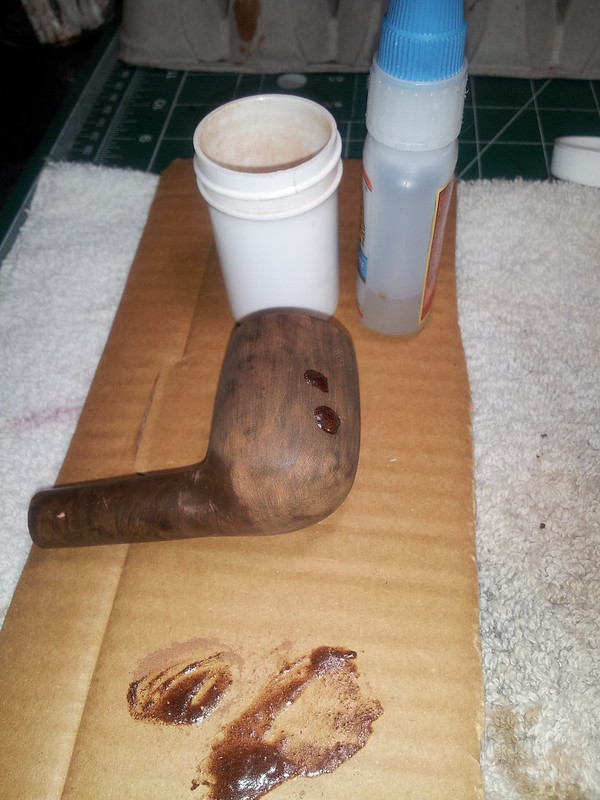
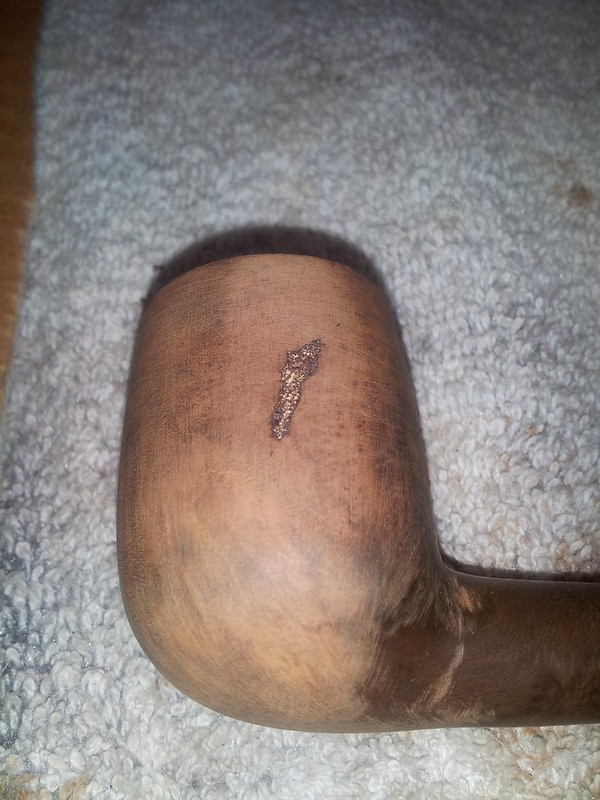
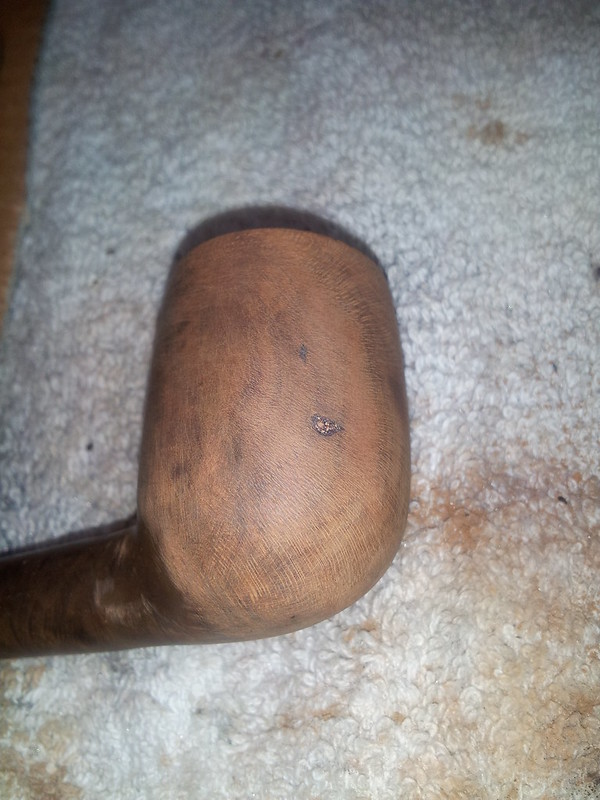
Then it was time to fill the flaws in the briar with a mixture of CA glue and briar dust. I let the fills cure and then sanded everything flush.
A gentle topping of the bowl removed a few small dents and square everything up.
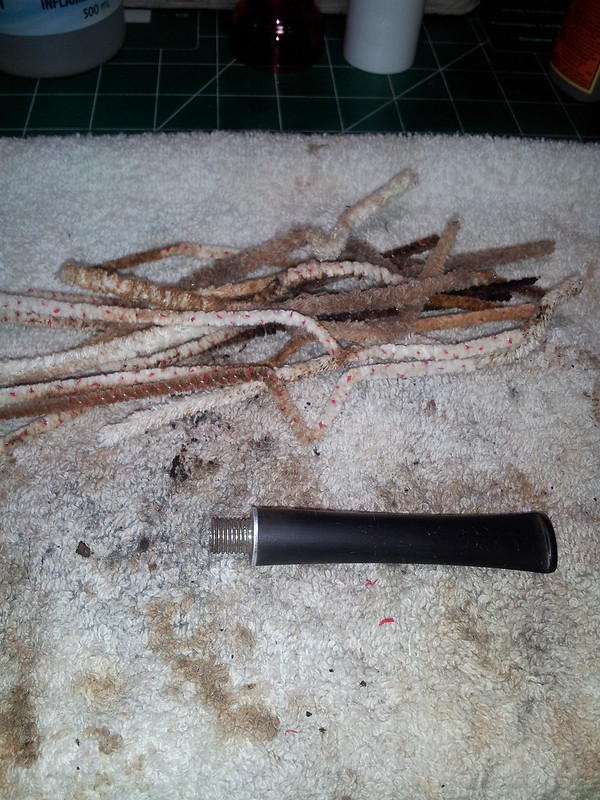
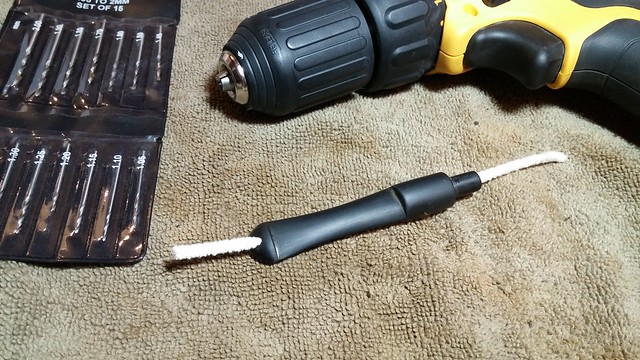
Moving to the stem, I pulled it from the Oxyclean bath and scrubbed it down with 0000 steel wool and Magic Eraser. It cleaned up rather well. Cleaning the stem’s airway, however, took more than a few pipe cleaners.
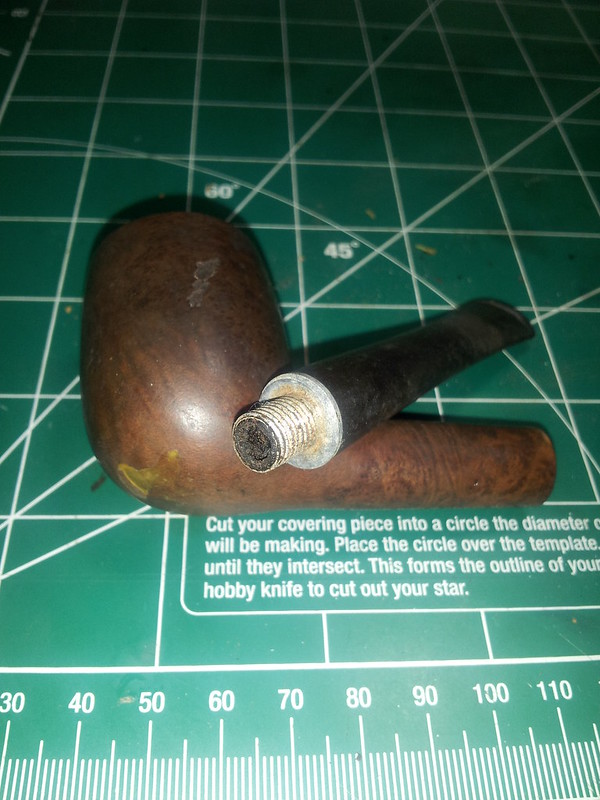
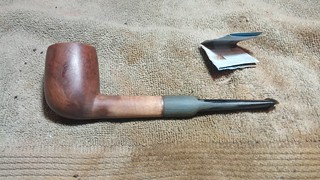
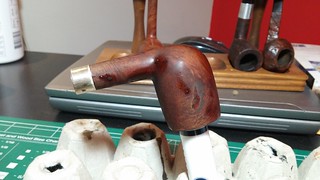
It was as I was reassembling the freshly cleaned pipe that I had a setback – the threads stripped inside the mortise. Ugh. I can’t say I was surprised; mating aluminum with wood in this way is always a bit dicey. I could probably have repaired the briar threads with a bit of wood glue, but I decided to have some fun with this mystery pipe and re-stem it, converting it to a push tenon in the process. I dug about in my stem box and came up with a round-shanked P-lip saddle stem that I thought would work well with the stummel. I sanded down the tenon on the new stem until it fit well in the mortise. The stem diameter was larger than the shank, so it would take some work to get things to fit properly. This pic was taken as I started to adjust the contours of the stem.
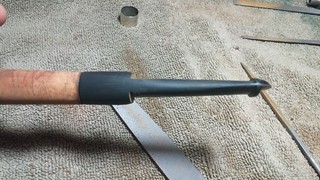
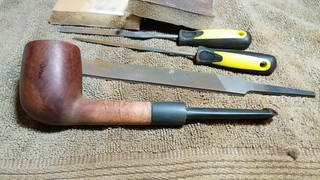
I used my Dremel tool and sanding drum to quickly reduce the size of the stem and then switched to a file to fine-tune the fit. This series of pics illustrates how I reworked the shape and size of the stem. In addition to sizing the diameter of the shank end, I re-cut the saddle and thinned the bit down a fair bit. I rather like the new, more elegant profile.

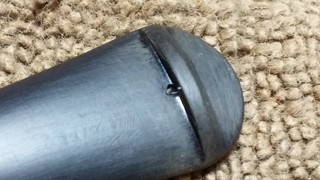
The stem had left the factory only partially drilled – the airway was drilled from tenon to just short of the P-lip, but the air hole, marked on the stem by a depression in the vulcanite, was undrilled. I used a succession of small drill bits, held at an approximately 45 degree angle, to drill out the air hole and complete the airway.
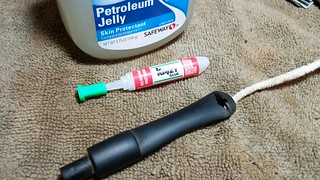
Sadly I got a bit overenthusiastic with the drill, and managed to pop right through the bottom of the bit. Thankfully, the puncture was tiny and easily filled with a bit of CA glue. To ensure I didn’t plug the airway during the repair, I dipped the end of a pipe cleaner in vaseline and slipped it into the bit.
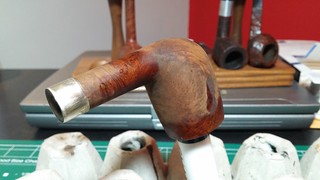
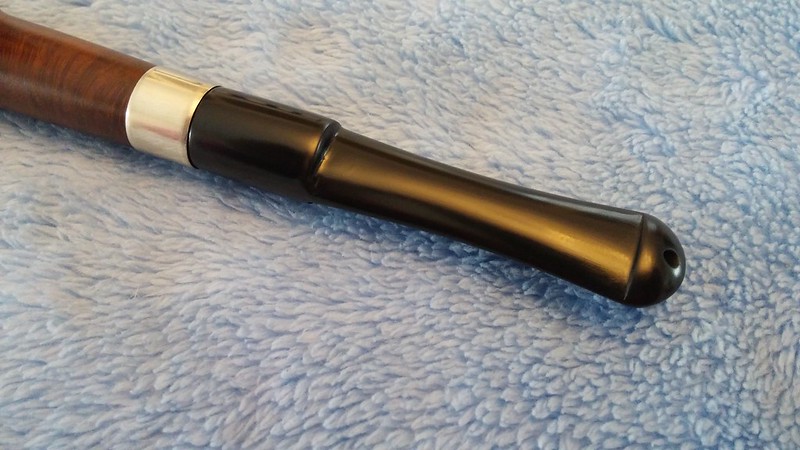
The pipe was coming together nicely, but I thought it was a bit dull. My kids agreed that a nickel band would spruce things up. I found a band in my supplies and pressure-fit it to the end of the shank. Not too shabby!

Then it was time to stain the briar. The large fill on the left side of the bowl would need a fairly dark finish to push it into the background. I started with a coat of Fiebing’s Black leather dye to highlight the grain. When the dye had dried, I removed most of the black, leaving the colour only in the grain. I followed the black up with a layer of Saddle Tan leather dye and several wash-coats of a diluted blend of Saddle Tan and Dark Brown dyes. Each layer of colour deepened the finished briar and pushed the fills further into the background.
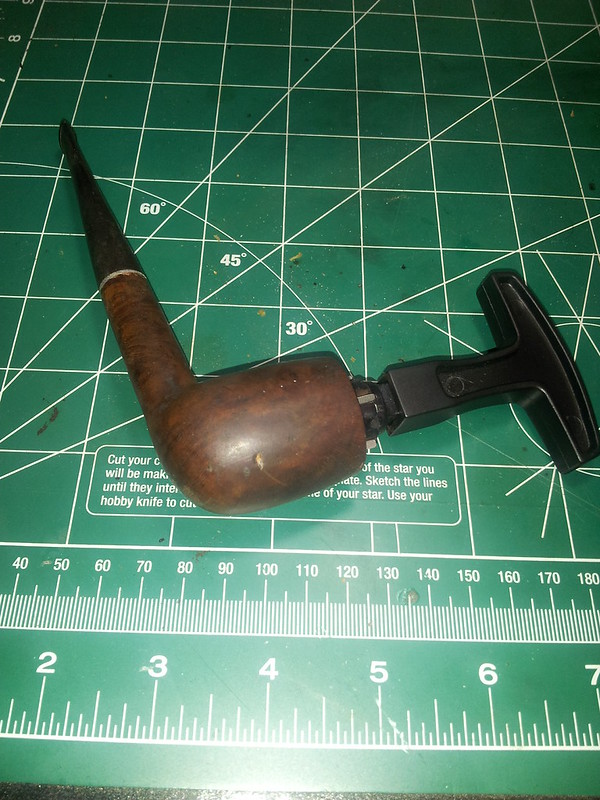
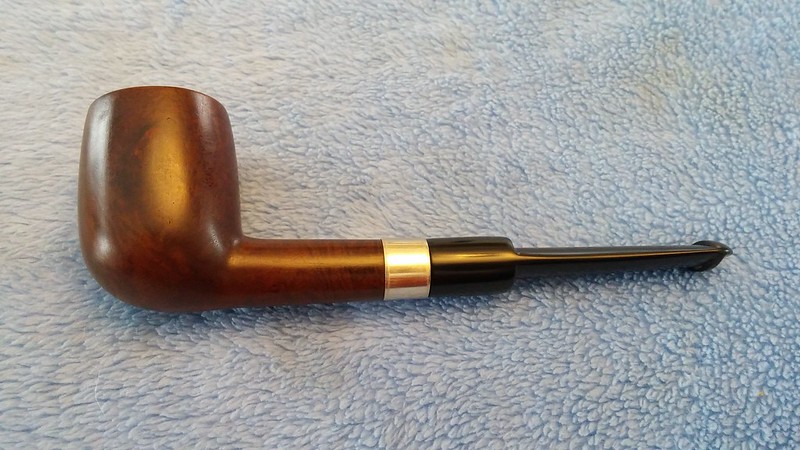
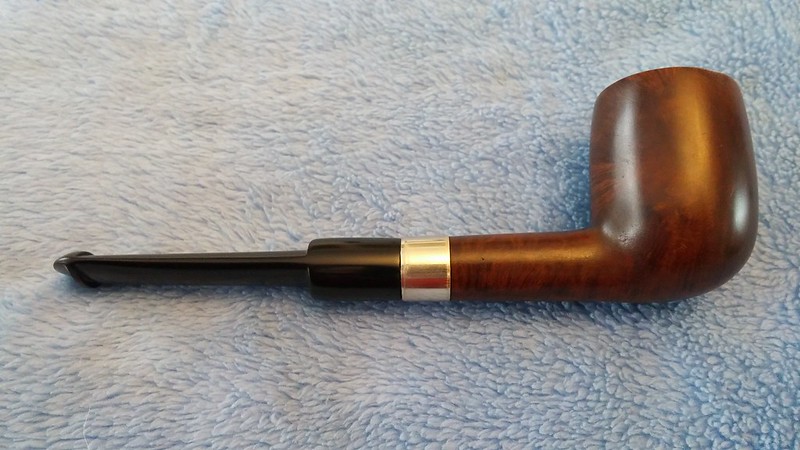
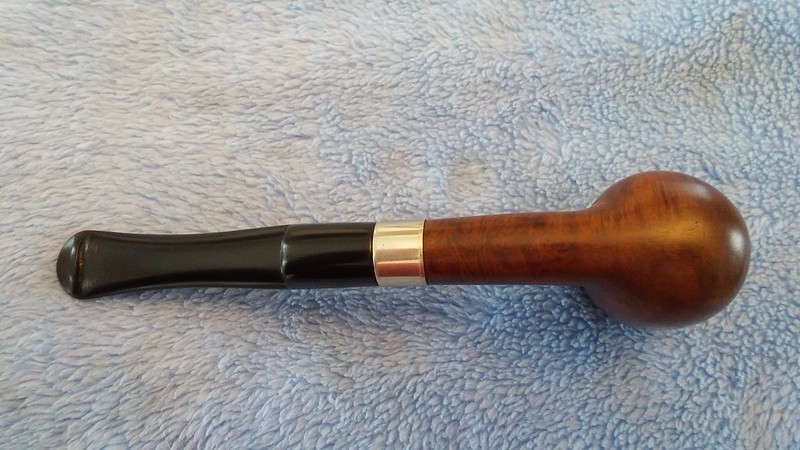
Finally it was time for buffing and polishing. I buffed both stummel and stem with White Diamond on the wheel followed by several coats of Carnauba wax. The finished pipe is ready for an inaugural bowl to celebrate its rebirth. I like the deep, rich vintage colour of the briar and the new stem gives this (probably) American-made stummel a rather European look, enhanced by the bling of the nickel band.
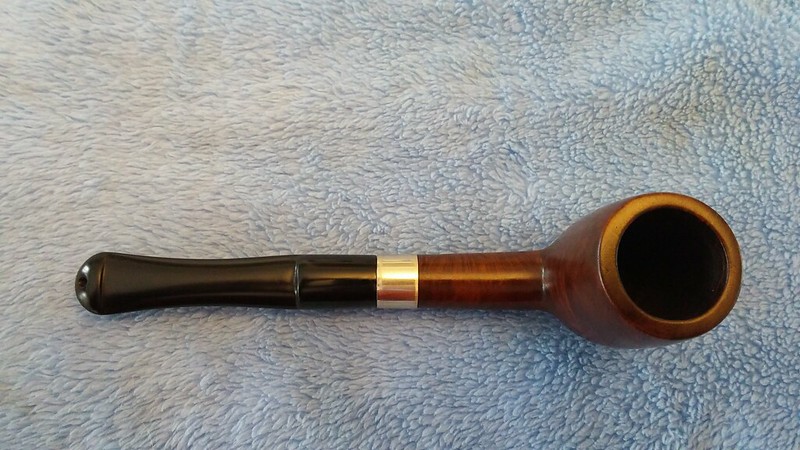
Here’s the finished pipe. Thanks for looking, and until next time, Happy Piping!

Charles, I like the way you got the fills to almost disappear without hiding the grain. Nice save on a pipe that’s seen better days.
LikeLiked by 1 person
Thanks Al. The trick for me is to wash the colour on instead of applying a solid coat. This gives a deeper translucent finish.
LikeLike
Wow, that was transformed. I love the elegance of a p-lip stem and silver band, good choice. Excellent job on the fill fix as well.
LikeLiked by 1 person
Really well done Charles. I like the finished look. That is a transformation!
LikeLiked by 1 person
Thanks Steve. I let this one take me where it wanted to go, which is half the fun of basket pipes.
LikeLike
I know that is what I like about them as well. I have a few bowls in a box here that will allow that fun.
LikeLiked by 1 person
Reblogged this on rebornpipes and commented:
Great transformation on this one. Creative solutions to several challenges
LikeLiked by 1 person
Very nice, Charles! I have not run across an aluminum tenon that threaded into briar before – seems like a poor design. I like your solution to make it a push stem – makes mush more sense, And your fills look great!
LikeLiked by 1 person
I agree Aaron. Aluminum and briar don’t work well together as a threaded joint. Inevitably the wood threads will strip as they did here.
LikeLike
Got to love a classic billiard. You certainly saved that one from a sad life as a dust collector, awesome save.
LikeLiked by 1 person
Just received it today. I love this pipe. You’ve taken a beat up, dime-a-dozen antique store pipe and made it look like a beautiful old Irish pipe. I’m calling it my “poor man’s Peterson” 😉
LikeLiked by 1 person
Super! Glad it’s working for you, Paul. 👍
LikeLike