
An email pinged into my inbox a few weeks ago, sent by a fellow member of the Briars & Bull Pipe Club here in Kitchener. He had, he said, an old Dunhill pipe he’d like to have cleaned up, and would I be interested in tackling the project for him?
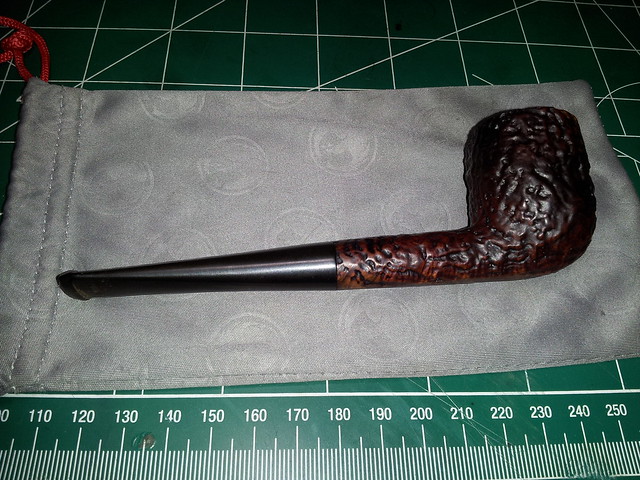
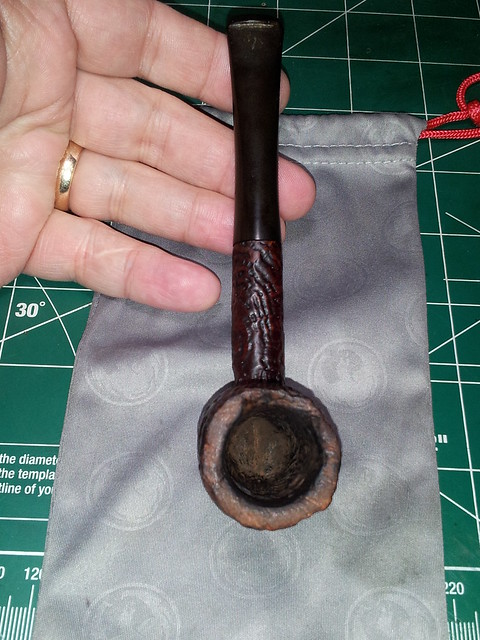
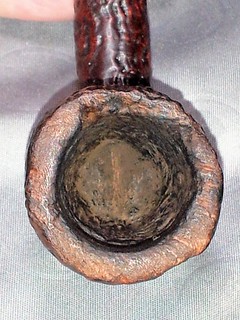
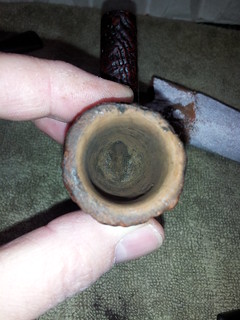
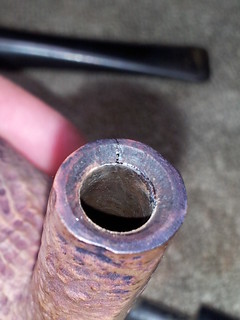
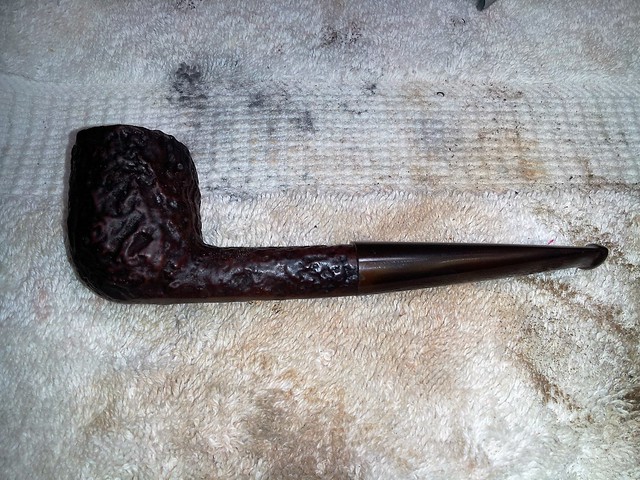
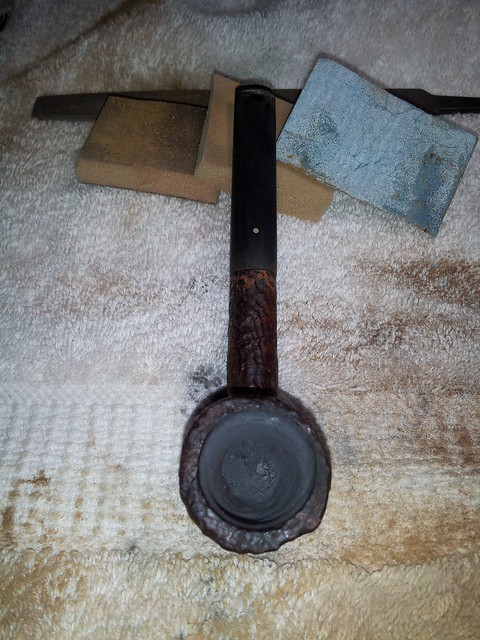
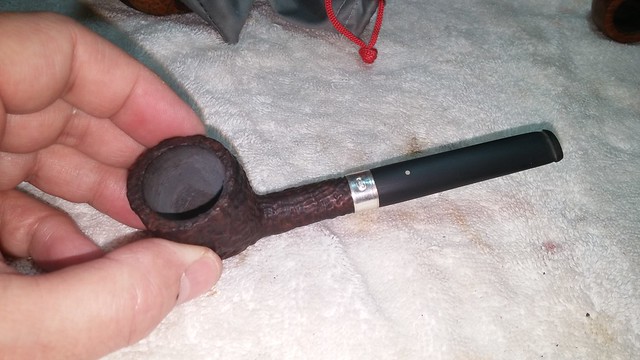
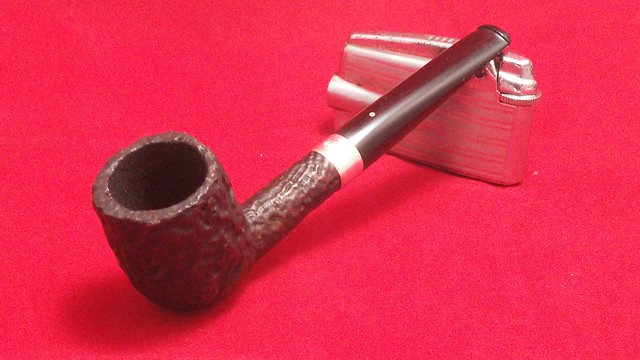
I said yes, of course, and soon after I had the patient in hand. The owner was right – it was an OLD Dunhill, though exaclty how old would take a bit of research. At first glance, the pipe looked good, but in the way that an old, well-worn tuxedo looks good – far from pristine, a bit thin at collar and cuffs, but still a great suit. Someone had given this old suit – er, I mean pipe – a brushing up. The stummel had been polished up, and the replacement stem showed a few tooth dents but fit well. Something about the finish, however, struck me as amateurish. More on that later. What immediately jumped out at me after only a brief examination were the large chunk missing from the rear rim of the pipe, and the thinness of the chamber wall in the same area. I told the owner I would give the pipe a thorough going over and report back on a plan of action. Here is the pipe as received.
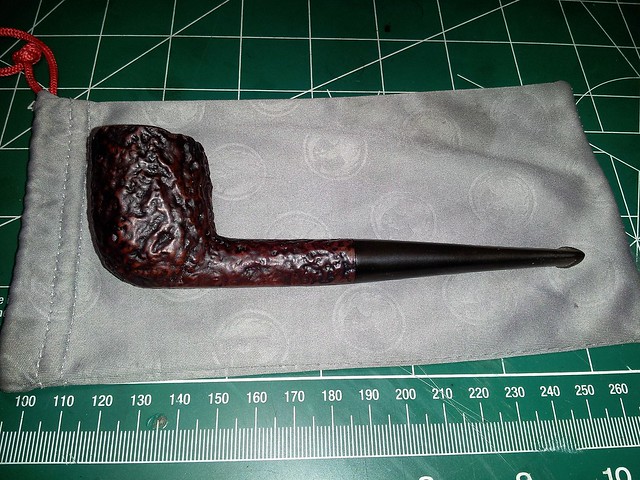
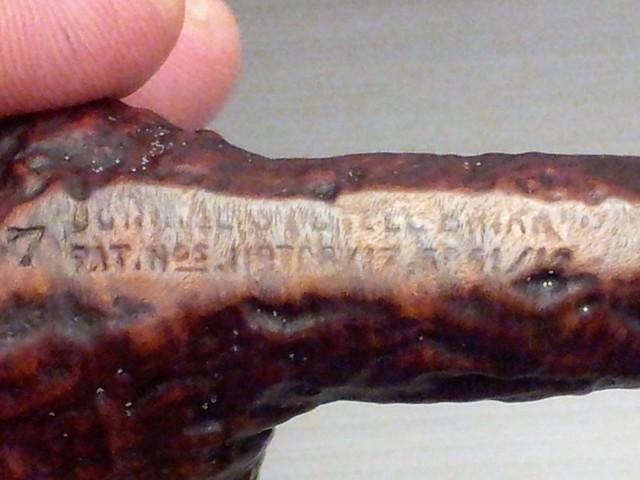
The stampings on the bottom of the pipe were worn but still readable. Under magnifier and bright light, I read from left to right: “7” (a shape number) followed by “DUNHILL’S “SHELL BRIAR”” over “PAT. NOS. 119708.17. 5861.12.”. A dig through the Dunhill pages at Pipephil.eu produced the following:
“From 1921 trough 1931 (inclusive) Shells were stamped DUNHILL’S “SHELL” if there was a MADE IN ENGLAND line. When MADE IN ENGLAND was missing they were stamped DUNHILL’S “SHELL BRIAR””
This information, combined with the lack of a date stamp (used by Dunhill since 1922) identifies this pipe as having been produced between 1918 (when Dunhill patented the sandblasting process) and 1921. This pipe could well be celebrating its 98th birthday! Knowing that, I was determined to approach this restoration with extra care and respect.
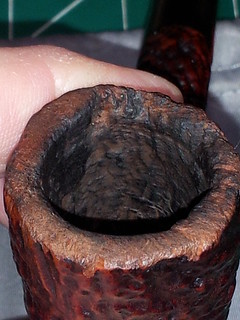
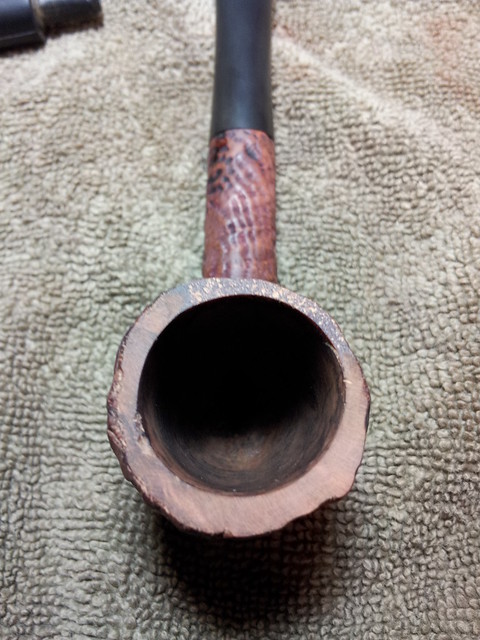
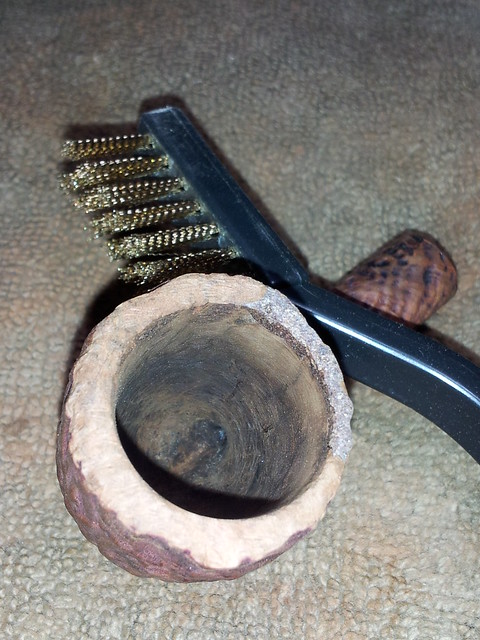
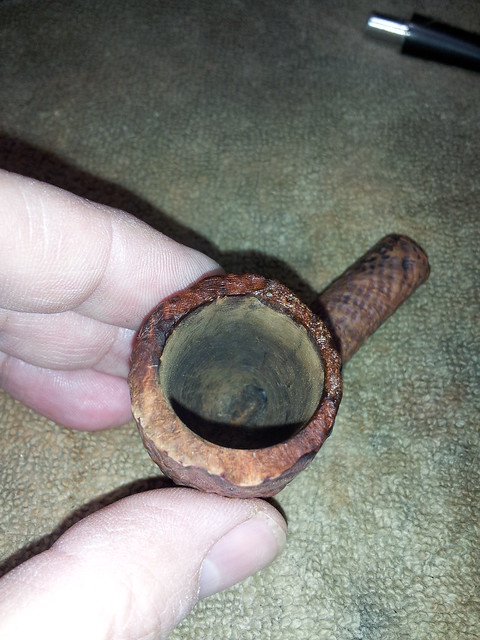
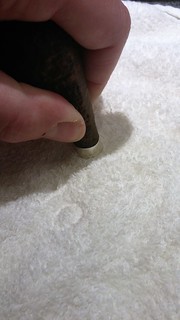
I began the work with a gentle reaming of the bowl to clean up the uneven cake and allow for a close inspection of the chamber walls. I started with the smallest reamer head on my Castleford reamer and moved up through the heads until the chamber walls were clean, I finished the reaming with a bit of old sandpaper wrapped around a dowel, and took these pics. You can see that the chewed up appearance of the inner rim has been greatly improved already.
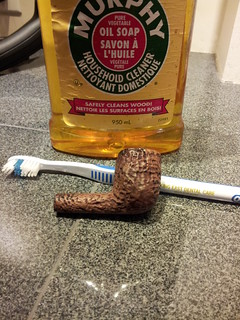
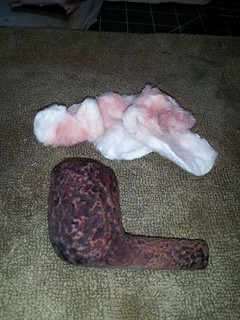
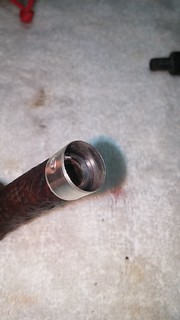
Next up, the stummel got a sound scrubbing with Murphy’s Oil Soap and an old toothbrush. I use the soap full strength as it quickly but gently removes any old wax from the briar. This is where the amateurish polishing job was rammed home. As I worked, the suds from the Murphy’s soap began to turn from white to pink. The camera didn’t capture the hue very well, but the bubblegum soap suds told the story – someone had shine the stummel up with oxblood shoe polish. In the end, the stummel got the Murphy’s treatment twice, followed by a wipe with nail polish remover and cotton pads. I worked at the briar until I couldn’t lift any more red colour from the wood.
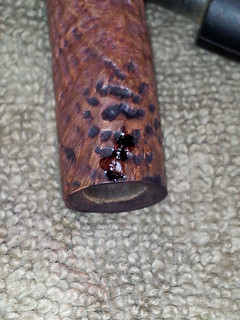
With all the muck finally off the briar, I went over the stummel carefully to check for any damage that had been hiding under the wax. I found one – the shank had a short, tight crack at the mortise. I gently pried the crack open and ran a drop of CA glue into it before pinching the crack tightly shut. I held the shank that way for a few minutes to let the CA cure. I would have to band the shank later, but for now it would hold together while I completed the stummel work.
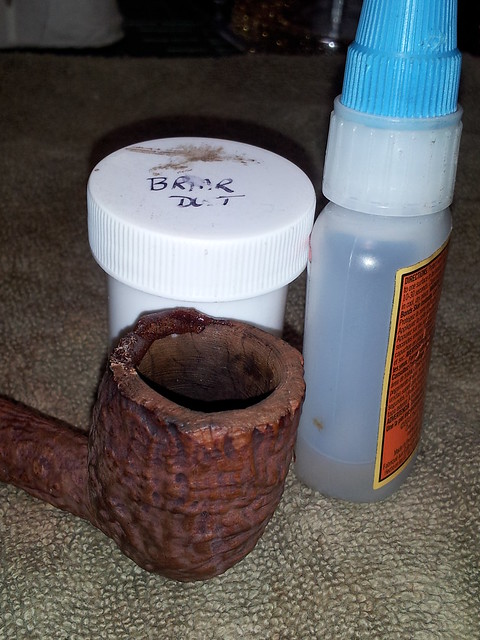
As promised, I passed on all my findings to the pipe’s owner who, apart from requesting a sterling silver band for the shank repair, gave me a very generous carte blanche to proceed as I saw fit. I promised him I’d care for the pipe as if it were my own, and then considered how best to approach the rim repair. The missing bit of briar was a few millimetres deep and extended around the left rear quadrant of the rim. I could top the bowl and sand the rest of the rim down to the level of the missing chunk, or I could attempt to rebuild the rim with CA glue and briar dust. In the end, I felt that sanding 2-3mm off the top of the bowl was too destructive an approach to take with this nearly-centenarian pipe. I felt a strong need to repair and preserve this example of a “first generation” Shell Briar, so I mixed CA glue and briar dust to form a patching compound and began layering the material onto the pipe rim.
I let the CA glue cure completely before using the topping board to remove the excess material and level out the rim.
Now the rim was flat again, but the smooth surface stood out in sharp contrast to the sandblast finish on the rest of the stummel. I used my rotary tool and a series of carving burrs to rusticate the rim, replicating as best I could the dips and peaks of the sandblast. I brushed the rusticated area with a brass brush to remove the sharp edges of the briar, and then wet the new rim with a bit of water to get an idea of how things would look after the pipe was refinished. Not too shabby.
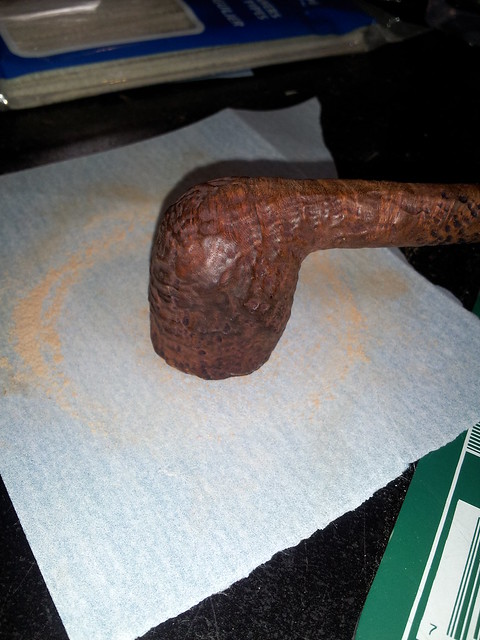
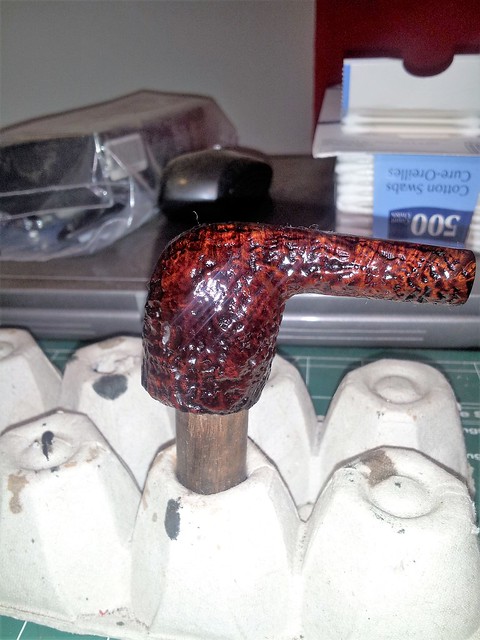
Time for the new Shell Briar stain. I applied a heavy coat of Fiebing’s Saddle Tan leather dye, full strength, to the stummel. When it had dried, I wiped on a blend of Dark Brown and Black dyes, and allowed it to dry before rubbing the stummel gently with 0000 steel wool to remove the brown/black colour from the high points of the sandblast finish. This allowed the tan colour to shine through from underneath. When I had achieved the desired effect, I wiped on a coat of mineral oil to deepen the colours and rehydrate the briar.
I am told that these early Dunhill Shall Briars are known for having thin chamber walls. I believe that Alfred Dunhill originally sandblasted stummels that otherwise would have been used for Bruyere pipes, and the blasting simply ate away some of the wall thickness. In later years, this issue was corrected by carving thicker walls on stummels destined to become Shell Briars. That is my semi-educated guess; if anyone knows the real story, please feel free to share in the comments section below.
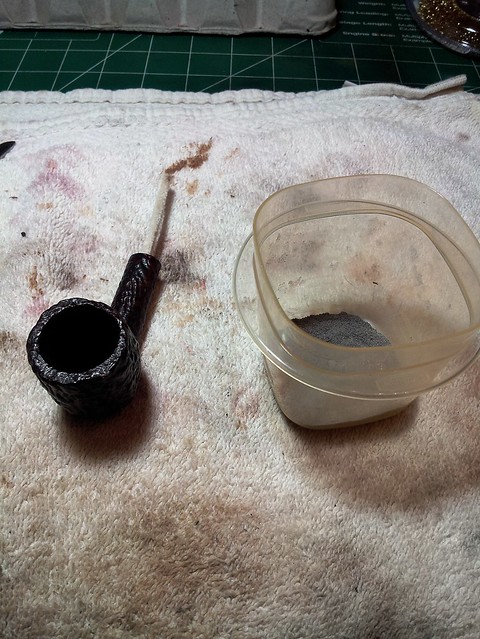
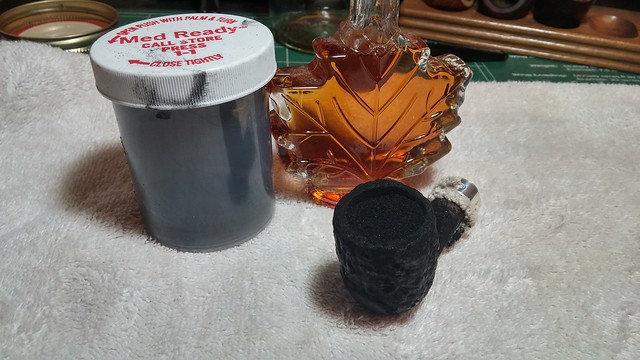
At any rate, I wanted to bulk up the thin spot on this pipe’s chamber wall. For this I used the ubiquitous pipe mud, aka cigar ash and water. I mixed the two ingredients together to form a dryish paste that would just stick to the chamber wall – much like a dry thinset mortar. I used a pipe tool, wooden spatula and ultimately my fingers to apply and smooth the pipe mud into the chamber, then set the stummel aside to dry. The end result was a layer of mud about 3/32” thick that would provide a bit of protection to the briar. I added another layer of bowl protection by applying a bowl coating over the pipe mud. With a pipe cleaner in the airway to make sure I didn’t plug up the works, I wiped a roughly 1mm thick layer of maple syrup onto the chamber walls and floor and poured in some charcoal powder. I let the pipe sit for an hour to allow the syrup to absorb as much charcoal as it could, and then dumped the bowl out and set the stummel aside to dry while I worked on the stem.

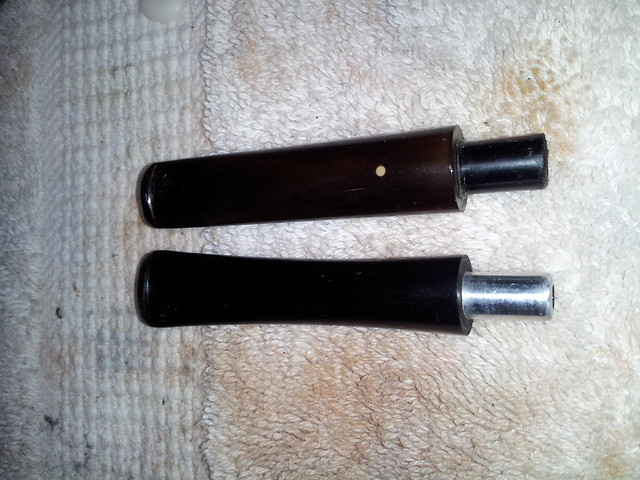
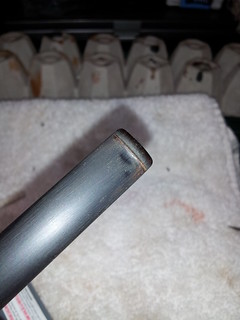
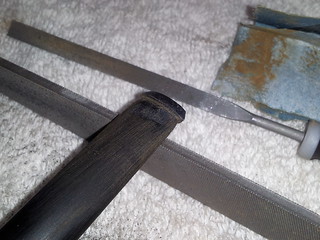
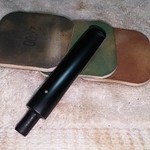
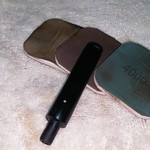
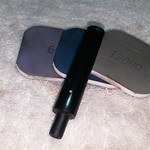
Sometimes during a particularly tricky or involved restoration, the Pipe Gods are afflicted by a sudden bout of whimsy or outright spite and something goes awry in the work; other times (perhaps pleased with my latest burnt baccy offering?), Serendipity smiles on a restoration and things just seem to come together perfectly on their own. This, thankfully, was one of the latter examples. I was chatting with Steve Laug of Reborn Pipes and mentioned this project and the well-fitting but sadly inappropriate replacement stem that had come with the pipe (an aluminum tenon on a vintage Dunnie??). The Pipe Gods were feeling very good that day – lo and behold, didn’t Steve have an original, early 1920’s Dunhill stem in his stem can that he would be happy to send my way – gratis, I might add! (Have I mentioned that Steve is a great guy? I definitely owe him a beer or two for this gift.) Here is the Dunhill stem next to the replacement stem that came with the pipe.
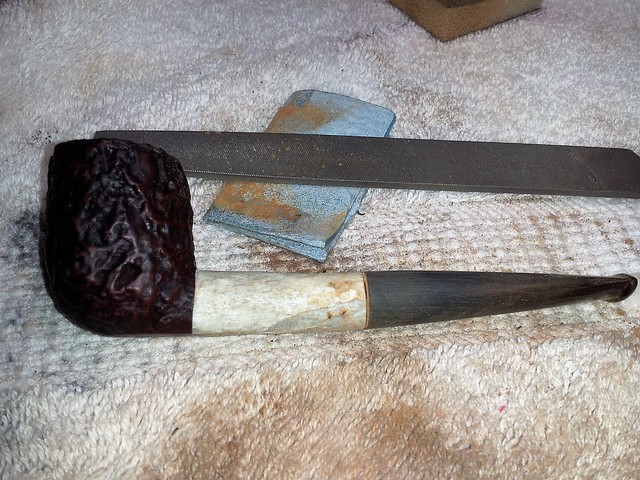
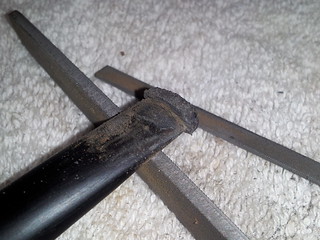
The tenon on the Dunhill stem was a bit large for the mortise, but quickly came into line with a bit of sandpaper. The stem overhung the shank by about 1mm, so I wrapped the freshly-finished shank with masking tape before filing and sanding the stem down. I spent a fair bit of time working on the contours of the stem, as simply fitting it at the mortise left a bulge in the stem that would definitely not do. Eventually everything flowed smoothly from shank to button, and I moved on to the tooth dents and worn button.
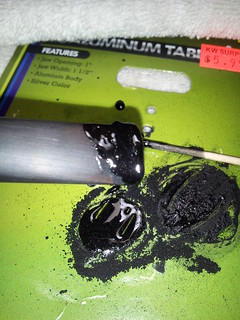
I needed to fill the dents and sharpen the button a bit, so I applied a mixture of CA glue and charcoal powder to the affected areas and let it cure completely. Then a series of files and sandpapers were used to remove the excess fill material and cut and shape the button. I used pictures of vintage Dunhill stem buttons as references while doing this work, as I wanted to recreate an early-Twentieth Century button as accurately as possible. You’d think “a button is a button”, until you try to reproduce one!
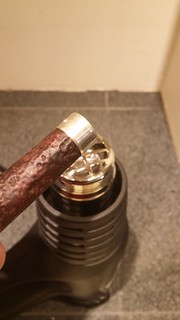
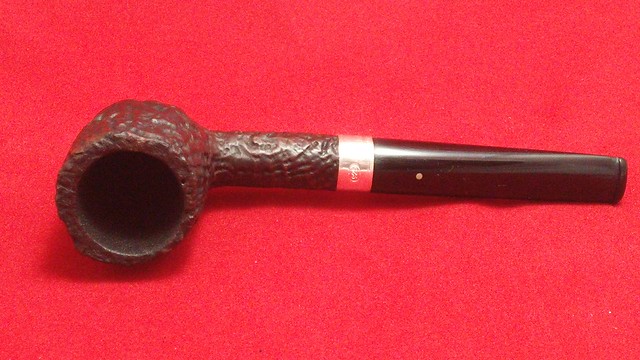
I had been dragging out the work on this pipe as I waited for my order of shank bands to come in. I really wish there was a Canadian supplier for pipe repair parts, but my order from the USA did finally manage to make its way to Ontario. The pipe’s owner had requested a sterling silver band for this Dunhill, and after seeing nickel and sterling bands side by side, I heartily agree with the choice.

I slipped the band over the end of the shank and squared everything up. I rather arbitrarily decided to position the hallmark on the top of the shank. A bit of heat courtesy of my heat gun expanded the band sufficiently to allow me to push it completely onto the shank. The band shrank again as it cooled, for a nice tight pressure fit.
With the band in place I finished up the shaping of the stem, and then gave it a polish with 1500 – 12000 grit Micromesh sanding pads. I worked in groups of three sanding pads at a time, wiping the stem with mineral oil in between each set. This put the finishing touch on the stem work, removing the sanding scratches and adding a nice shine to the vulcanite.
I found it both exciting and a little sad to find myself at the end of this restoration project. I quite enjoyed working on this Shell Briar, and part of me will miss it when it goes home to its owner. But a larger part of me will be glad it’s finally off my worktable – a month of working on the same pipe is quite long enough, thanks all the same.
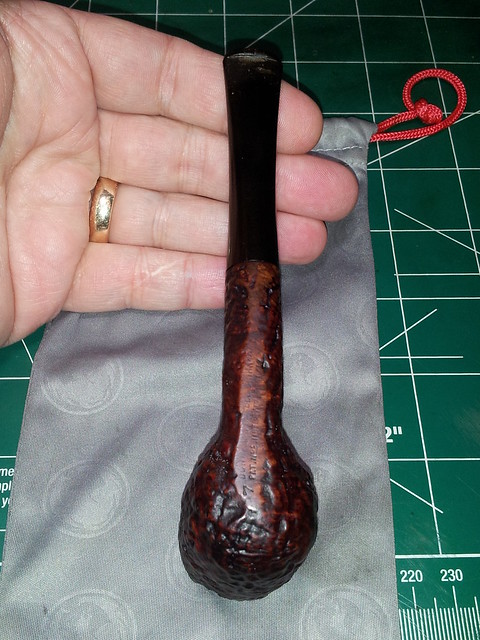
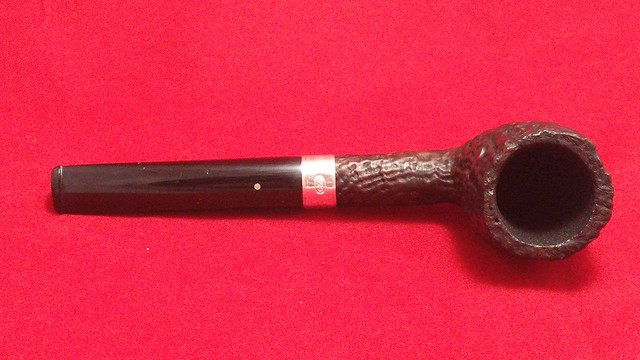
I took the pipe to the buffer and gave it a light run of While Diamond compound followed by several coats of Carnauba wax. This once decrepit old Dunhill is looking like a pipe half its age and is ready for decades of faithful companionship with its new owner. I wish them both a long and fulfilling partnership. Thanks for letting me work on your pipe, Mark. It was a true pleasure.
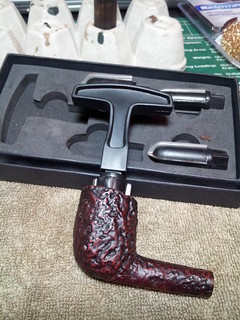
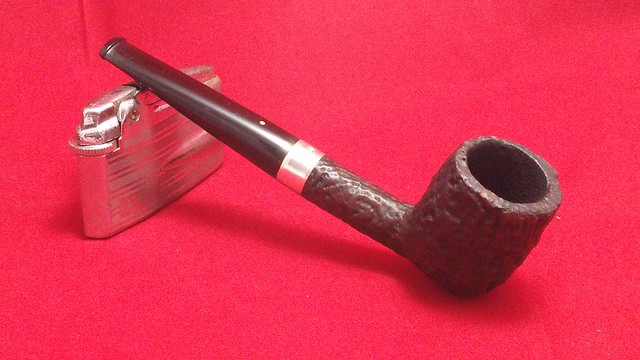
Here’s the finished pipe. Thanks for looking and until next time, Happy Piping!

Great work on that one Charles. it came out looking grand. Well done.
LikeLiked by 1 person
Thanks Steve. Your stem looks great on it!
LikeLike
Reblogged this on rebornpipes and commented:
Charles just posted his work on this one on his blog. It is an old early Dunhill Shell. Some innovative techniques and some patient fussing brought an old wreck back to life. Well done.
LikeLiked by 1 person
What can I say other than, beautiful job! That pipe is a real looker now.
I think your assessment of the thin wall sandblast bowls being made from smooth bowls with flaws is spot on. I have a 1928 Dunhill billiard with an extremely thIn bowl wall.
LikeLiked by 1 person
Good to know my thought processes are still functioning (there are days…. 😉 ). I’d love to see a pic of your ’28.
LikeLike
I’d love to show you some pics, especially since this one had a shank that was broken in two that I repaired. Where can I find your email address? I wouldn’t want you to publish it here, but I do have Steve’s, and I could forward the pics to his email if that’s alright with you both.
LikeLike
Al -I hadn’t realized until you mentioned it that I don’t have contact info on the site! I have rectified that with a new Contact page in the menu. Drop me a quick note and I’ll get back to you asap. 🙂
LikeLike
That is grand on all accounts. What a job – rim build-up, shank repair/band, replace the stem, cut new button – that was a grand slam of pipe repair techniques! I thought you did a great job on the bowl top and matching the sandlbast texture as well as the other tasks. What an interesting read.
LikeLiked by 1 person
Cheers,Al! This was a great project with lots to be done but it came out pretty well. 🙂
LikeLike
You certainly brought that pipe back from a sad shape and fate. Excellent work !!!
LikeLiked by 1 person
Thanks Troy. This resto was a lot of work but very satisfying. I don’t often get to work on such historical pieces.
LikeLike