
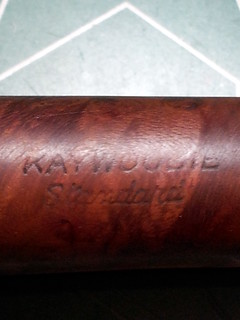
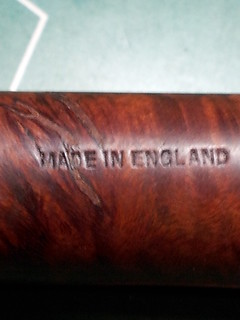
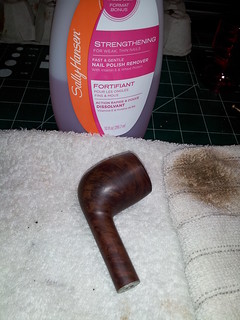
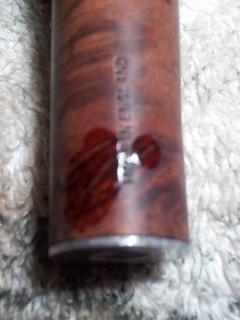
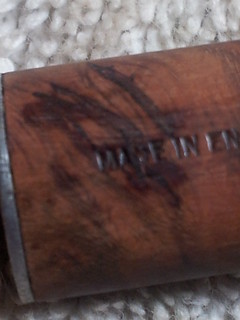
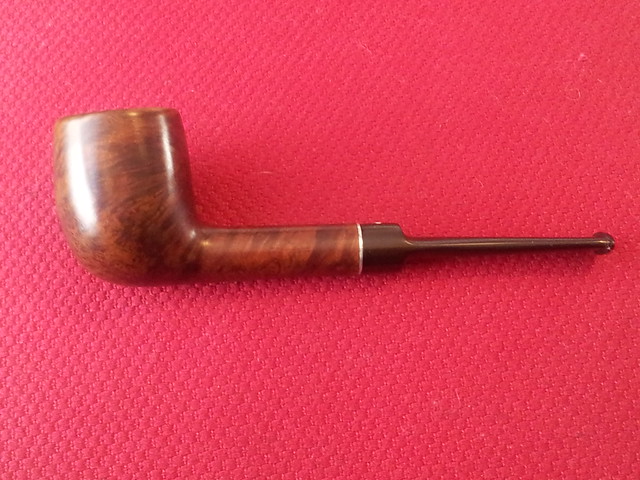
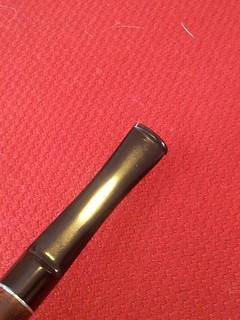
This is the first refurbishment of a half dozen pipes my older daughter and I found at a local antique sale recently. The clover logo on the stem clearly identified the pipe as a Kaywoodie, but it was only at home under better lighting that we spotted the “Made in England” stamp on the right side of the shank.
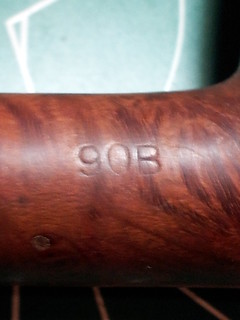
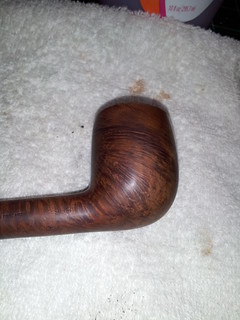
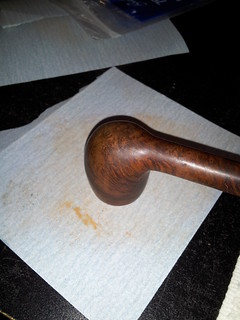
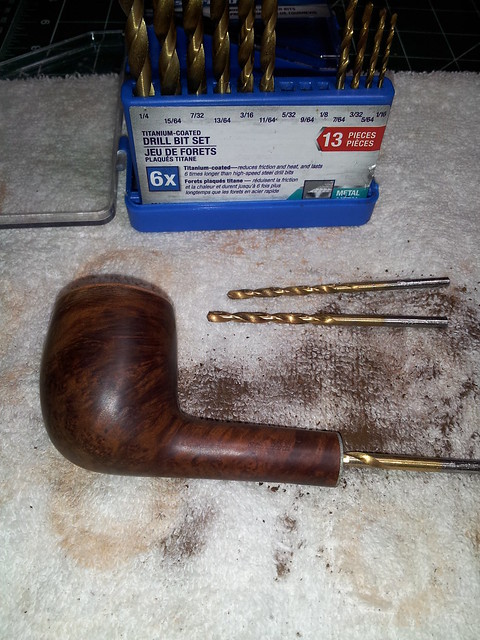
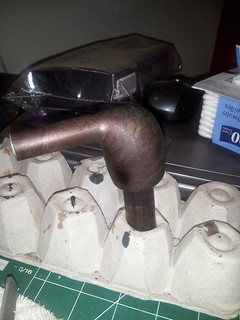
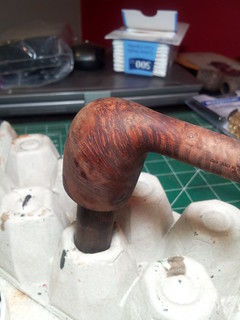
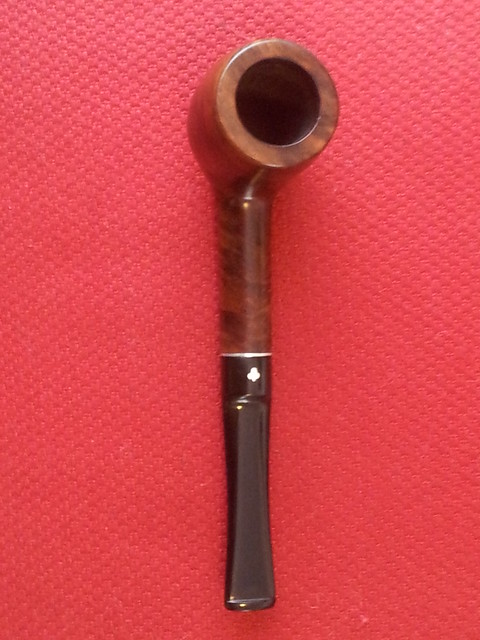
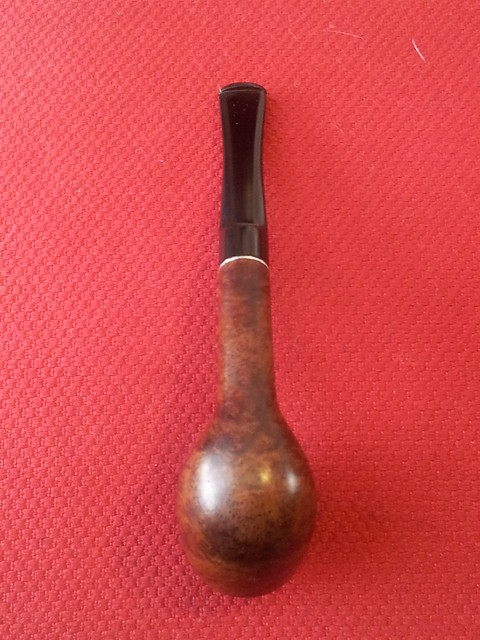
There’s not much information out there about English-made Kaywoodies. Production started in about 1938 as a joint venture between Kaywoodie USA and Comoy’s of London. This relationship lasted until the early 1970’s when Comoy bought out its partner. According to Pipedia, Comoy continues to produce a few pipes marked as Kaywoodie. My guess is that this particular English Kaywoodie dates from the 1960’s. Here are some pics of the pipe as found:
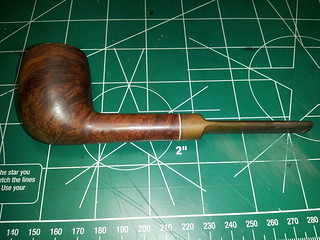
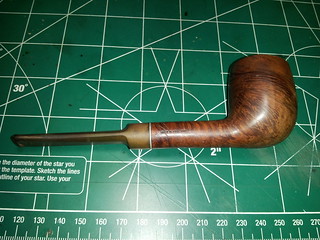
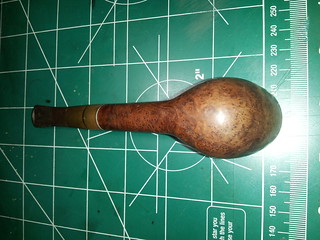
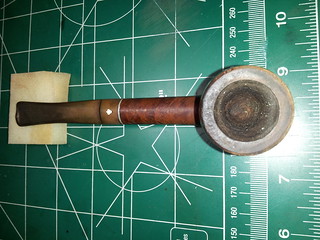

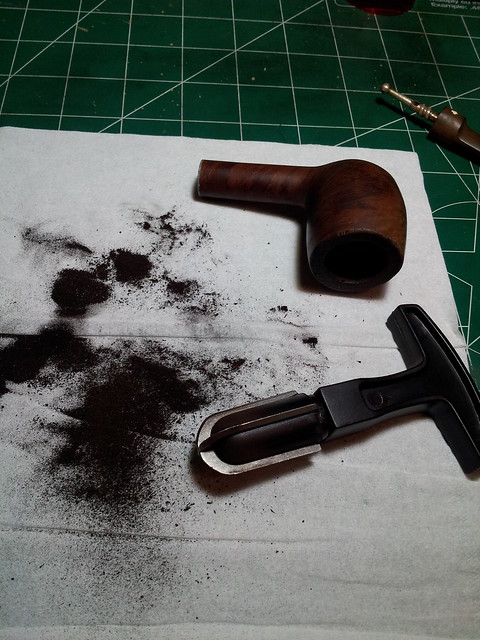
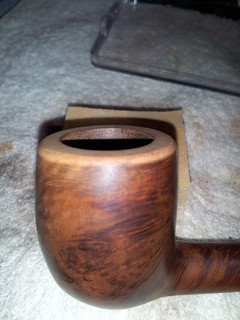
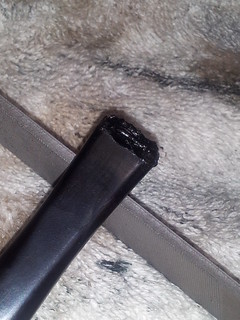
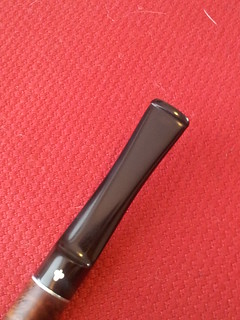
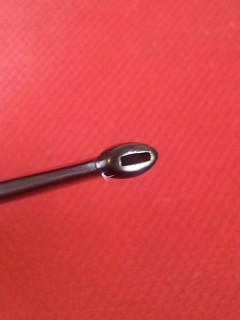
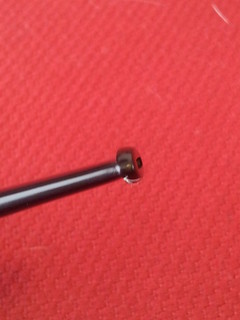
Several restoration issues popped up after looking over the pipe. The pipe had significant cake in the bowl, narrowing the straight-sided tobacco chamber into a restricted cone shape. I couldn’t pass air through the pipe with all the cake in the way. It must have been a trial to smoke it in this condition! The rim was tarry and quite beaten from vigourous dottle-knocking against unforgiving surfaces. The stem was oxidized a sickly green/brown colour, there were several deeper tooth dents on the top surface of the bite area, and the button was half missing. The upper button looked like it had been bitten off, and the lower button was seriously eroded. To finish off the hit-list of repair items, several small fills in the shank had shrunk and would have to be replaced or repaired. Unfortunately, these fills passed right through the “Made in England” stamp, so I’d have to be very careful fixing them.
As Maria suggests in The Sound of Music, I started at the very beginning (it is, after all, a very good place to start), and reamed the cake from the bowl. I started with the smallest cutting head on my Castleford reamer, and worked my way up to the largest cutter that would fit. The reaming exposed a few small and otherwise insignificant heat fissures in the briar but no large cracks or other damage that would have to be addressed.
I wiped the stummel down with acetone to clean up the surface. It didn’t take much effort to make the grain shine through on this pipe. It will be quite attractive when finished.
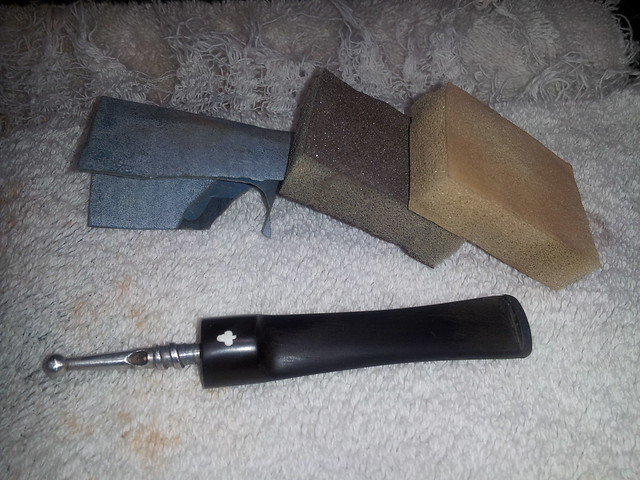
I took a two-pronged approach to the rim repair. First I topped the bowl to grind away the lava buildup and the worst of the damage to the rim top. A deeper topping would have also removed the knocking damage on the outside rim, but at the price of reducing the bowl height more than I thought was warranted. Instead, I used 220-grit sandpaper and medium and fine sanding sponges to bevel the outside rim slightly to erase the remaining damage and restore a smooth, clean look to the stummel.
Reaming the bowl had not opened up the airway completely, so I used several sizes of drill bit, turned by hand, to auger out the accumulated tars and carbon. This quickly cleared the airway and would also help reduce the amount of time spent with pipe cleaners later.
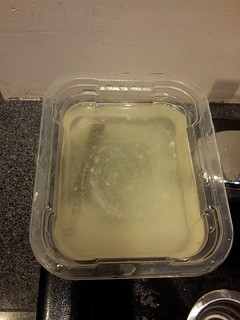
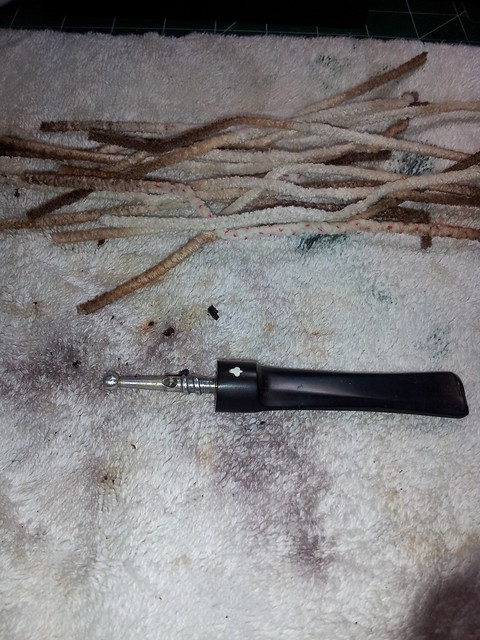
To complete the basic cleaning, I dropped the stummel into an isopropyl alcohol bath and the stem into its own soak of Oxyclean and warm water, and let them both sit for several hours. When they came out, I scrubbed the lifted oxidation off the stem with Magic Eraser and 600-2000 grit wet paper before scrubbing out the internals of both parts with pipe cleaners and more alcohol. The stem in particular was quite dirty. Yum!
The last job on the stummel before refinishing was to address the fills on the shank. In an effort to minimize the risk of damaging the COM stamp bisected by the fills, I elected to drop fill the depressions with clear CA glue and carefully sand the cured glue flush with the shank surface.
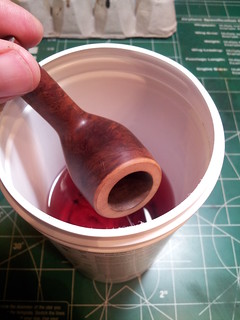
Fills repaired, I went over the stummel with a scrap of worn, fine-grit sanding sponge to smooth out any remaining irregularities before applying a base coat of black Fiebing’s leather dye. When the black had dried, I used damp 0000 steel wool to gently wash away the excess stain, leaving the softer grain darker than the surrounding briar. I then mixed up a diluted wash coat of Fiebing’s dark brown leather dye and wiped it over the stummel until I had achieved the depth of colour I was looking for. I find the wash coat technique useful for those times when you don’t quite know how much stain you’ll need to achieve the desired results. It’s a lot easier to apply more diluted stain than it is to remove a thicker dark coat. When the stain had dried completely, I scrubbed the stummel vigorously with an old towel to buff off any excess stain and wiped the briar with mineral oil to hydrate the wood and give the finish depth and pop.

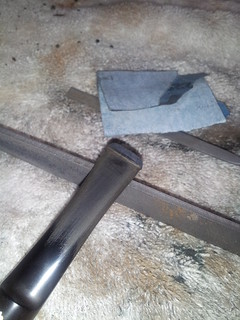
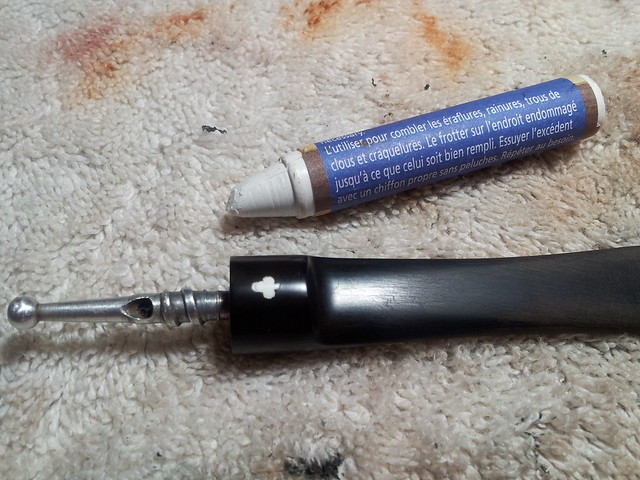
With the stummel finished, I turned my attention to the stem. I roughed up the bite and button areas with 220-grit sandpaper and then applied several layers of CA glue mixed with charcoal powder to fill the tooth dents and build up sufficient material to form a new button. I left the stem to cure completely before cutting and shaping the new button with file and sandpaper. It was necessary to go back over some areas with clear CA glue a few times to fill air pockets in the fill mix and achieve a smooth finish on the new button. I finished up the stem repair by touching up the cloverleaf logo with a white filler stick before polishing the entire stem with 1500 – 4000 grit micromesh pads.
Then it was off to the buffer for a run of White Diamond compound and several coats of Carnauba wax. This English Kaywoodie is looking sharp in its new duds and is ready for a night out on the town. For what was surely considered a budget pipe in a London pipe market jammed with Comoys. Dunhills and Hardcastles, this Kaywoodie Standard was carved from a very nice piece of briar. The pipe has exceptional grain and only the fills repaired above. The new finish glows and the repaired stem looks new again. Only the worn stampings reveal the pipe’s true age.
Here’s the finished pipe.

Thanks for looking. Until next time, Happy Piping!

Charles that came out really well. Great job on that.
LikeLiked by 1 person
Thanks! I really like the shape of this pipe. It strikes me as a distinctly English pipe, though I know Kaywoodie USA made them too. 😉
LikeLike
Reblogged this on rebornpipes and commented:
I wanted to reblog this to rebornpipes so that readers could have the historical information on the English Kaywoodies and also to show the great work that Charles has done on this one.
LikeLiked by 1 person
Nice work Charles. You brought this one back to like new standard. Keep them coming!
LikeLiked by 1 person
The pipe looks like new once again. You are a master at repair and reshaping those buttons, Charles. That’s always the most tedious and frustrating part for me.
LikeLiked by 1 person
Still very much feeling like the apprentice, but thanks! The confidence grows with each repair, but buttons are still tedious and frustrating for me too. I suspect they are for most repairmen, which might explain the rate of stem replacements instead 😉
LikeLike
That looks like it just came from the factory yesterday!
LikeLiked by 1 person
Thanks! I’m pretty sure the “new” pipe was under the dirt of the old one the whole time. I just uncovered it 😉
LikeLike
Great job, Charles. The stem/button repair, and fill repair under the stamp were fantastic. Thanks Charles, and Steve for sharing this with us.
LikeLiked by 1 person
Thanks Dave. The devil is in the details! 😉
LikeLike