
They say that wait times at your local hospital Emergency Room are bad, but I think this case proves that some victims wait longer than others. The patient in question had obviously been lingering between life and death for some time before I encountered it on my operating table. The question was could I save it?
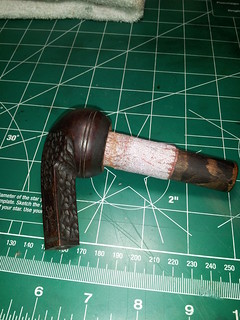
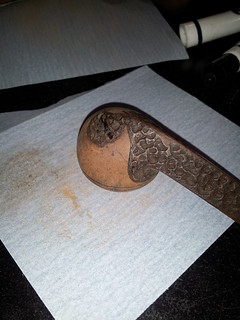
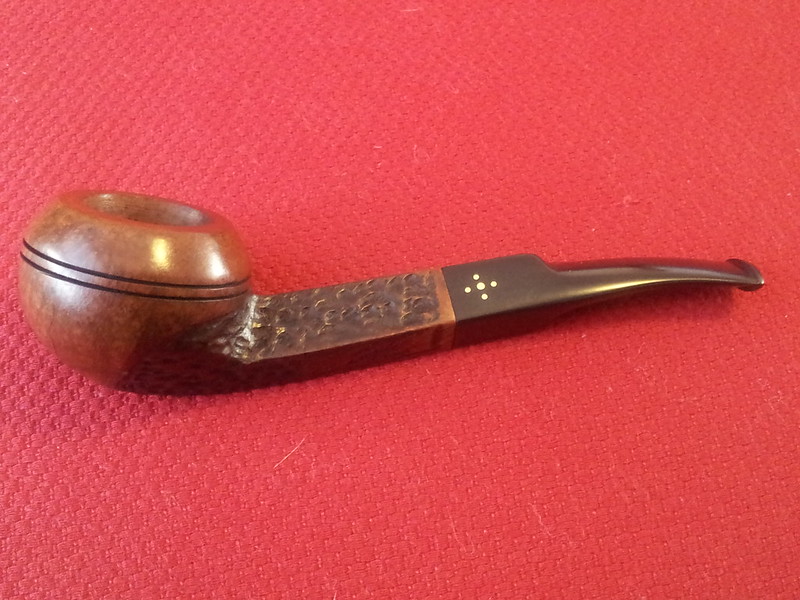
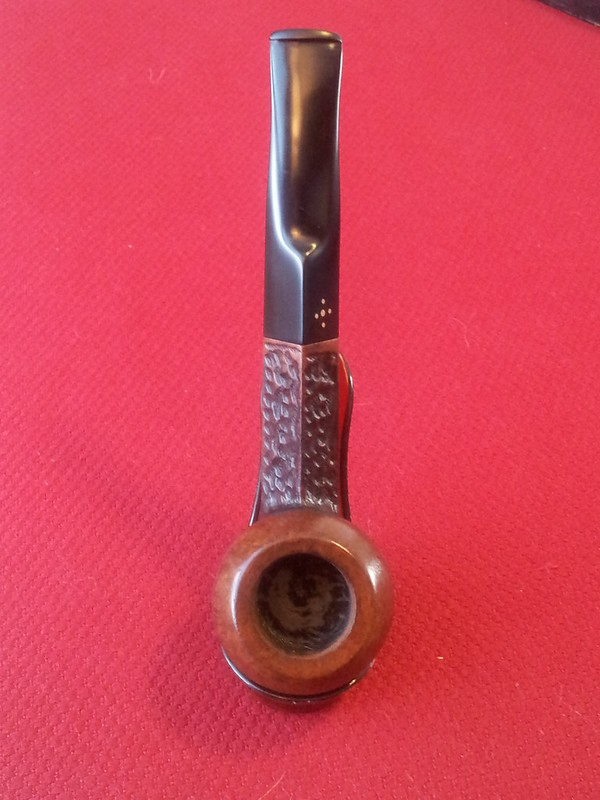
I acquired this Brigham 526 Bent Bulldog through a recent eBay auction. It wasn’t really much of an auction, though, as it turned out that my opening bid was the only one submitted. These pics of the pipe shortly after arriving at my door illustrate the obvious reason for the lack of bidder enthusiasm.
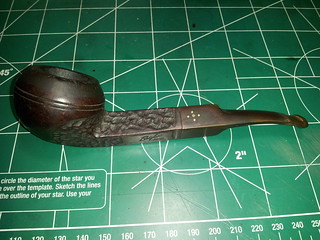
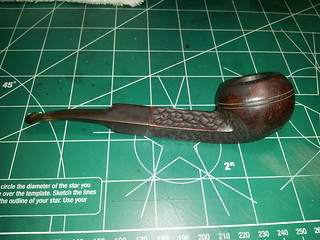

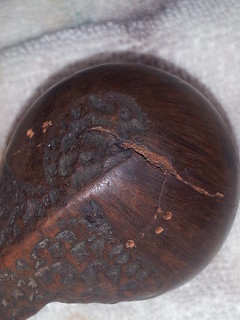
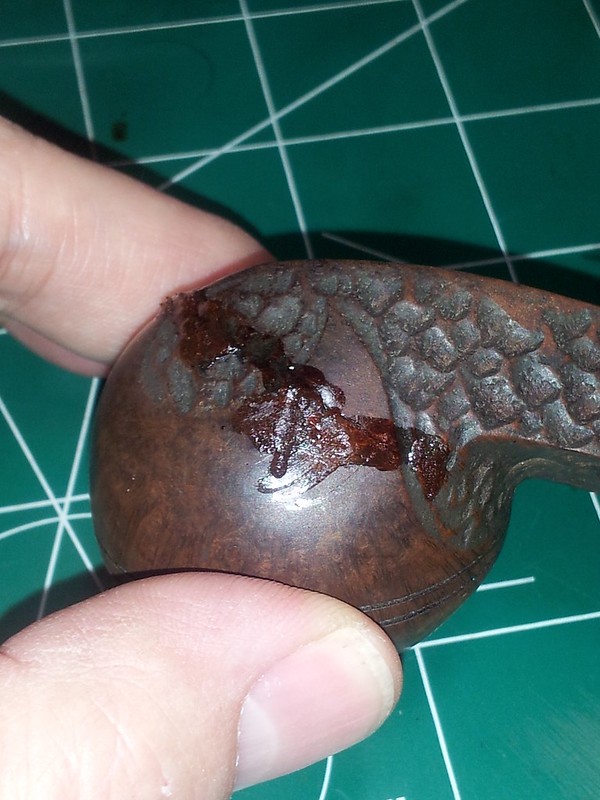
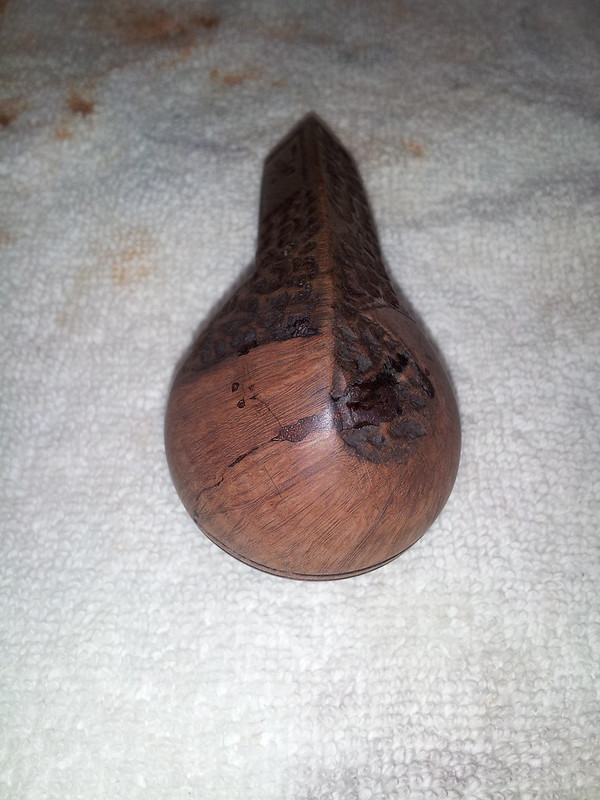
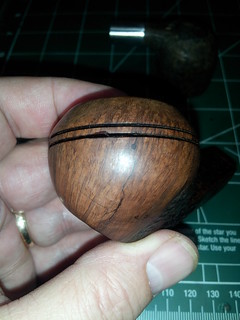
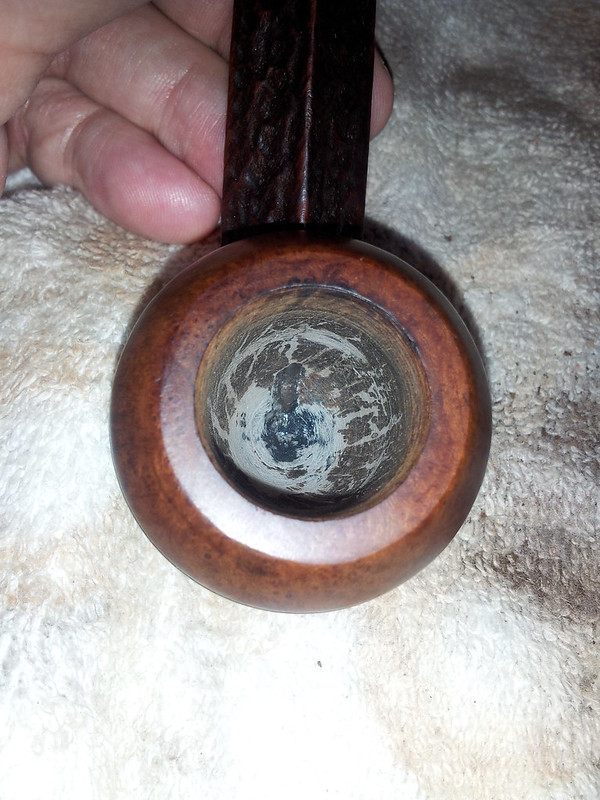
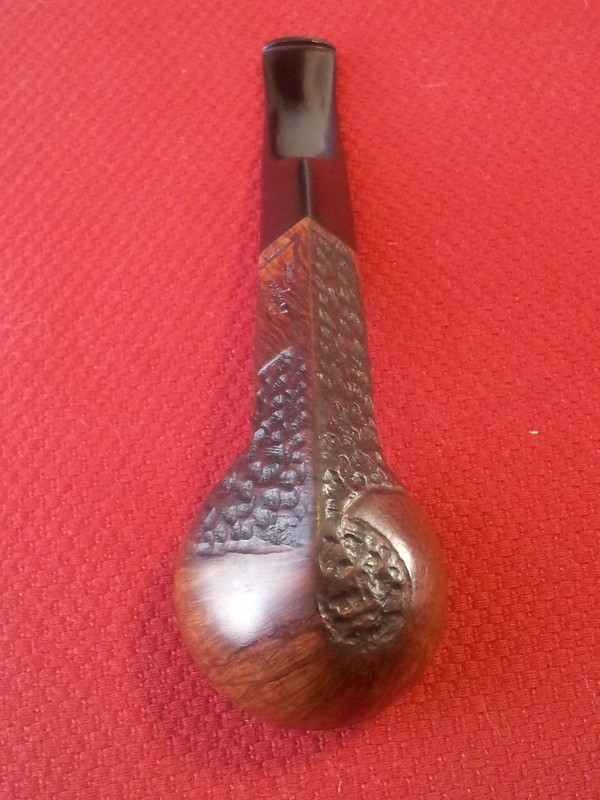
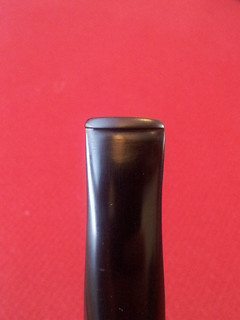
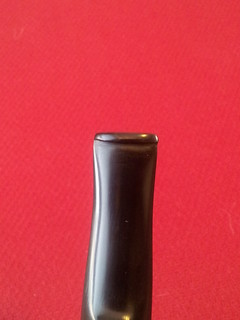
At first glance, the pipe looked to be in fair condition. It was dirty, of course, as you’d expect from an estate pipe, and the rim was banged up from some vigorous dottle-knocking. The stem was oxidized and showed tooth dents in the top. The lower lip of the button was worn nearly flat. These issues could all be dealt with fairly easily; the tricky one, however, was exposed when I turned the stummel over to see the massive head trauma on the bottom of the bowl.

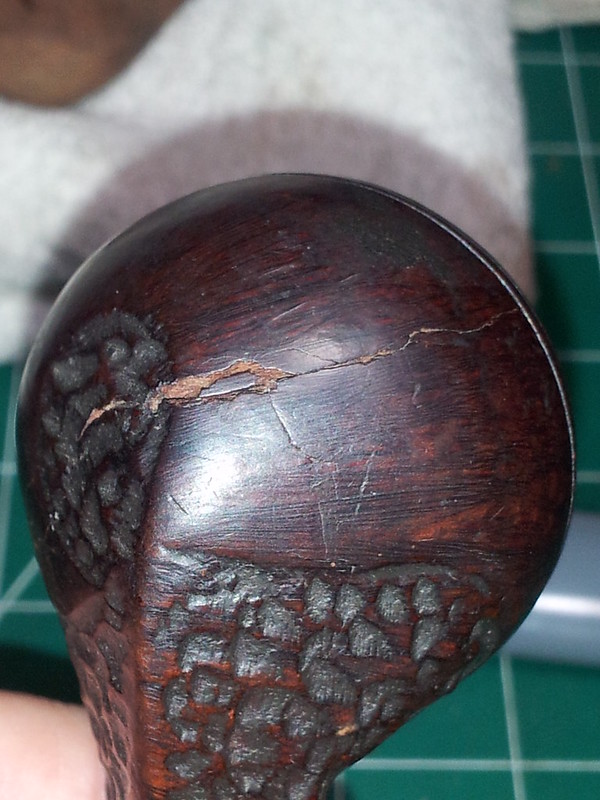
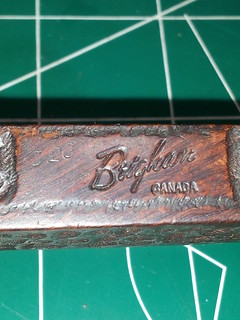
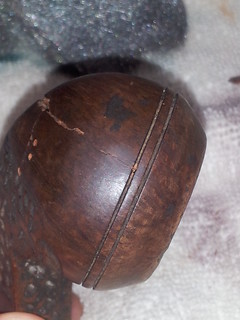
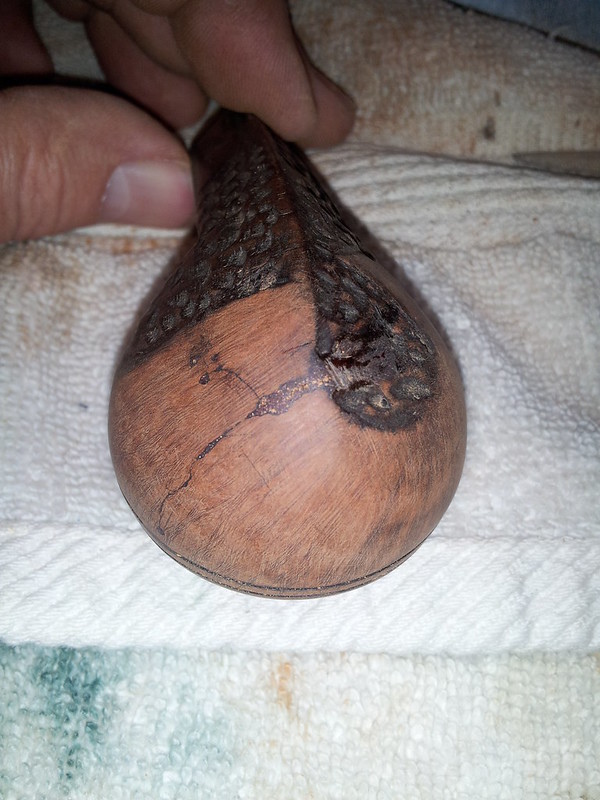
A large impact crack split the briar across the “keel” of the bulldog shape, and multiple thin spider cracks raced across the bowl in all directions from the point of impact. One crack cut through the rusticated area near the bowl/shank junction, and another ran across and up the face of the bowl, eventually reaching the lower of the twin rings carved around the bowl’s circumference. The stem clearly identified the pipe as a Brigham 5-dot, but I’m not sure the stummel remembered its own name after suffering such a concussion.
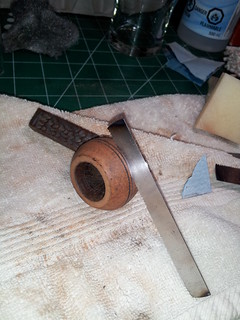
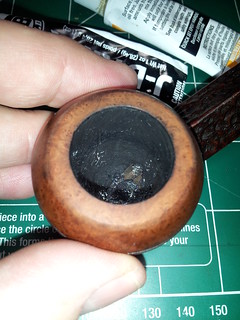
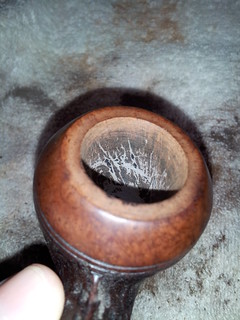
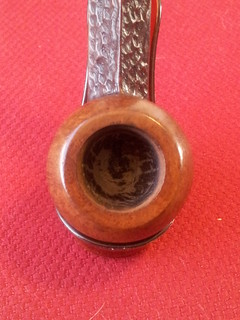
The auction listing had pointed out the damage to the bowl, though it reassured potential bidders that the crack did not penetrate the tobacco chamber. I’m not entirely sure how the seller could have known this, as the cake in the bowl was more than sufficient to hide any internal injuries. The chamber on this bulldog was larger in diameter than any of my Castleford reamer heads, so I used a bit of 100-grit sandpaper wrapped around a 3/4” dowel to ream the bowl. The seller’s guess seemed to be correct (it was a 50/50 bet anyway) – the large crack did not go through the briar into the chamber, but that didn’t mean that the chamber was pristine….
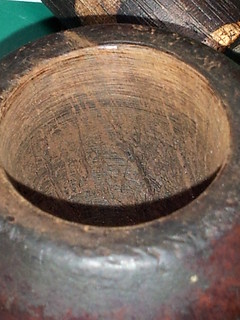
It’s hard to see them in the series of pics above, but there were seven or eight vertical fissures hiding behind the old cake. It appears as if the pipe was habitually smoked hot for at least some of its previous life. The fissures, spaced unevenly around the chamber, reach from the bottom of the bowl to between half and three-quarters of the way up the chamber walls. Most were not very deep, but one or two were concerning and would have to be repaired.
I’d need the stummel as clean as I could get it before working on repairs, so I dropped it into an isopropyl alcohol bath to soak while I formulated a plan of attack.

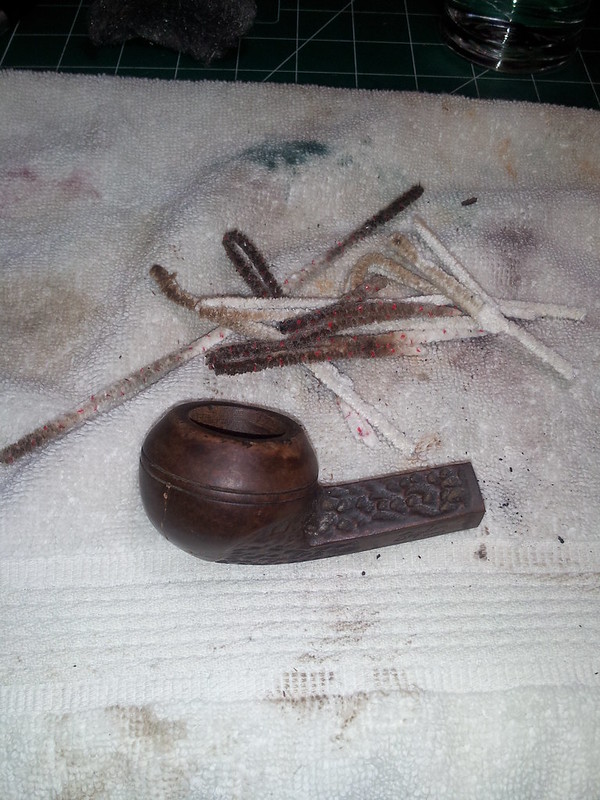
I settled on a four-pronged approach to this restoration. First and foremost, the large crack and its associated collateral damage would have to be repaired. Then a topping and sanding to remove the rim dents and other wear and tear on the exterior of the briar. Third on the hit list was the stem work, including the tooth dents and a new button, and then finally the chamber cracks. With my work cut out for me the next morning, I pulled the stummel from the alcohol soak and gave it a good scrub with an old towel to remove any lingering surface dirt. A few pipe cleaners and alcohol cleaned up the airway and shank.
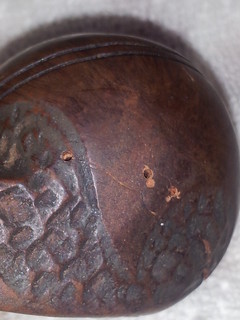
Then it was time to begin the crack repair. I mounted my smallest micro drill bit – a 1.06mm size – in my hand drill and went hunting for the terminal points of the many spider cracks. Wherever I found one, I drilled a hole (carefully so as not to penetrate the bowl wall) to stop the crack from growing in the future. In all, I drilled seven or eight of these holes around the stummel, including one inside a rusticated area and one actually inside the lower ring groove. I wasn’t shy with the drill. If I even suspected that a line in the briar was a hairline crack, I drilled it.

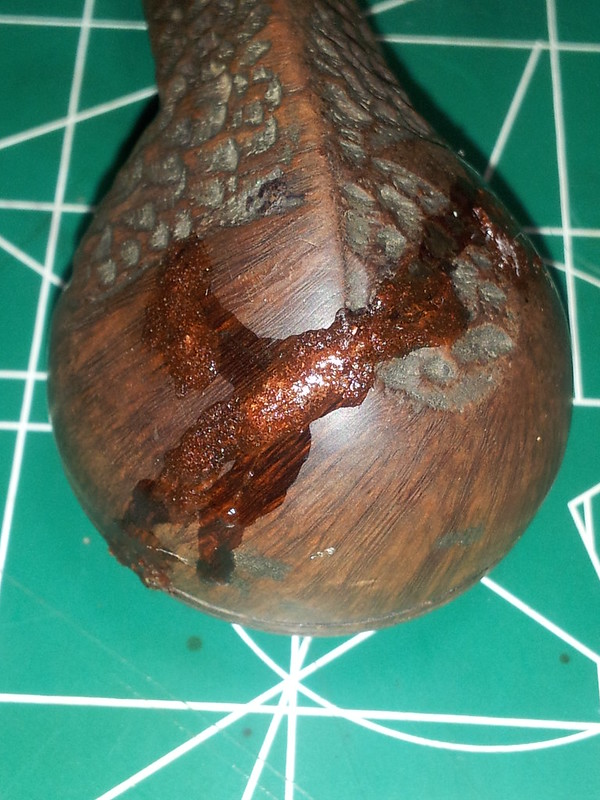
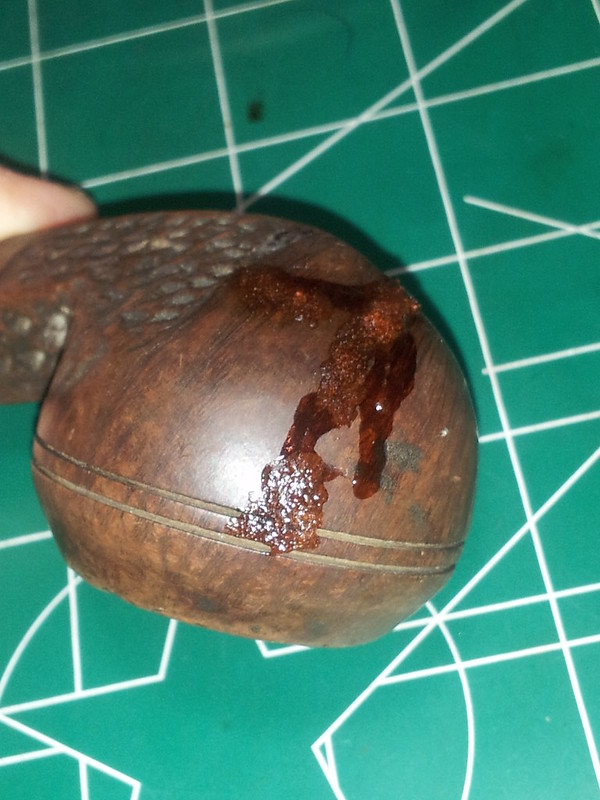
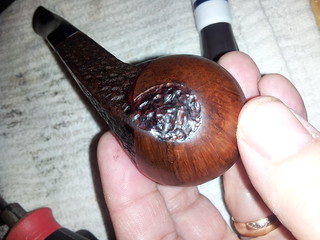
When I was sure I had found and drilled all the “loose end” cracks, I mixed up briar dust and thick CA glue and began filling both the cracks and the holes I’d just drilled. After the CA cured, I used files and various grades of sandpaper to level and smooth the fills into the surface of the briar. As you might guess, I needed to apply fill to the large crack several times before I had a smooth, unbroken surface.
I topped the bowl with 220-grit paper to erase the rim dents and regain the crisp lines of the classic bulldog shape before using micro files to re-cut the bowl rings where I had filled them to repair the crack damage. As you can see in the last picture below, I left the briar dust/CA fill mounded up in the rusticated areas. I would go back later with a rotary tool (aka Dremel) to smooth them out and blend the repair into the rustication.
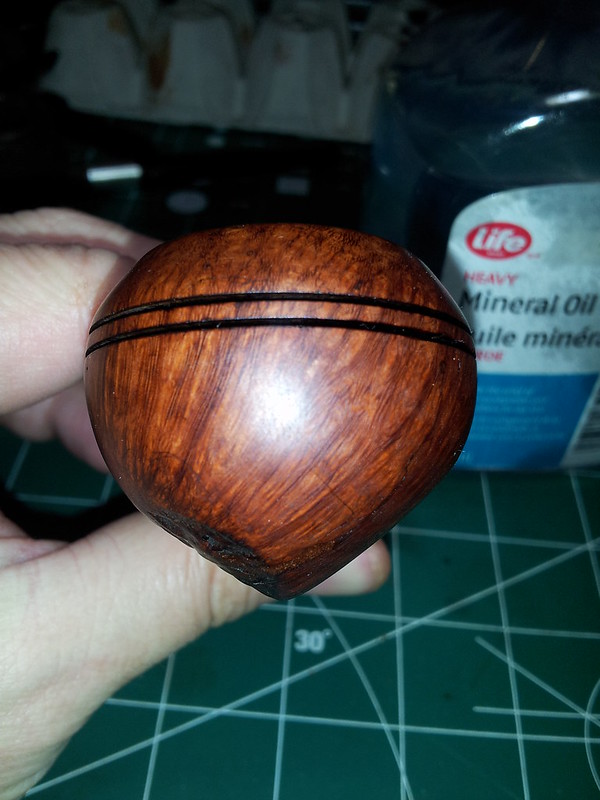
Just before calling it a night, I dropped the pipe stem into an Oxyclean bath to soak, and then wiped the bowl with mineral oil to see where things stood at this point. There is some gorgeous grain in this briar!
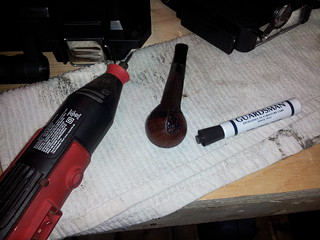
The next day, I decided to finish up the crack repair before working on the stem. I mounted a small round carving burr in my rotary tool and, working slowly and carefully, I ground down the briar dust/CA fill and replicated the rustication pattern as best I could to blend in the repair. I also used the rotary tool to clean up the edges of the smooth areas of the pipe’s design, as sanding the repairs had blurred some of the lines. I touched up the finish on the newly-carved areas with my darkest stain pen.
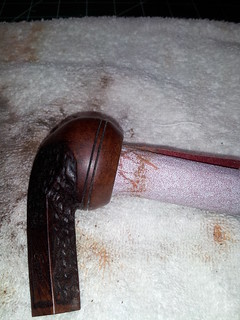
I wasn’t completely satisfied with the stain pen – I thought the colour was too purplish – so I washed a stain of dark brown leather dye over the stummel to unify the colour. When the stain was dry, I rubbed most of it off the smooth areas, highlighting the grain.

Needing a break from briar work at this point, I pulled the stem from its Oxyclean bath and settled into the relatively mindless task of cleaning it up. The Oxyclean had done its job of lifting the oxidation to the surface of the vulcanite, but it still took a fair amount of elbow grease to scrub it off. I used a progression of sanding sponges, 0000 steel wool, Magic Eraser, and finally 600 – 2000 grit wet paper to clean and smooth the stem.
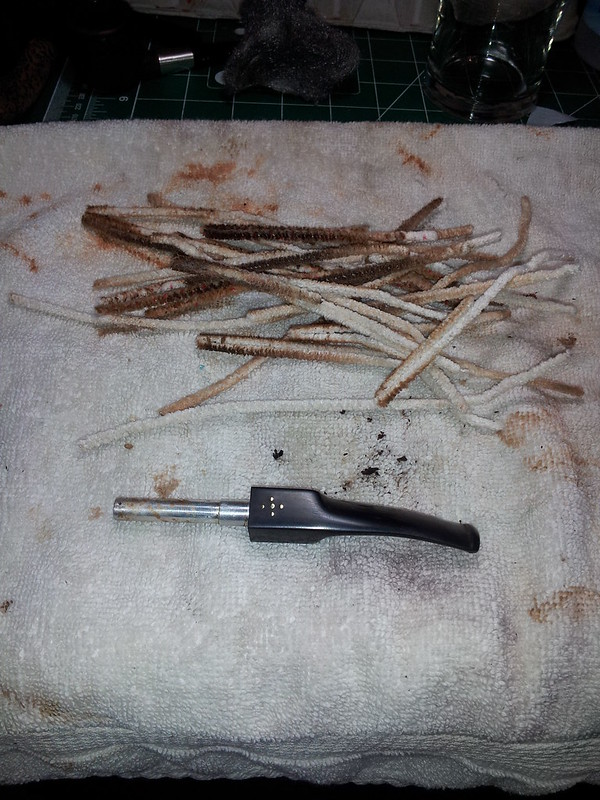
This was followed by a good scrubbing of the stem’s airway, which was a hot mess. The slot in the bit was completely clogged with tars and tobacco residue. I had to use a dental pick to scrape the slot clean before I could force a pipe cleaner through the blockage and clean the rest of the stem. I made quite a pile of dirty pipe cleaners before I was satisfied that the stem was clean.
The airway seemed slightly restricted at the bit end (likely caused by enthusiastic clenching of the mouthpiece by its previous owner), so I heated the area over a lighter flame just enough to make the bit flexible, pushed a pipe cleaner through from the tenon end and wiggled it in the slot a bit. This proved just enough force to open the restricted area. A cleaner can pass unimpeded through the entire stem, and the draw is wide open.
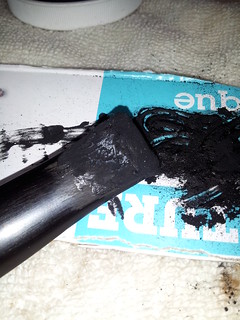
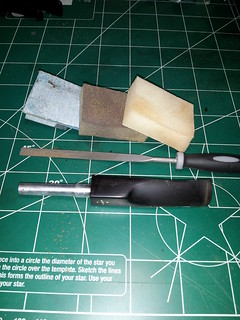
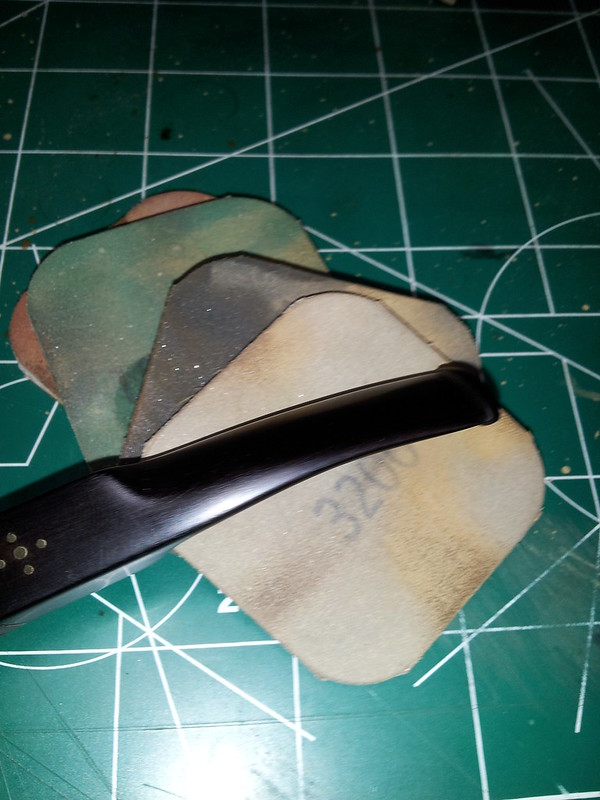
With the stem clean and internals sorted, it was time to address the tooth dents and button. I killed two birds with one stone here by mixing up CA glue and charcoal powder and applying the resulting filler to the dents and the worn button. It took several applications to build up the required amount of material, and, as always, it looked a right mess when the CA set. I used a flat needle file and several grades of sand paper and sanding sponges to cut and shape the new button. Then I cleaned up the sanding scratches with 1800 through 3200 grit micromesh sanding pads.
The exterior of the pipe was now cleaned, repaired and refinished. I took this opportunity to buff the pipe with White Diamond compound and apply several coats of Carnauba wax to both stem and stummel to polish and preserve the work done to date. But the job was not yet done – I still had to address the cracks in the chamber walls.
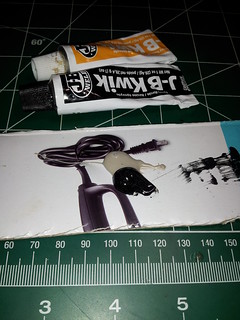
For this task, I used my go-to solution for all interior damages – JB-Weld. Regular followers of my blog will know that I’ve used it several times with great success to repair cracks, over-reaming and burnouts. JB is highly heat resistant, strong and is completely inert once it has cured, so there’s no concern about using it in the chamber. I stuck a pipe cleaner through the airway to keep the JB out of the internals, and then mixed a small amount of the two-part epoxy before pushing it into the cracks with a gloved finger. As the JB began to set, I smoothed the epoxy around the chamber walls to minimize the amount of sanding I’d have to do later.
After the JB-Weld had cured overnight, I used my trusty 100-grit sandpaper and dowel to sand the chamber walls smooth. I sanded most of the epoxy off the chamber walls, leaving it only in the cracks. Conveniently, the JB also filled a groove running around the conical bowl gouged out by reaming with a straight-sided reamer. The bowl looks a bit rough in the pics, but it is smooth and regular to the touch.
The chamber repair was complete at this point, and I had a small internal debate about whether or not to apply a bowl coating. A coating would hide the JB and make the chamber look pretty, and if this repair had been for someone else, I may have elected to go that route. But I knew from experience that the lighter JB would darken and blend into the briar walls of the chamber with the first smoke, so I left it alone, preferring instead to savour the fruits of my labour by packing the bowl with a favourite blend and heading to the garage where I could sit and enjoy the pipe uninterrupted.
This pipe has come a long way in a short time, and is barely recognizable as the unfortunate trauma victim that first landed on my worktable. The many repairs went smoothly, the fills blend in almost invisibly and the eye is caught and held by the superb grain on the bowl. I’d say this old pipe has remembered its place in the pantheon of fine vintage Brighams. It will be joining two other Brigham bent bulldogs in my collection – I now have beautiful examples of this classic pipe shape in 3-, 4- and 5-dot versions. Brigham didn’t offer the bent bulldog shape in a 1-dot pipe, but I’ll be keeping my eyes open for a 226 and a 626 to complete the set!
Here’s the finished pipe.


Thanks for joining me for this lengthy but rewarding restoration. Until next time, happy piping!

Great job on that. I left that pipe alone because I already have 4 Brigs to do massive repairs on. Excellent work.
LikeLiked by 1 person
Thanks, Bill! This was definitely one of the most involved repairs I’ve tackled recently but also very rewarding. This bulldog is one of my favourite pipes shapes but can be one of the worst to work on!
LikeLiked by 1 person
I am seriously impressed with this repair, Charles. You saved that now beautiful pipe from the scrap heap. Patience and skill pay off.
LikeLiked by 1 person
Thanks very much, Al. This was a true labour of love to save this Brigham. Totally worth every hour in my book 😉
LikeLike
Incredible work, the end result is beautiful.
LikeLiked by 1 person
Reblogged this on rebornpipes and commented:
Repairing a cracked bowl – interesting read and great work! Well done Charles.
LikeLiked by 1 person
Cheers, Steve. Thanks for the reblog!
LikeLike
Great job on this one. That is some sweet grain and that stem looks factory!
LikeLiked by 1 person
Thanks. I’m really happy with the way this one came out. 🙂
LikeLike
The miracles of modern medicine. Very well done “Doc”!
LikeLiked by 1 person
Cheers, Dave!
LikeLike