
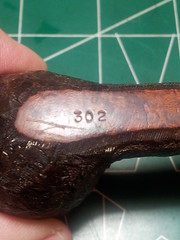
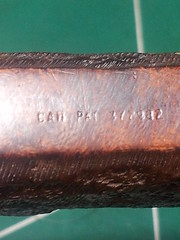
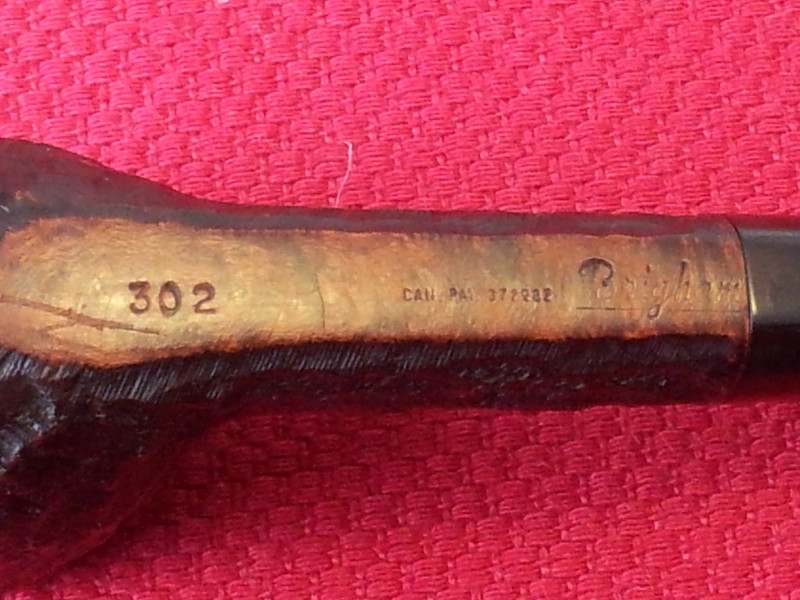
I had the opportunity to add this Patent Era (1938-1955) Brigham 302 billiard to my collection recently. The online auction listing by an Ontario antique dealer described the pipe as in “great used condition”. The pics, though darker and more shadowy than I would have deemed acceptable in one of my sales, looked ok, so I took a chance and managed to submit the winning bid.
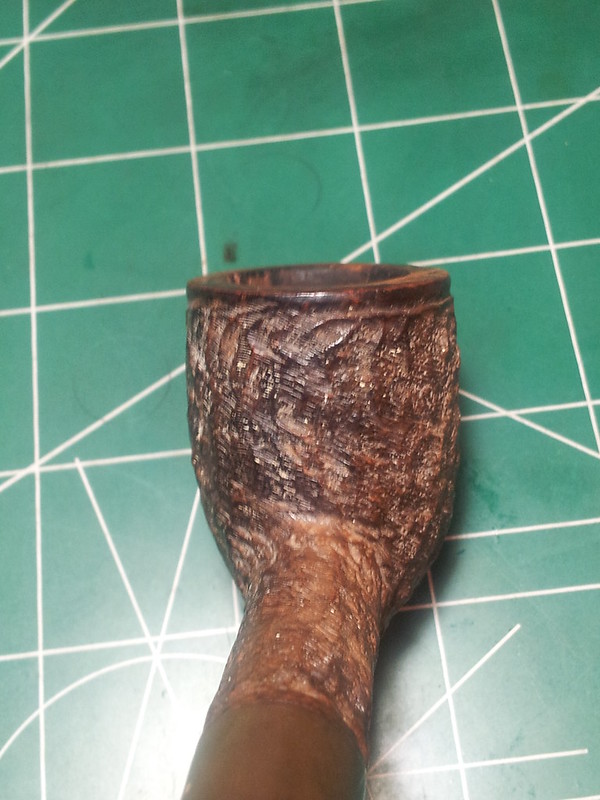
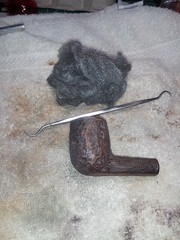
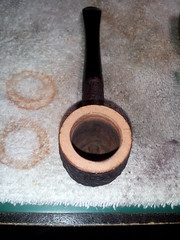
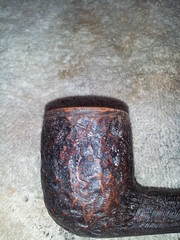
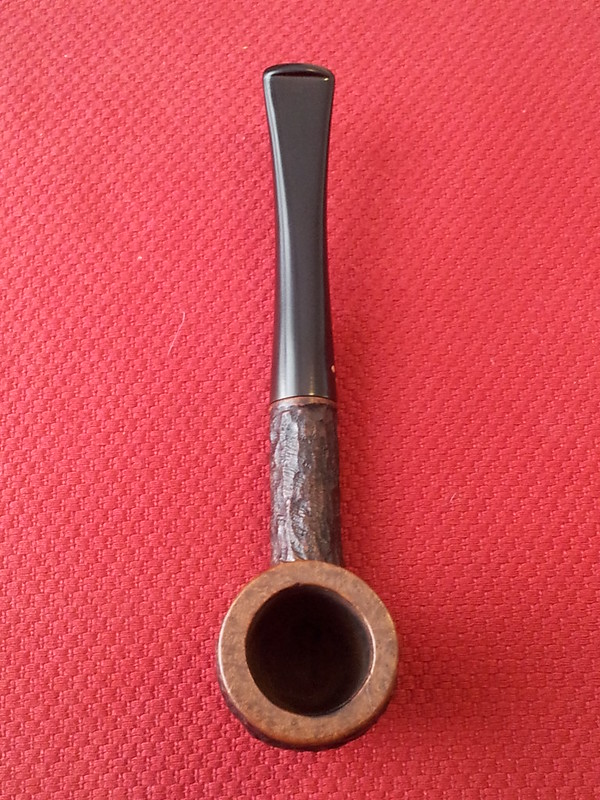
In due time, the pipe arrived at my door and it was, indeed, in pretty good (though not “great”) condition. The pipe showed signs of only light use, with a thin cake in the bowl, and no tooth marks or chatter on the stem. The rim was dinged and dented inside and out, but nothing too bad. The previous owner had used a pen knife to rather sloppily ream the bowl, nicking the inner rim edge in several spots along the way. The stem was pretty heavily oxidized and had turned a sickly green/brown colour, but it carried the distinct brass Brigham dots, and fit well to the shank. The aluminum tenon/filter holder was intact, with no signs of corrosion or other damage. I snapped this series of pics to show the pipe’s as-found condition:
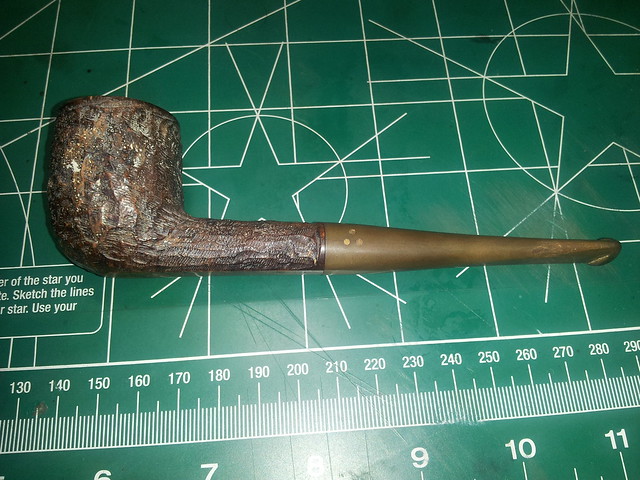
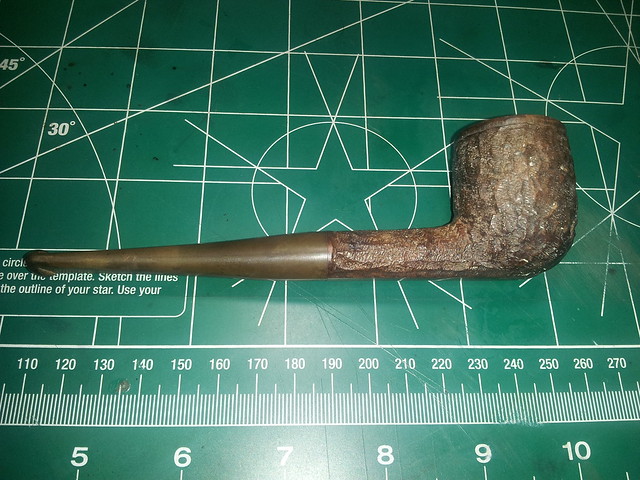

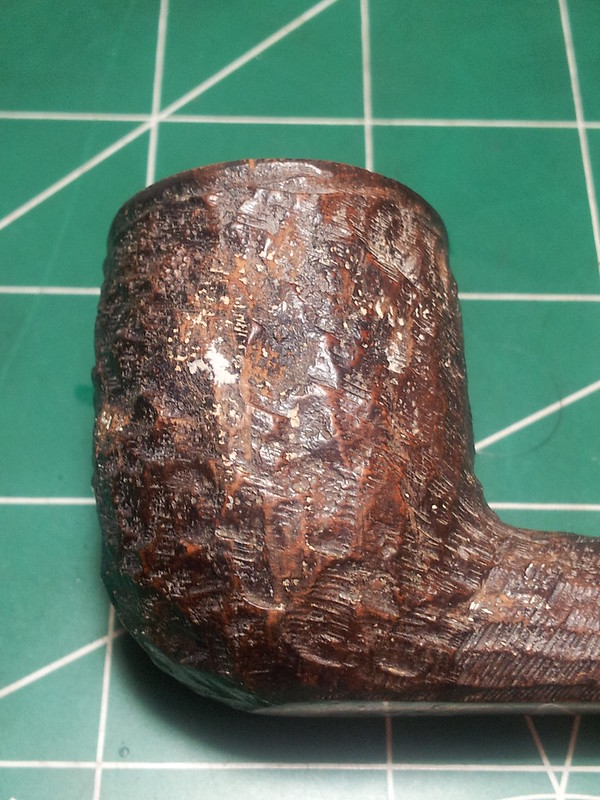
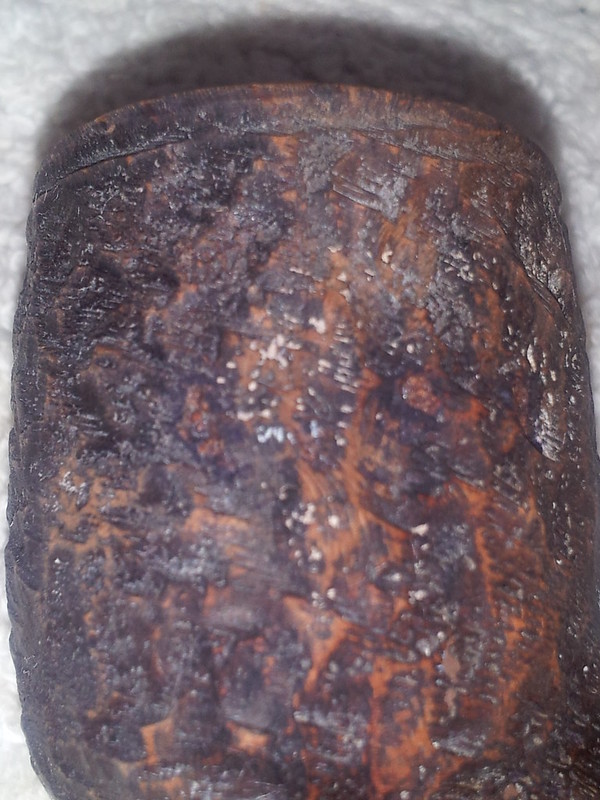
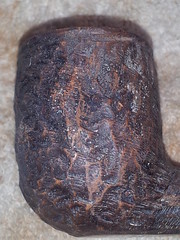
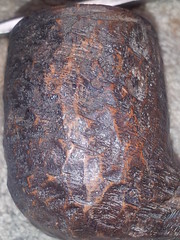
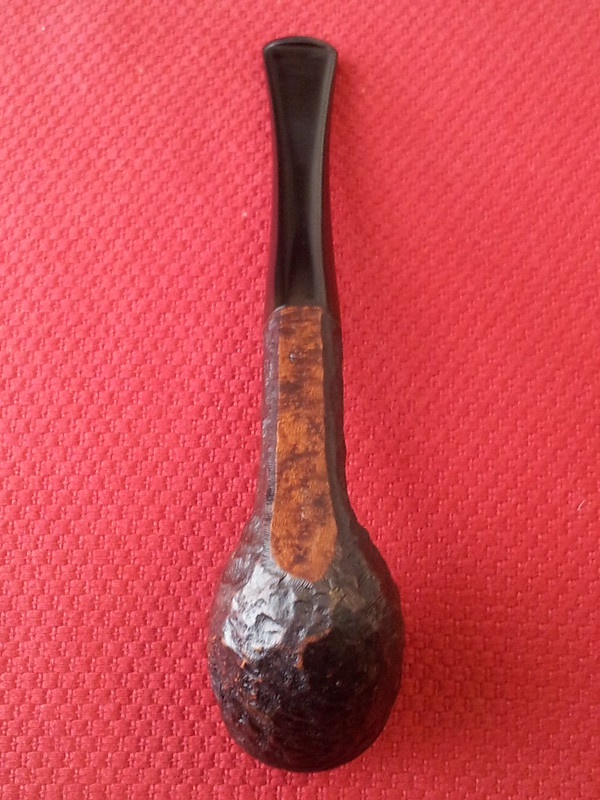
As you can see in the following close-up pics, the biggest cosmetic issue with the pipe was the finish – it looked like it had either been the victim of paint overspray or had been poorly and overly waxed at some point – I wasn’t quite sure which. The paint or wax was stuck in every crack and crevice of the rusticated finish, giving the pipe a rather poxy look.
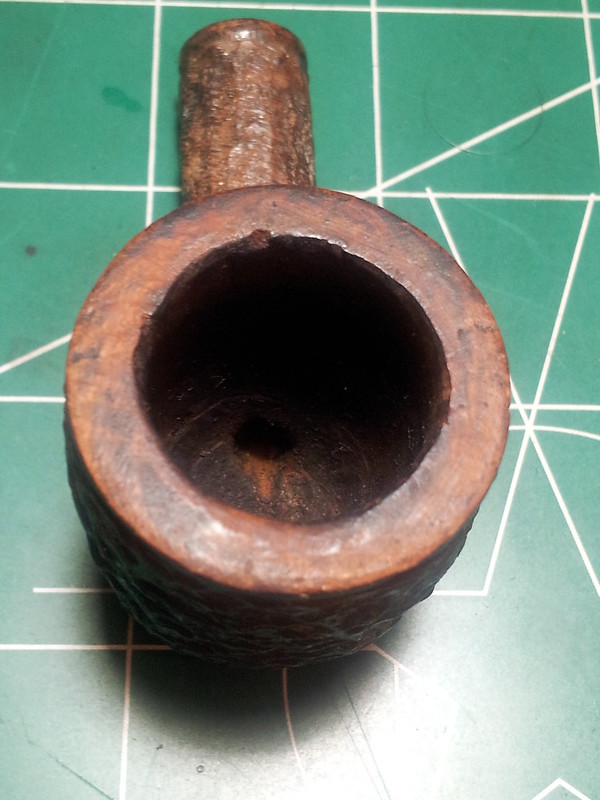
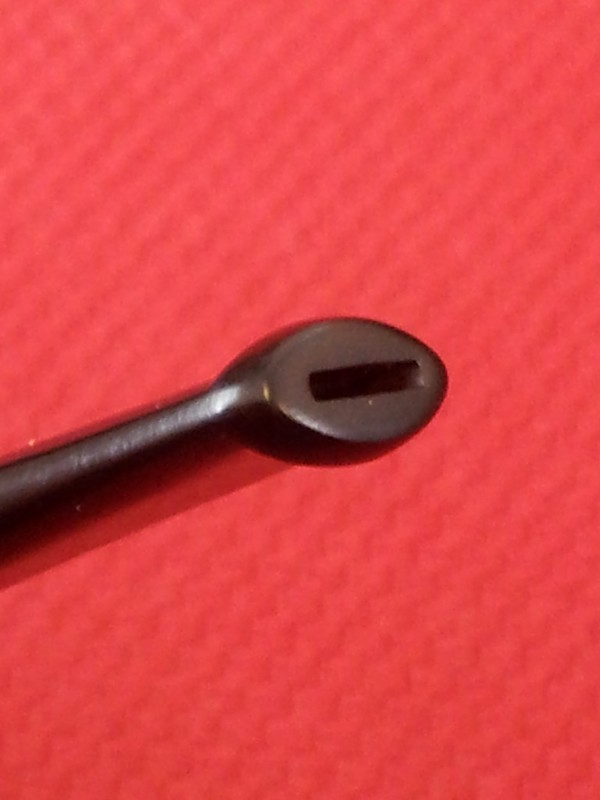
I started the cleanup by reaming the bowl back to bare wood. The chamber diameter of this old-timer was larger than my largest Castleford reamer head, so I reverted to first principles, reaming the old cake out with 100-grit sandpaper wrapped around a dowel. This made short work of the old carbon build-up, and revealed a worn draft hole where tobacco chamber meets shank. It’s not damaged to the point I’d bother correcting it, but something to be aware of and keep an eye on going forward. The wear certainly speaks to many years of companionable use by the original piper.
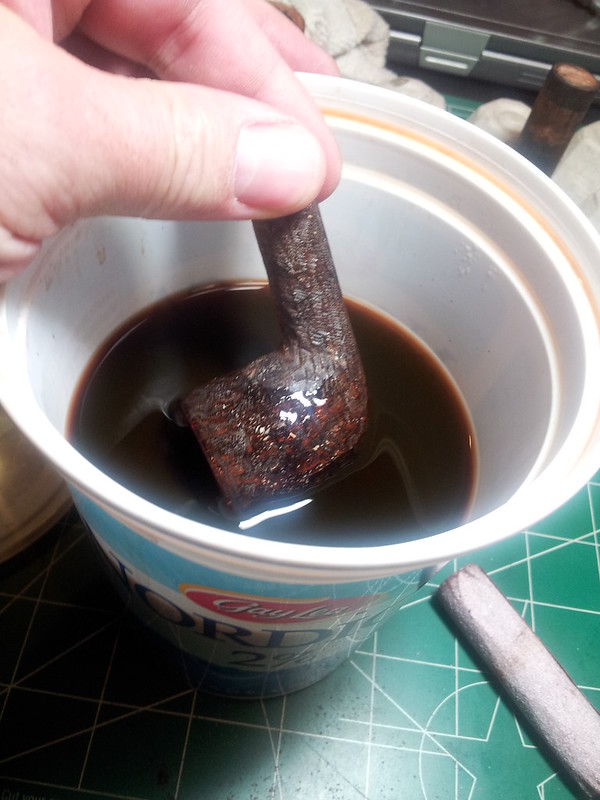
Other than the draft hole, the chamber walls looked good, so I dropped the stummel into an isopropyl alcohol bath for an overnight soak. My hope was that the alcohol would dissolve whatever was left of the old finish and remove most if not all of the wax speckles. The stem went into a bath of its own made from Oxyclean and warm water. I knew from experience that the heavy oxidation would be a bear to remove, but the Oxy soak would help raise it to the surface of the old vulcanite stem.
Only mediocre results awaited me the next morning. I pulled the stummel from the booze bath and gave it a light scrub with 0000 steel wool, but only got about half of the wax/speckles out of the rustication.
I wondered at this point whether my isopropyl had reached the end of its useful life. Hoping that fresh alcohol might get rid of the remaining blemishes on the stummel, I dumped the old liquid and dropped the stummel into its second isopropyl soak, this time with alcohol fresh from the bottle.
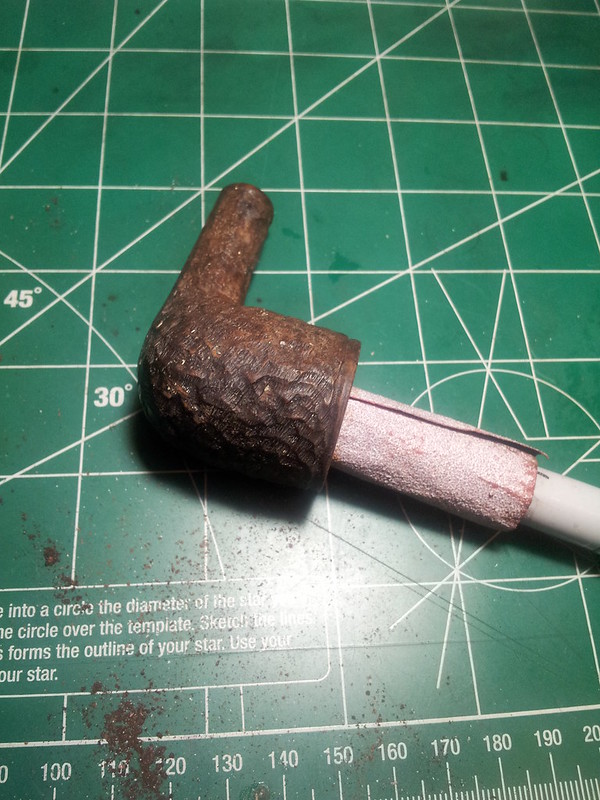
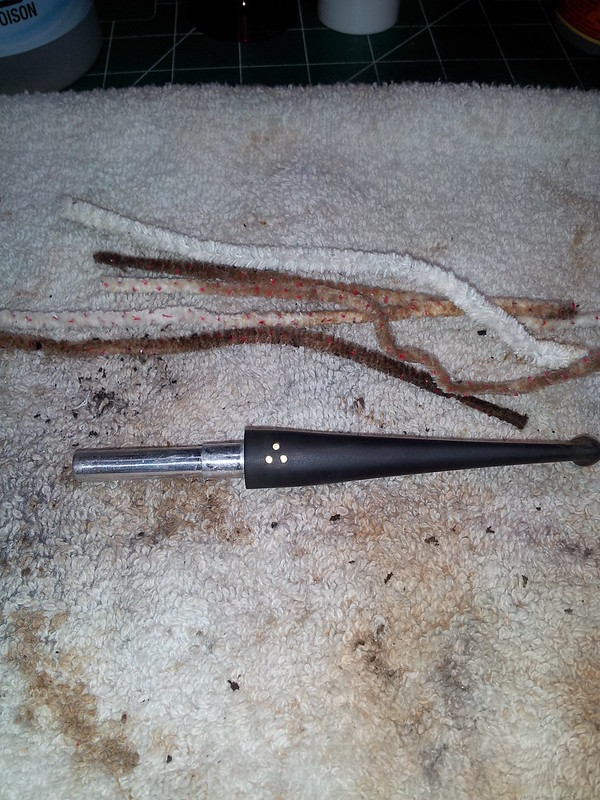
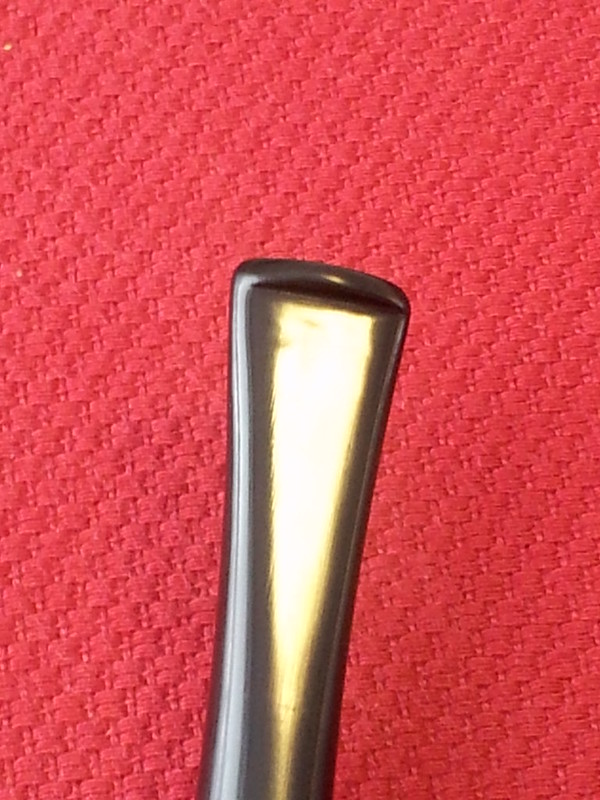
While the stummel lounged in its bath, I worked on the stem, first scrubbing the worst of the oxidation off with a medium sanding sponge, 0000 steel wool and Magic Eraser. When most of the discolouration was gone, I moved to finer grits of wet sandpaper, going over the stem with 600 – 2000 grit material to smooth out the rubber and remove sanding scratches left by the coarser sanding media. This was followed by an internal cleaning with bristle and soft pipe cleaners and isopropyl alcohol to clean out the airway. It was surprisingly clean, needing only a handful of cleaners.
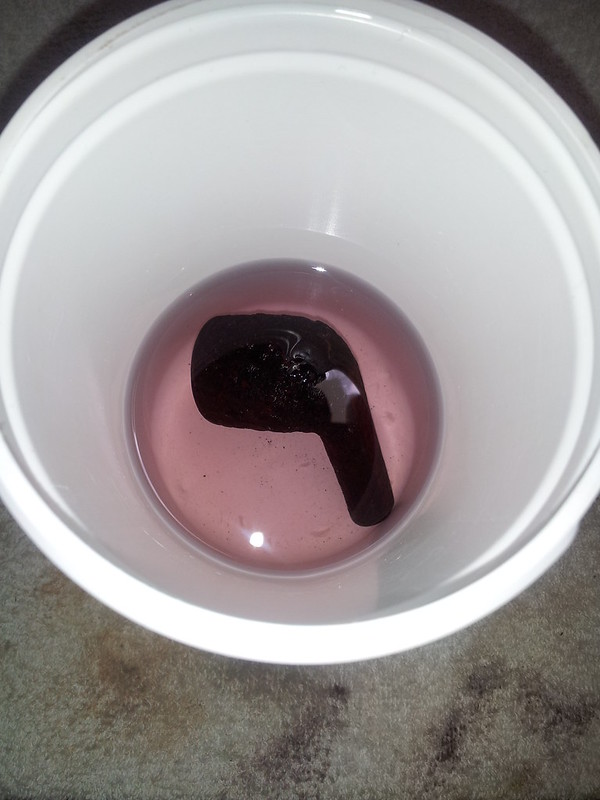
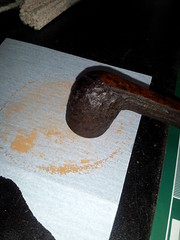
I moved back to the stummel at this point, pulled the briar out of the alcohol soak and assessed the progress. There wasn’t much, as the next series of pics shows. The wax, or whatever it was, was still locked in a death grip in the deeper pockets of the rustication. It seemed I would have to to this the hard way. I grabbed a dental pick and a bit of 0000 steel wool, and worked my way around the stummel, scraping and digging with the pick to pull out the remaining wax from its many hiding spots. This was slow labour-intensive work, but it got the job done. When I was more or less happy with the state of the briar, I heated the stummel over my heat gun in an attempt to open the wood pores and then wiped the briar down with acetone on a cotton pad to remove the last traces of contaminants from the wood. I can’t say for sure if the heat helped but the stummel was now as clean as it was going to get.
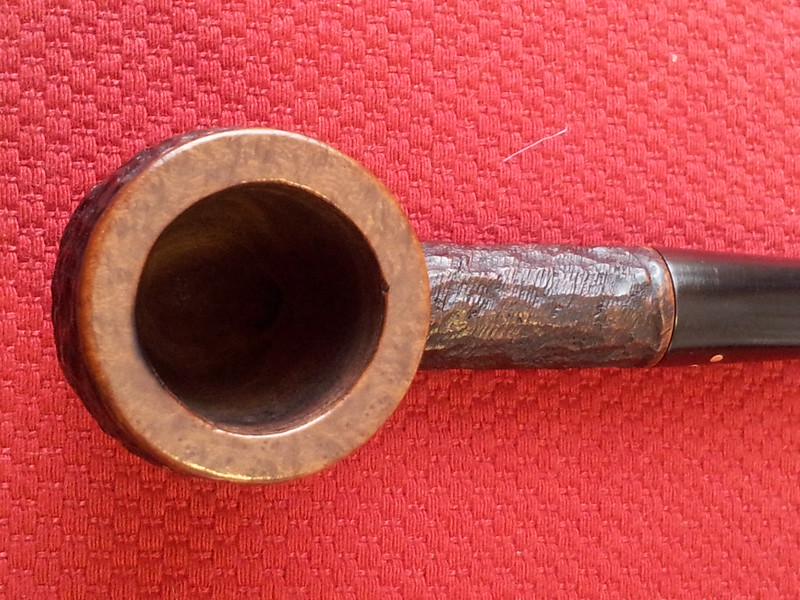
After so much manhandling, I wanted to revive the briar a bit before moving on with the refurb, so I wipe the wood with mineral oil and let it soak in for a few minutes before towelling off the excess. This old pipe was looking pretty good now with only the rim needing attention before refinishing. I decided to top the bowl gently to remove the many dents and dings. I also very carefully smoothed out the sides of the rim to refresh the narrow band of smooth briar there.
I stained the rim with a few coats of my approximation of the classic Brigham Royal colouring, which I make up with Fiebing’s Saddle Tan and Dark Brown leather dyes. Now the refreshed rim matches the colouring of the original flat area on the bottom of the shank, and the ring where shank meets stem. The rusticated area of the stummel also got a refresher coat of dark stain to even out the finish. When this dark top coat dried, I scrubbed it lightly with steel wool to allow the tan/red colours to shine through the high points of the rustic finish, leaving the low spots a dark brown/black.
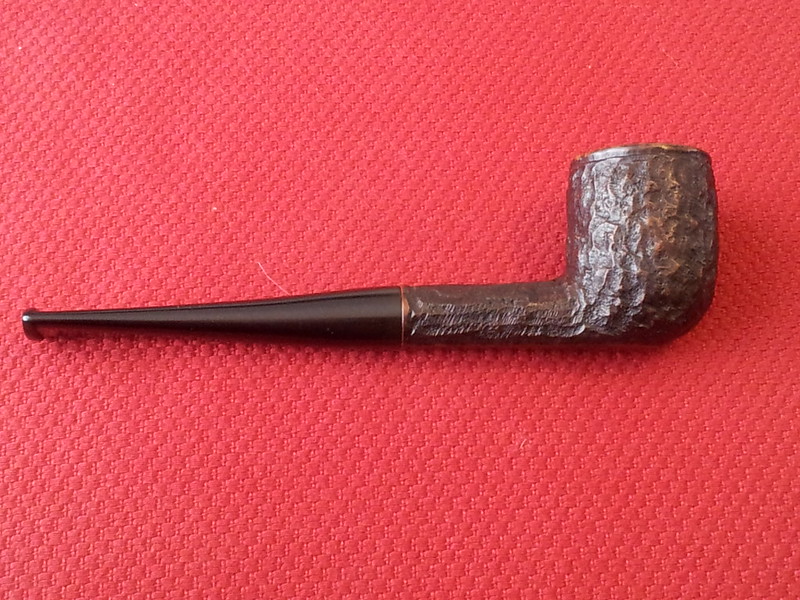
Then it was off to the buffer for a final polish with White Diamond compound and several coats of Carnauba wax. This old pipe cleaned up pretty well, and is looking sharp in its new duds. All the questionable material is gone from the finish, and both briar and stem glow with new vigour. The 02 shape has been used by Brigham since the very beginning. A classic straight billiard, the Brigham 02 shape has stood the test of time and is still available today in new Brigham pipes. I’m proud to add this one to my own rack.
Here’s the finished pipe. Thanks for looking and until next time, happy piping!


Nice work Charles. You brought this back nicely. I have used old tooth brushes and when called for a real fine brass bristle brush to clean out the deep rustications on a couple of pipes I’ve done. Use care if using the brass, too much pressure can dig in the briar.
Keep up the fine work!
LikeLiked by 2 people
Nice work on that one Charles. It came back well. The inner edge of the rim looks way better. Well done. John refers to the brass bristle brush – I too use them. I get them at Canadian Tire. They are used for cleaning white wall tires.
LikeLiked by 1 person
Thanks. The inner rim was pretty beat up in a couple of areas from being enthusiastically reamed with a knife. I removed the big damage, but left the smaller character marks intact, figuring the pipe deserved to show her age a little 😉
LikeLike