
It’s 2016! May it be a great year for all of you and yours. I thought I’d start the year off right with a restoration that gives many new years to a classic Canadian-made pipe.
This restoration was easily one of the most ambitious and challenging pipe refurbishments I have undertaken to date. A fellow member of the Brothers of Briar pipe forum contacted me before the Holidays asking for help with a Brigham pipe bowl he had found in a local antique shop. He had just the stummel, no stem, but the bowl was stamped “Brigham” over “Made in Canada” on the left shank and “613” on the bottom shank. He had stumbled across a rather rare find – a 6-Dot Brigham Straight Grain carved in Toronto before Brigham moved production to Italy. The “Made in Canada” stamp places the pipe somewhere in the earlier post-Patent Era (from 1955 to about 1975 as later pipes carried the shorter “Canada” stamp.
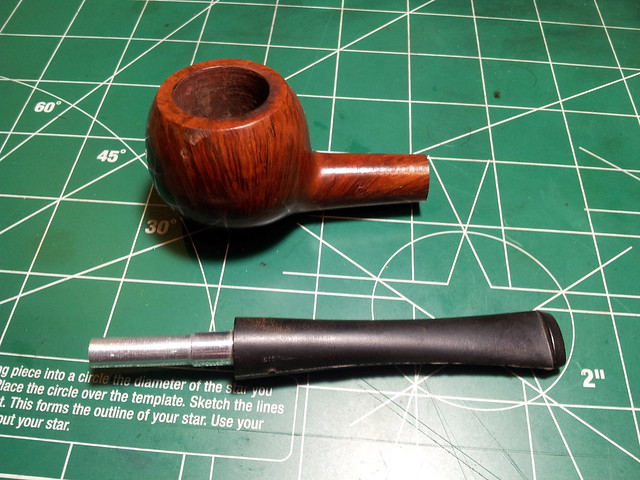
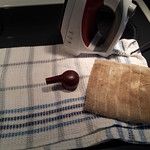
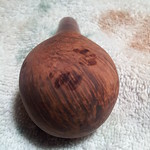
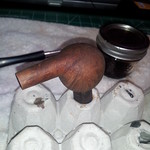
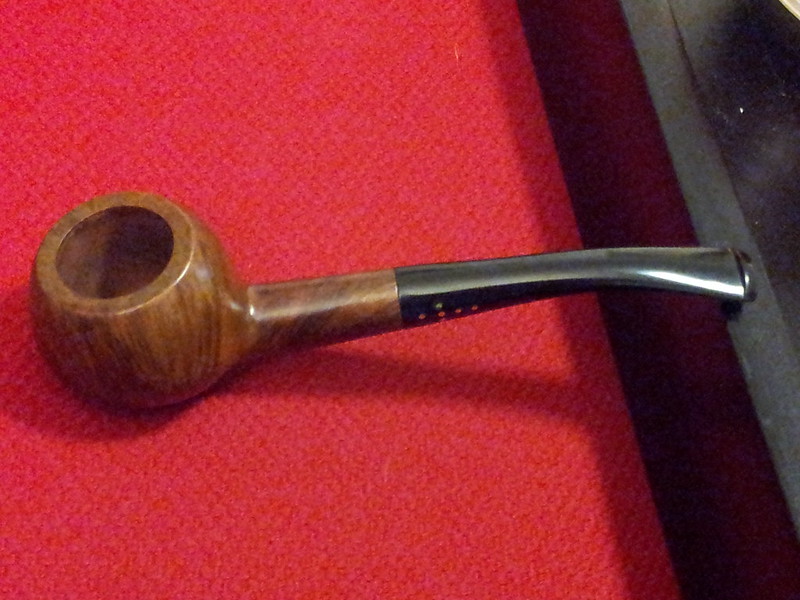
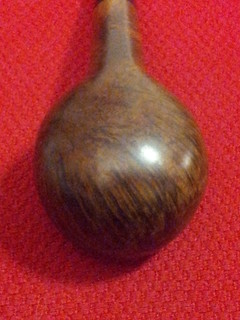
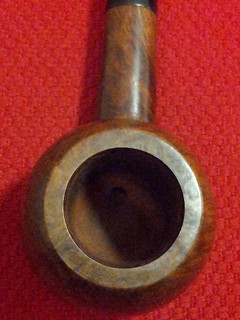
The stummel was in nearly unsmoked condition – the chamber was pristinely clean, but the rim showed a slight darkening on the rear edge that suggests that the pipe was fired at least once. The pics below highlight the obvious damage – a series of deep diagonal dents on the bottom of the bowl which extended up the front quarter face. Someone had beaten the pipe several times against a hard edge, leaving the damage shown and probably also breaking the original stem which is now lost.


This restoration, then, posed several challenges – repairing the dents and restemming the pipe. The owner wanted the pipe restored to as close to original condition as possible, including a Brigham stem with aluminum tenon and the classic 6-Dot brass pinning pattern. A tall order indeed, but in this case, the pipe refurbishing gods were smiling on us! A few months earlier, I had been fortunate to source a few New Old Stock (NOS) aluminum Brigham tenons and two ready-made NOS Brigham stems. I was fairly certain that I could fit a stem to this grand old 600-Series Brigham, so I contacted the owner and suggested he send me the pipe. He agreed, and shortly before Christmas I received the stummel in the mail.
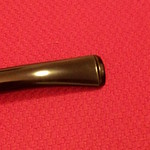
Here’s the factory-made Brigham stem I selected for the project. Brigham’s Shape 13 corresponds to the classic Prince (or Prince of Wales) pipe shape, and I was fortunate to have another example of the shape in my collection, in this case a Patent Era 113. I compared the replacement stem to the vintage stem on my 113 and found it a perfect match for length and profile. Better yet, since the Brigham tenons are made to a tight tolerance, the new stem fit the mortise in the 613’s shank perfectly. It would take very little work to smooth out the fit.
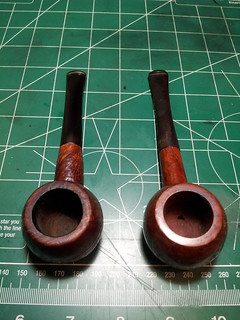
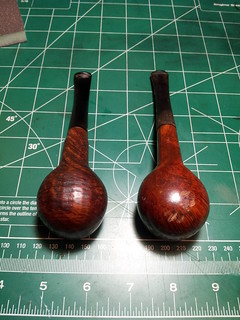
I laid my Patent Era 113 beside the project 613 and snapped this series of pics. As you can see, the shape didn’t change much over time.
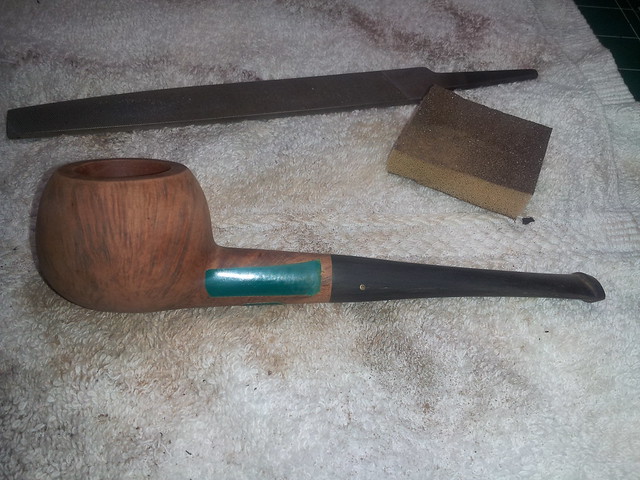
Now that the stem question was settled, I got going with the restoration of the stummel. I did not want to fill the dents in the stummel (as I may have done with a lesser pipe). A 600-series Straight Grain Brigham would have left the factory without fills or flaws, so I broke out the ironing board and set the iron to full steam. My kids laughed when they saw me ironing a pipe, but the steam worked well to “re-fluff” the compressed briar in the dents. I repeated the steam treatment several times to bring the dents nearly level with the undamaged surface of the briar before turning to various grades of sandpaper to remove all trace of the remaining damage. This series of pics shows the progression.
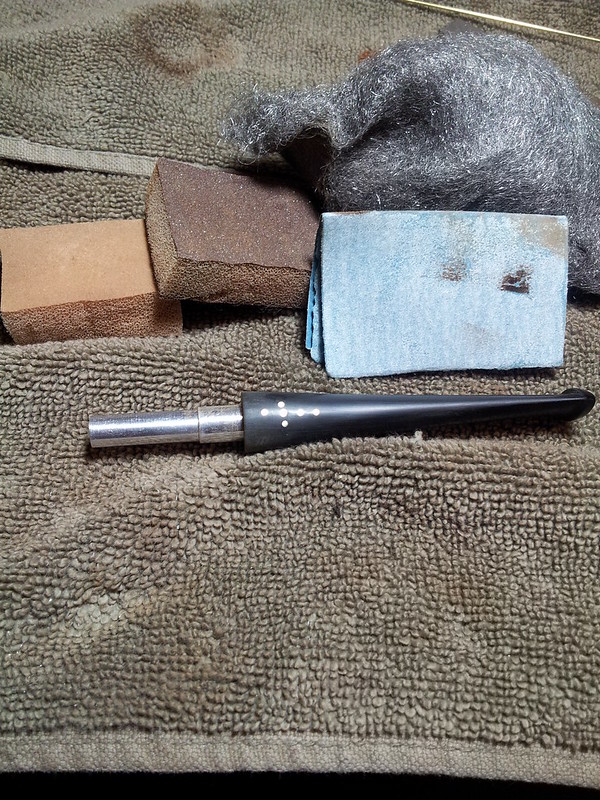
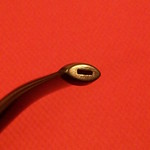
When I was pretty sure the dents were gone, I protected the stampings with bits of electrical tape and started working with 220-grit paper to smooth the transition from shank to stem and also remove the molding marks from the stem. The factory stem already has one brass pin, put there to help hold the aluminum tenon in place in the vulcanite stem. This 1.5mm pin acts as the first pin in the Brigham pinning patterns for the 2 through 4-Dot stems. For this 6-Dot stem, the factory dot will be the larger nucleus of the star-shaped pin pattern made up of 1.2mm pins. This series of pics shows the final fitting of the stem. I started with 220-grit paper and worked through medium and fine sanding sponges and finally 0000 steel wool to buff and polish both the stem and stummel.
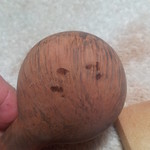
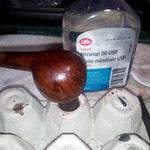
Just before staining the briar, I wiped the stummel with isopropyl alcohol to remove sanding dust and other contaminants. The wetting highlighted a few spots where the “ghosts” of the old dents were still haunting the briar. A bit more sanding took these out, leaving me with pristine grain.
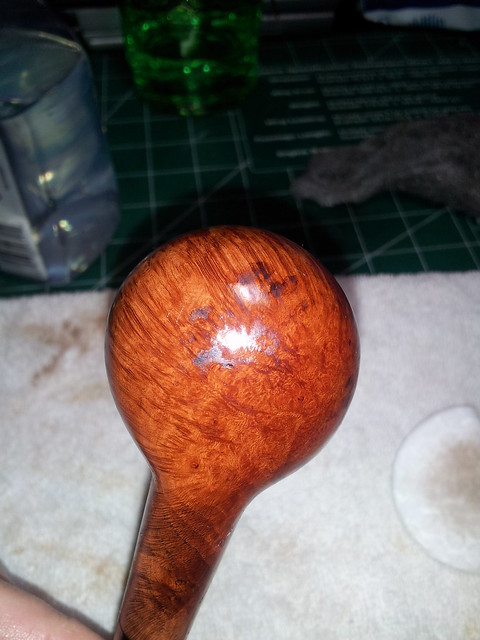
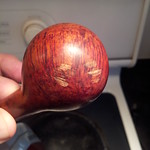
I stained the briar with a contrast stain, starting with an undercoat of Fiebing’s Black leather dye. Most of this stain was scrubbed off, leaving the softer grain stained dark. A top coat made of Dark Brown and Saddle Tan dyes was then washed over the wood, replicating Brigham’s “Royal Smooth” finish. Finally, a light wipe with mineral oil enlivened the grain and moisturized the briar.

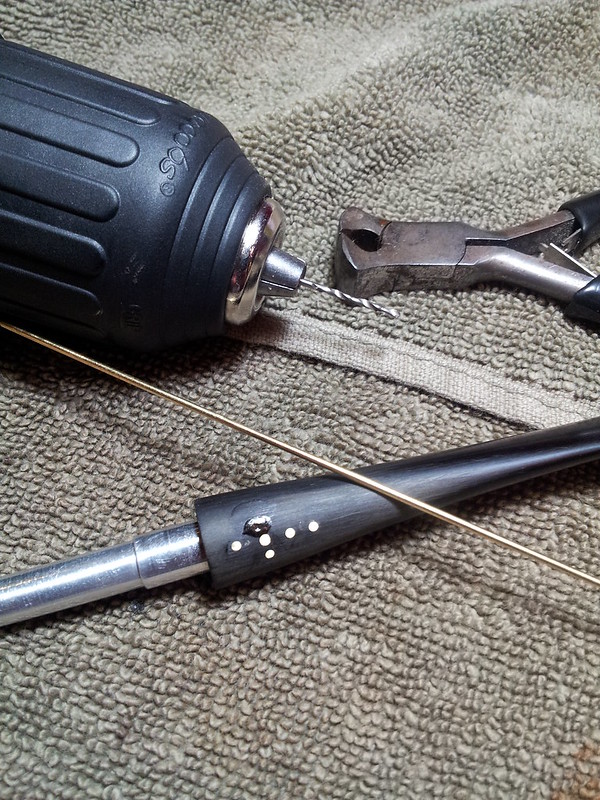
With the stummel ready for buffing, I turned to the detail work of pinning the stem. As I mentioned earlier, the “satellite” pins of the 6-Dot pattern on this stem were made using 1.2mm diameter brass rod. The corresponding micro drill bit was too small for the chuck on my drill press, so I had to use my hand drill and install the pins freehand. As you can imagine, this got tricky and I took lots of break during the process. As each pin hole was drilled, I dripped a small amount of CA glue into the hole and pressed home a short segment of brass rod. When the CA was cured, I used a file and 220-grit paper to remove the excess rod and level each pin with the surface of the stem.
This series of pics shows the process. I’m working on the last pin here – I’ll admit to having done a Happy Dance when I got all 6 pins in place!
 The last step in this restemming was adding the 1/8th bend. I slipped a pipe cleaner into the stem to keep the airway open and held the stem over the heat gun until it softened enough to bend. A dip in cool water set the bend in place.
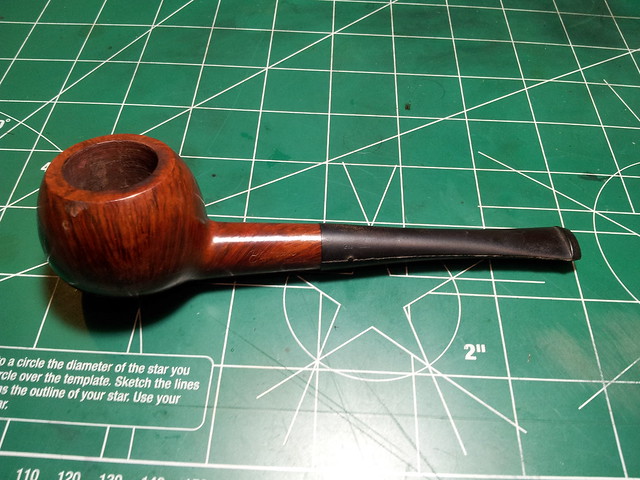
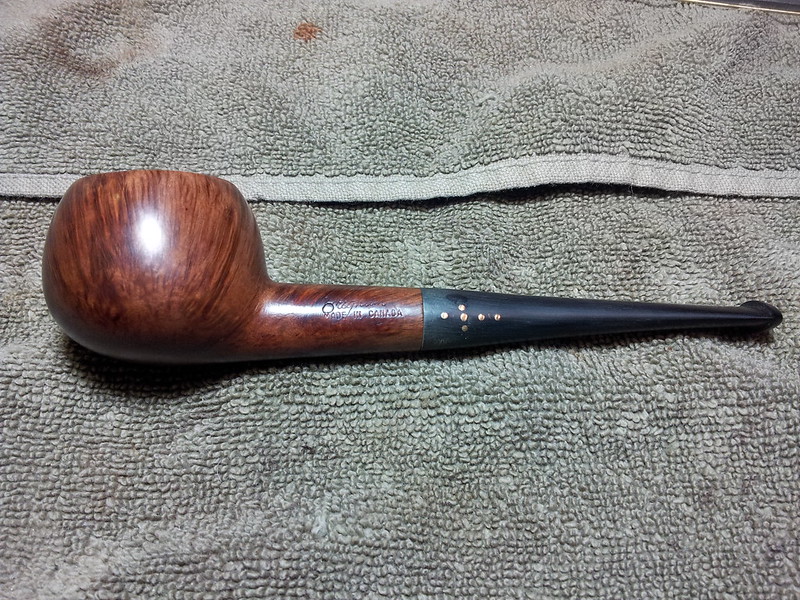
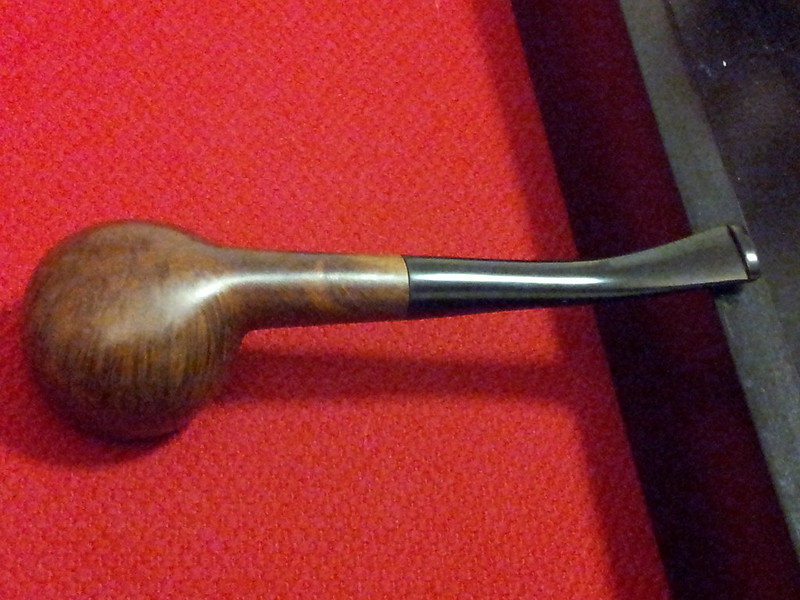
I finished up by giving the stem and stummel a run of White Diamond on the buffing wheel followed by several coats of Carnauba wax. This 613 is barely recognizable as the beaten-up stummel that hit my workbench a few days ago. My only regret is that I can’t add this beautiful pipe to my own rack! It should serve its owner well for decades to come. Thanks, Paul, for letting me work on this pipe for you. Smoke it in good health.
Here’s the finished pipe.


Charles,
Great write up and superb job on this pipe. You are very talented. We should get together and smoke a bowl soon. I have a feeling that this pipe will very quickly become a favorite of mine. Thank you so much.
Paul
LikeLiked by 2 people
You are very welcome, Paul! It was a treat to work on and I’m thrilled to see this beautiful pipe back in action!
LikeLiked by 1 person
Great job Charles. You are going to be my go to if I need any dot work done.
LikeLiked by 1 person
Thanks, Bill 😀
LikeLiked by 1 person
Really well done Charles. Looks great.
LikeLiked by 1 person
Reblogged this on rebornpipes and commented:
This is an educational one for me – never tried re-pegging a Brigham. Charles does a great job and shows how it is done. Thanks Charles
LikeLiked by 1 person
Thanks much, Steve! Once you get over the nerve-wracking freehand drilling, the pinning gets a lot easier 😉
LikeLike
Charles…amazing work! Well done. Paul, you’re a lucky man.
LikeLiked by 1 person
Thanks, Dave!
LikeLike