
I’ve worked on quite a few bulldog pipes recently, so it was a refreshing change to reach into the refurb box and pull out this Dr Grabow Golden Duke. It’s a larger pipe, measuring 6” long with a 2” tall bowl and a 7/8” bore. The bowl has the classic Dublin inverted-cone shape, flaring gently from 1-1/8” at the base to 1-3/8″ at the rim. Despite its size, the pipe weighs in at a very comfortable 1.4 ounces or 40 grams.
This pipe was obviously someone’s favourite – it showed all the signs of regular, heavy use and spotty maintenance– the grooves of the wire-carved rustication were packed with oils and debris, the rustication on the rim was almost completely hidden under a lava flow of tars, and the wide aluminium shank extension was scratched and dull. The stem was grimy and oxidized and a large chunk of the lower bit/button area was missing. The pipe stank of old, strong (likely English) tobacco, and our piper was apparently allergic to pipe cleaners – shank and stem were clogged with a heavy layer of smelly, clay-like gunk.
The pipe is stamped “Golden Duke” over “Dr Grabow” on the underside of the shank, while the stem carries the Grabow spade logo on the left side.


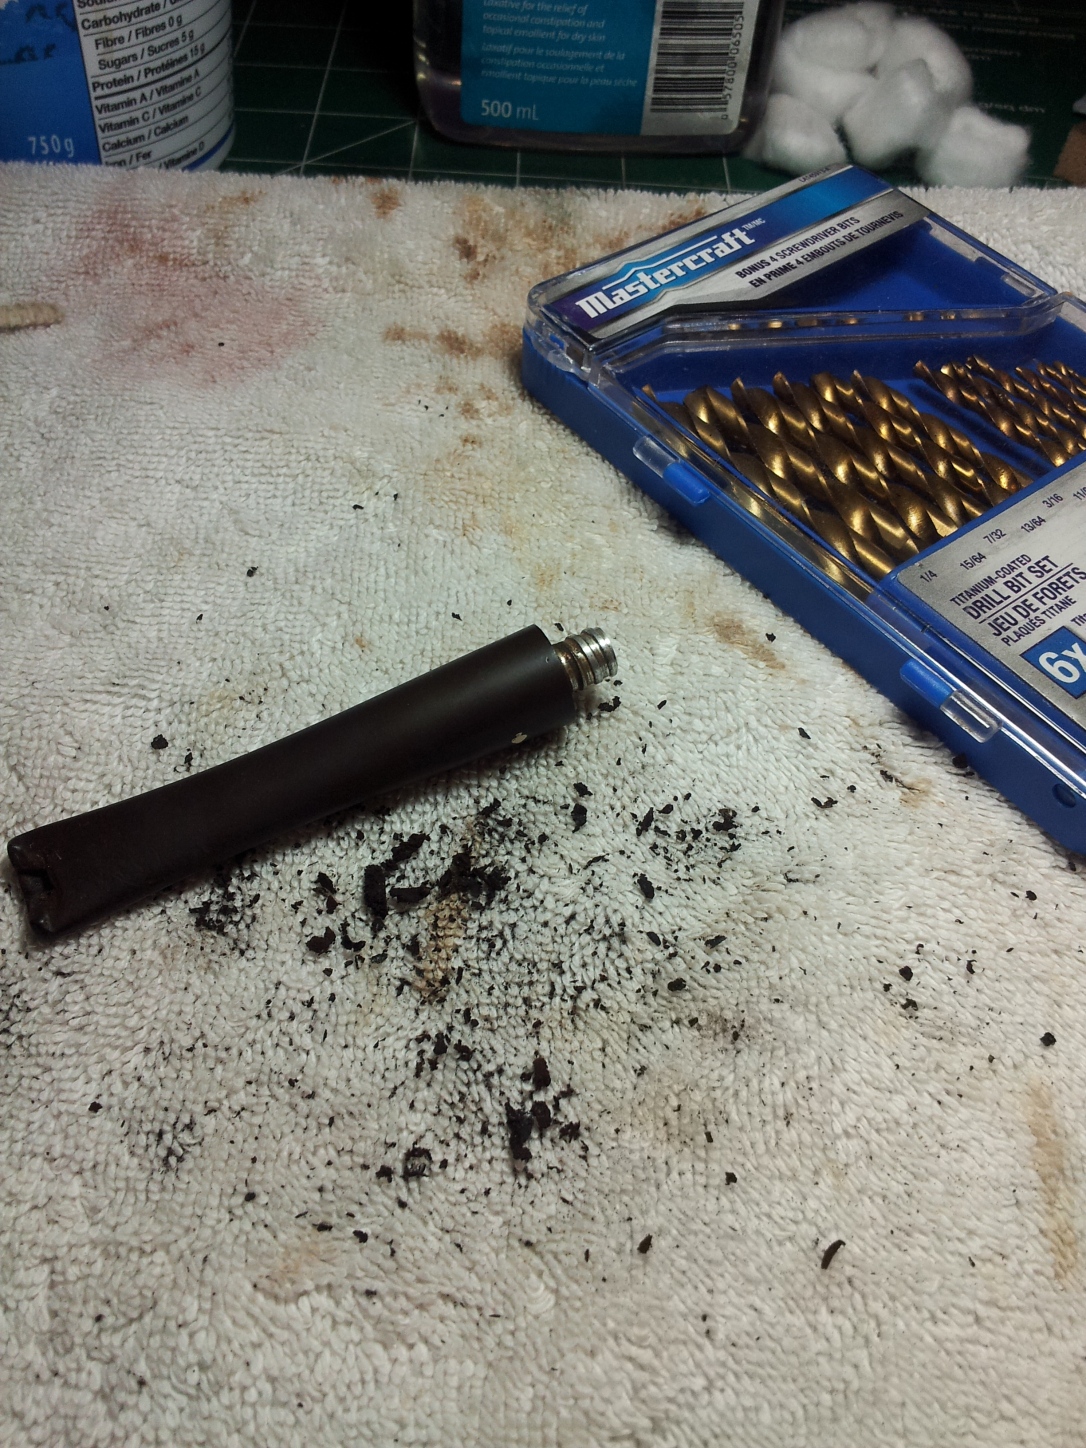
I started this heavy cleaning by removing the worst of the crud buildup in stem and shank with drill bits. I started with smaller bits, turning them by hand, and worked my way up through the bit sizes to auger out the muck.
With the heavy debris removed, the stem went into an Oxyclean bath to soak while I cleaned up the stummel. I scrubbed the rusticated finish with Murphy’s Oil Soap and an old toothbrush to clean the oils, waxes and dirt out of the grooves. I’ve had great luck with this technique – the Murphy’s seems to cut through the grime while helping to moisturize the briar slightly. I followed up the Murphy’s scrub by running the point of a dental pick down each groove to pull out any bits remaining. This was particularly necessary to clean the lava off the rim of the bowl.


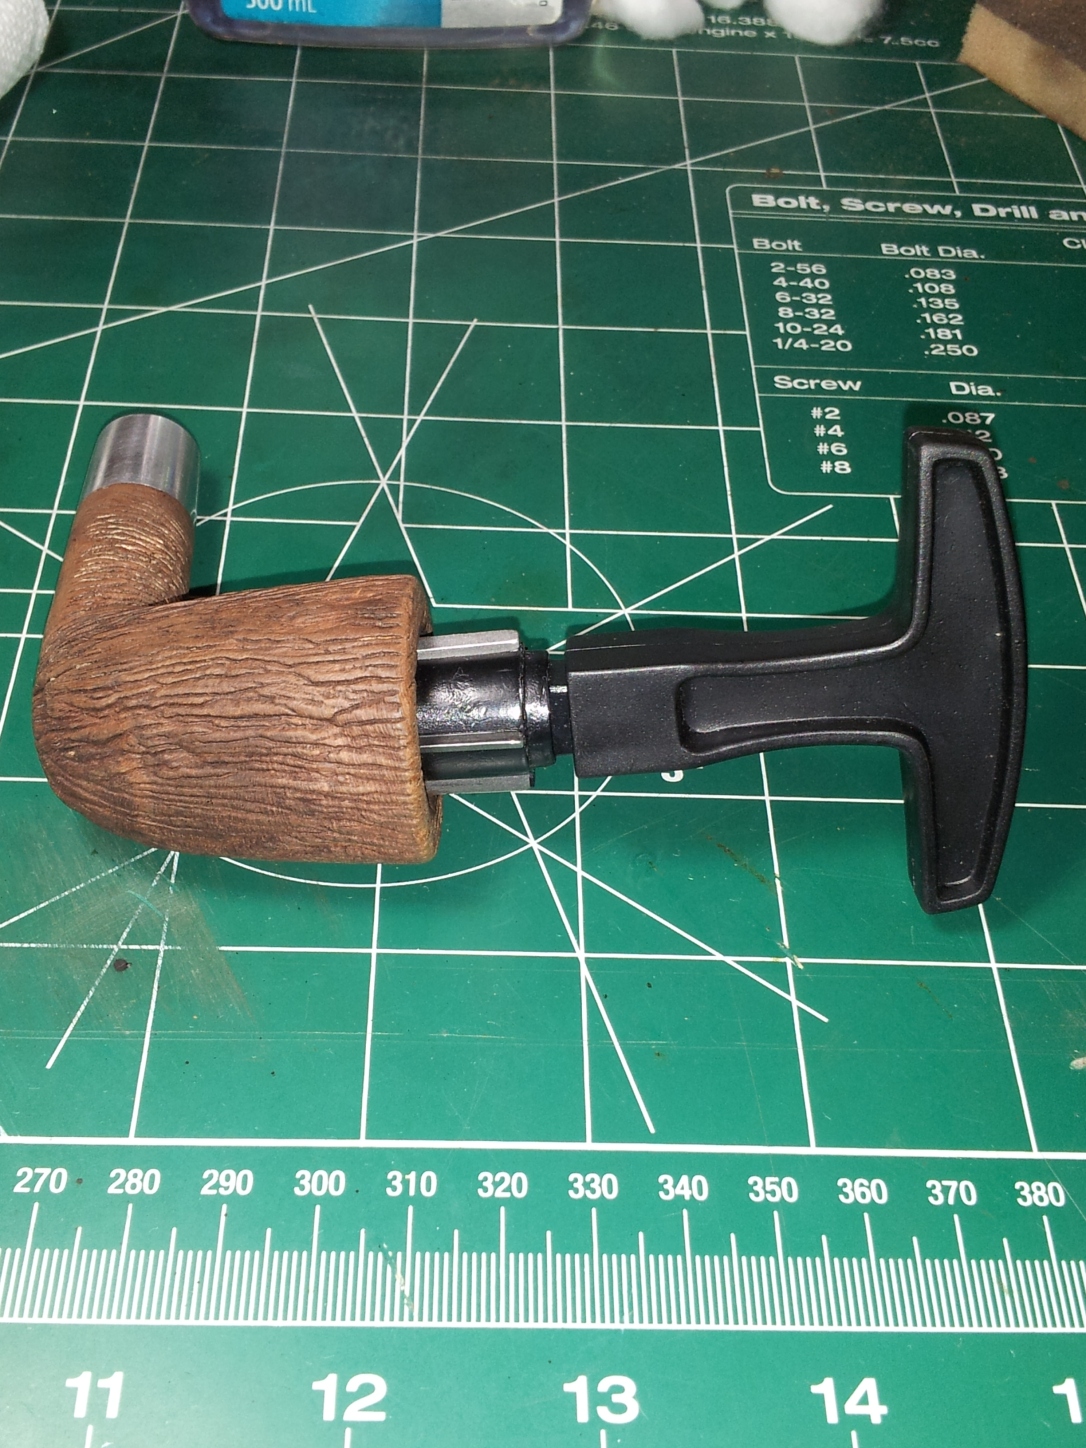
I recently picked up a set of Castleford reamers, which I put to work next. I started with the smallest reamer head and worked up to the largest that would fit the bowl. With the chamber reamed back to bare wood, I was pleasantly surprised to see no internal damage other than a small gouge near the bottom front chamber wall. This was likely made by the point of a pen knife blade; it’s a small mark, so I left it alone.
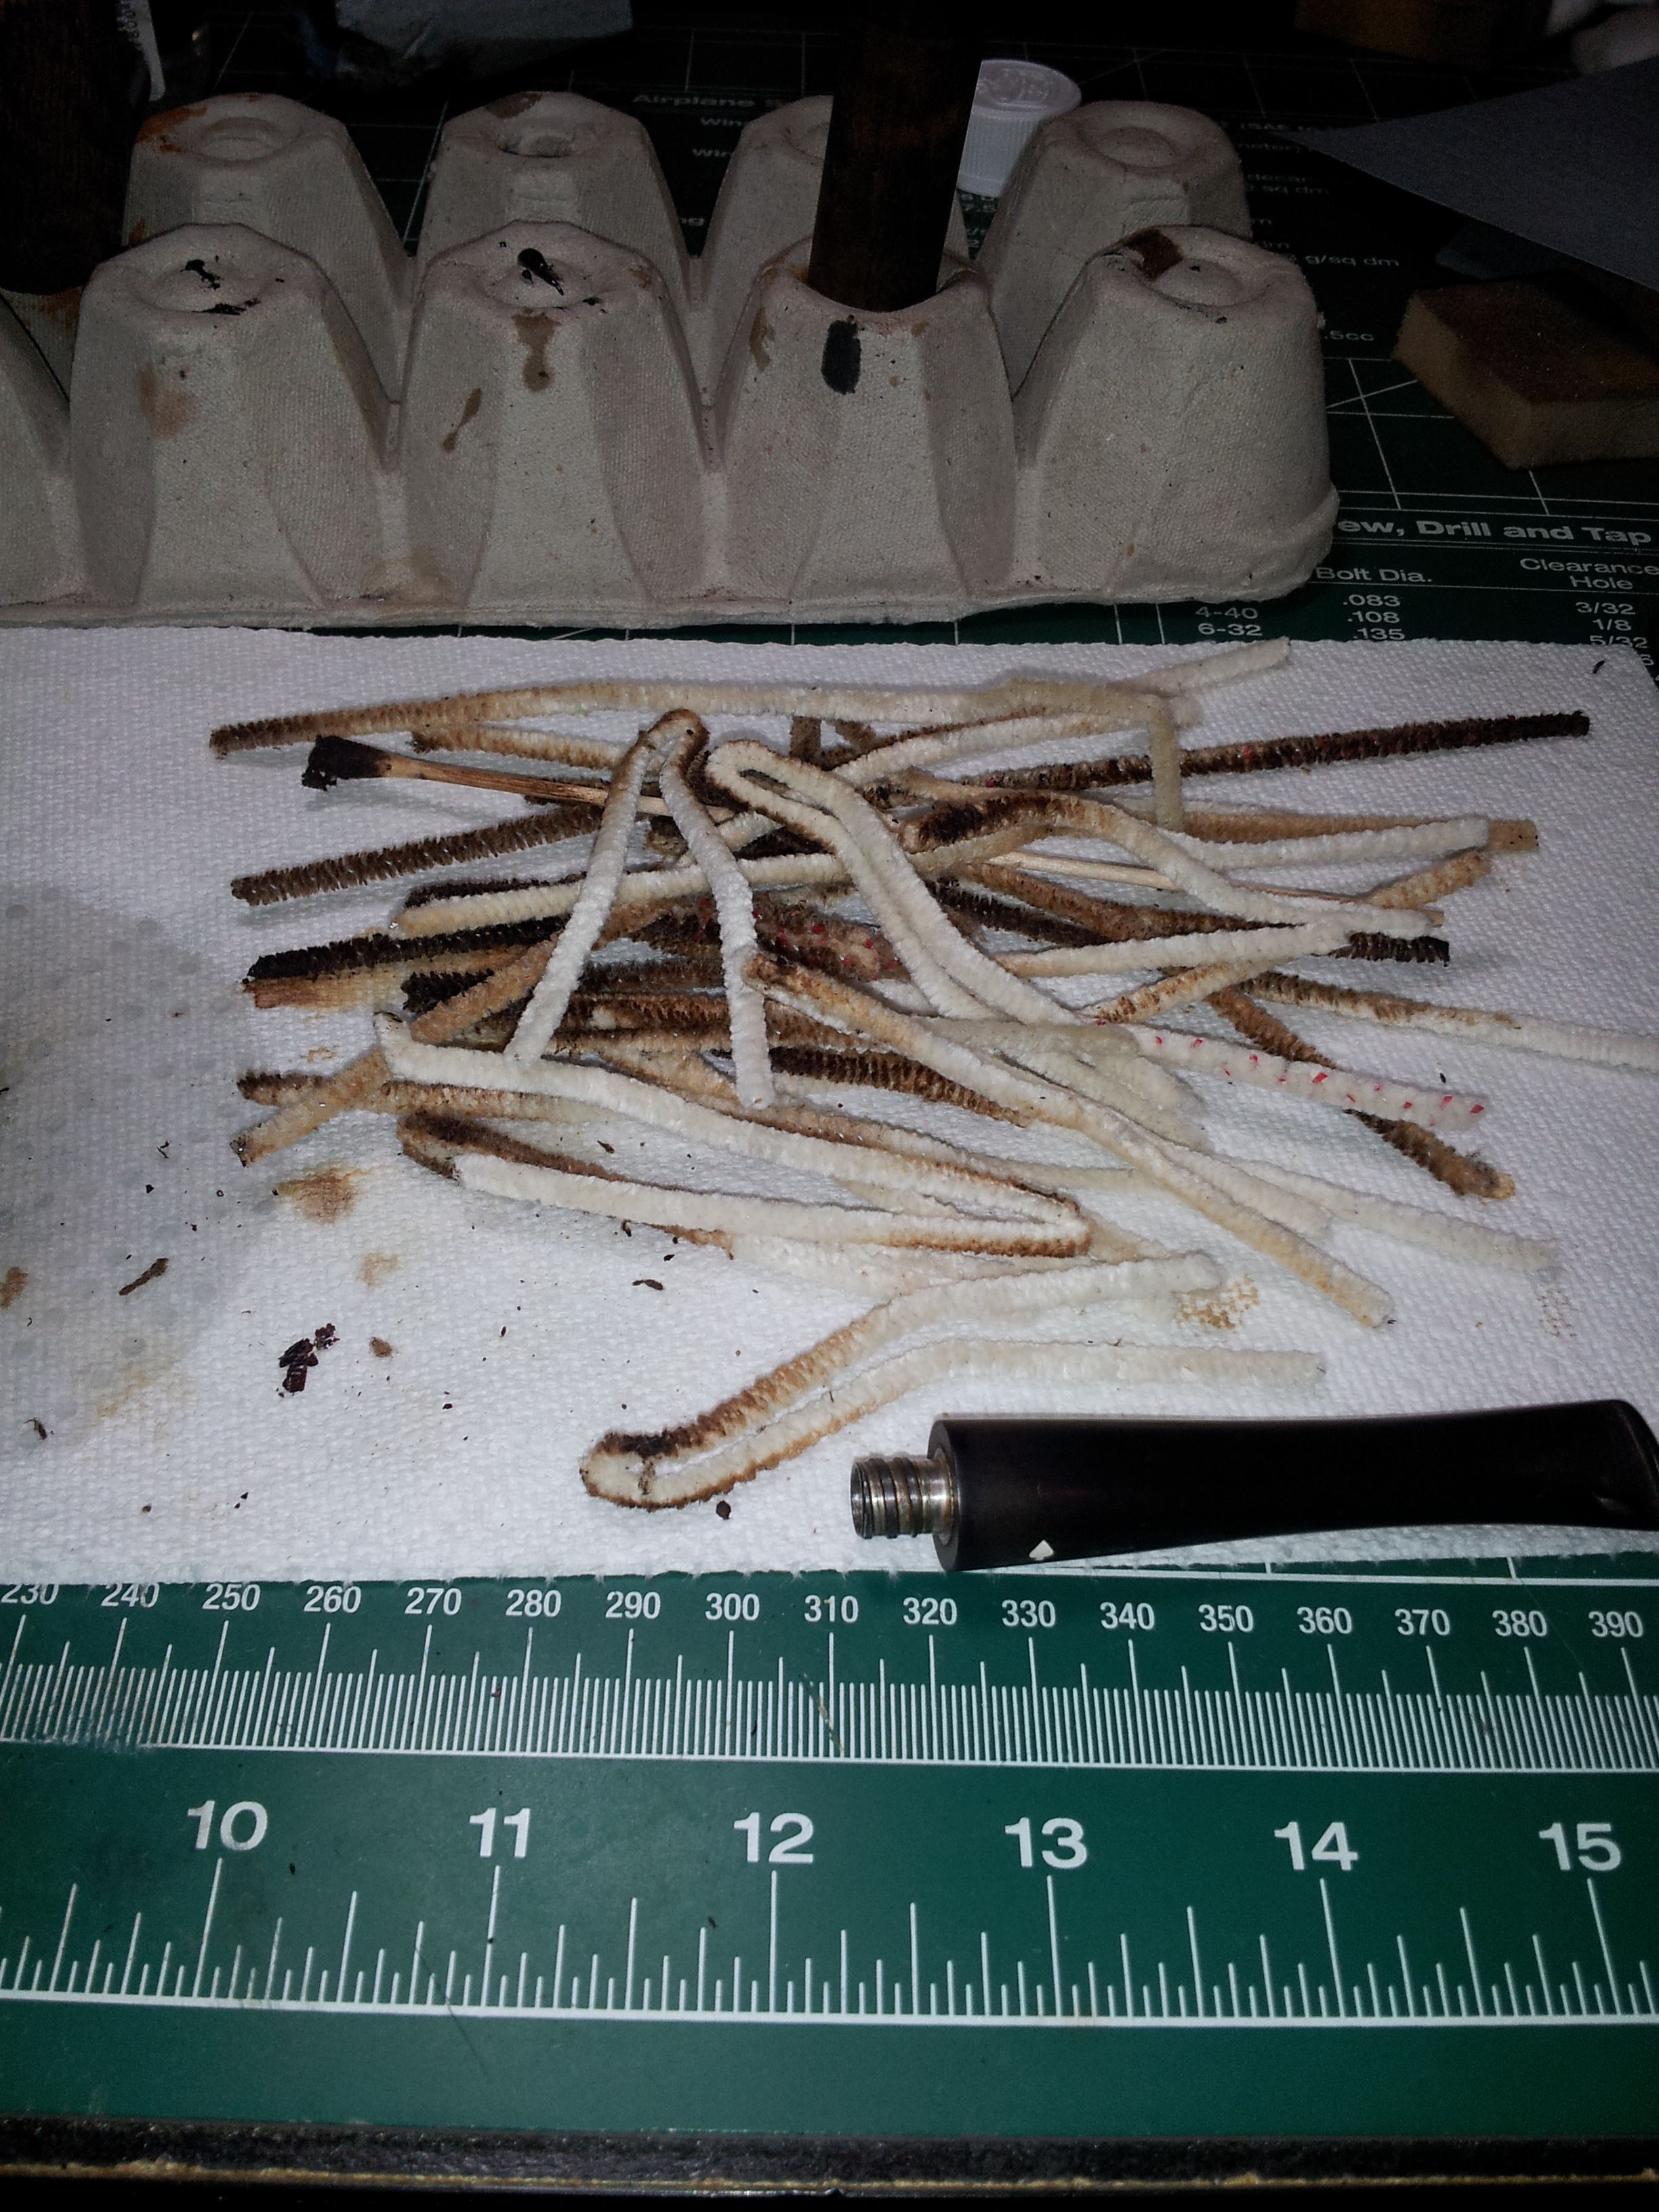
It was time to clean the shank, and hopefully eliminate the heavy smells emanating from the stummel. I set to work with both bristle and soft pipe cleaners and isopropyl alcohol. Auguring out the worst of the gunk with the drill bits certainly sped up this process – though the first pipe cleaners came out blacker than black, it wasn’t long before the cleaners came out white. I finished the de-ghosting of the stummel with a cotton ball & alcohol treatment. Both shank and bowl were stuffed with cotton balls and then soaked with alcohol and left to sit overnight. The alcohol pulls the tars and other contaminants from the briar into the cotton wadding, taking the smells with them.


It was finally time to sort out the damaged stem. I pulled it out of the Oxyclean bath and scrubbed the oxidation and grime off with Magic Eraser and 0000 steel wool, followed by 600 – 1000 grit wet sandpaper to smooth and polish the vulcanite. That sorted the outside of the stem, but the internals were still a hot mess. It took a concerted effort with bristle and soft pipe cleaners and alcohol to work the crud out of the airway. It wasn’t hard work, but repetitive and, in this case, stinky but entirely necessary. It’s clear to me that this pipe was smoked without the benefit of the Grabow paper filter. All the tars and crud settled into the chamber the filter would have filled.
The basic cleaning on this project seemed to be the worst part of the job. Now I could get on with the more interesting bit – repairing the missing chunk of bit and button. I started off by shaping a scrap of cardboard to fit into the remains of the bit slot. I wrapped the cardboard with tape to keep the CA glue from sticking to it, and then jammed it securely in the end of the stem. I mixed activated charcoal powder with thick gel-type CA glue and applied the patch material to the stem, filling in the missing area. I worked in layers, slowly building up the repair until there was sufficient material in place to form the new button. When the CA glue patch had cured, I pulled out the cardboard wedge, revealing the new slot. I cleaned up the shape of the slot with needle files and then used a combination of files, sand paper, sanding sponges and MicroMesh pads to cut, shape and polish the new button. I also used the CA and charcoal mix to build up the worn upper button area. This series of pics shows the process:


Then it was time to reassemble the pipe and head to the buffer. The stem was buffed with Red Tripoli and White Diamond compounds, while the stummel received only a light buffing with White Diamond before the whole pipe was given several coats of Carnauba wax. I took care to avoid plugging up the grooves in the rustication during the buff and polish by running the wheel parallel to the grooves instead of across them. The buffing also did a nice job of polishing up the aluminium shank extension, though a few marks remain from the deepest scratches.
Overall, I’m pleased with the outcome of this restoration. My stem work, though not perfect by any means, seems to improve with each iteration, and I’ve finally added a wire-carved pipe to the collection. I’m a fan of pipes with larger bowls, and I have a hunch that this Golden Duke may be a good pipe for flake tobaccos. Time will tell! Here’s the finished pipe.


Thanks for joining me for another restoration. Until next time, happy piping!

Beautiful job on the stem, Charles. You also did a nice job with the dental pick. I have the same pipe in a pot shape. Smoked it yesterday as a matter of fact.
LikeLiked by 1 person
Cheers, Al. I’m slowly getting the hang of these stem rebuilds. I’m going to order some black CA glue next so I can compare it to my charcoal patch method.
The wire-carved pipes can really stand out in the crowd with their unique style. Hopefully the next one I add to the collection is a bit cleaner to start. This one stank up the entire room! 🙂
LikeLike
Nice work Charles. The Murphy’s is amazing stuff. I have used it for years cleaning up pipes. Great job on the stem patch… I am ordering some black super glue with rubber added to experiment with. It is different than the regular black super glue.
LikeLike
Where are you sourcing CA and rubber?
LikeLike
What a nice outcomes, Charles. And you definitely can see the improvements in your work! I have that exact pipe and it was just as grungy when I got it as this one was … sans the bitten off chunk of stem. I agree they are interesting and apparently good smoking old pipes.
Greg
LikeLiked by 1 person
Thanks, Greg! Glad to hear I haven’t invested all that time in a poor pipe. 😉
You know, after all the estate pipes I’ve cleaned up, I still don’t (and probably will never) understand the “smoke ’em til they clog” theory of pipe smoking. Ick.
LikeLiked by 1 person
I’m with you on that Charles! Sometimes when that goo starts coming out on the first pipe cleaner I think “Why did you buy this nasty thing?” LOL
LikeLiked by 1 person
You know it! I’m always amazed to think that someone was willing to put that foul thing in their mouth…
LikeLiked by 1 person
Grosses me out just thinking about it LOL
LikeLiked by 1 person