
My estate pipe collecting must have hit critical mass this past month. Most of what I get in an average estate lot are complete pipes; of these, about 90% or more are able to be restored to close to factory condition. The other 5-10%, however, are too far gone and I end up salvaging what I can. This is why I have a box of stems and a box of bowls. I figured eventually I’d find stems to fit the bowls or vice versa, and last week I found the parts to assemble my first pipe from these spare parts.
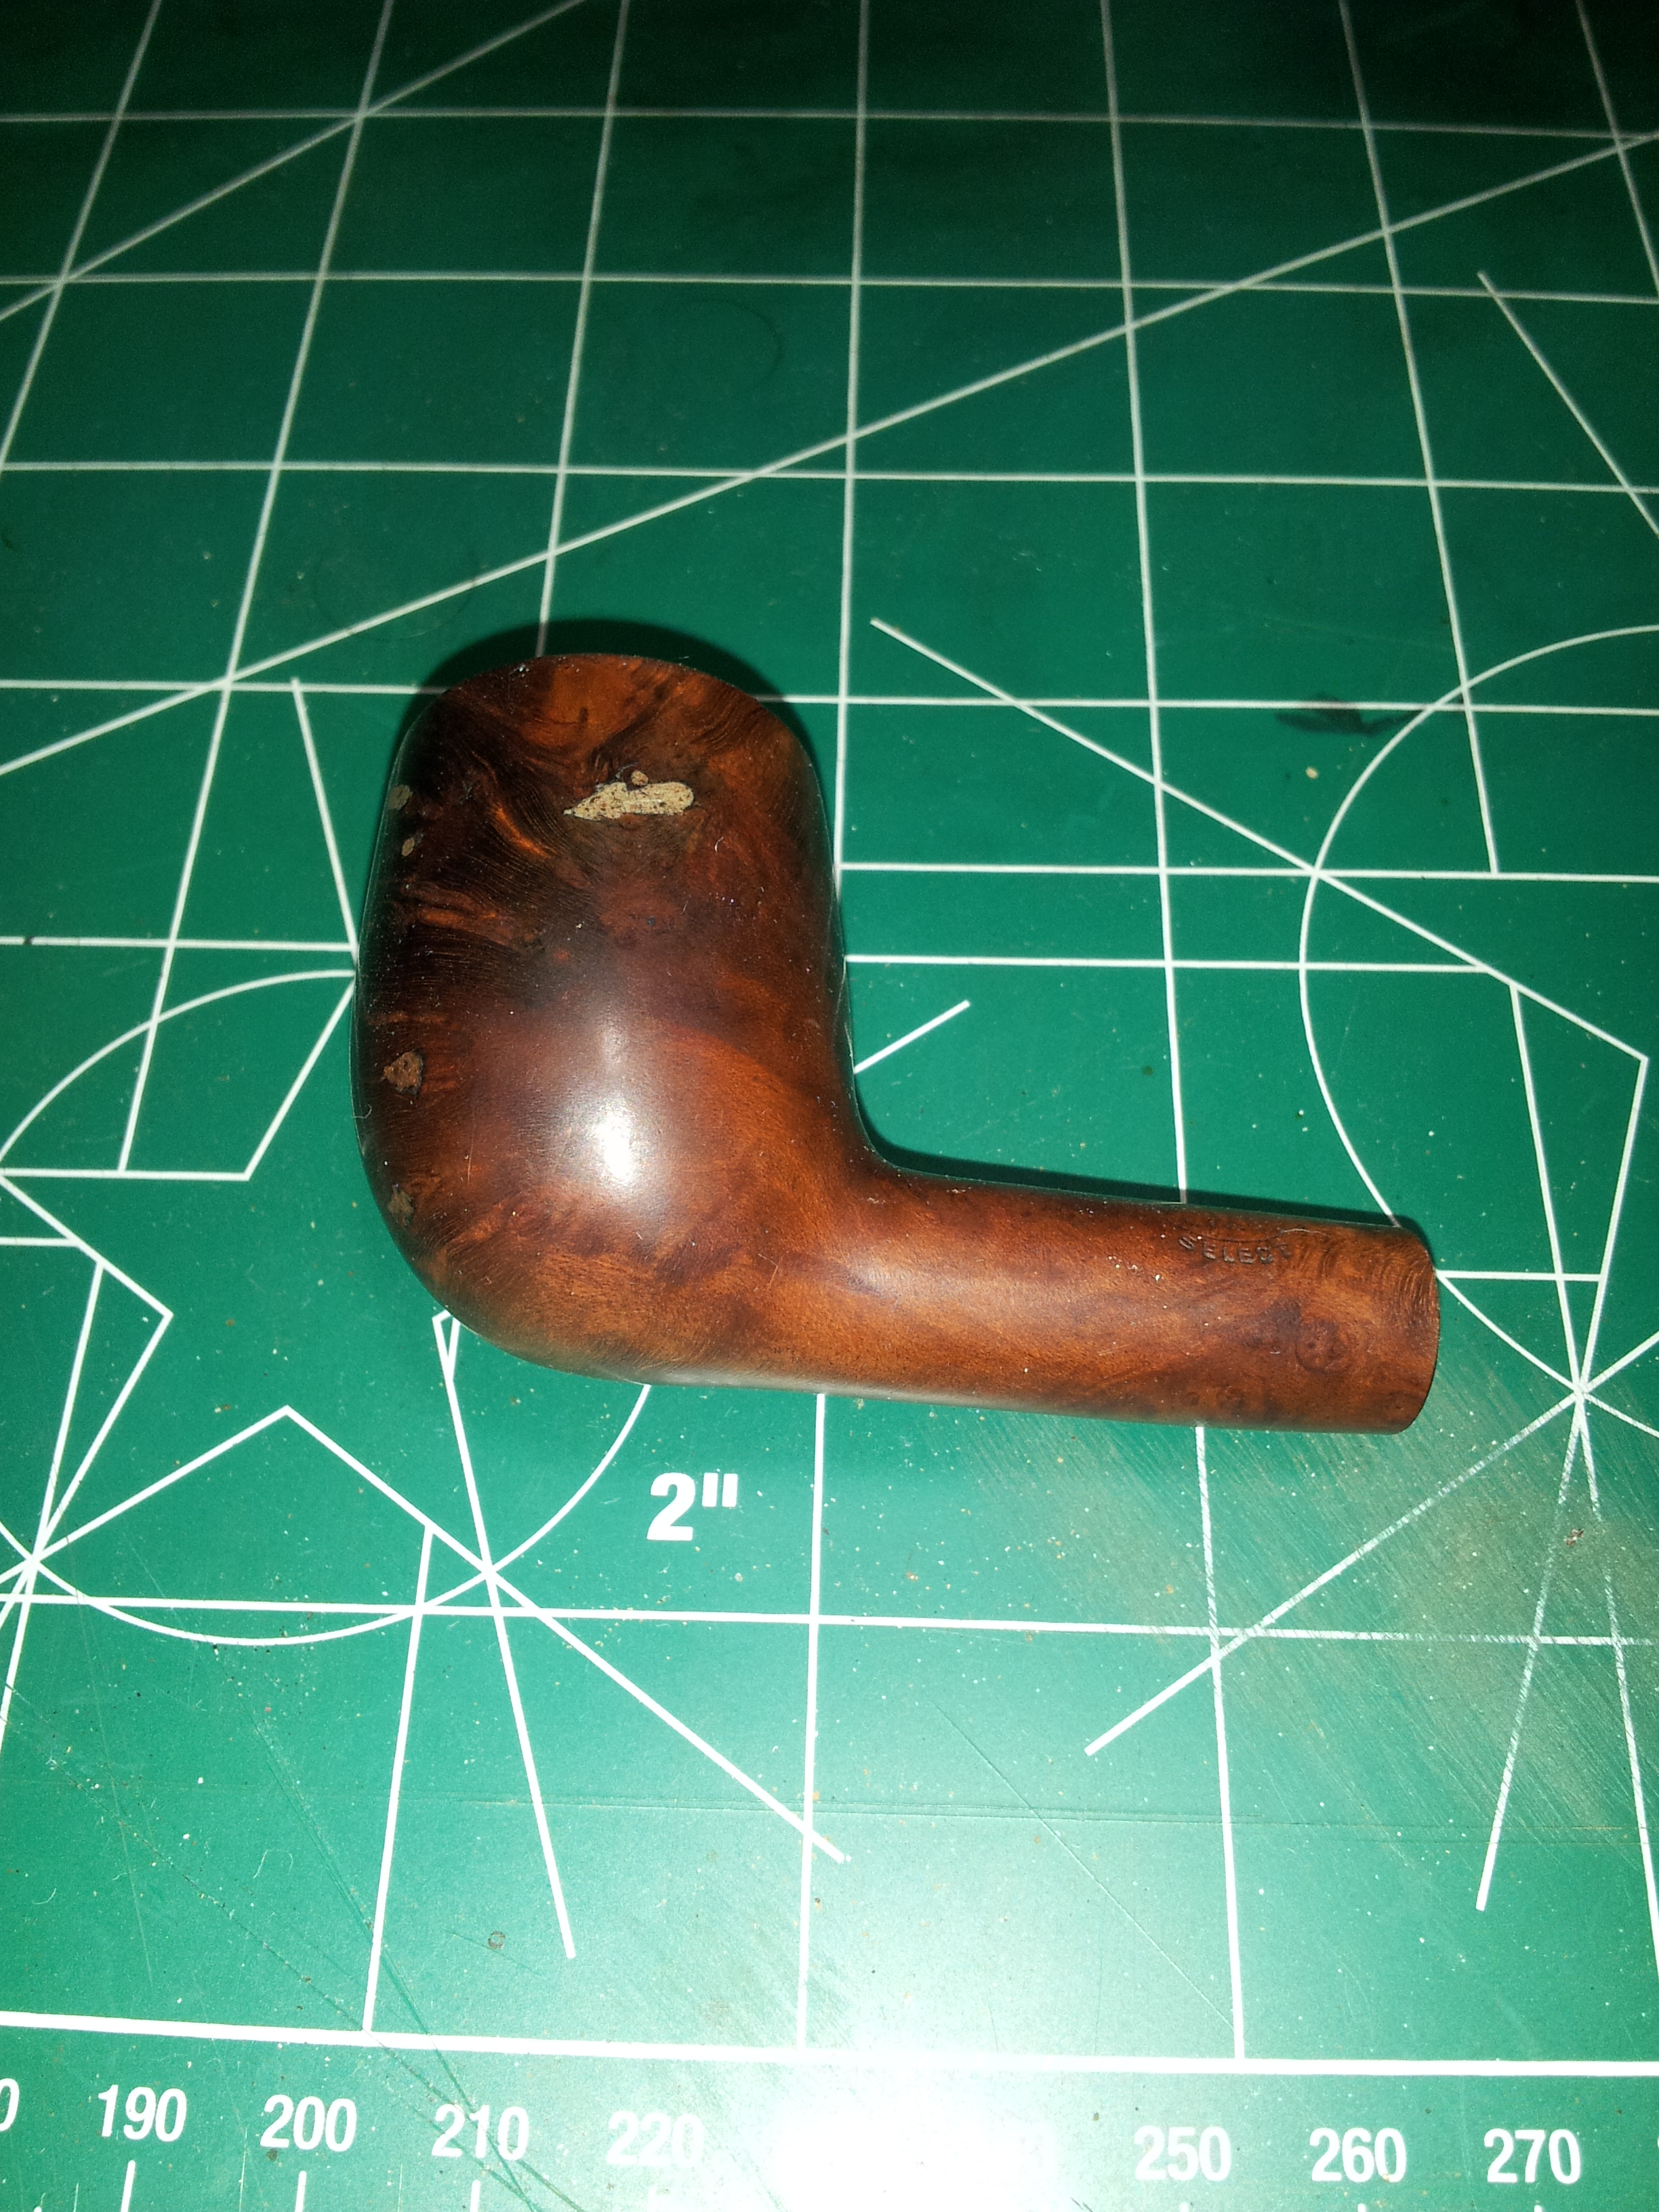
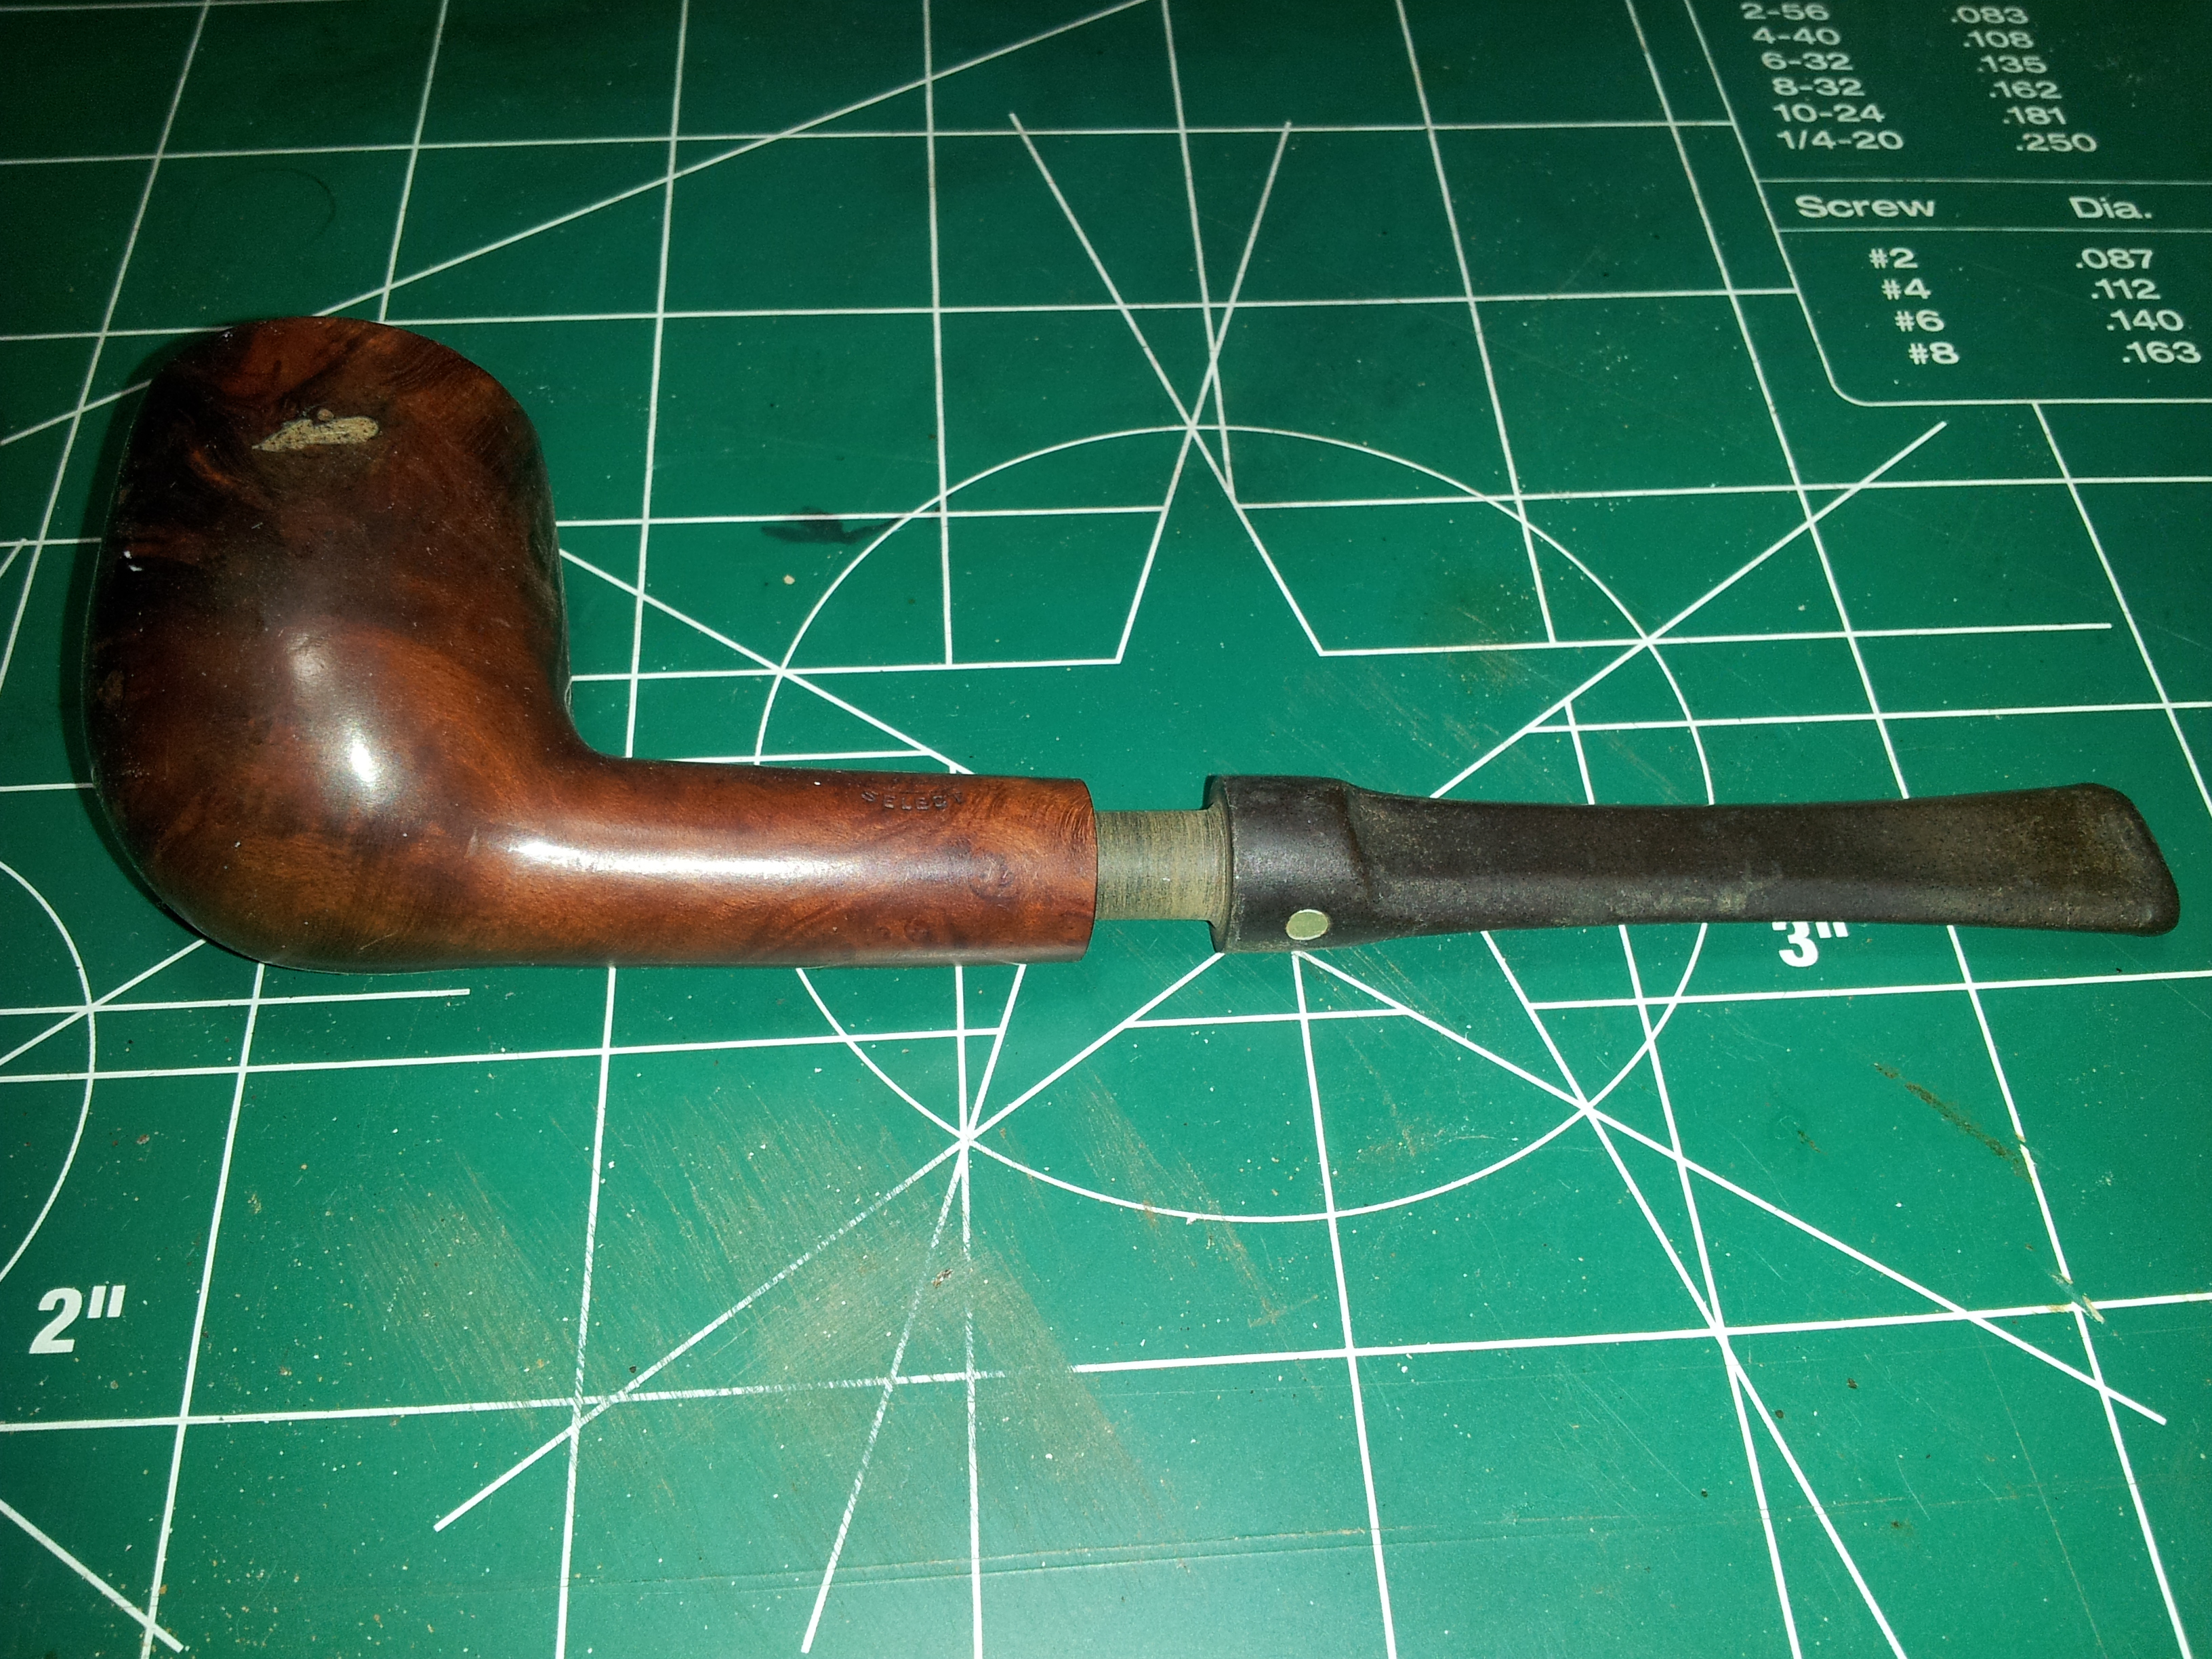
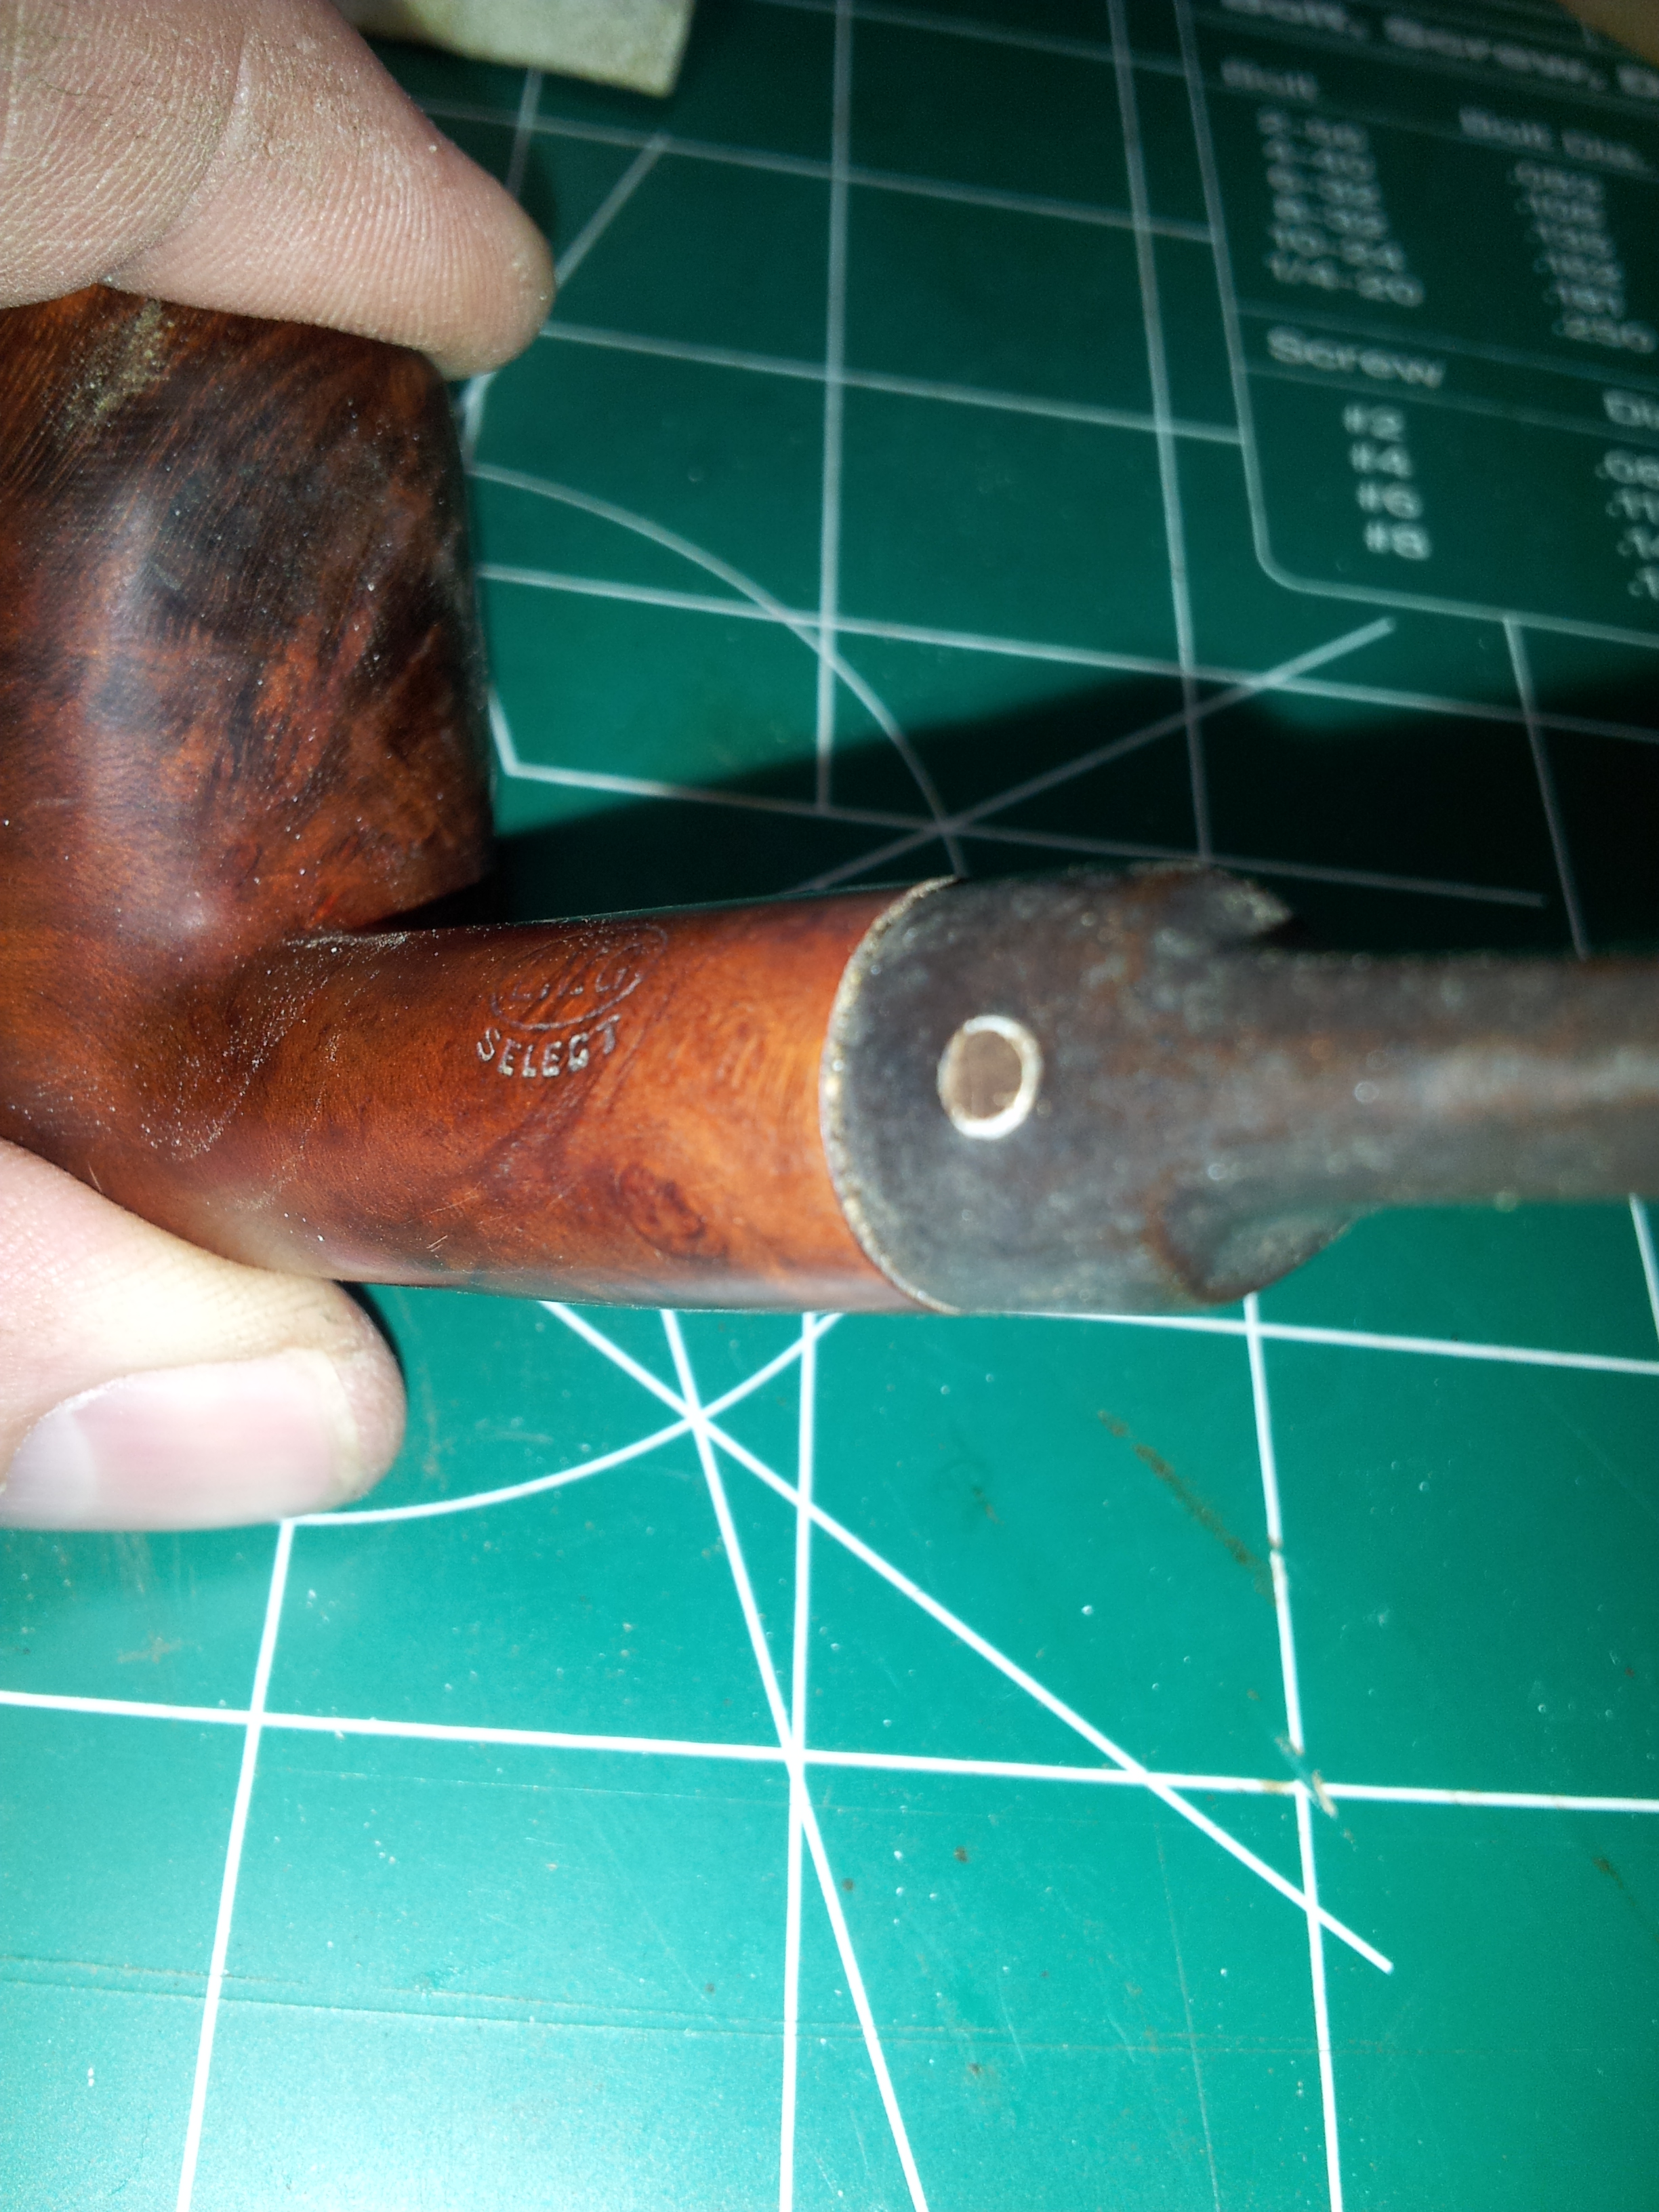
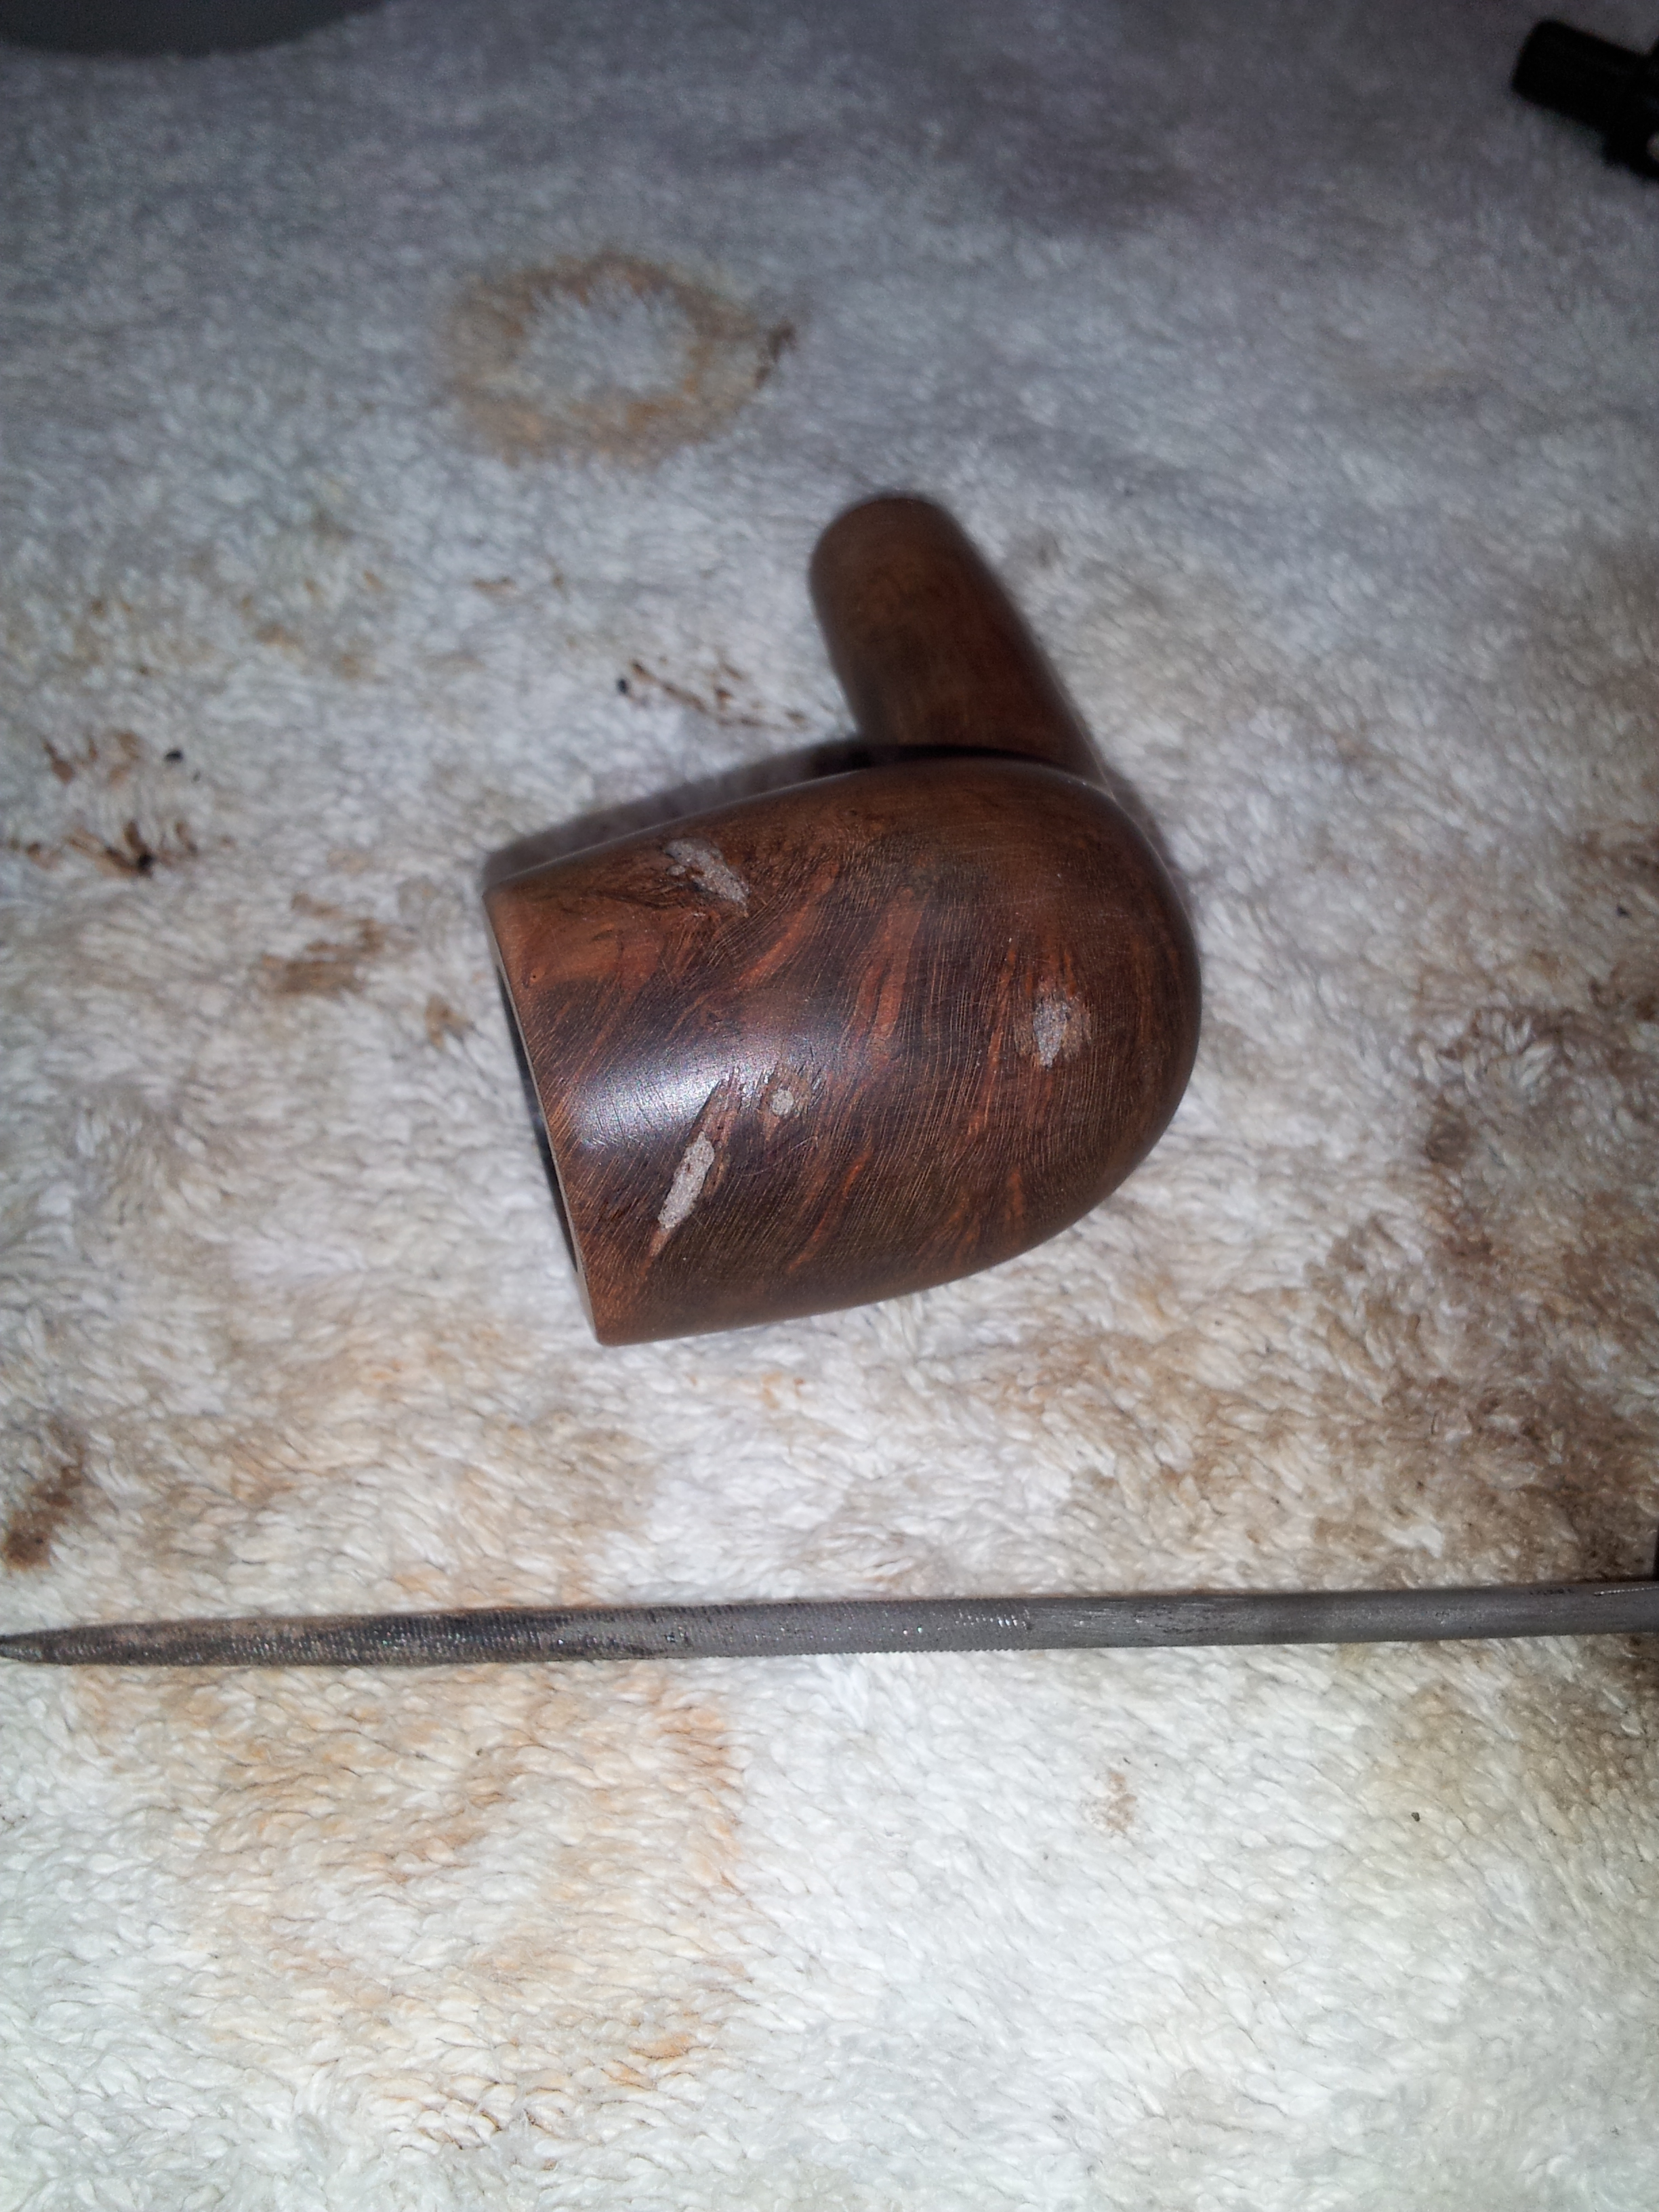
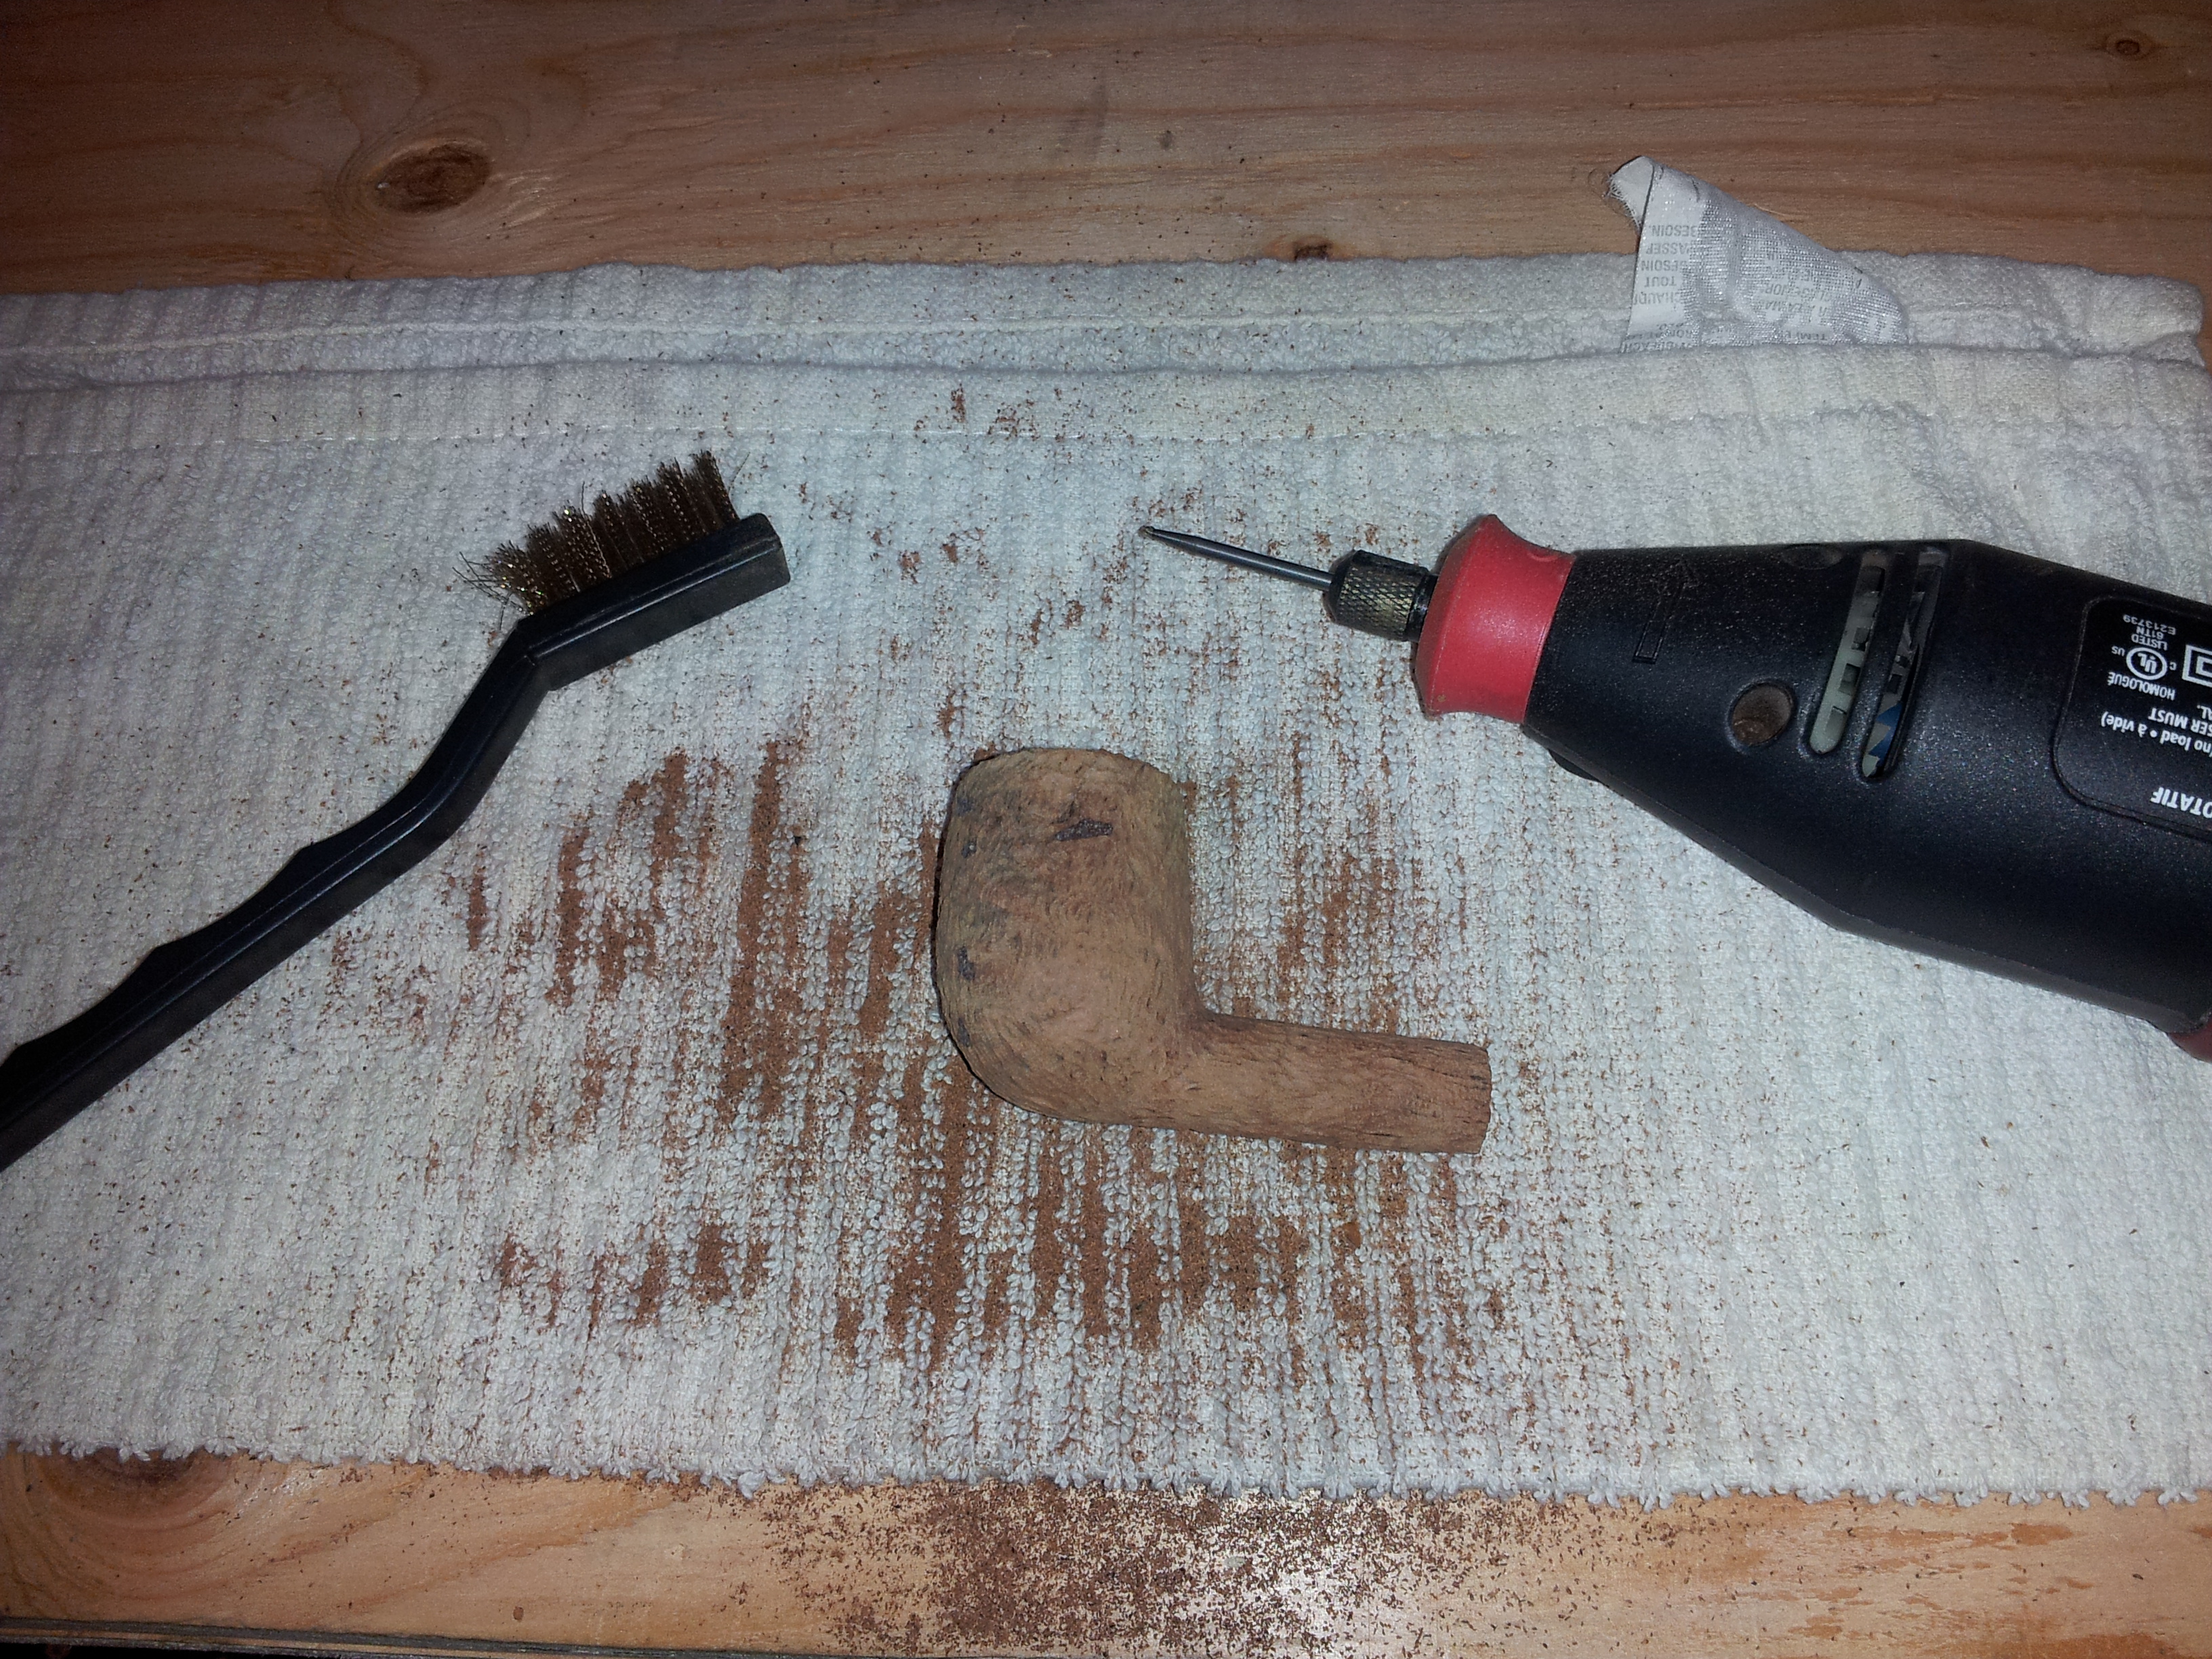
The bowl was in relatively good shape, but with some obvious fills that would need some work to disguise. It was stamped “LVG” over “Select” on the left shank, and, barely visible, a round “Made in England” stamp on the top right shank. The stem I chose to fit to the bowl came had a largish silver/steel dot on the left side, but otherwise bore no identifiable markings. I had no luck finding any information about these markings on either Pipedia or Pipephil. If anyone can shed some light on the origins of these parts, I’d be grateful. Here are the parts as found:
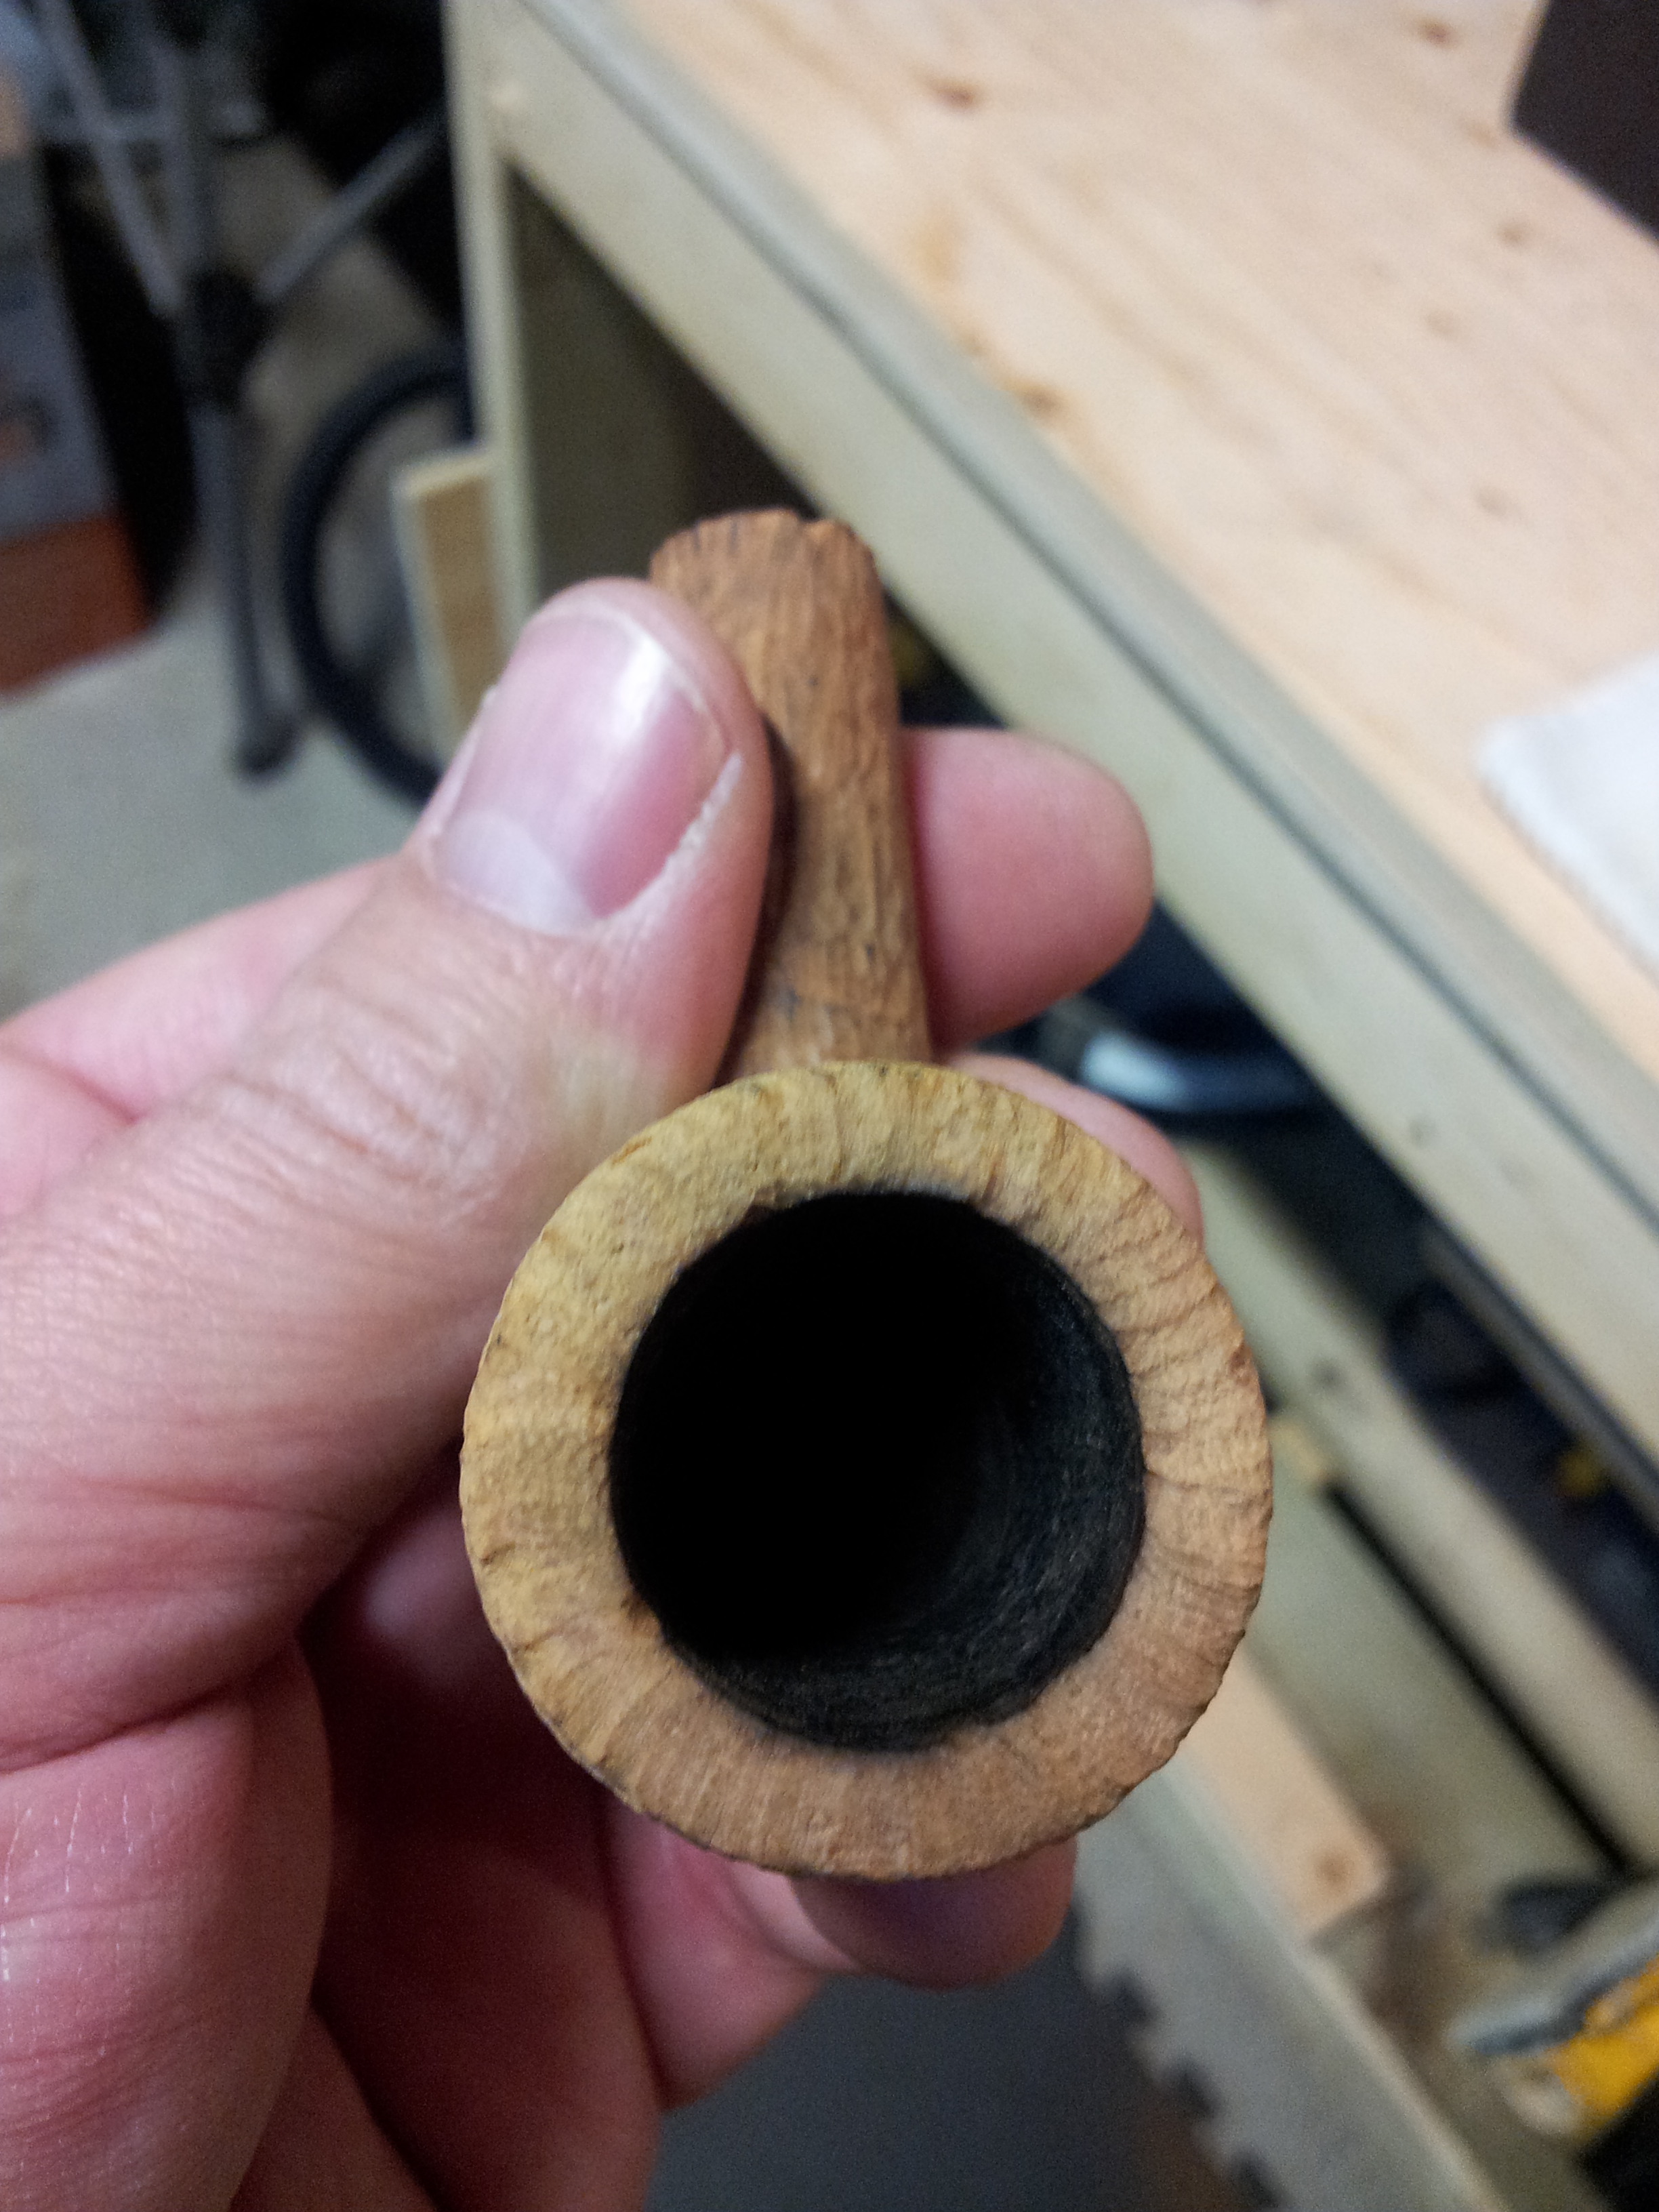
The stem’s tenon was slightly large for the mortise, so I sized it down with a bit of 220-grit sandpaper. With the stem mounted in the mortise, the shank proved slightly larger than the diameter of the stem, so I used a combination of files, sandpaper and sanding sponges to smooth out the transition.


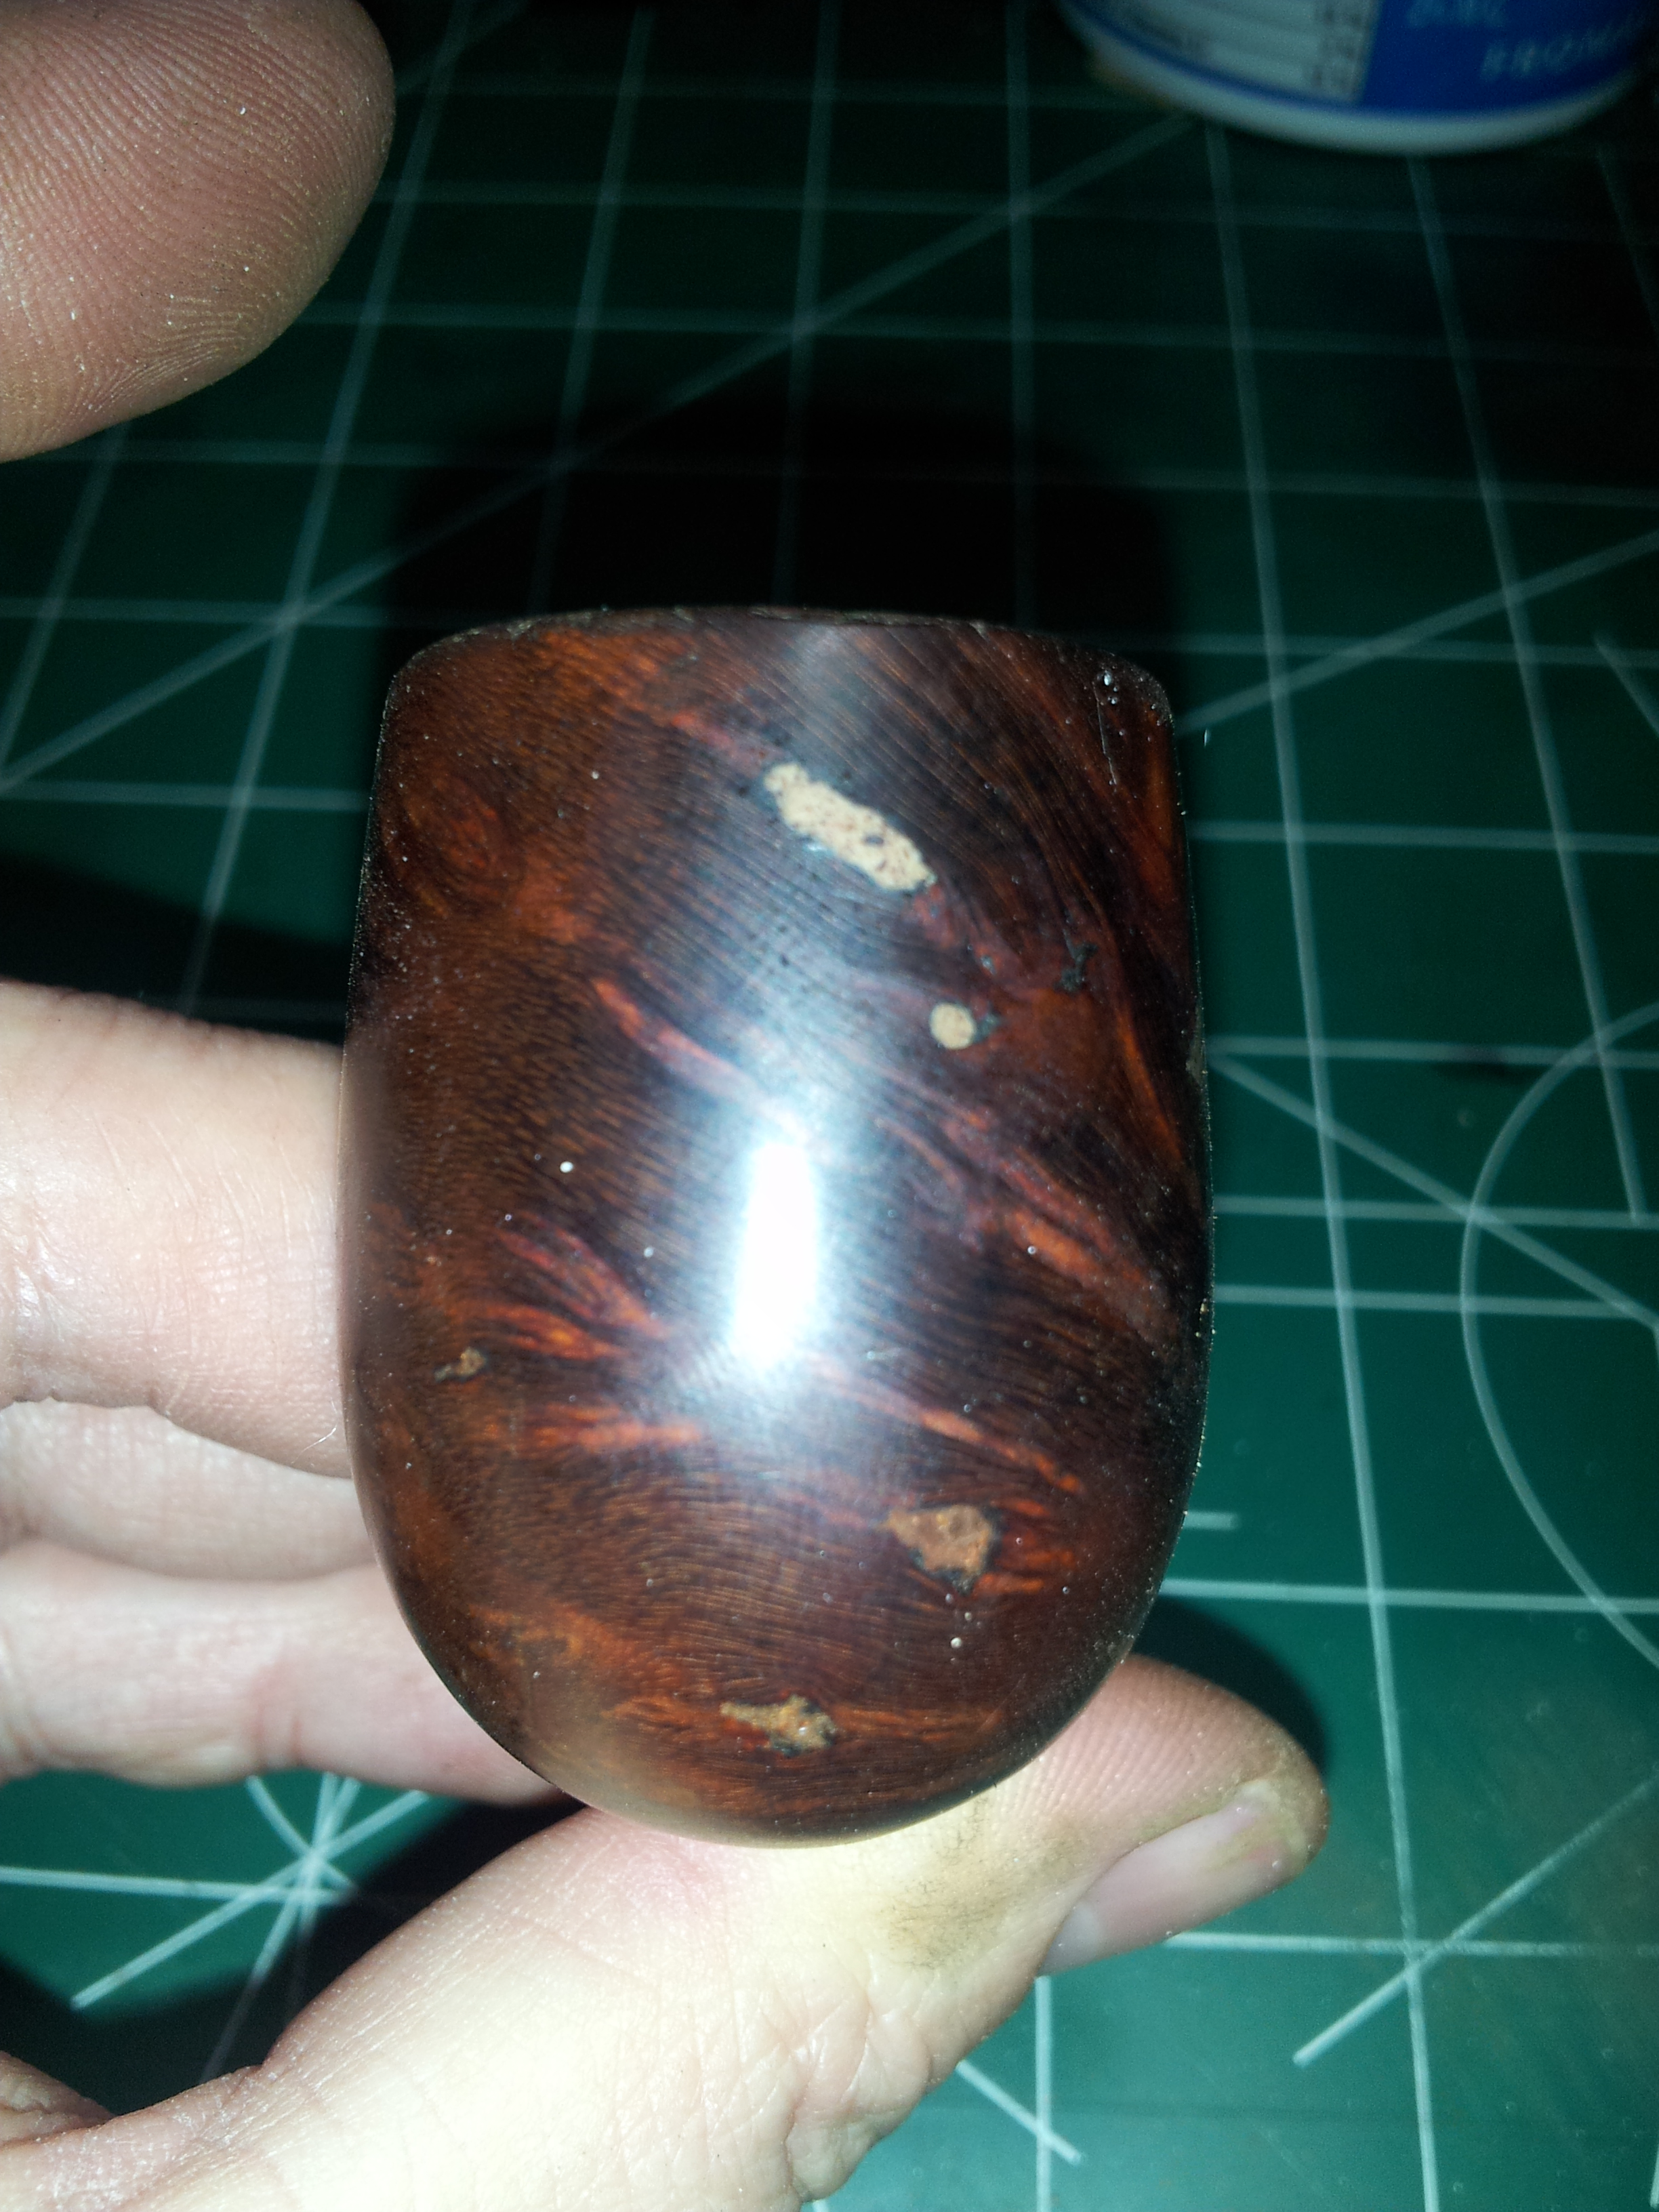
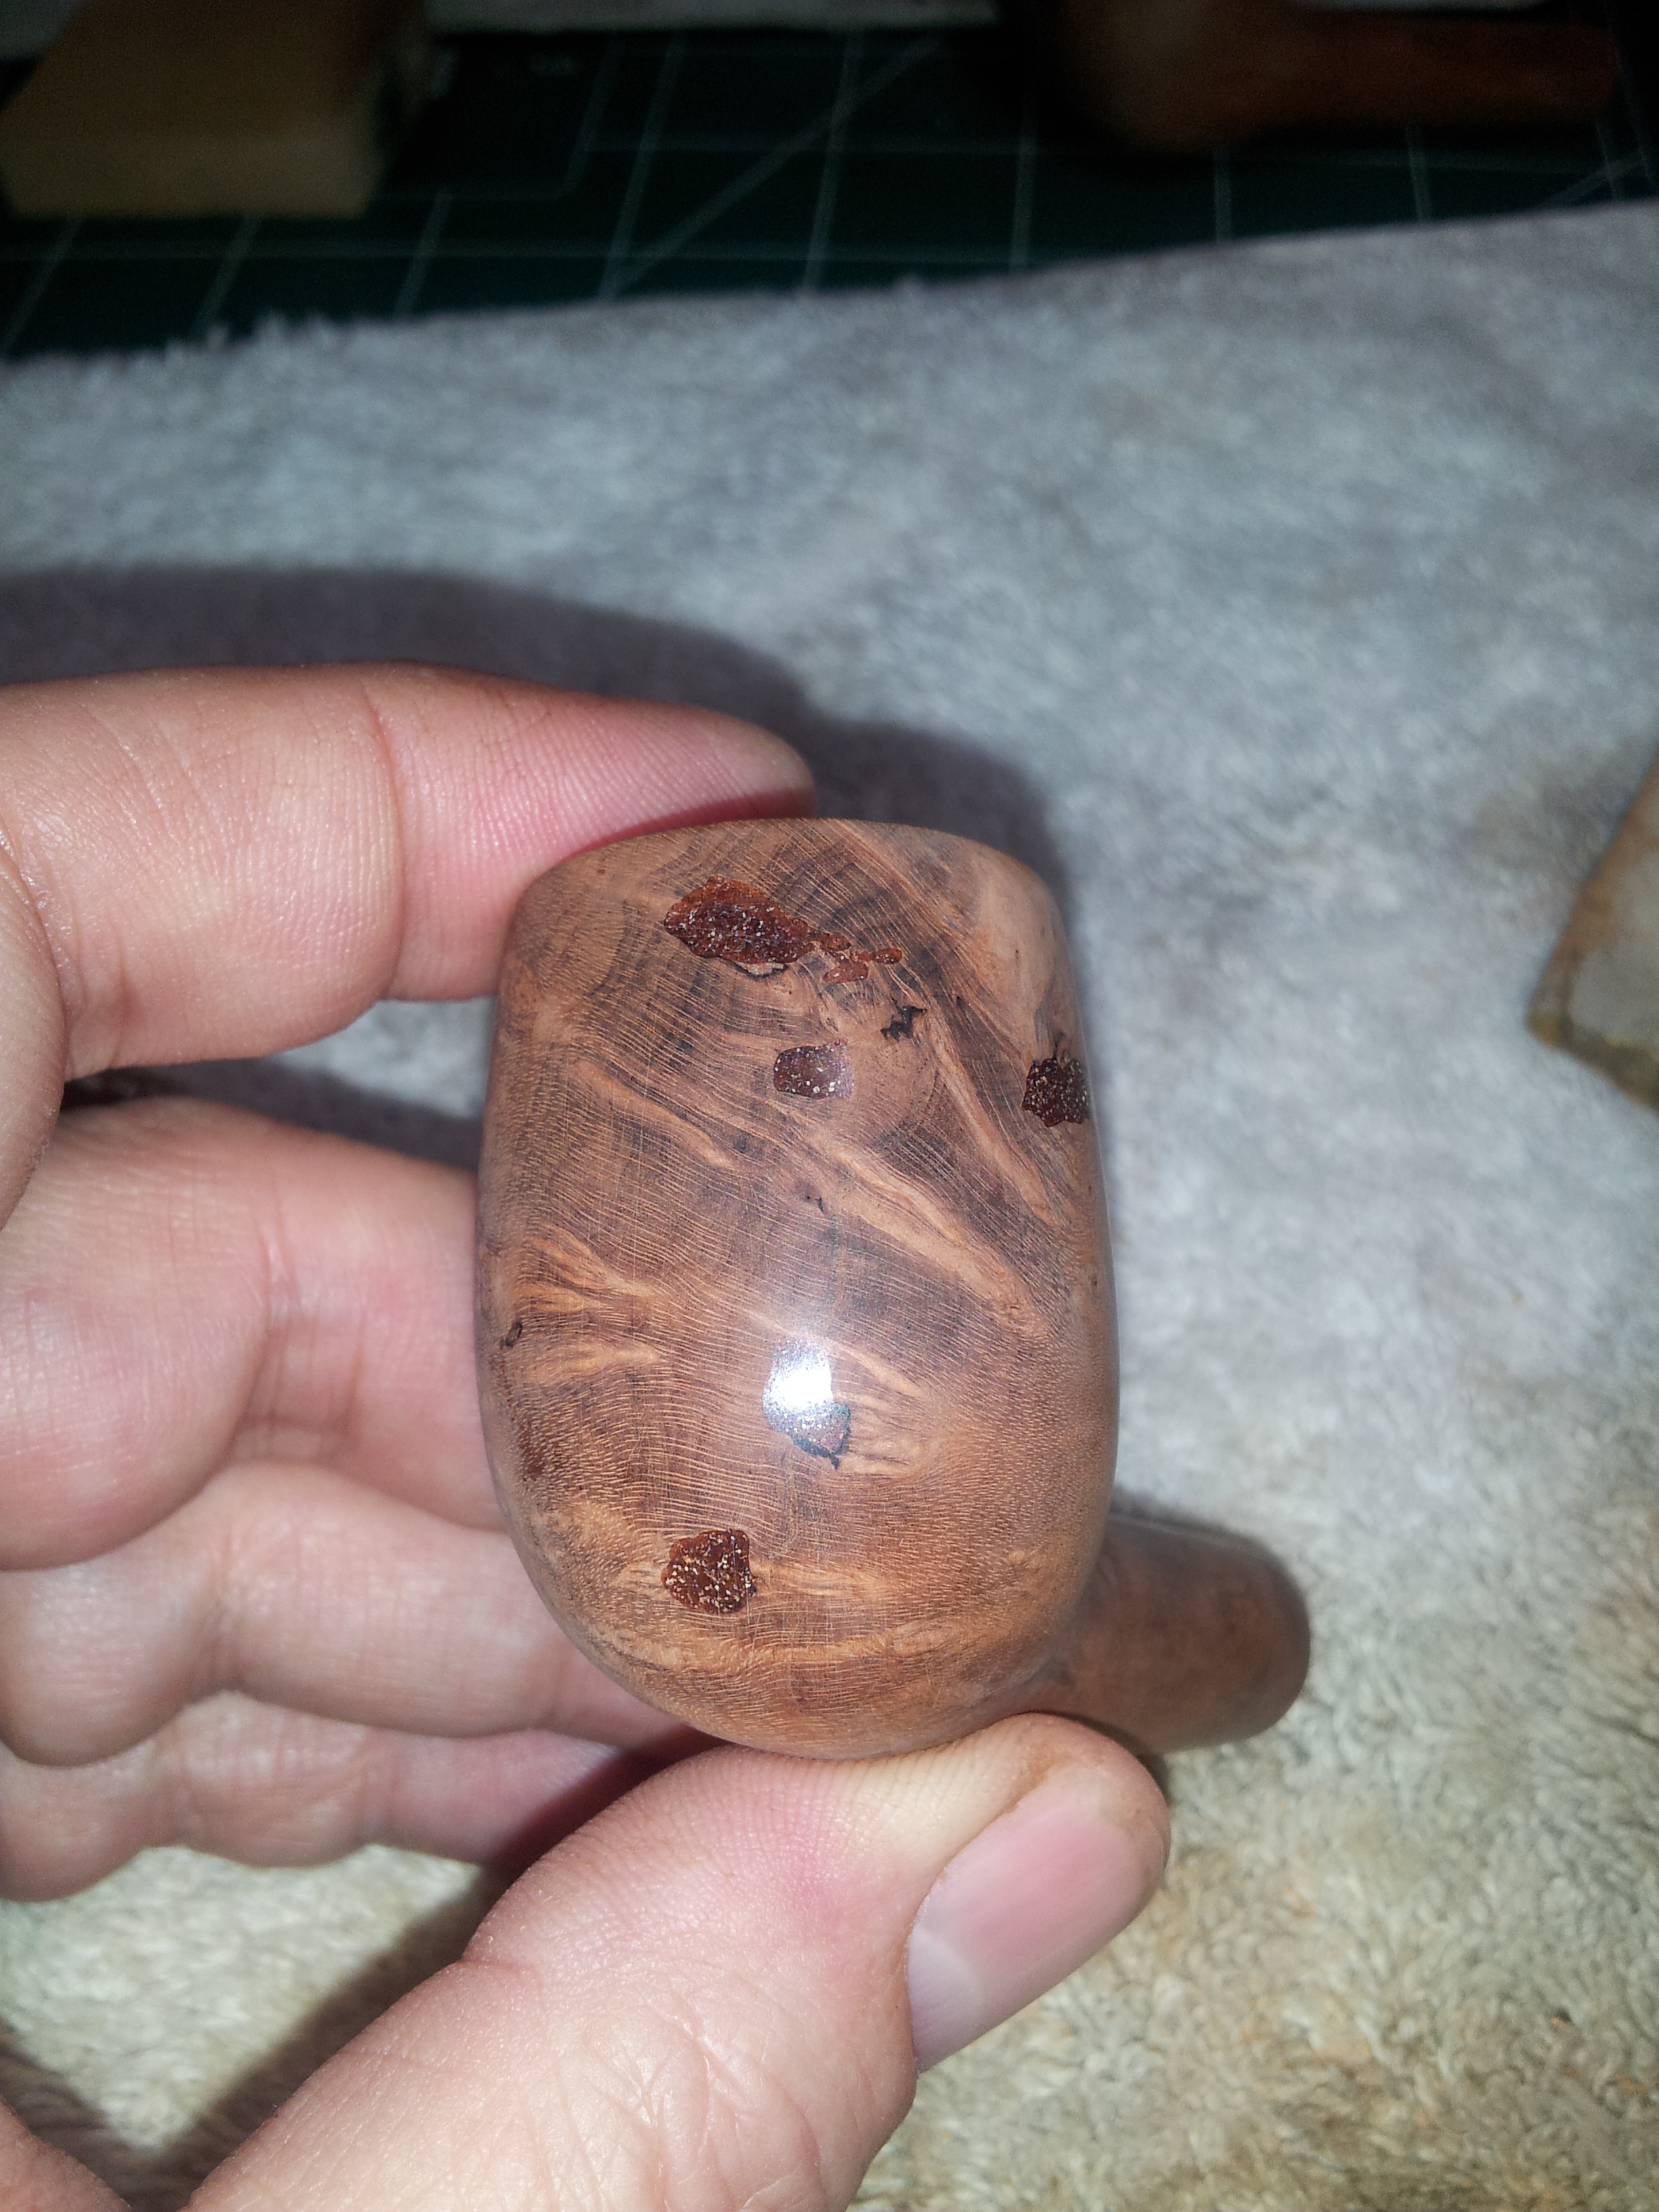
With the basic fit established, I moved on to a clean-up of the stummel. I reamed the old cake from the bowl using 80-grit paper wrapped around a dowel, and then soaked the stummel in an alcohol bath to soften the tars on the rim and hopefully loosen the old fills. The soak worked on the tars, but the fills proved quite another matter. With the briar clean from the alcohol bath, I could finally get a close look at the fills. I now knew why the alcohol hadn’t affected them – these fills had been done with epoxy! In the pic below you can see the grey epoxy I exposed using a round needle file.
As epoxy won’t take stain, I fitted a small round carving burr to my rotary tool and ground out the epoxy fills. I then patched the pits with briar dust and CA glue, filing and sanding the new fills flush with the briar after the CA had cured. There were quite a few of them – 6 in total, mostly on the front face of the bowl.

Turning my attention back to the stem, I soaked it in Oxyclean and warm water to raise the oxidation to the surface of the vulcanite. A quick scrub with 0000 steel wool and Magic Eraser cleaned up the stem and showed me the work that remained. The bite area of the saddle stem had a bit of tooth chatter, and the button had been worn nearly flat.
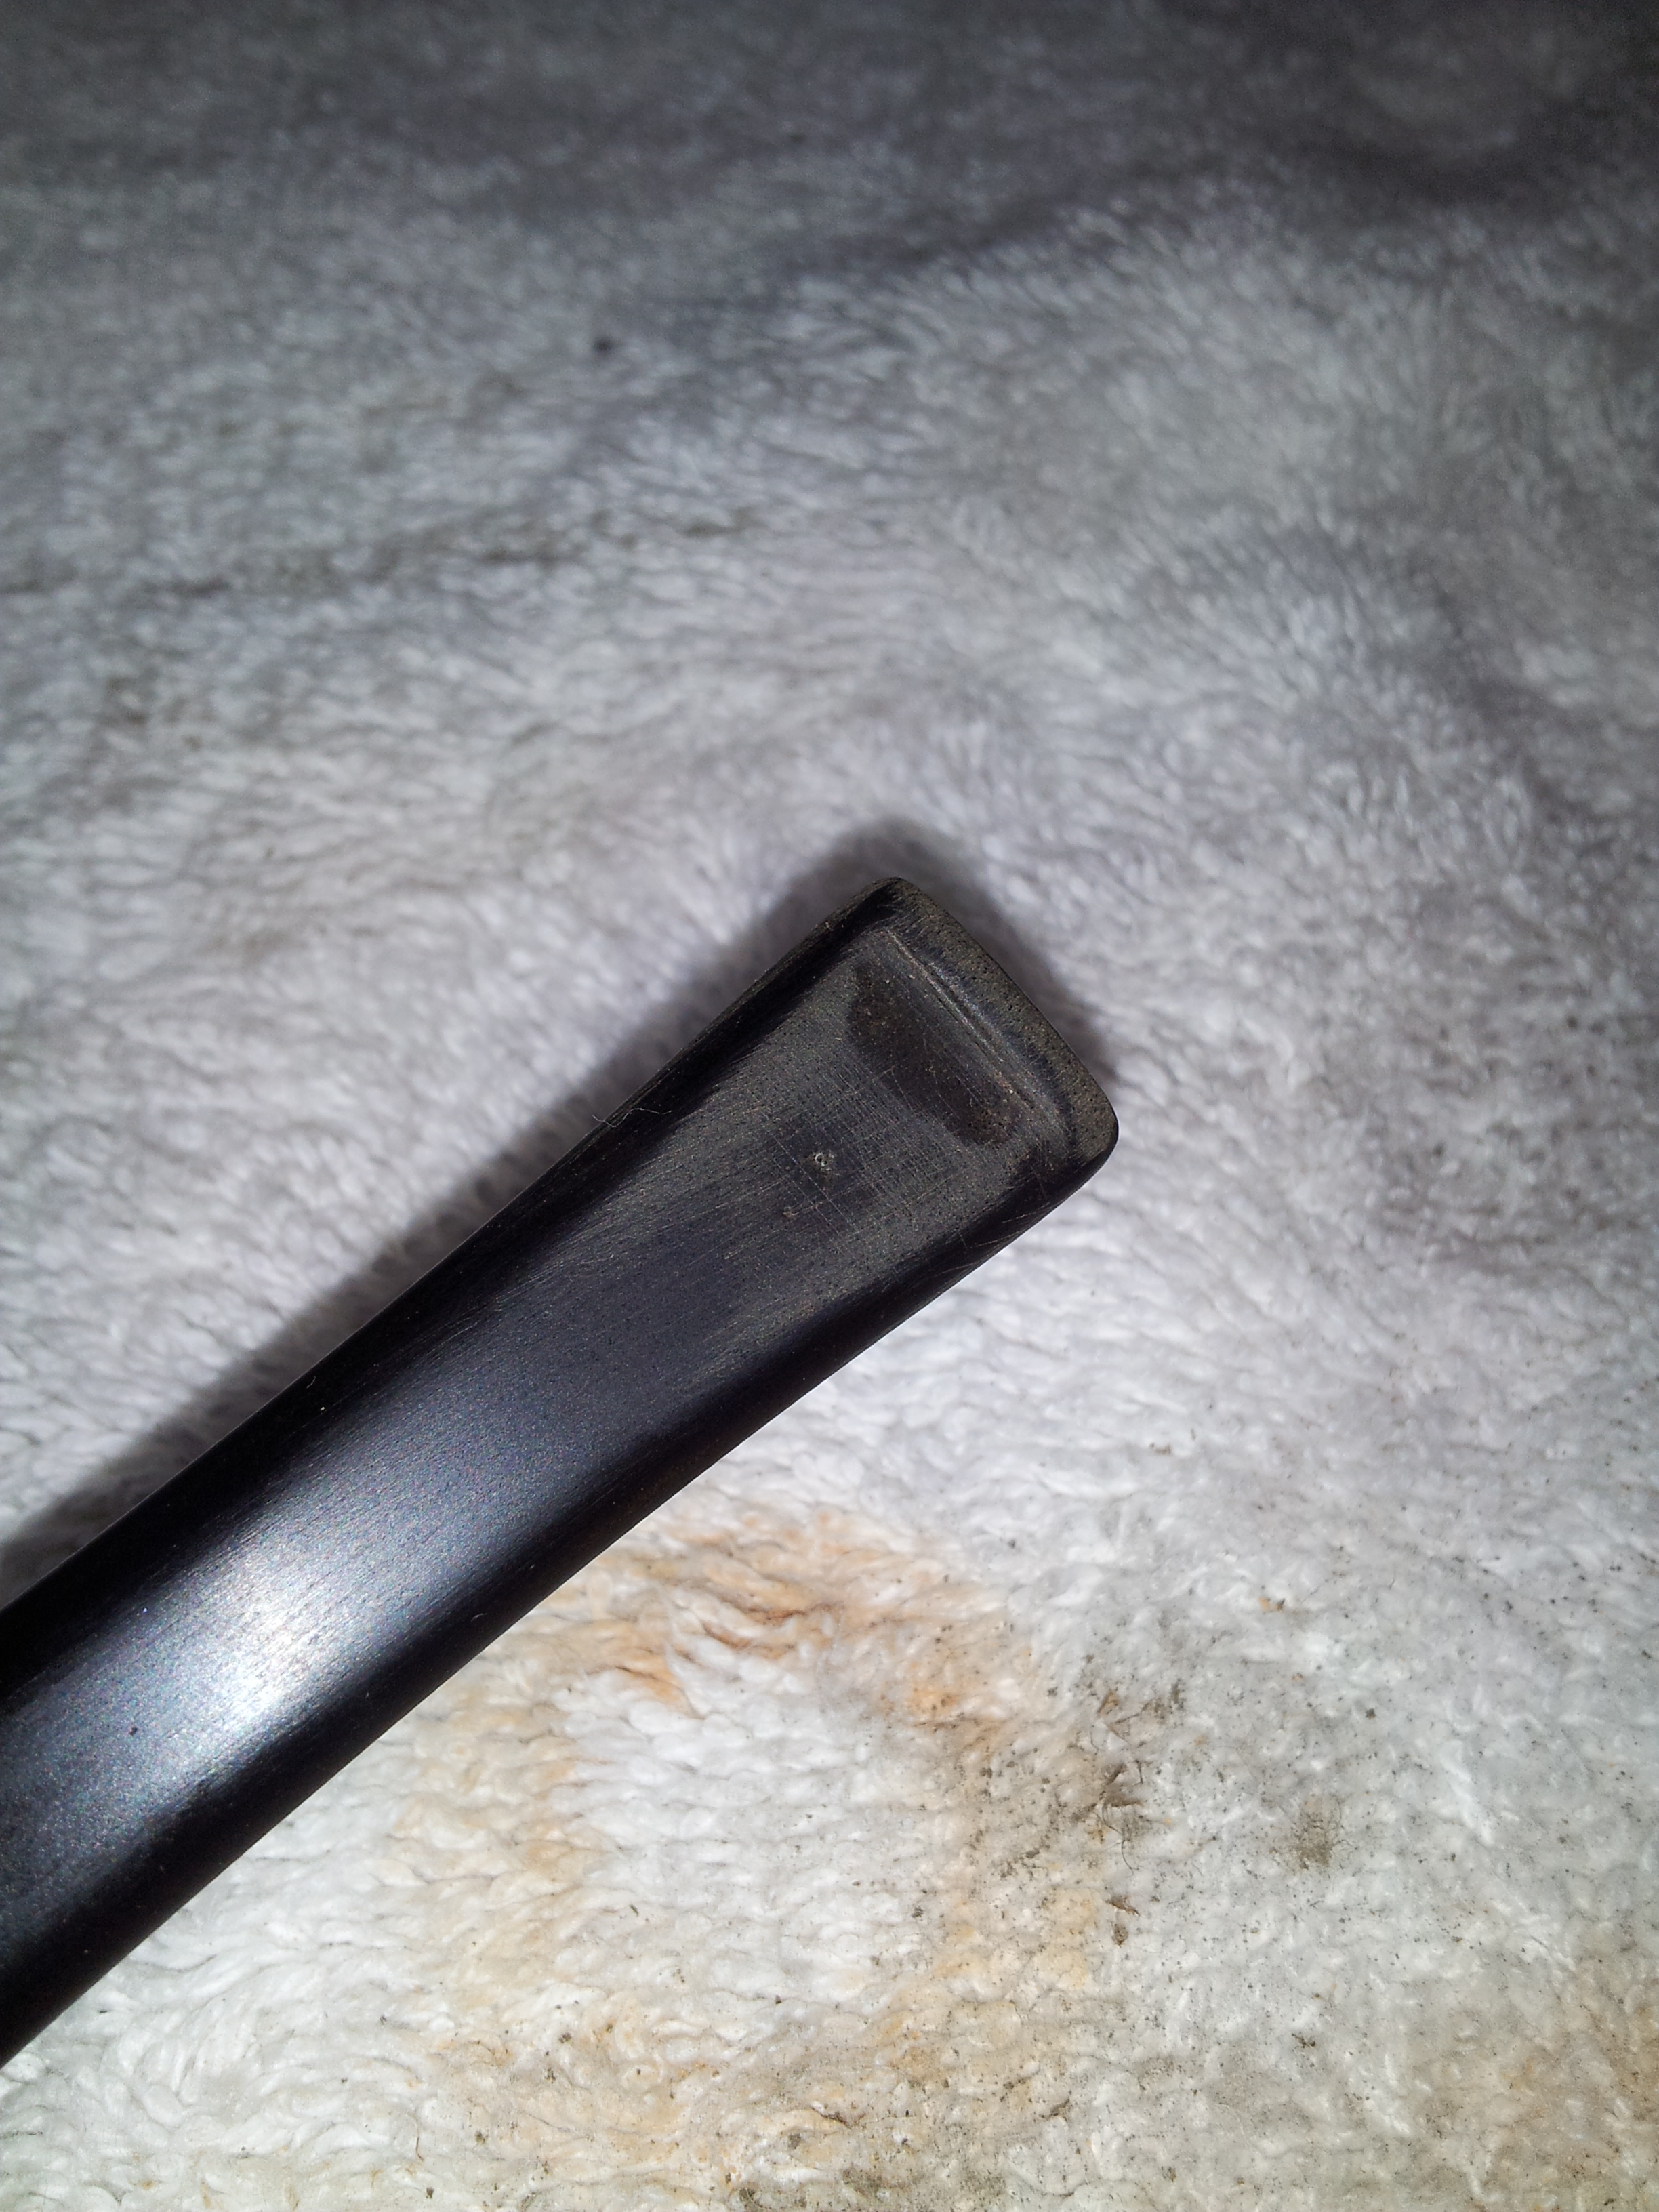
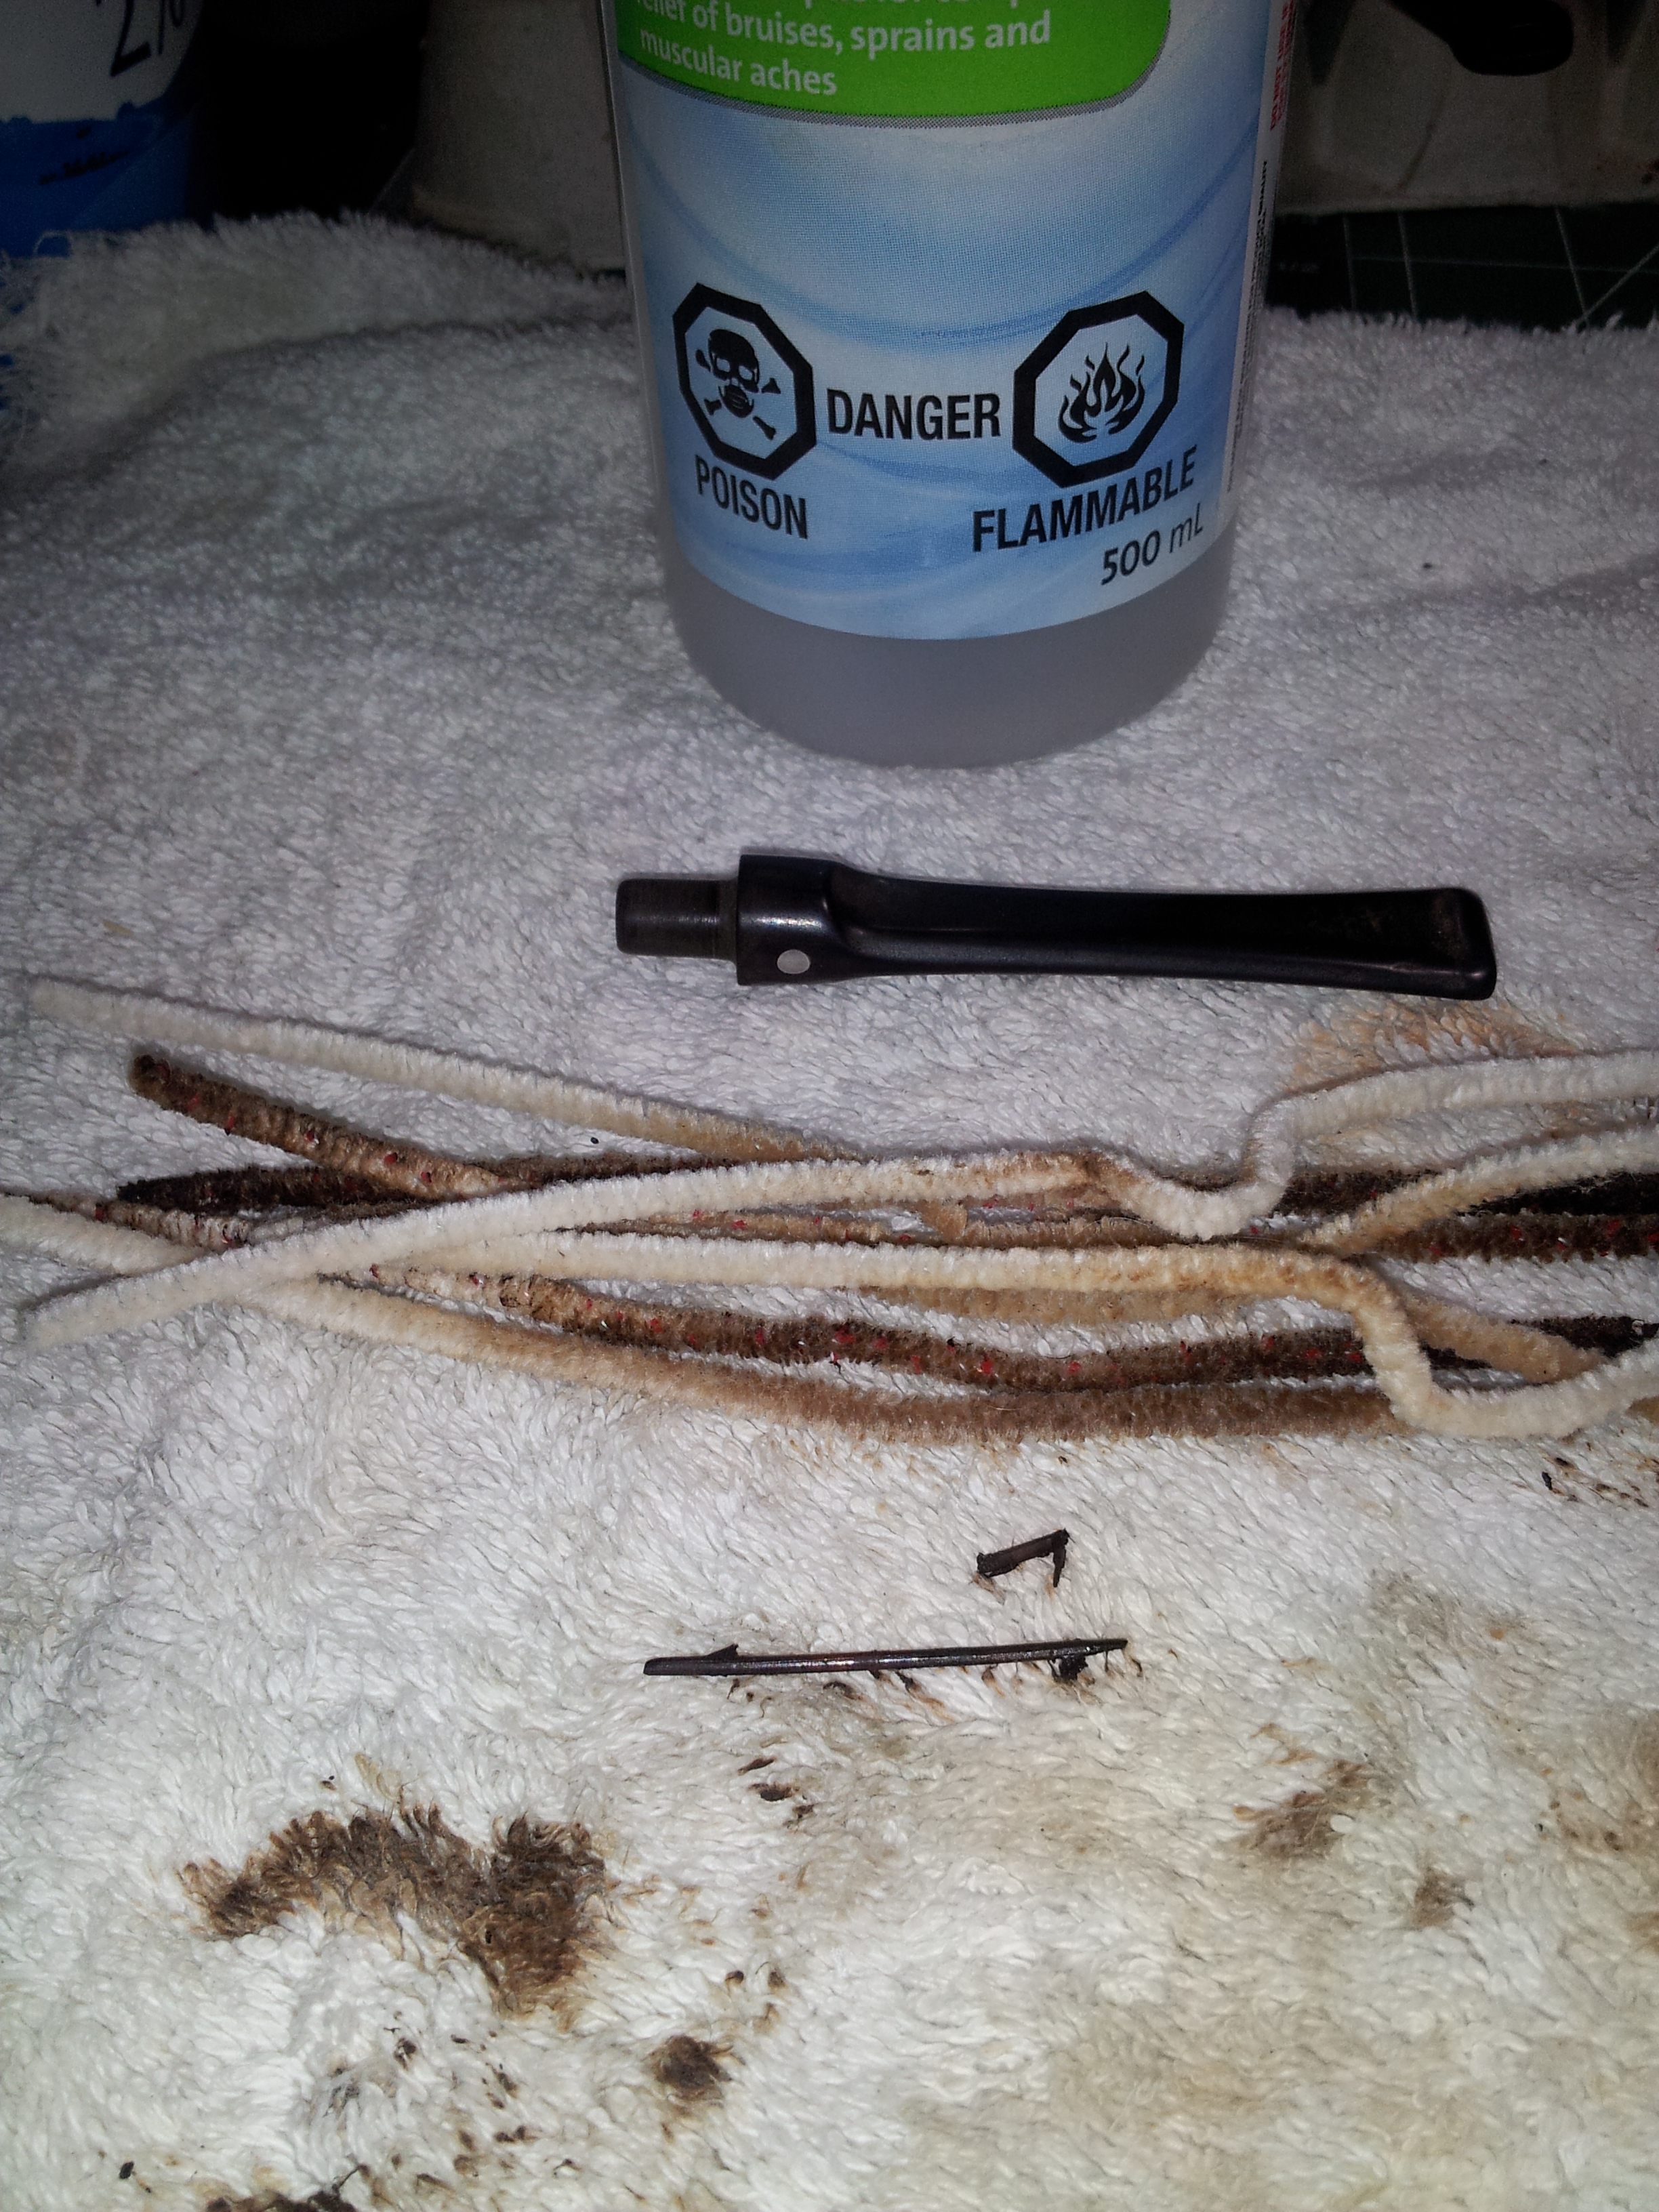
Before rebuilding the button, I cleaned the stem’s airway with alcohol and both bristle and regular pipe cleaners. This is the first time I’ve pushed a twig out of the airway with a pipe cleaner. Perhaps the previous owner was trying to clear a blockage and gave up when his makeshift tool snapped off in the stem.
With the internals clean, I sanded out the light tooth chatter with 220-grit paper and roughed up the old worn button to give some grip to my repair. The button was built up both top and bottom with CA glue mixed with charcoal powder and allowed to cure overnight. Then I used files and sandpaper to shape and smooth a new button. The stem work was finished off by removing the sanding marks with varying grades of sandpaper and medium and fine sanding sponges. Somehow my camera ate these shots – sorry. The work can be seen in the final pics below.
With the stem ready for polishing, I moved back to the bowl. I had hoped to keep the stummel’s smooth finish, as the grain was fairly good, but this pipe had other plans. The fills persistently shone through the stain, even after multiple coats of colour. So I took the opportunity to experiment a bit with rustication.
I’ve rusticated all or a portion of quite a few pipes. I’ve had good luck with Dremel’s 107 carving bit – a 1/8” shank with a 3/32” round carving burr on the end. The 107 comes in a package of two bits for about $12CAD at the local bog box store, so it’s relatively cheap easy to find. However, I had recently acquired a Dremel 105 bit, which features the same 1/8” shank but a tiny, 1/32” carving burr. I wanted to see what kind of rustication I could make with this bit, so I mounted it in my rotary tool and got to work .
I worked the tool in an up and down motion, carving bands around the circumference of the bowl. I switched directions for the shank, so that the lines draw the eye along the shank and up the bowl. I didn’t take pictures during the carving, but here is the stummel fresh from rustication.

I used a brass-bristled brush to remove the loose briar and knock down any rough edges on the fresh rustication before staining the stummel. I started with a roughly 60:40 mix of Fiebing’s water-based Dark Brown and Saddle Tan stain thinned with a bit of water then followed up with a top coat of Dark Brown at full strength. After the stain had dried completely, I buffed the stummel gently with an old towel to remove any excess stain before taking both stummel and stem to the buffing wheels.
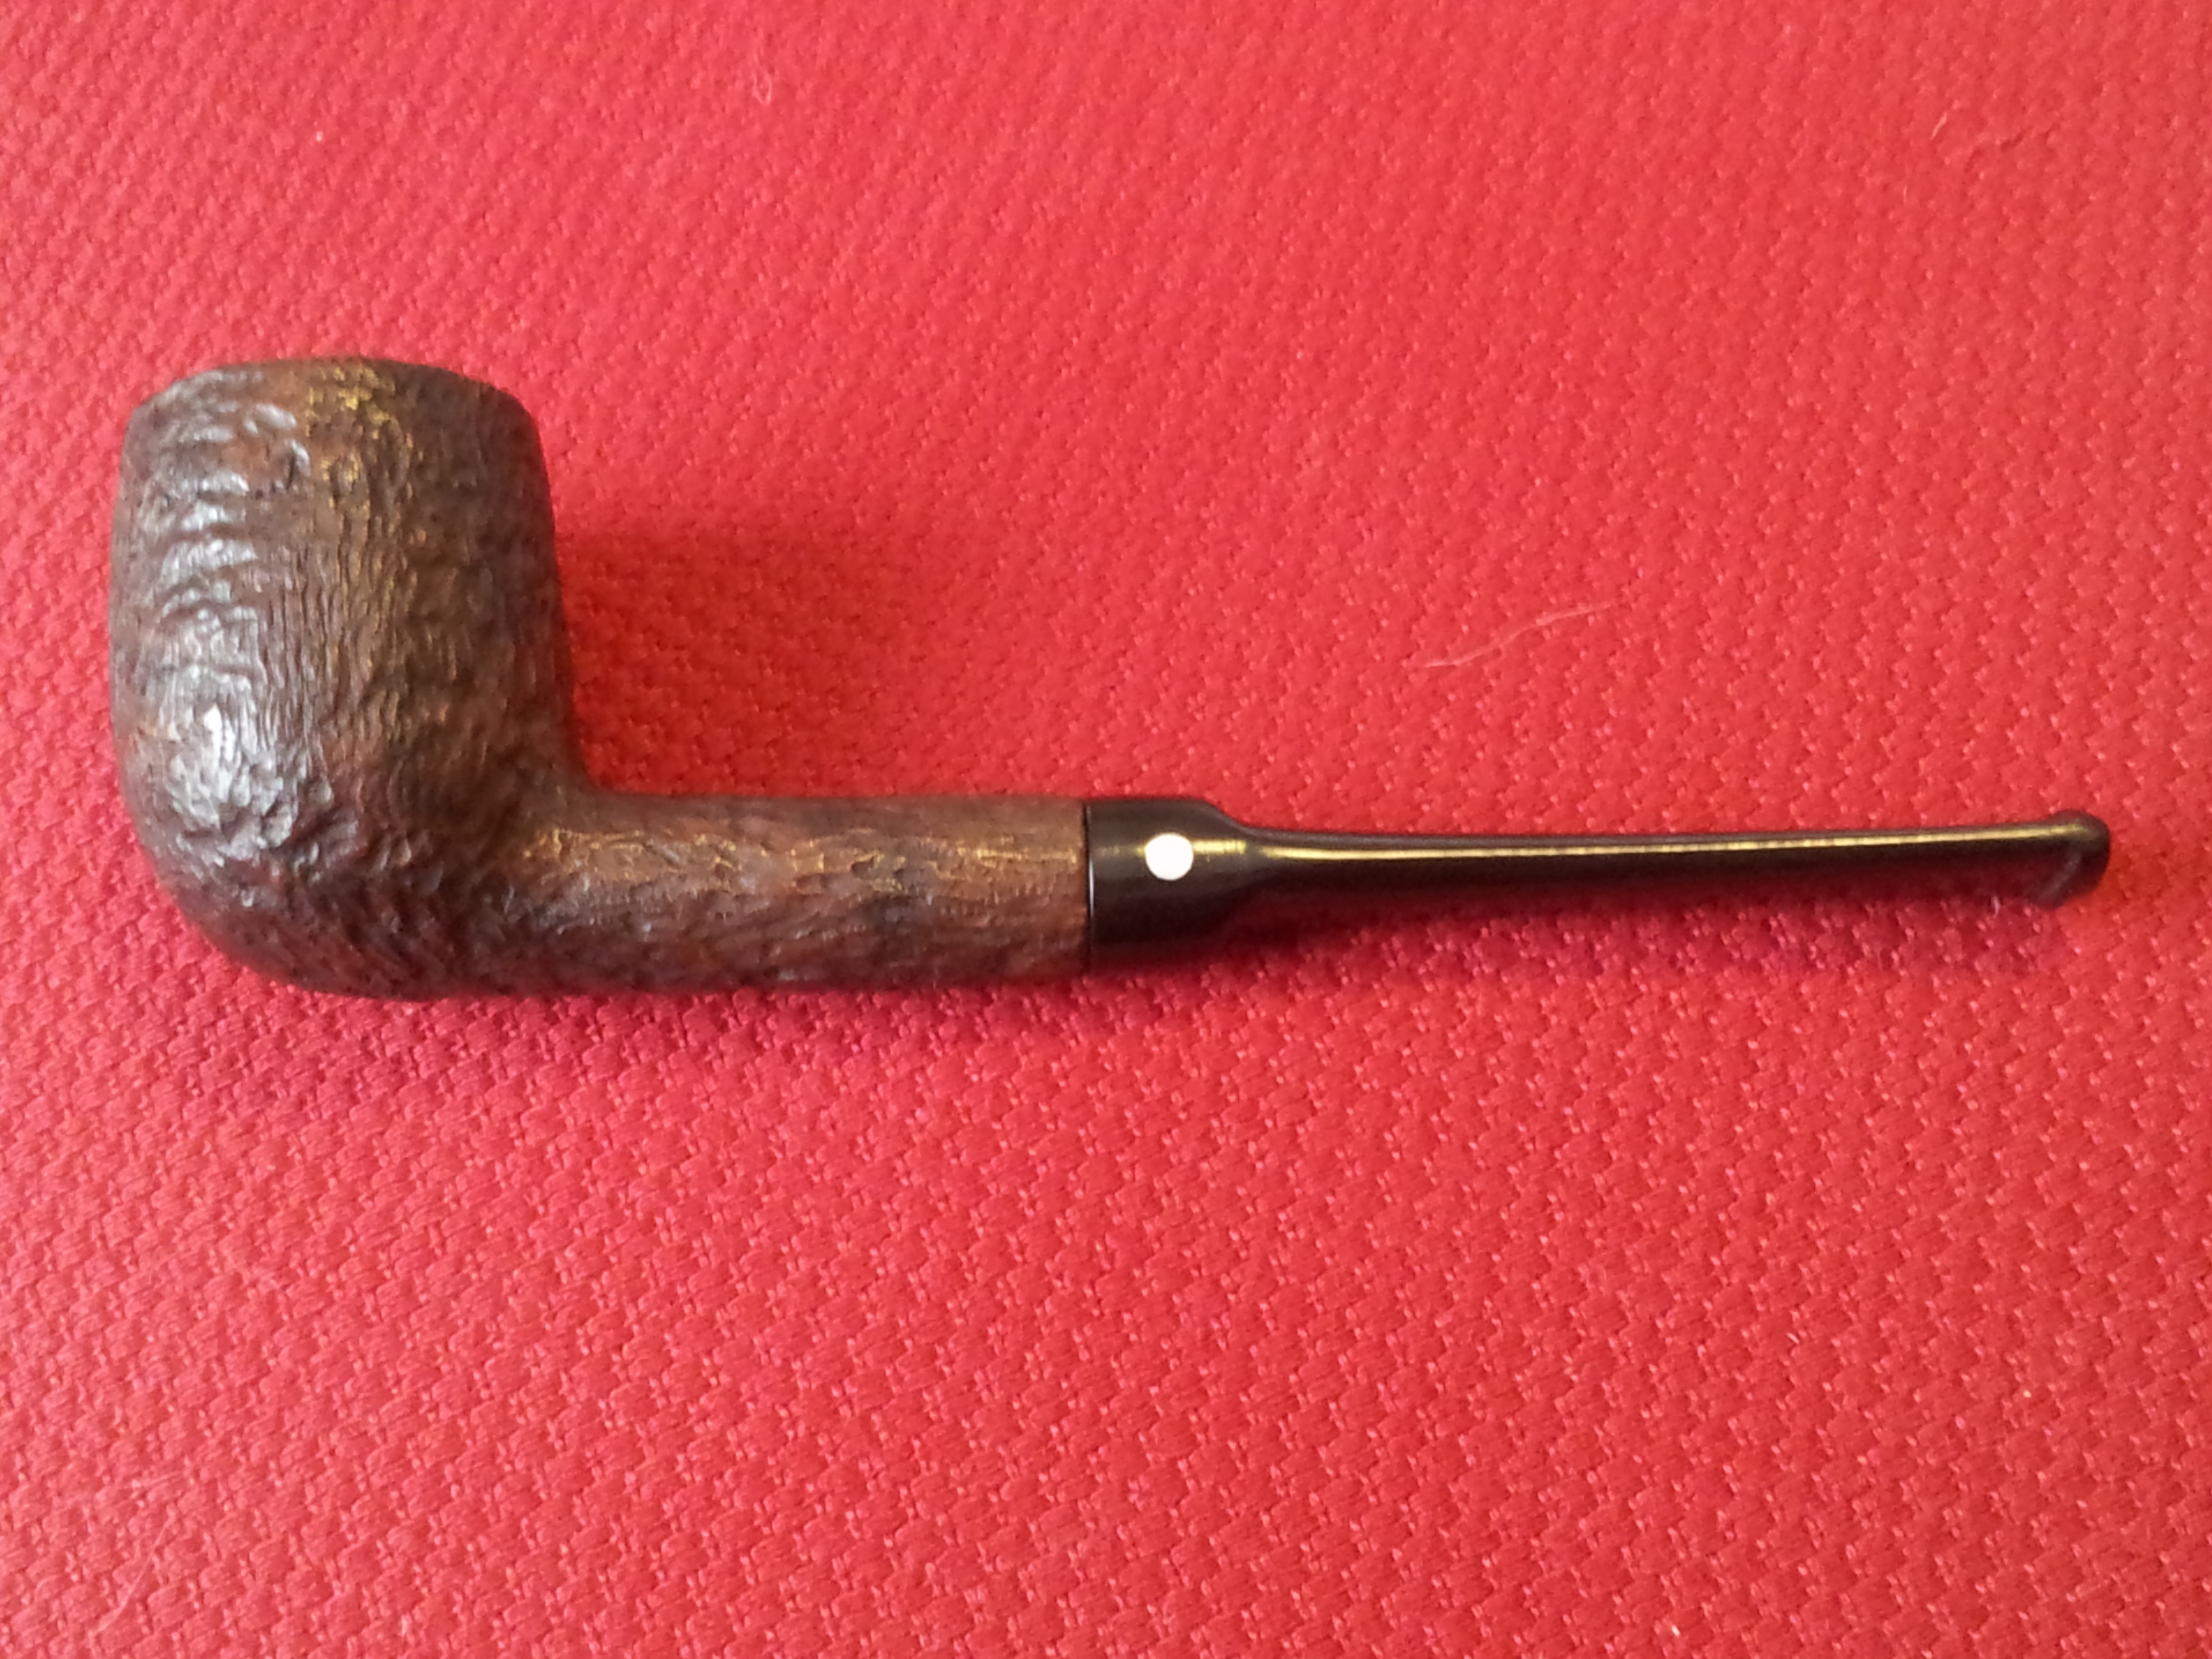
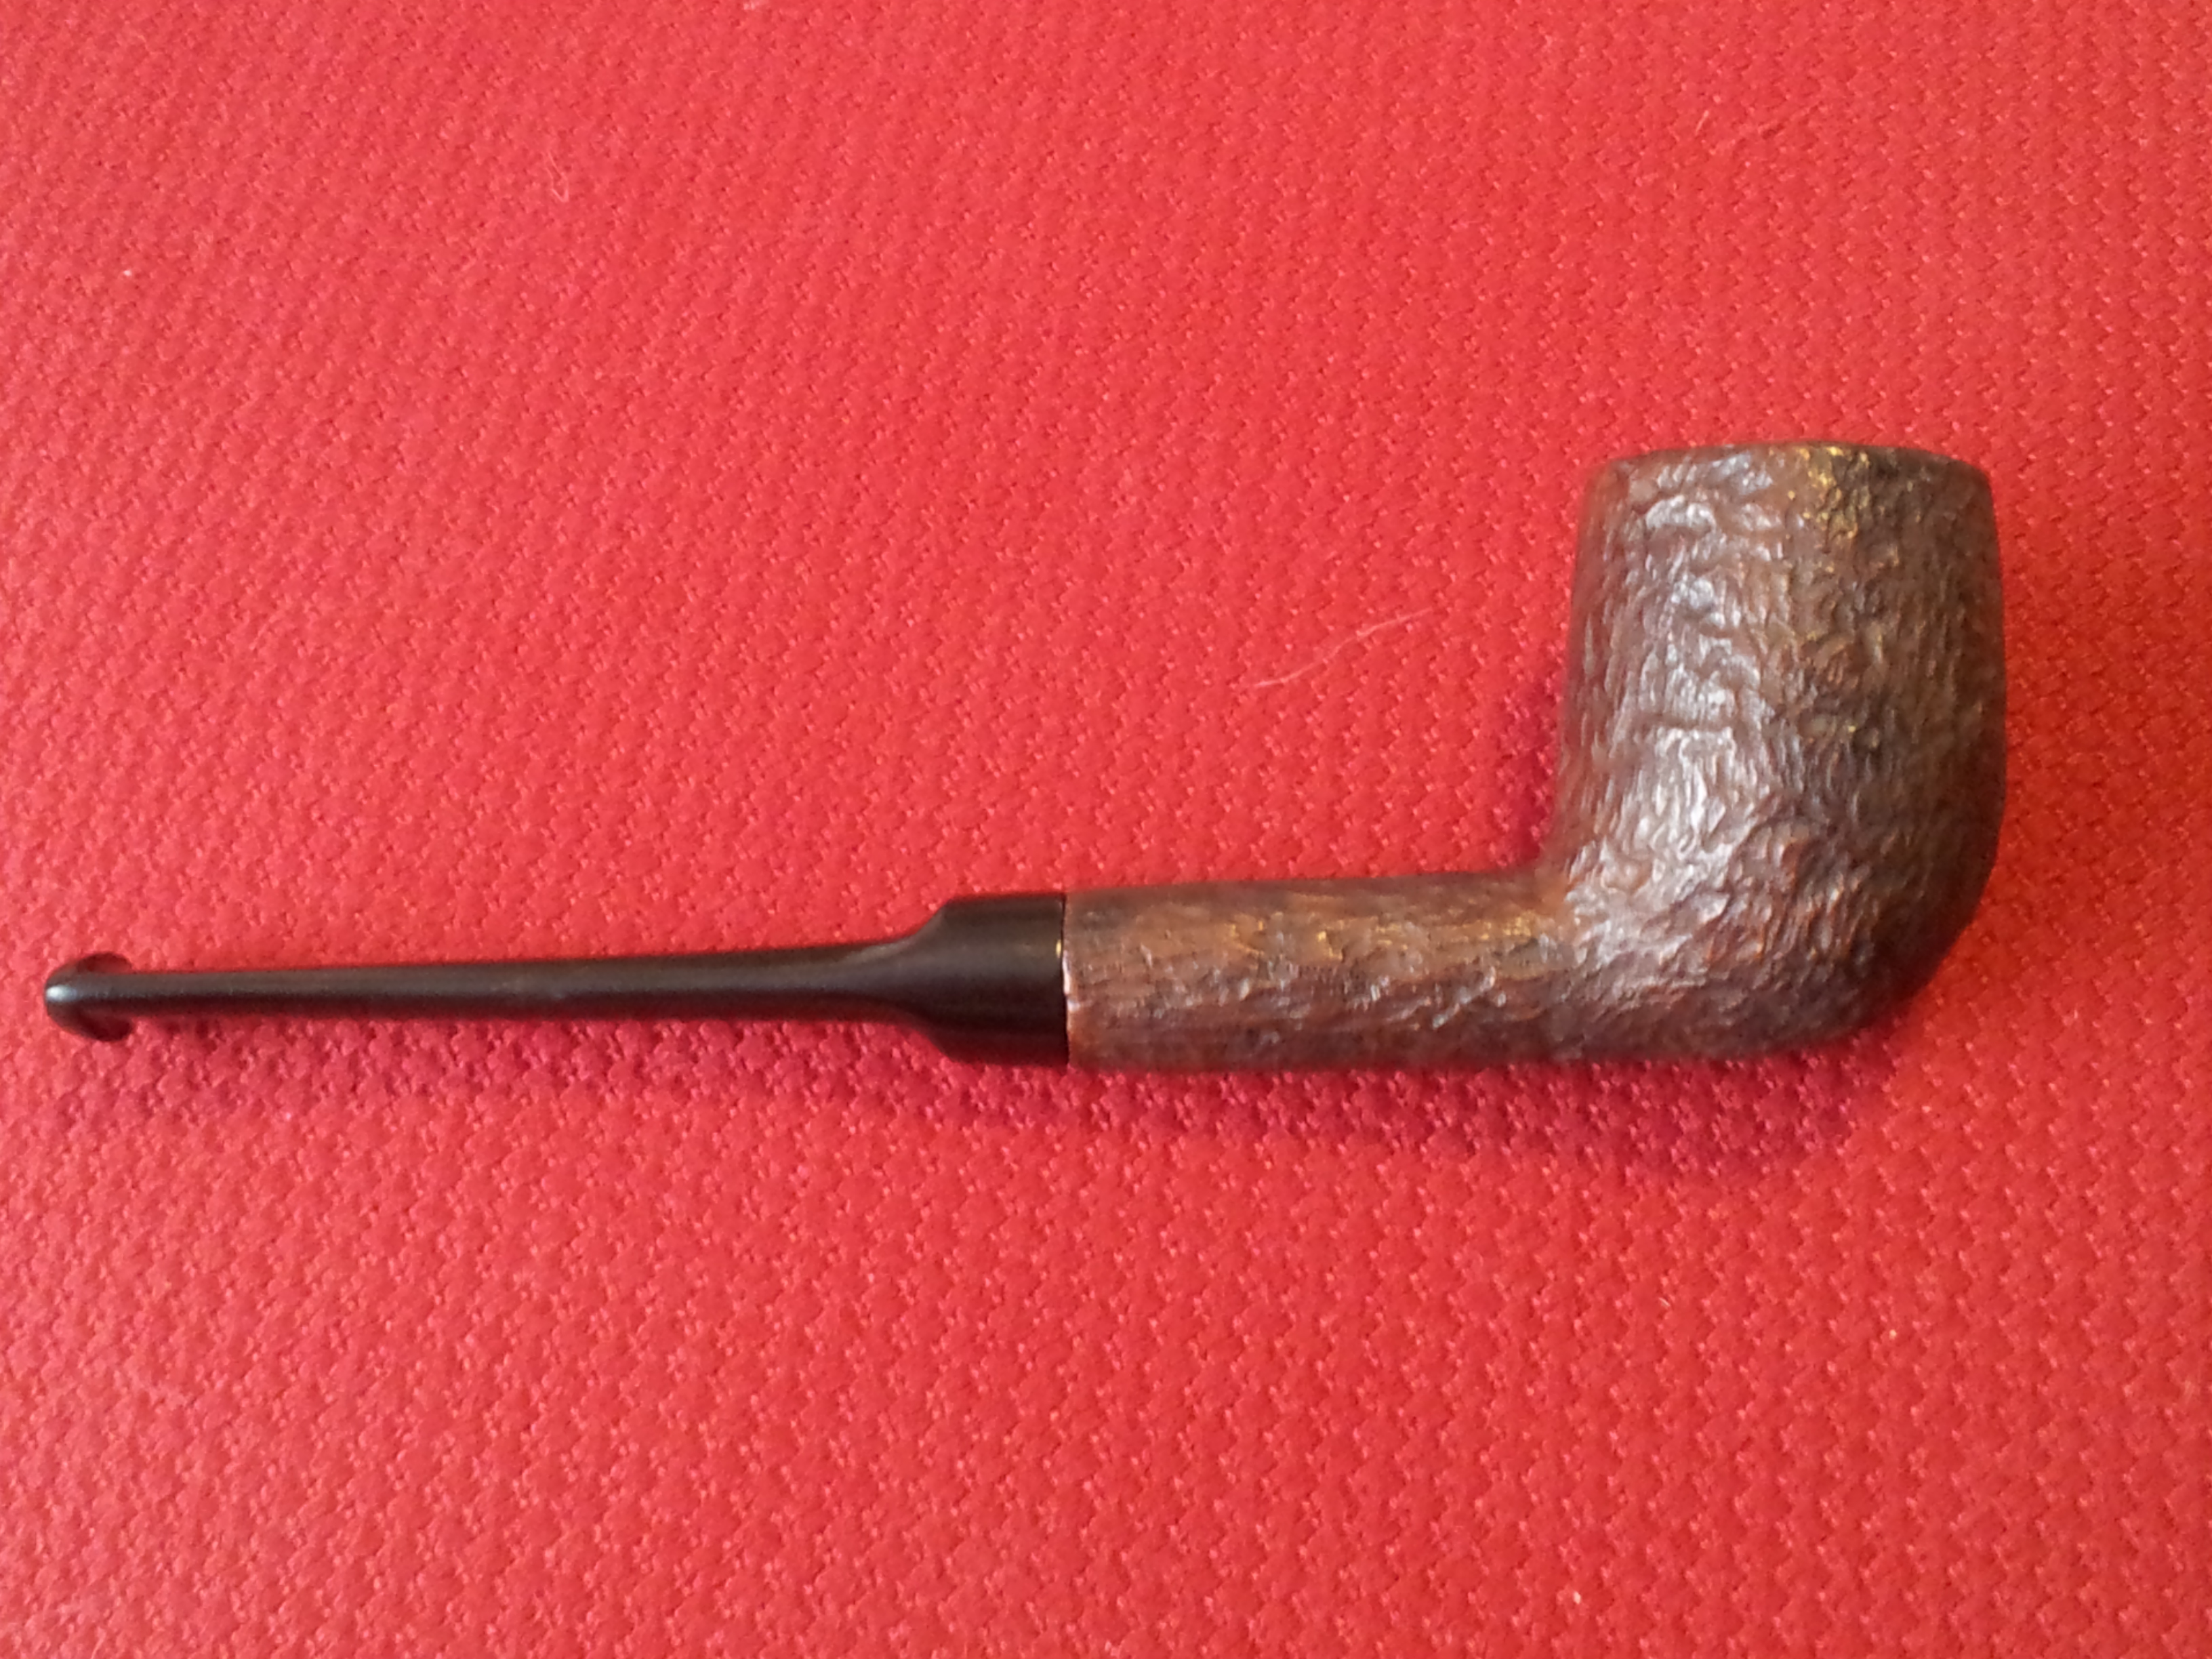
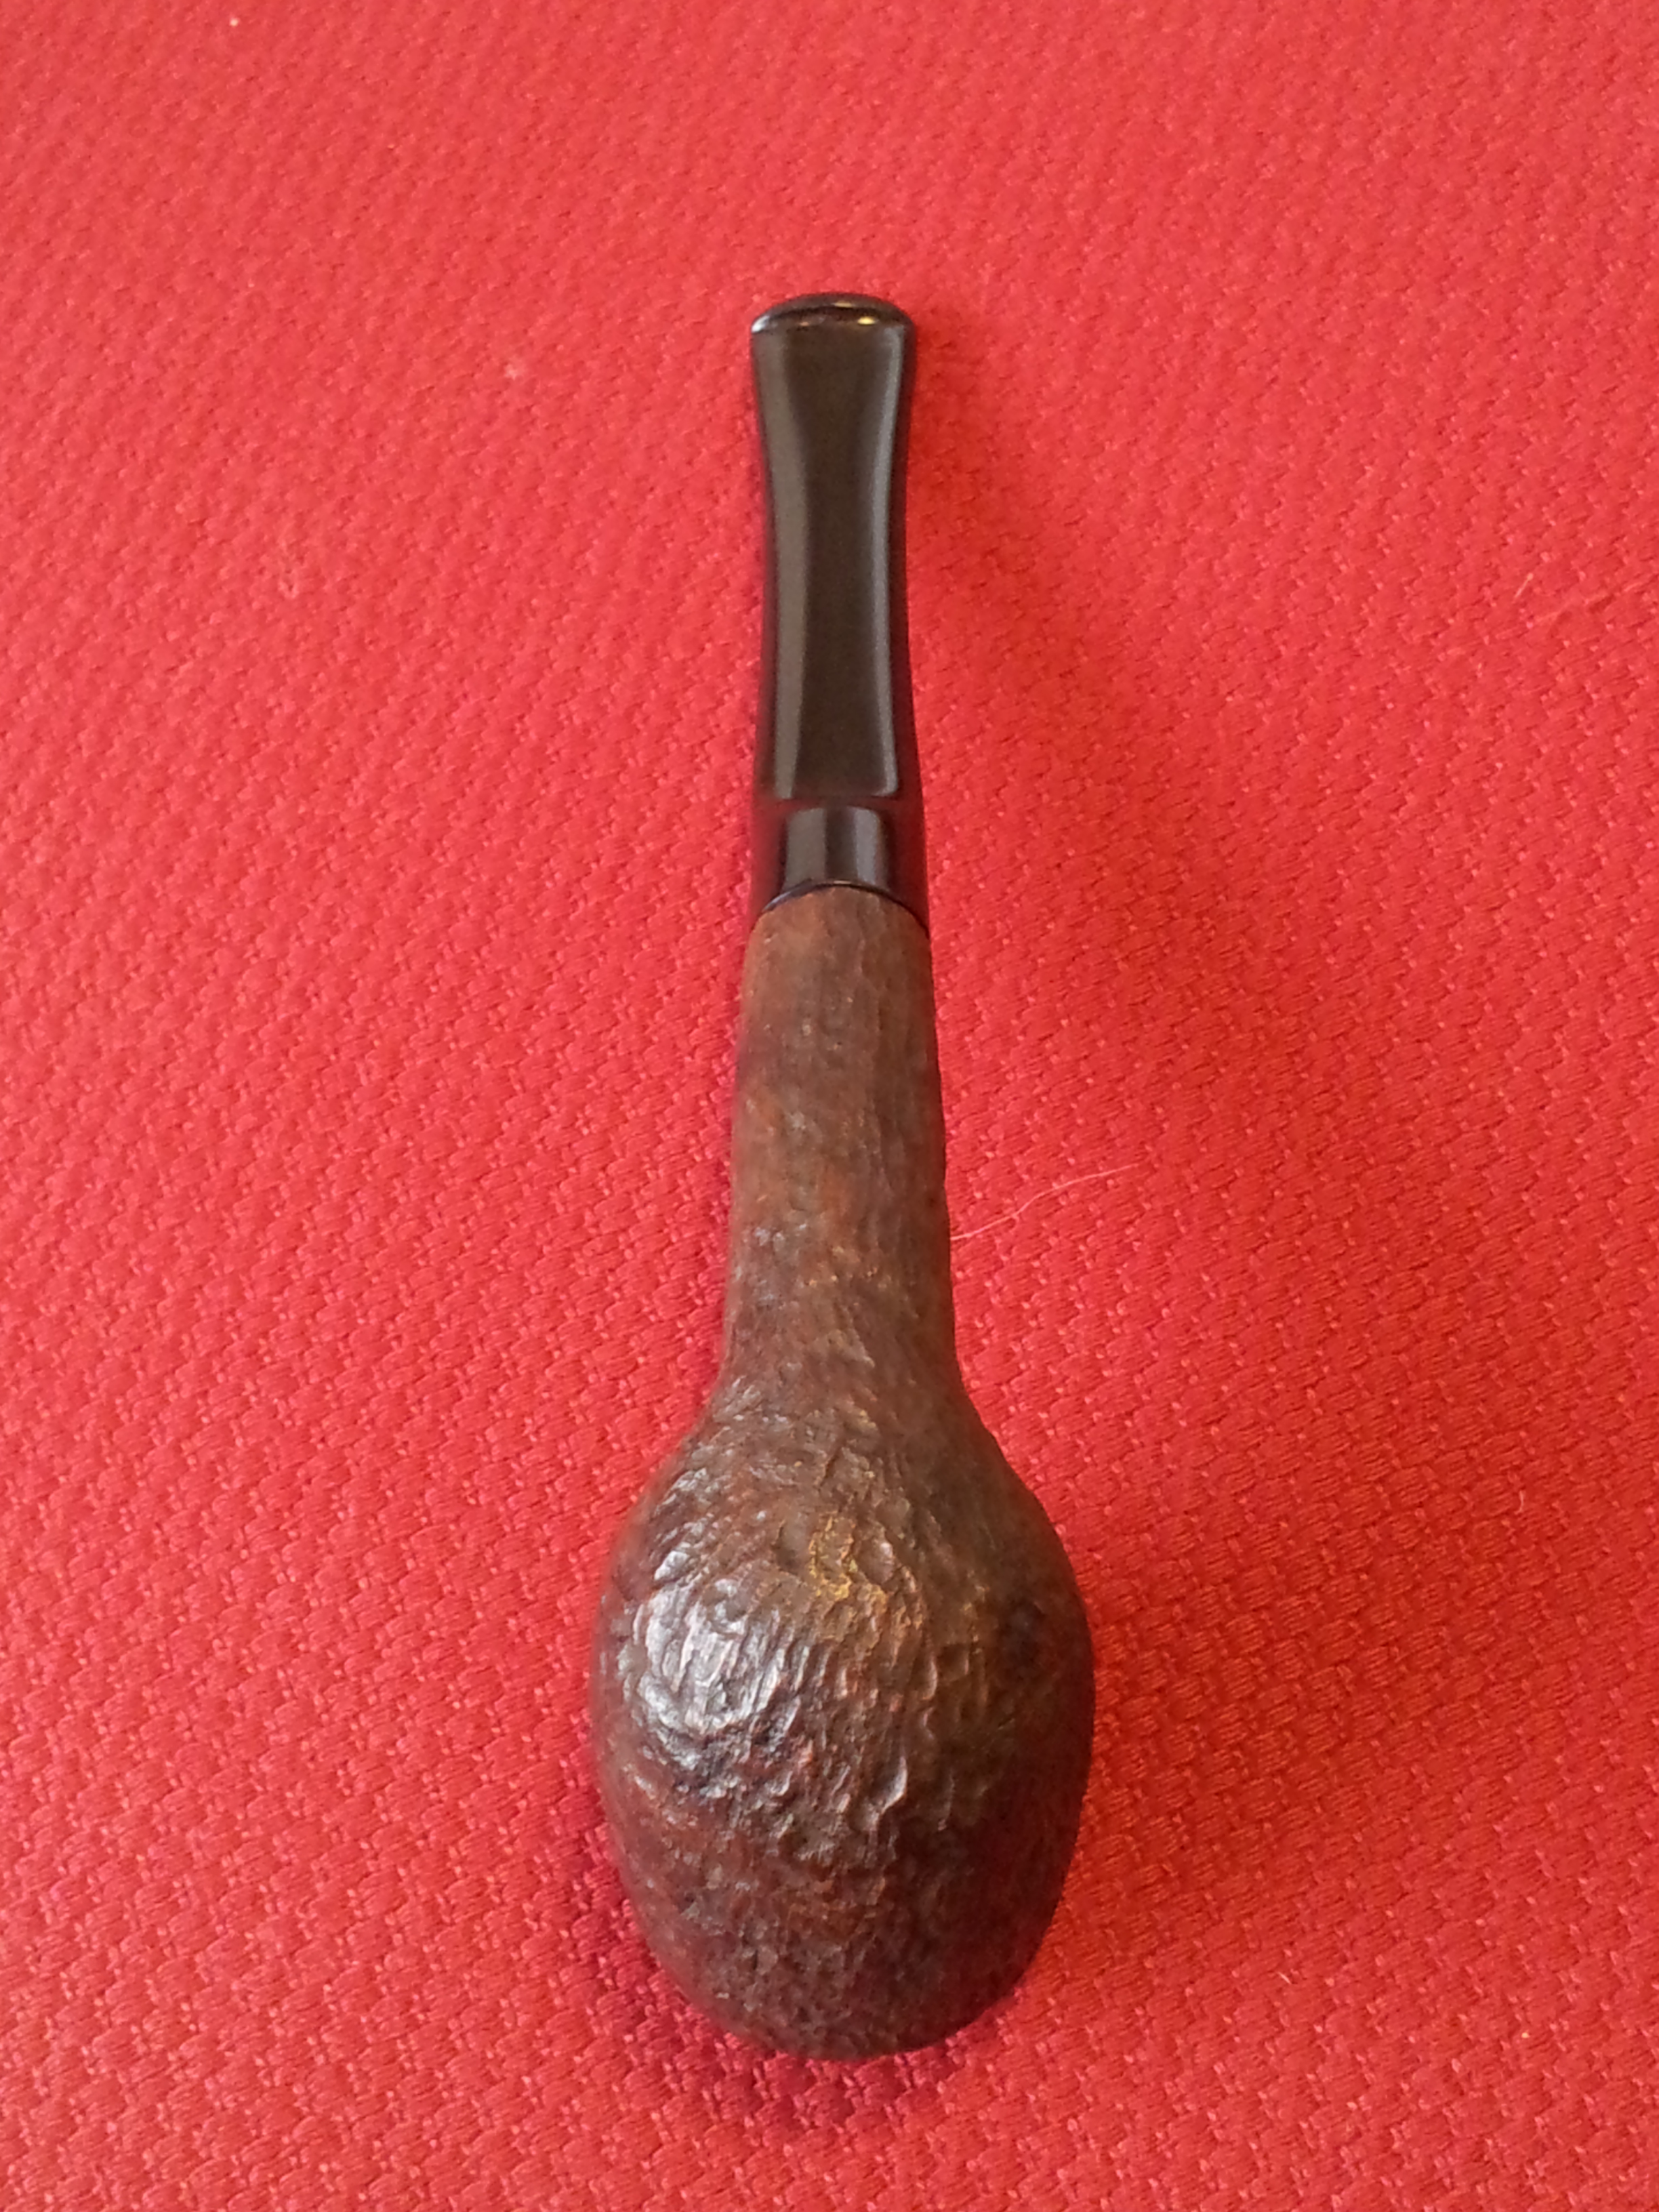
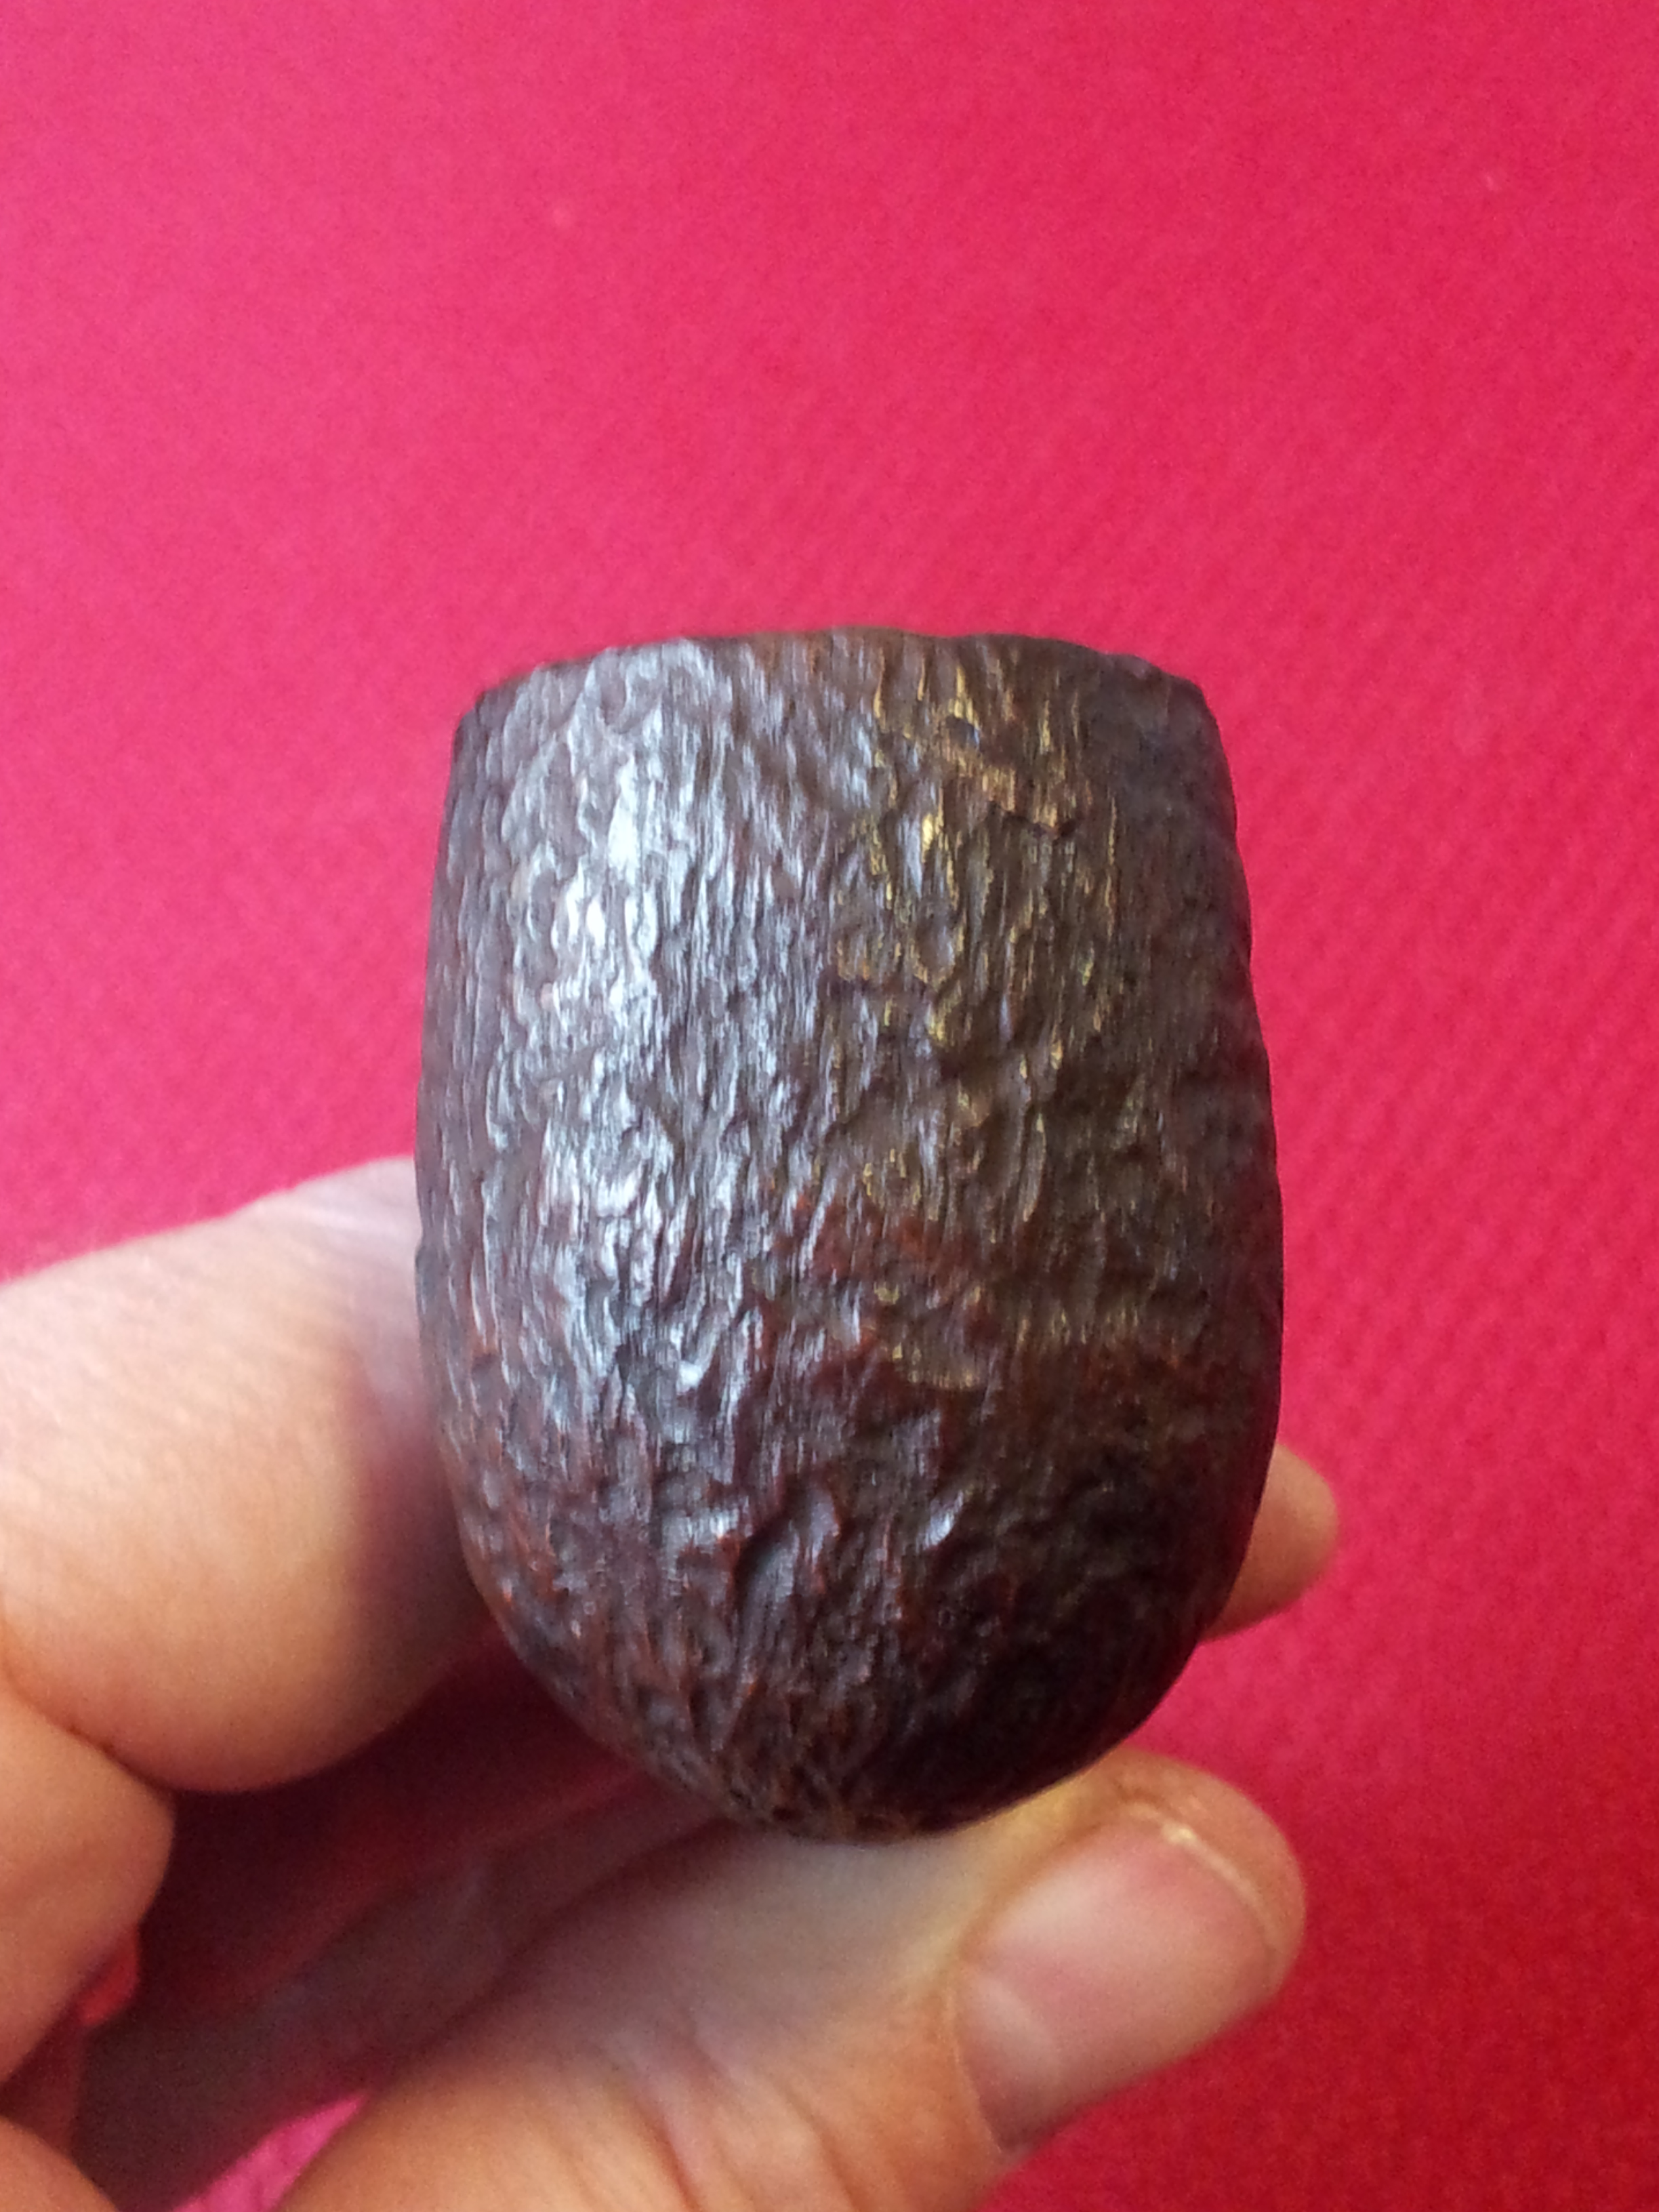
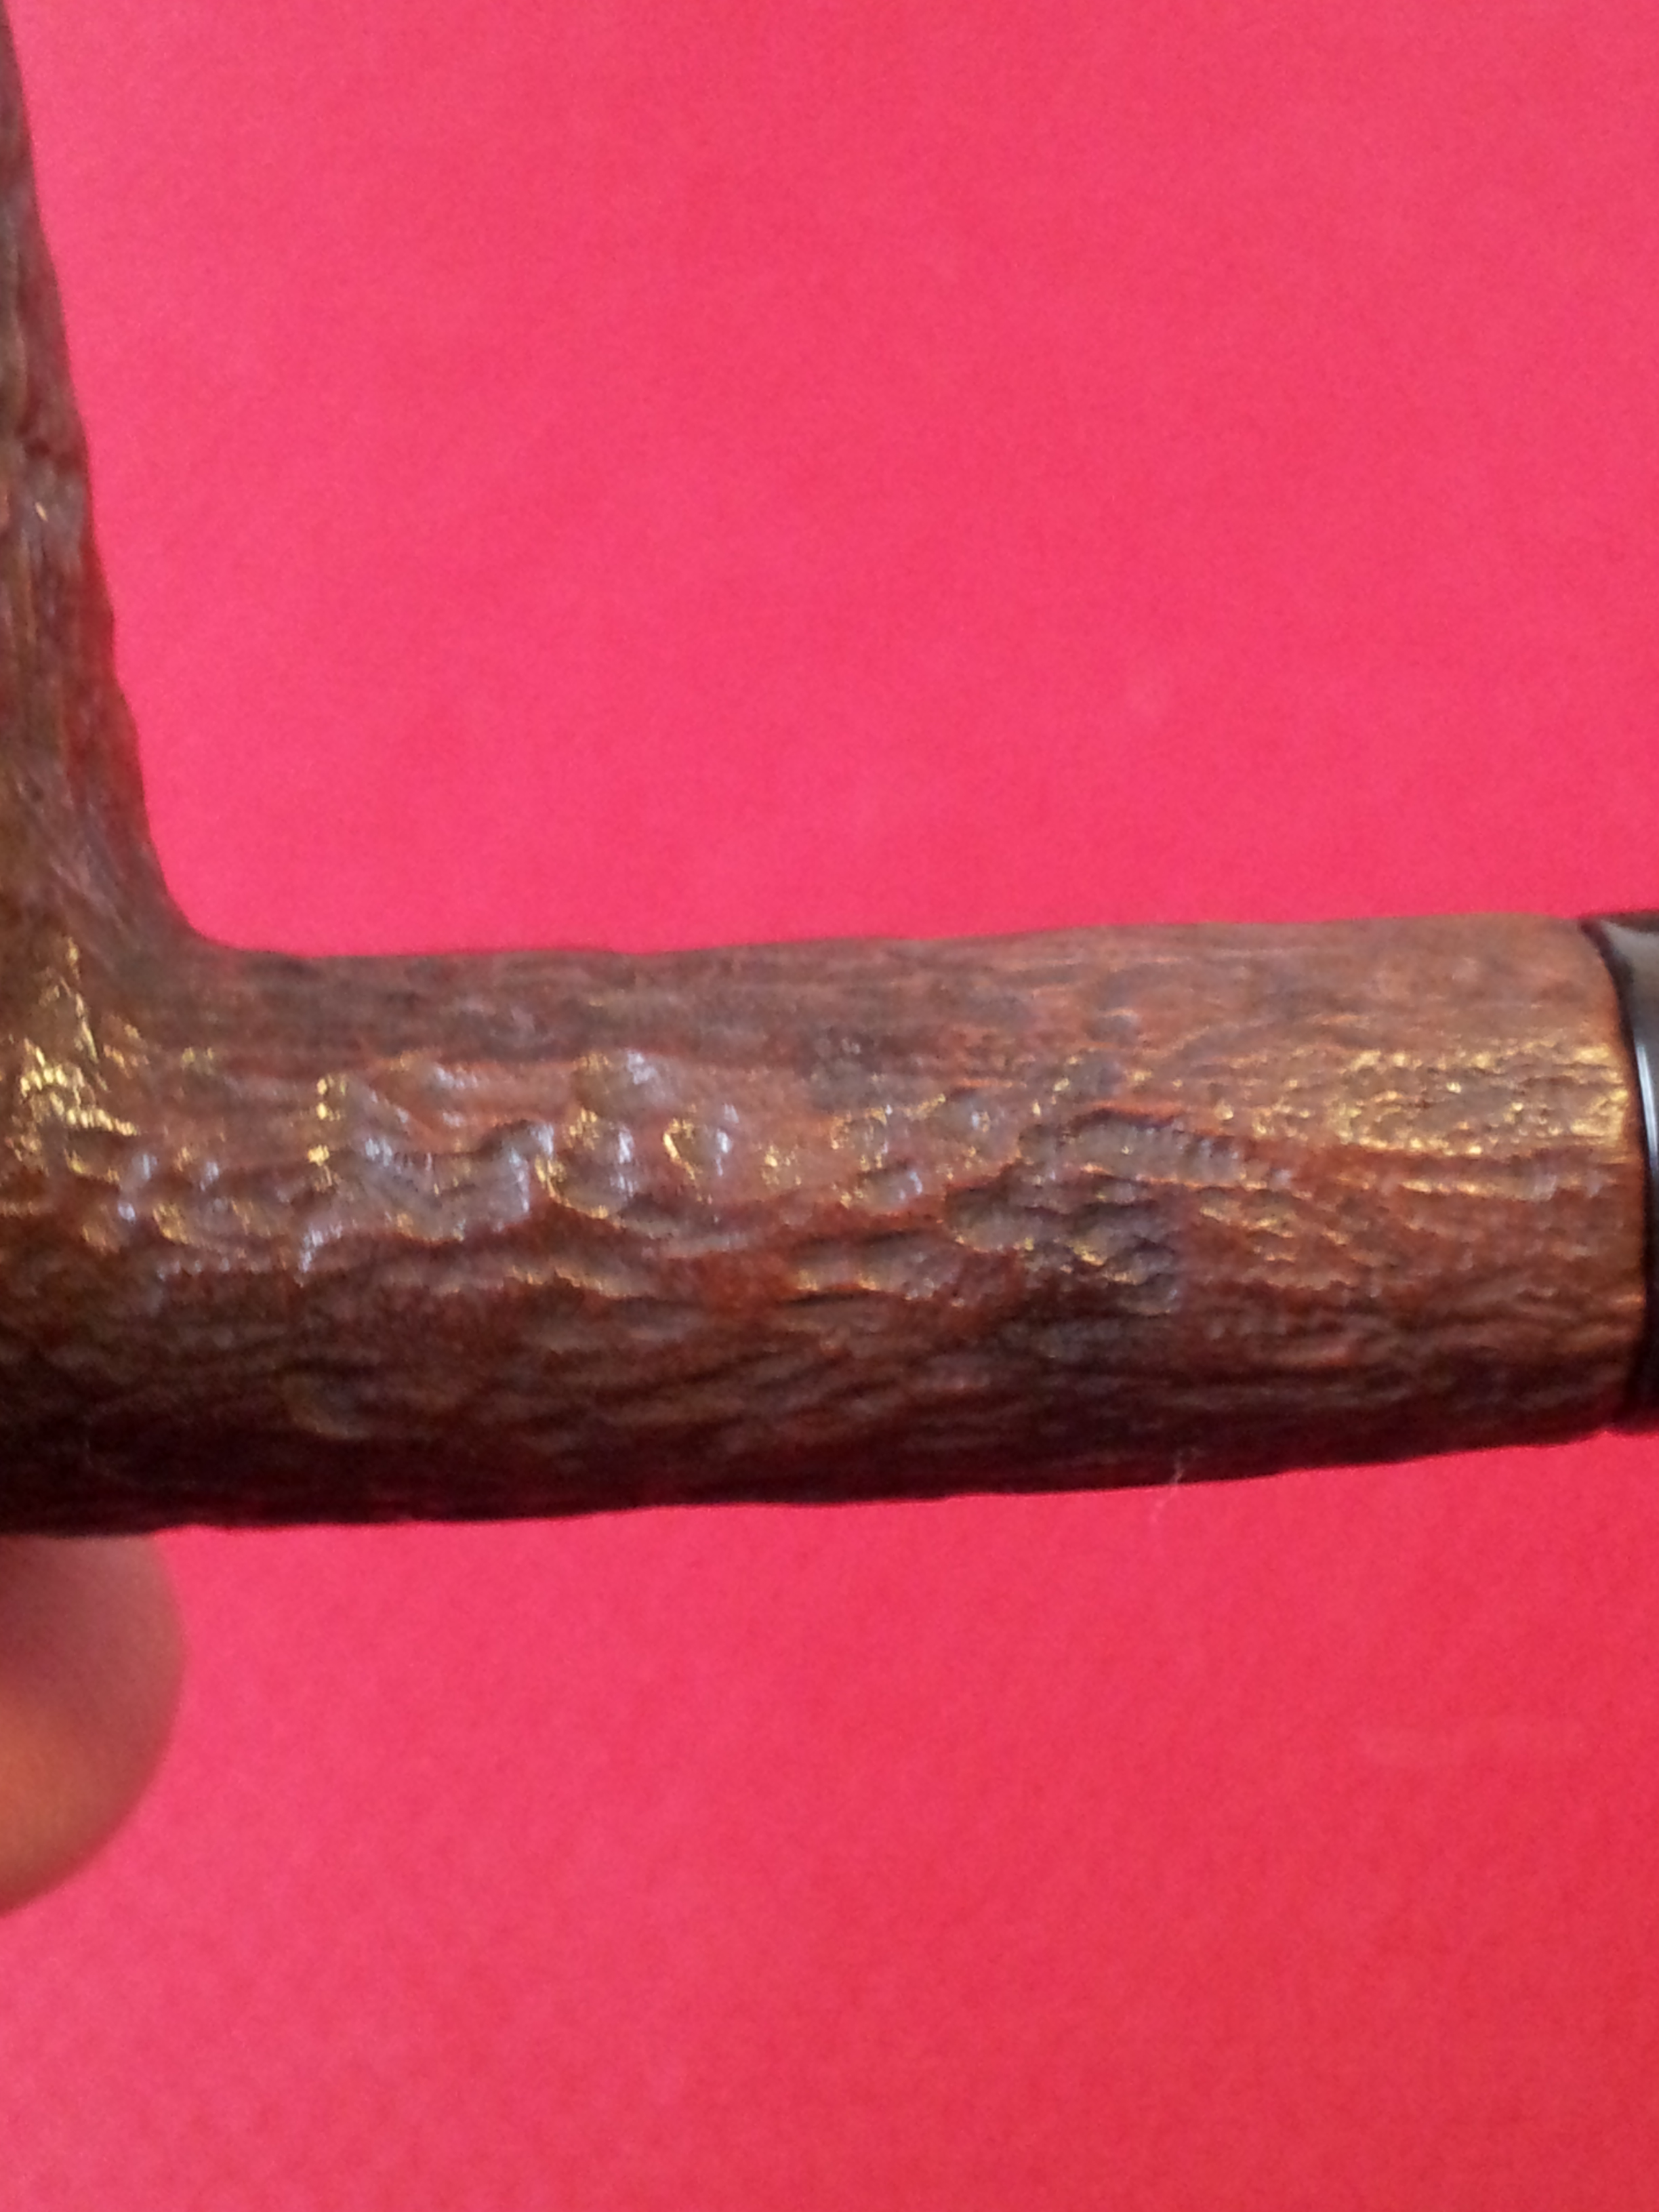
I buffed the pipe gently with Red Tripoli and White Diamond compounds before applying several coats of Carnauba wax. Overall, I’m pleased with the results. The rustication is rather subtle compared to my other pipes, with a bark-like appearance. I got a bit heavy with the brass brush in a spot or two, though; next time I will try to maintain a lighter touch. The saddle stem suits the stummel, and the entire pipe is lightweight and comfortable. I paused long enough to shoot these final pictures before loading the pipe with a bowl of Squadron Leader for a test run – it packed well and smoked well, with a nice open draw and only a bit of gurgle mid-bowl. I’ll hold on to this one to remind me of my rustication experiment and to use as a shop/yard/camping pipe.
Here’s the finished pipe. The last two shots show a close-up of the rustication.


You did a great job here IMHO. I love the texture of the rustication, much better than the fills!
LikeLiked by 1 person
Thanks, Greg. The number of fills and their persistent shine-through really left little option but to rusticate. I like the smaller carving burr, but it does take significantly more time to cover an entire pipe than using the larger burr.
LikeLiked by 1 person
Very nicely done. You have done something near and dear to my refurbisher’s heart – created a new pipe from the contributions of two others! I love doing this… now move up the challenge ladder and see if you can create a Frankenpipe from the parts of three or more! Good job Charles.
LikeLiked by 1 person
Challenge accepted!
LikeLike
Can’t wait to see what you come up with. Have a look at the Frankenpipes I have done and posted on the blog… just search Frankenpipes
LikeLike
Great! I know I’ve got a few burned-out bowls that should provide shank extensions, and maybe a stem from here, and….. ;-D
I’ll be sure to post whatever I come up with!
LikeLike
Reblogged this on rebornpipes and commented:
I am reblogging this one because Charles writes about something I am doing all the time – recreating a pipe from the parts from others. Well done Charles.
LikeLiked by 1 person