
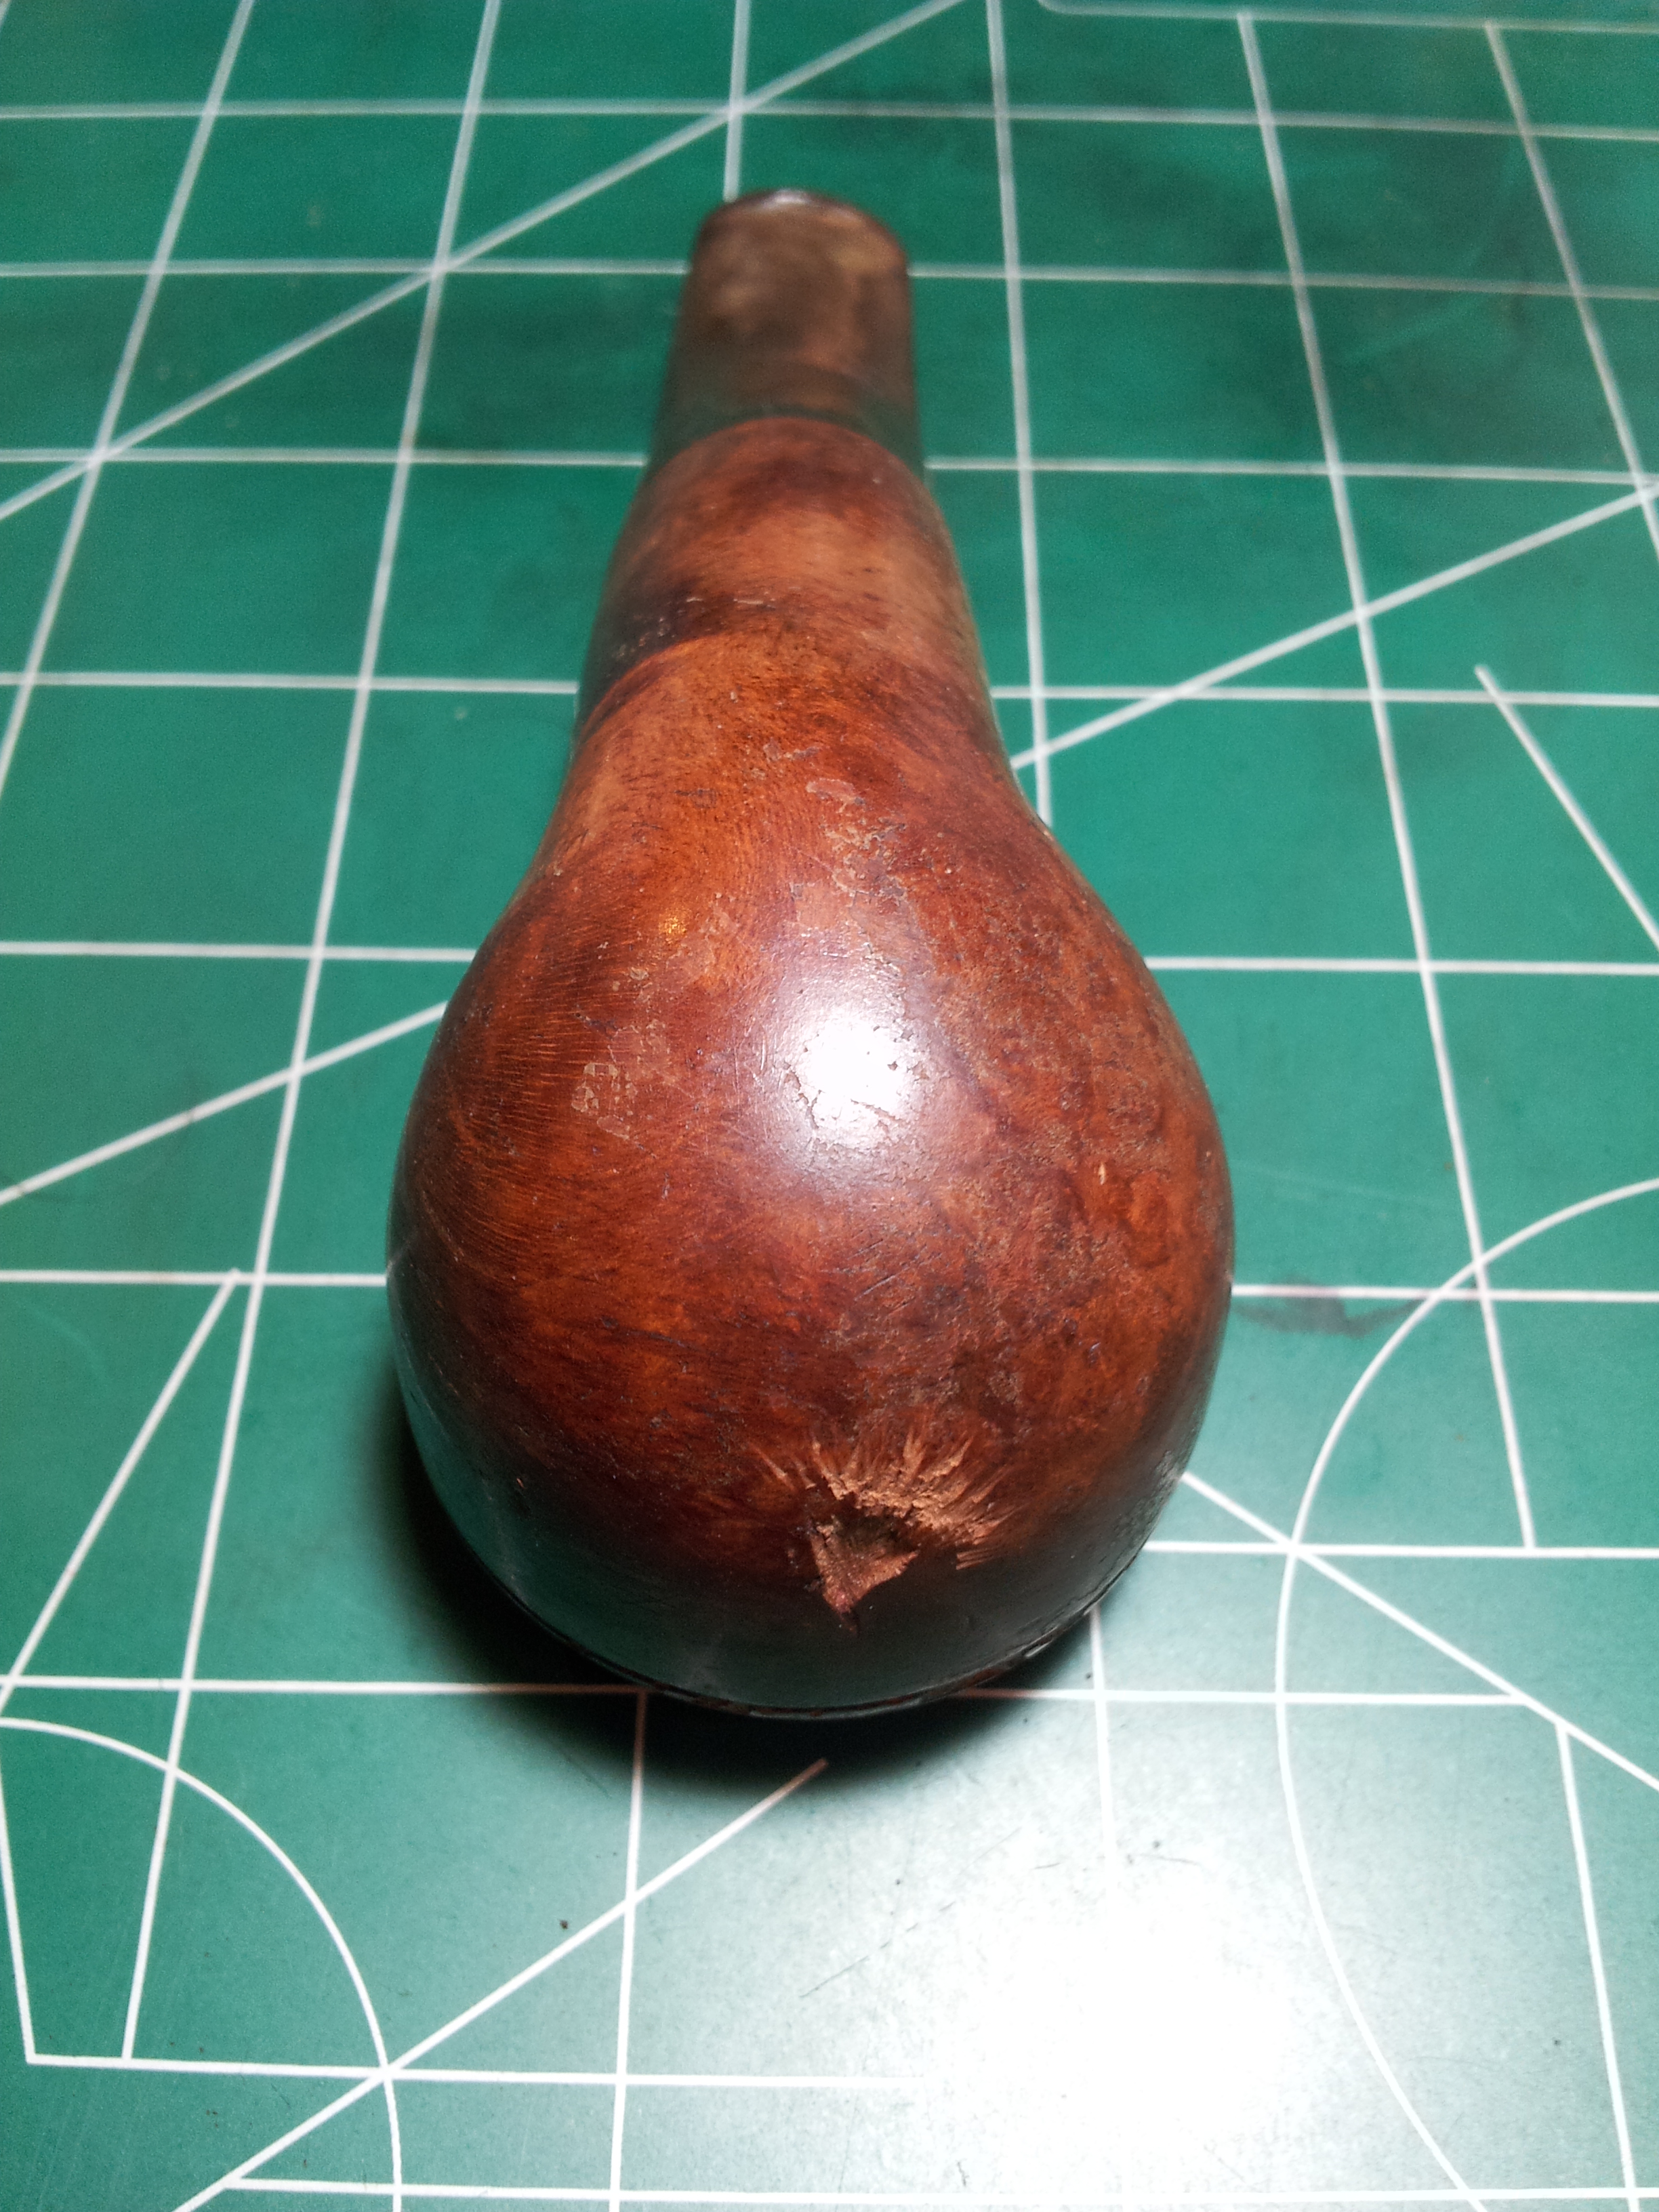
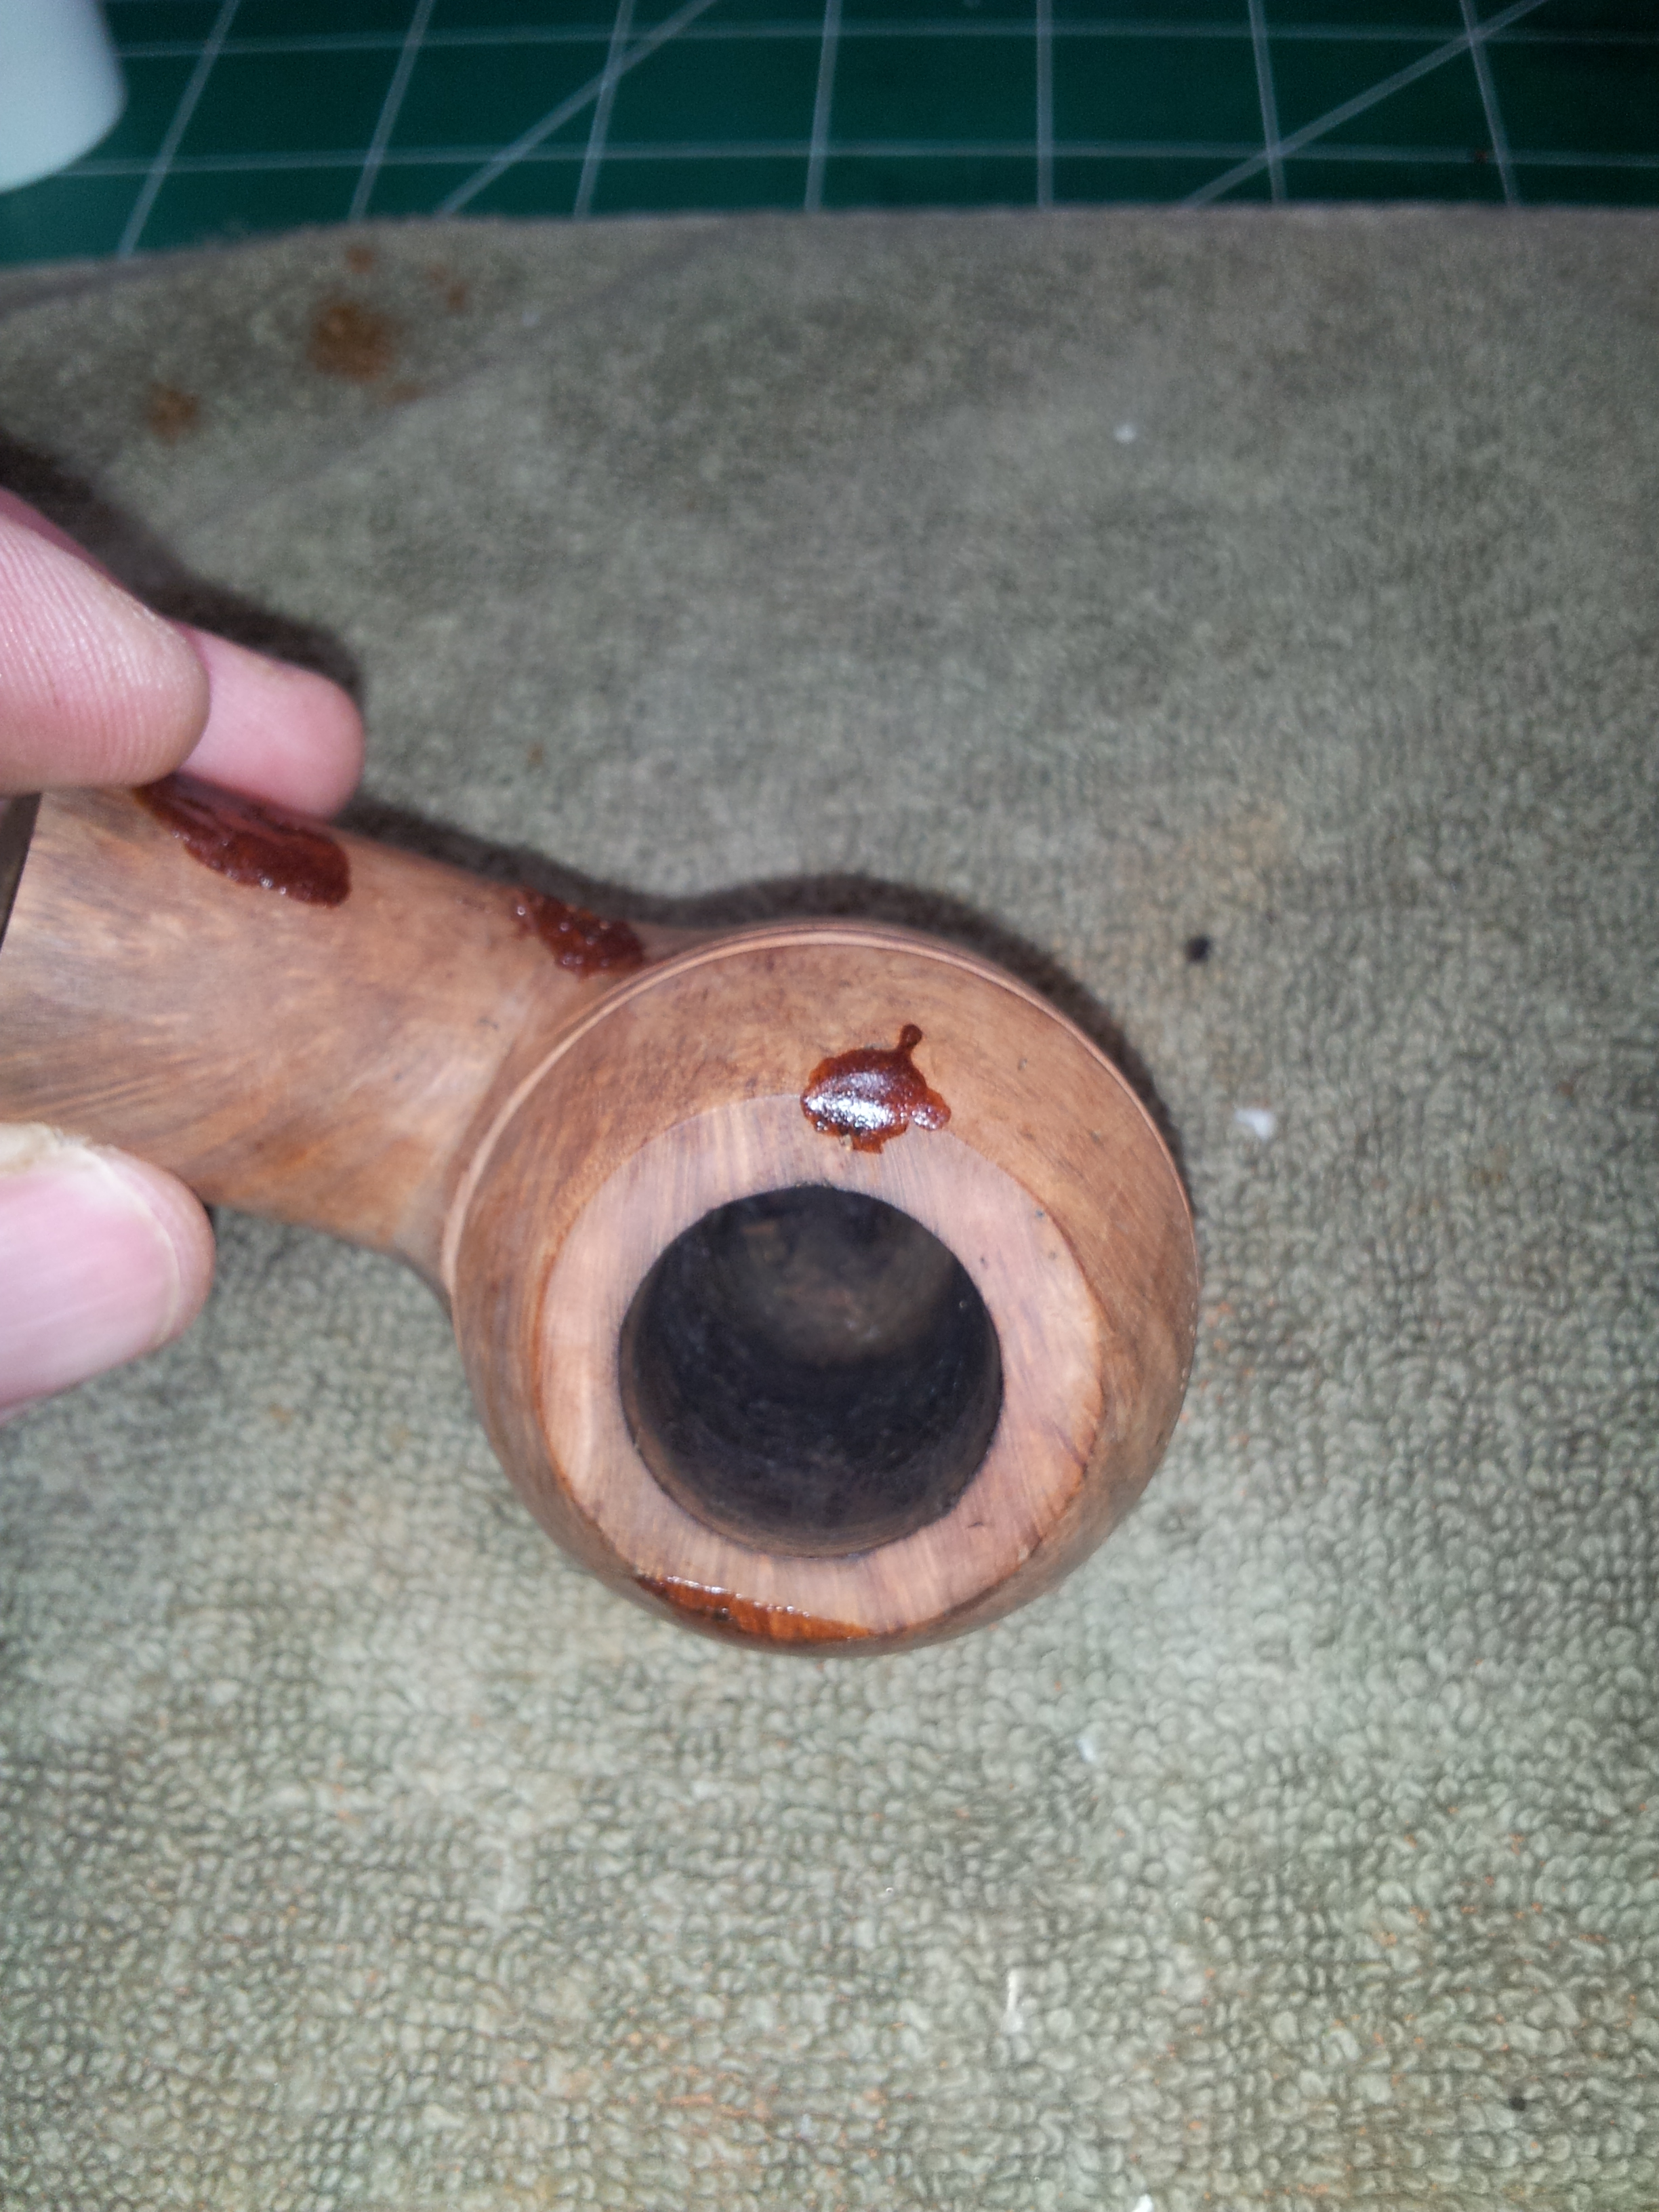
Some pipe shapes jump out at you from across the room, grabbing your attention in the equal but opposite way other shapes make you wonder what the carver could possibly have been thinking. I was immediately drawn to this pipe when I spotted it on a recent estate pipe hunting expedition. The chubby bulldog reminded me of a kind of cross between a Savinelli 320KS recently featured on rebornpipes.com and the classic Peterson 999 shape, though this pipe was not nearly as well-executed. In fact, it rather struck me as a practice piece after I had stared at it a while. The bowl was drilled slightly off-centre, and the distinctive bulldog bowl rings were anything but on this pipe – the upper ring was almost entirely absent, and the lower was unevenly cut.
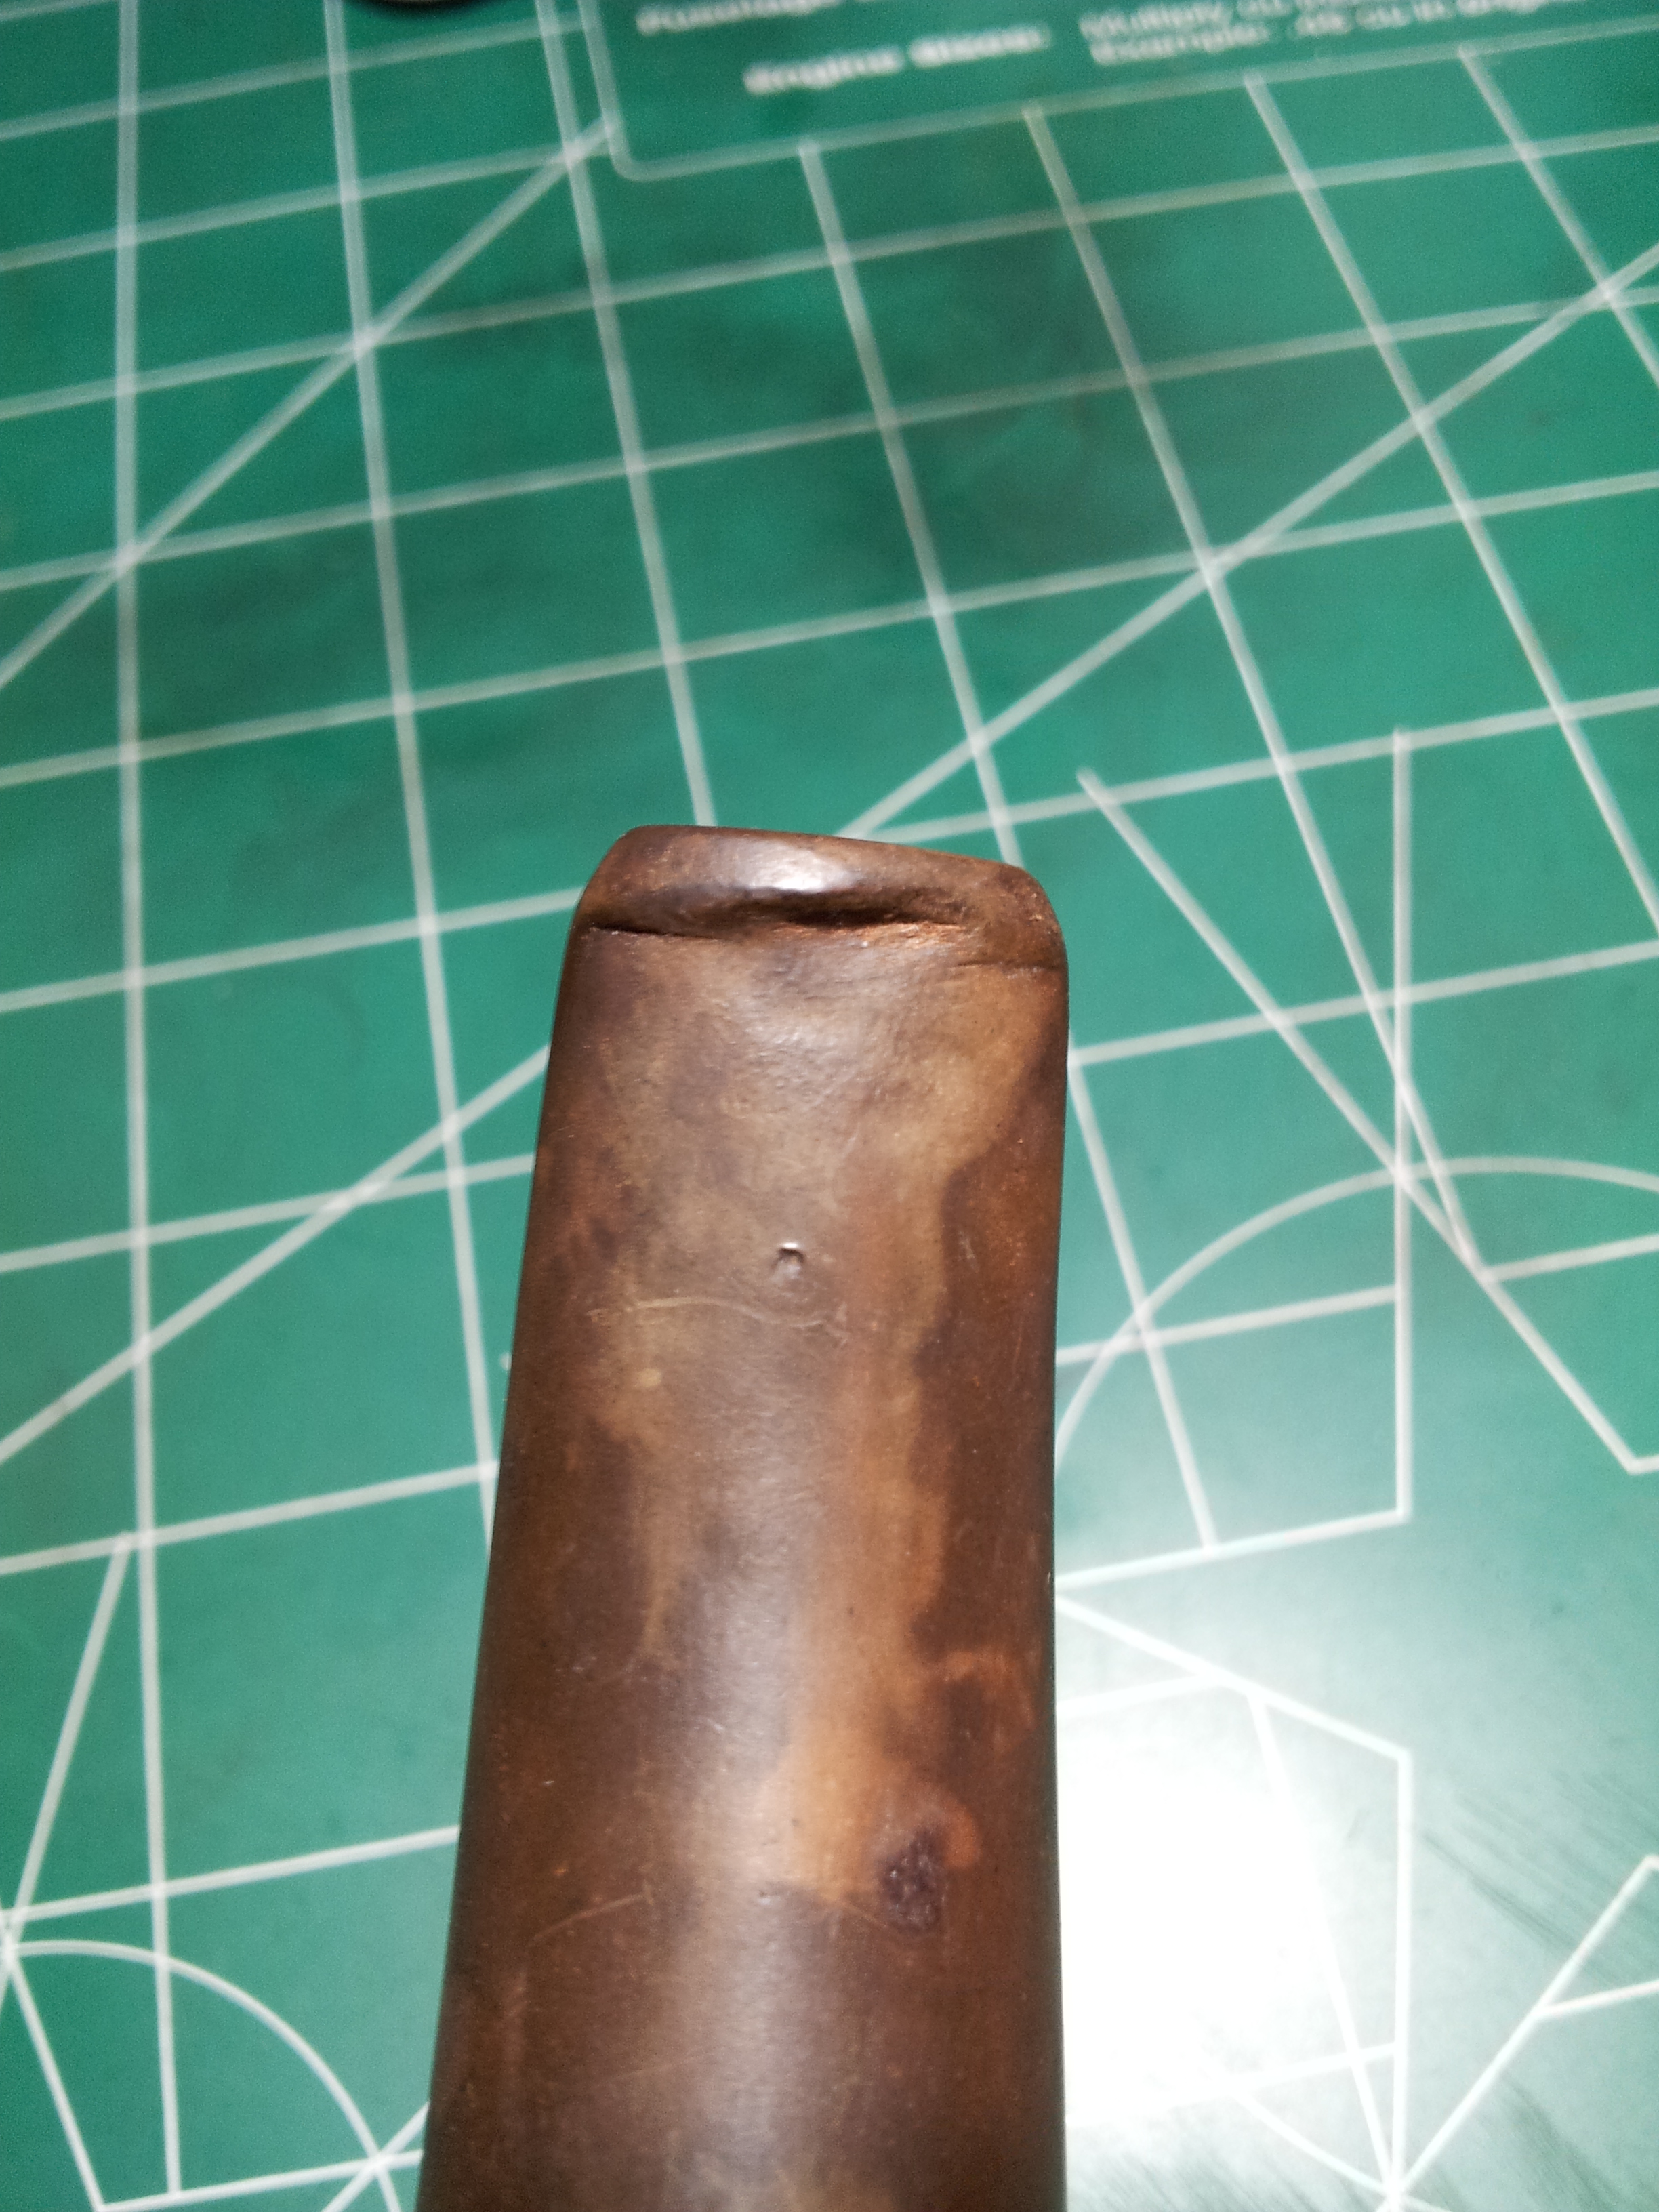
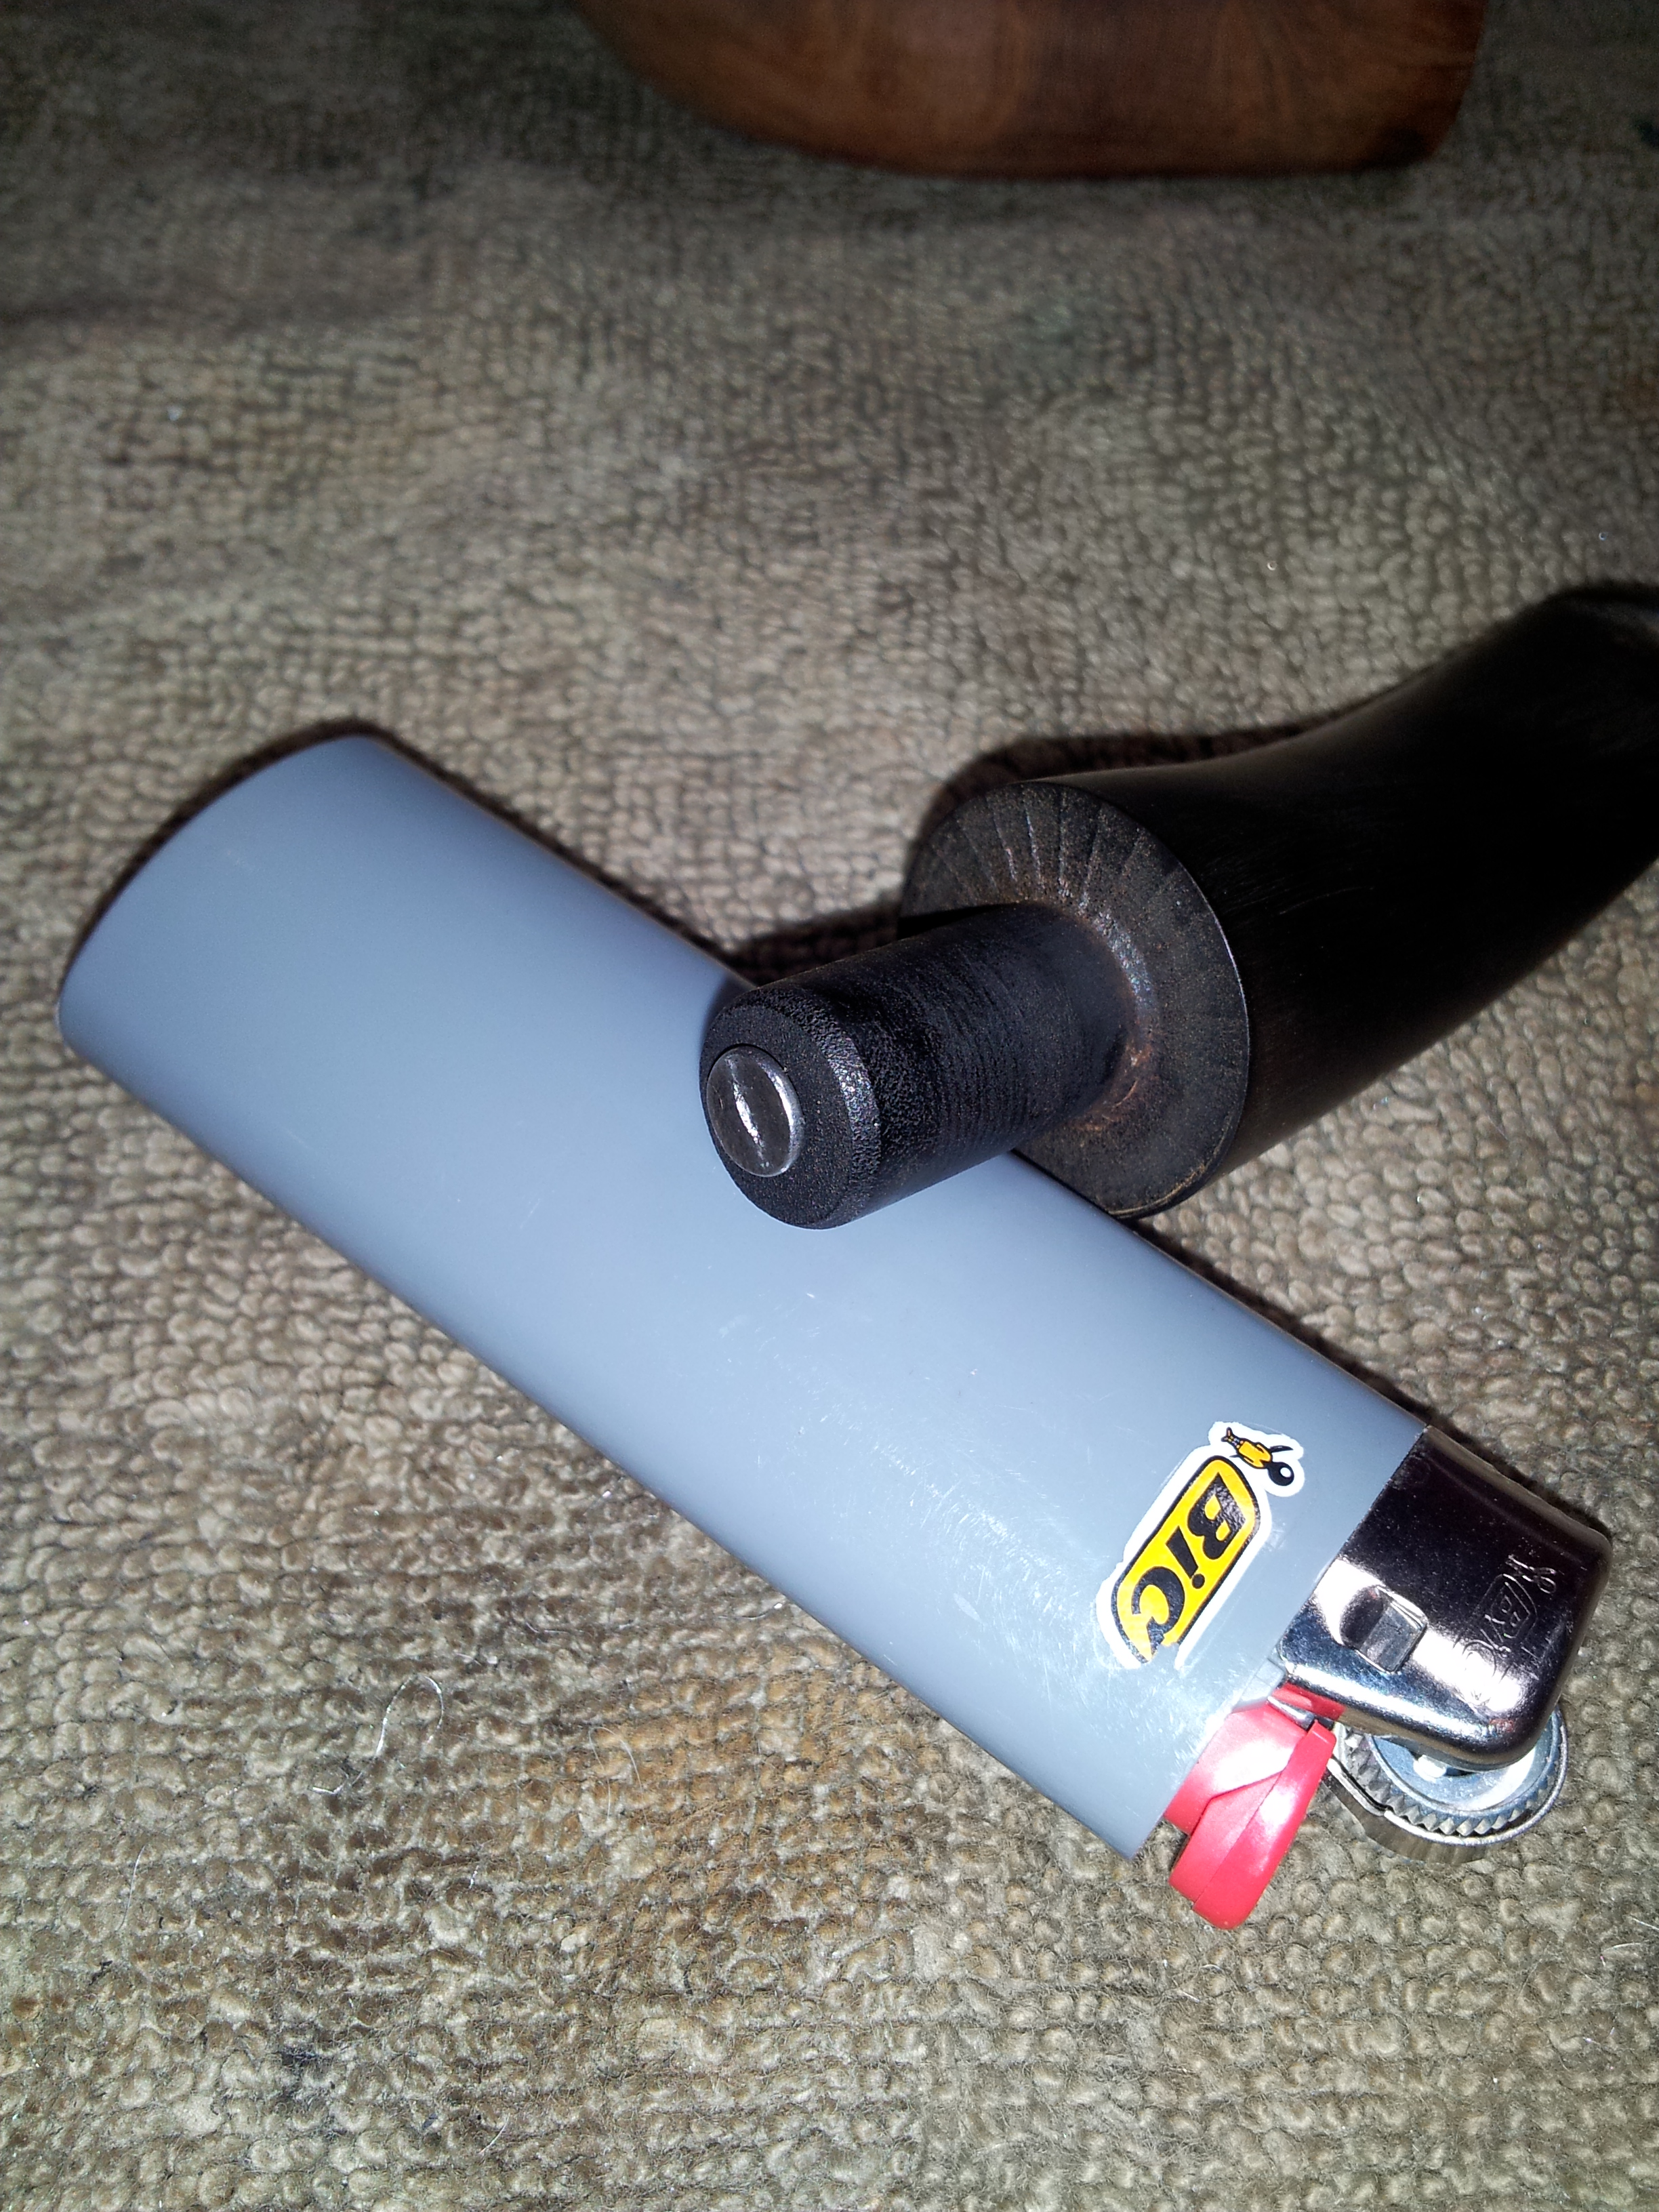
The pipe had the usual gammut of estate pipe woes – tarry rim, dents, dings, scratches and loose fills. The rim was chipped nearly everywhere, and the front of the bowl sported a missing chunk. The stem was oxidized and had a heavy tooth bite right behind the button on the lower side. It was also very loose in the mortise, nearly to the point of falling out.
The pipe is stamped “Habitant Deluxe” on the left shank, and “Italy” on the bottom of the shank, parallel to the mortise. I couldn’t find any information on the brand online. My guess is that this must have been a seconds brand for some Italian pipe manufacturer.


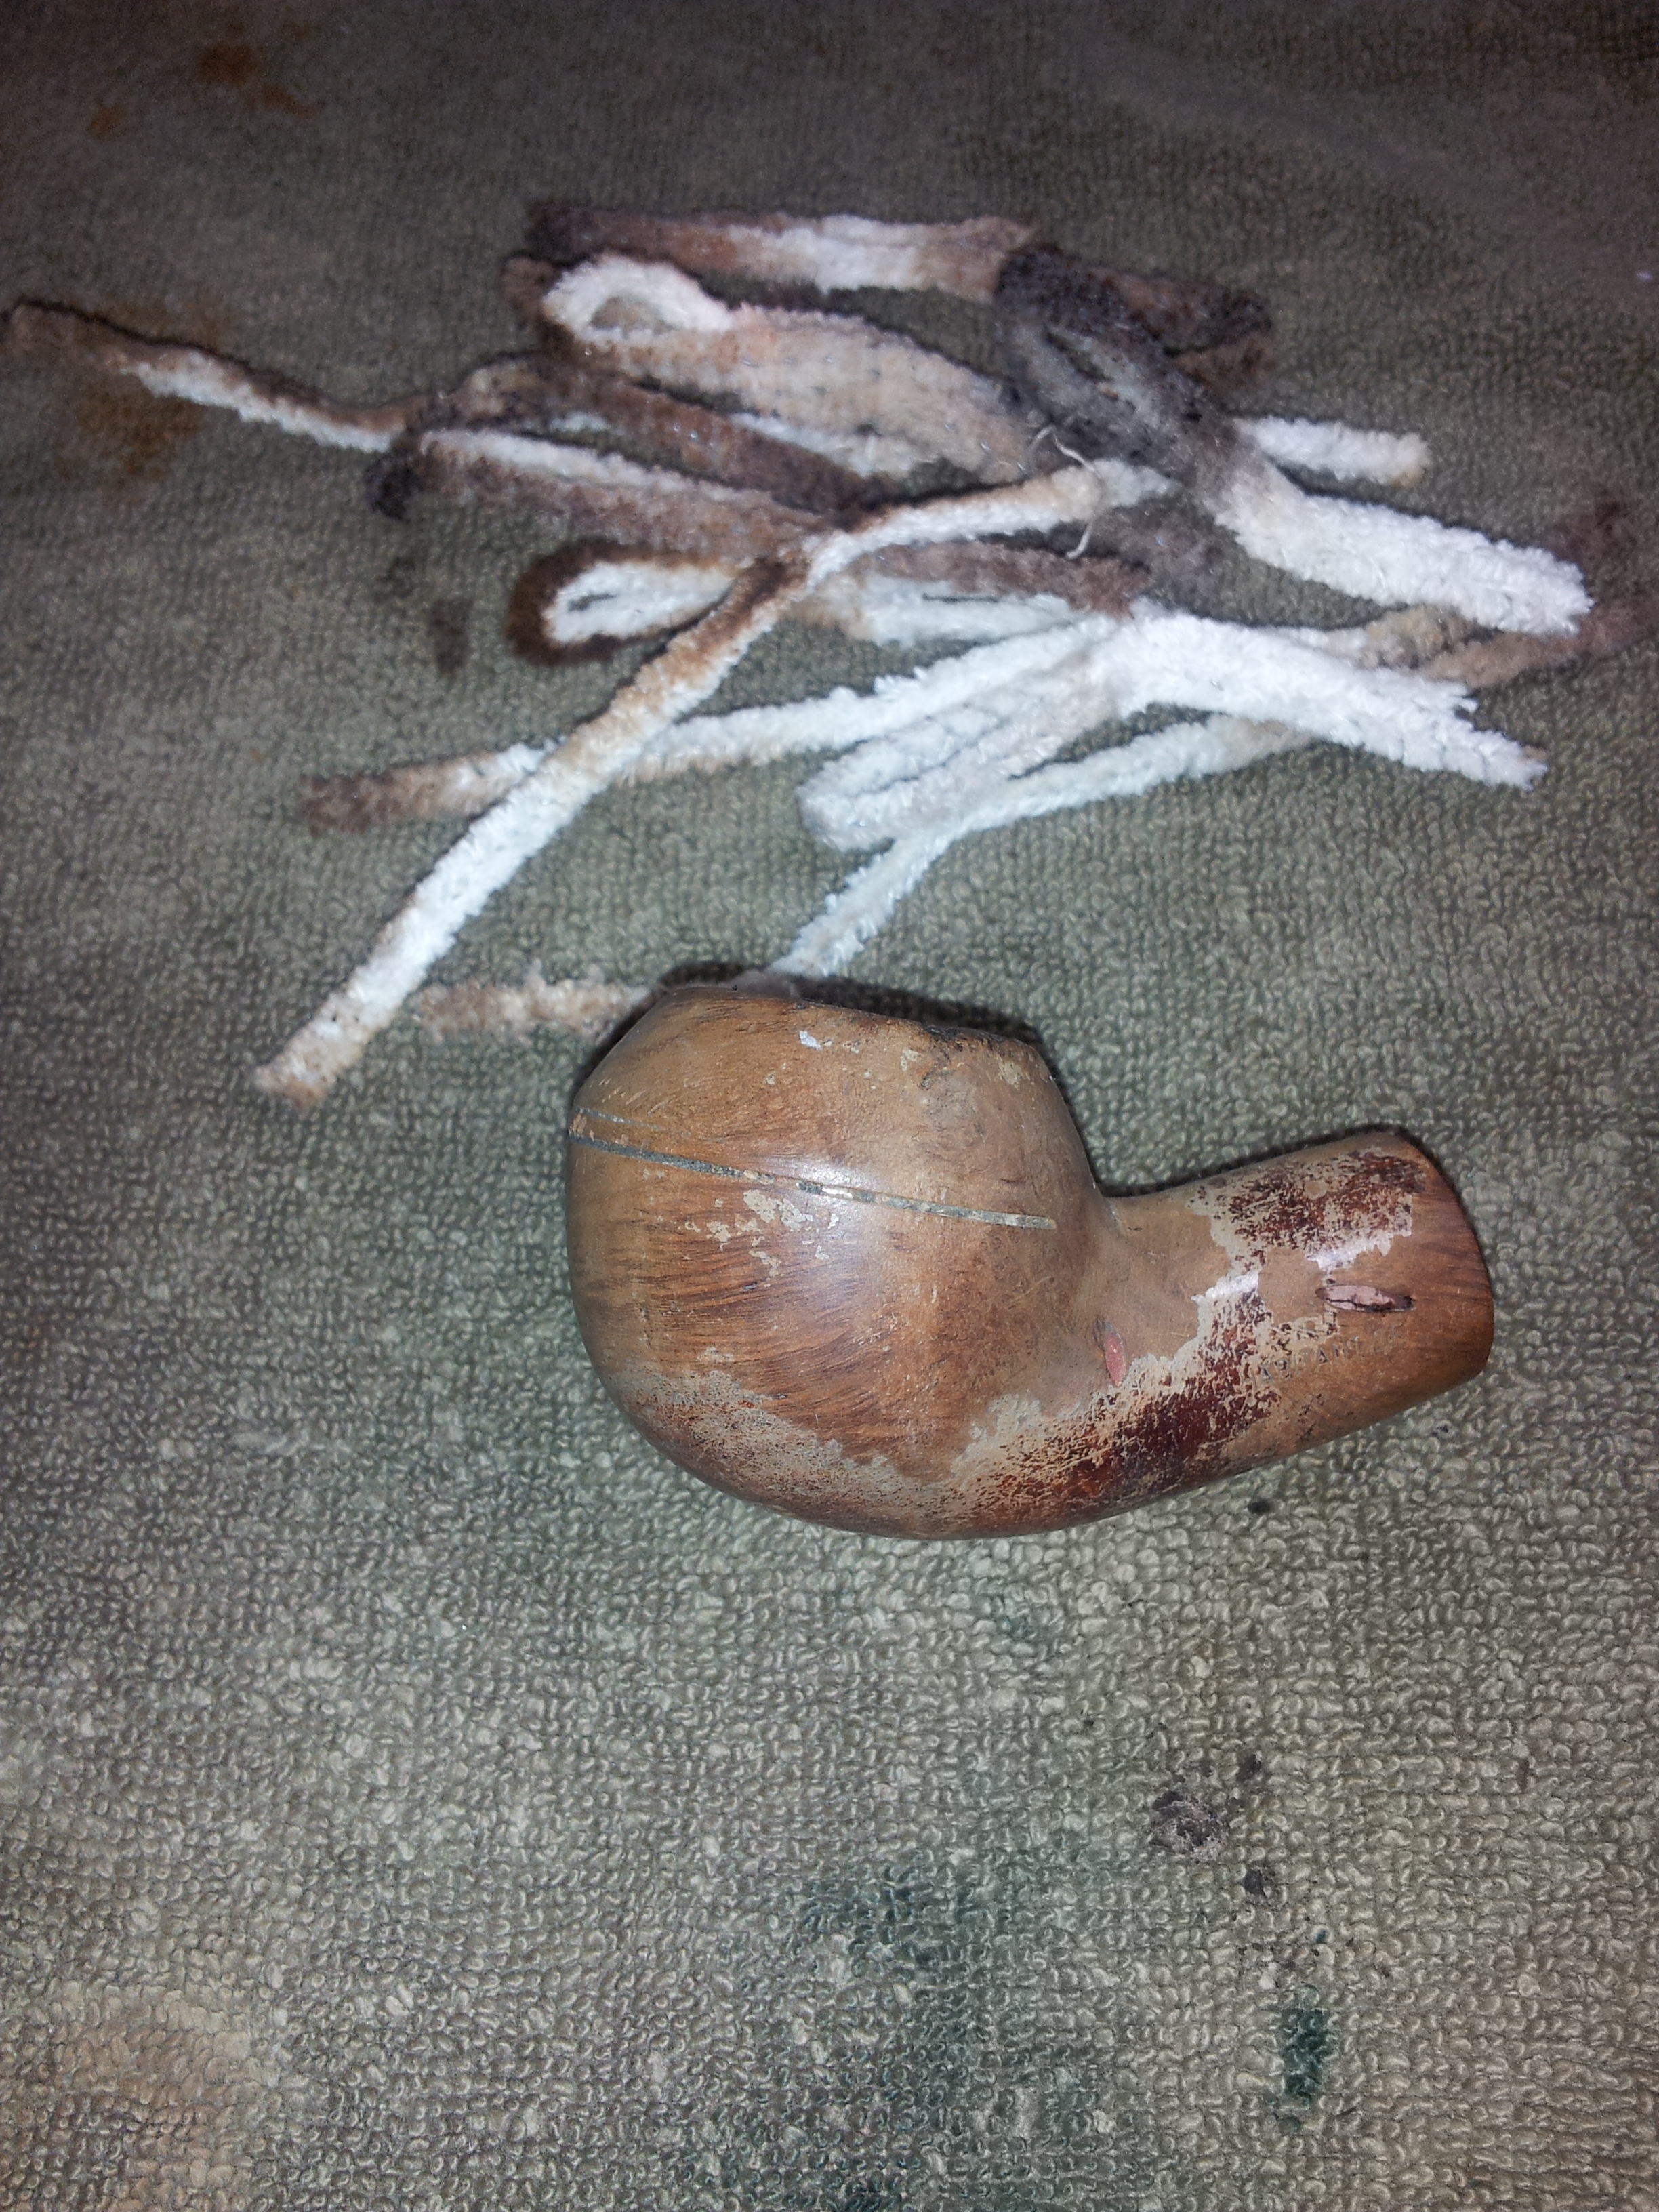
 I started out by reaming the bowl back to bare briar. The tobacco chamber was in good shape. No cracks or burnouts, and the draft hole met the chamber floor very neatly. Satisfied with the structure of the stummel, I dropped it into an alcohol bath to dissolve the lacquer coating and soften the accumulated tars. When I removed it from the bath the next morning, I used pipe cleaners and more alcohol to clean the bowl and airway before removing the last vestiges of lacquer with some nail polish remover and cotton pads.


I topped the bowl to remove most of the dents and dings, and then turned my attention to the bowl rings. I dug into my guitar repair kit for my set of nut files, and used a 0.028” thick file to both clean out and deepen the lower bowl ring. Then I used the same file to carefully re-cut the upper ring, extending it the full circumference of the bowl. It took a fair amount of time and patience, but it made a world of difference to the bulldog-ish appearance of the pipe overall.


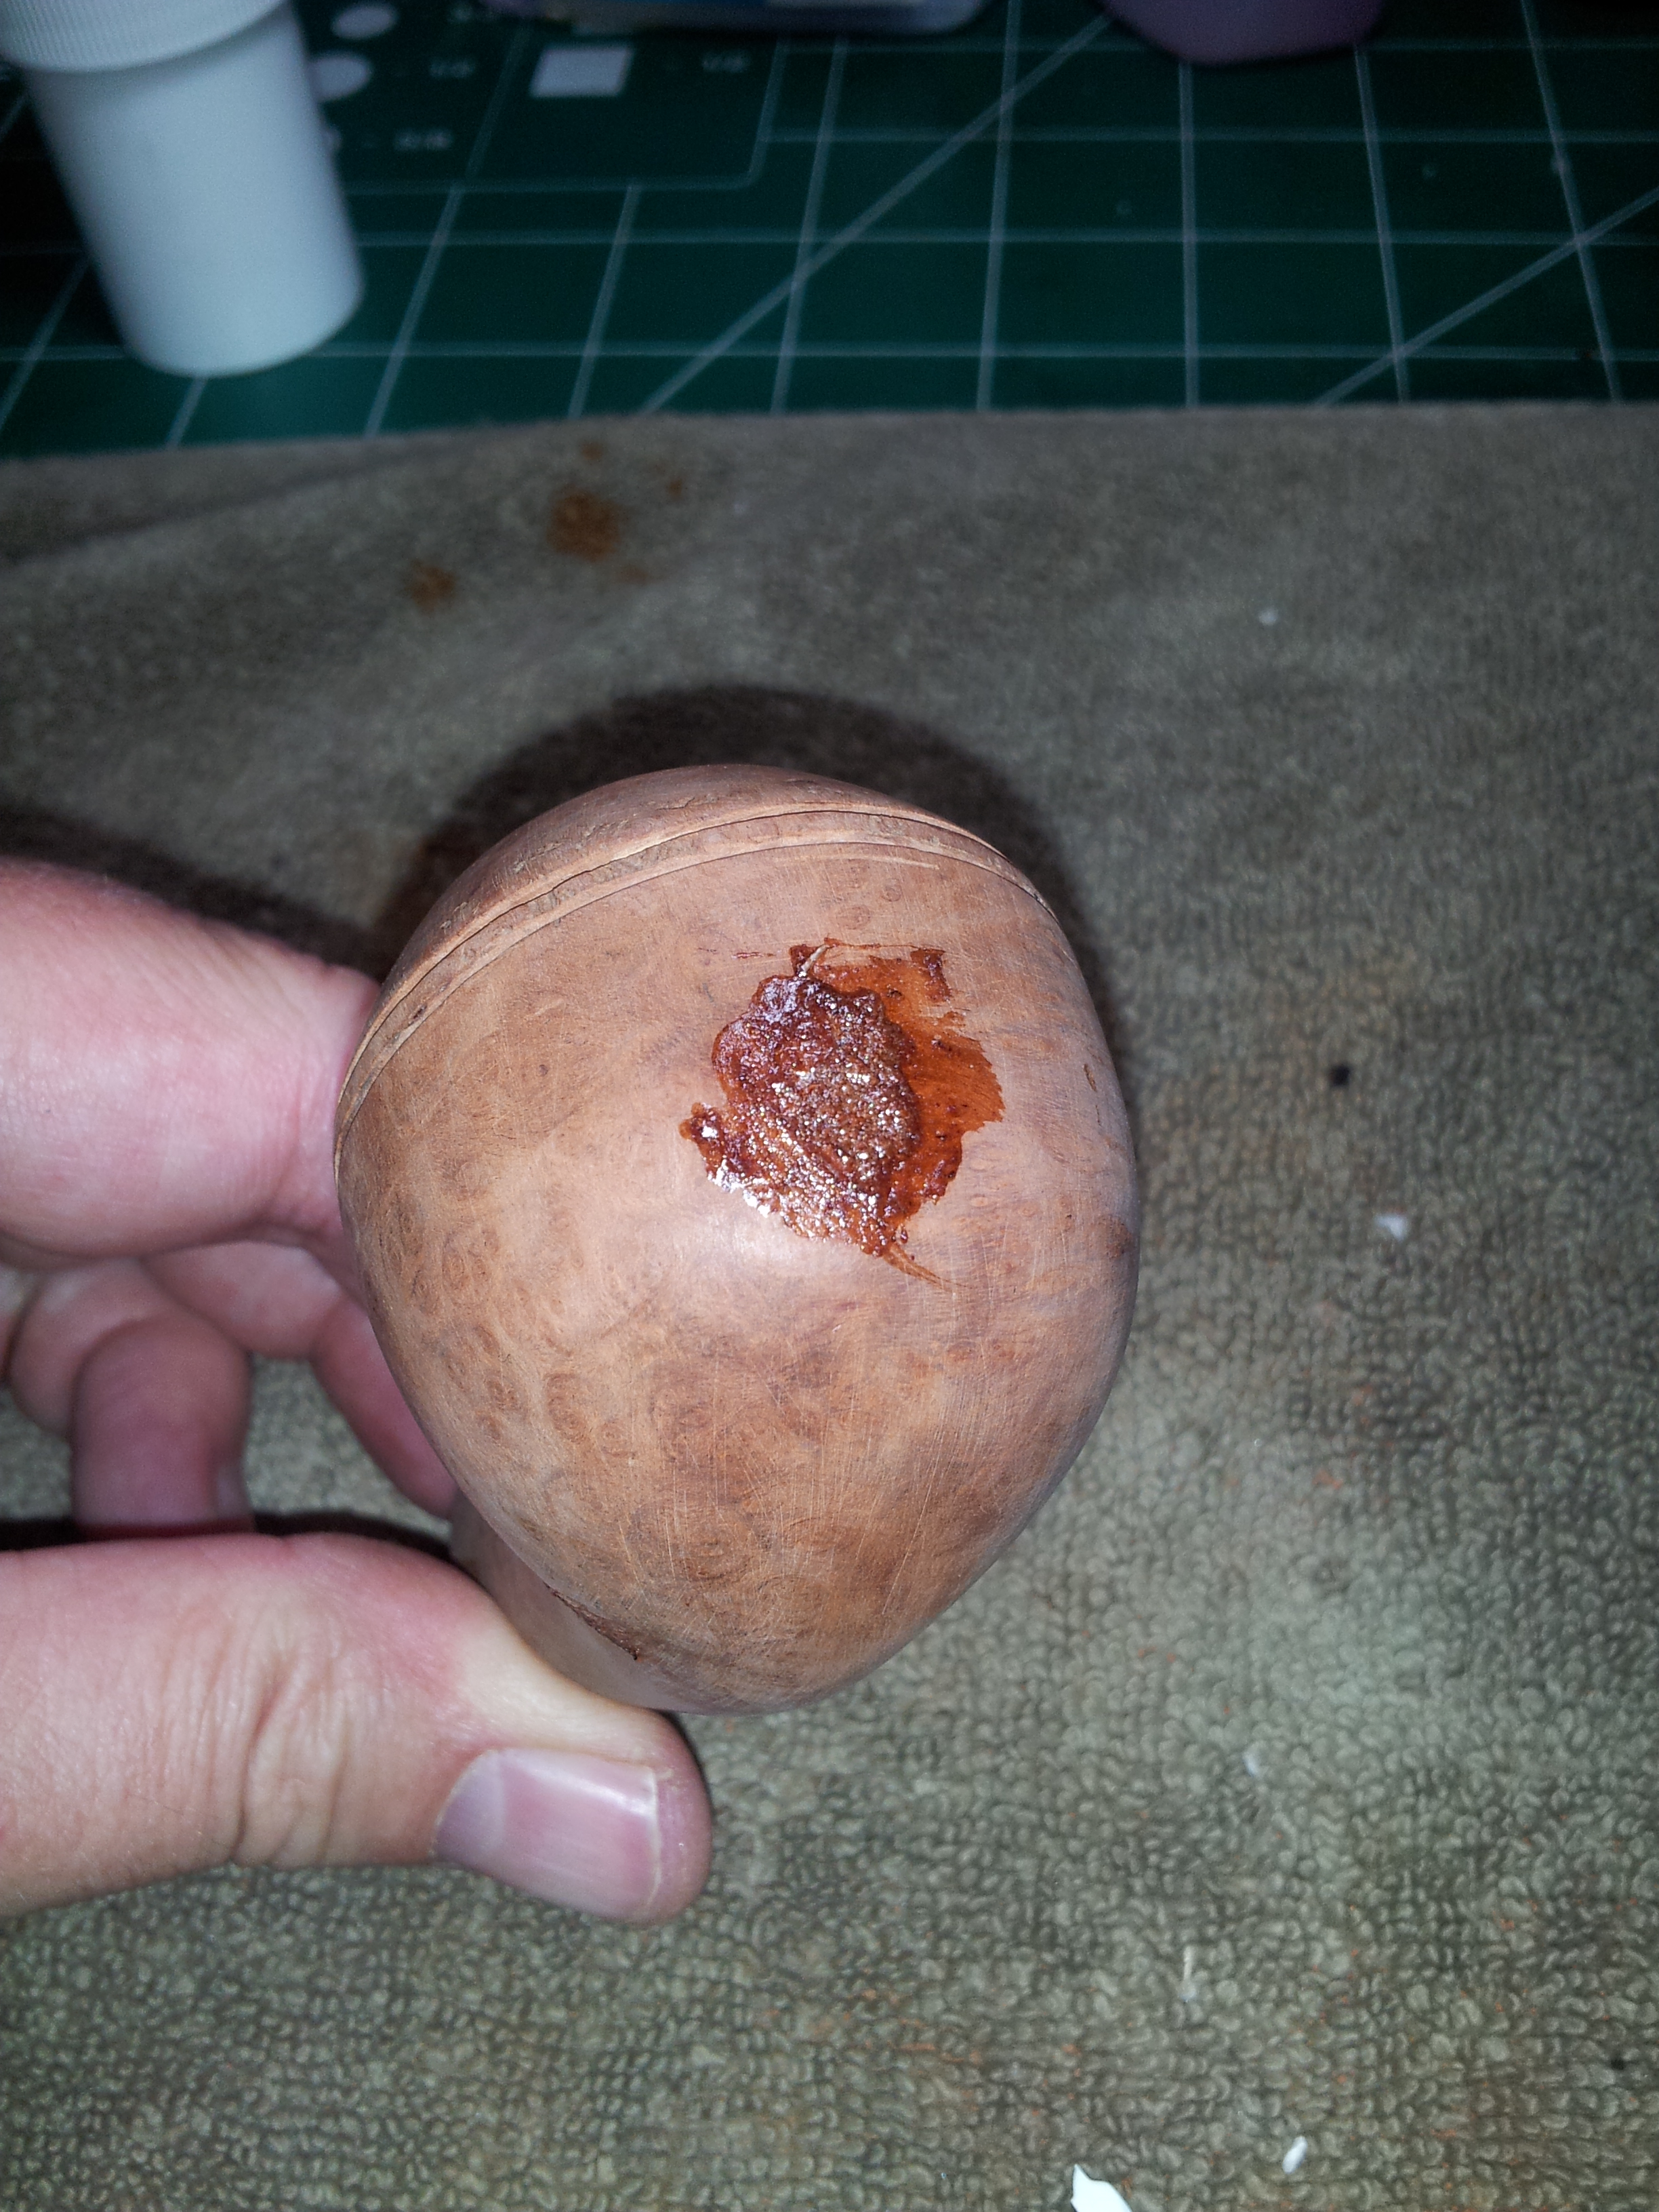
I picked out several loose putty fills using a dental pick and noted a few deeper dents on the bowl that would also need filling. All these areas were hit with CA glue and briar dust before sanding with 220 and 320 grit papers.


Meanwhile, I soaked the stem in Oxyclean and warm water to lift the oxidation, which was scrubbed off using Magic Eraser and then 600 – 2000 grit wet sandpapers. I cleaned the stem’s internals with pipe cleaners and alcohol before adjusting the fit of the tenon in the mortise. This was accomplished by heating the rather fat tenon over a lighter until maleable and then pushing it against a flat surface. I slid a suitably sized nail into the tenon’s airway before doing this to help keep the tenon straight and the airway open. It didn’t take much effort to expand the tenon sufficiently to give a comfortably snug fit.
The tooth dents near the button were filled with CA glue and sanded smooth. I also built the button’s height up slightly with CA glue and charcoal powder to provide a better grip in the teeth. This pipe is really not suited to clenching – the stem is too fat to be comfortable – but I felt it would be good to at least be able to hold it briefly in the mouth anyway.


With the stem work done, it was time to refinish the pipe. I first applied a solid coat of Fiebing’s Black leather dye and let it dry before removing most of it with 0000 steel wool. Two coats of a 3:1 mix of Fiebing’s Dark Brown and Saddle Tan dyes followed. The resulting finish was dark enough to hide the fills while still allowing the wood grain to show through from beneath. The pipe was then lightly buffed with Red Tripoli and White Diamond compounds before receiving several coats of Carnauba wax.
I’m not sure what it was about this pipe, but for some reason I was plagued throughout this restoration by doubts and indecision. I seemed to debate constantly with myself over the best course of action at each stage in the process – so much so that this pipe took the better part of a month to finish. In fact, I completed restorations on two other pipes while this chubby dog was on the work table. Looking back now, I can’t quite pinpoint why I was so vexed by this job, but I can tell you that I’m glad it’s finished. I still really like the shape of this pipe, but I am a confirmed clencher, so this one will be available to a new piper to whom it is better suited,
Here’s the restored pipe.


That shape would have tugged at me as well. Fantastic job on the fills and the stain choice. I have a similar condition Digby 9438on my bench that needs the same treatment. Hopefully I’ll get to it this weekend.
LikeLiked by 1 person
Thanks Al. I really love the shape but this pipe is not for me – at least not without serious stem work to thin down the bite area. Up for sale now. So it goes!
LikeLike
Reblogged this on rebornpipes and commented:
Great job on this one! I love this shape. Like Al, it tugs on me as well. I am a sucker for this shape. Nice work on completing the twin rings around the cap and on the reshaping of the button. Great work.
LikeLiked by 1 person
Thanks Steve. I sweated over the rings – they’re much better than they were but still a bit “off” around the back of the bowl. A good match perhaps to the off-centre bowl drilling.
LikeLike
Move over, and let the big dog eat. This is also a favorite shape of mine. Great job on the rings, stem, fills, and stain. This chubby dog will make someone a happy smoker. Thanks for sharing with us.
LikeLiked by 1 person
Another fan of the shape. Those fills look exceptionally well done. Overall, it is a beautiful resoration of a classic shape.
The quality of work from of all you gents is really motivating me to get to work on the pipes I have been saving for the winter to begin restoring.
LikeLiked by 1 person
Thanks, Al. Looking forward to seeing some of your pipes soon!
LikeLike
Very nicely done, Charles. I like the work you did with the bowl rings. The first thing that I noticed about the pipe was that the rings didn’t go all the way around. That would have bothered me too.
LikeLike
Yep – I didn’t understand the abortive rings either, The bottom ring went as far as it could, given the position of the shank, but the top “ring” was merely a line across the face of the bowl. Did the carver get bored? Had to fix that. Glad I have a new use for my set of guitar nut files (held over from a past life in which I thought I’d become a luthier).
LikeLike
I imagine, while cutting the rings on the lathe, the carver discovered that the shank got in the way of the cutting tool. Then, they thought, “Oh, well. That’s close enough.”
LikeLiked by 2 people
Stunning work, you are a true craftsman. I too love the shape. The original carver must have realized that he or she had reached the limits of his skill. That’s a good thing because the damage ends there. Because of your skill the pipe is now something to be treasured!
LikeLike
You are very kind. Thanks much. There are still things about this pipe that I would have loved to be able to correct, but it’s been on my table long enough for me to start losing the forest in the trees. Hopefully any remaining glitches are small enough not to annoy the next owner!
LikeLiked by 1 person
I wonder if you could post a link to the restoration blog on the auction page to give bidders a sense of the pipe’s history? (Just not on the auction for this one — I plan on bidding if it doesn’t get too far out of my budget– lol) Any imperfections are part of its character, something a factory made pipe will never have!
LikeLike
I checked the link on the auction page. It’s working now 😉
LikeLike
Crud, missed that the first time. LOL. Too hasty. Probably gonna cost me.
LikeLike
Charles, I see what you did there, you took pictures of this old destroyed abused pipe, and switched it up with a new pipe!! Great job on the fills and the ring groove and the face of the bowl. I like the 9438s and this is a very fine specimen you have reclaimed. Keep up the good work!
LikeLiked by 1 person
Thanks. I wish this one had been that easy! LOL.
LikeLike