
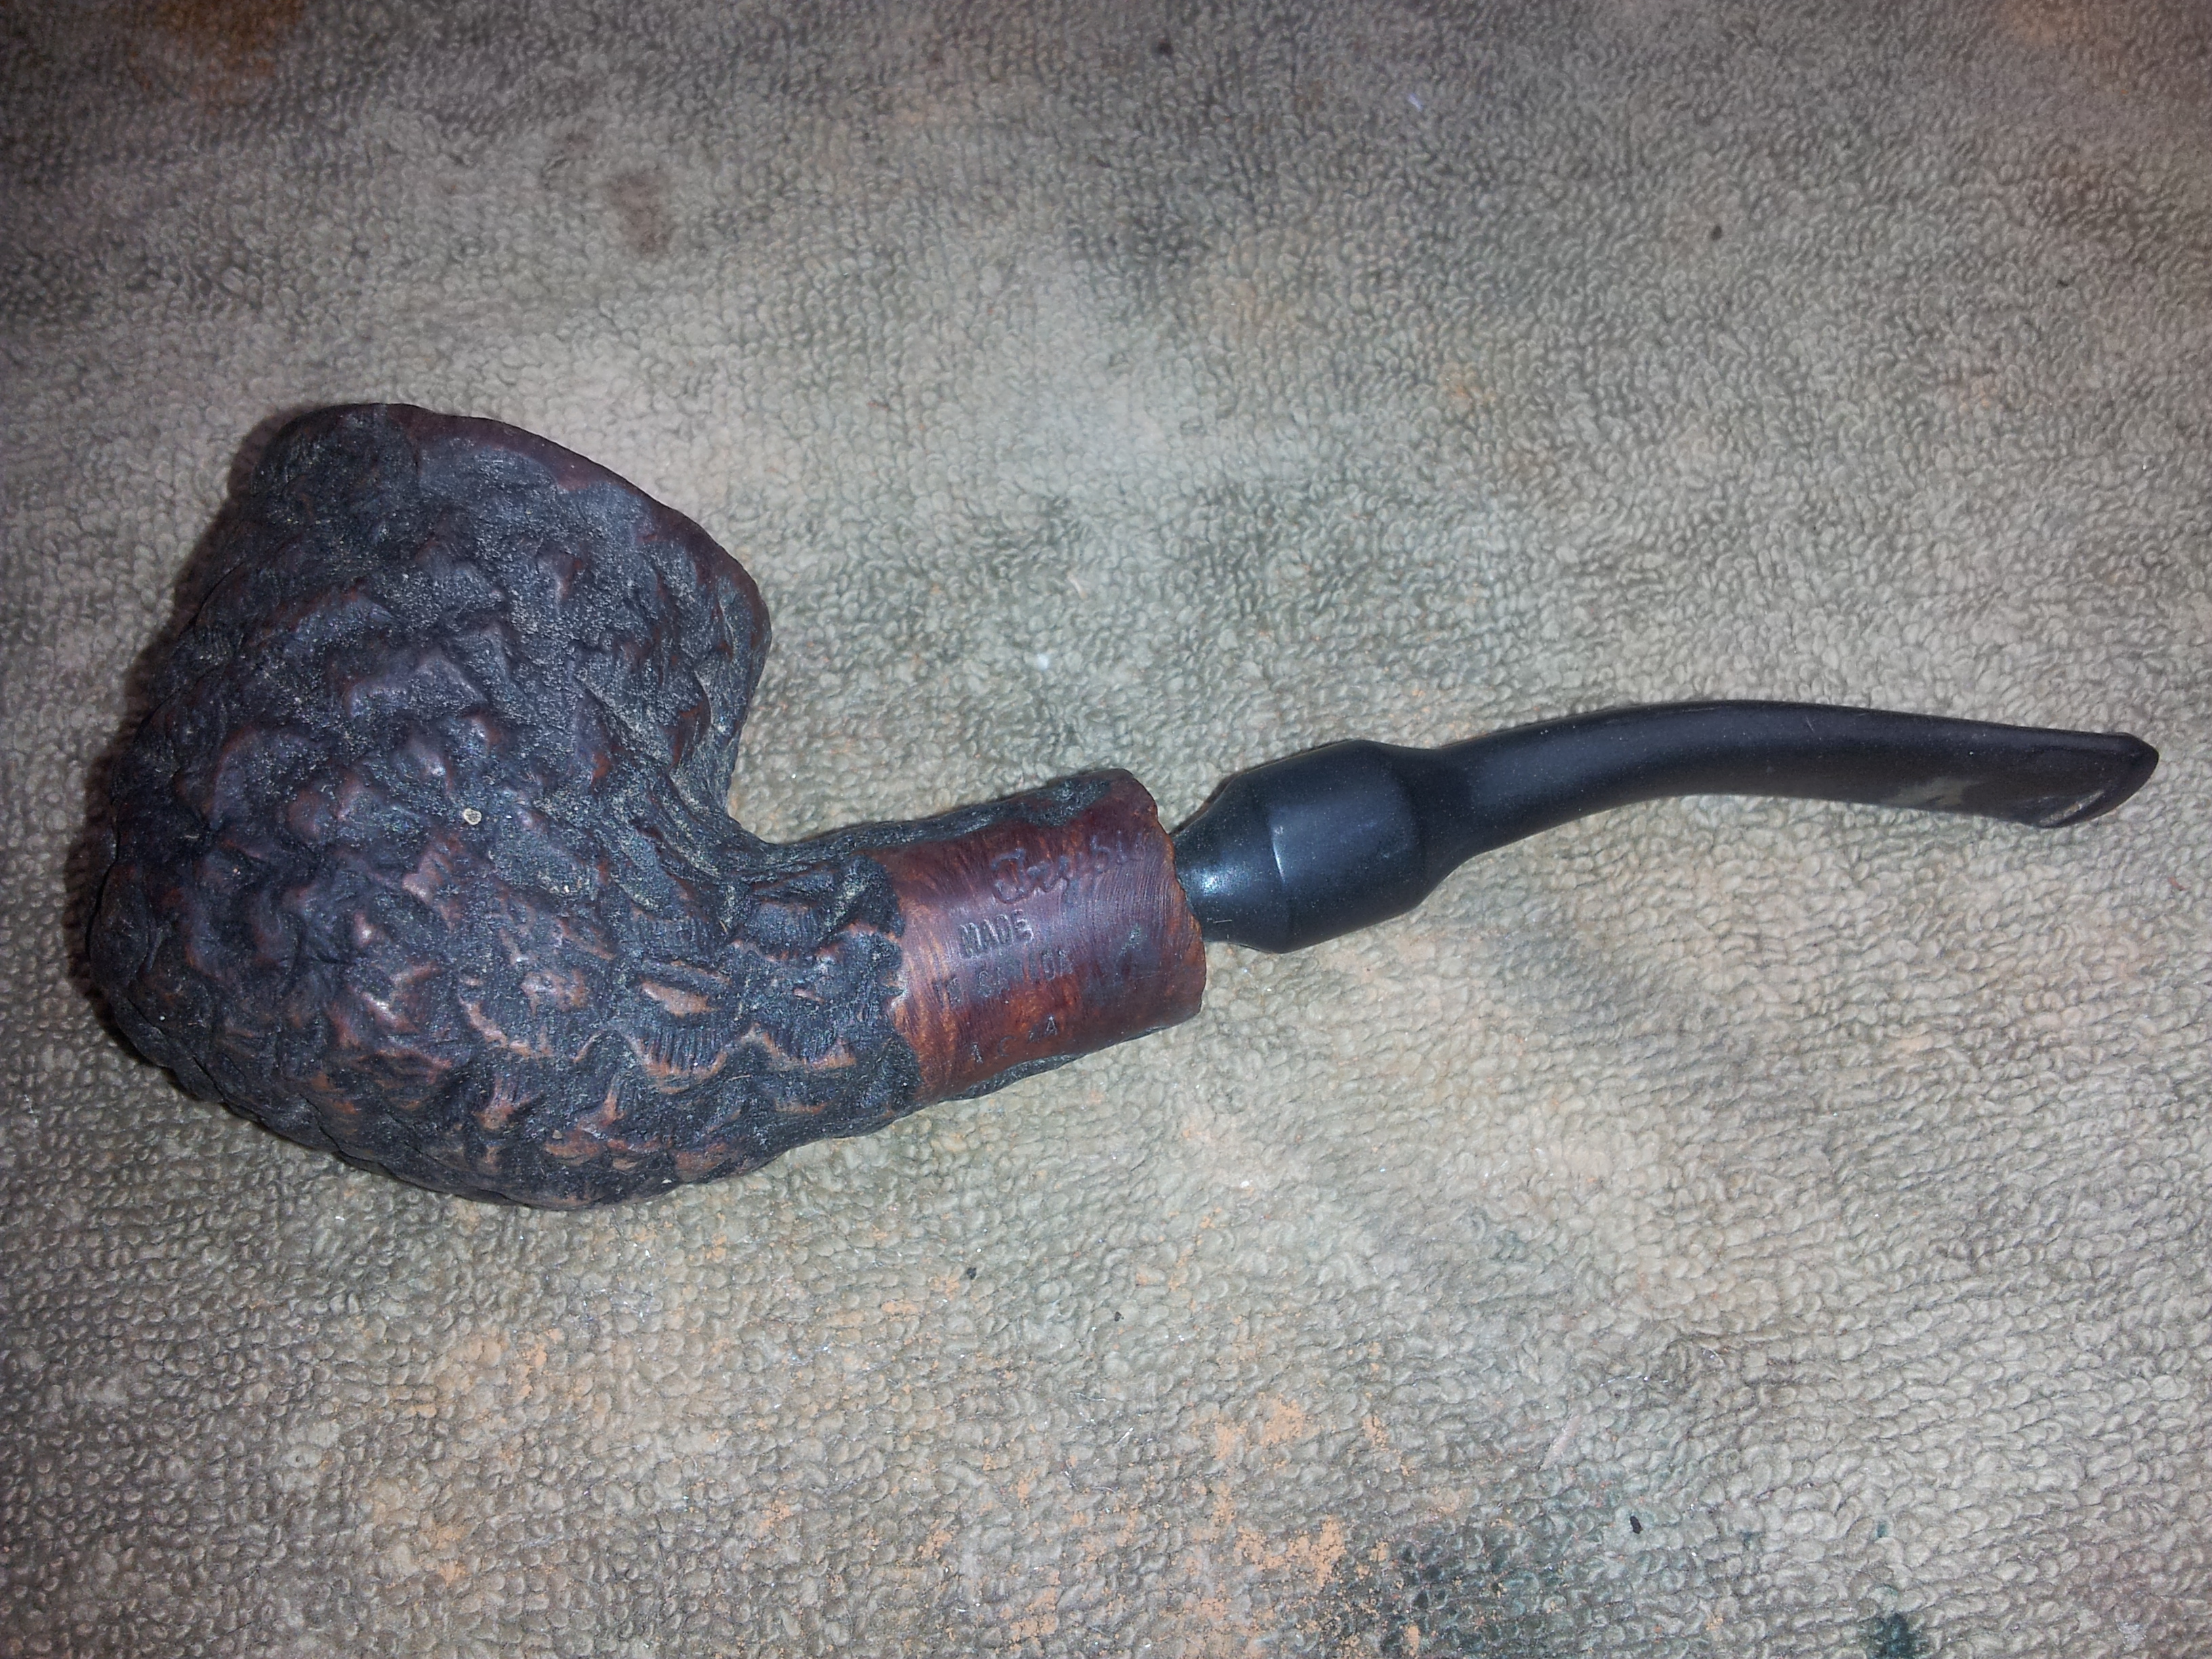
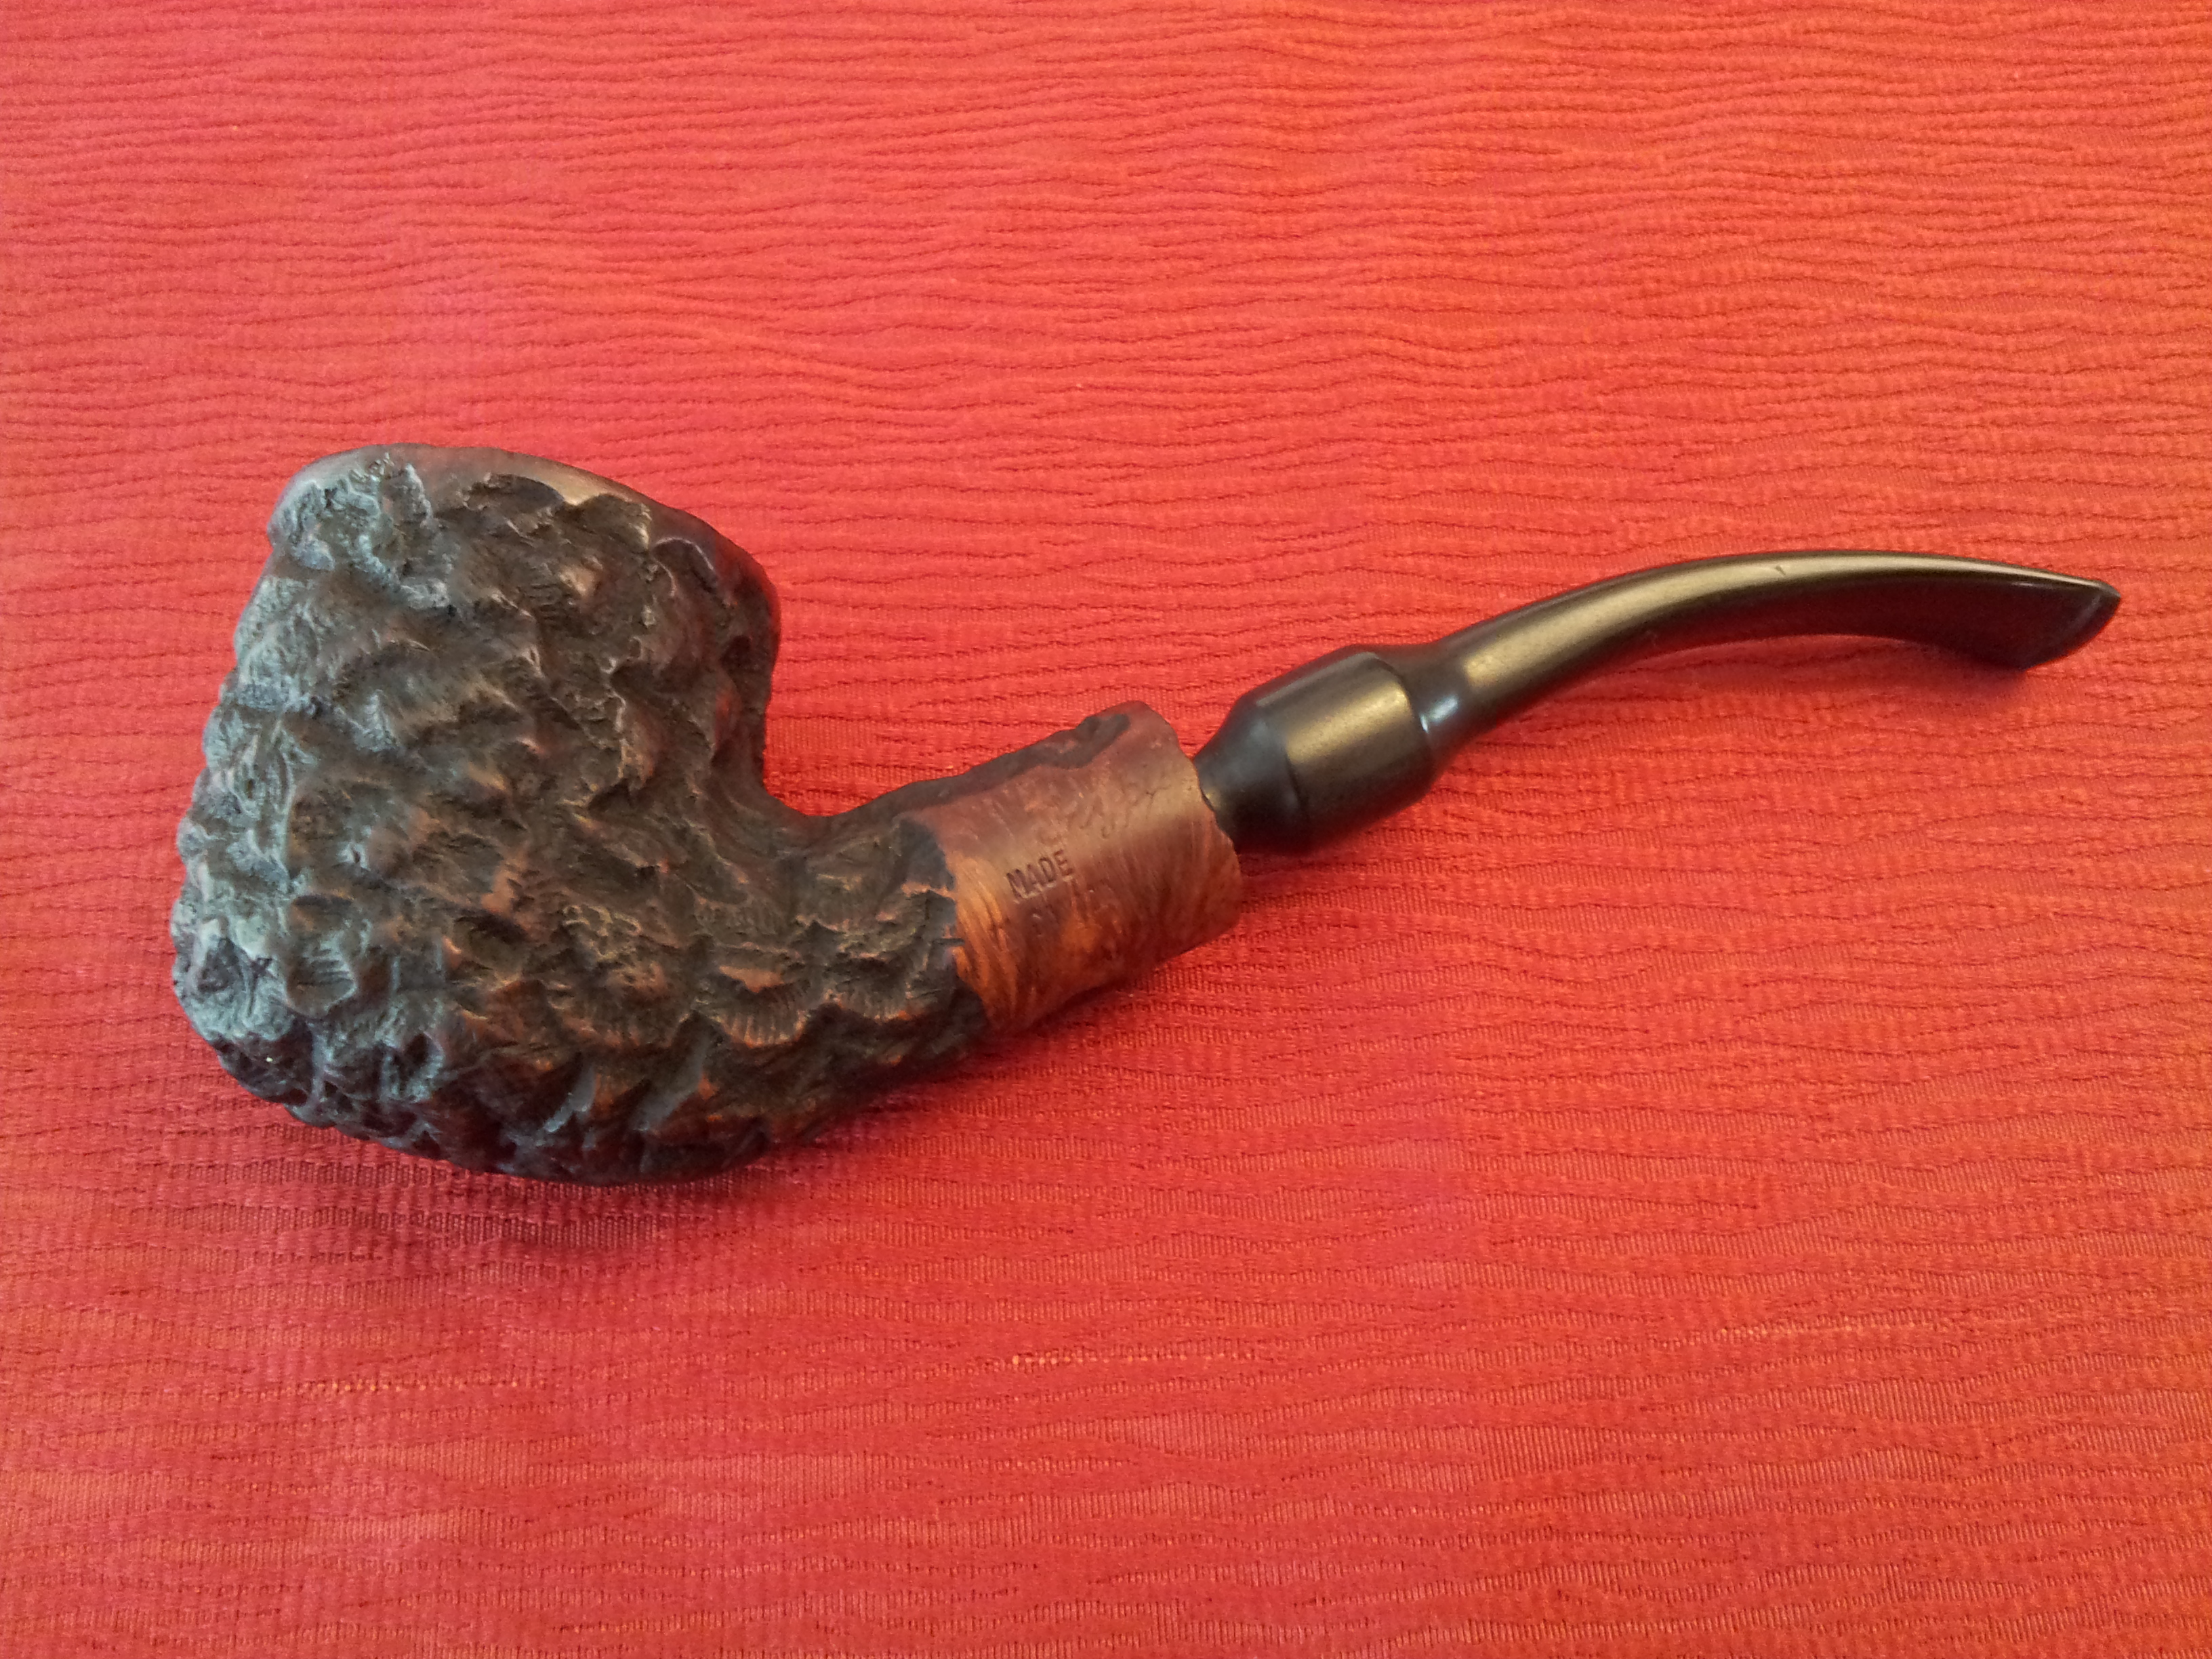
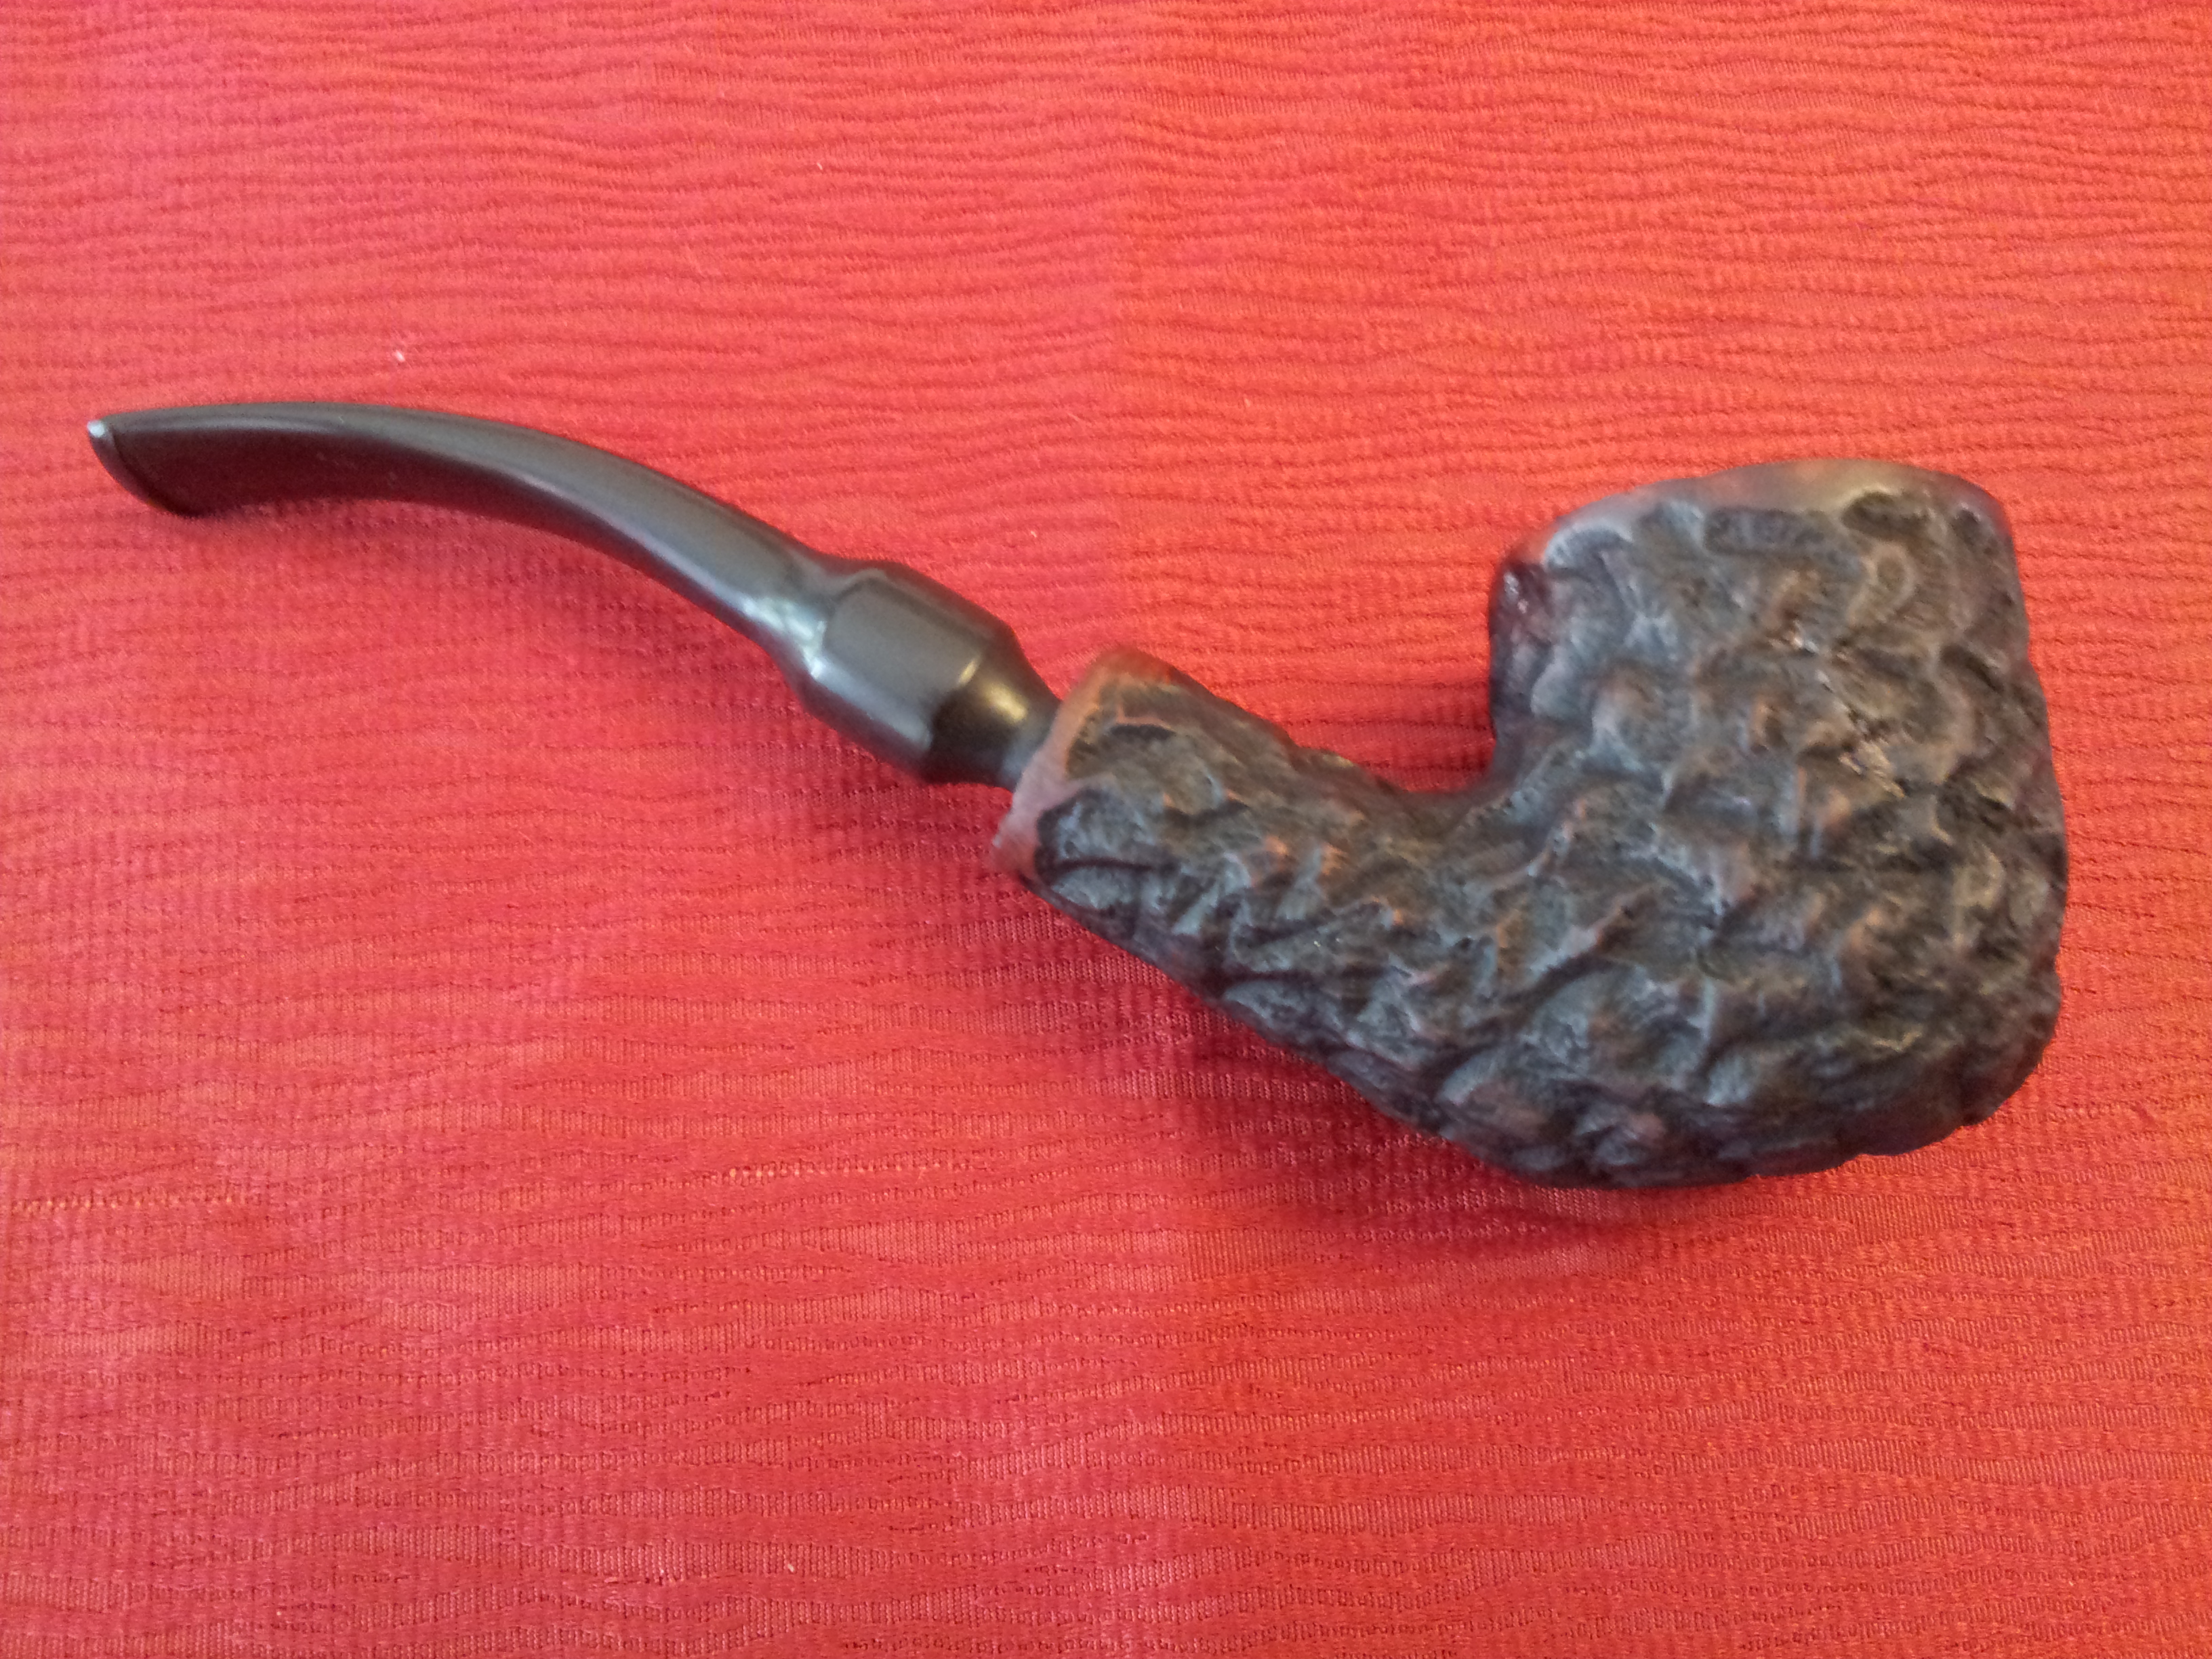
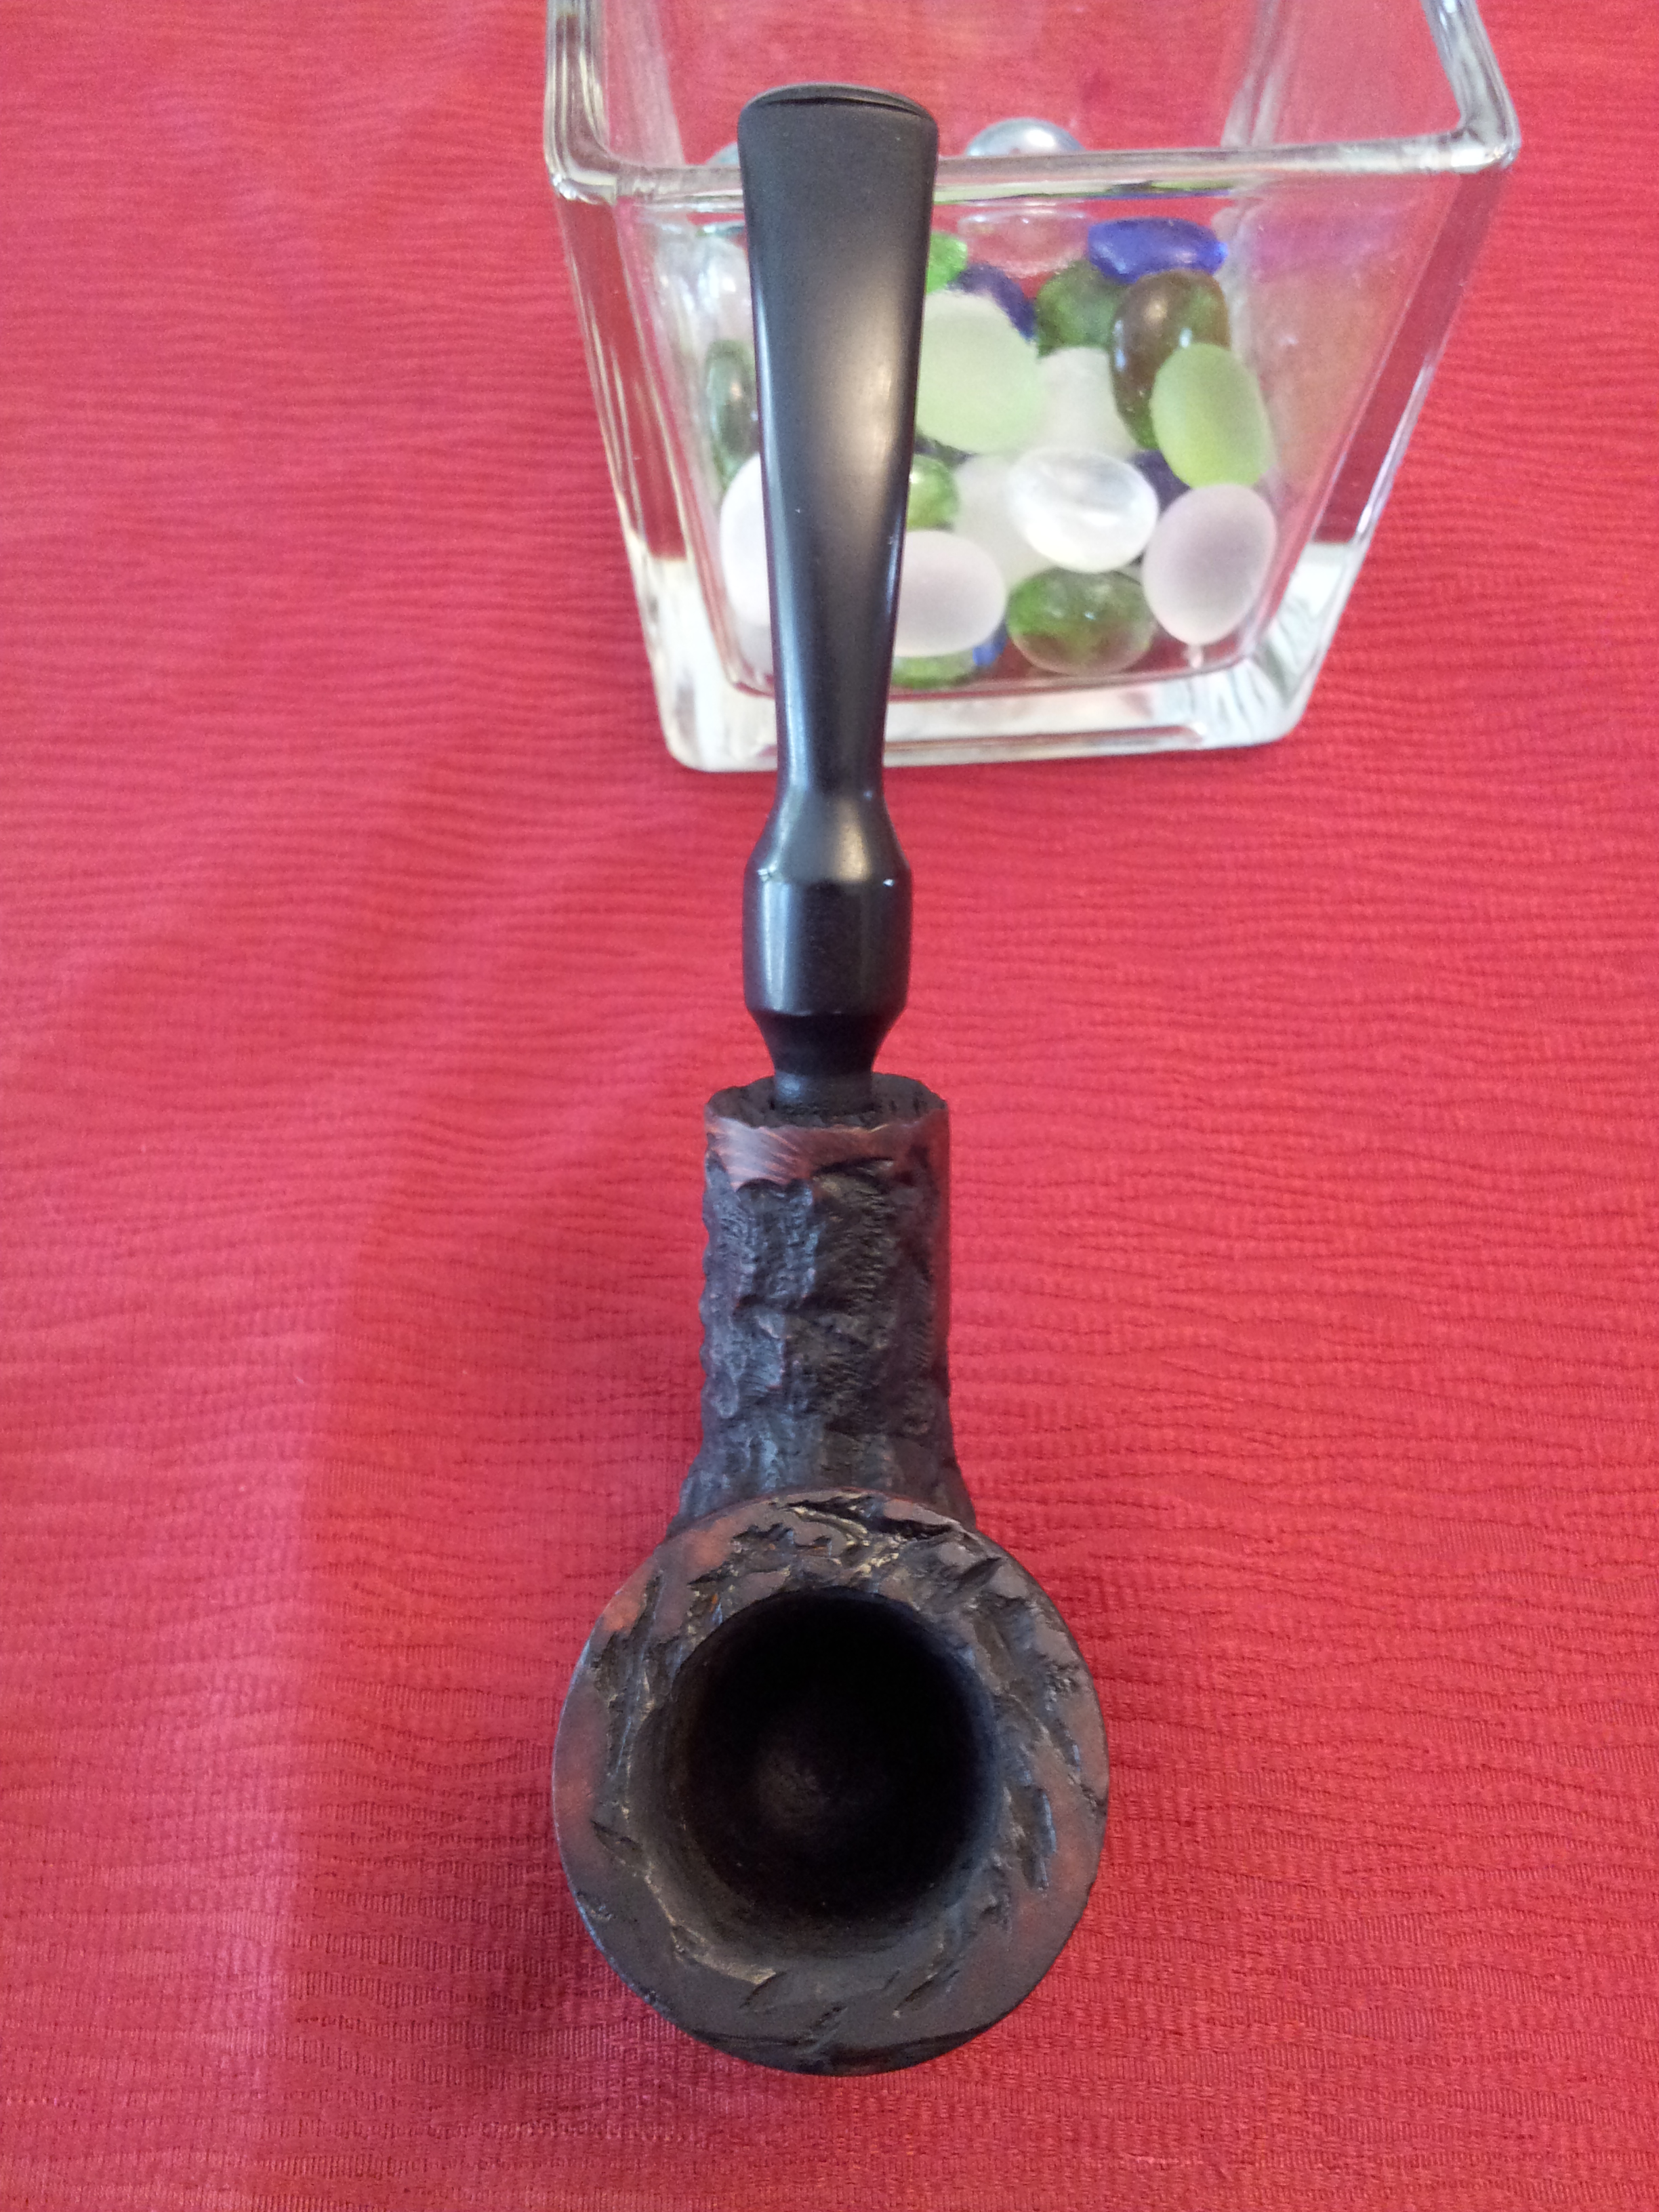
Among the pipes waiting to be refurbished from my last estate purchase was this Trypis bent billiard. Philip Trypis worked for Brigham Pipes in Toronto before going out on his own, and he built himself quite a reputation and following. This is the first Trypis pipe I’ve worked on, but hopefully not the last.
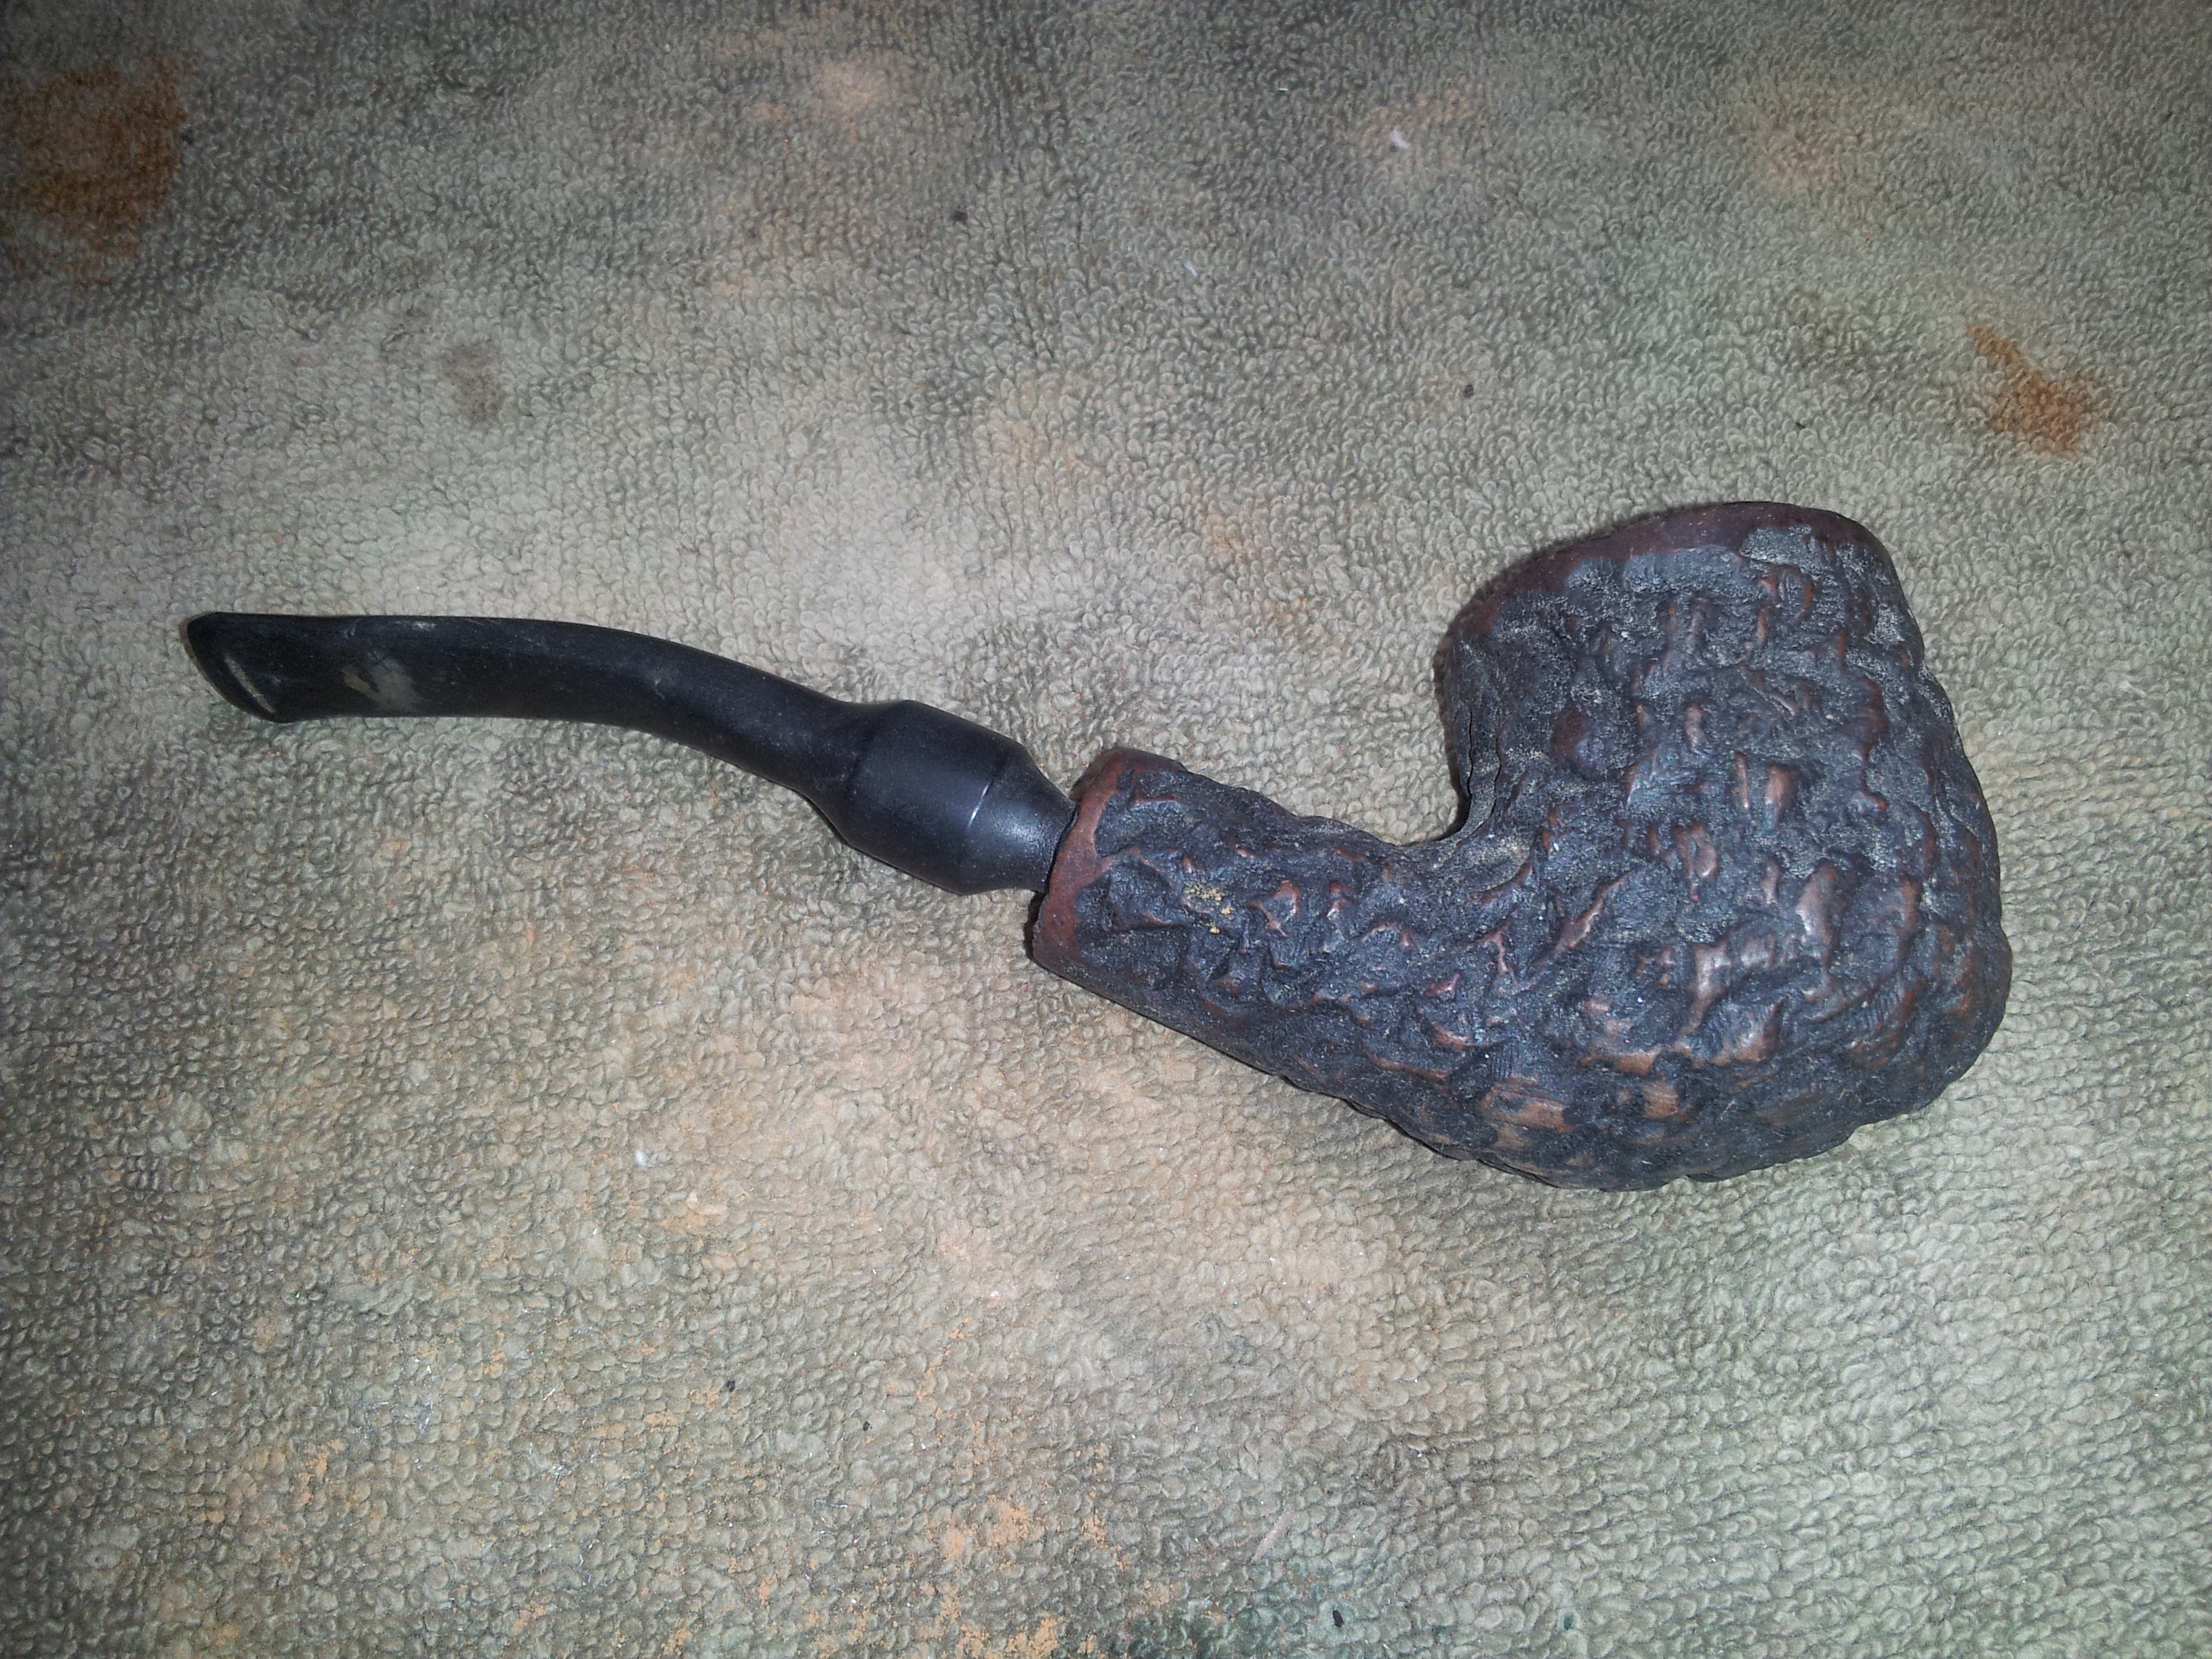
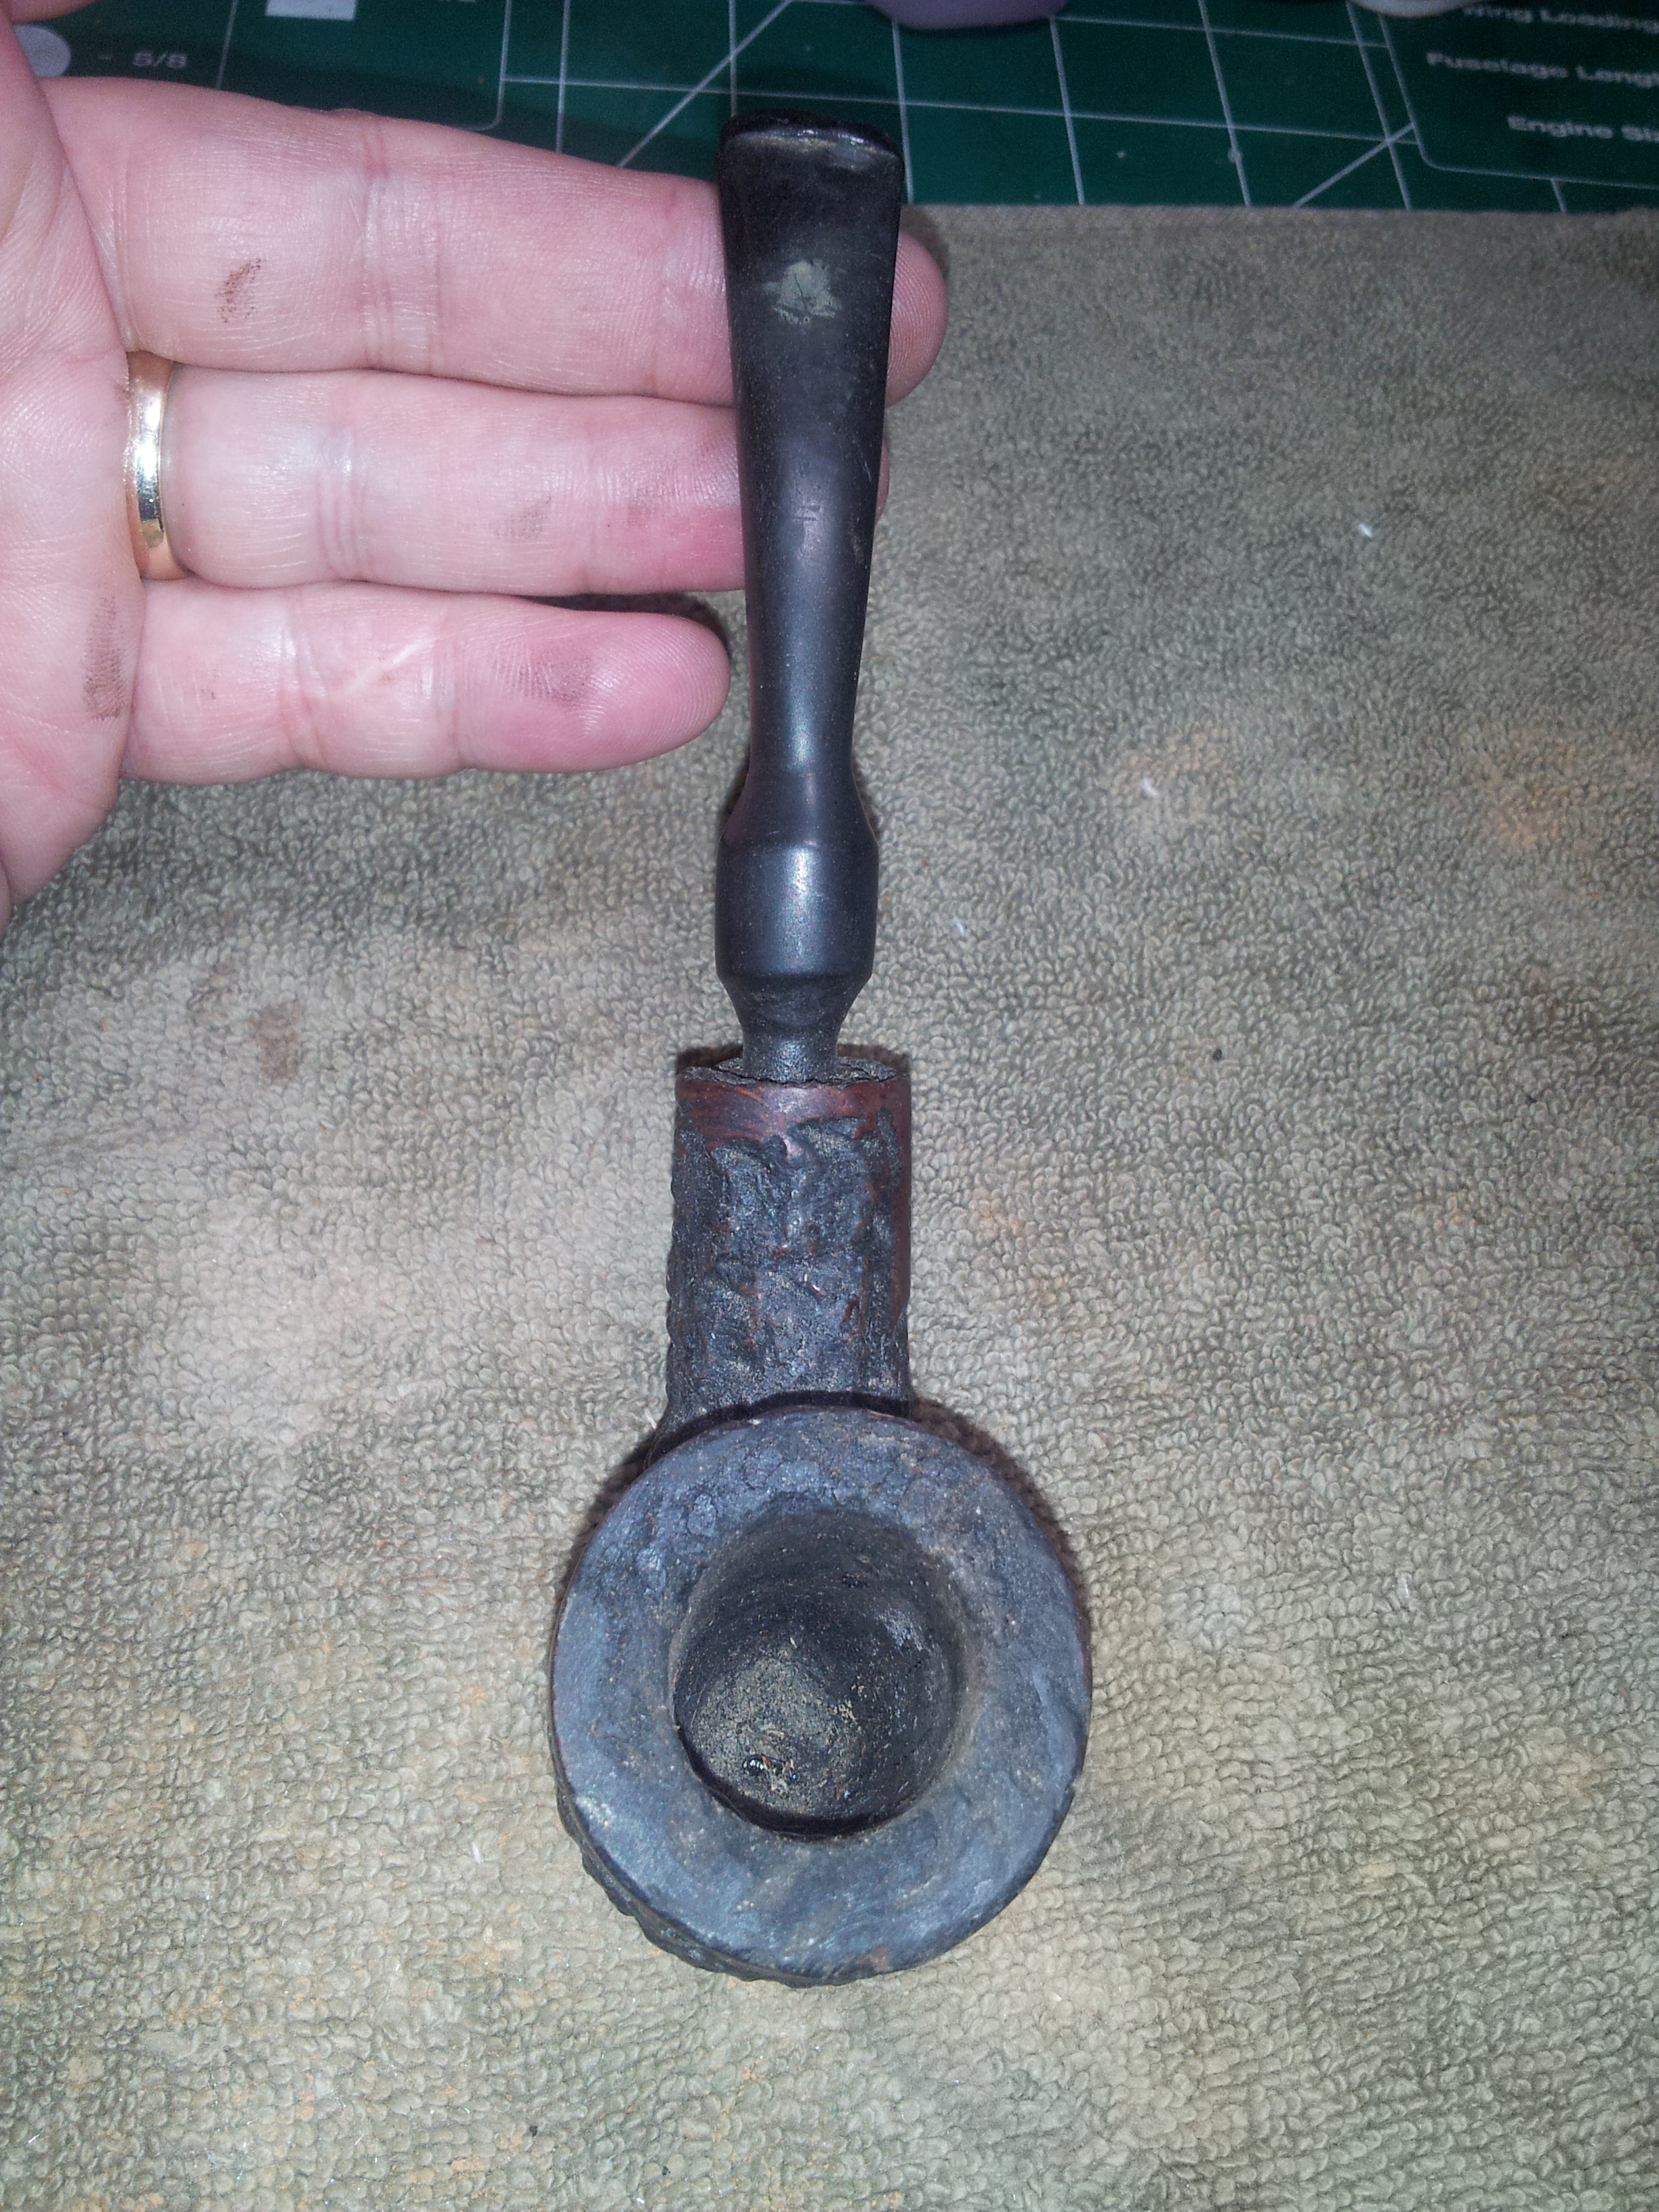
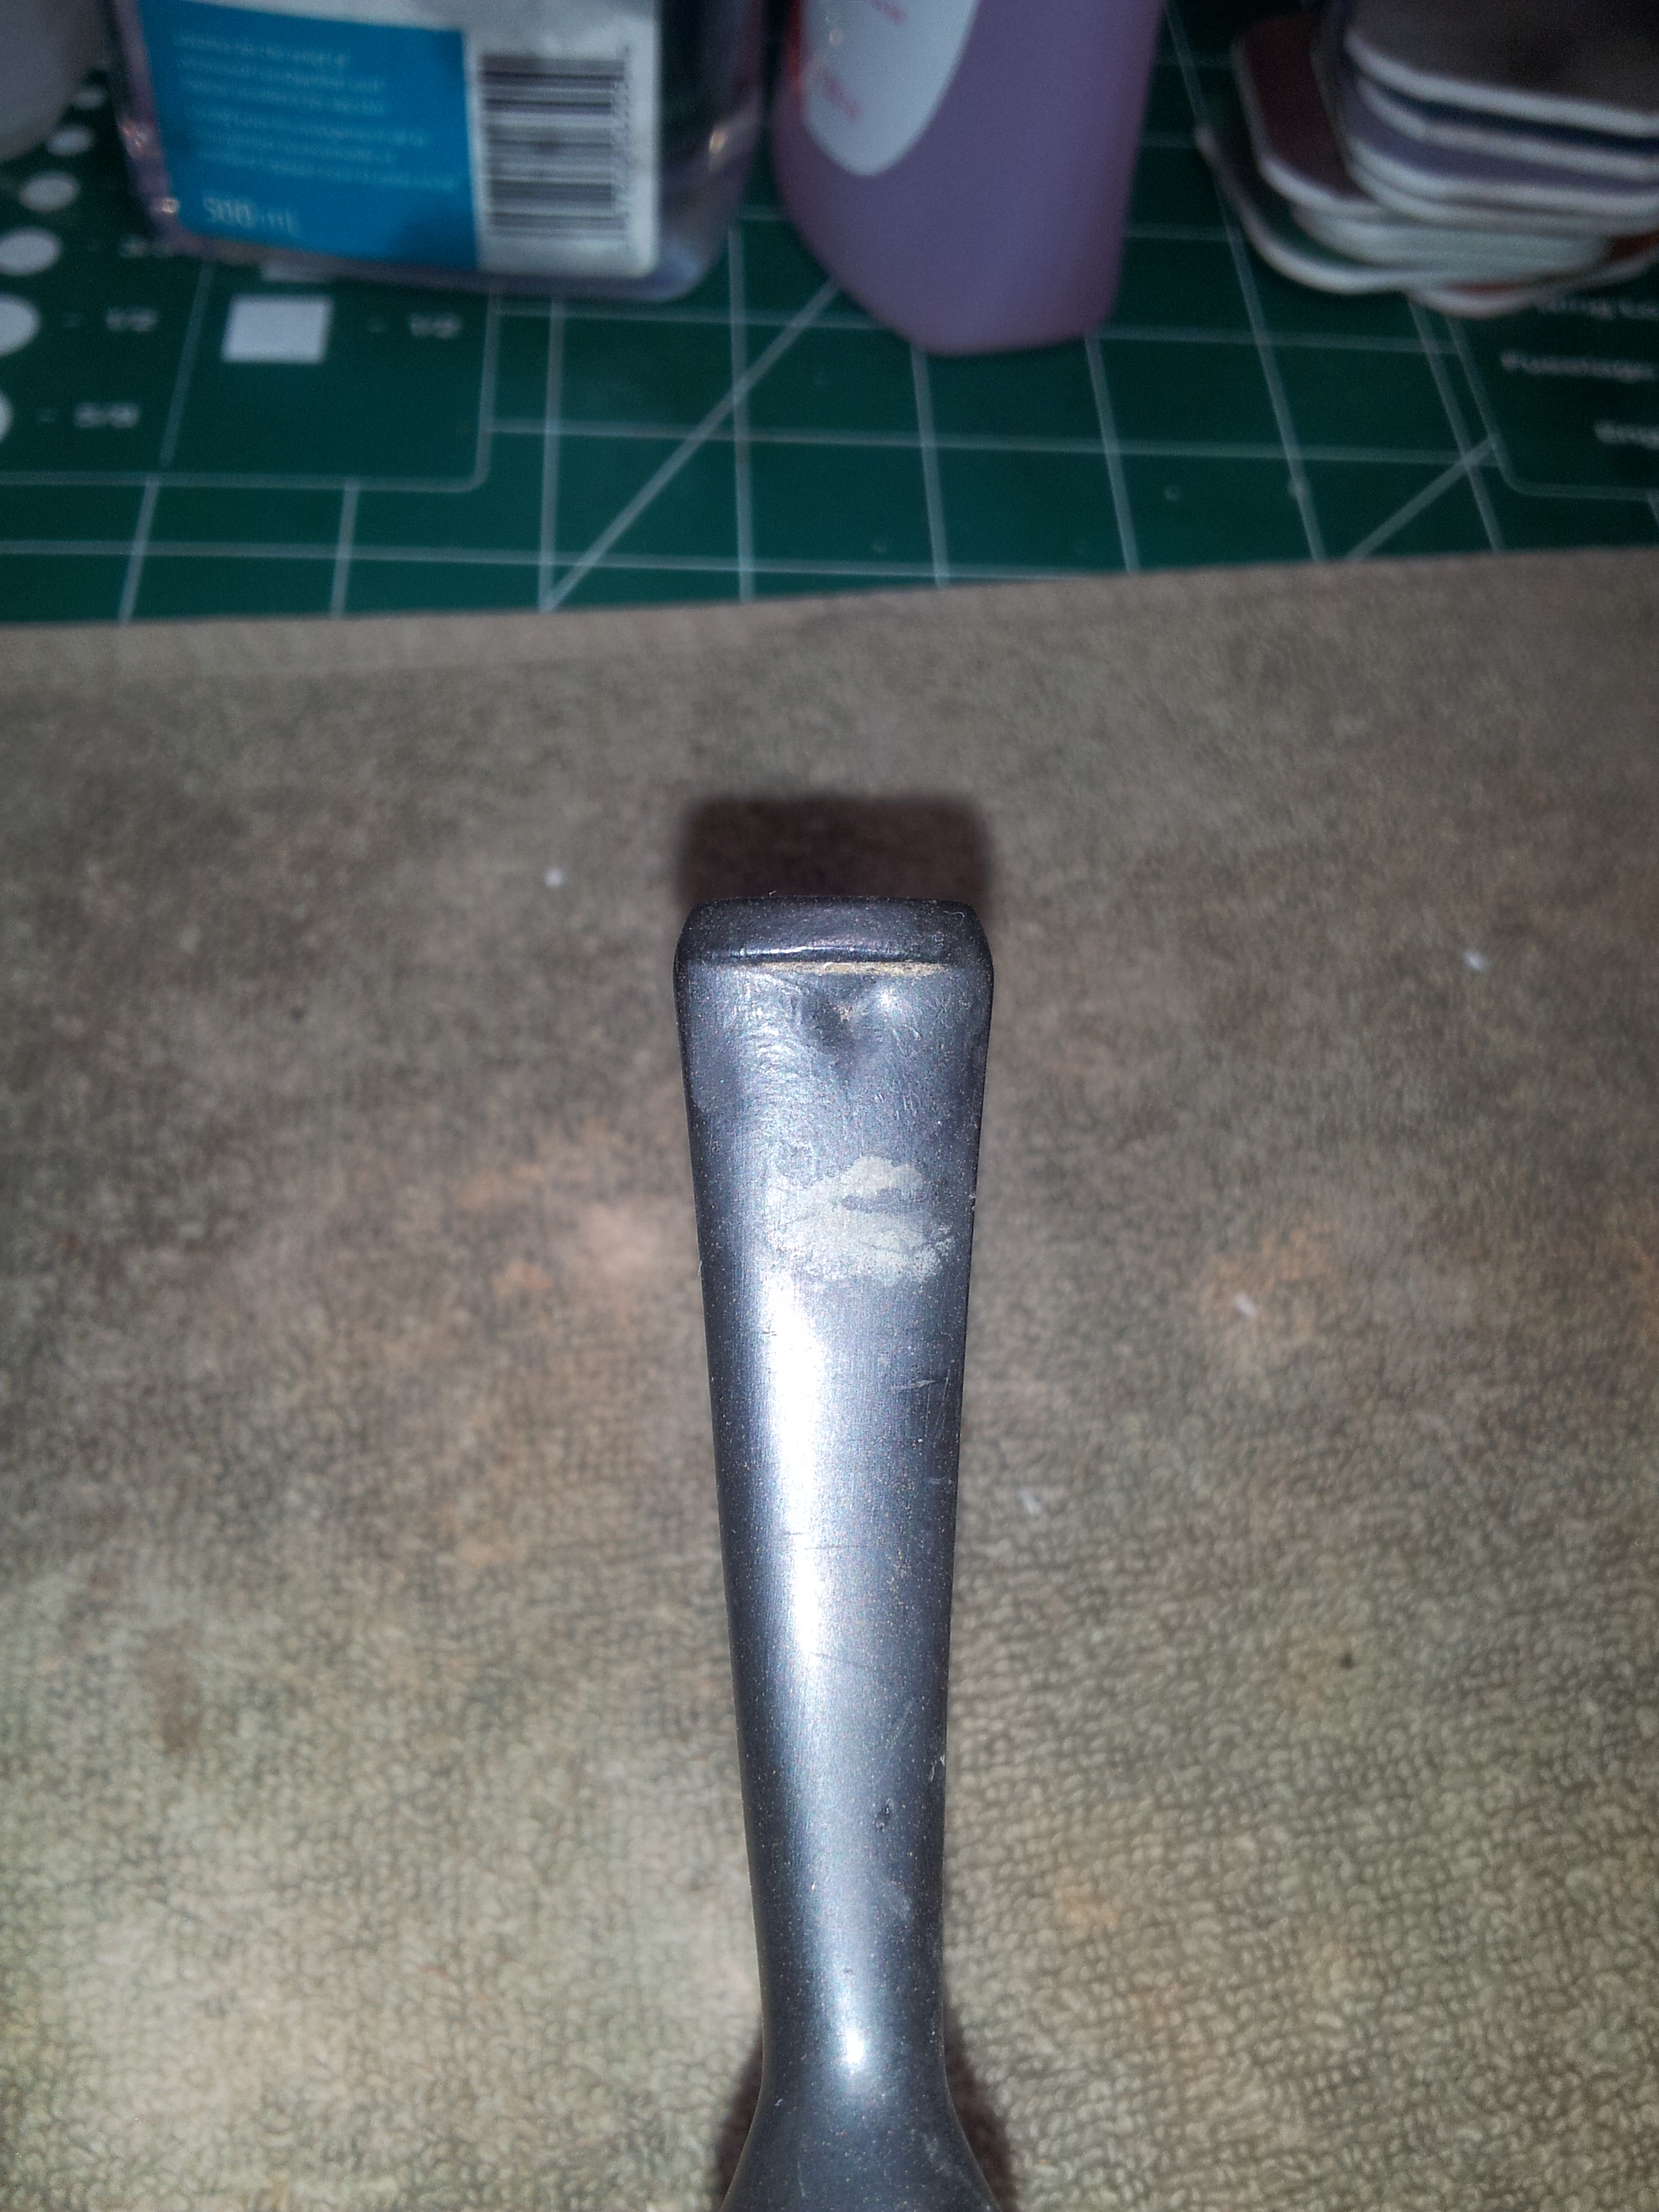
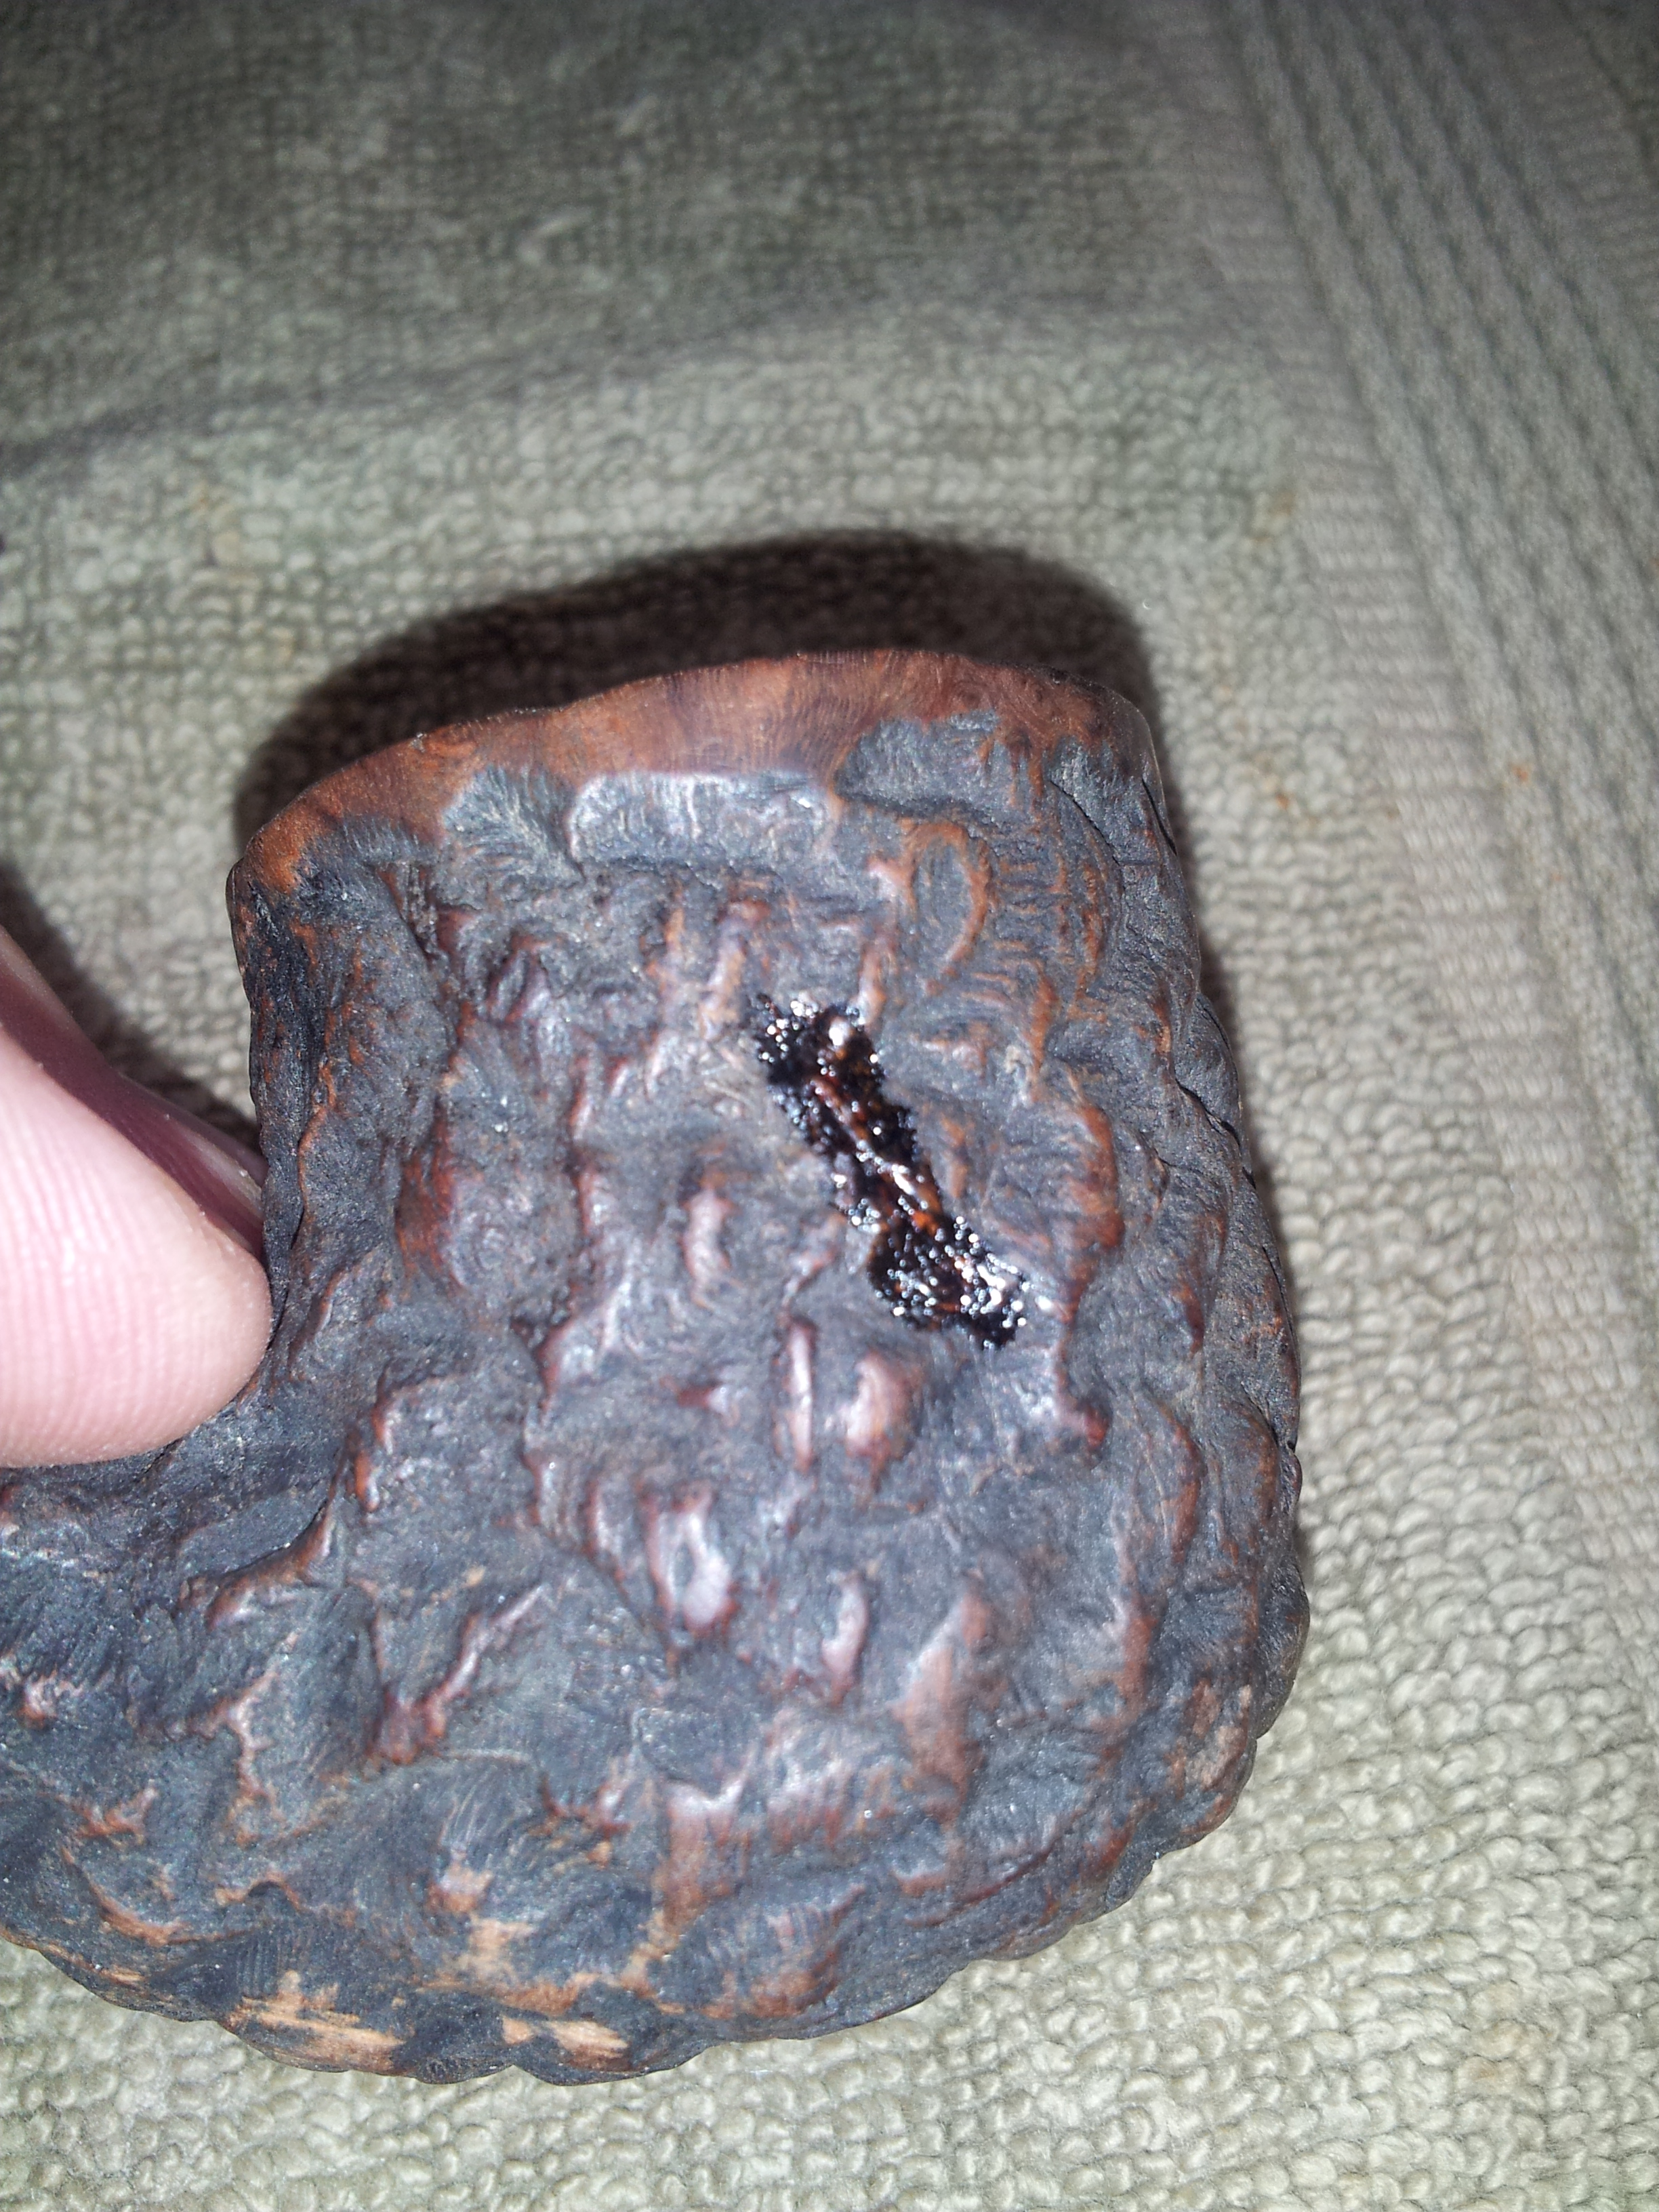
This is a big pipe at just under 6″ in overall length, with the bowl measuring 2″ tall by 1.5″ wide and the chamber 1.5″ tall by 0.8″ in diameter. The stummel is stamped “Trypis” in script, over “Made in Canada” in block letters, over “1C44” (or possibly “1CAA”) The bowl is heavily rusticated in Trypis’ unique style, and was obviously a favourite of the previous owner – the stem had large bite marks (almost bite-throughs) on top and bottom, and the rim was fairly heavily tarred – enough to smooth out the deep rustication on the rare lip of the bowl. I had thought initially that this would be an easy clean-up, but I was soon to be proven wrong….
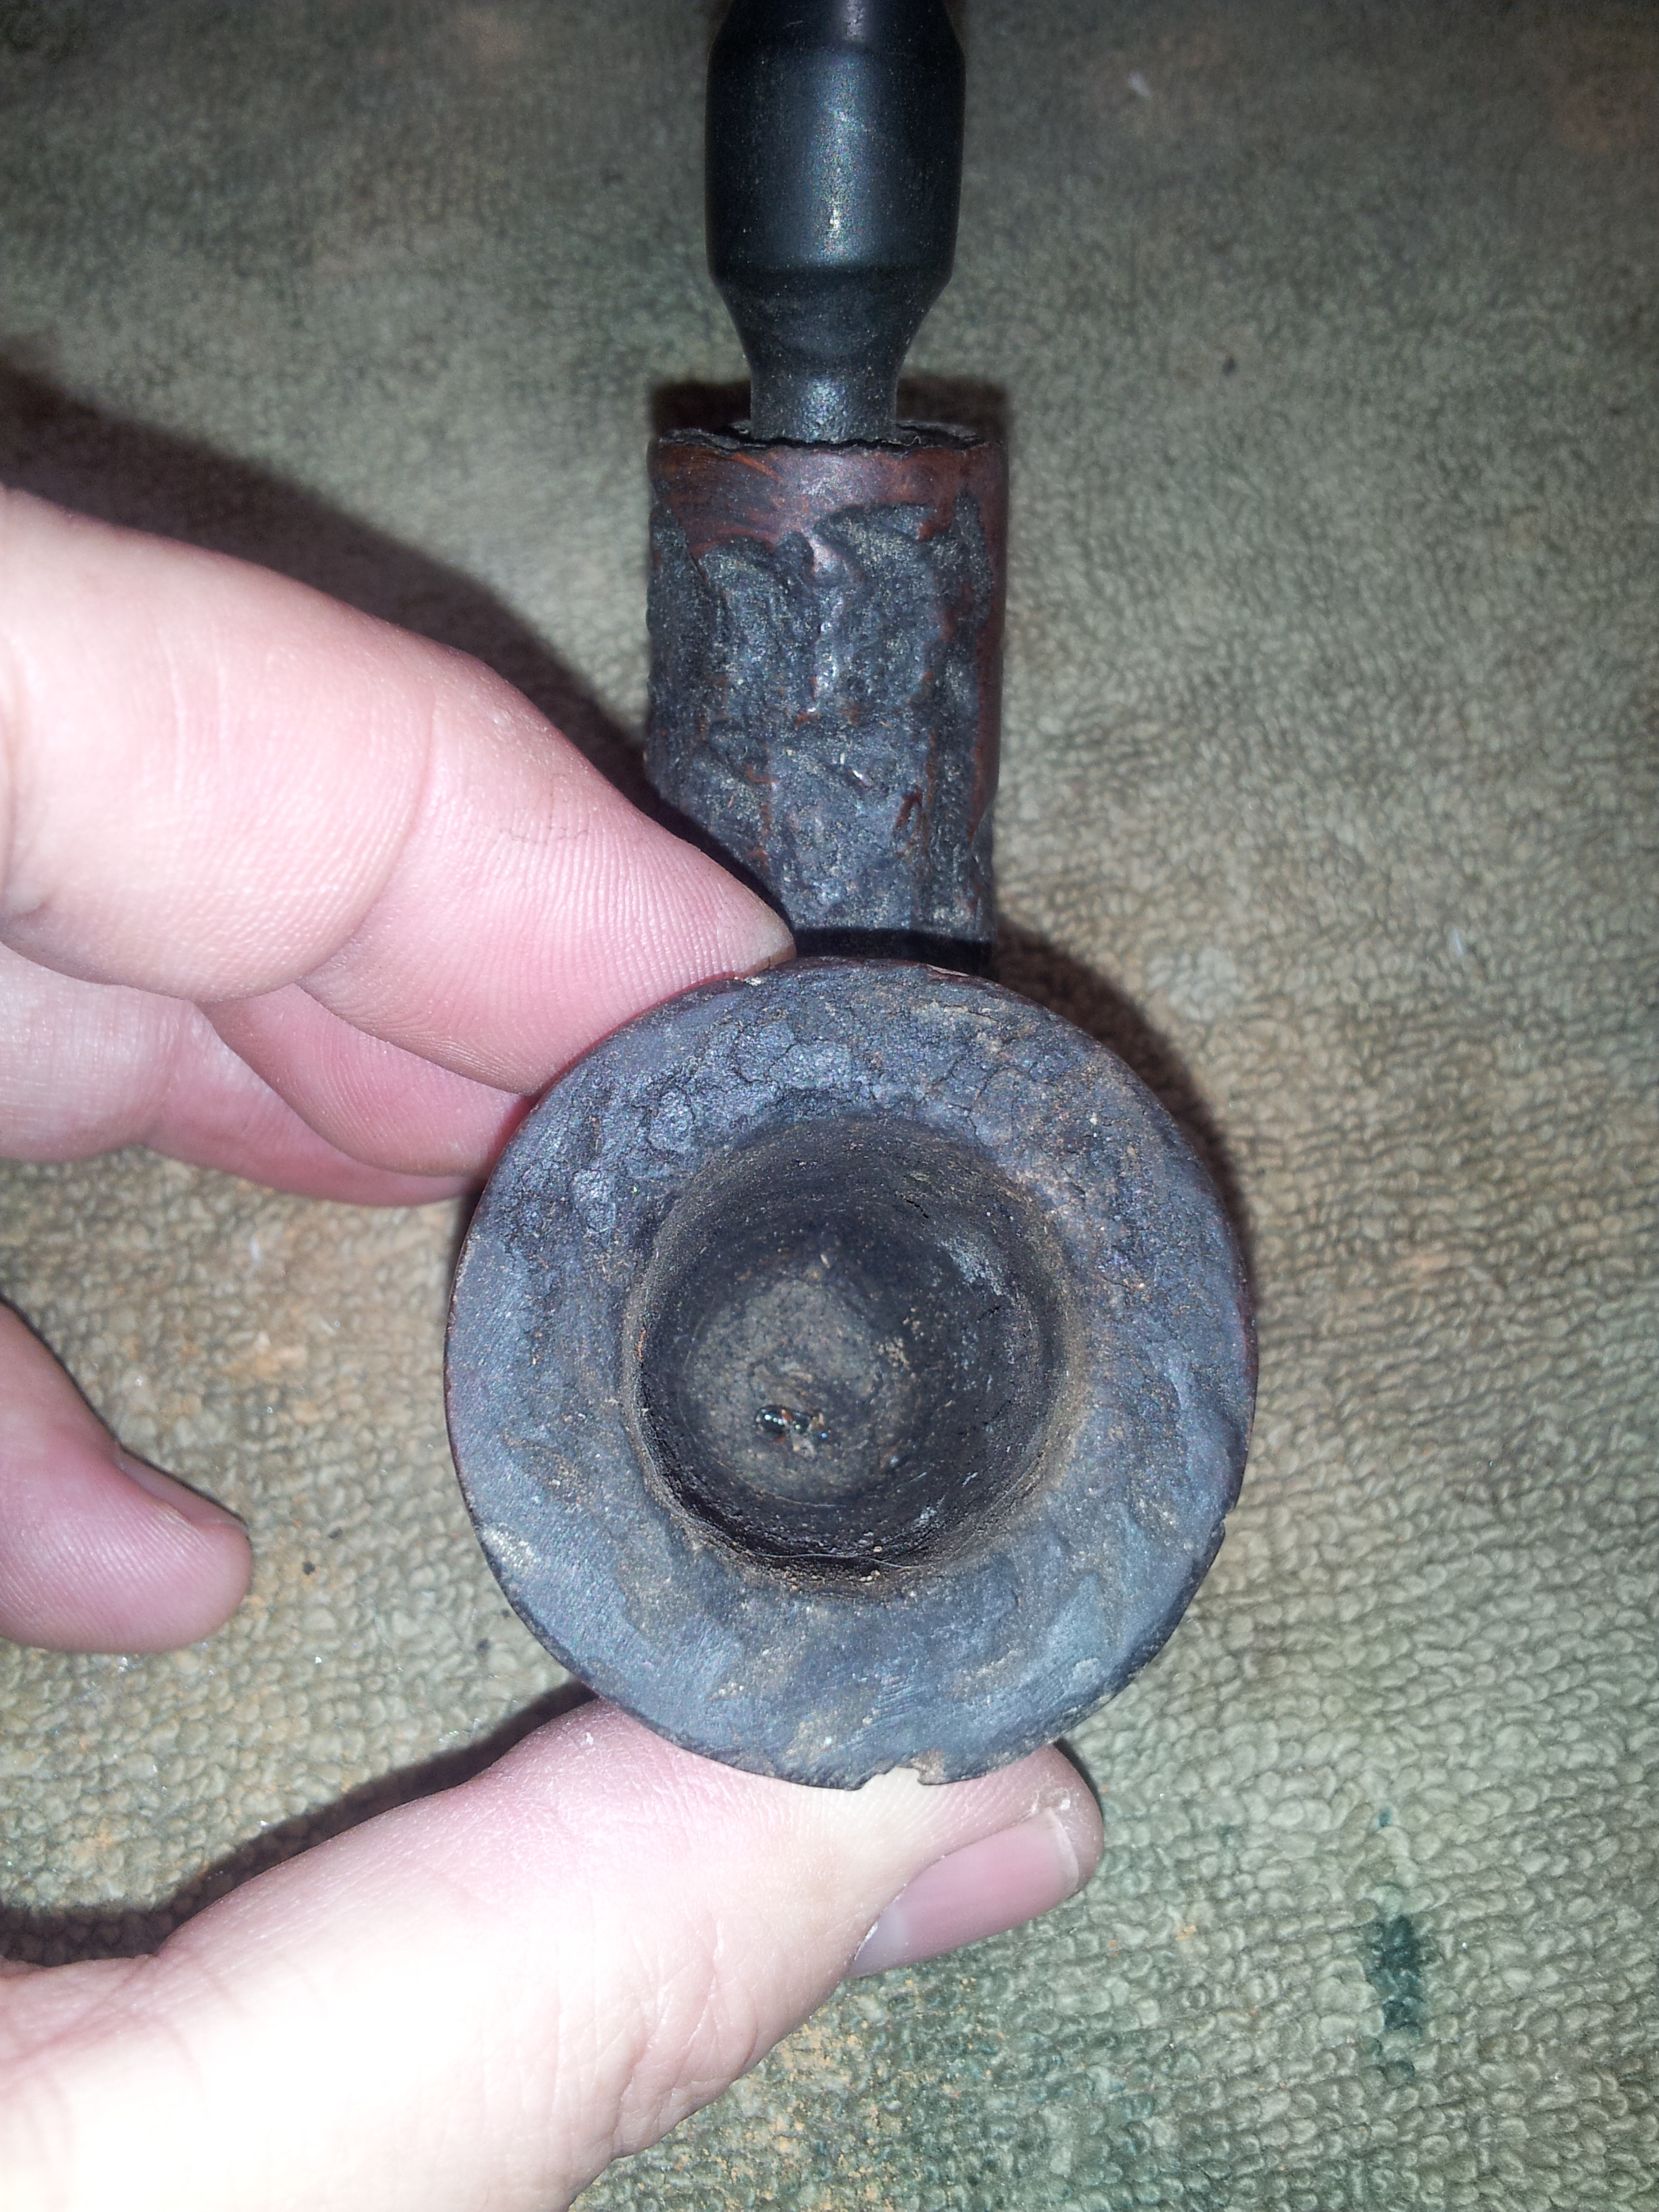
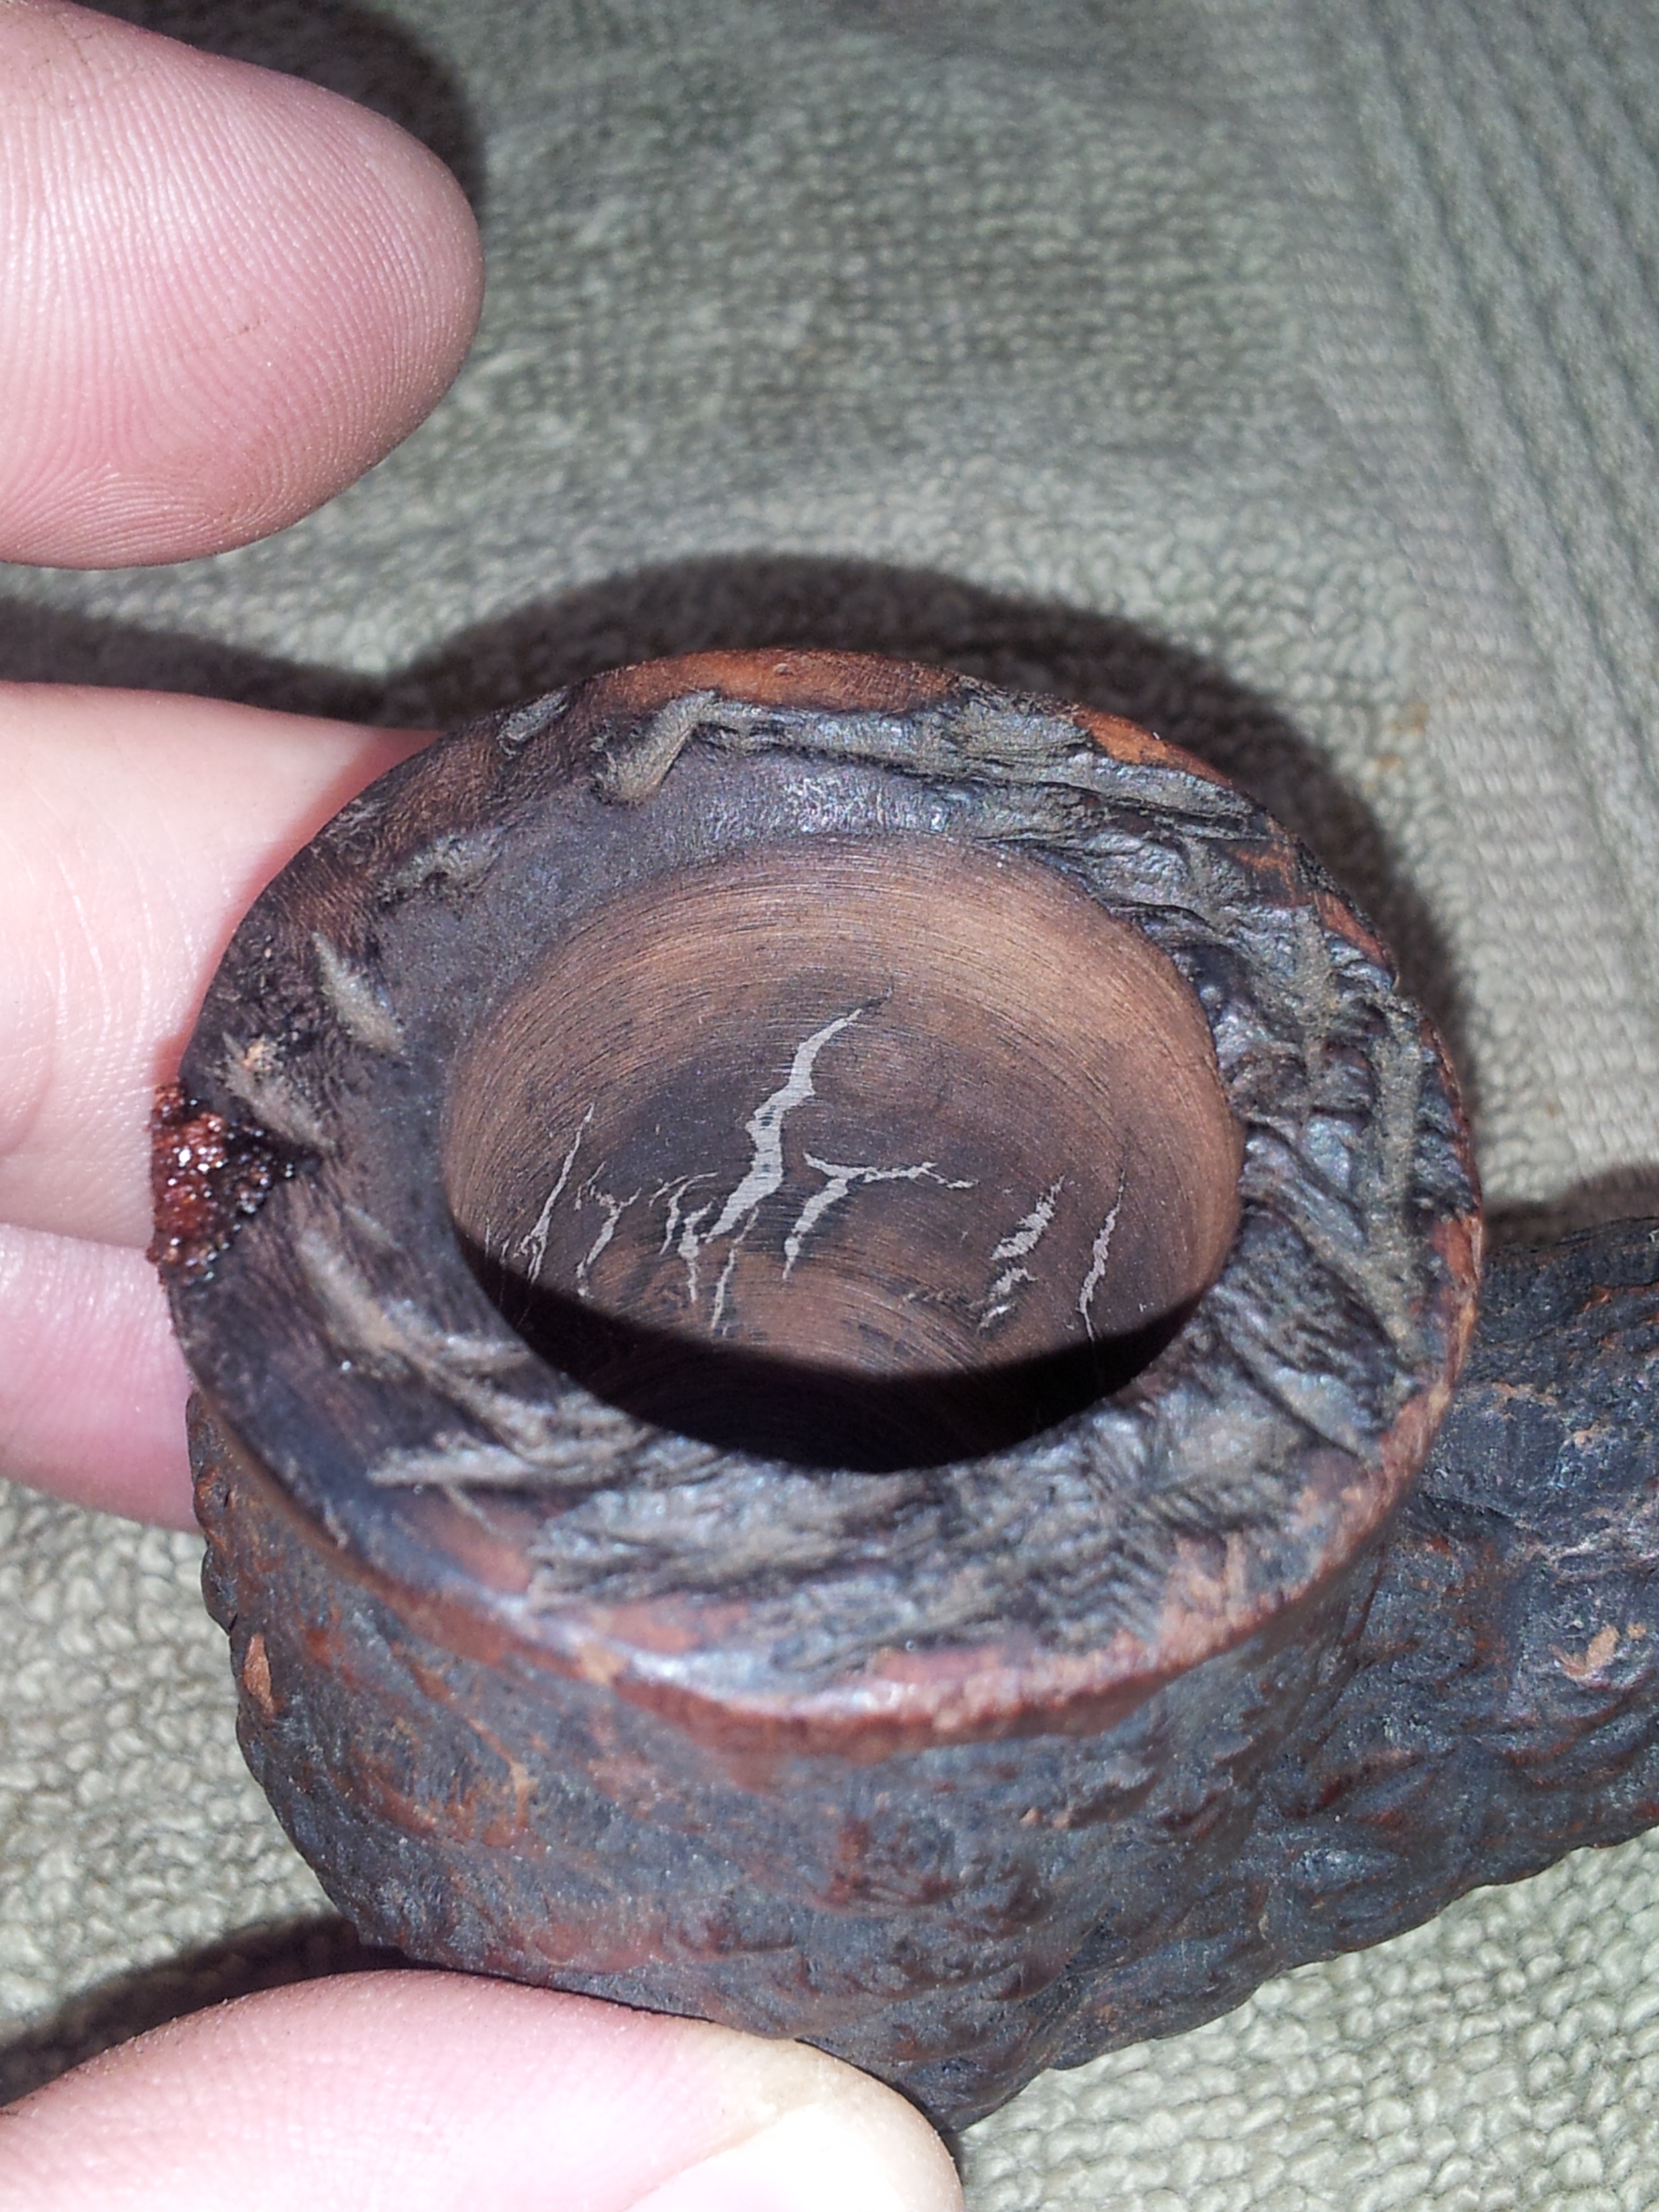
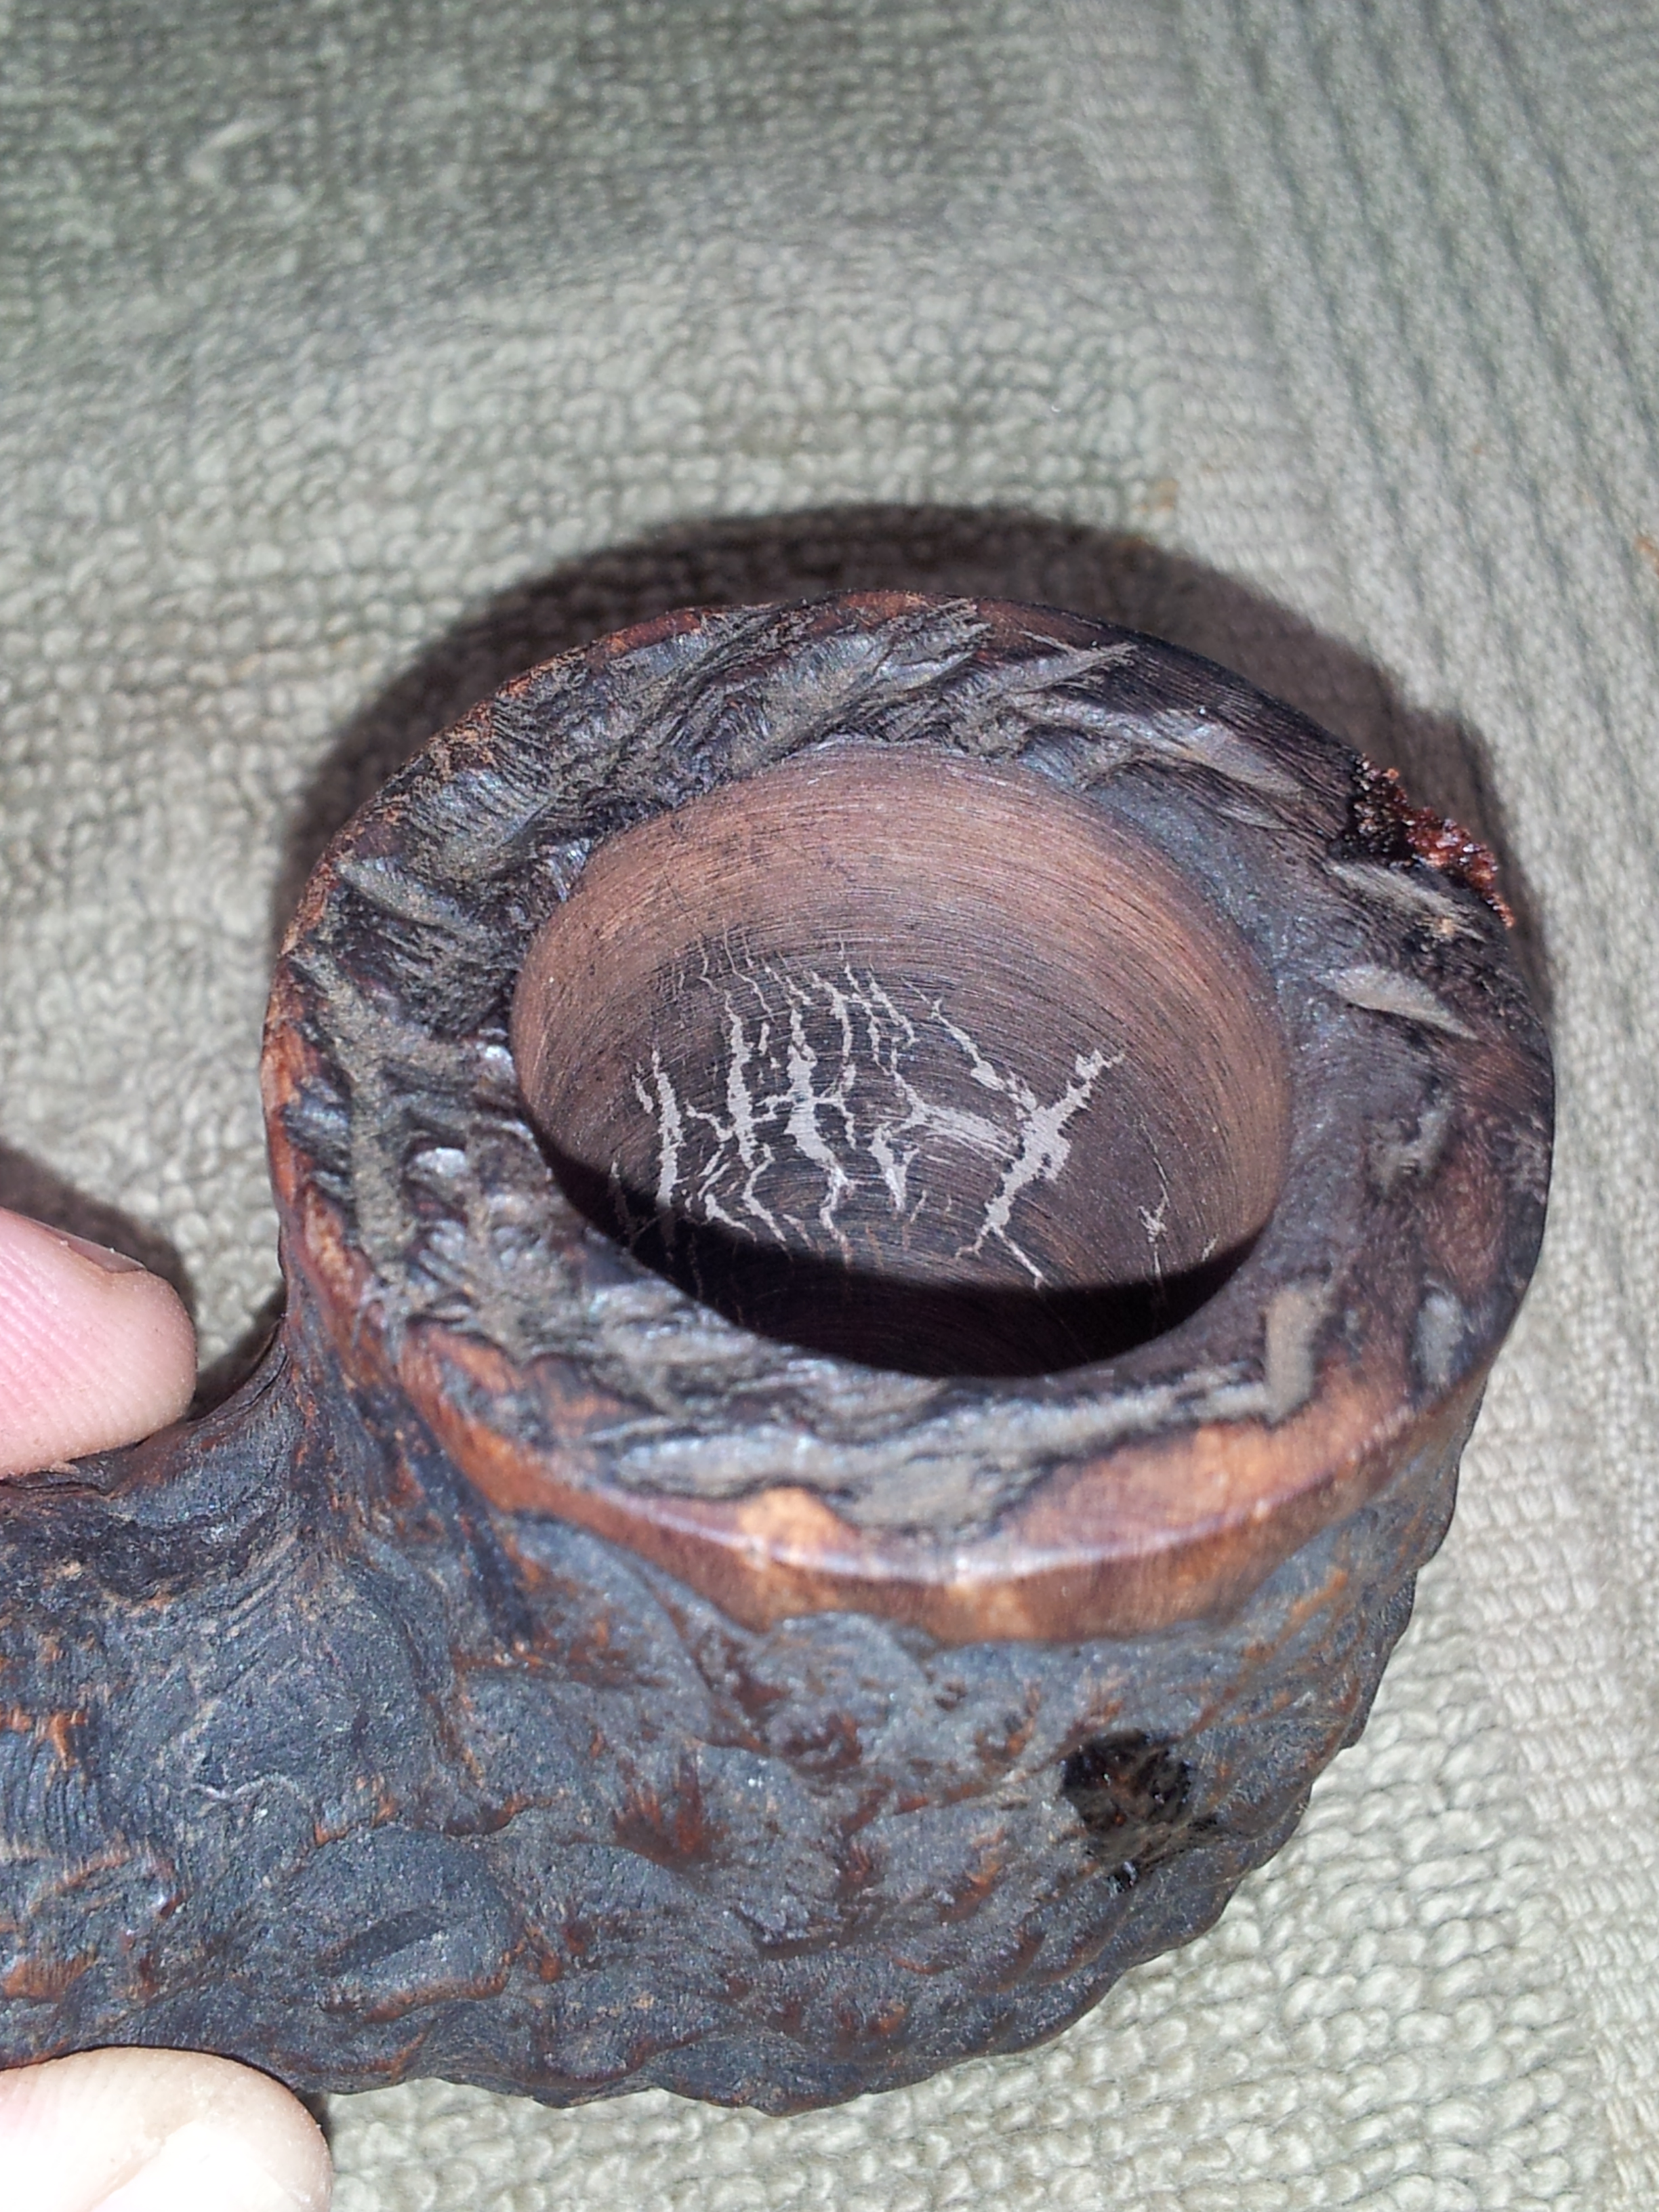
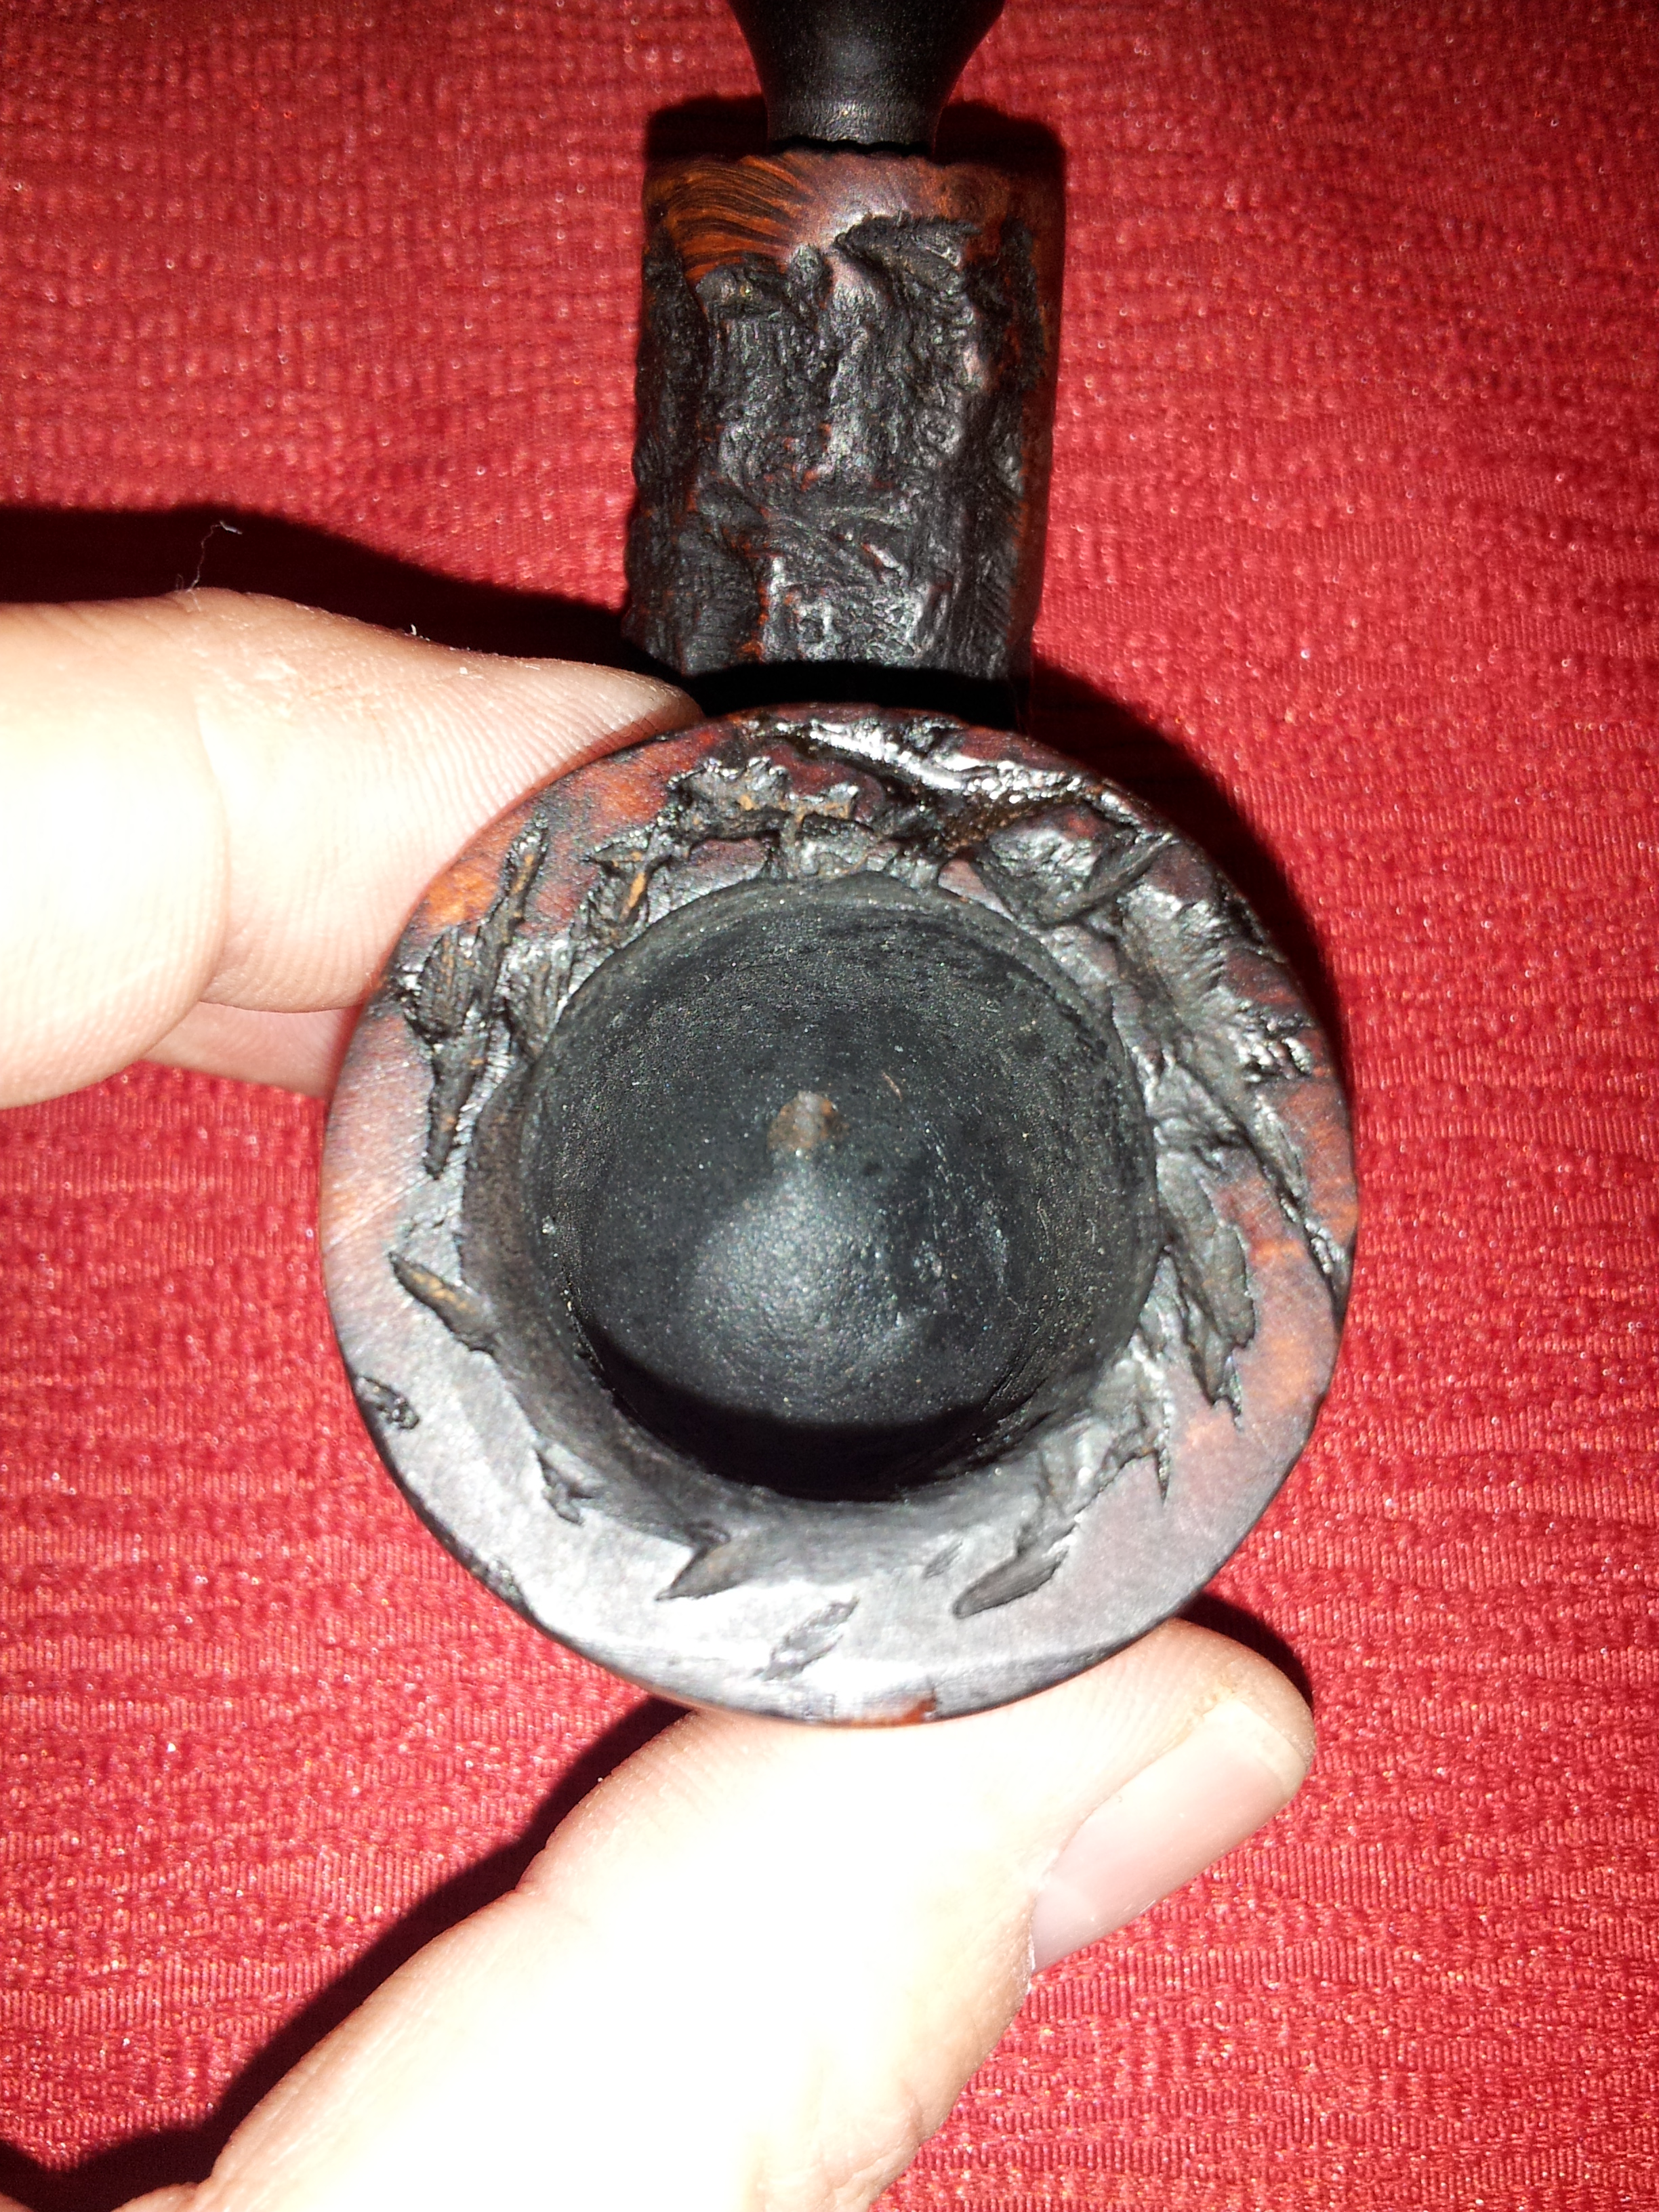
I started the cleanup by reaming the bowl back to briar. As I did so, a network of heat cracks began appearing through the cake. My fears were soon confirmed – when the last of the cake was removed, the cracks remained. These would have to be repaired before this warhorse of a pipe could be used again.
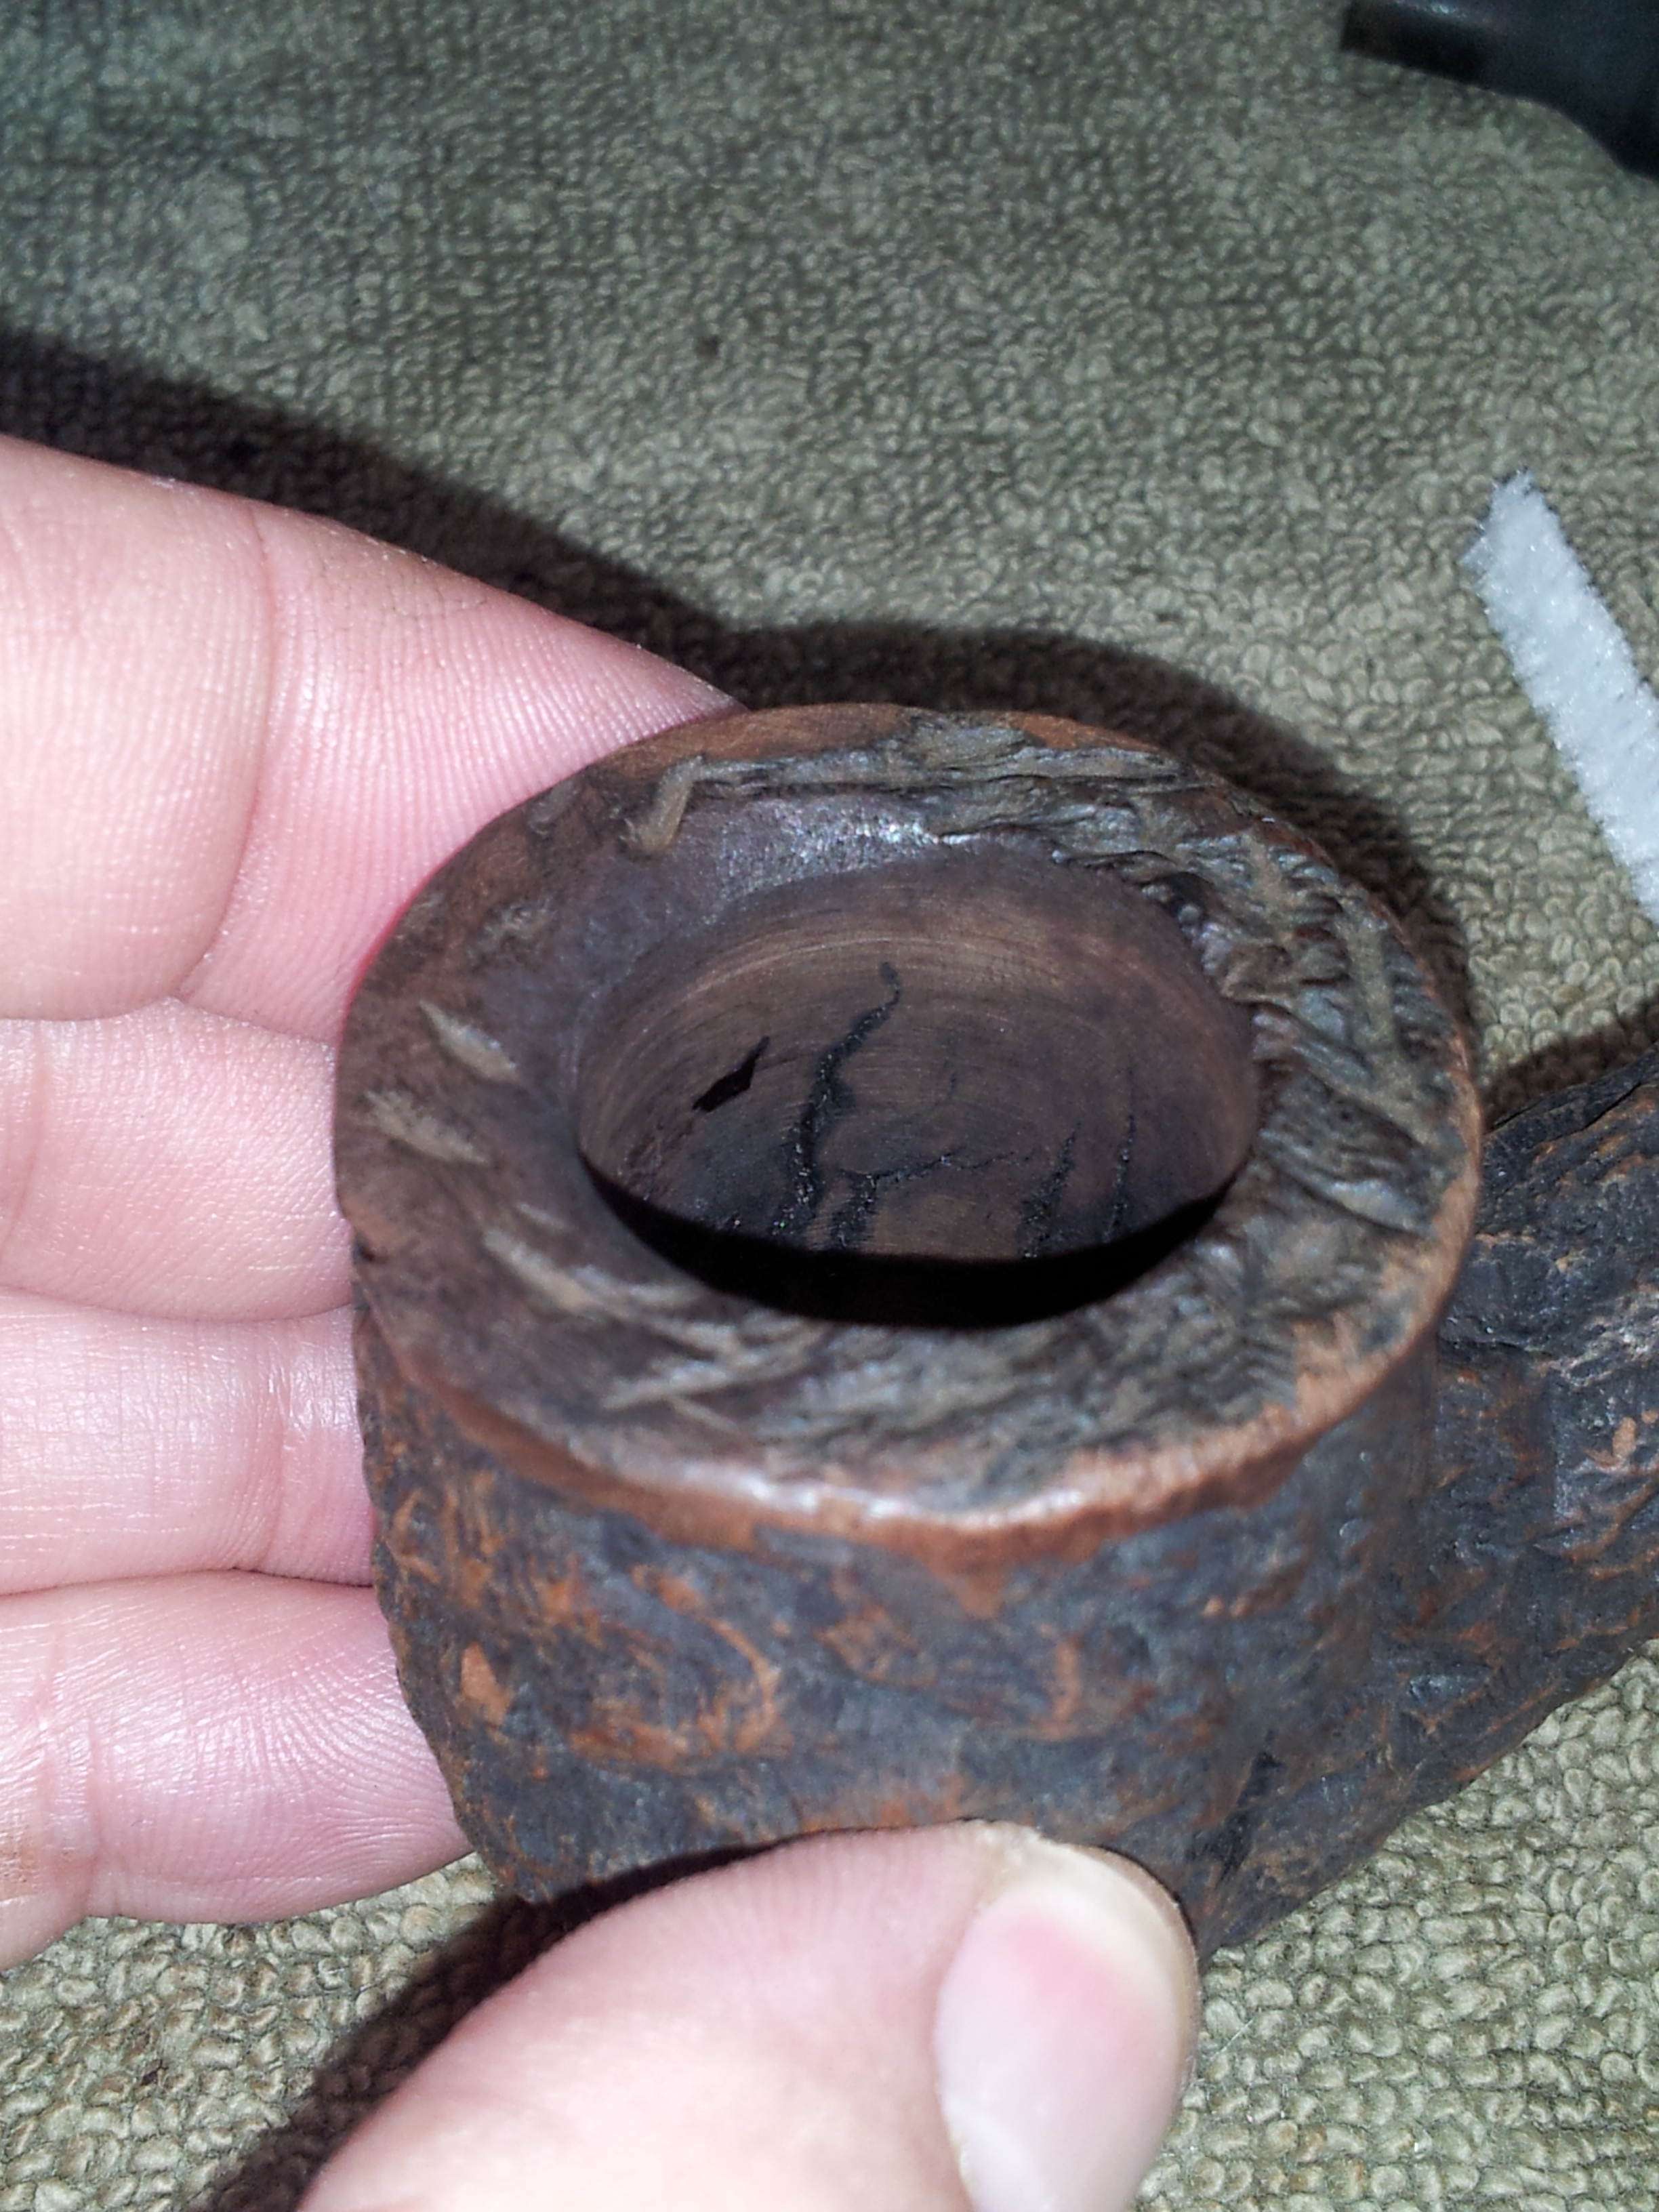
I like to work on clean pipes, so the stummel went into an alcohol bath while the stem enjoyed a similar soak in warm water and Oxyclean. When the briar came out of the bath about an hour later, it got a scrub with Murphy’s Oil Soap and an old toothbrush to remove any leftover gunk hiding in the crags of the rustication. With the stummel slightly wet, the bowl cracks show up a bit better.
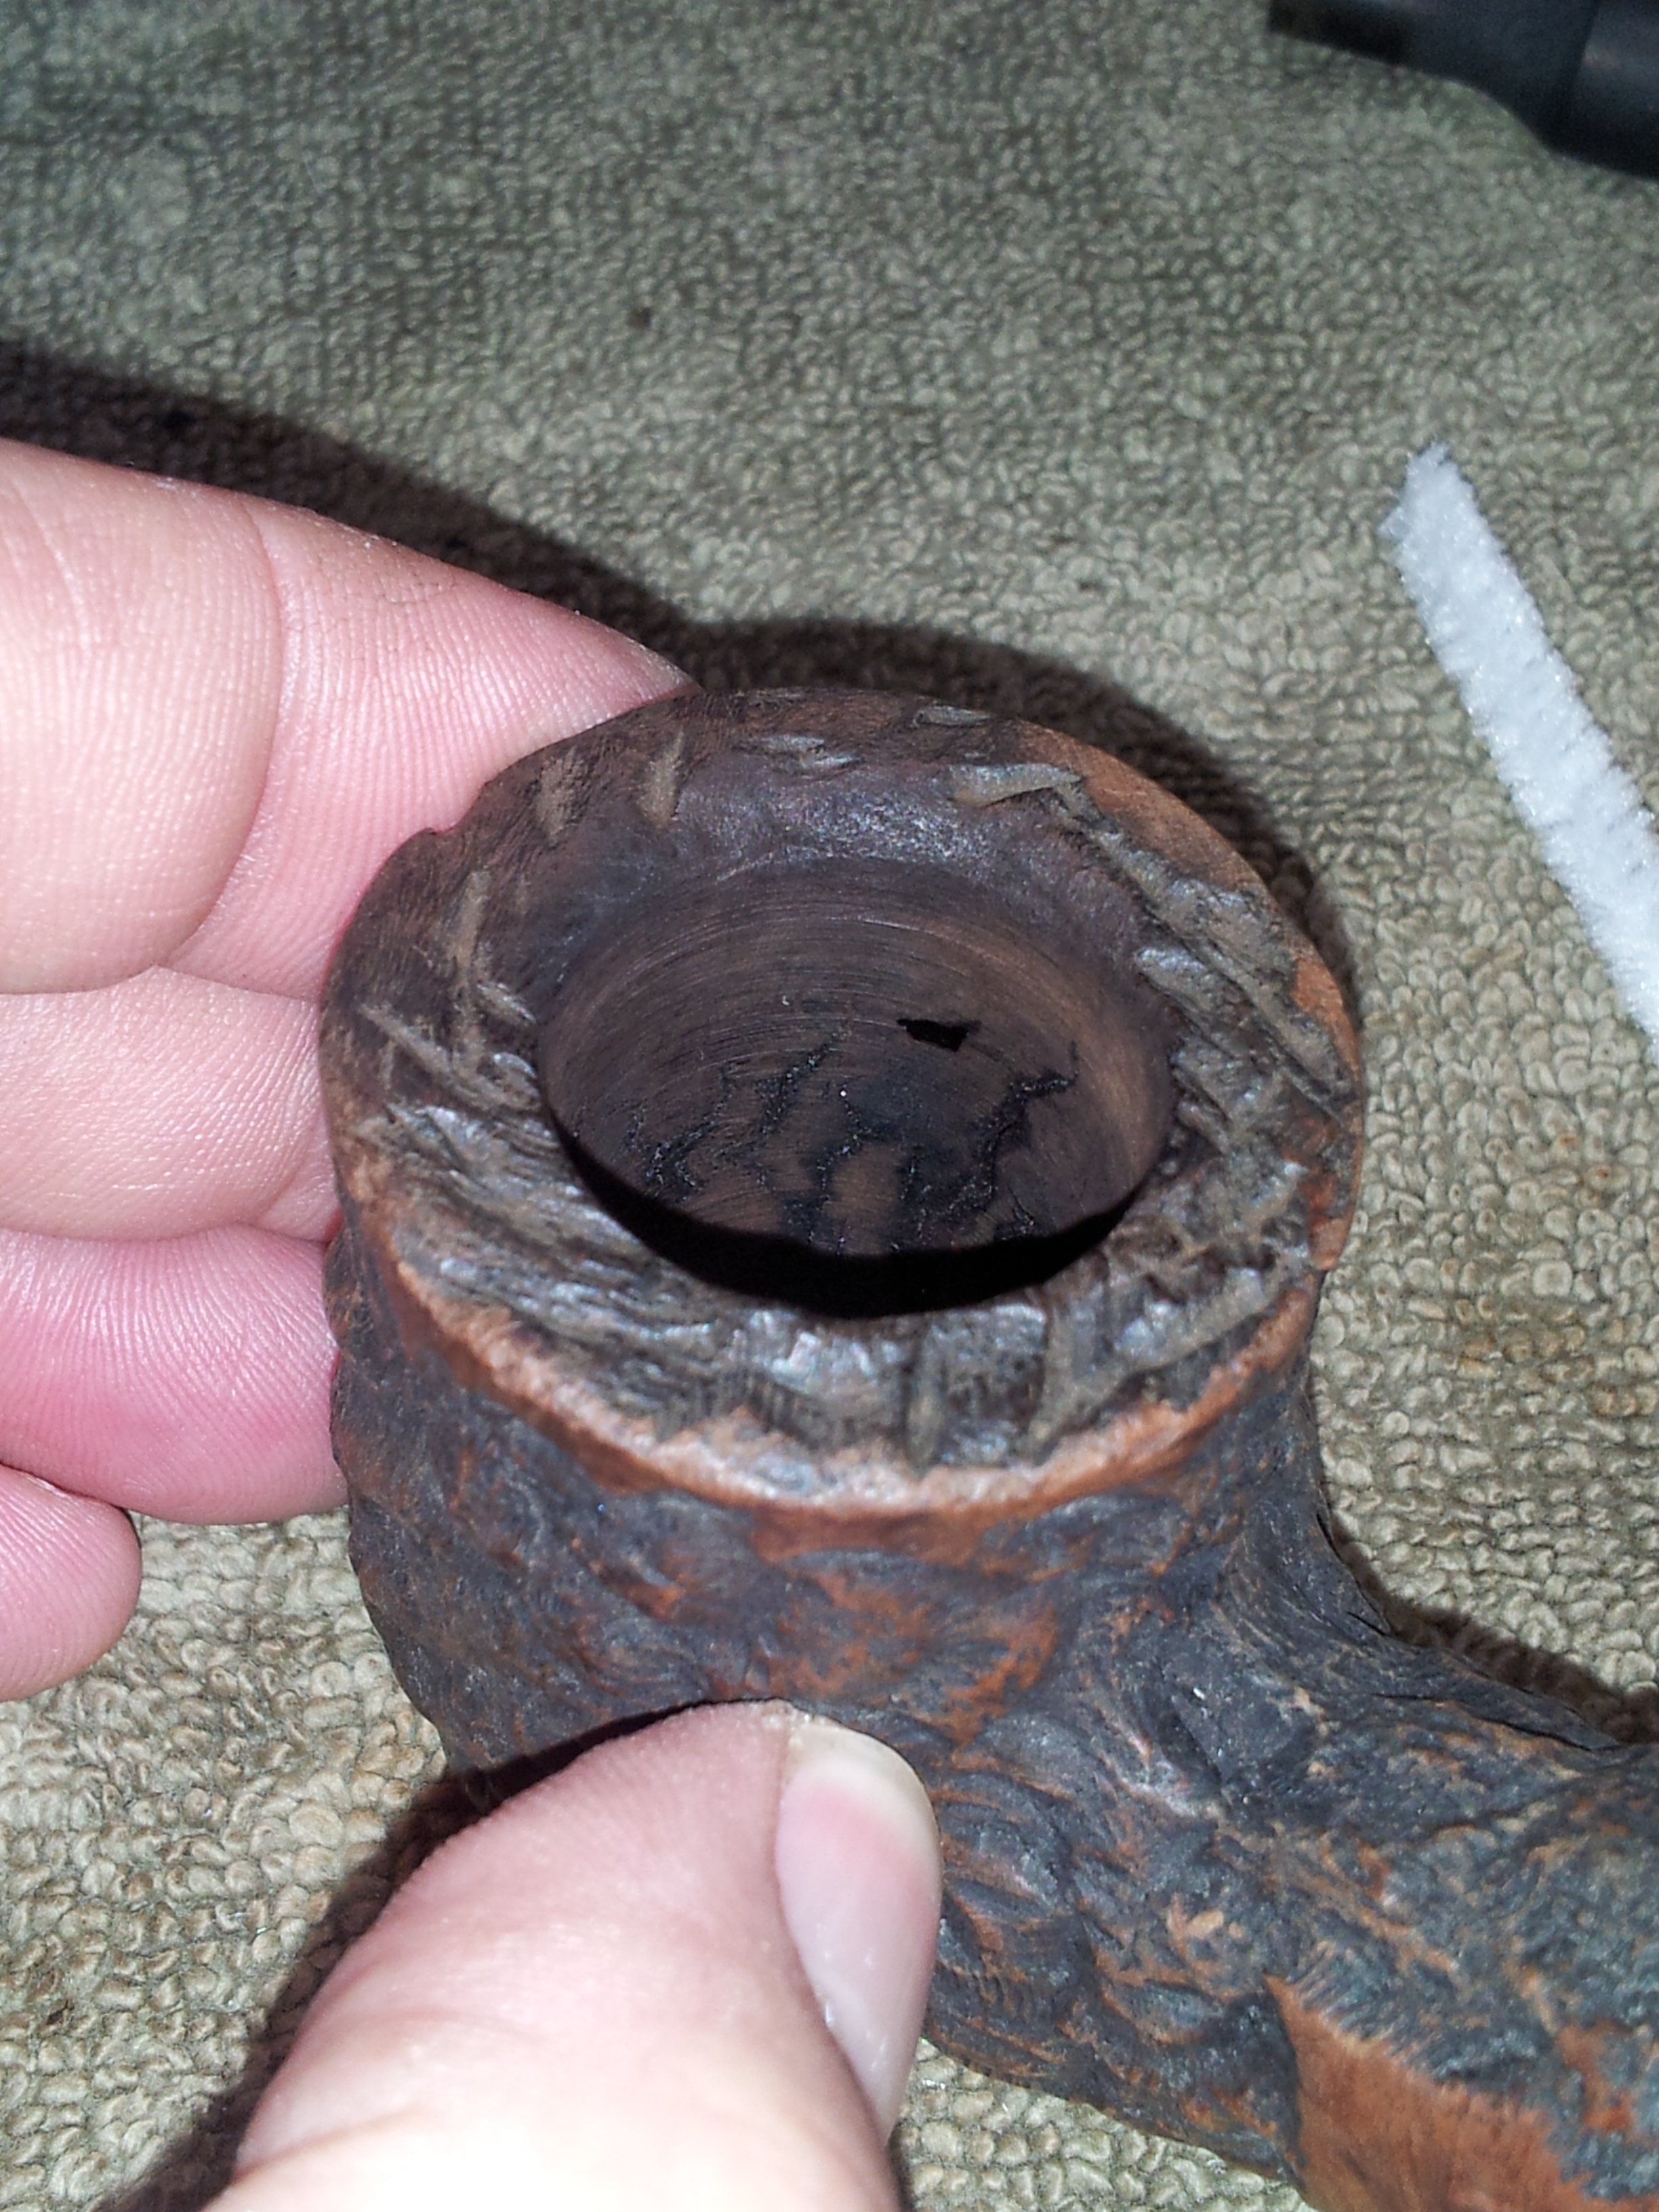
I cleaned the stummel’s airway with alcohol and pipe cleaners before preparing to fill the bowl cracks. For this job I mixed up a small batch of JB-Kwik, the fast-setting variety of JB-Weld. I used the shaft of a long q-tip to spread the JB evenly around the sides of the bowl, pressing it firmly into the cracks. It dries in 15 minutes or so, and cures in just a few hours. When it was ready, I sanded the chamber walls back to bare briar using the same dowel and 100-grit sandpaper I use for reaming cake. This removed the excess JB from the chamber walls, while leaving it in the cracks. These chamber walls are once again solid.
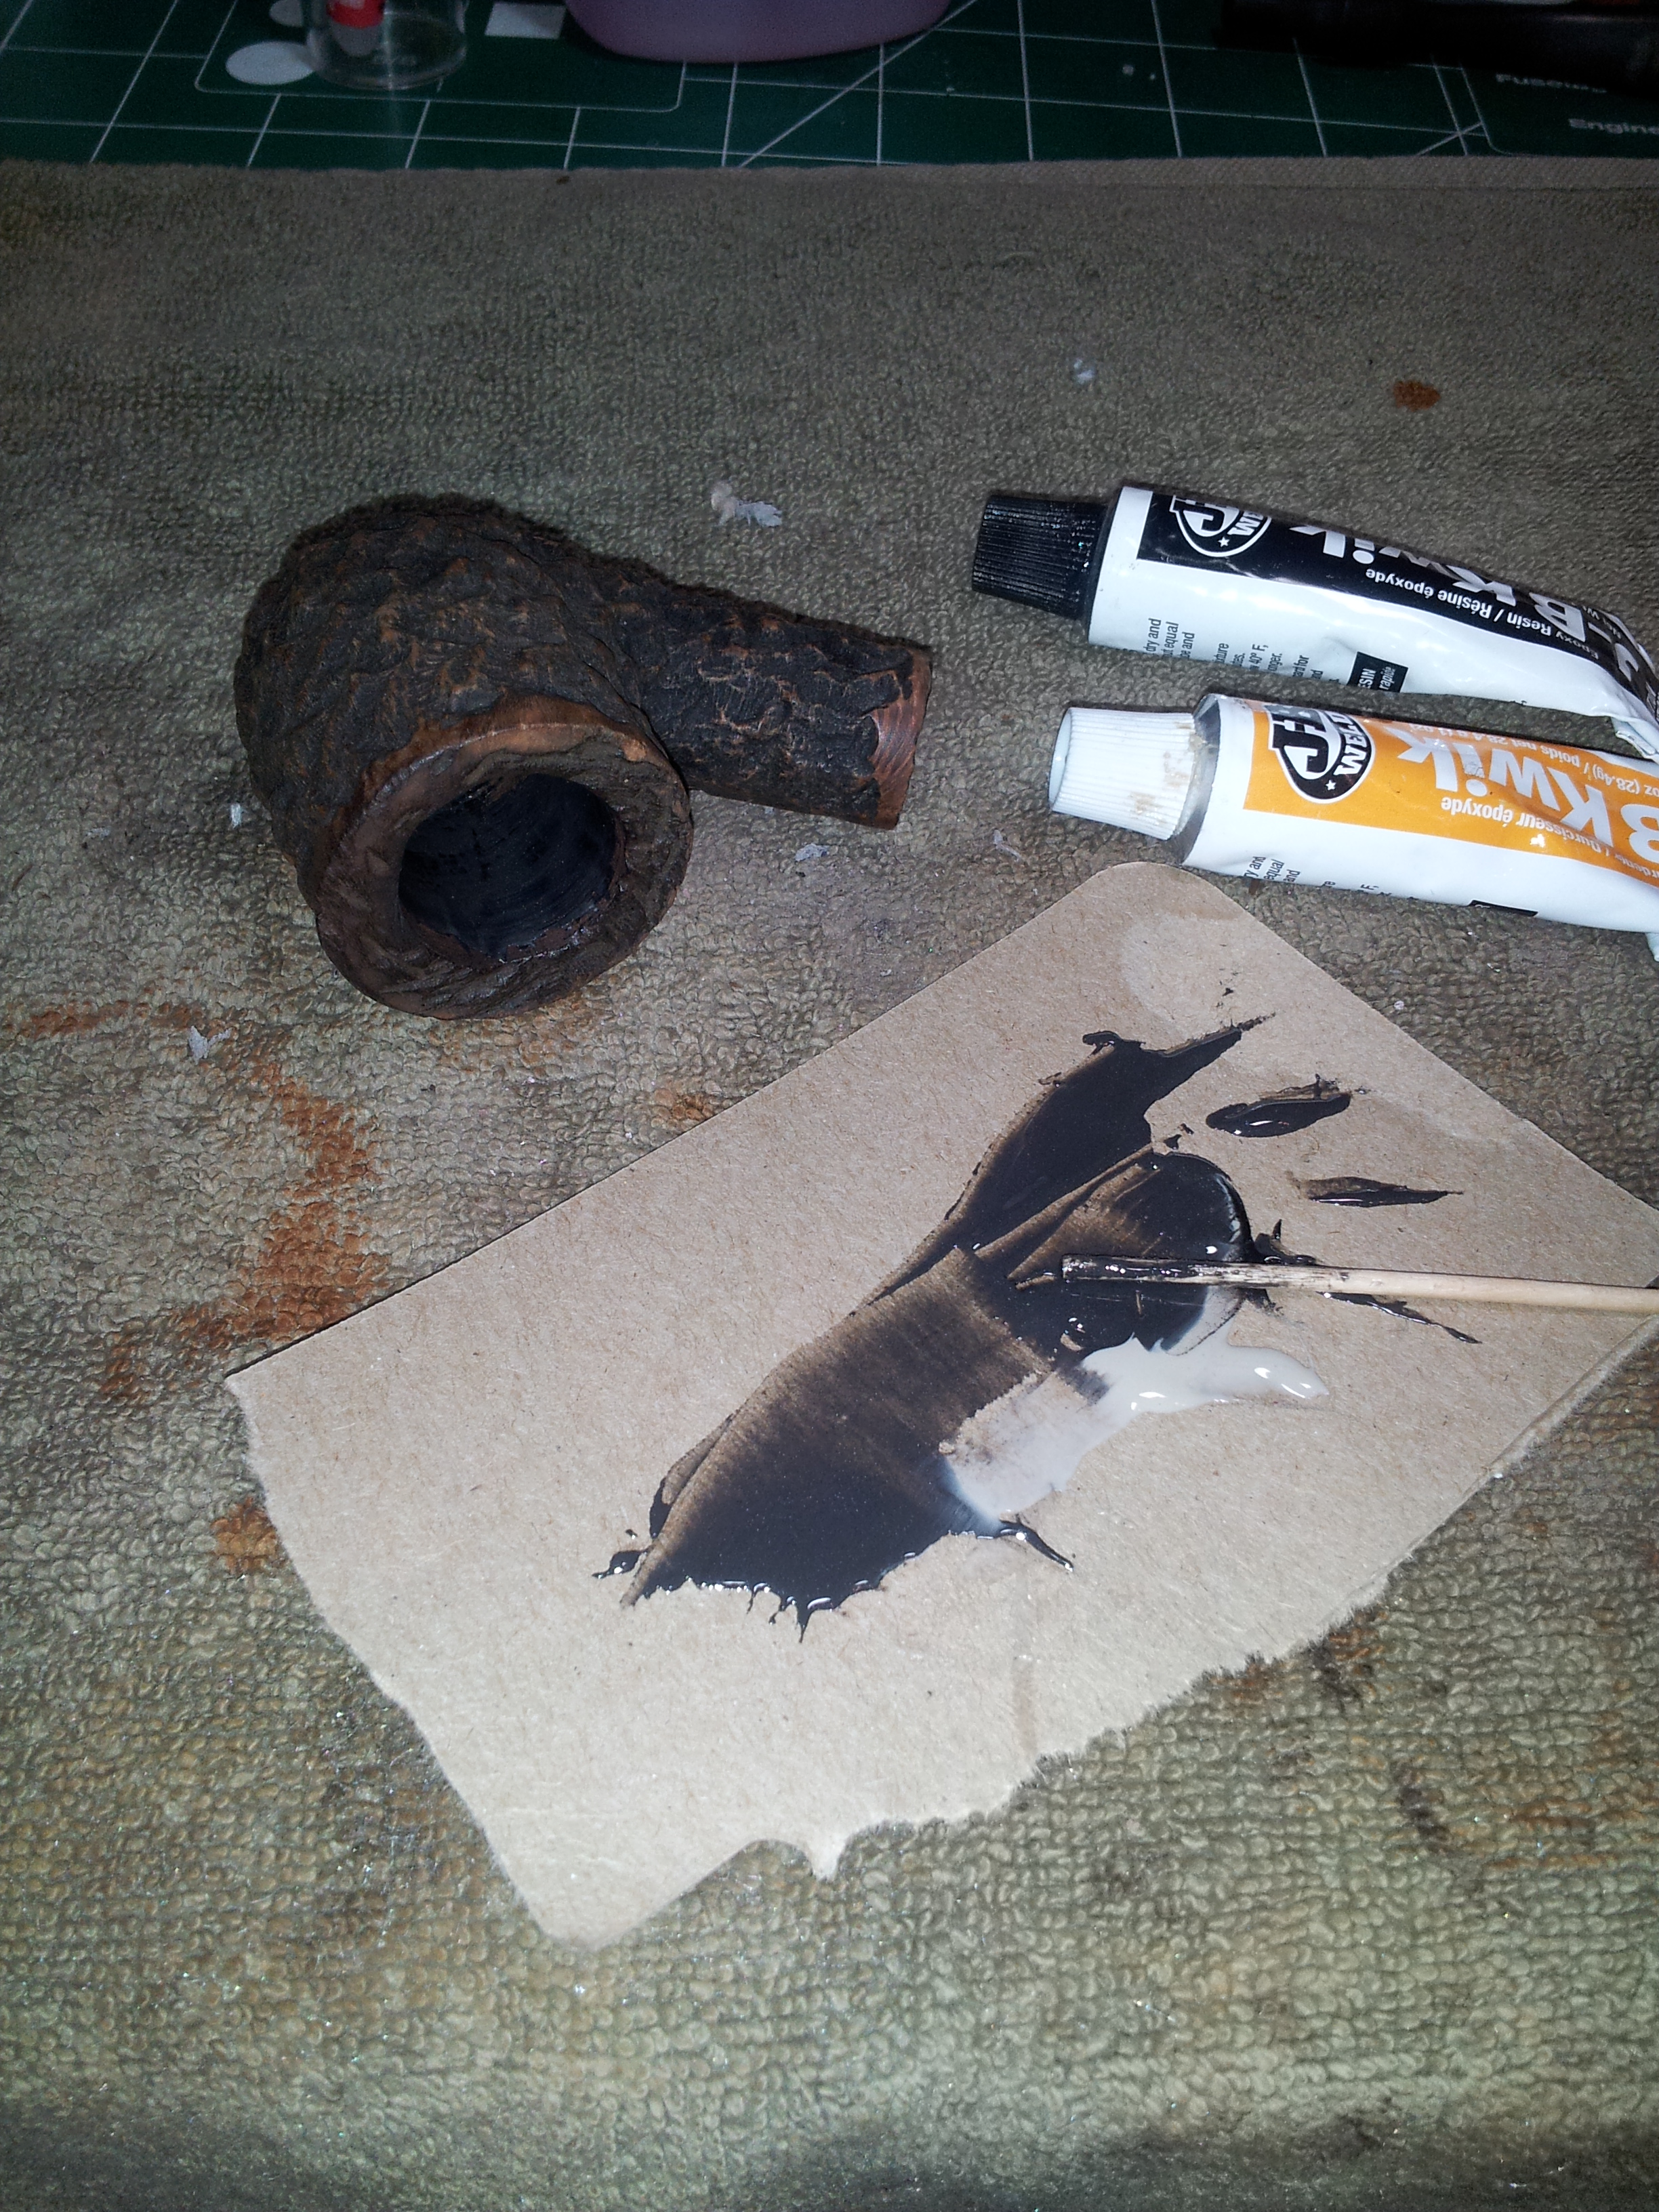
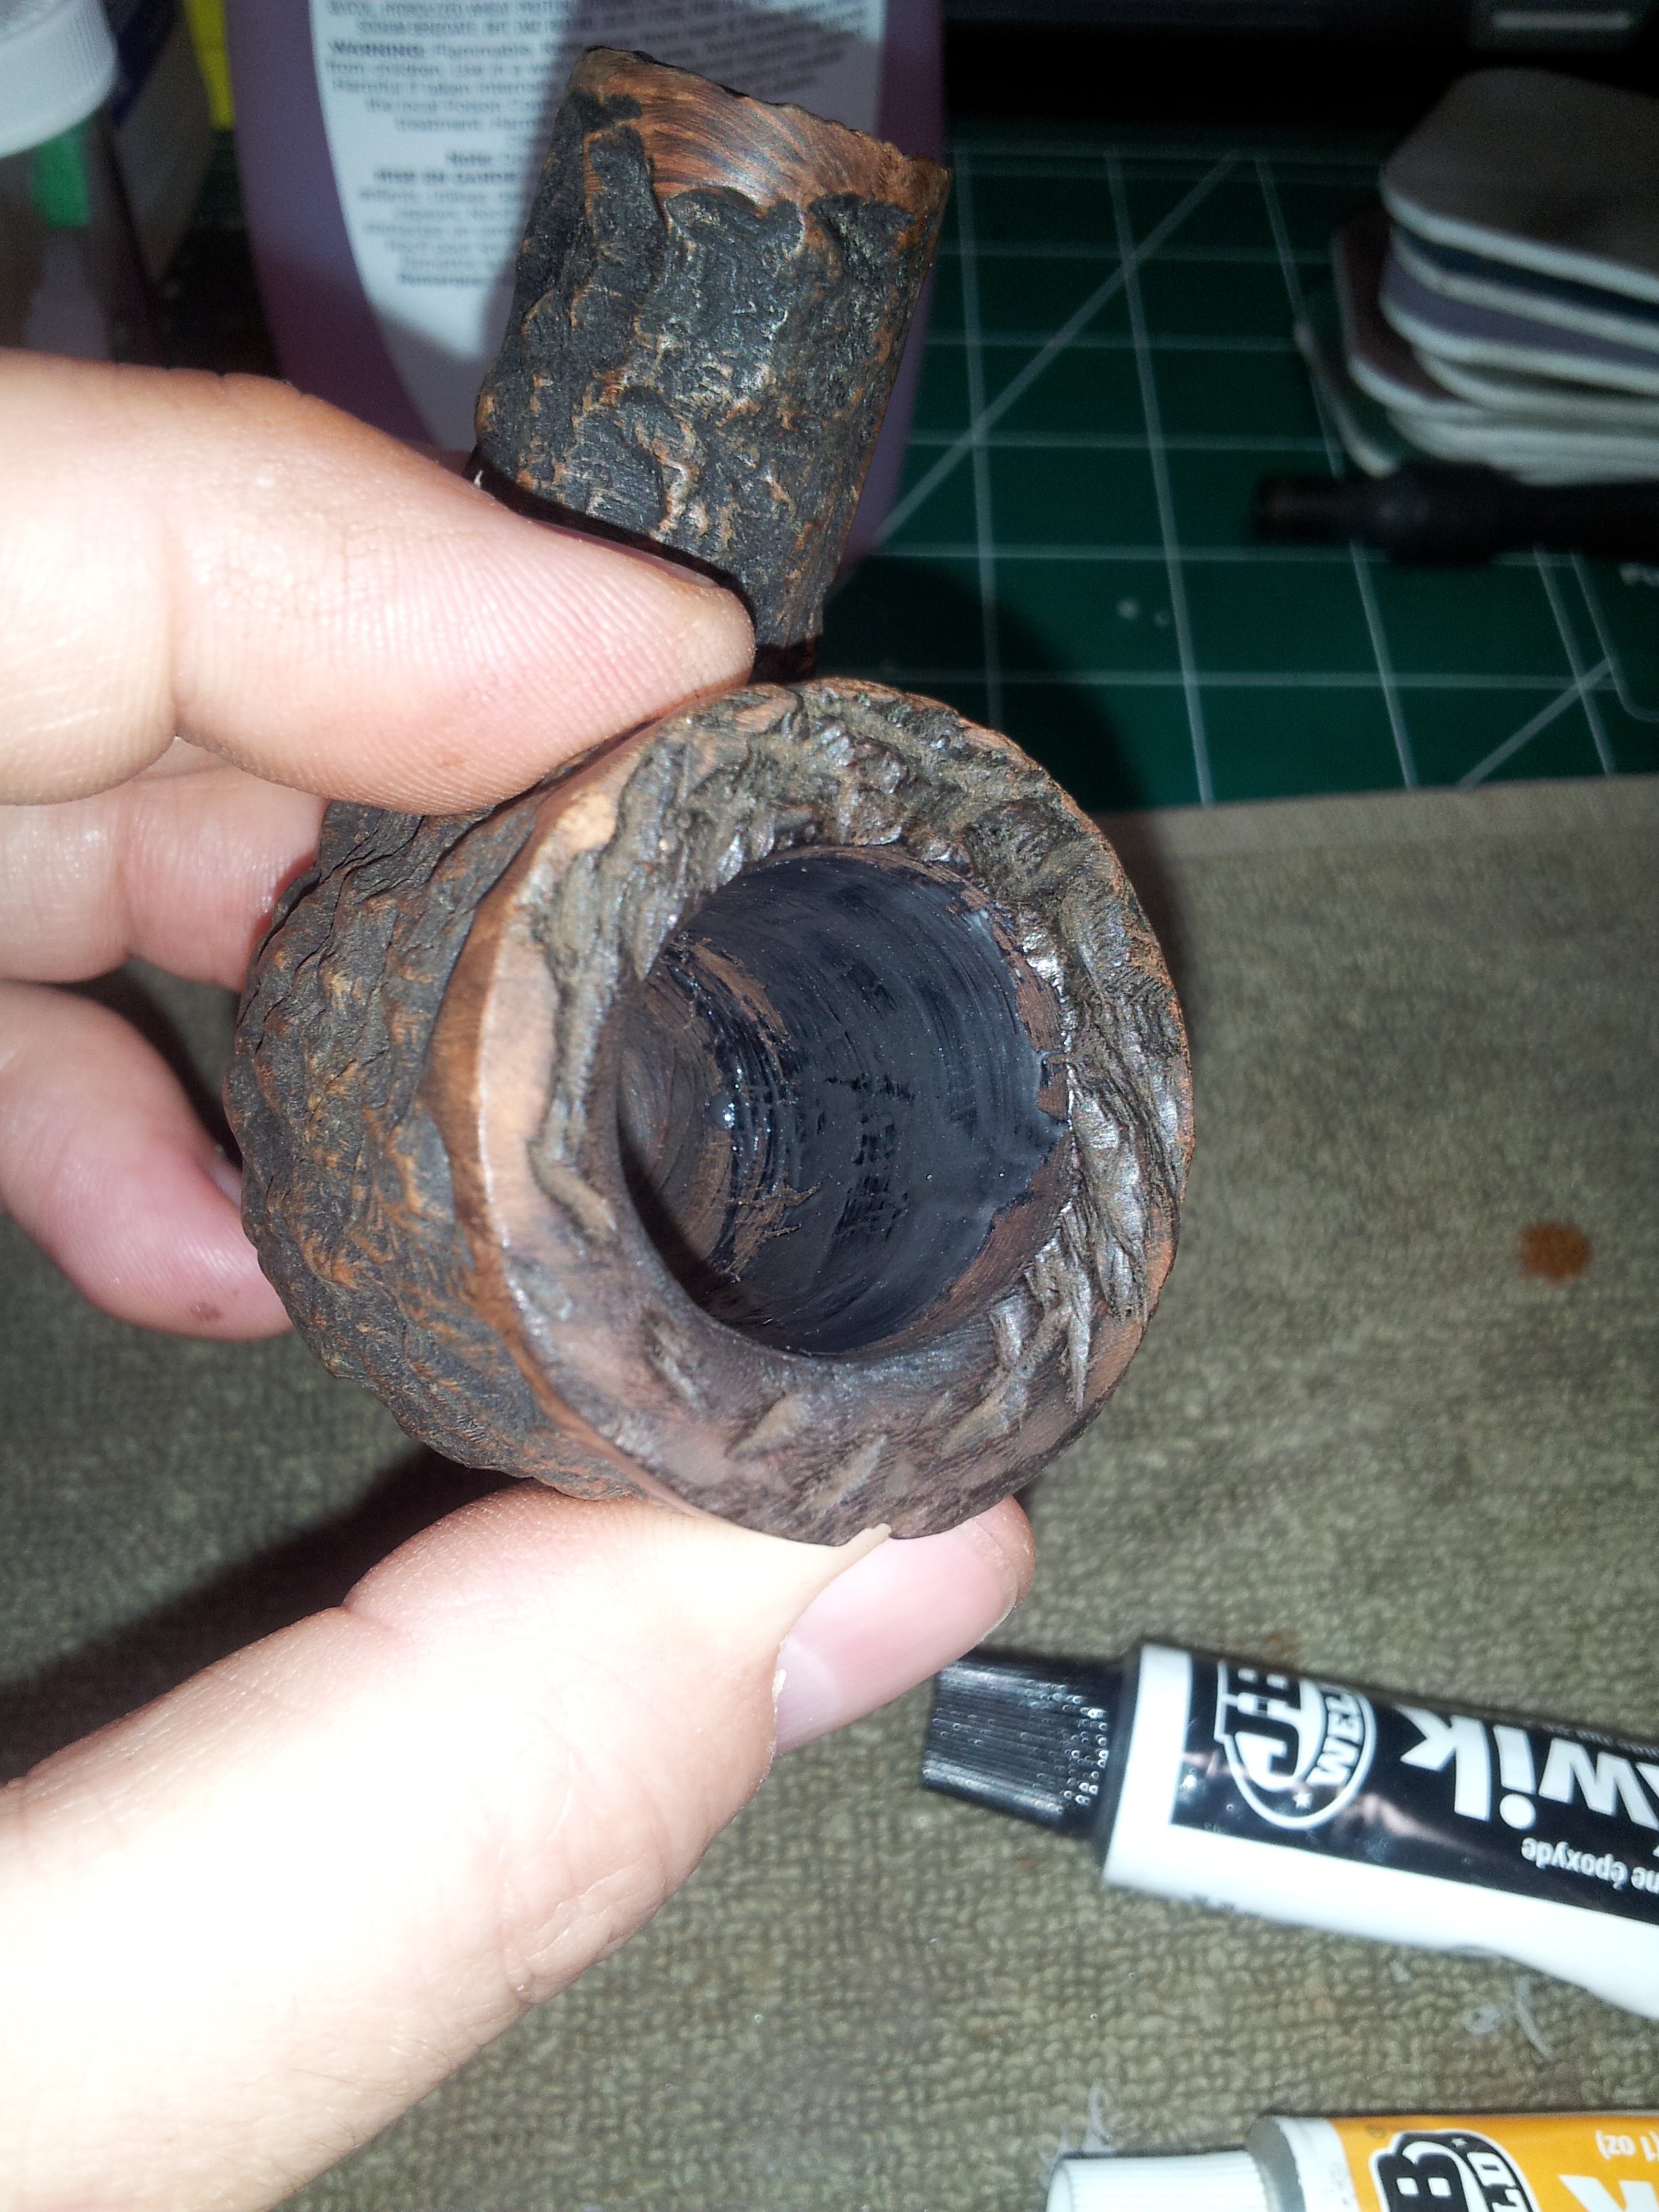
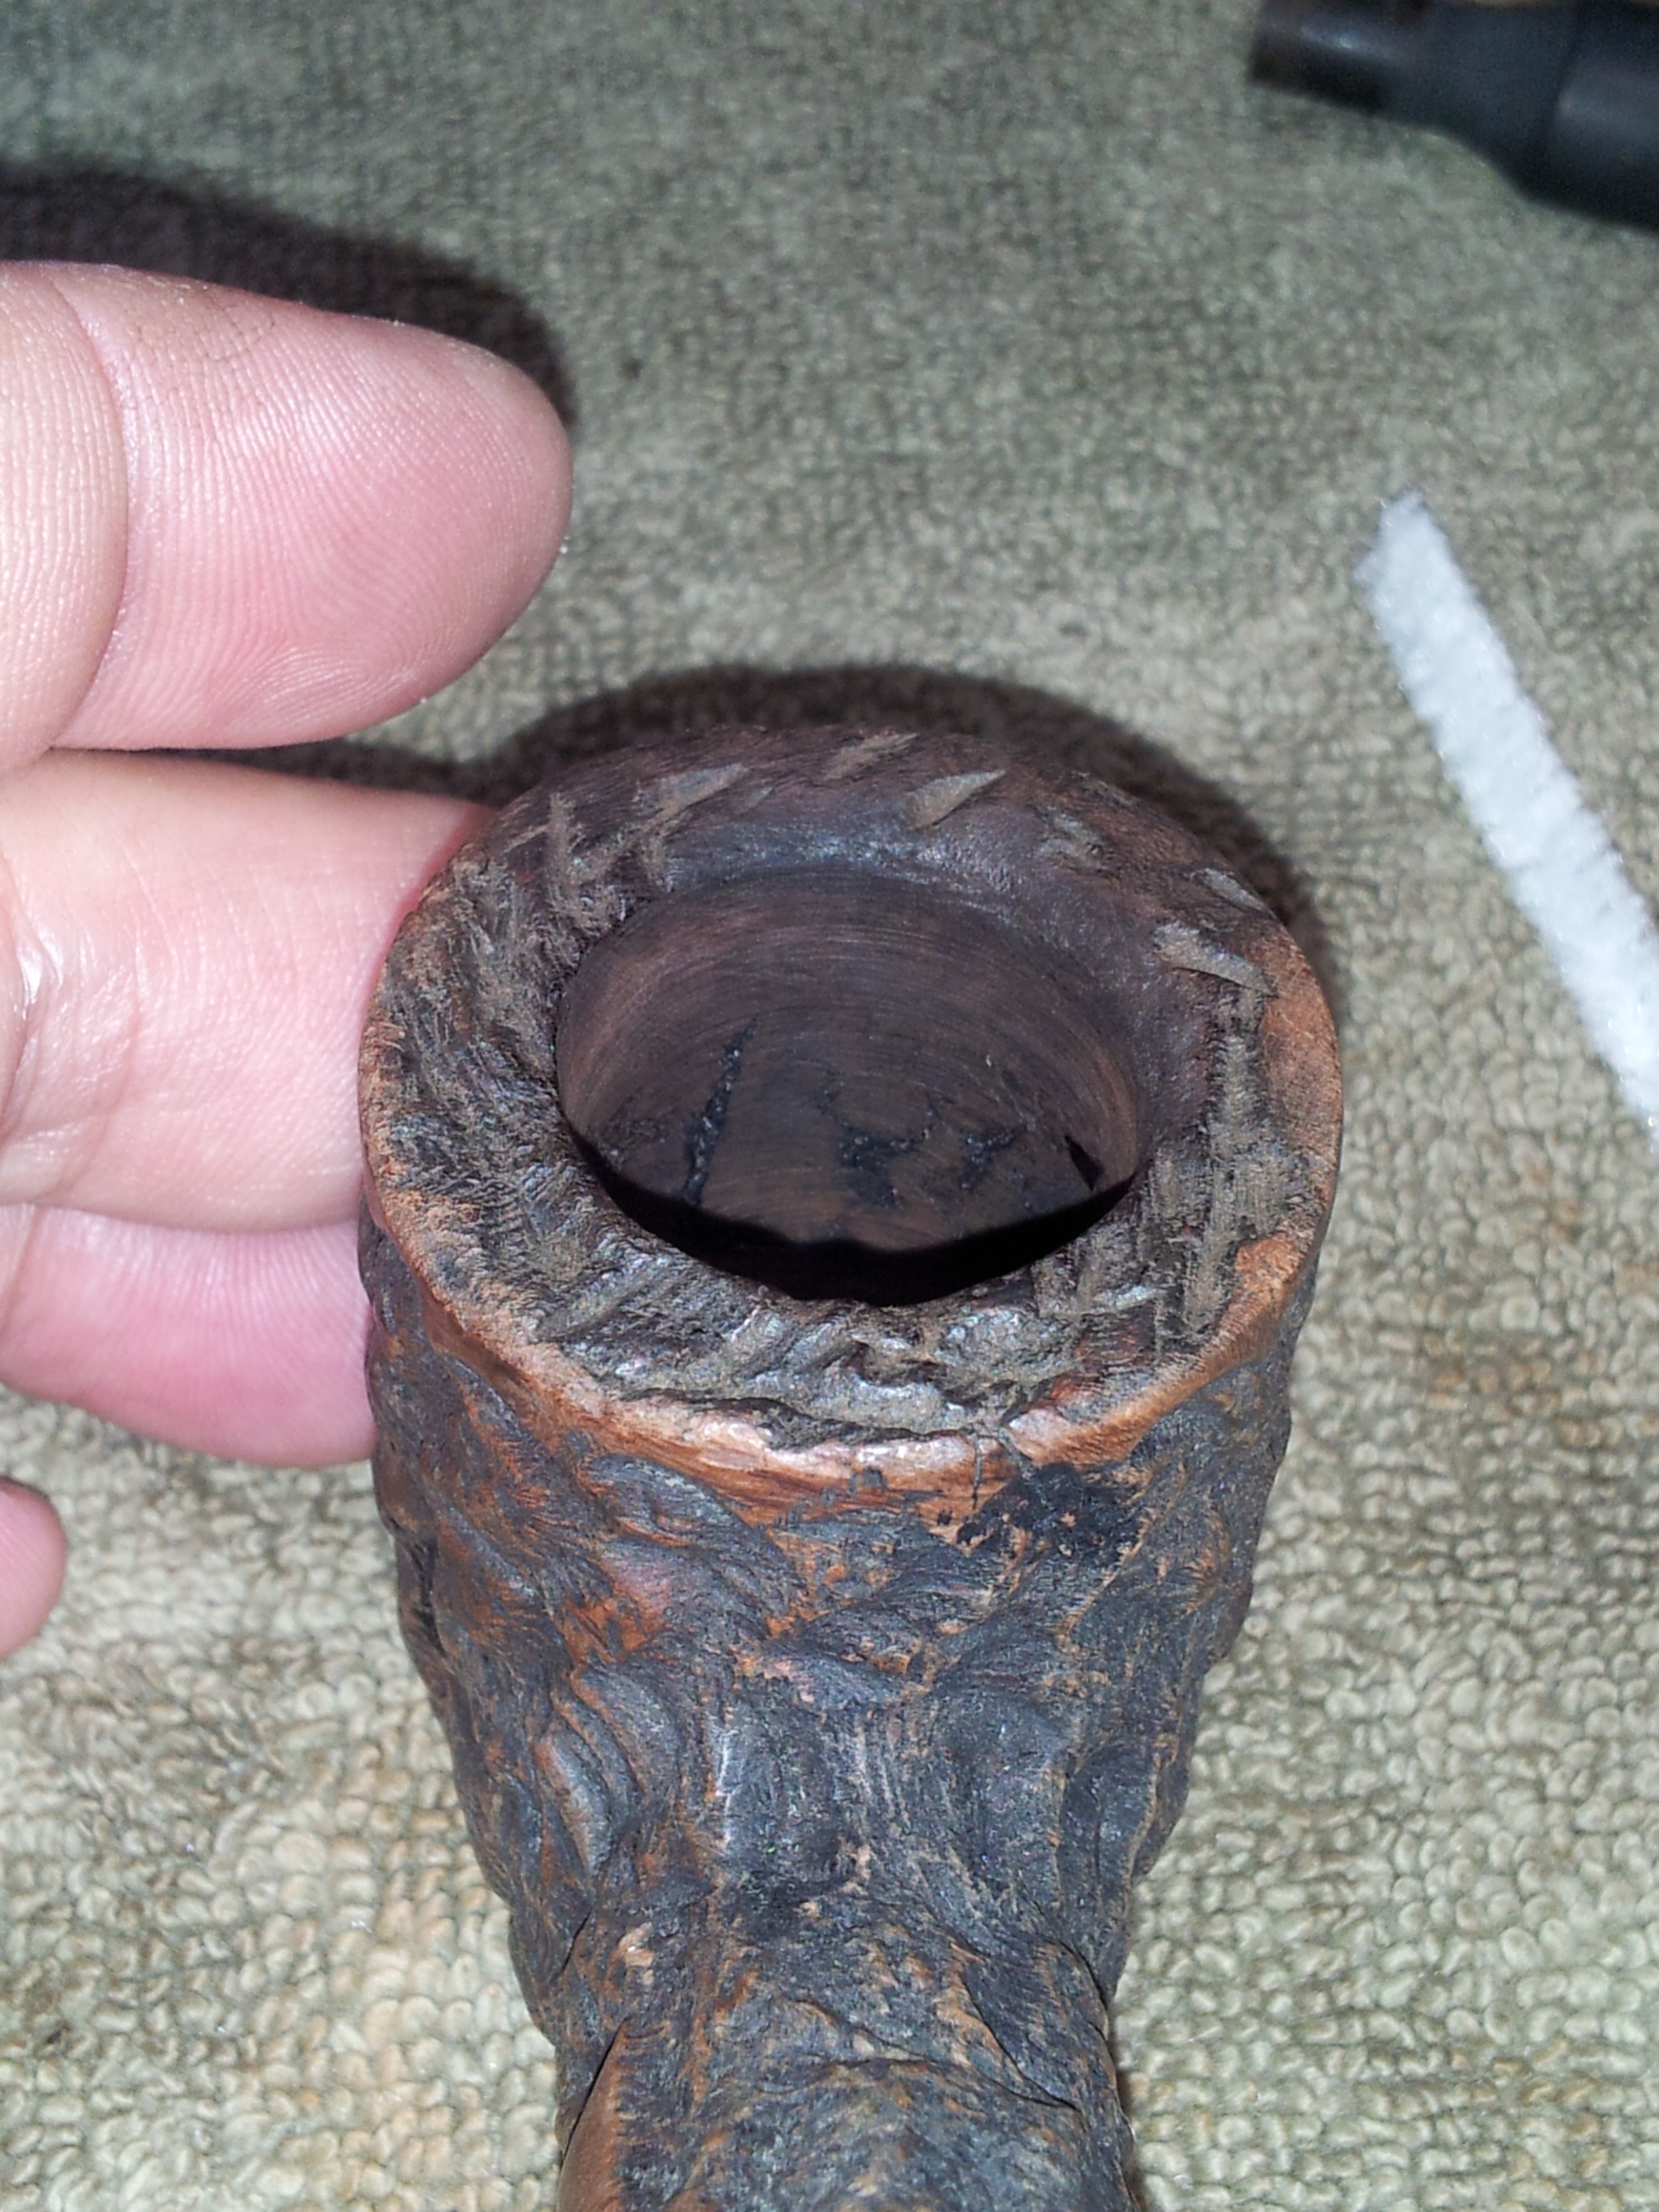
Turning my attention to the exterior of the bowl, I patched a couple tiny rim dents with CA glue and briar dust. I also made a careful inspection of the outer bowl walls, especially in the area of the largest and deepest interior crack. Sure enough, I found a small crack in just that location. It was tight and fine, though, so I flowed some CA glue in to seal it up, and sanded back the excess glue when it had cured.
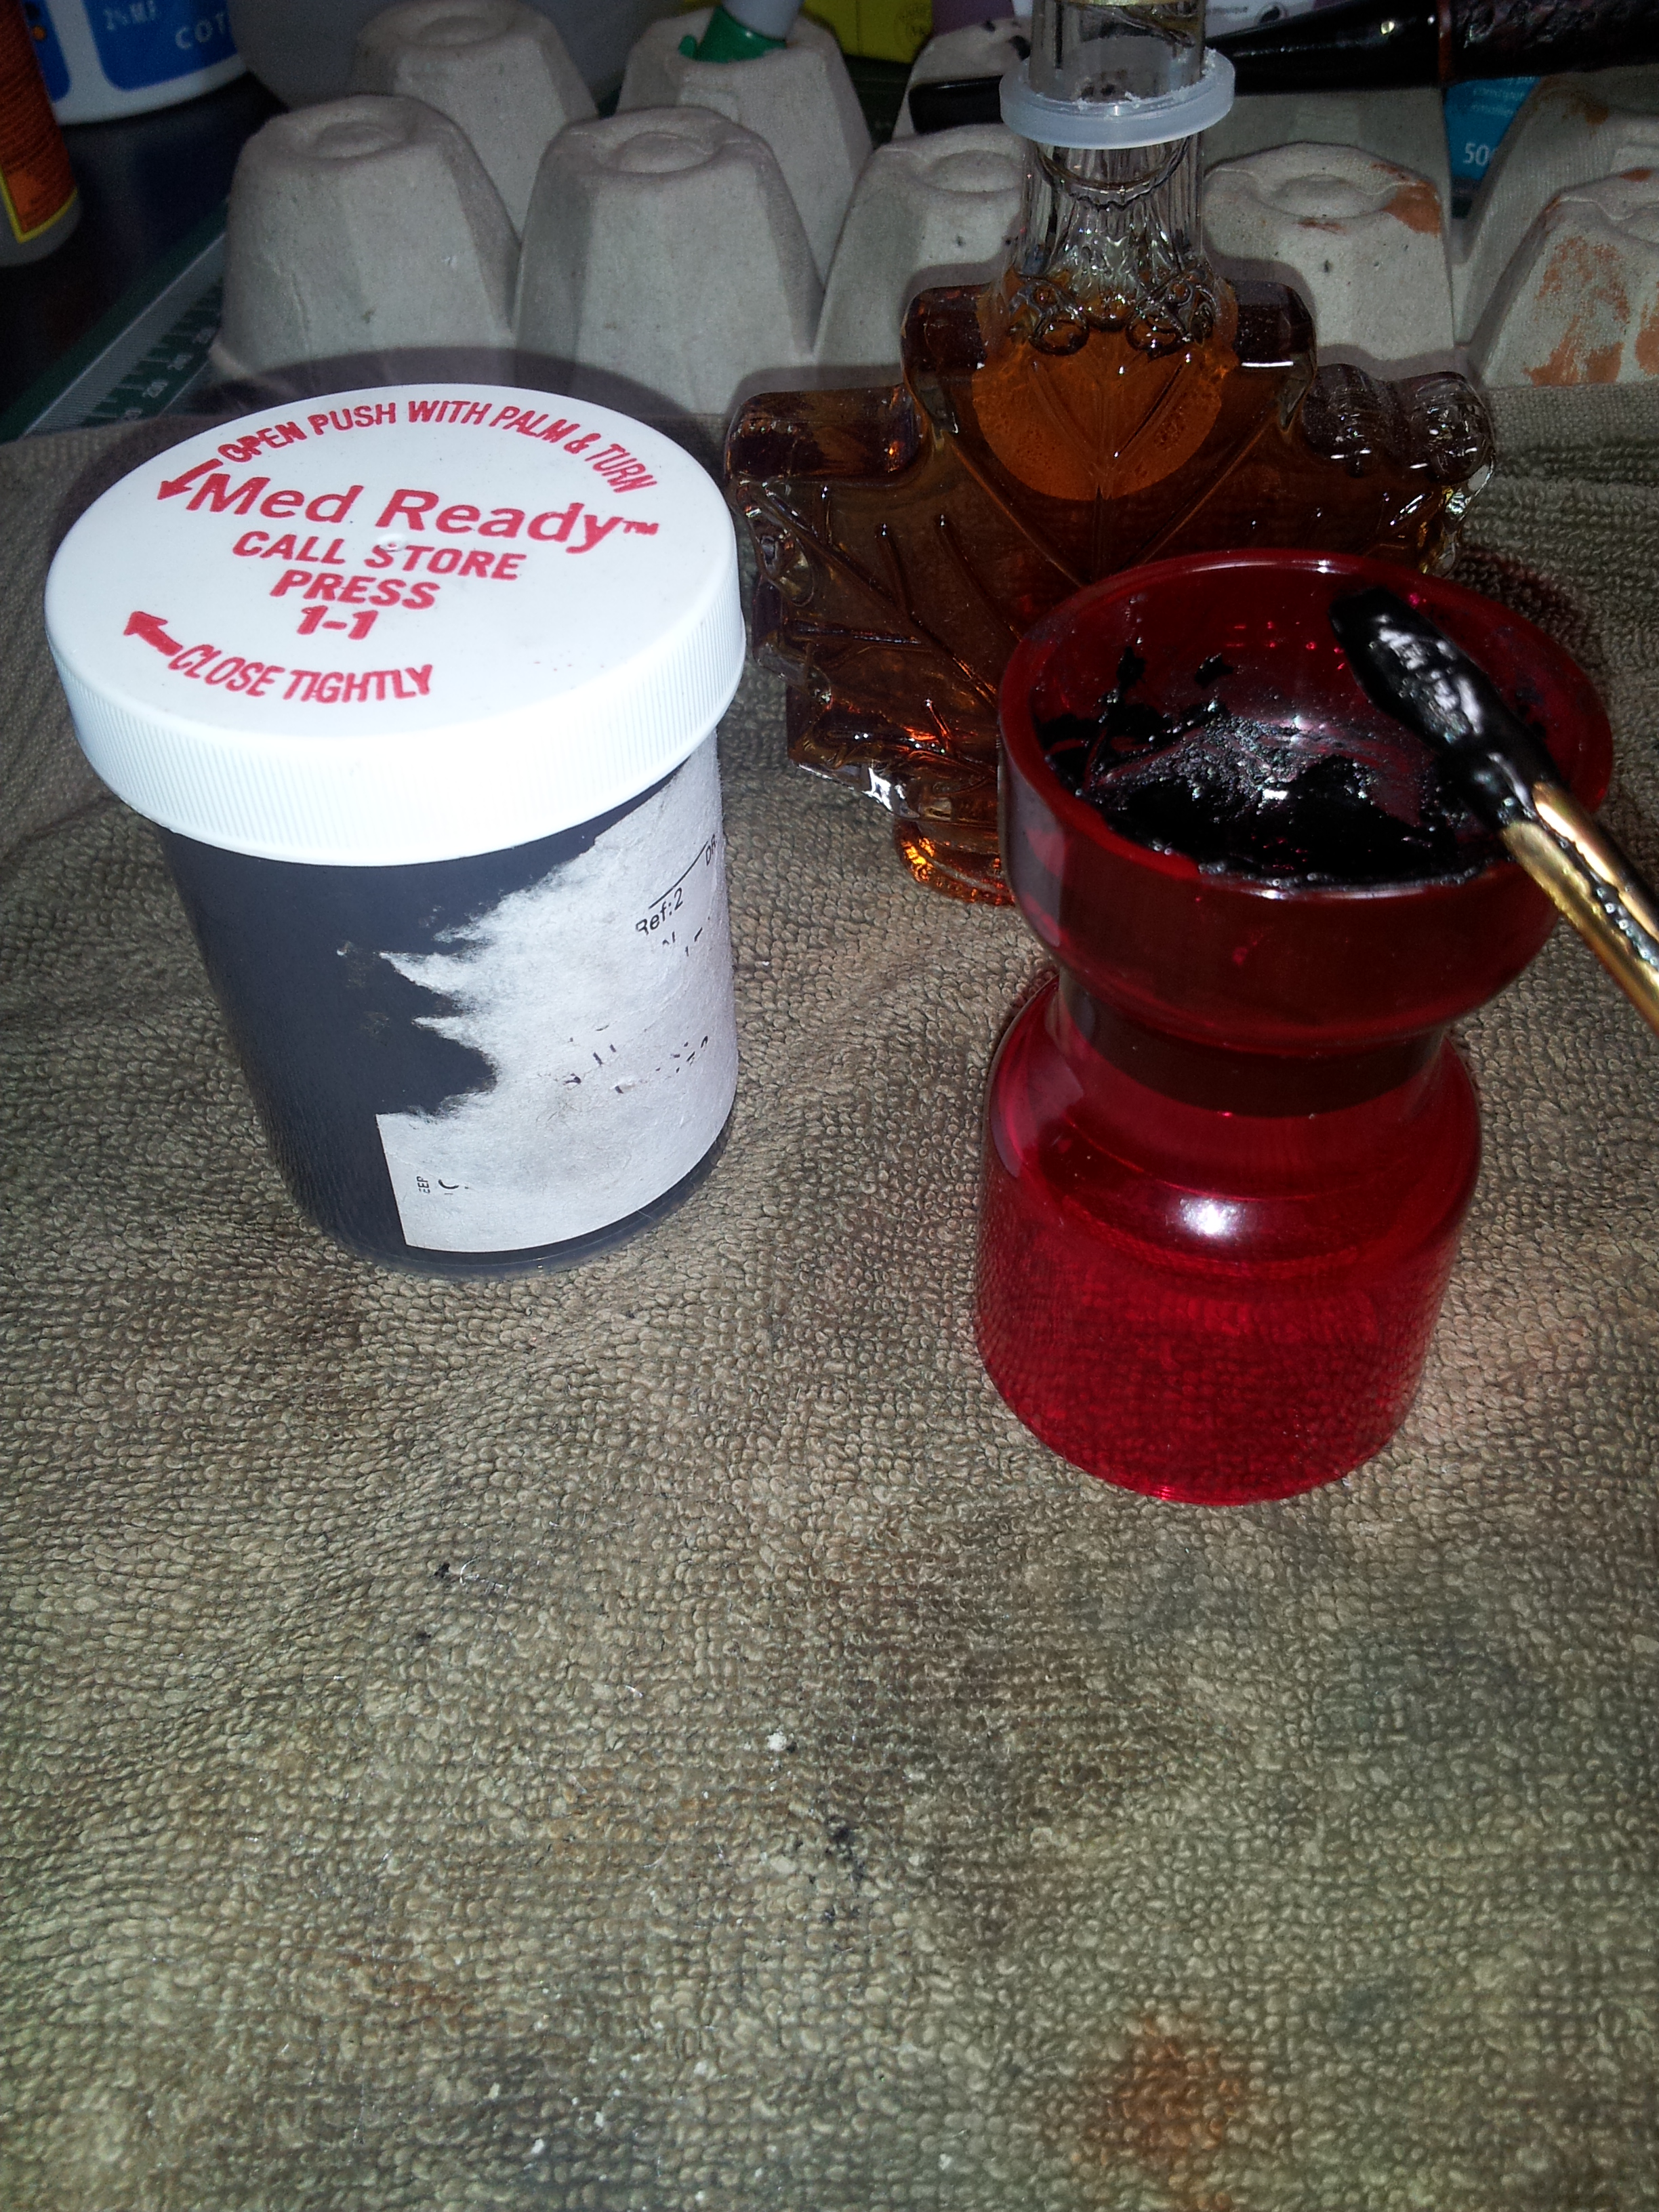
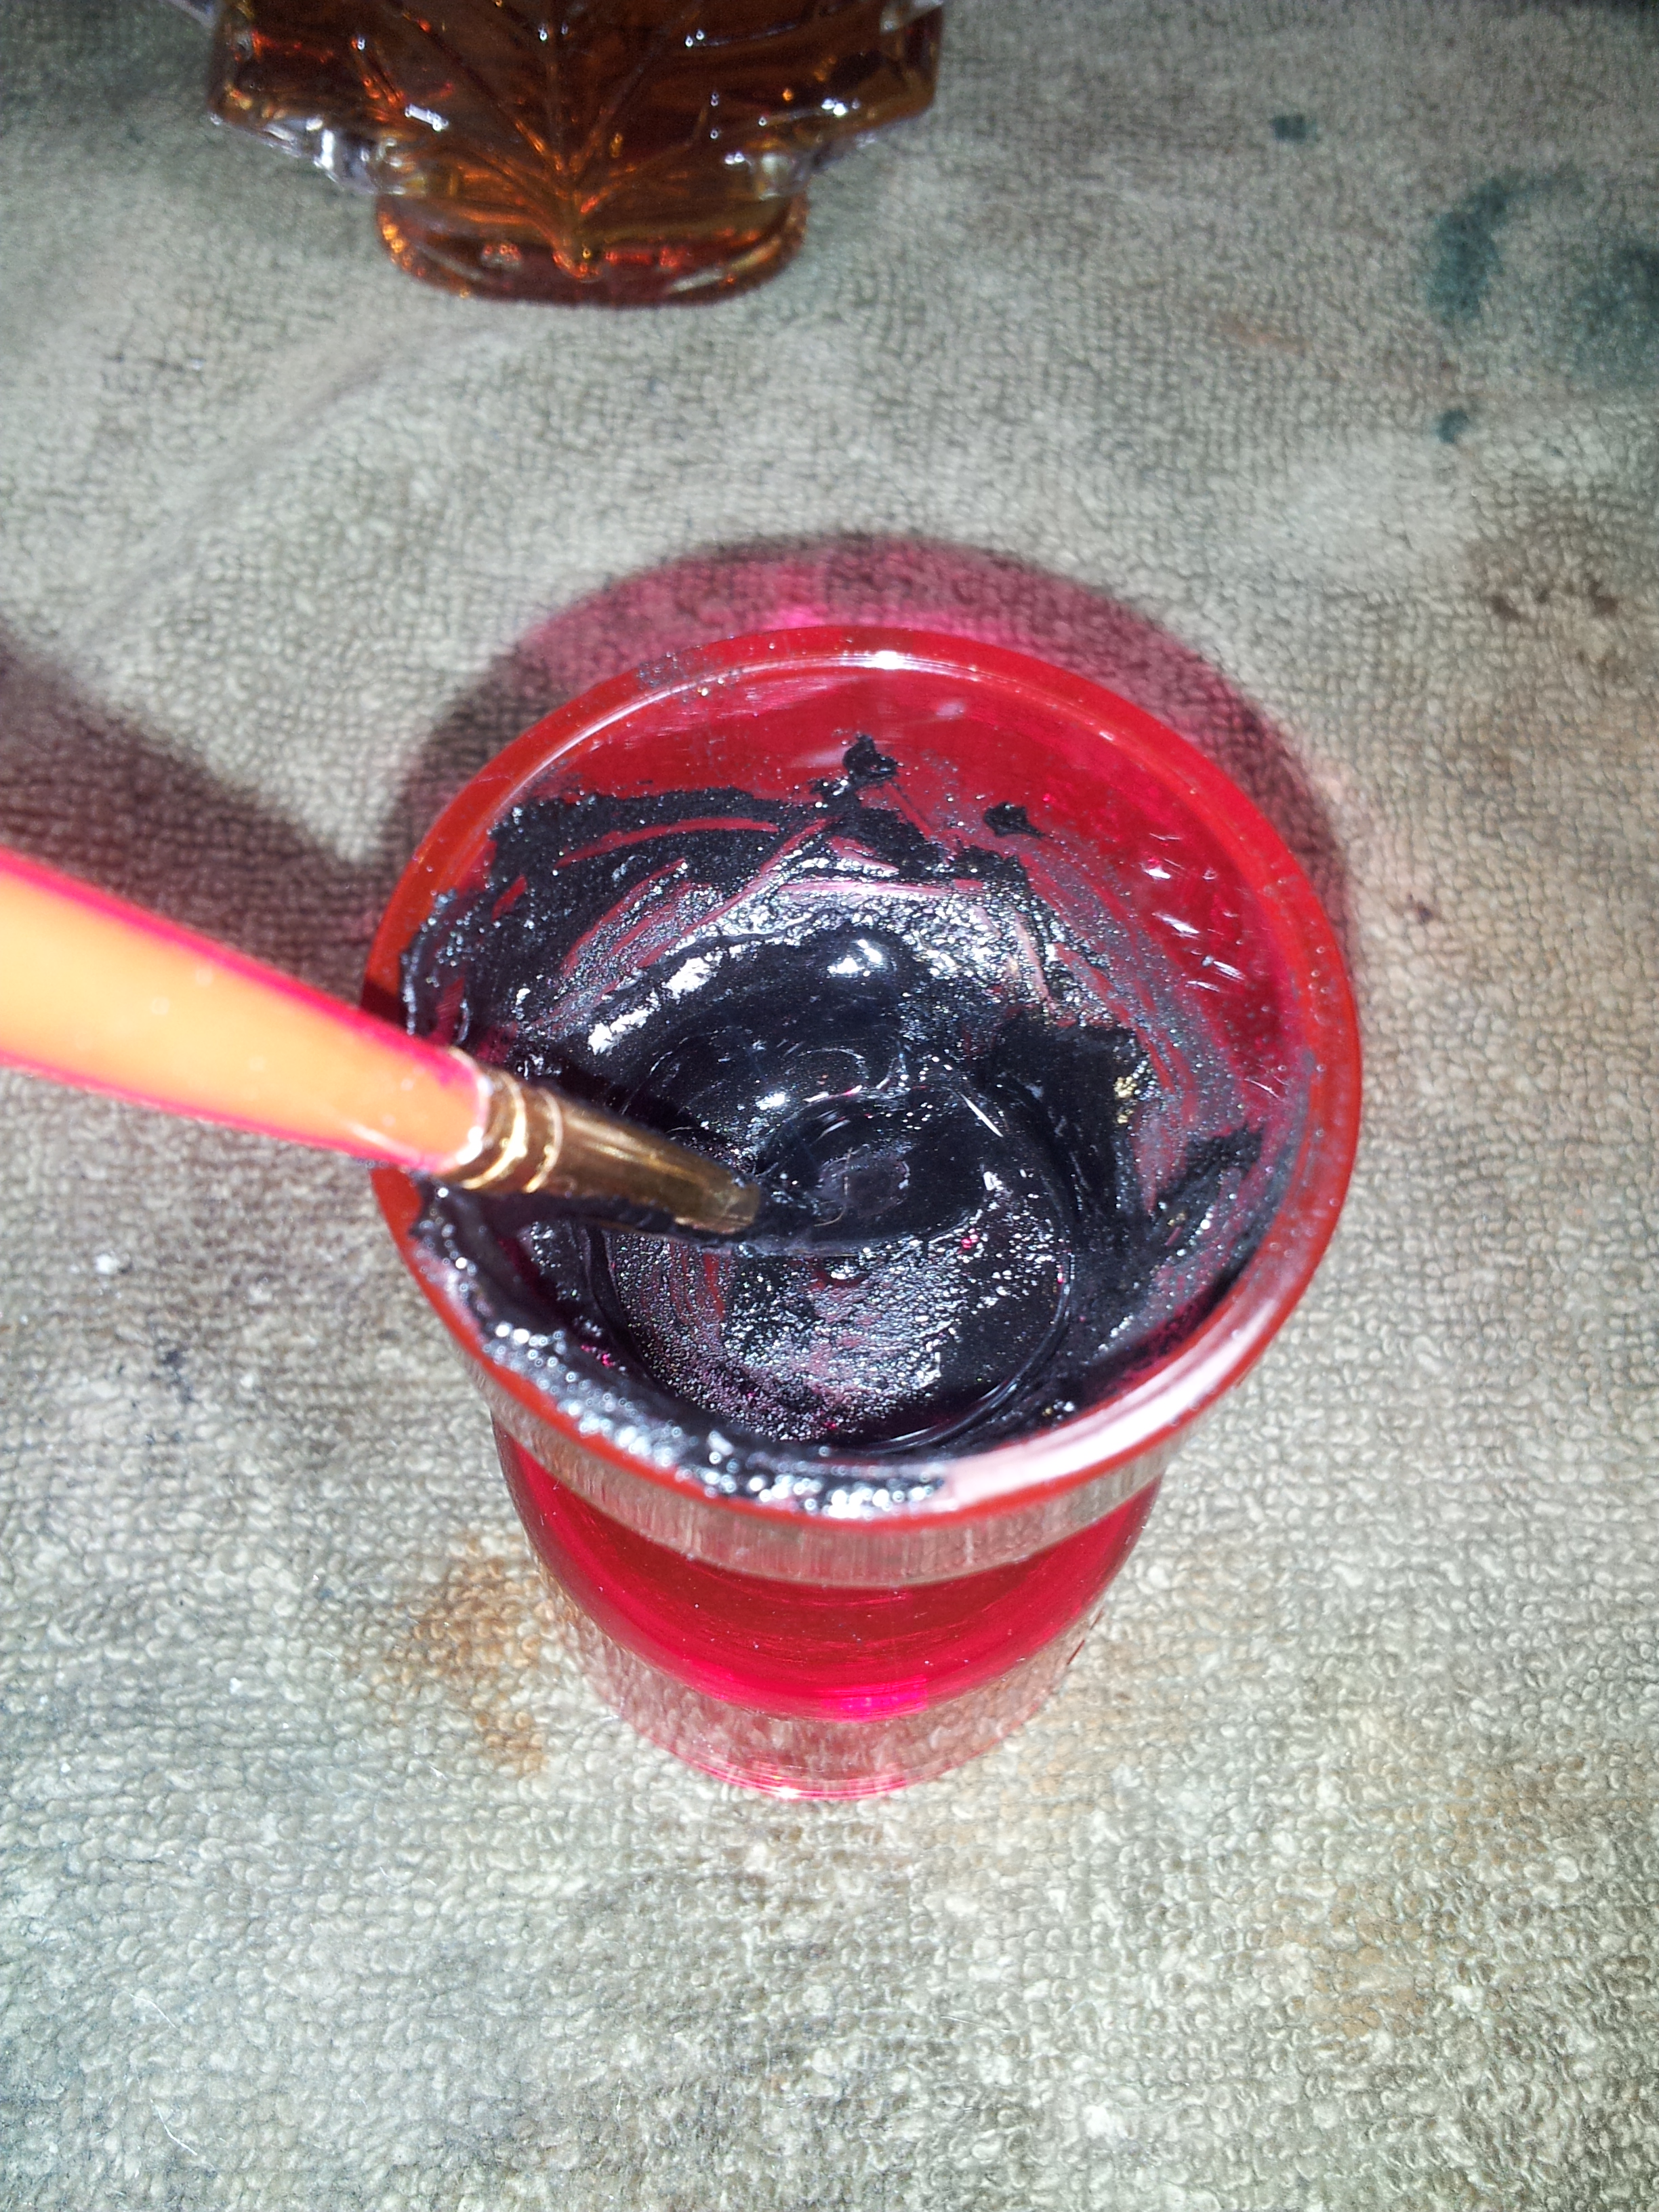
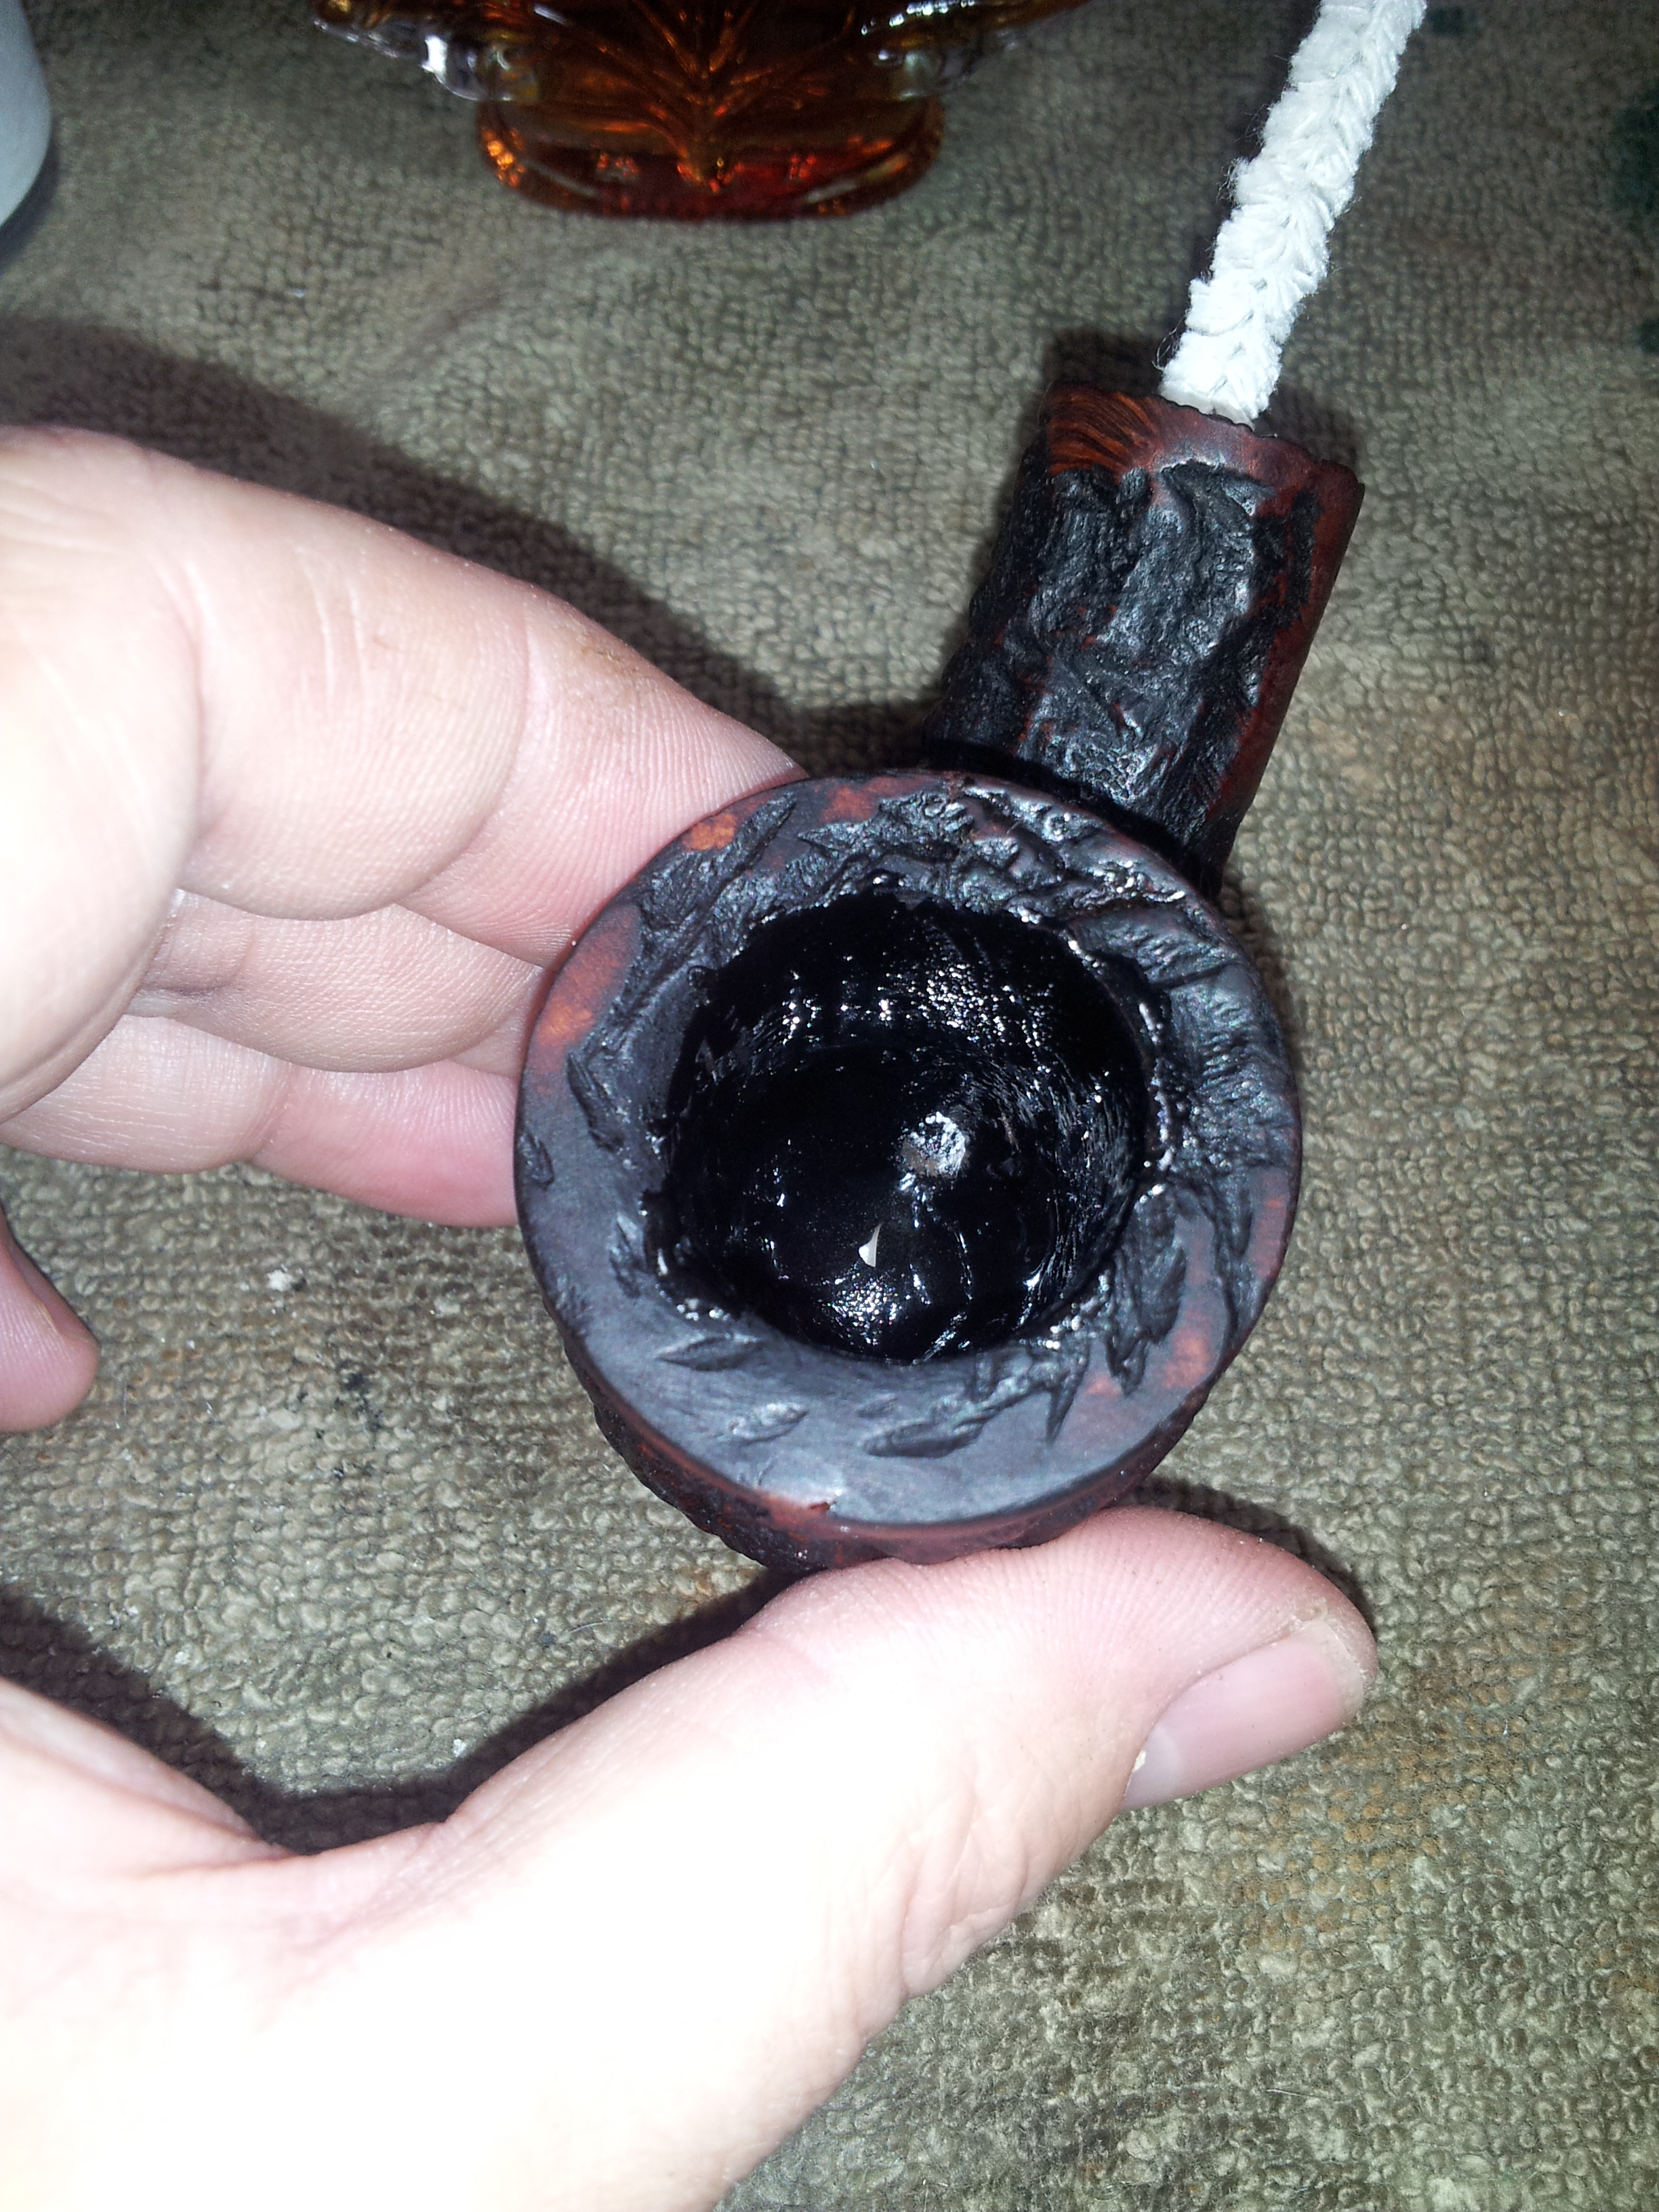
Last but not least, I spiffied up the look of the repaired bowl with a coating of maple syrup and activated charcoal powder. After exchanging ideas with other pipe refurbishers, I decided to experiment a little here. My normal coating process is to apply a layer of syrup to the inside of the bowl, fill the bowl with charcoal powder and let it sit to absorb as much charcoal as possible in an hour or two. This time, I mixed the syrup and charcoal powder together in a shot glass to make a thick but paintable emulsion. I used a craft paintbrush to apply the coating to the bowl, then set the stummel aside to let the coating dry while I worked on the stem. (Note: This painted-on technique proved both quicker and easier than my old process, and the end result is the same or better so I’ll be using this technique in future repairs.)
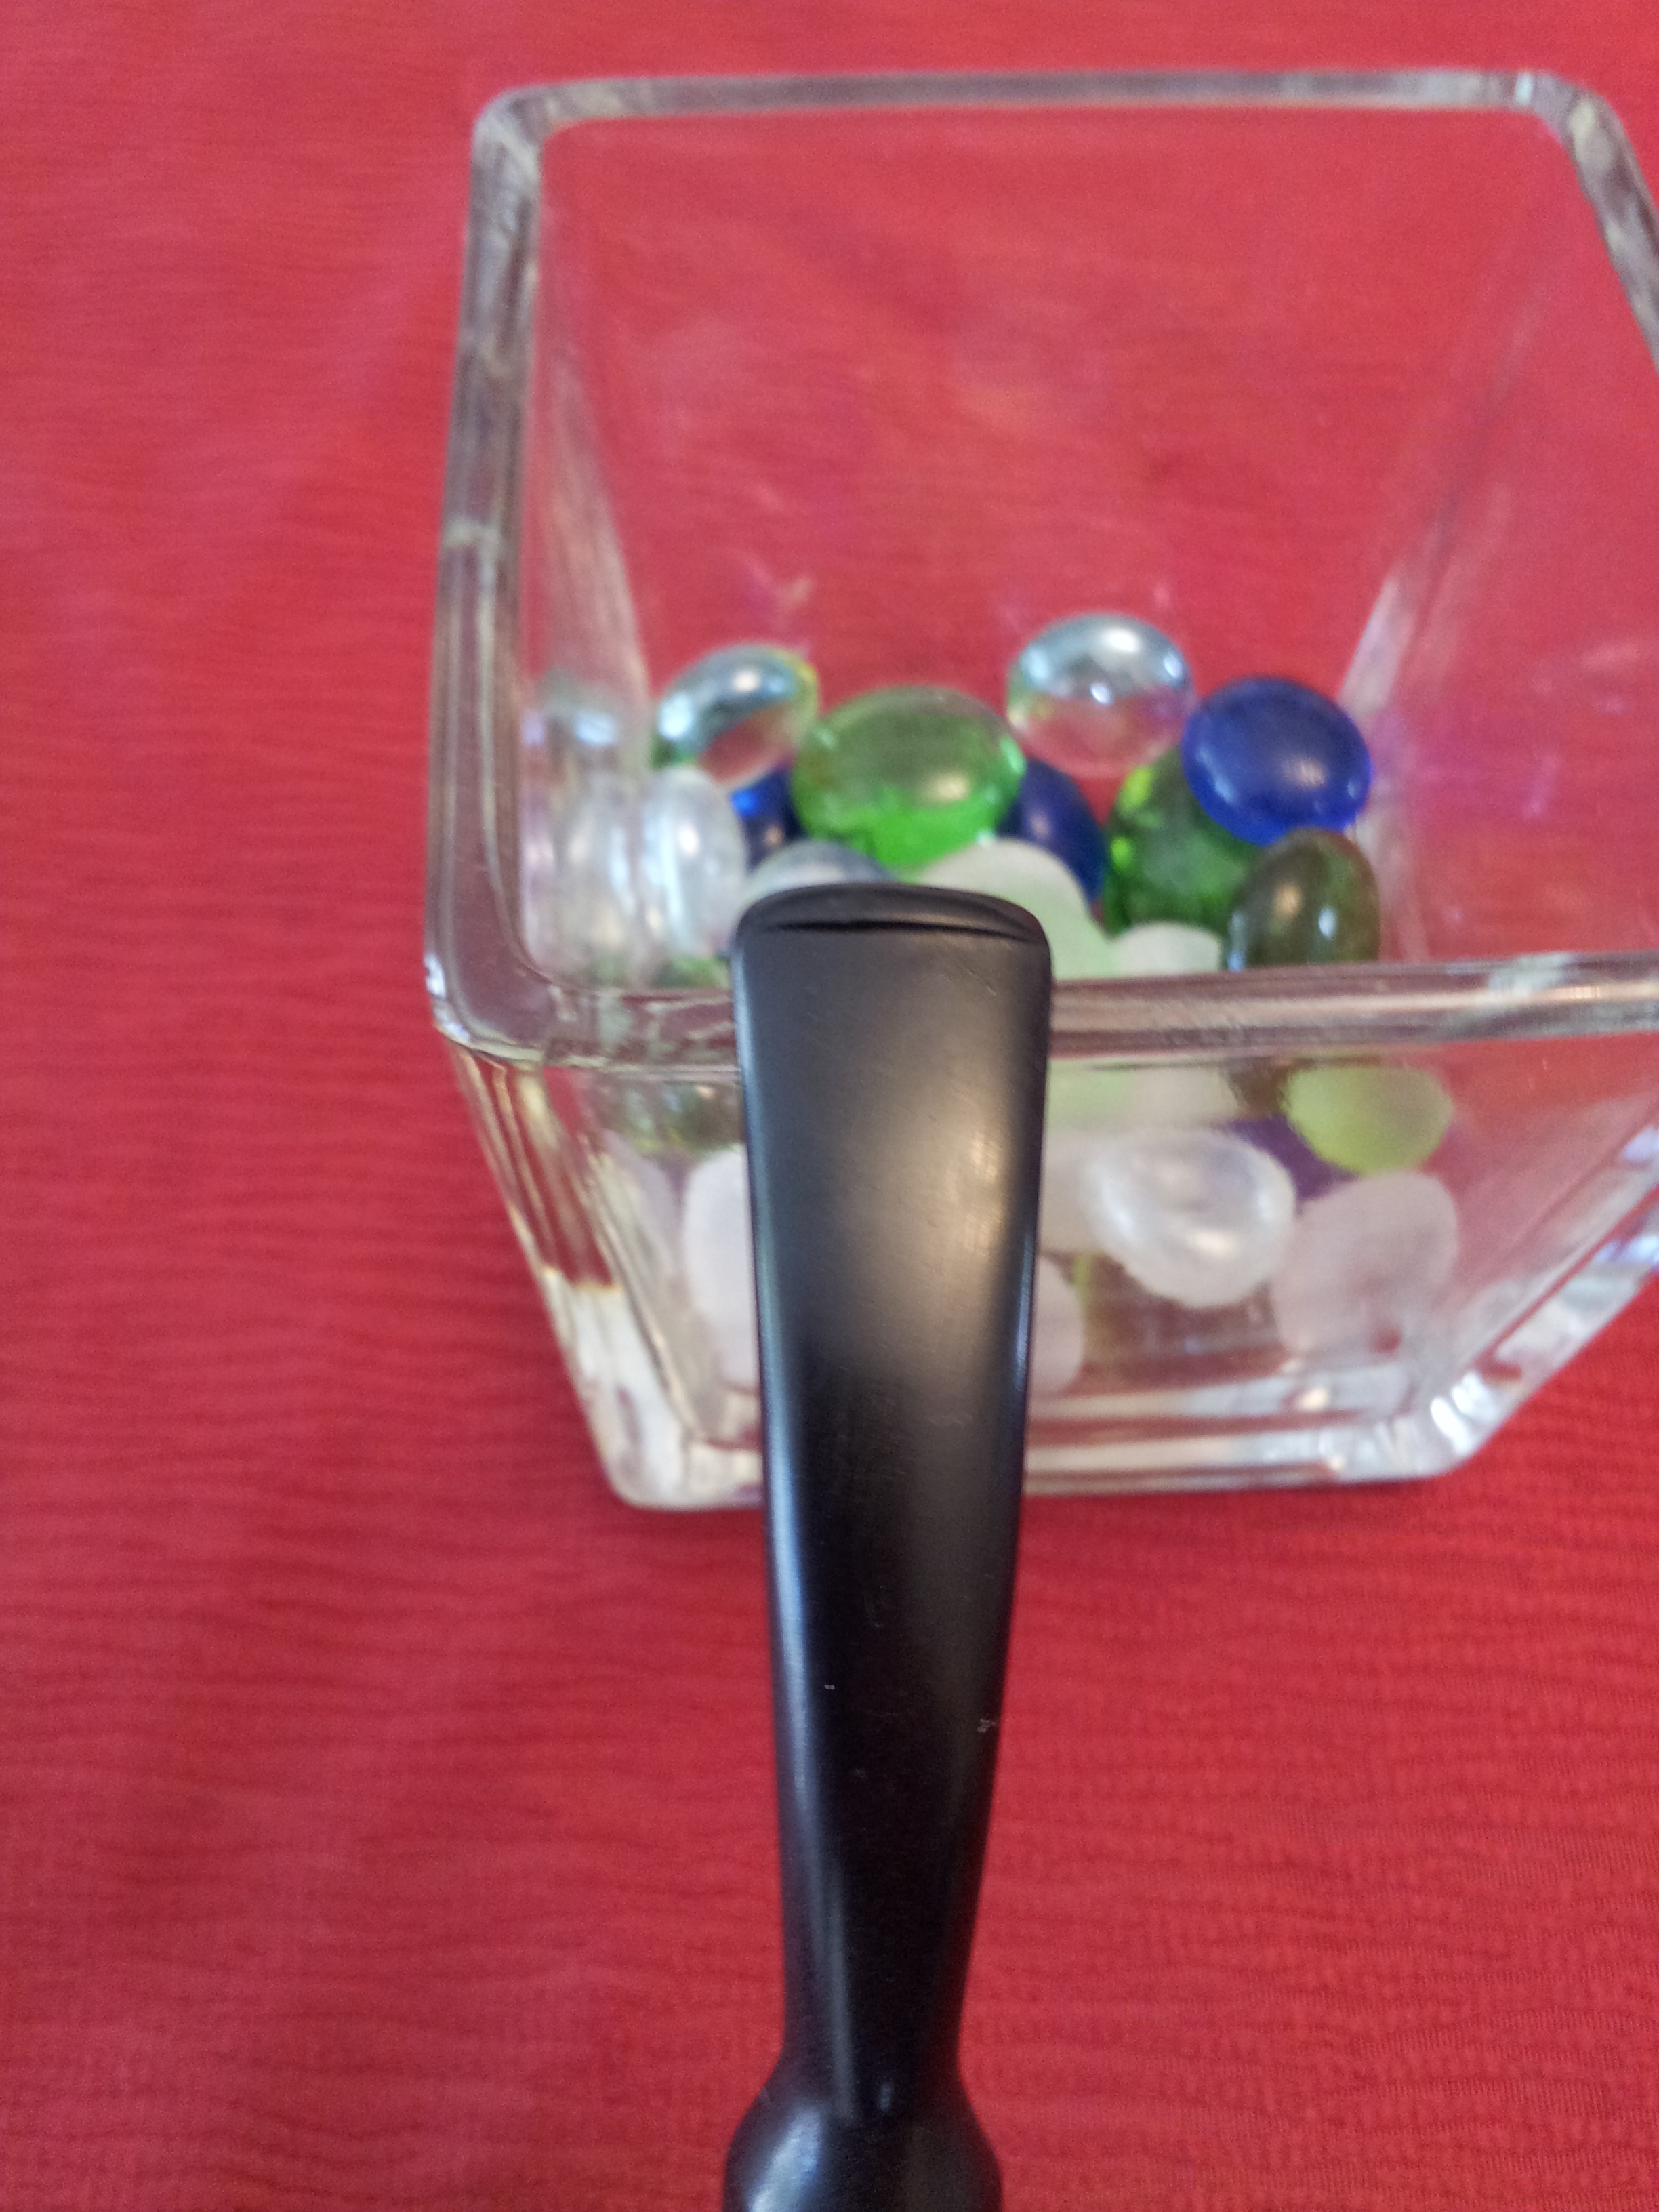
The stem came out of the Oxyclean and got a good scrubbing with Magic Eraser to remove the surface oxidation. I followed up with 600 – 2000 grit wet paper to smooth out some tooth chatter before cleaning the stem’s internals with alcohol and pipe cleaners. It was surprisingly dirty – someone loved their sticky aromatic tobacco!
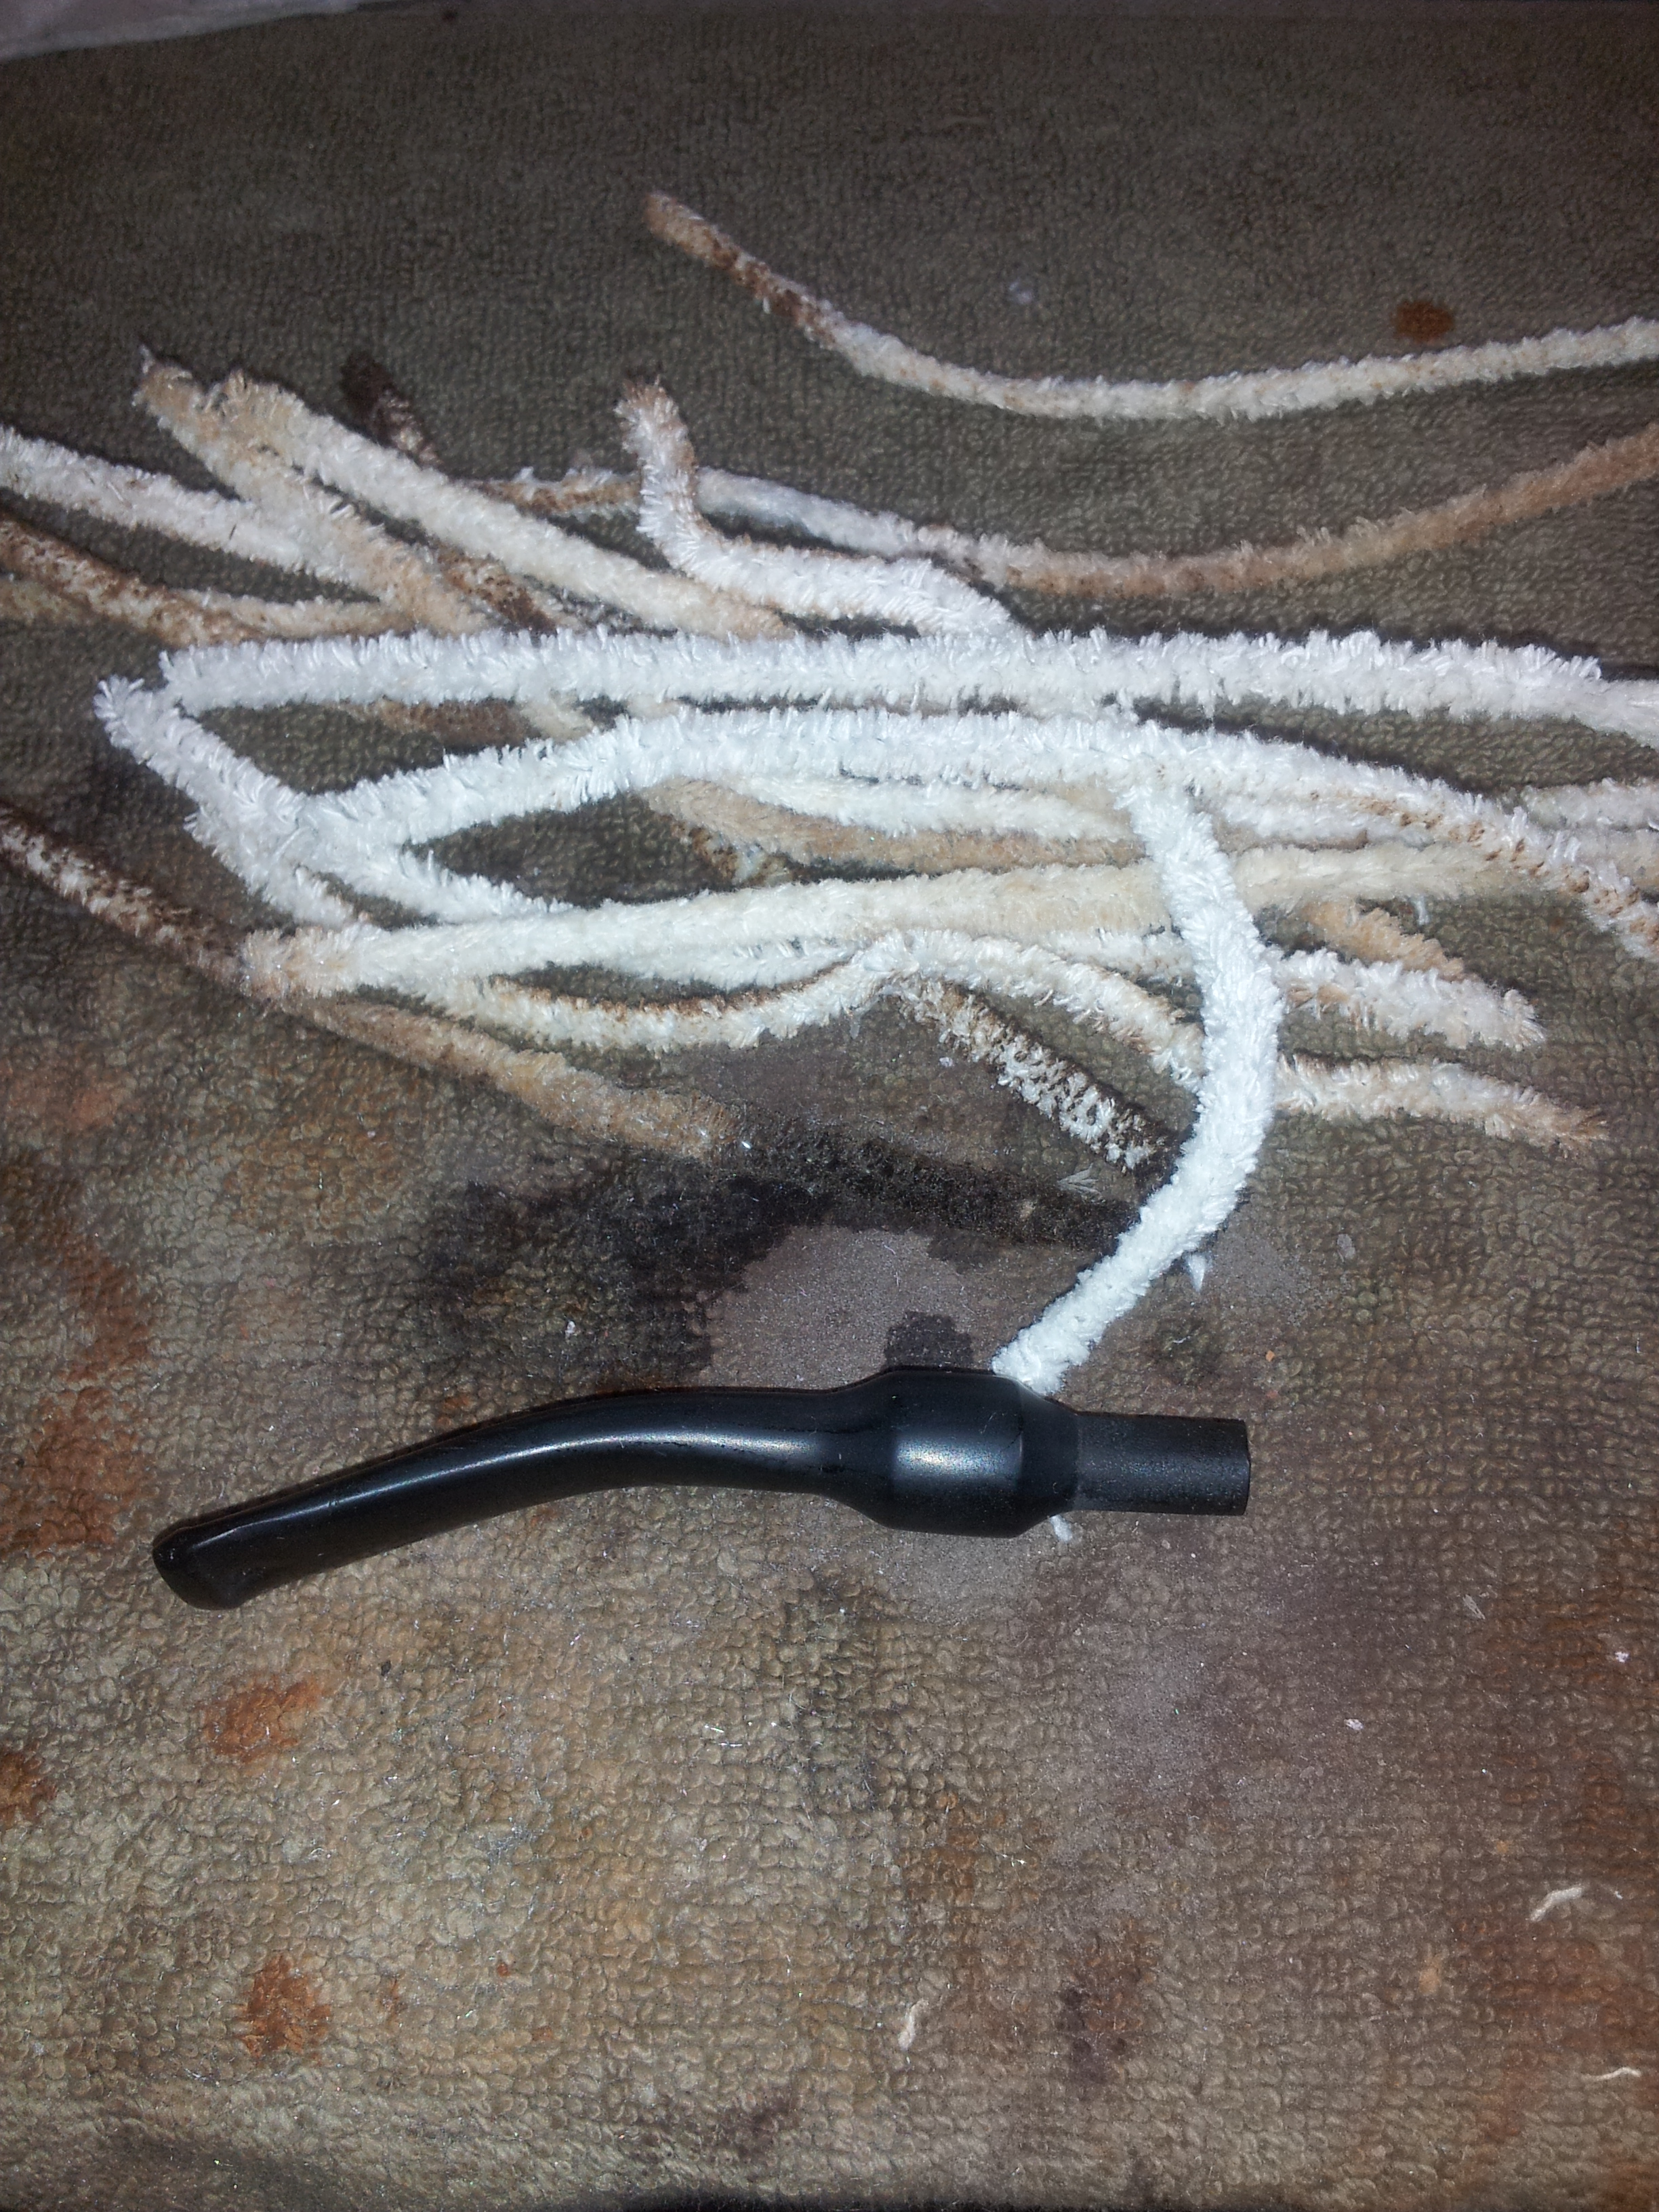
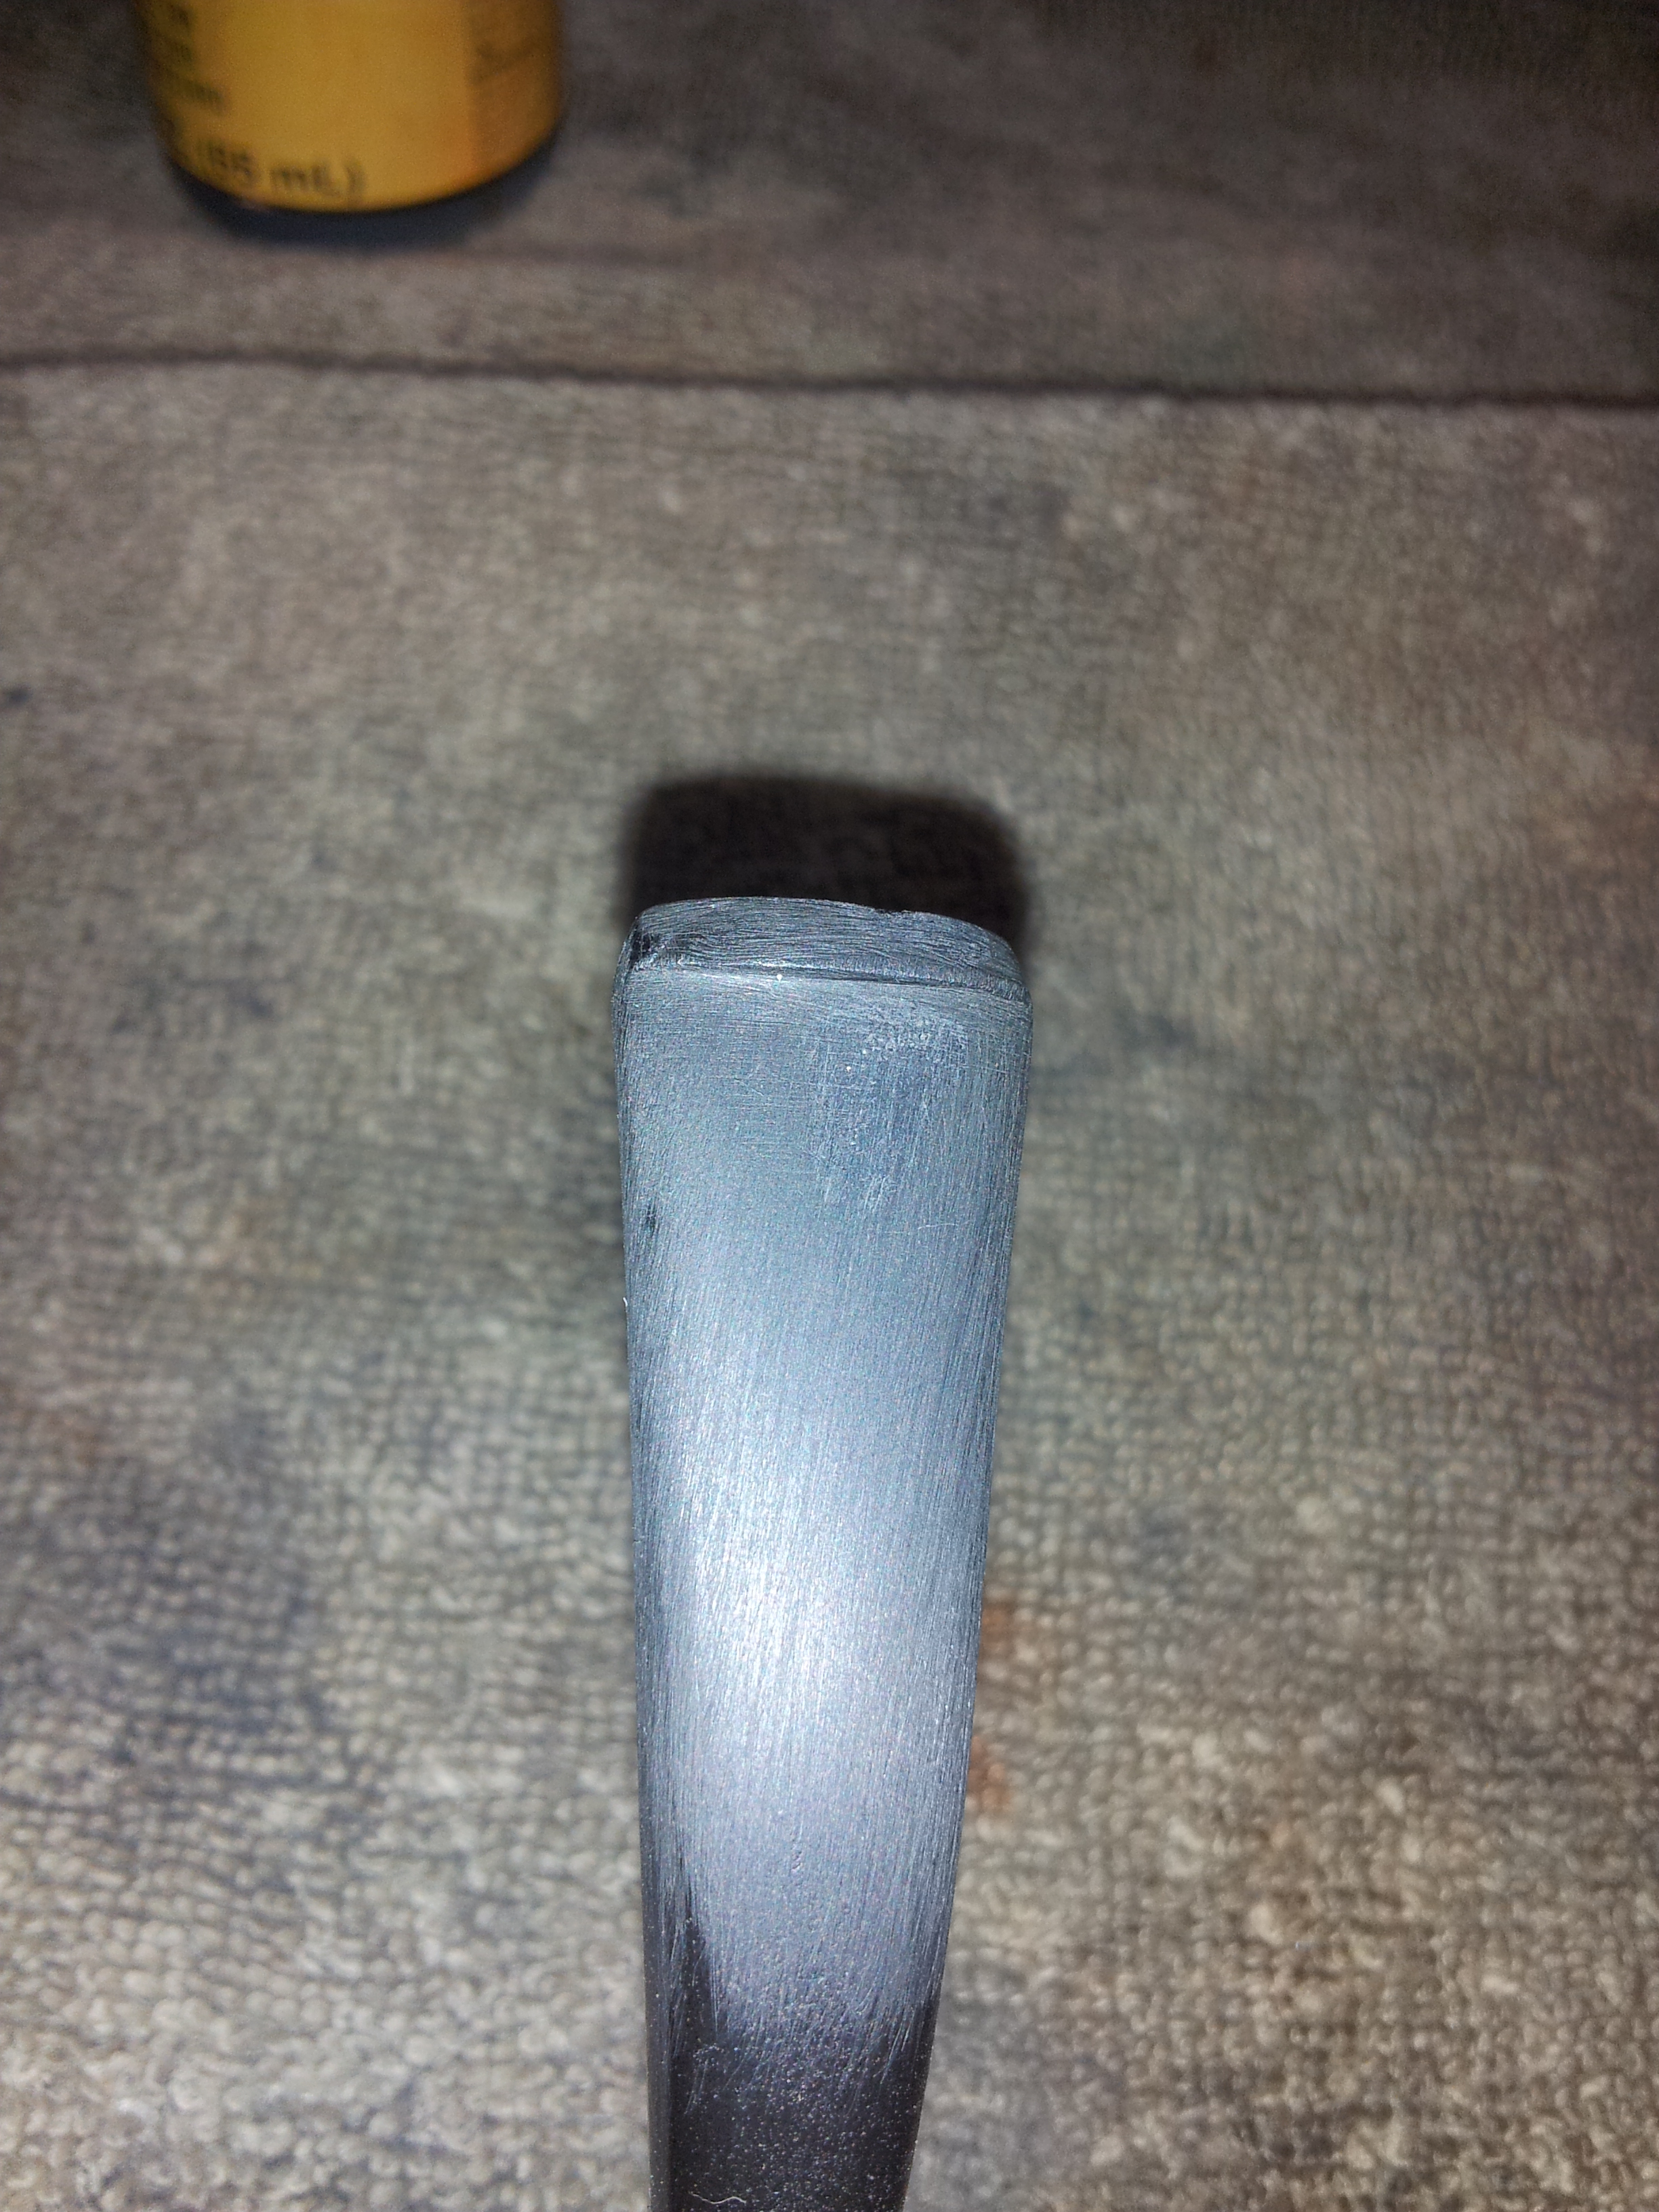
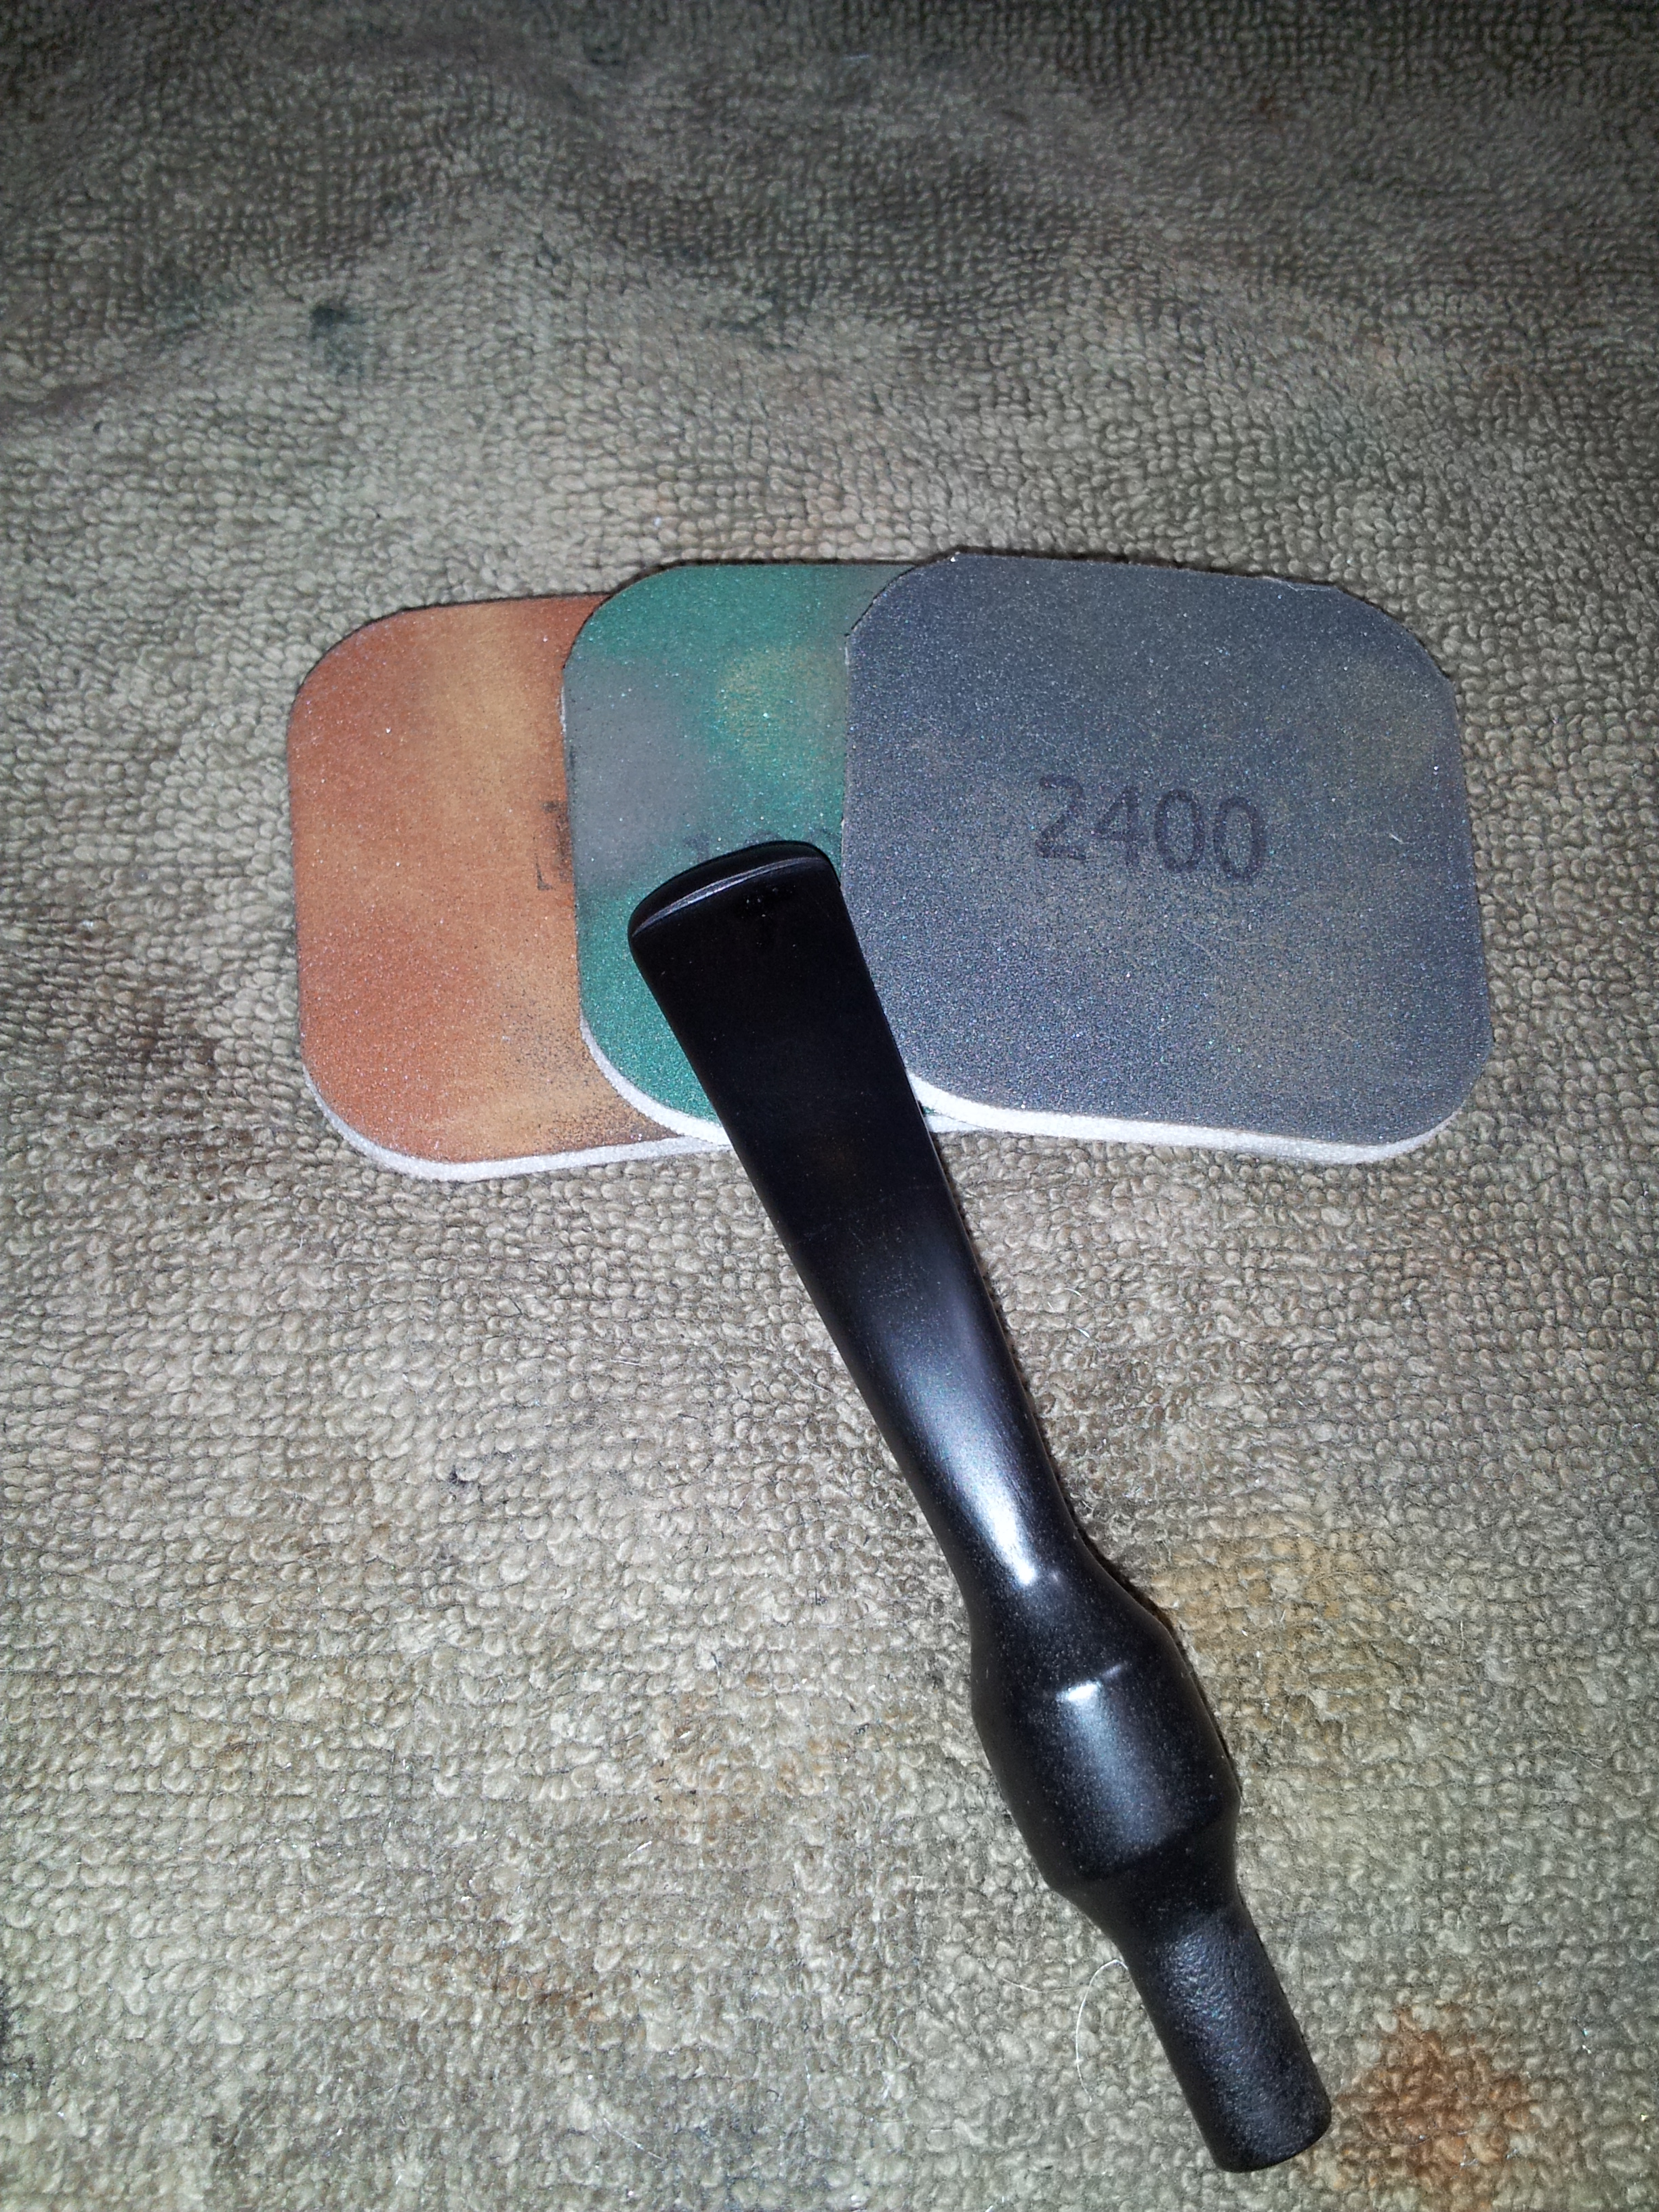
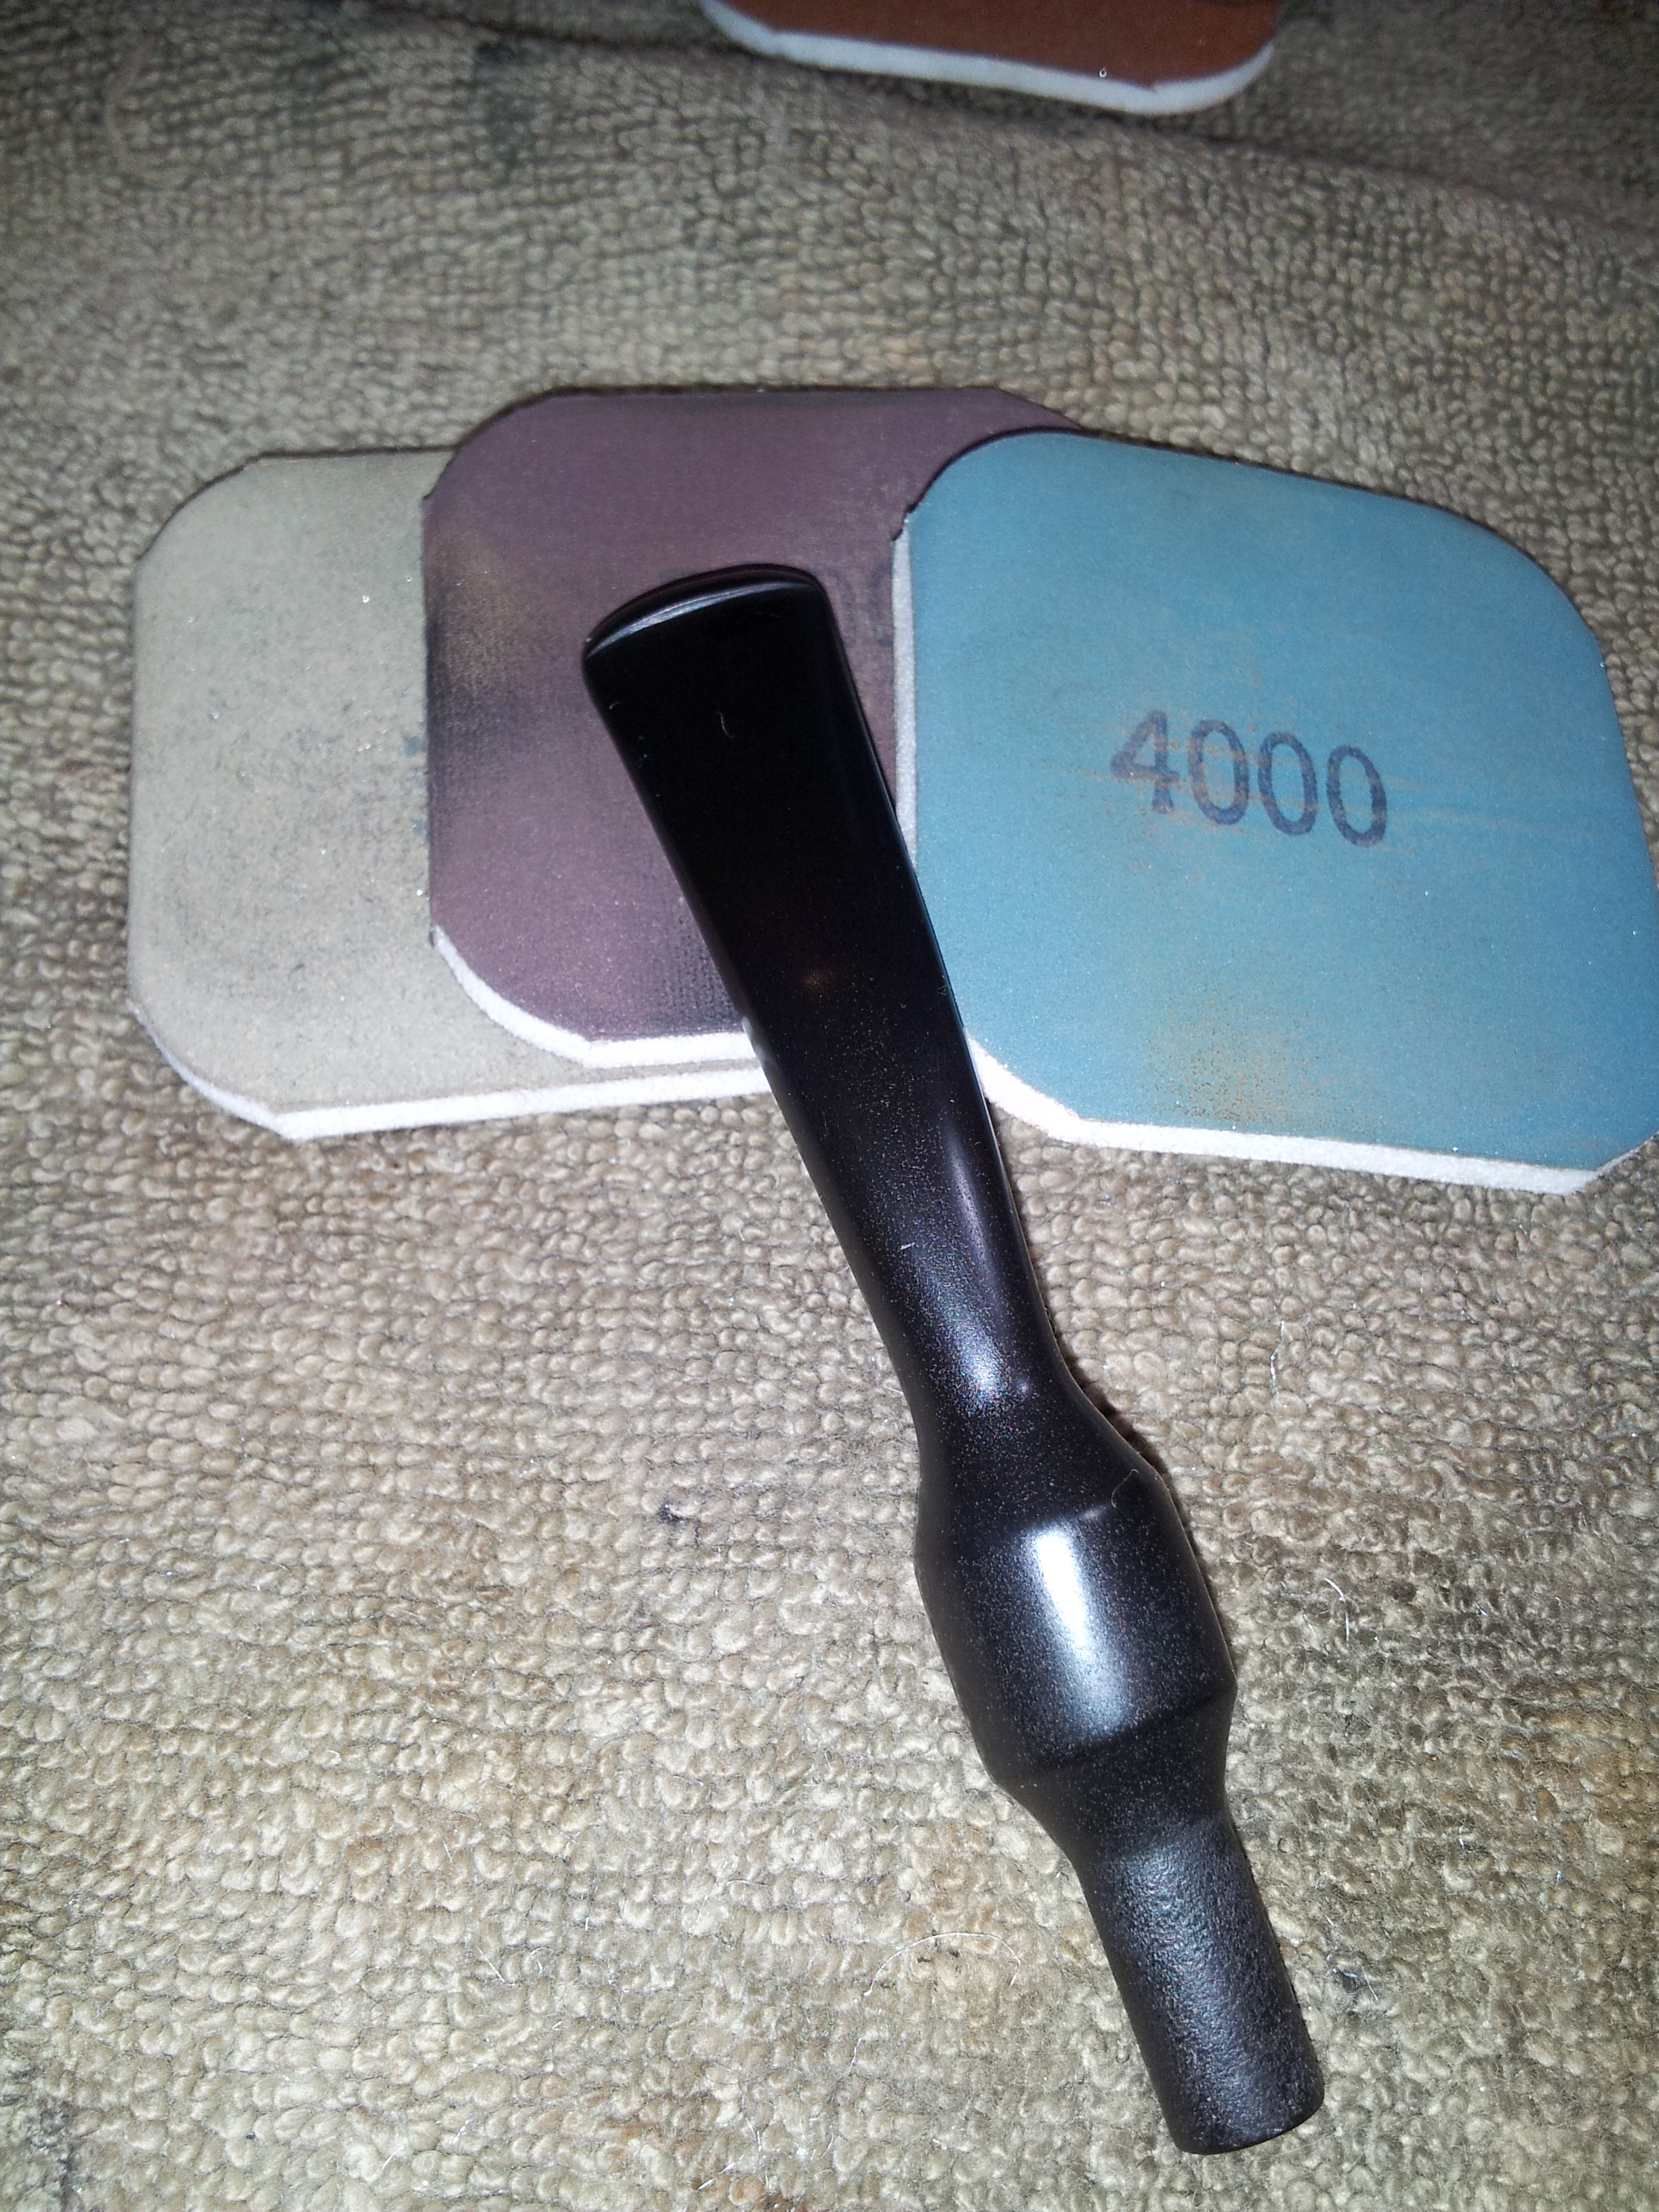
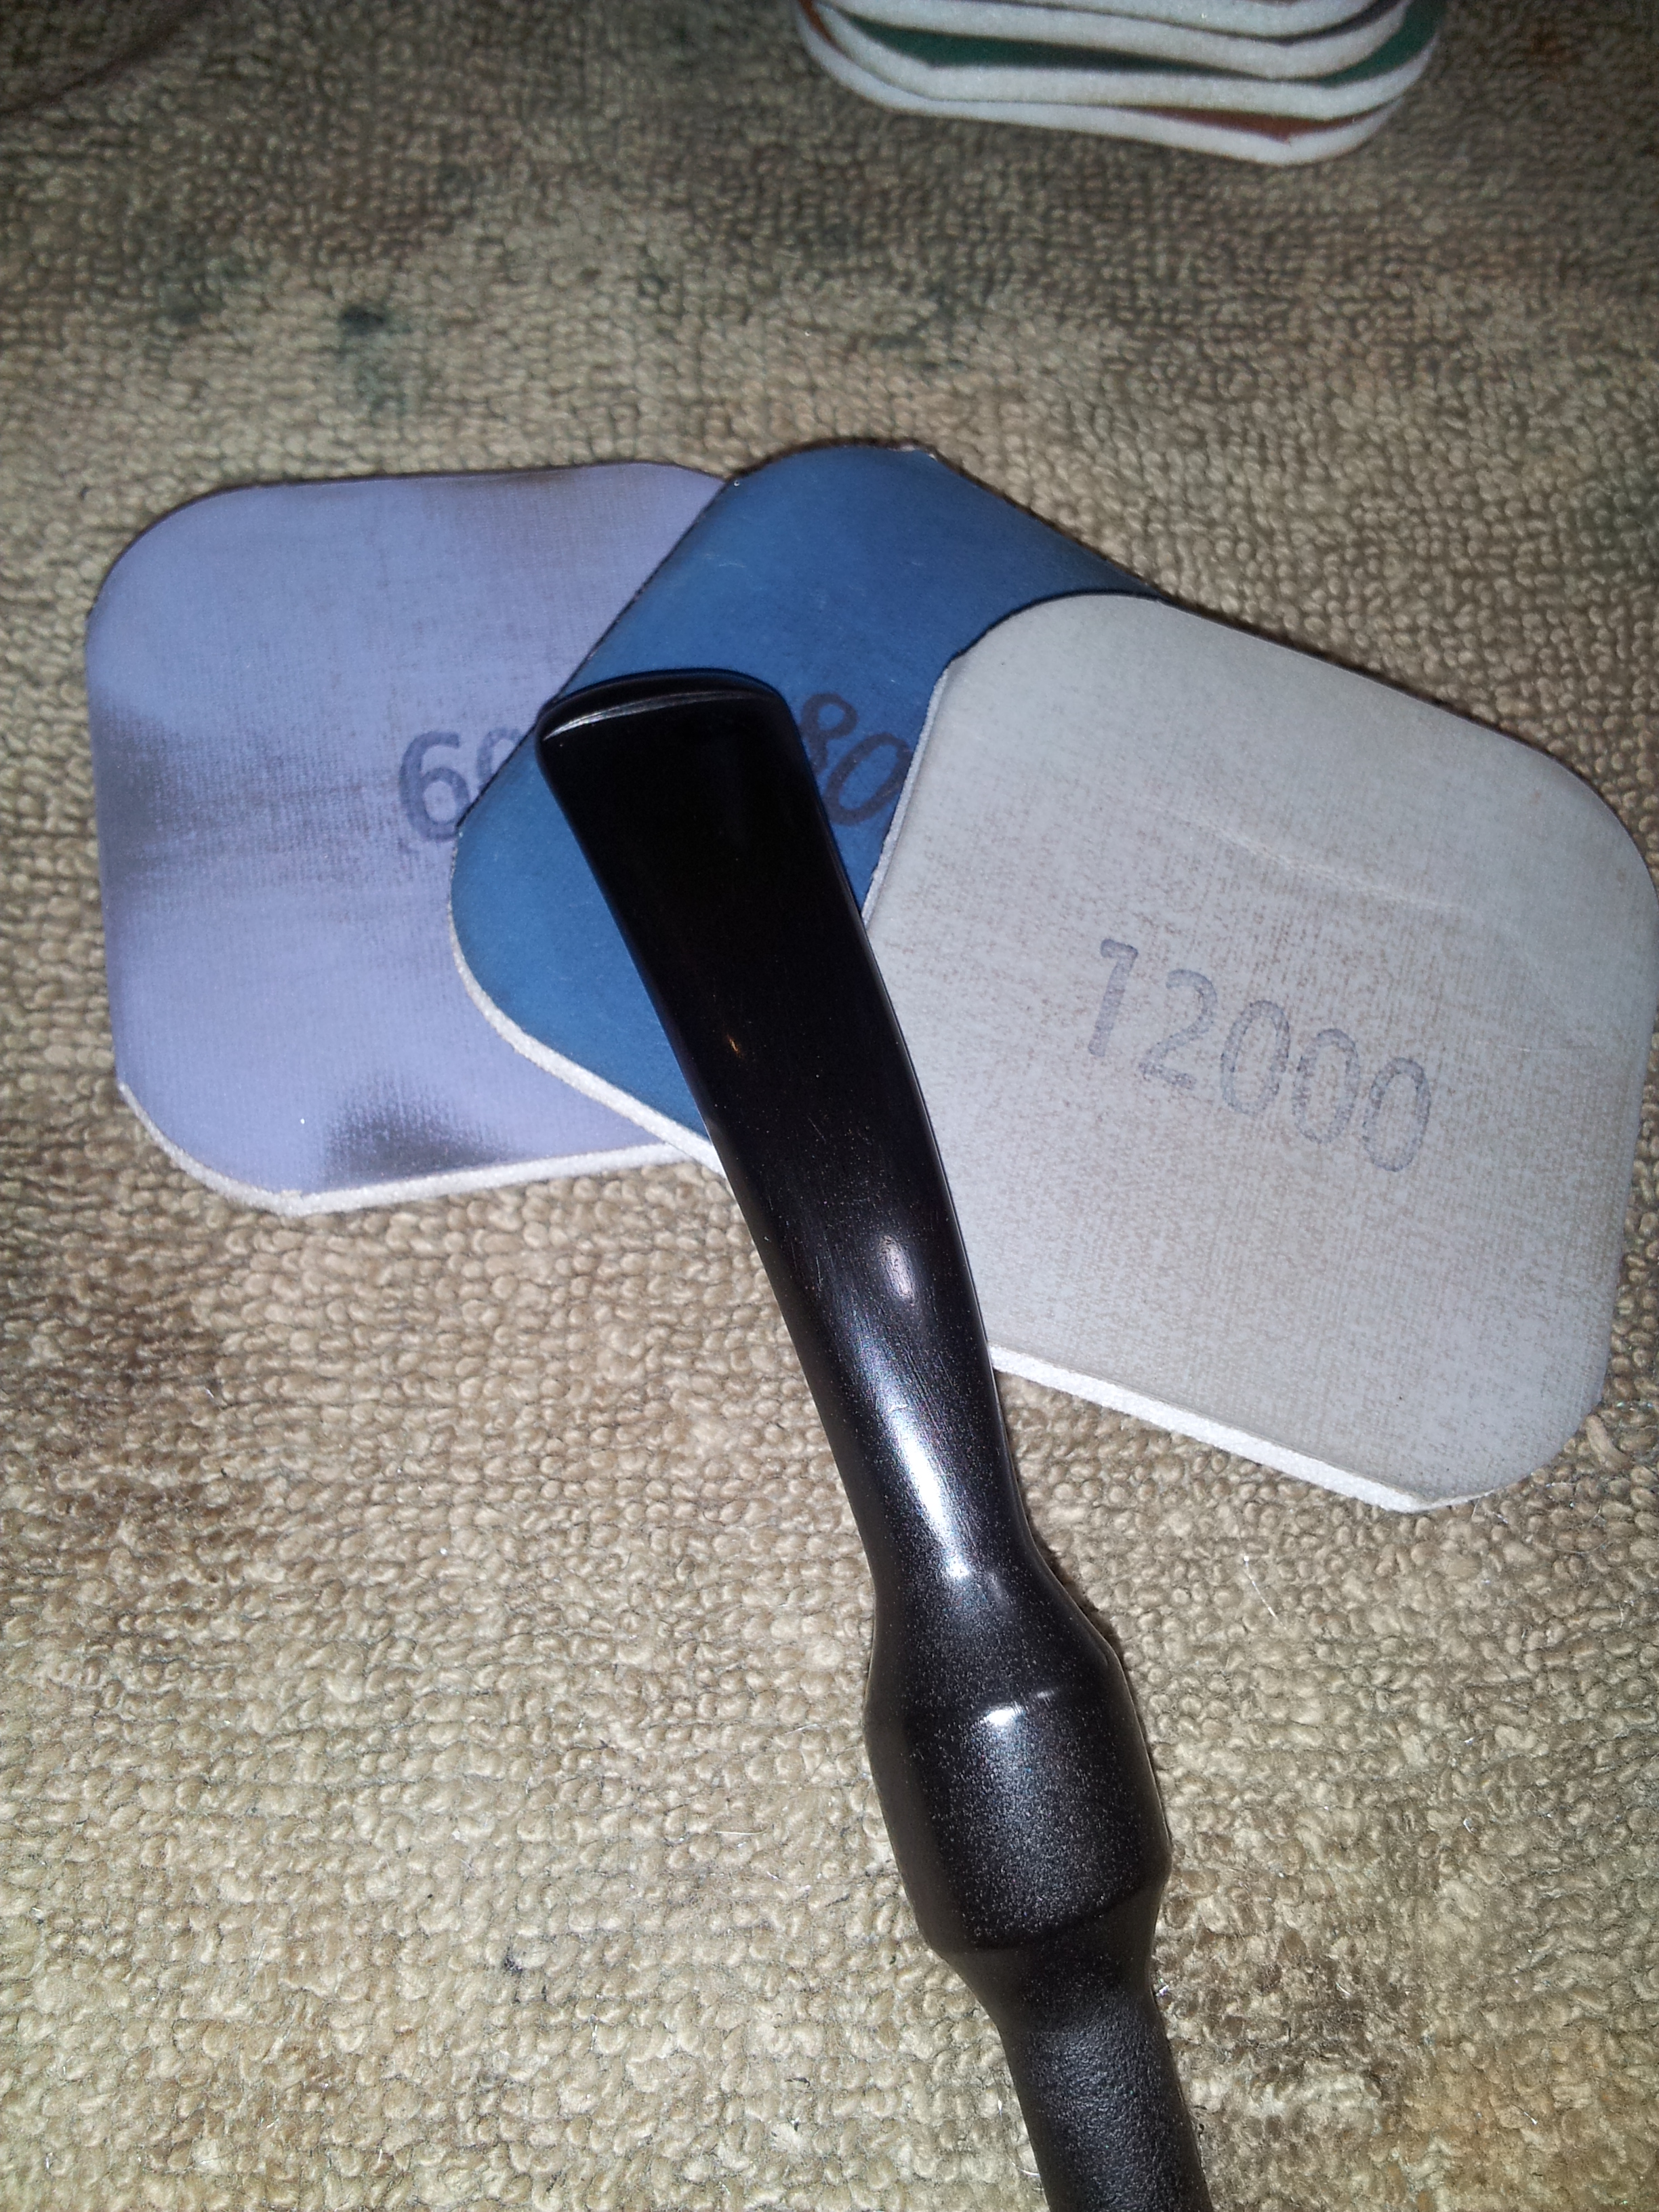
Then it was time to address the tooth dents. I first attempted to raise the dents with heat, which helped somewhat. The larger dents would still have to be filled, so I mixed CA glue and charcoal powder and dropped it into the dents. I smoothed it out as best I could before it dried, then sanded the patches flat with 220 and 320 grit paper after the glue had cured. I used sandpaper and needle files to redefine the back edge of the button and then polished the whole stem with MicroMesh sanding pads in 1500 – 12000 grits. Just before reassembling the pipe, I heated the stem over a flame and corrected the bend, giving it slightly more curvature to bring the stem level with the top of the bowl when the pipe is assembled.
My buffing station is temporarily out of service as I renovate (and insulate) my garage/workshop, so I settled for wiping the pipe with mineral oil and hand buffing with an old flannel to bring up the shine. When the workshop is complete, I’ll give the stem a run of buffing compounds and Carnauba wax. The bowl I will leave as it is now, as wax would definitely clot up in the deep rustication on the bowl and shank.
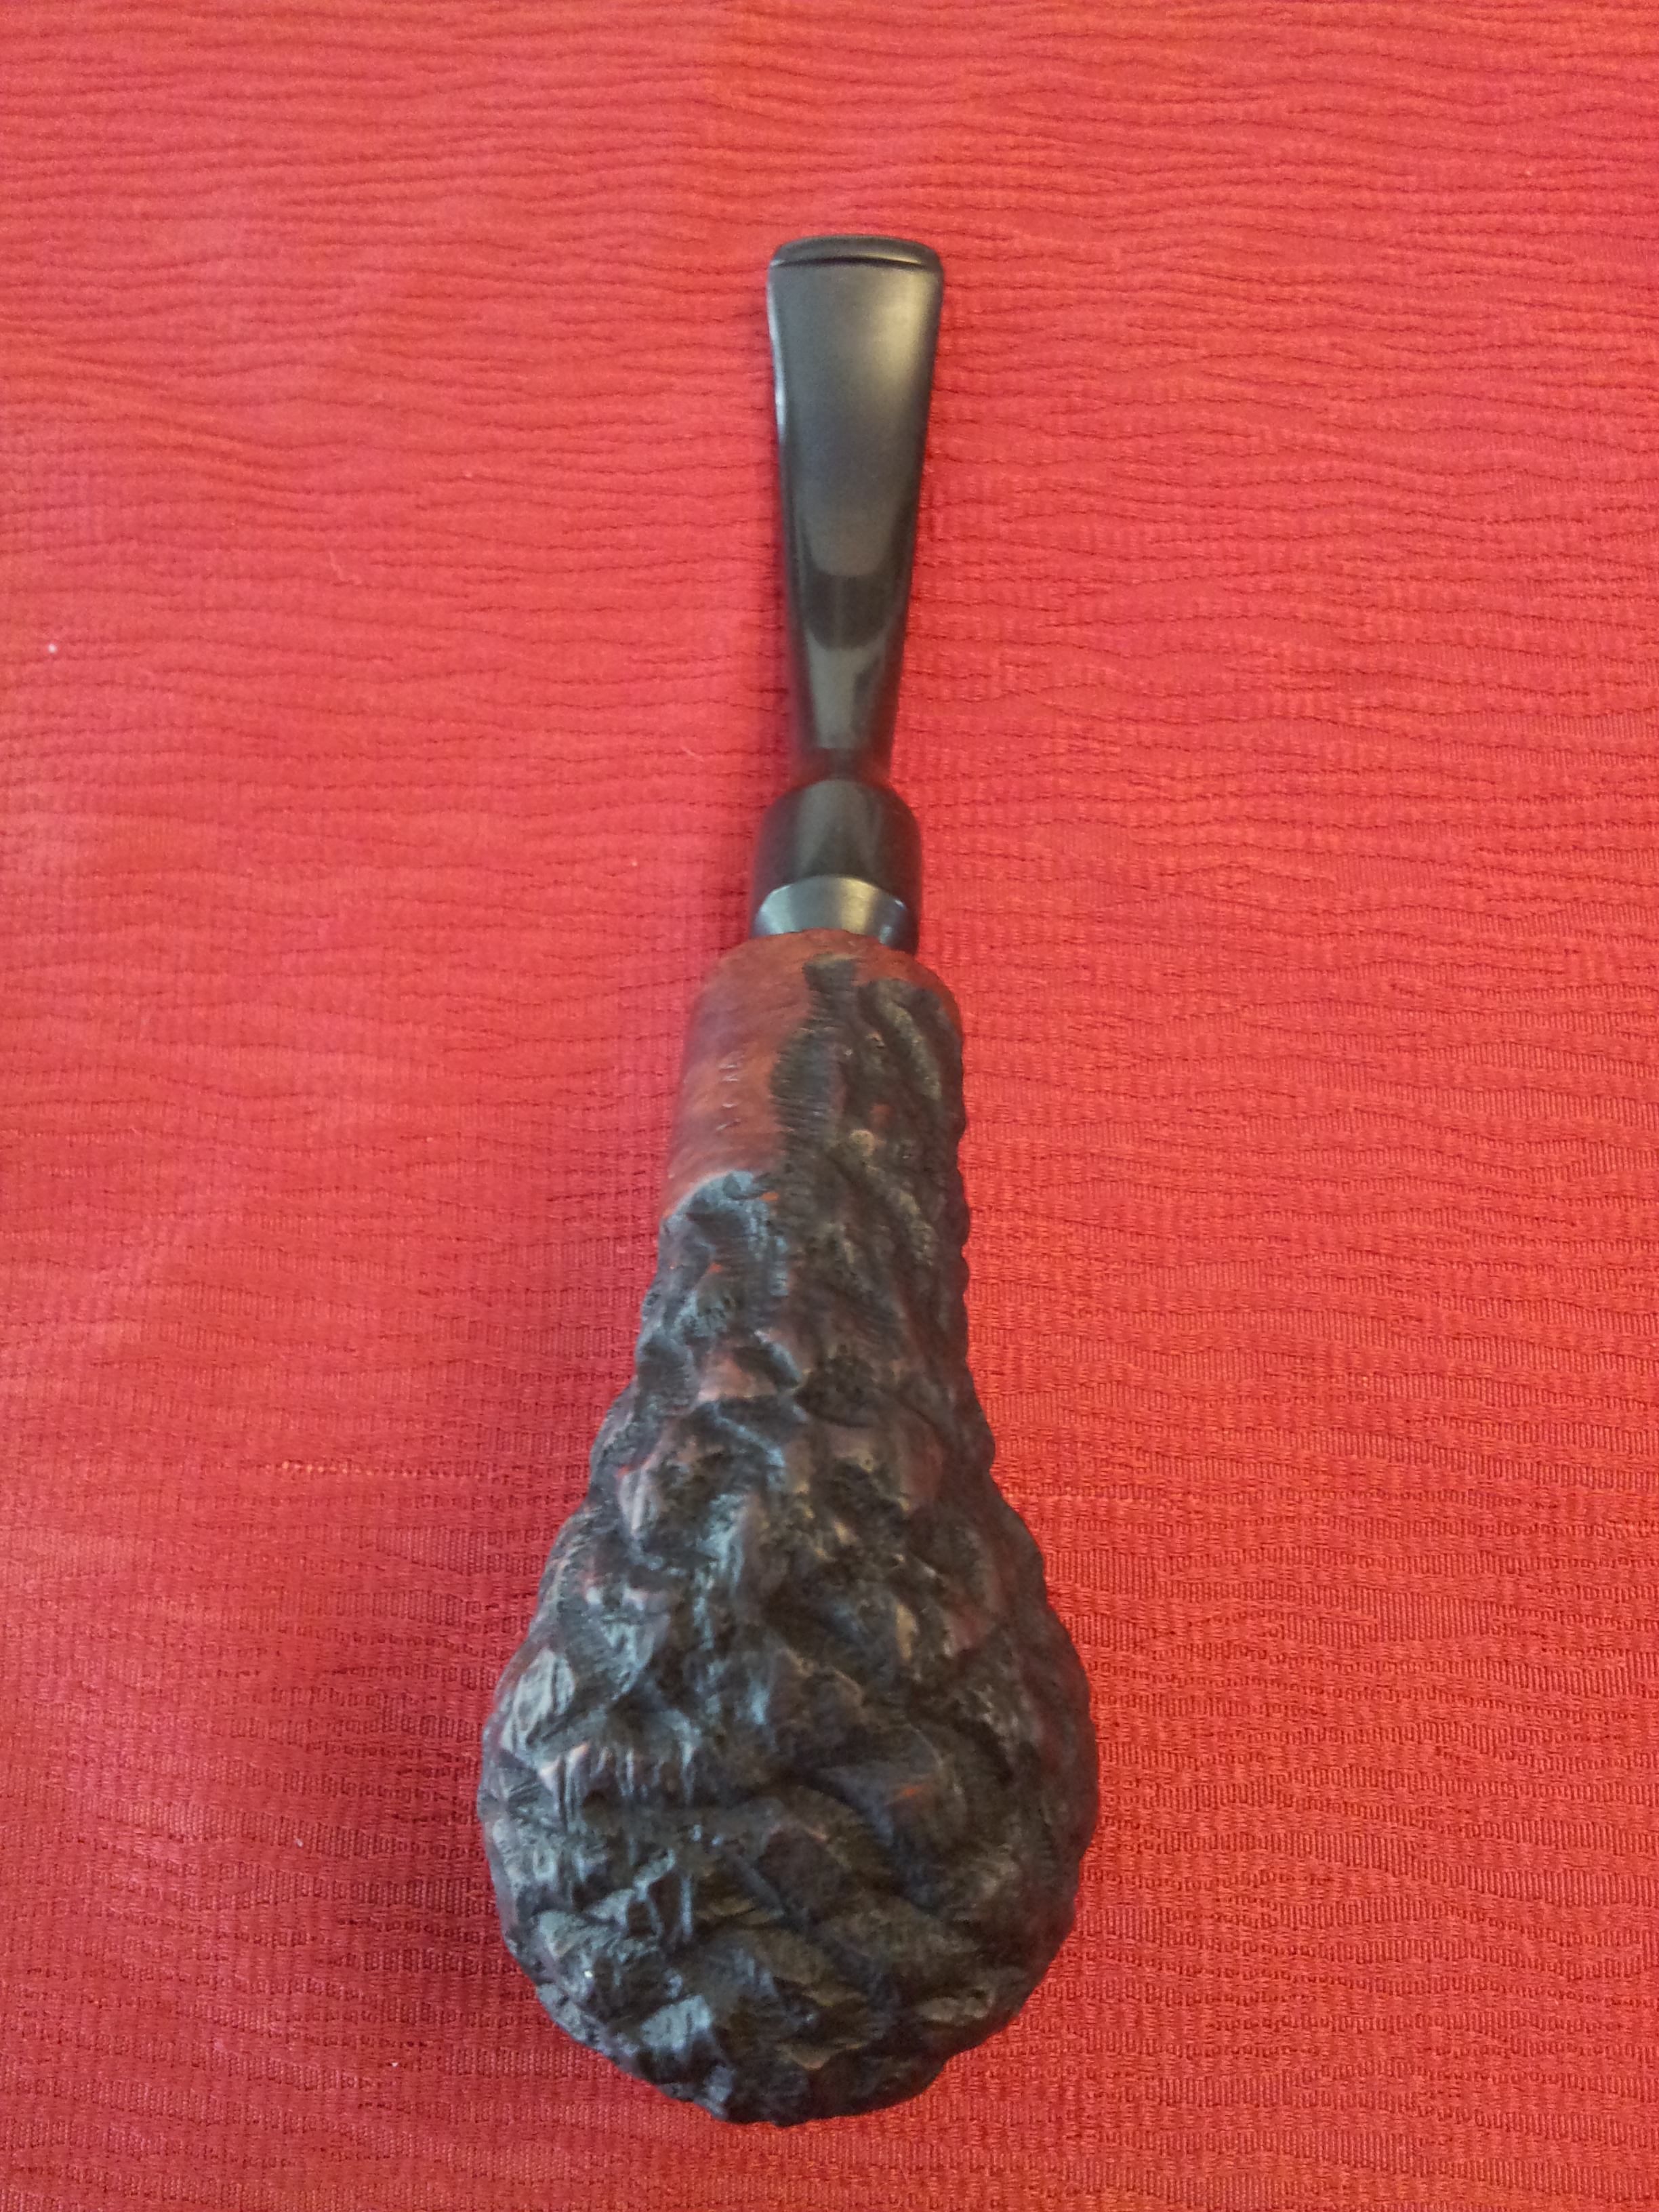
Here’s the finished pipe. Despite its size, the pipe weighs in at only 50 grams, and with the new curve in the stem, it sits easily in the mouth. The large bowl promises a good long smoke, and I look forward to christening it when my order of McClelland’s Christmas Cheer arrives!

Looks good. I love the rusticated look.
LikeLiked by 1 person
Thanks. The Trypis rustication is very distinct. Feels great in the hand too! 🙂
LikeLike
Excellent work on that chamber repair, DP! That pipe is going to be kicking around for a while now.
LikeLiked by 1 person
Thanks Anthony. I’ll squeeze it into the rack somewhere. Or get another rack. … 😀
LikeLike