
This pipe was sent to me for refurbishment from a gentleman in Kansas. He had recently acquired it and wanted it spruced up before he started using it himself. After a brief email conversation, we agreed on a plan of action and before too long a box arrived at my door with this Shamrock inside.
The pipe was in pretty good shape, though definitely showing signs of use. I think it must have been cleaned up a bit before being sold to the current owner, as there was little surface grime, only a light cake in the bowl and just a small bit of oxidation on the stem. The pipe’s main issues were its rim and a few deteriorated fills. A previous owner had clearly used a knife to clean the bowl, gouging the inner edges of the rim in the process. The outer rim sported a small (roughly 1/4” wide by 3/32” high) scorch mark on the front right, and one similarly sized dent on the rear left. The bowl and shank were marred by four smallish dents that turned out to be factory fills that had partially fallen out.
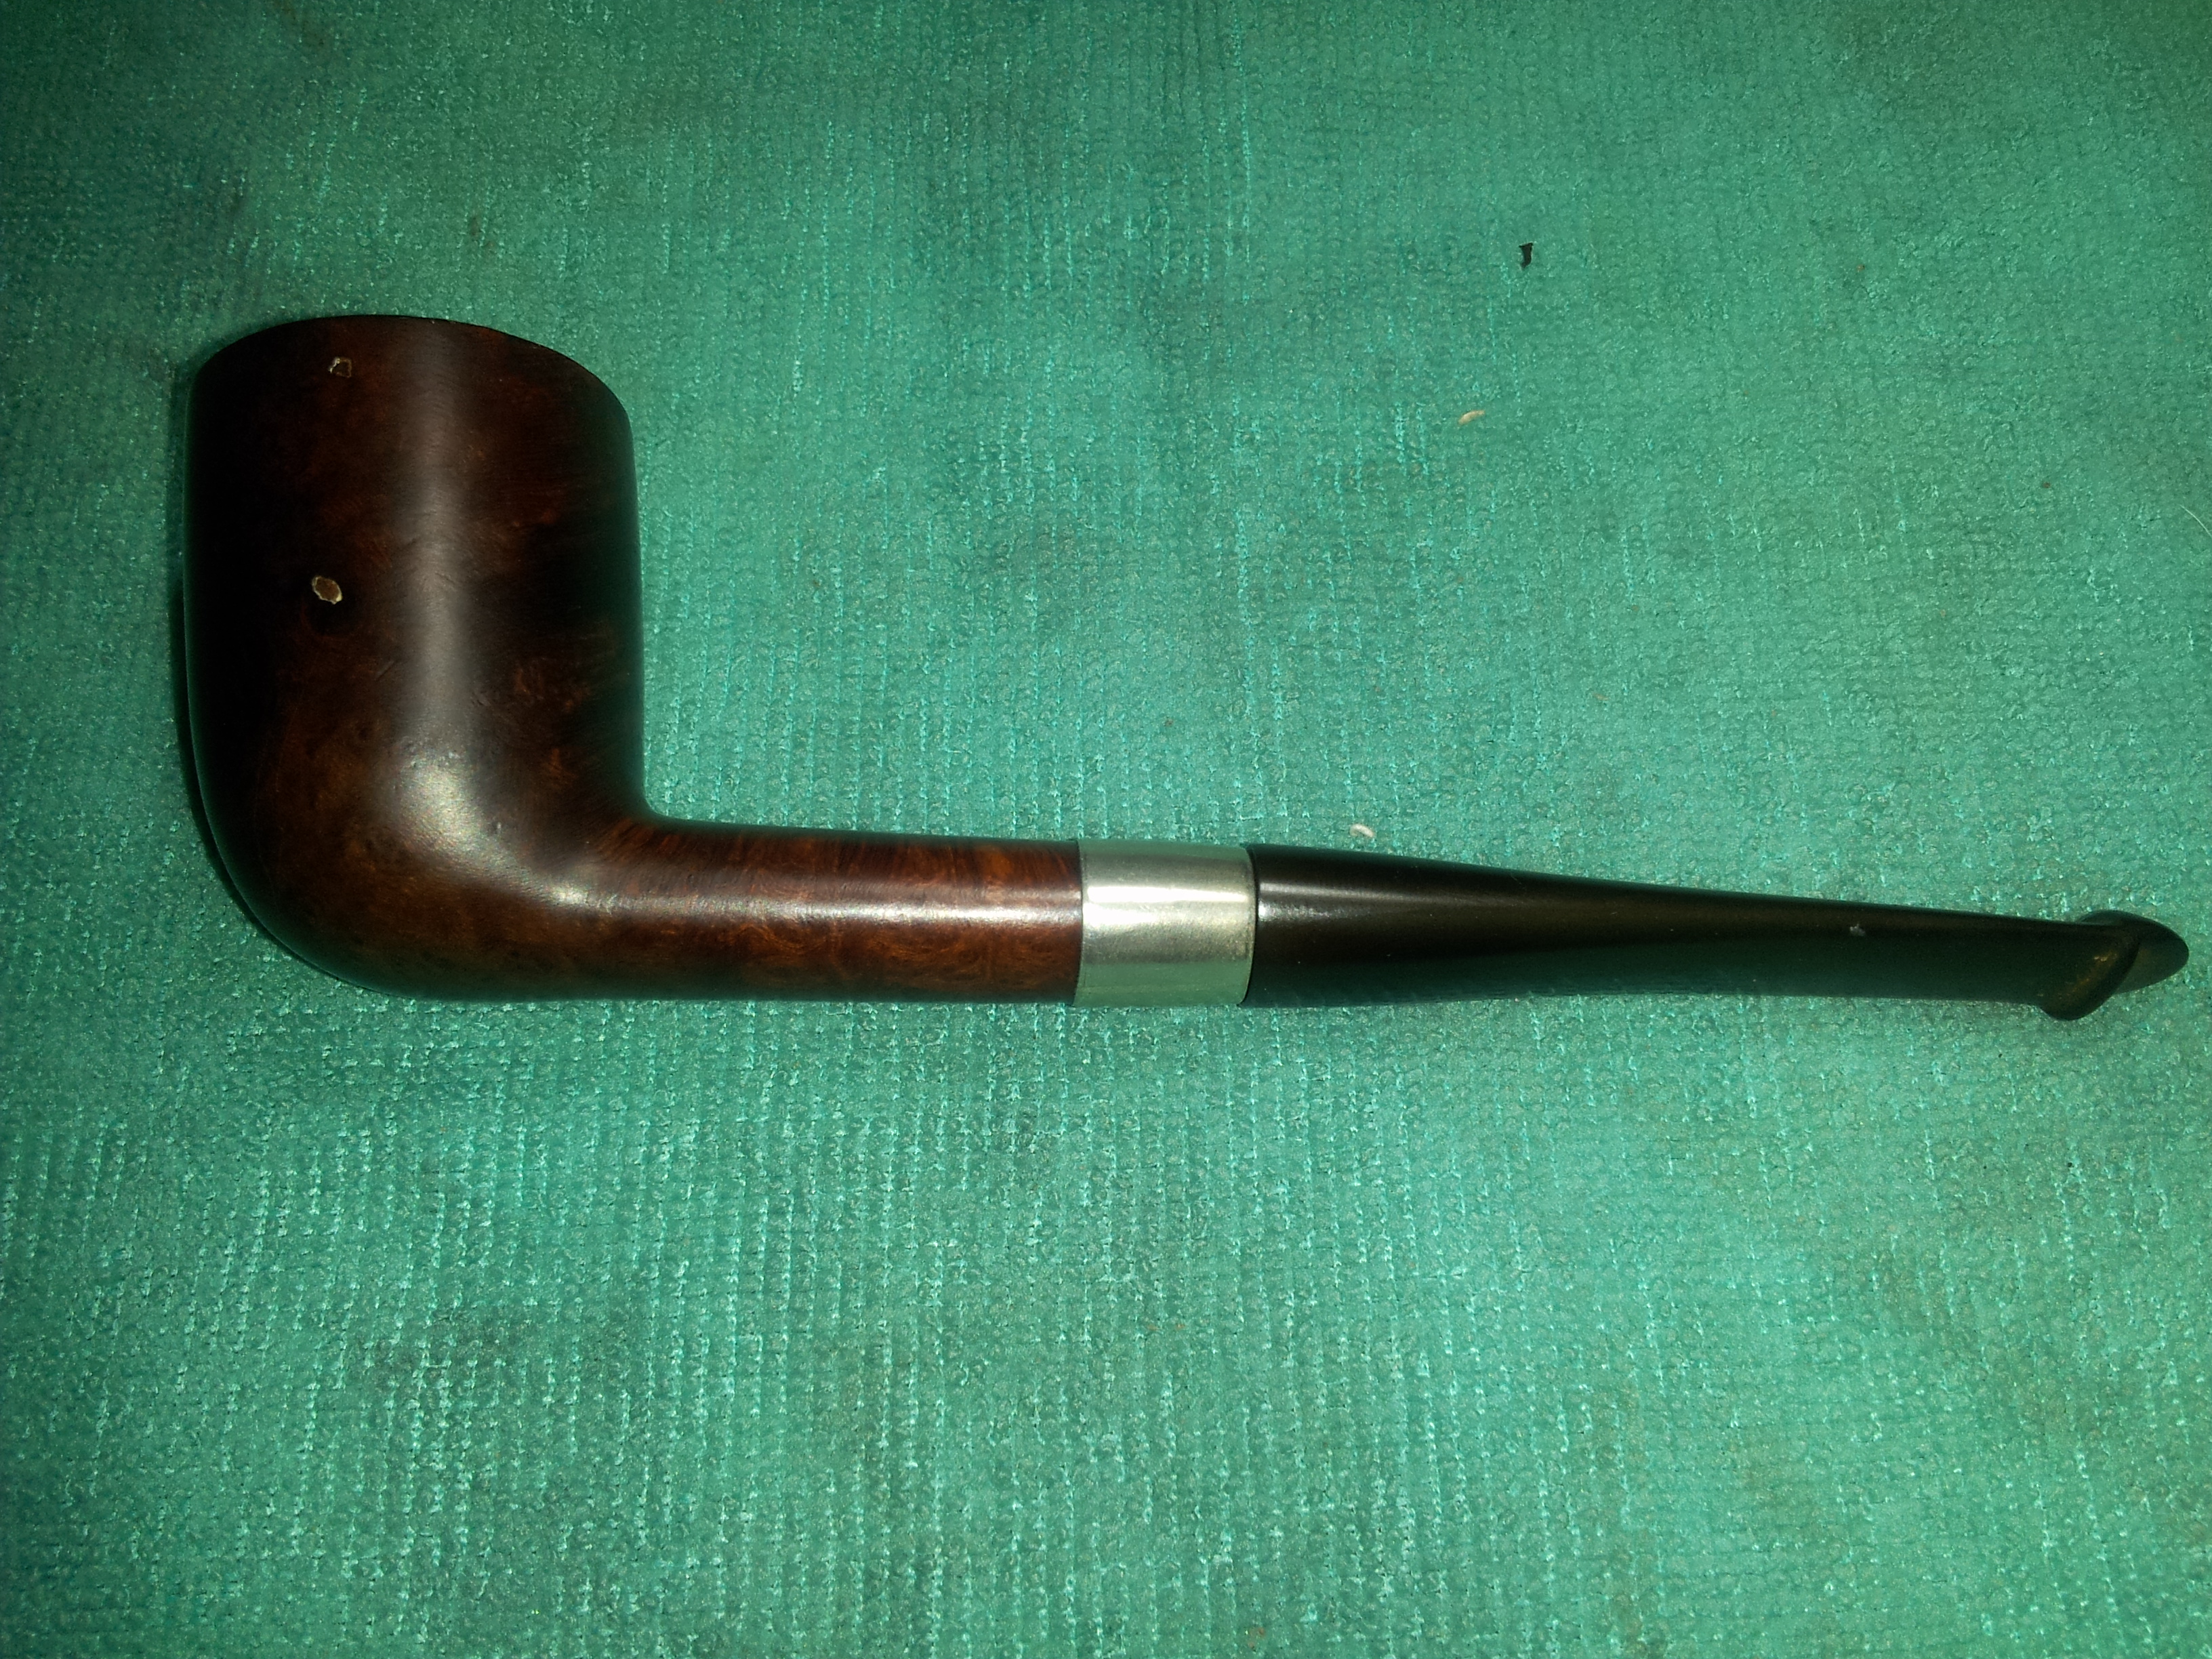
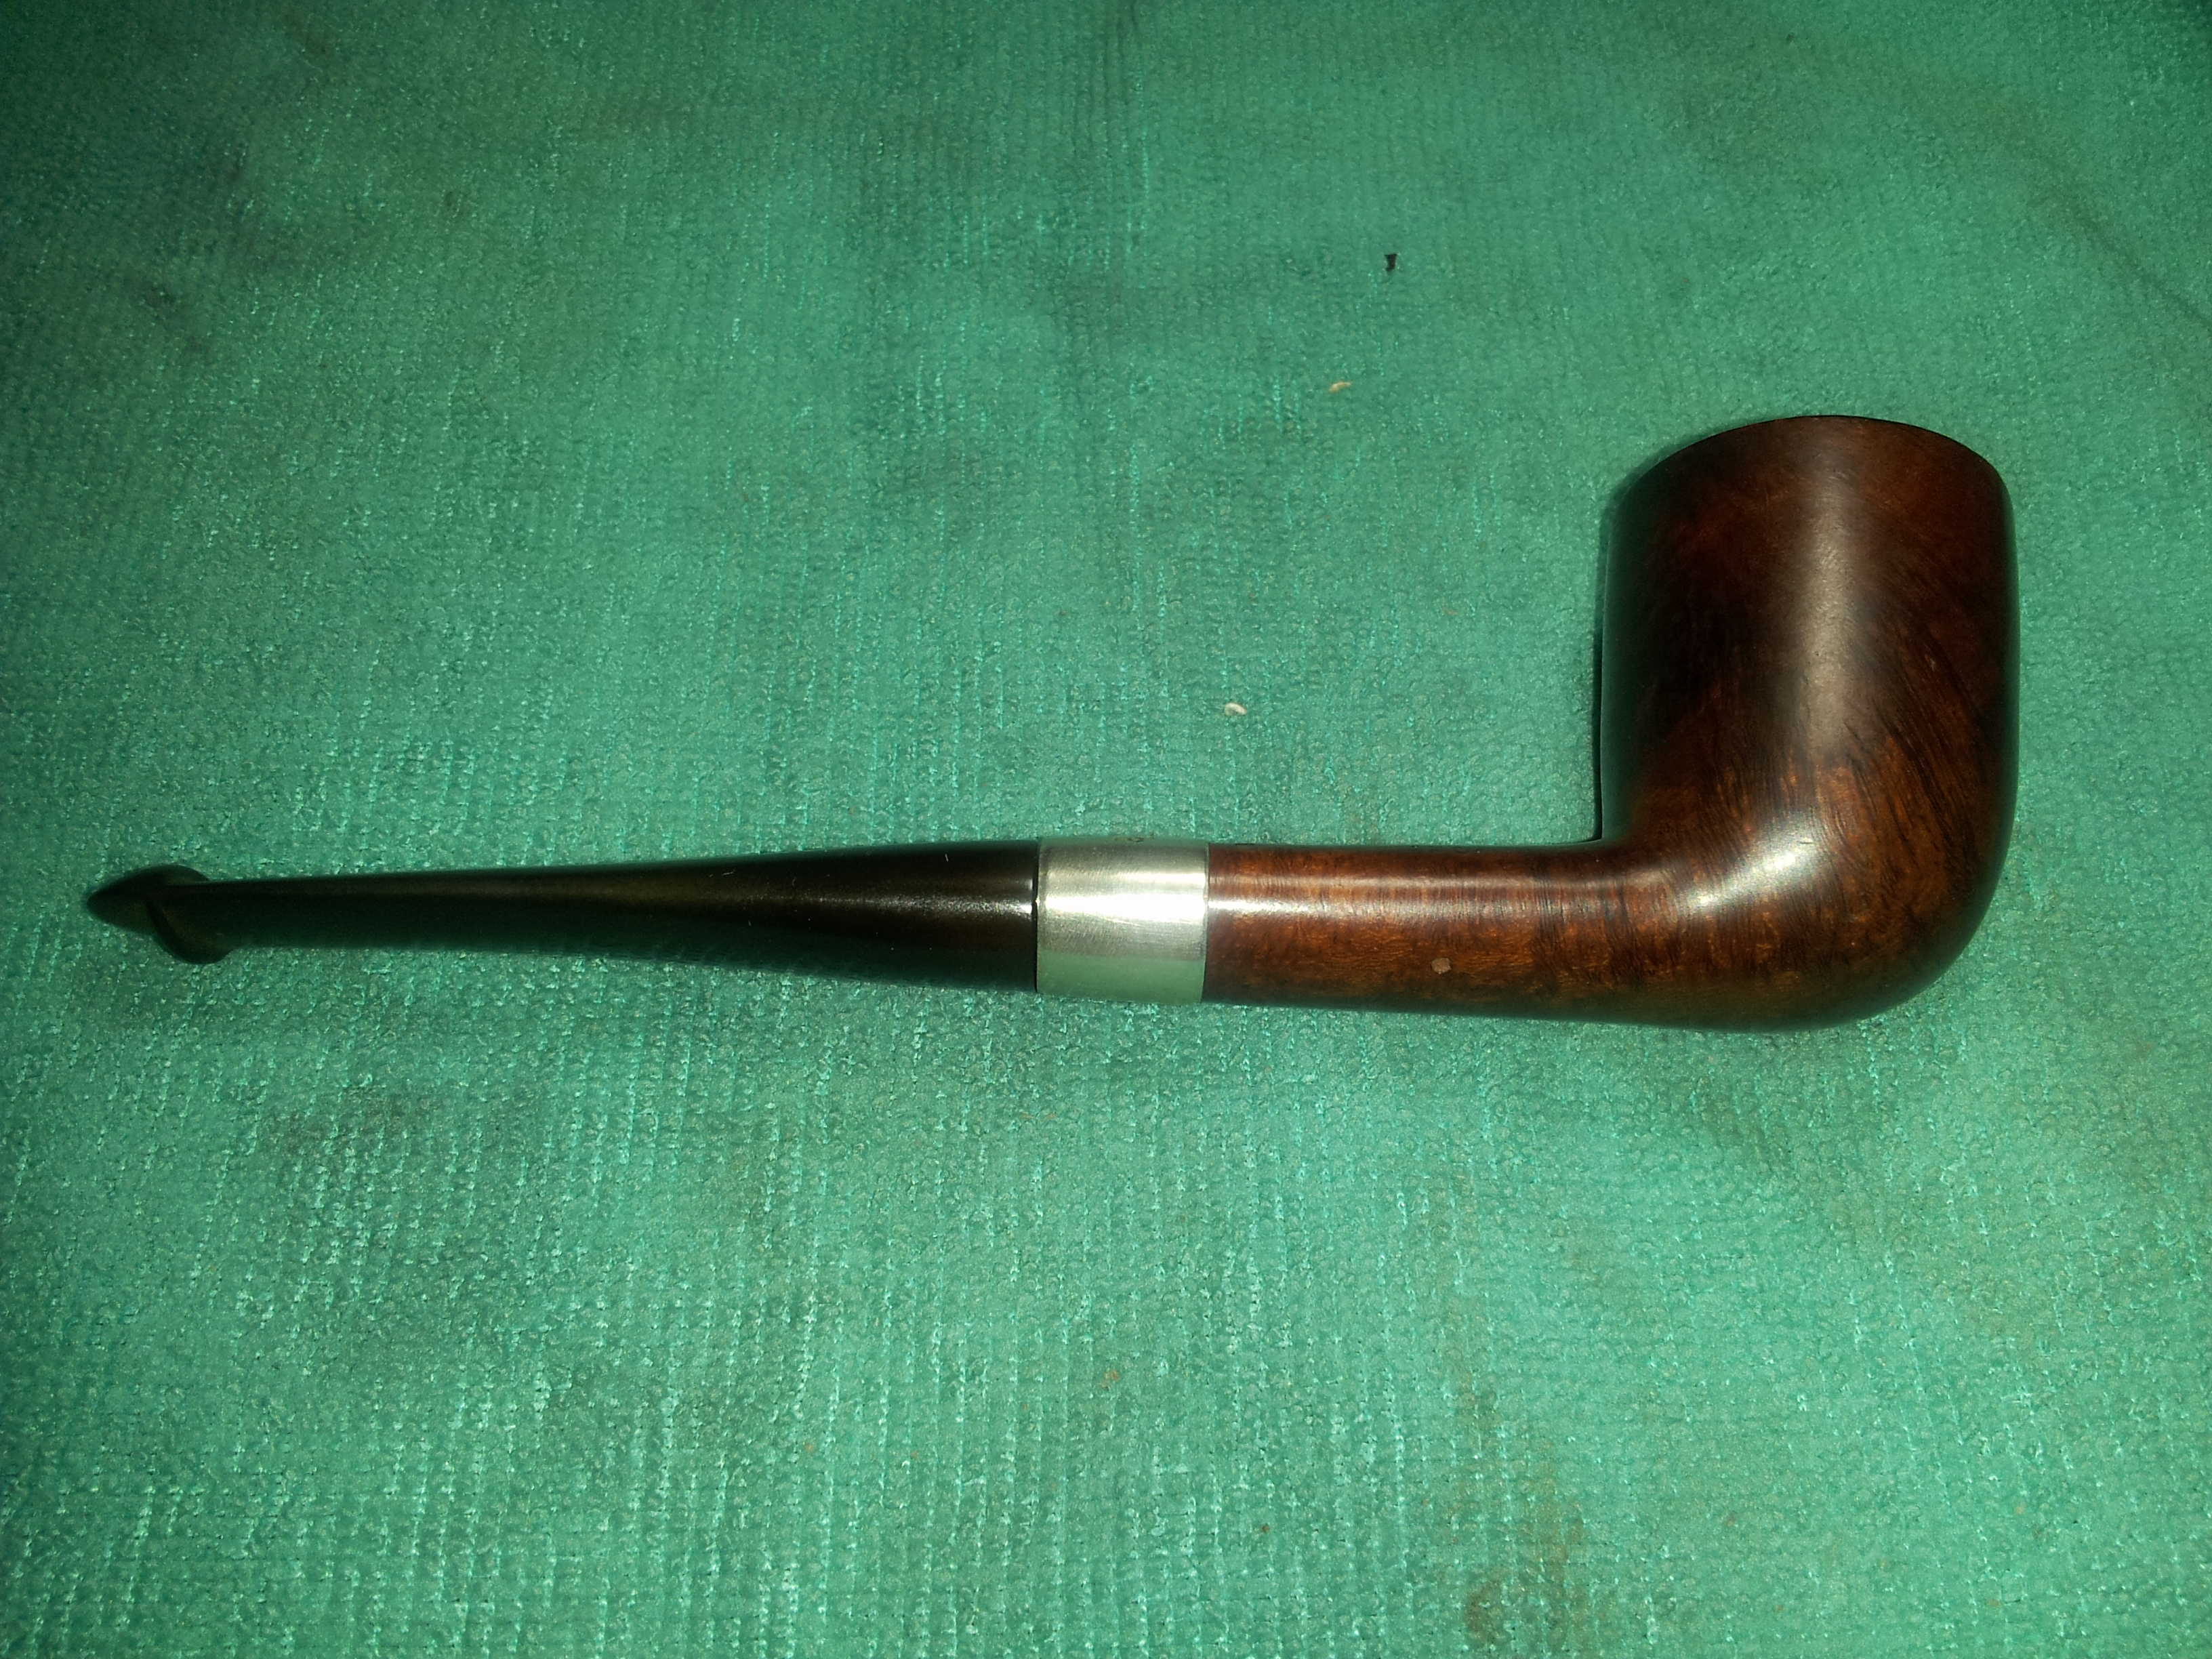


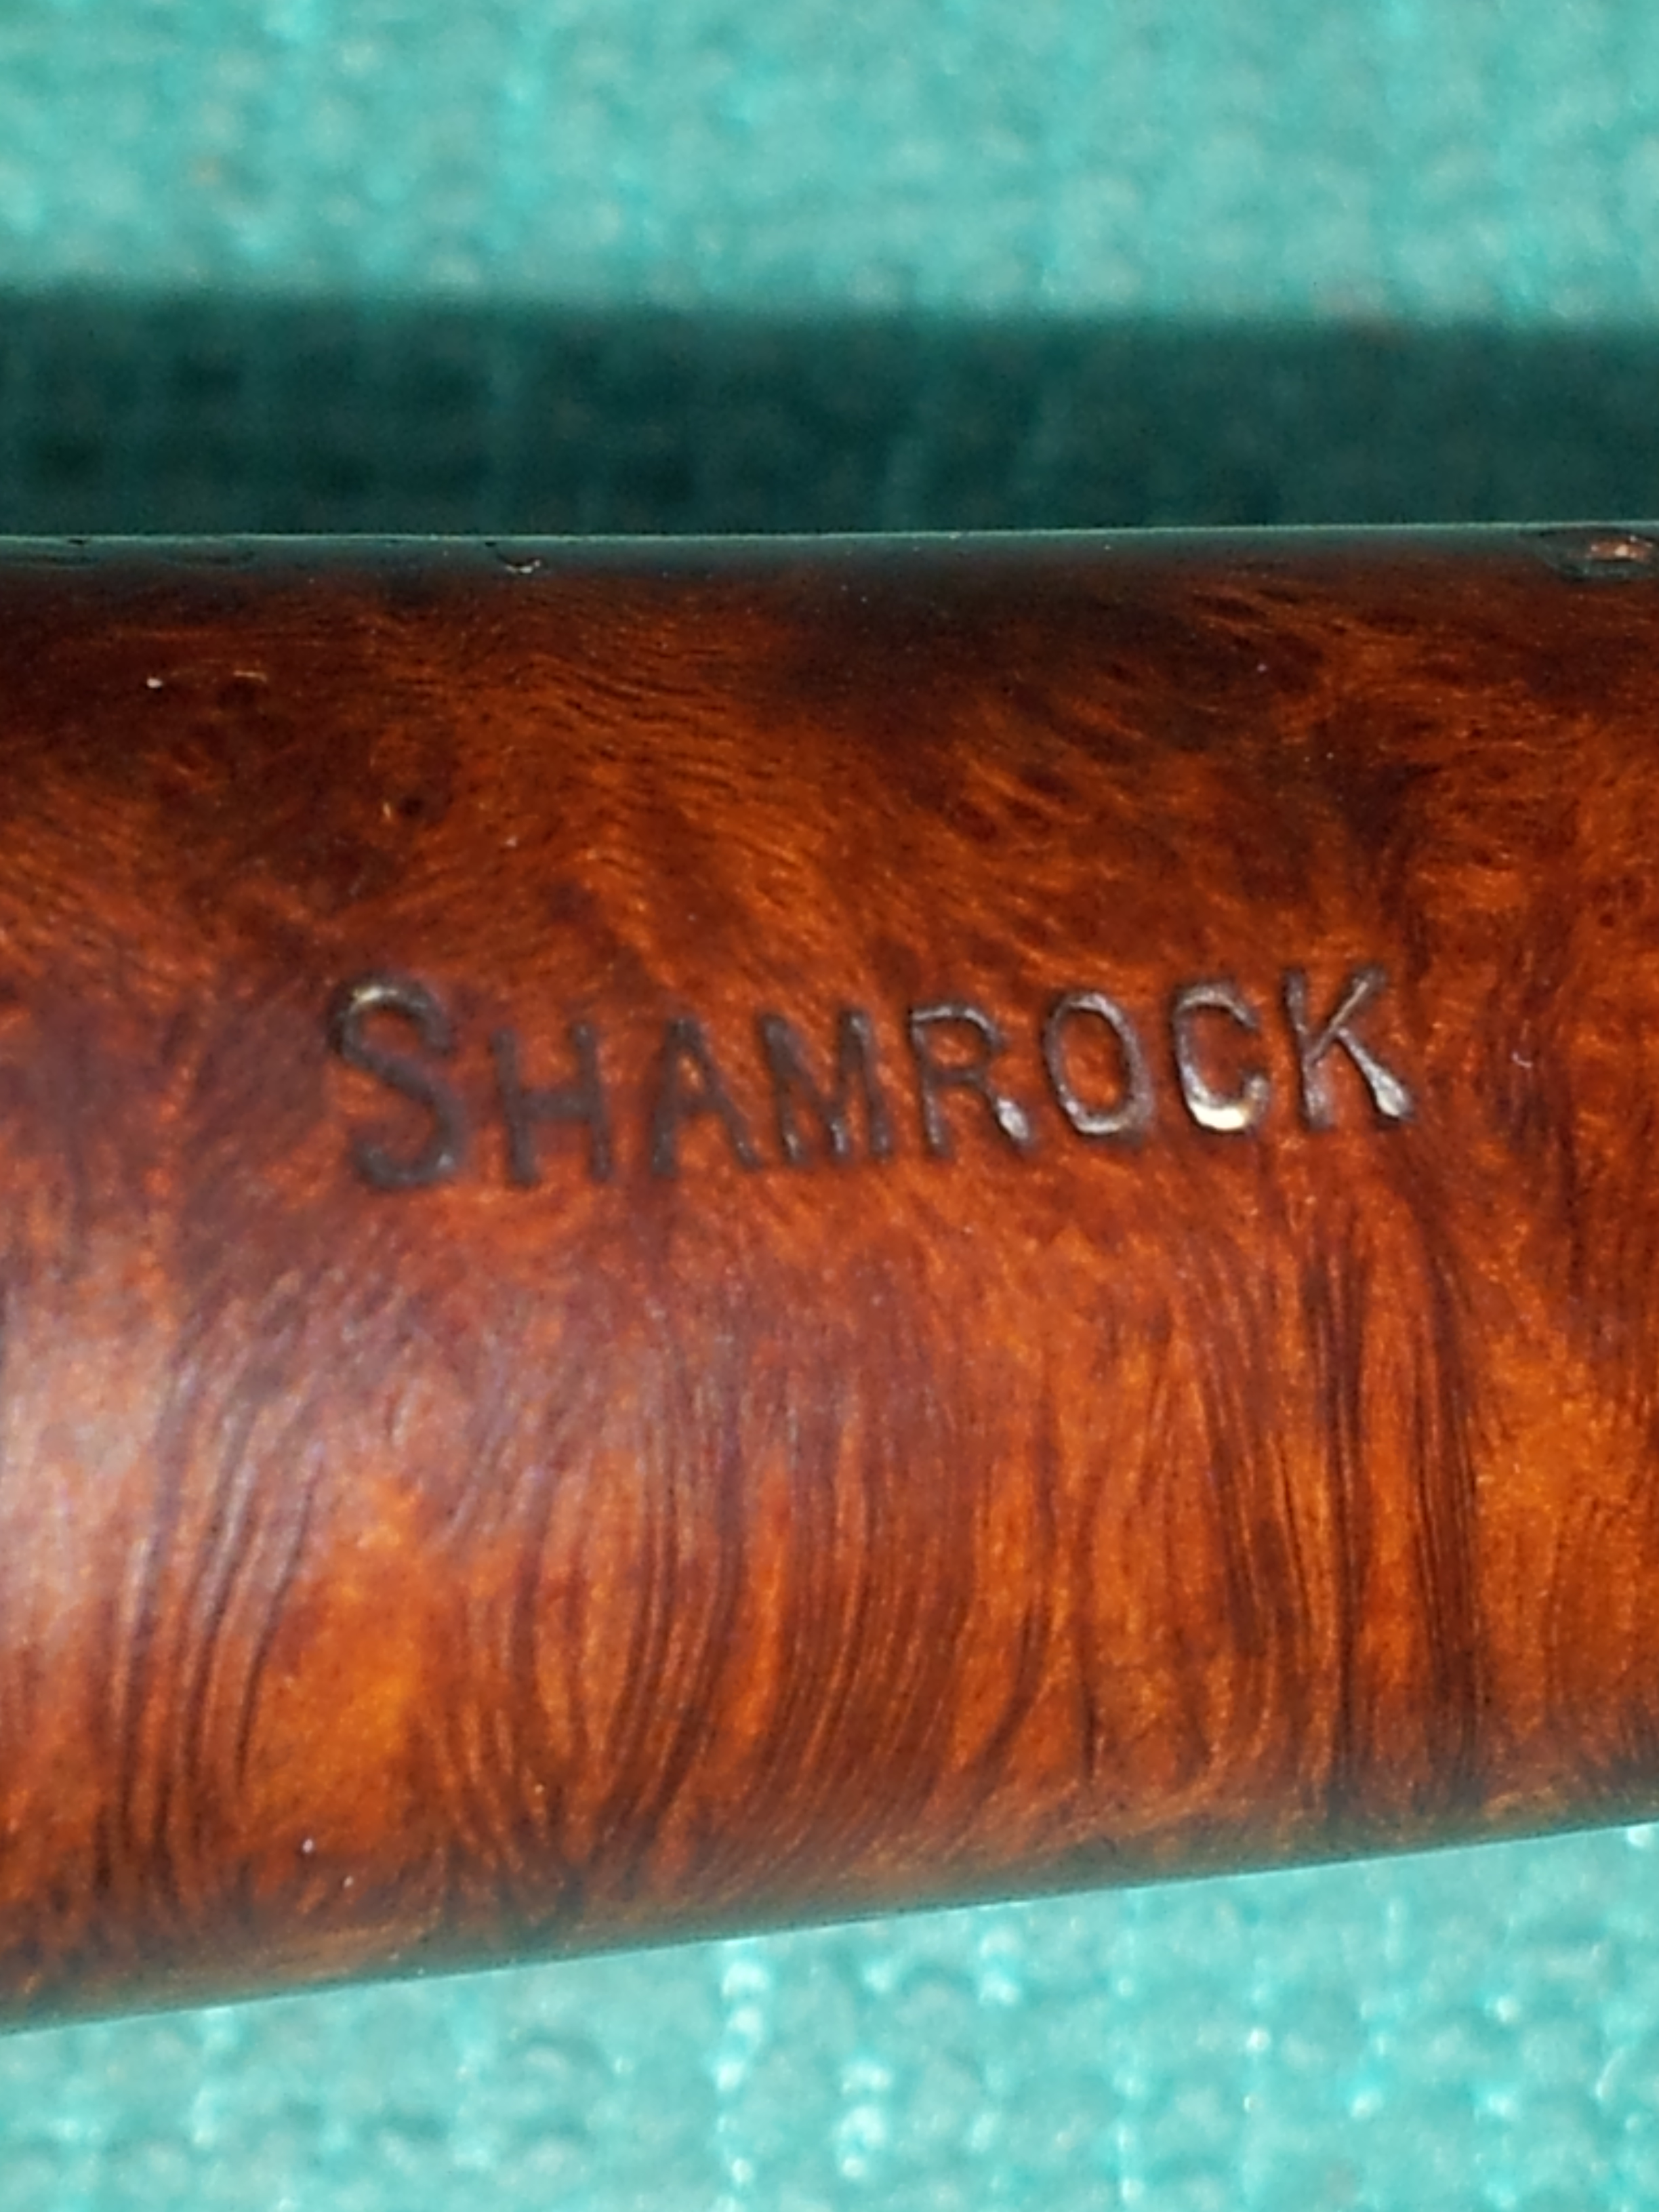
The pipe is a Shamrock 120F. The pinched-oval shank is stamped “Shamrock” in block letters on the top, “120F” on the right side, and “Made in Ireland” in a circle on the bottom. According to Pipephil.eu, this Country of Manufacture (COM) stamp was only used for a few years immediately following World War II (1945 through 1947), when it was replaced with a “Made in Ireland” block letter stamp. I believe that most Shamrock pipes are also stamped “A Peterson’s Product”, but there was no indication that this pipe had ever carried such a marking. The pipe is banded with a (probably) nickel band stamped with a shamrock over Peterson’s faux hallmarks of shamrock, wolfhound and tower.


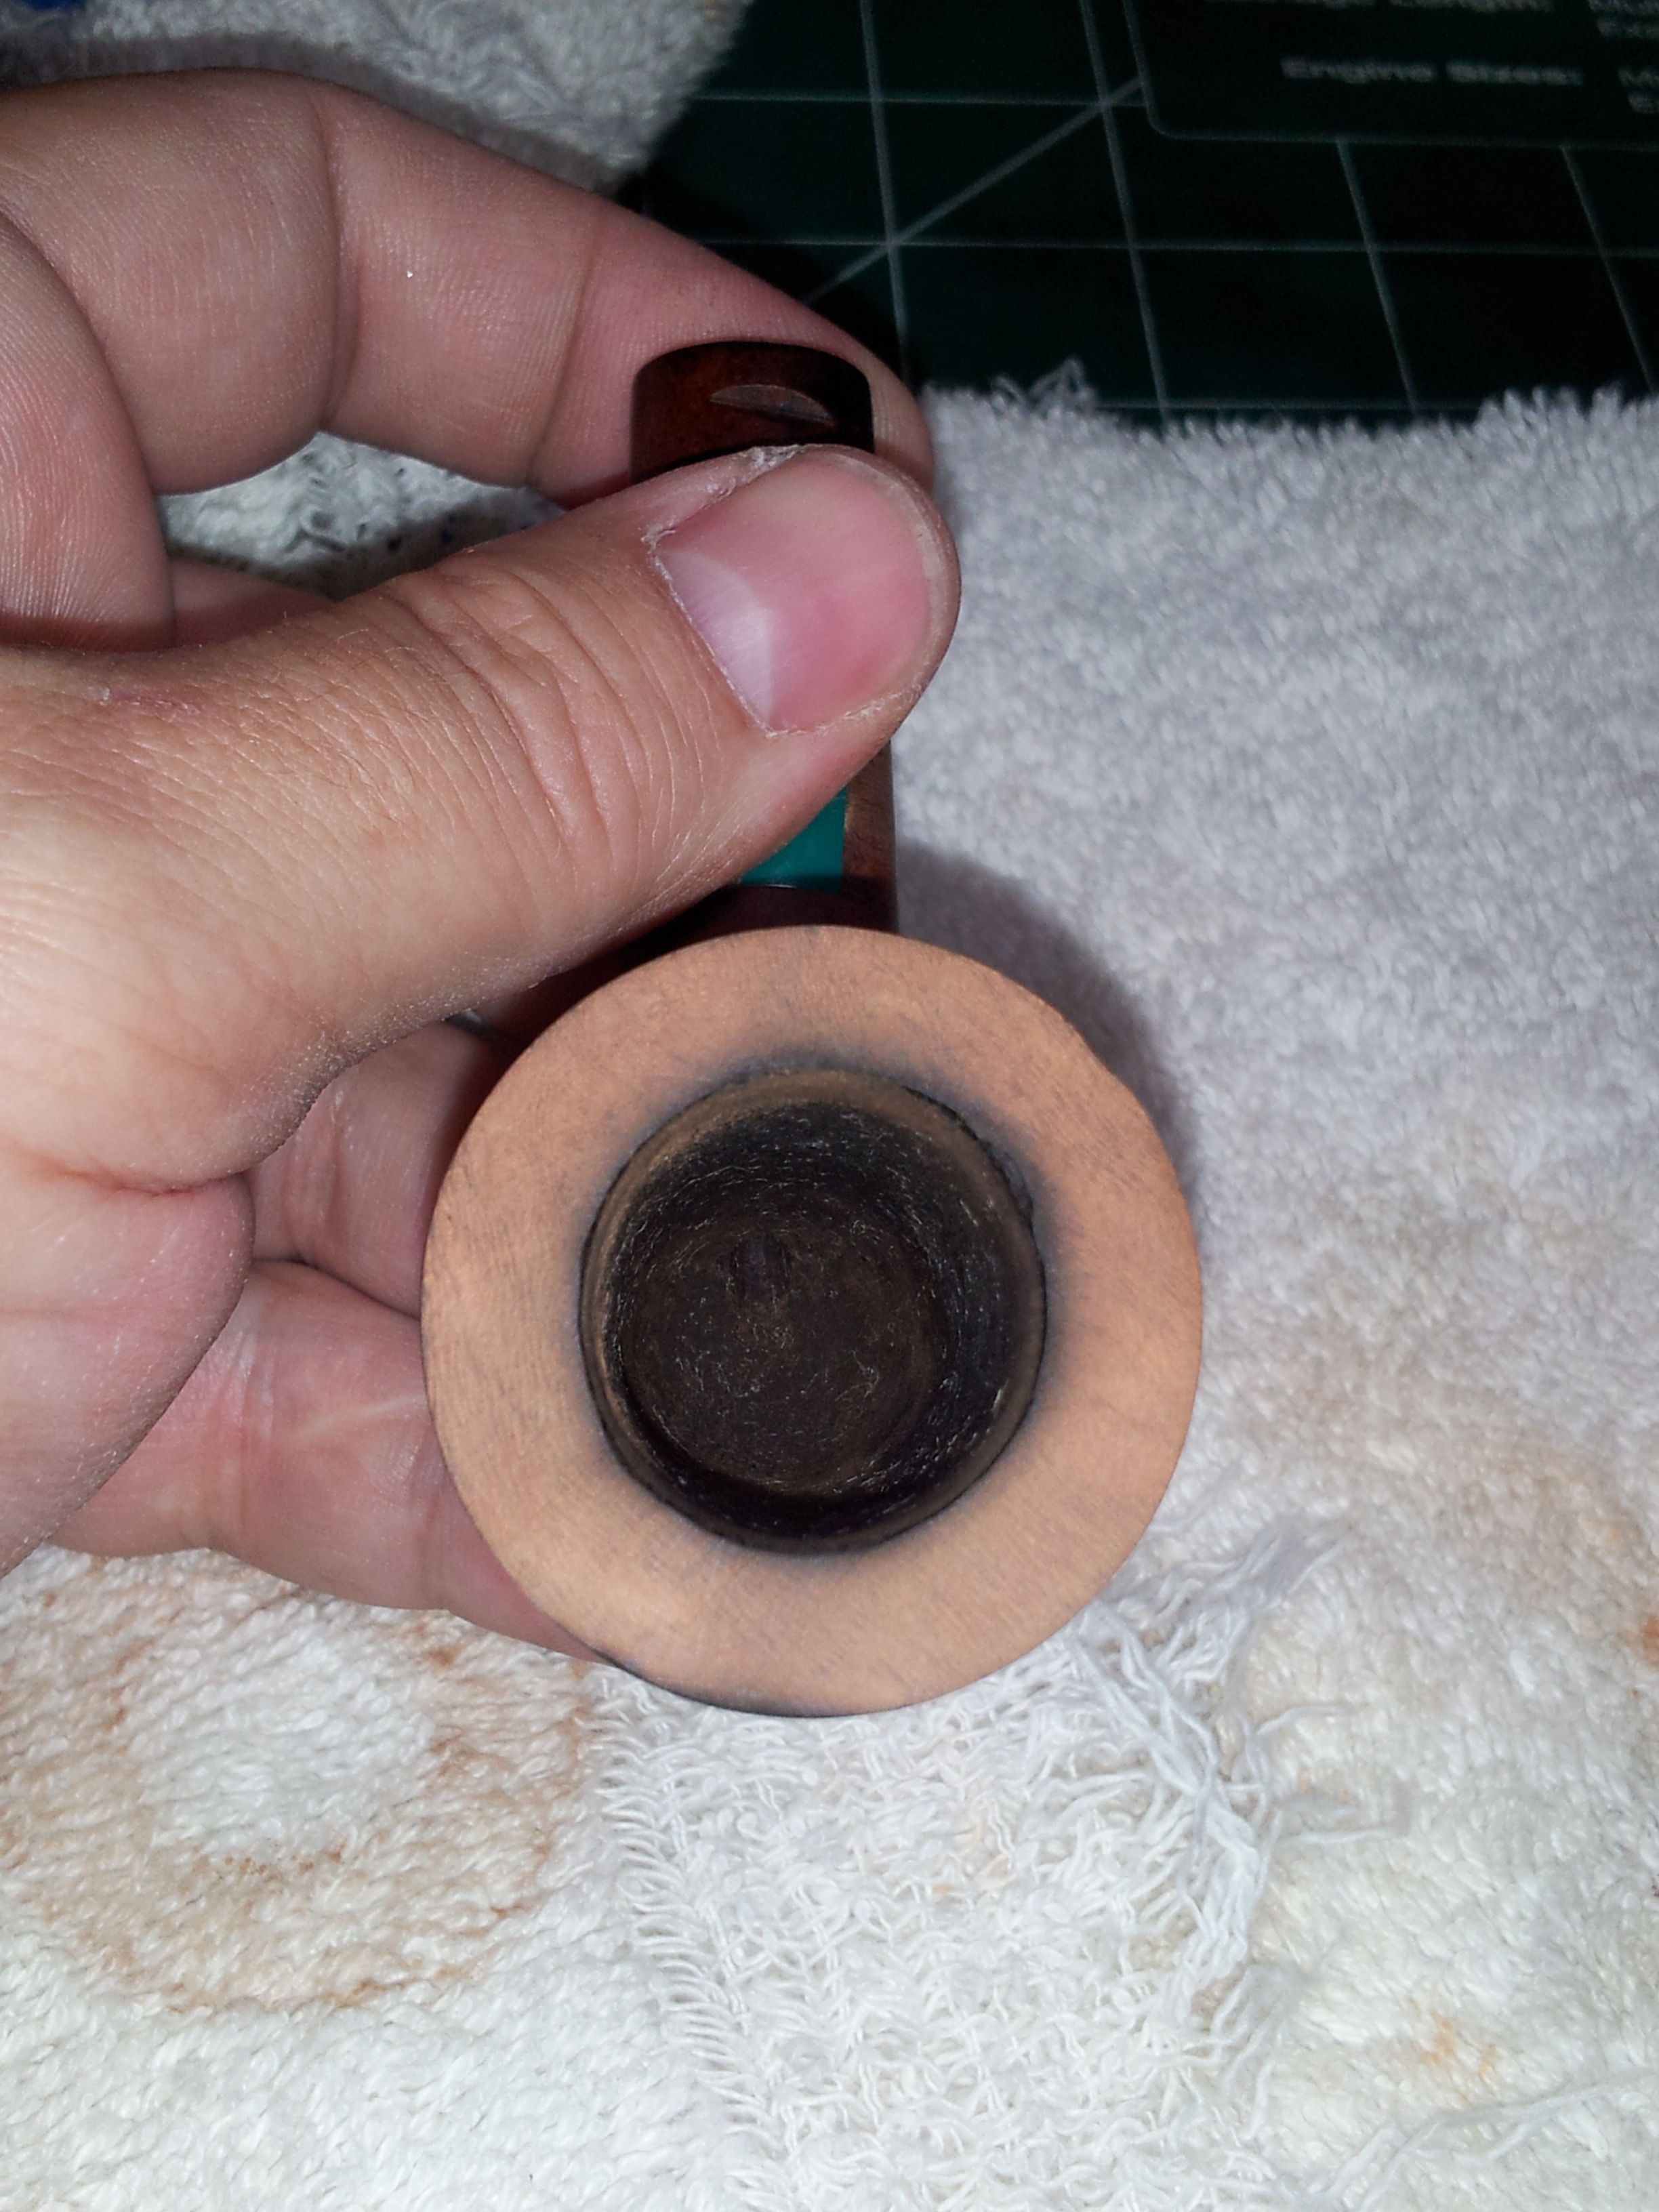
Like almost all of my pipe refurbs, I started this one by reaming the old cake from the bowl using 80-grit sandpaper wrapped around a dowel, or in this case, a Sharpie. You can see in the pics below how much the reaming helped to restore the round appearance of the bowl’s inner rim, though more work would need to be done.


I wiped the stummel down with isopropyl alcohol and cotton pads to remove the surface dirt and any remaining wax. I followed this up with a scrub of Murphy’s Oil Soap to lift any remaining grime from the pores of the wood. I’m glad I did, as the nickel band popped off the end of the shank as I was drying the pipe with an old terry towel. This series of pics shows the results of each stage in this cleaning process. The missing fills really show up on the clean stummel. Hiding under band were two parallel slots, cut into the top and bottom of the shank over the mortise. I assume these were made at the factory to provide a means of gripping stummel securely, probably during staining and finishing. If anyone can enlighten me about these slots, I’d love to hear the story!


During all of this work on the stummel, the pipe’s stem had been lounging about in a nice warm Oxyclean bath. I pulled it out at this point and gave it a light scrubbing with 0000 steel wool and 600 – 2000 grit wet sandpaper to remove the oxidation and smooth out the sanding marks. A few pipe cleaners dipped in alcohol quickly ensured that the stem’s airway was open and clean.

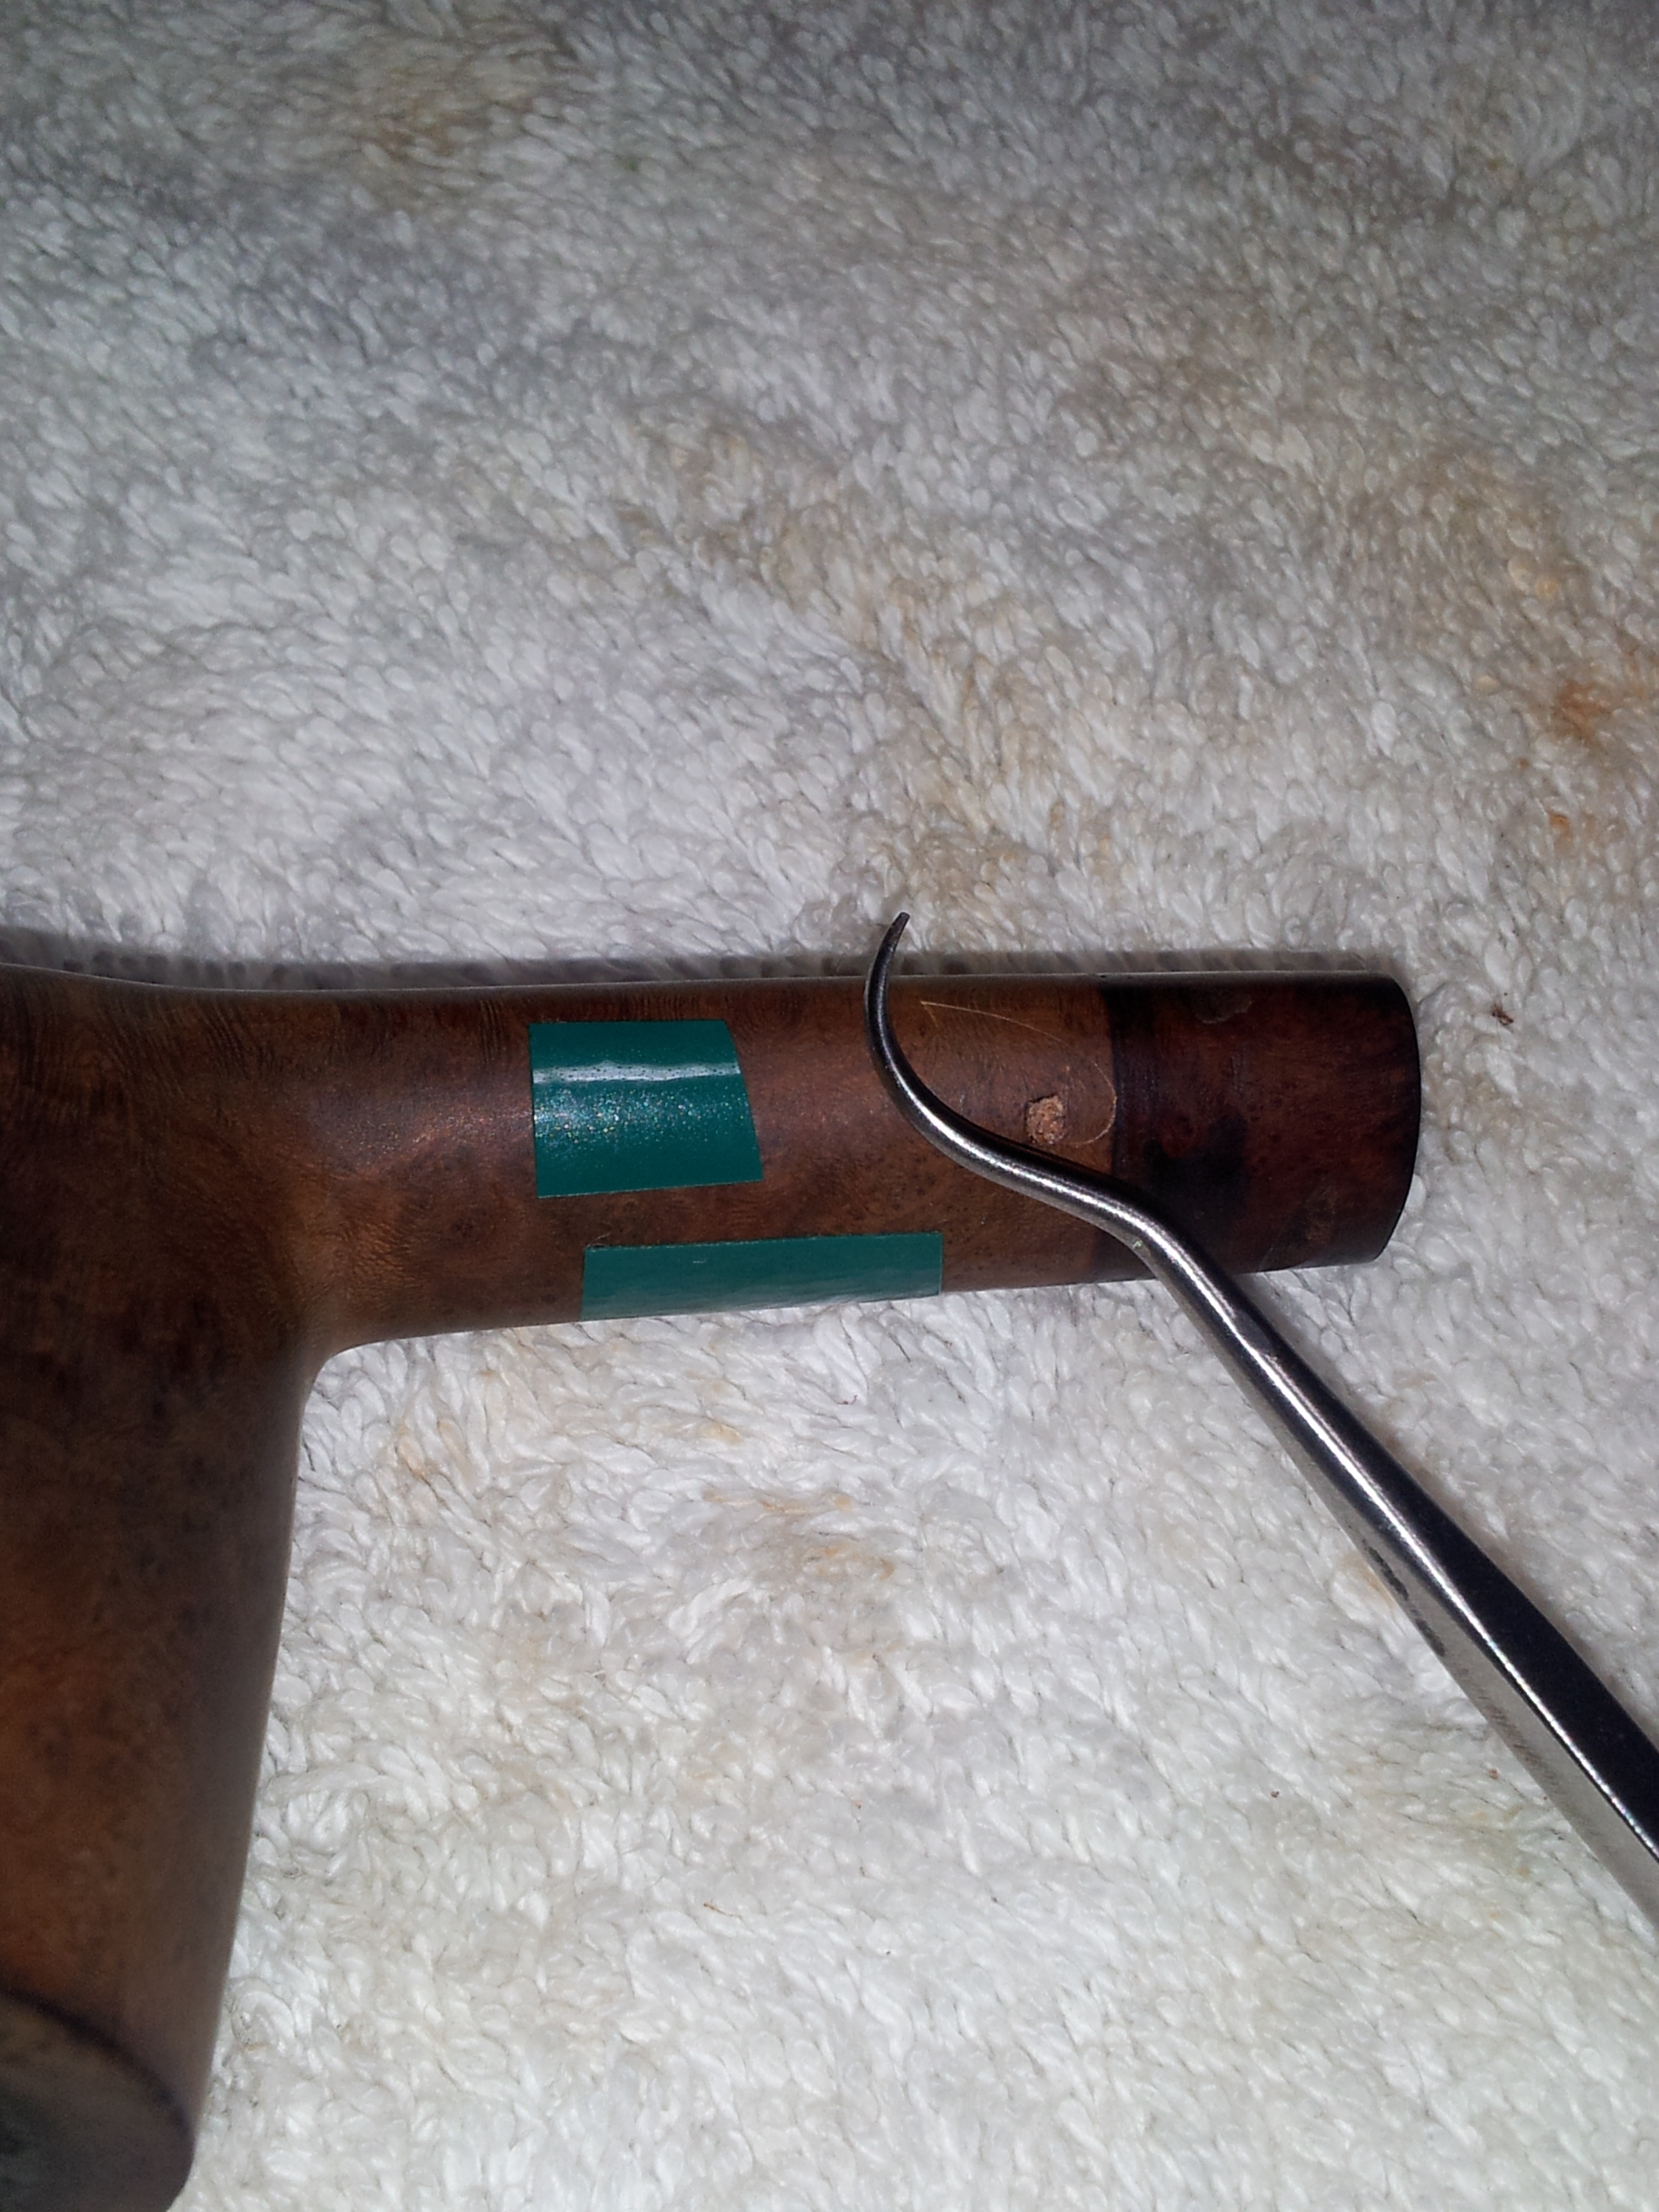
Moving back to the stummel, I used a dental pick to carefully clean the old putty out of the damaged fills. The bits of green electrical tape you see in the pics below were placed over the stamping to provide a bit of protection during the sanding to come. When the putty was all out, I took the pipe to the topping board. I moved the bowl in a circular pattern across a sheet of 220 grit sandpaper to take the bowl down just enough to remove the rim dent and scorch mark. Happily, this also proved to be just enough to remove the knife gouges from the inner rim as well.


I have found through experience that, depending on their location on the stummel, I can fill a maximum of two smallish pits in a pipe bowl at the same time. If I try for more than that, my fill material sets rock hard before I’m finished. Keeping this restriction in mind, I worked in batches to replace the Shamrock’s missing fills with CA glue and briar dust. I mix a small dot of gel-type CA glue with a slightly smaller amount of briar dust and then quickly packed the fill material into one of the four pits in the stummel. Then lather, rinse & repeat until all the pits are filled.

After the CA & briar fills had cured, I started sanding them down to blend them into the surrounding wood. The tape over the stampings saved me at least once during this process, as the shank stampings, including the oh-so-rare circular COM stamp, were very close to several fills. Slow and steady wins the race for both mythical Tortoises and estate pipe restorers! This series of pictures shows the pipe with fills done and the rest lightly sanded with 320 grit paper to remove the light scratches and other marks accumulated through 70-odd years of use.


I finished the stummel work with a few alcohol-dipped pipe cleaners (the internals were very clean) before polishing the briar with MicroMesh pads. You can see how the shine developed as I moved through the grits.

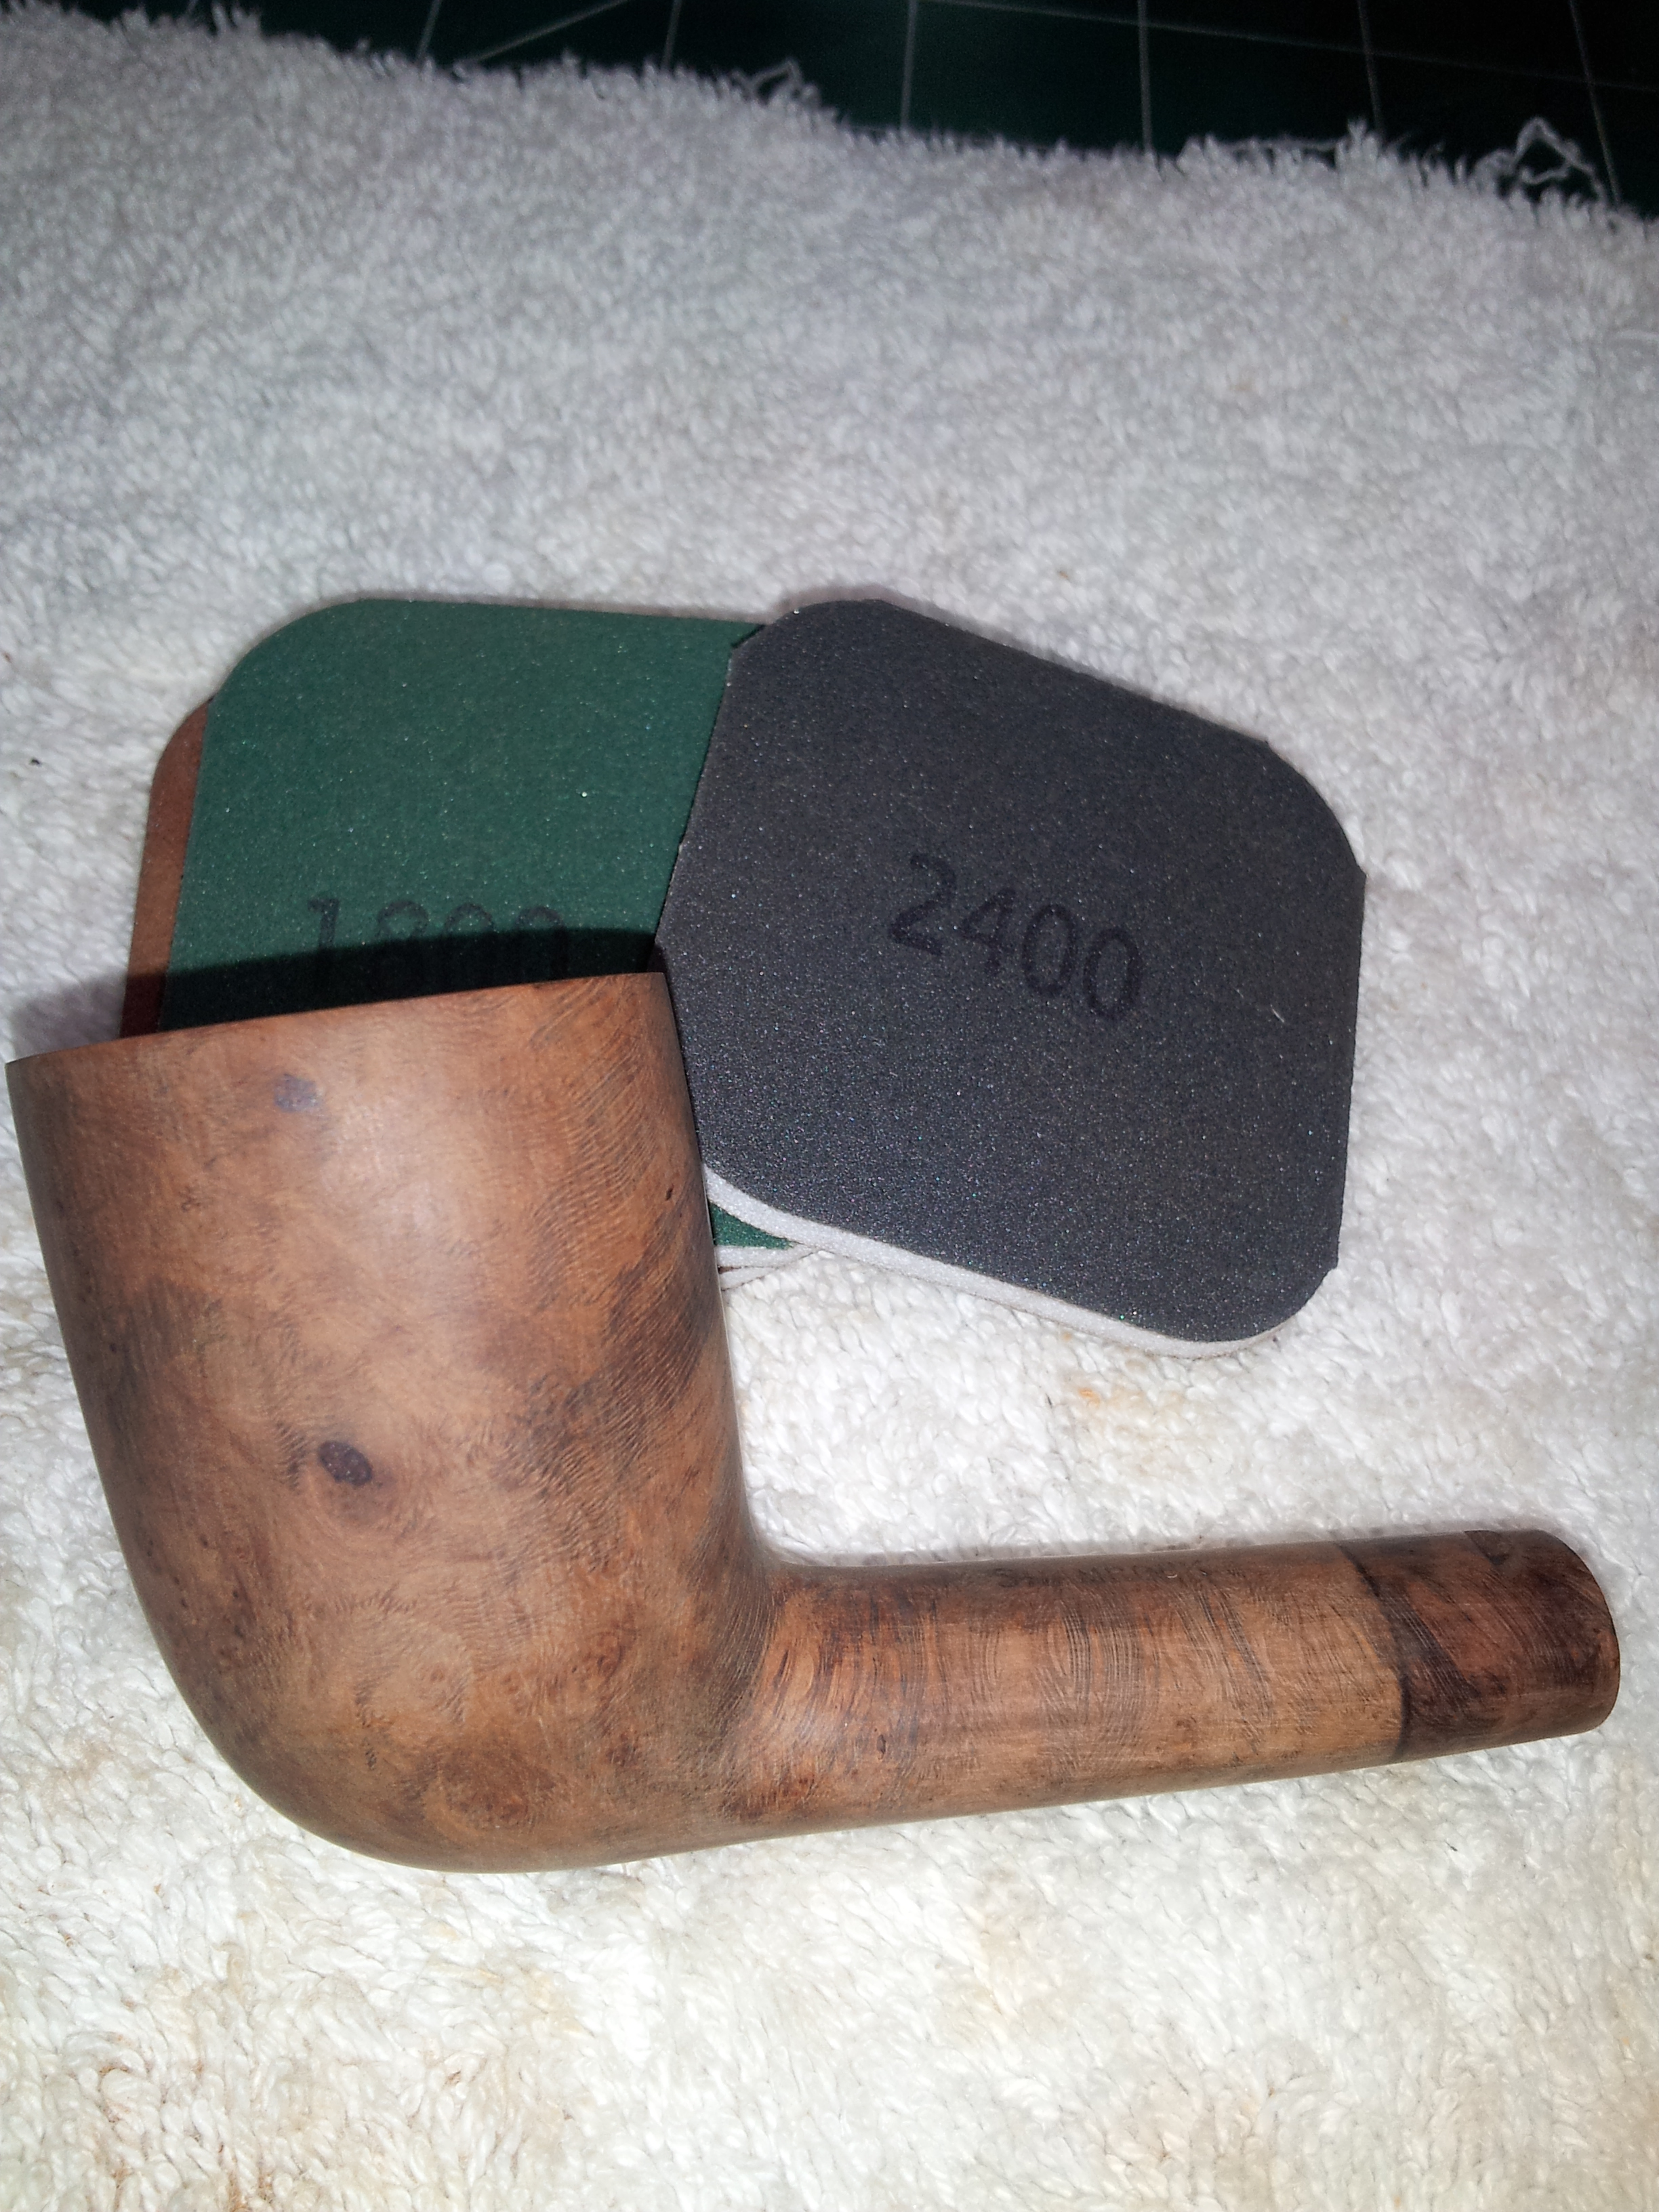


I repeated the MicroMesh treatment on the stem, wiping the vulcanite with mineral oil after each set of three pads.


Then it was time to stain. I wanted to reproduce the original finish as much as possible, so I went with a contrast stain using Fiebing’s Black and Dark Brown water-based leather dyes. First I applied a coat of Black, which I let sit for a few minutes before scrubbing the stummel with 0000 steel wool and a bit of water. This quickly removed the excess colour, leaving the black dye in the softer grain. I then made a colour wash of the Dark Brown dye diluted to about 60%. I used a cotton ball to apply the wash to the briar, repeating until I achieved the depth of colour I was looking for. I set the pipe aside at this point to dry overnight.


The next morning, I hand-buffed the stummel with a bit of old terry towel to remove any excess dye from the surface of the briar before re-installing the pipe’s nickel band. Without decades of dirt to help hold it in place, the band proved to be ever-so-slightly too large. To stop it from pushing up the shank, I placed a tiny bit of CA glue inside the band before sliding it onto the stummel. I used the pipe’s stem as a push-rod for the last few millimetres to ensure even band-to-stem contact all around the shank when the stem was fully inserted in the mortise.
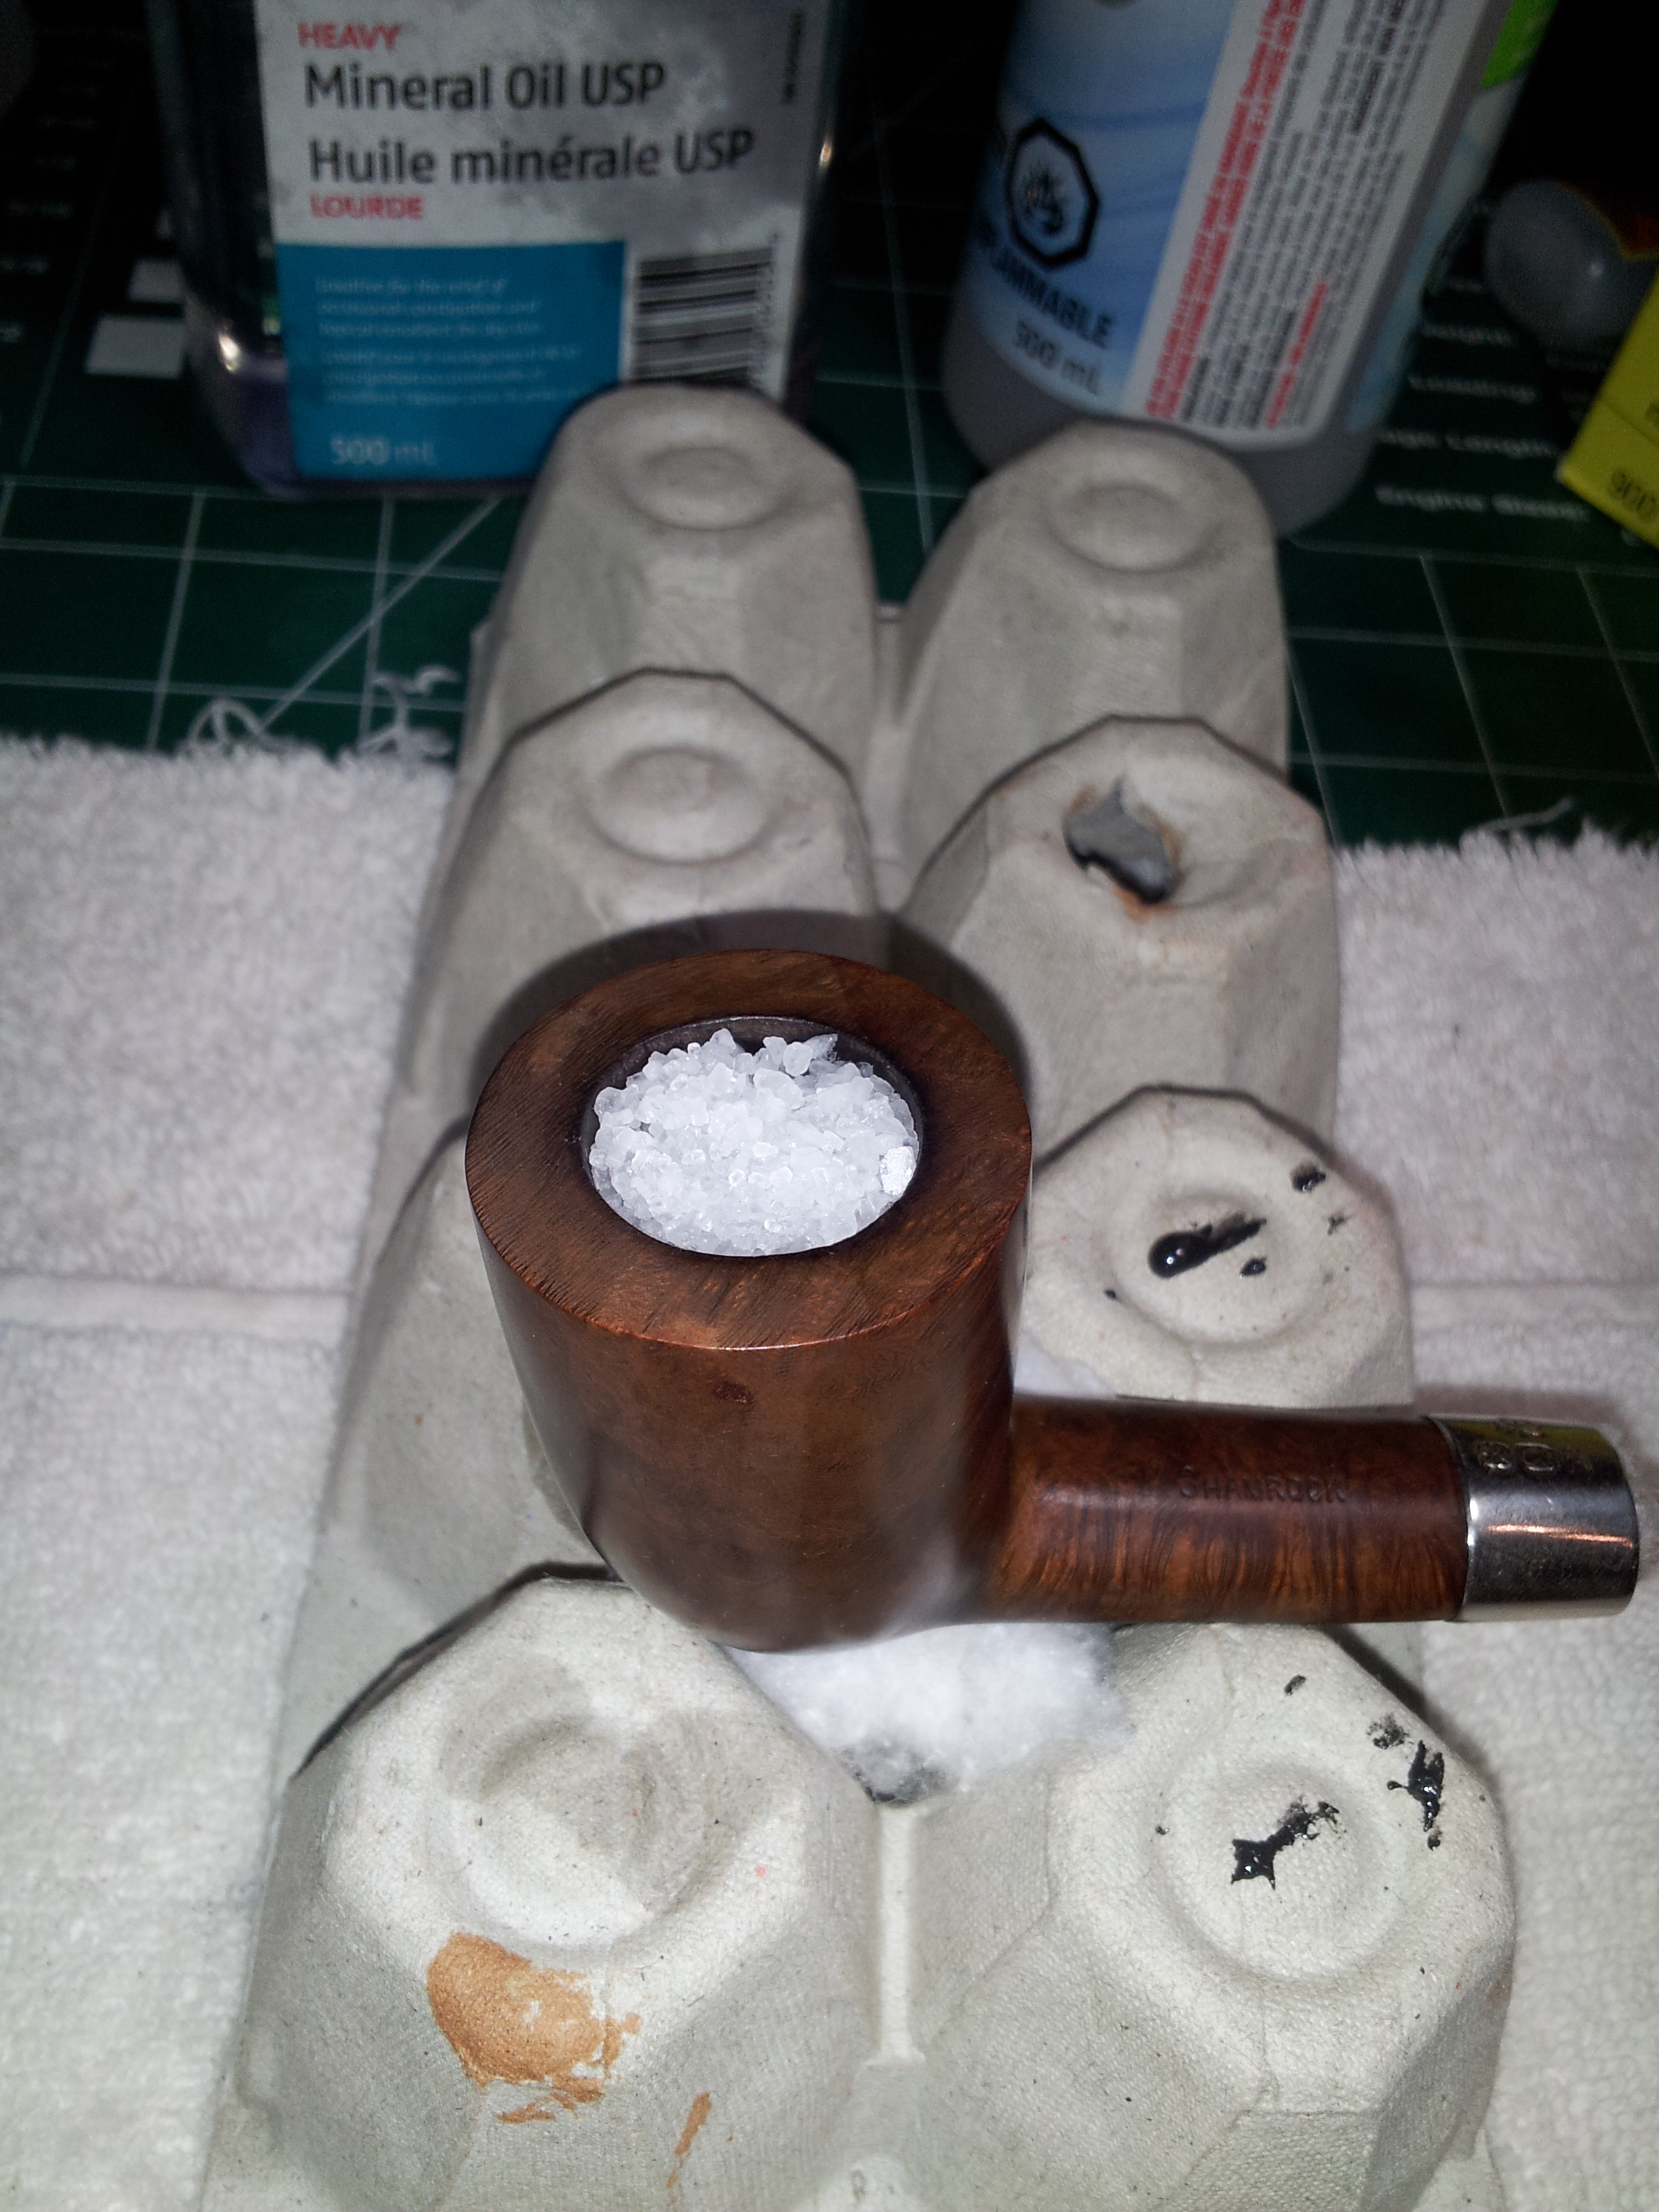
Before buffing and waxing, I de-ghosted the pipe using kosher salt and isopropyl alcohol. After removing the stem, I plugged the shank with a bit of cotton ball and then filled the bowl with kosher salt. Then I carefully added alcohol to the bowl just until it was barely visible around the top of the salt. The stummel is left to sit for 24 hours, during which the tars, gunk and associated odours are pulled from the briar into the salt. I forgot to take a picture of the dirty salt, but the colour was not unlike that of rotten teeth – yum!
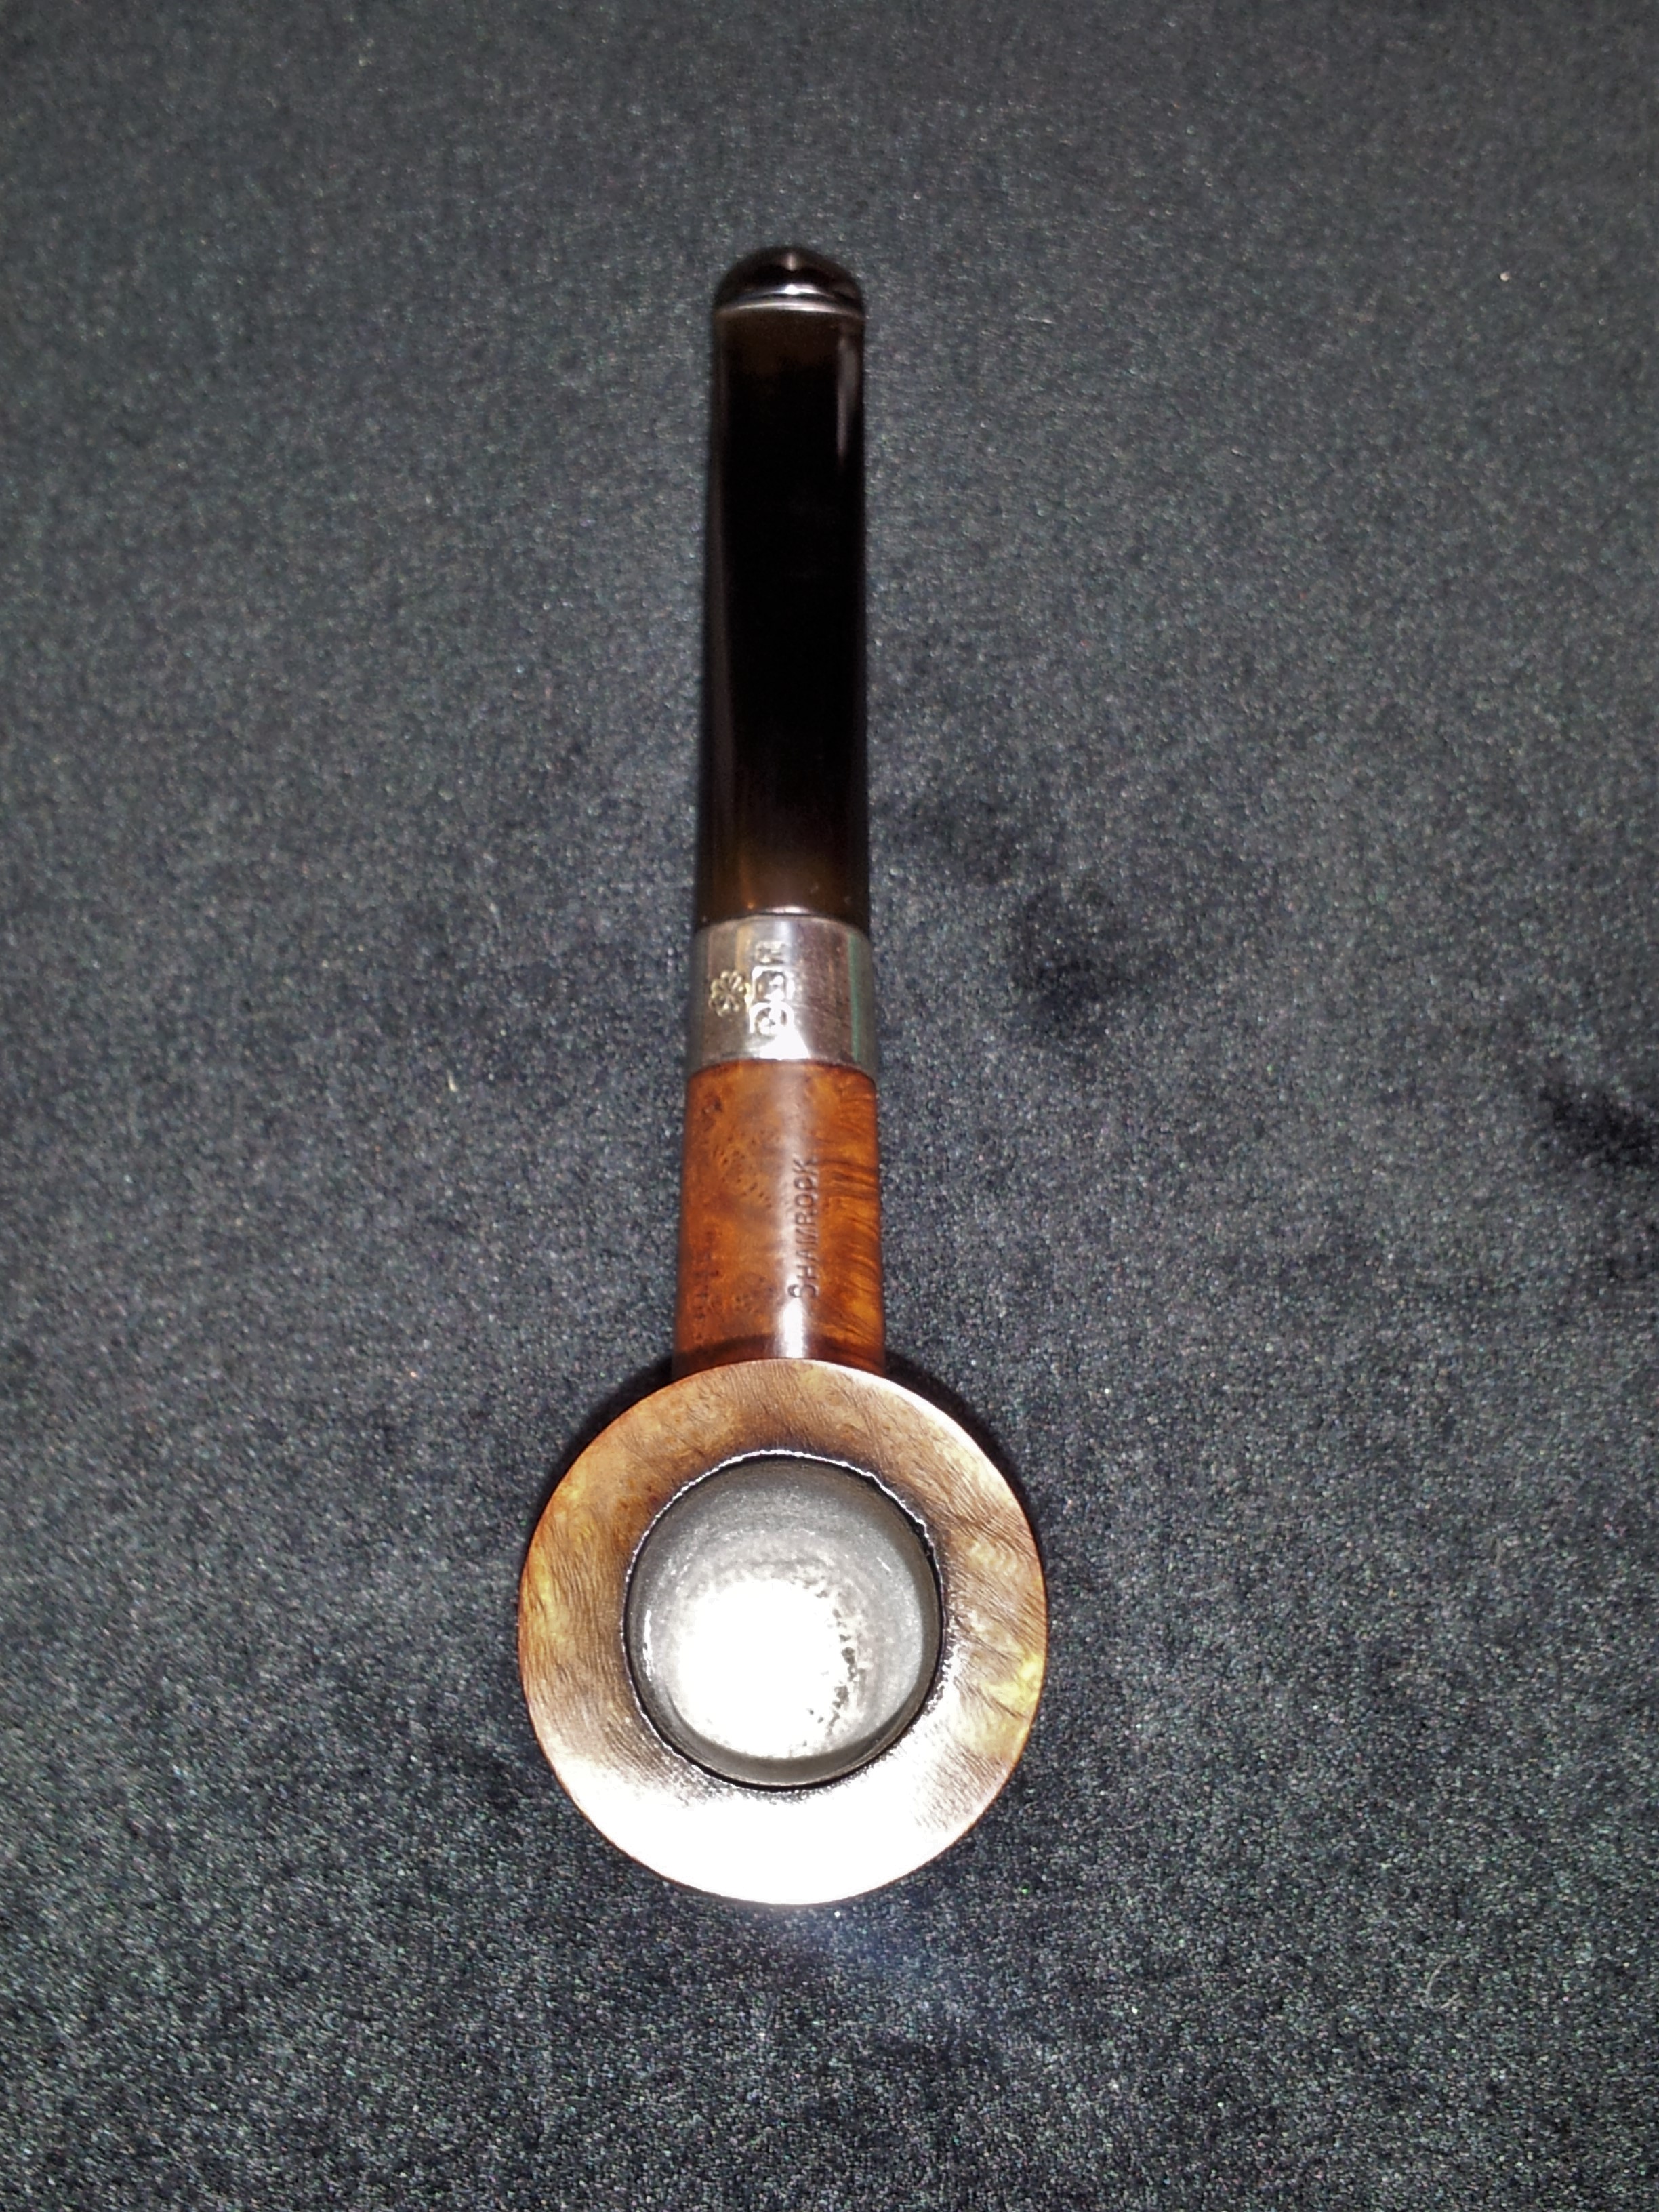
 After the salt was dumped out, I ran an alcohol dipped pipe cleaner through the airway and around the inside of the bowl to remove any lingering salt. Then the pipe’s refurbishment was finished off with a run through the buffer using Red Tripoli and White Diamond compounds followed by multiple coats of Carnauba wax. I hand buffed the finished pipe with a soft flannel cloth before snapping these final pictures. Just like Dorothy in “The Wizard of Oz”, this post-war Peterson Shamrock is on its way home to Kansas, where I know its new owner will enjoy it for many years to come. Smoke it in good health, Josh!


Very nice restoration. I have a few pre-republic Shamrocks that have bands that are similar nickel without the hallmarks. I am curious as well about the cuts under the bands. Mine remained intact when I restored them, and I’m wondering if they are under the bands.
LikeLike
Thanks, Al. The cuts under the band must be factory-made; I just don’t know what they were for.
LikeLike
Looks great! I’m excited to give it a try.
It’s great that I can see the whole process as well.
LikeLike
Keep an eye out for the mailman – it should hit your doorstep very soon.
LikeLike
Nice looking pipe. Great work all around. I really like your glue/fill technique and your dye wash application. It almost gives the pipe a natural look. Well done.
LikeLiked by 1 person