
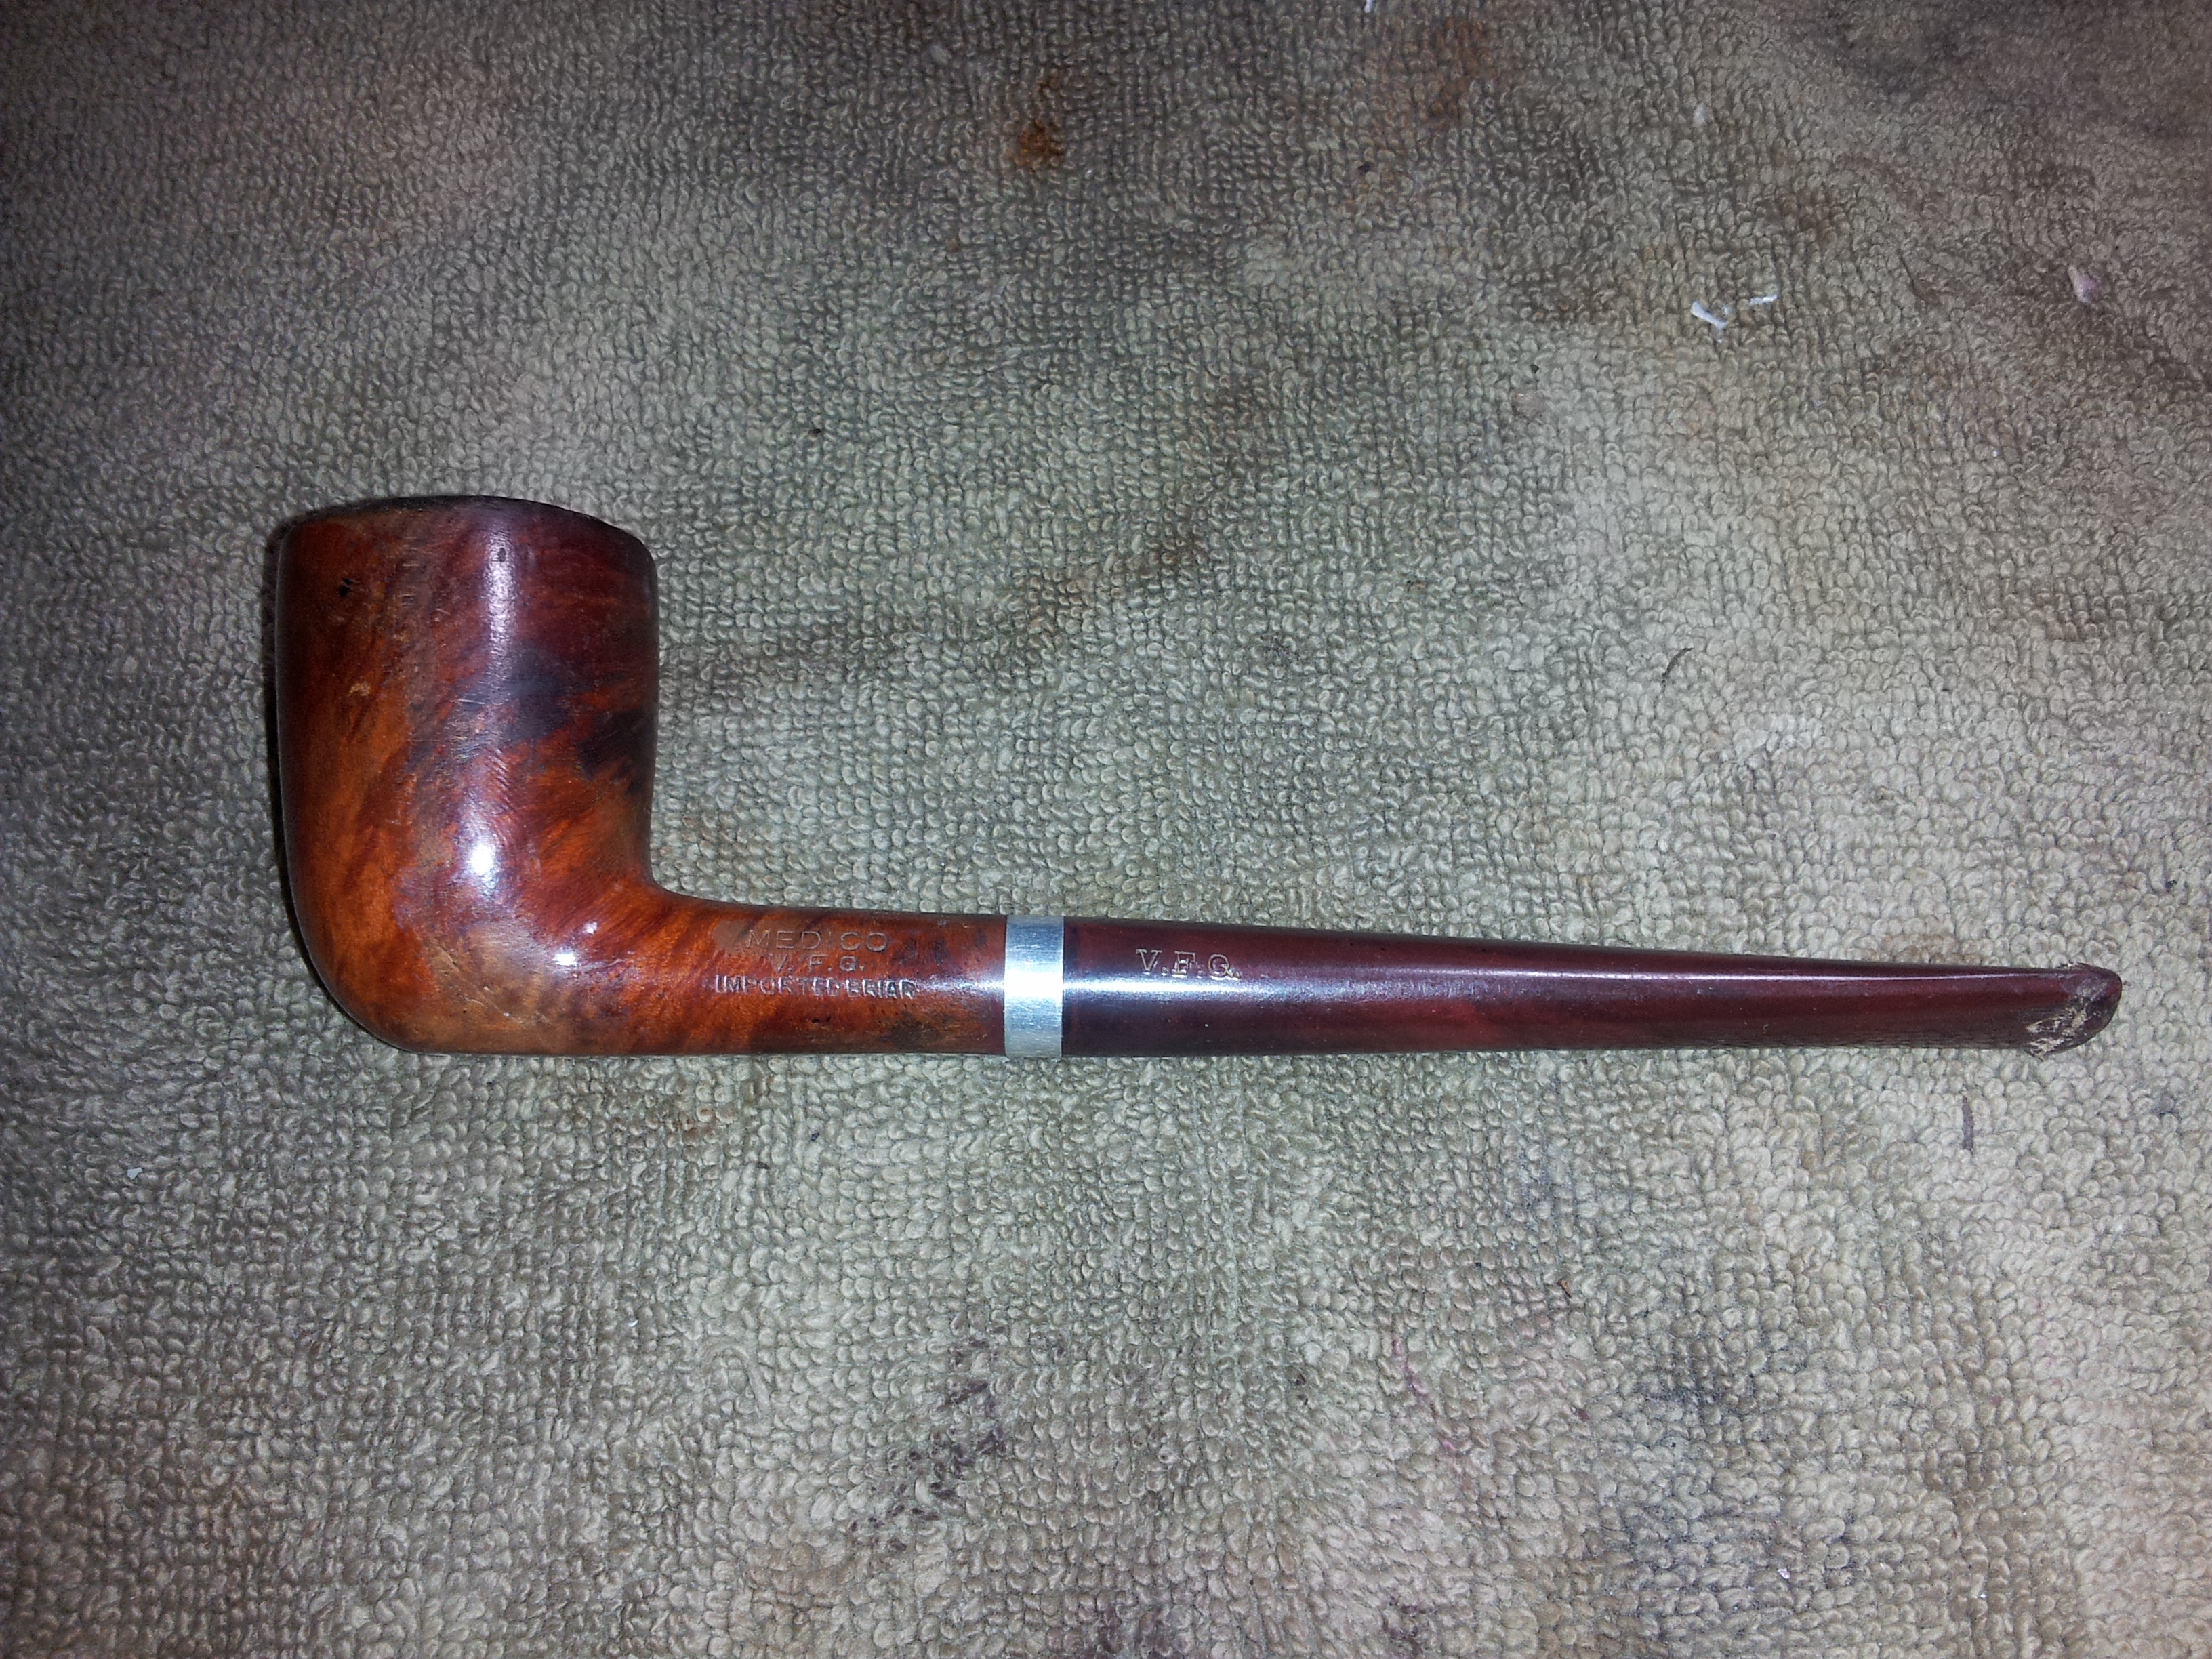
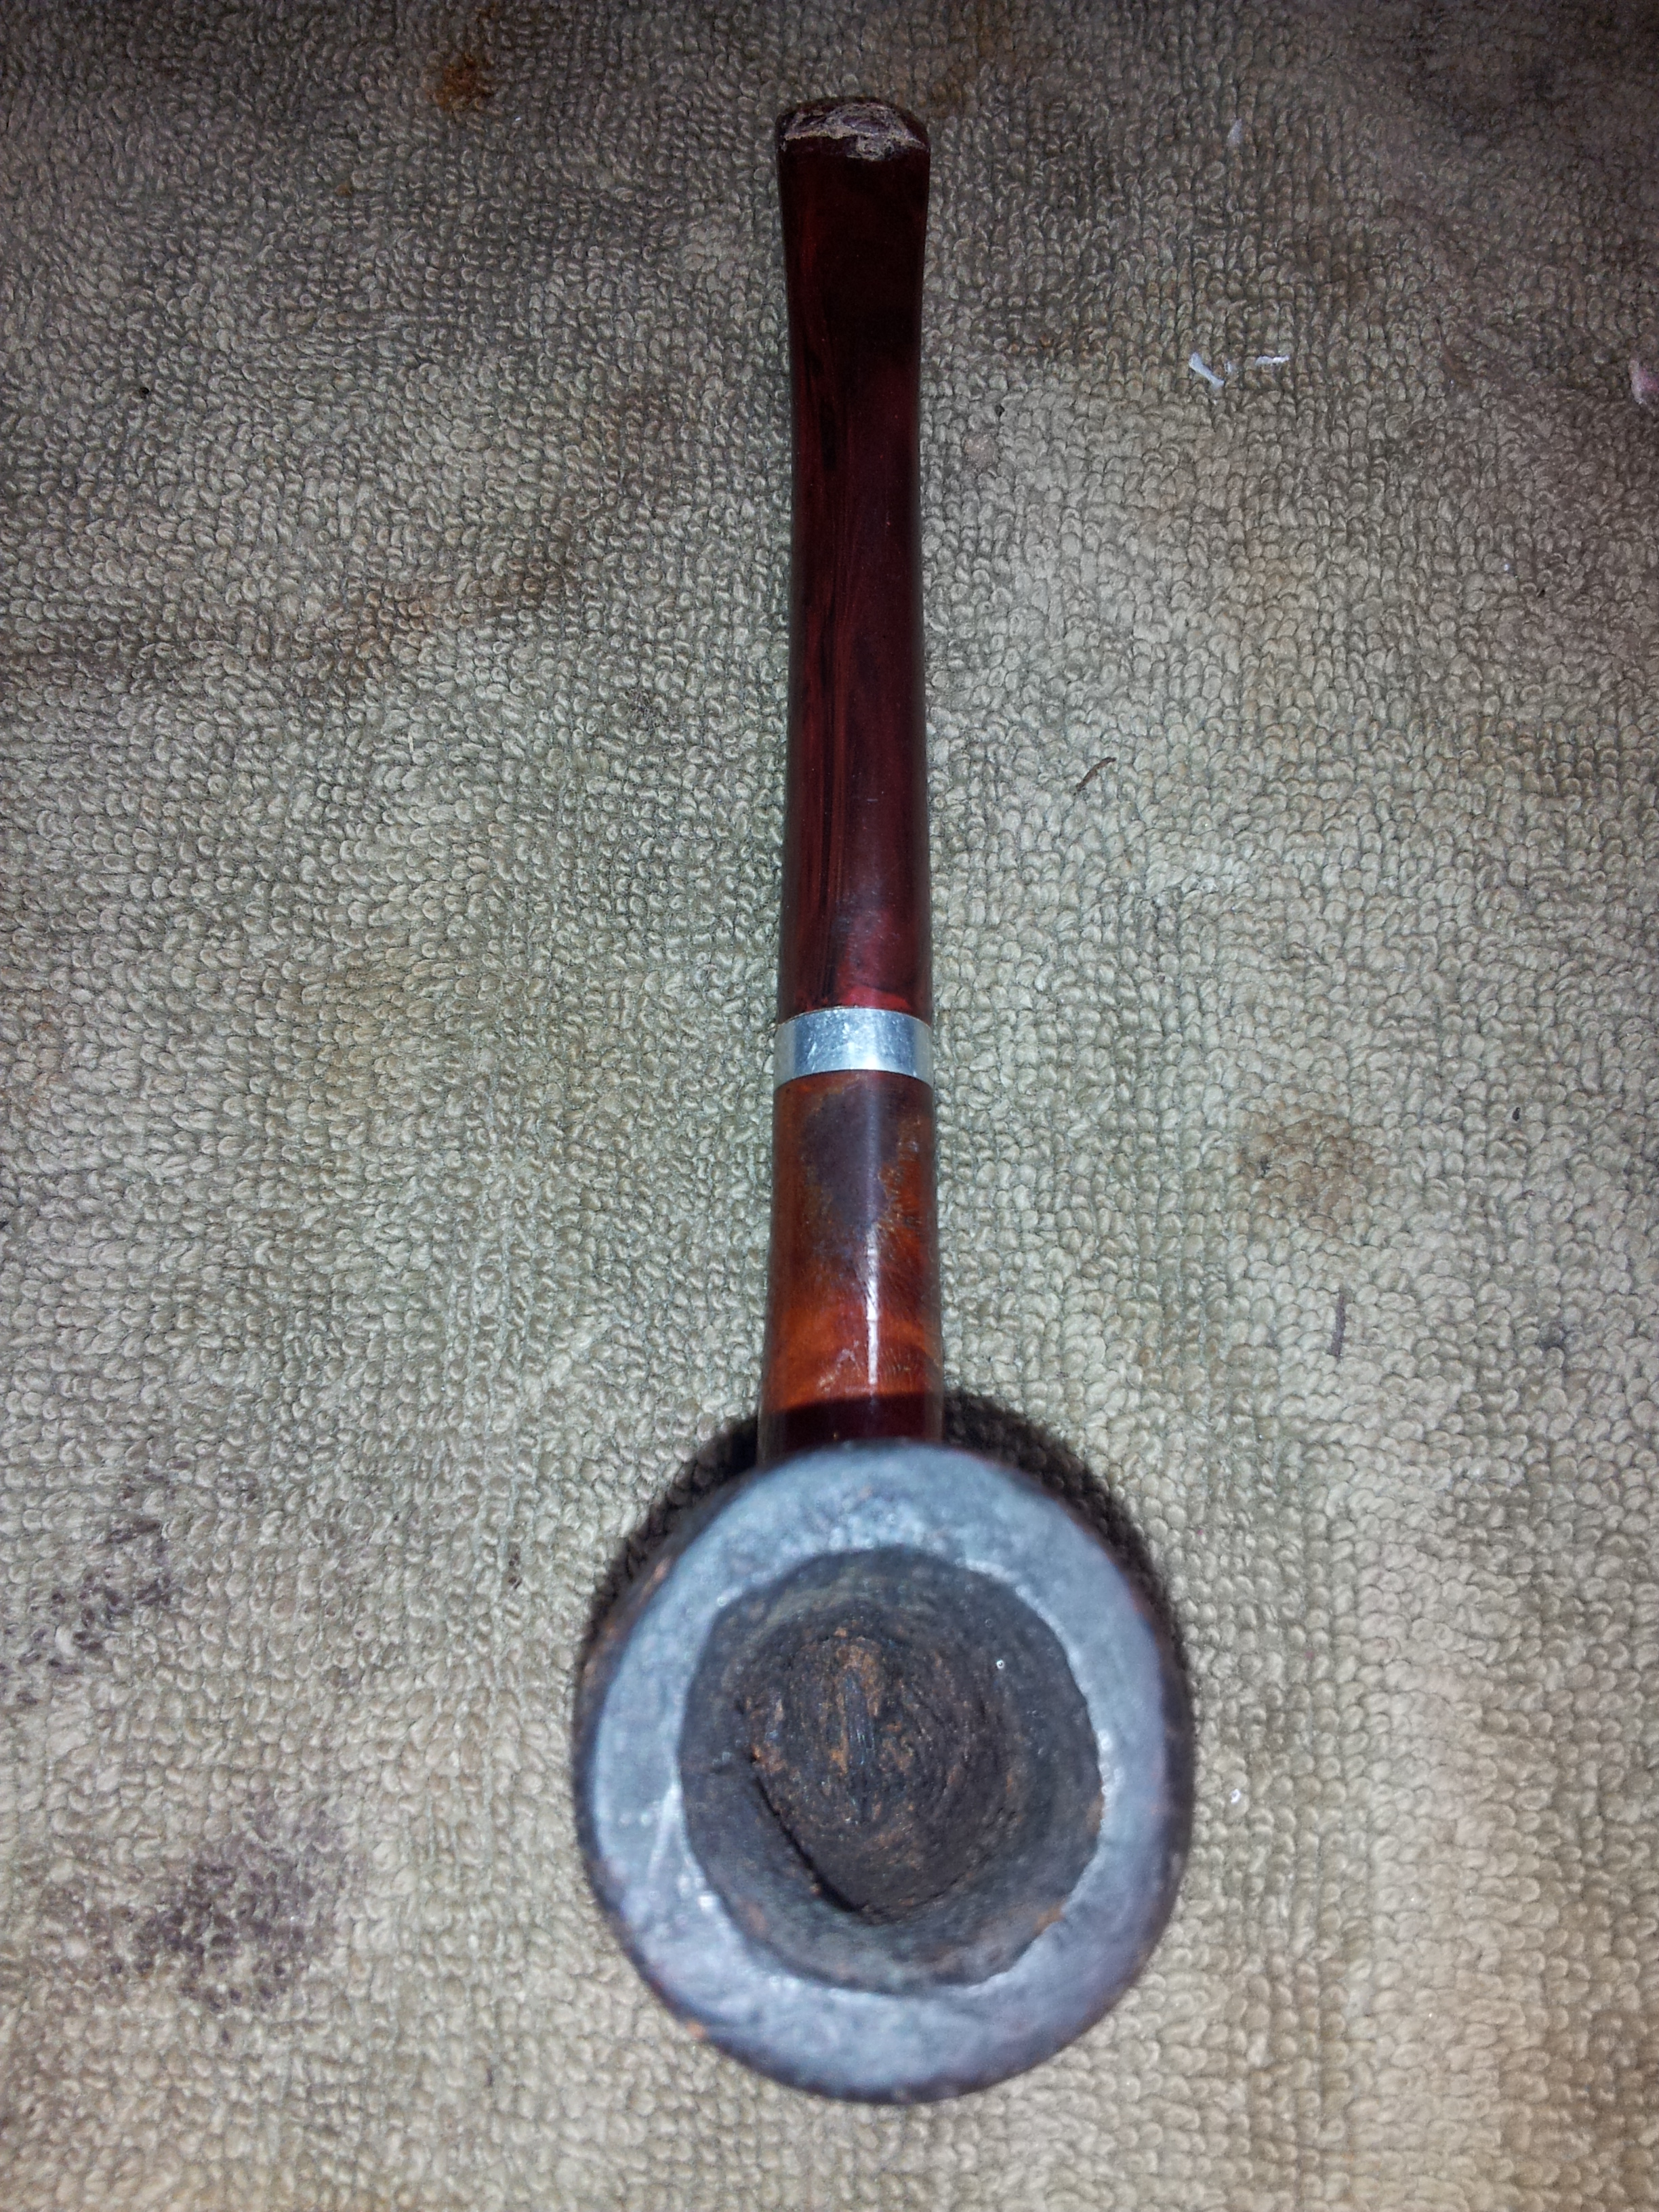
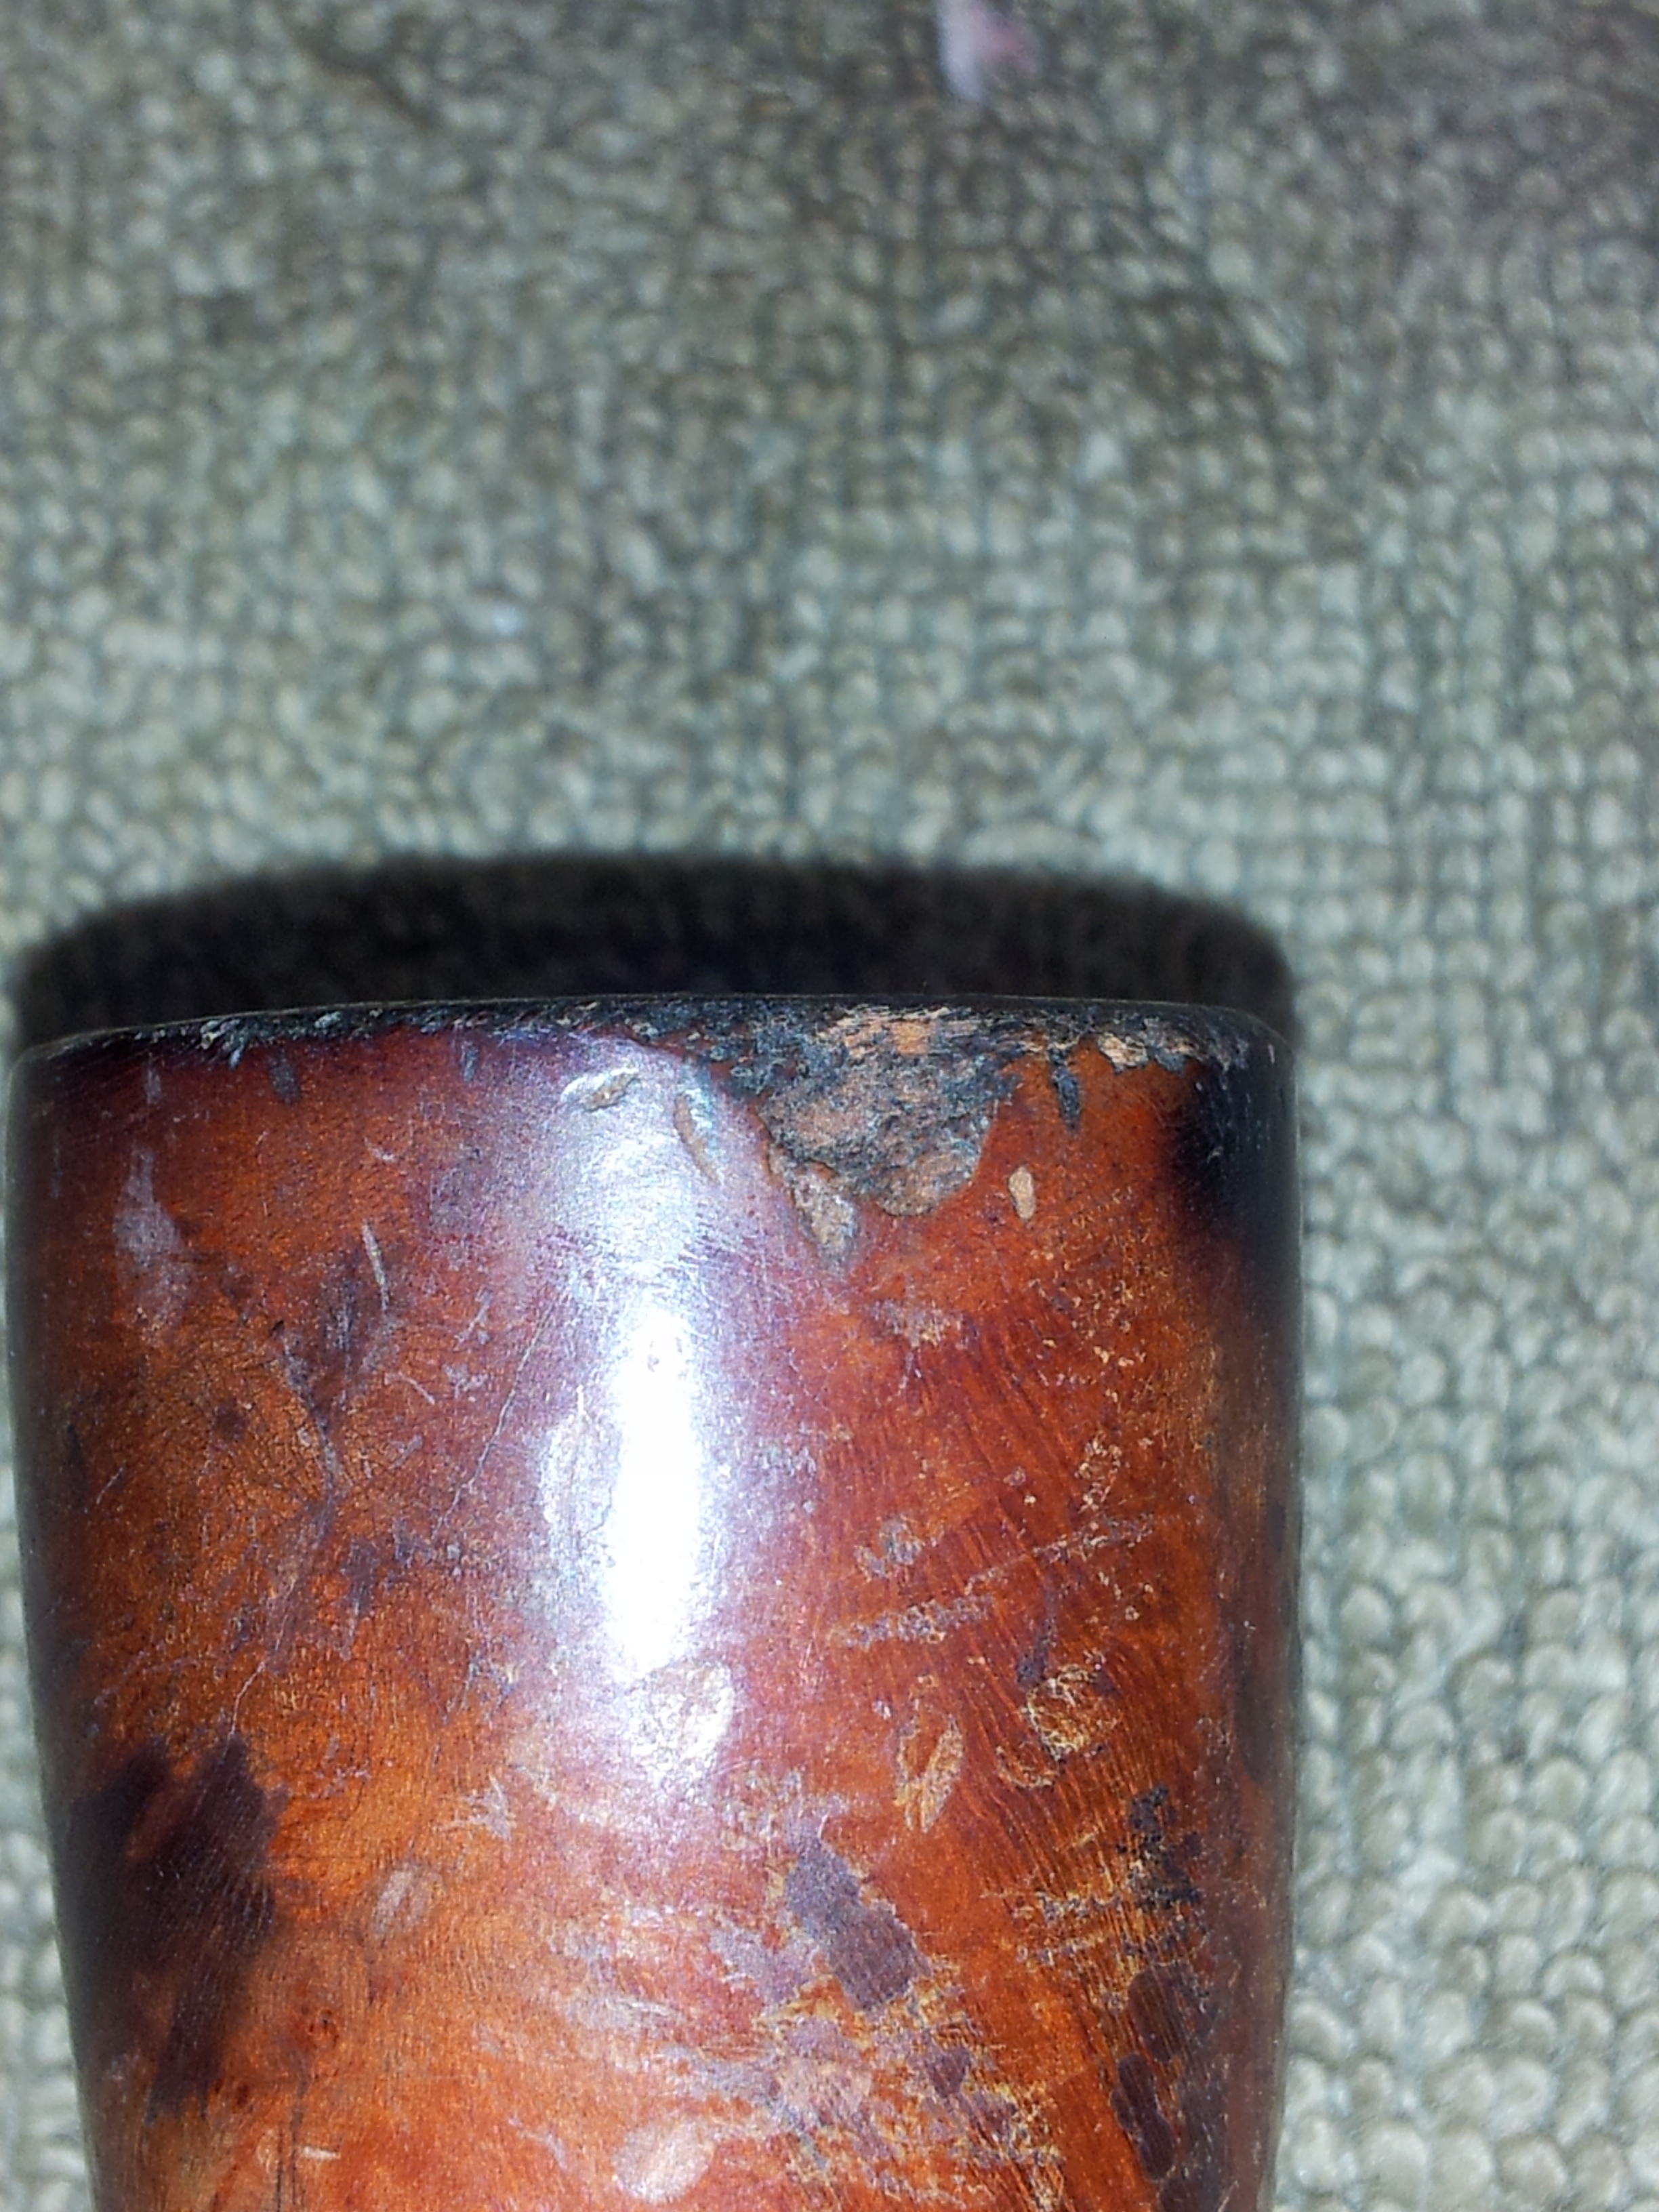
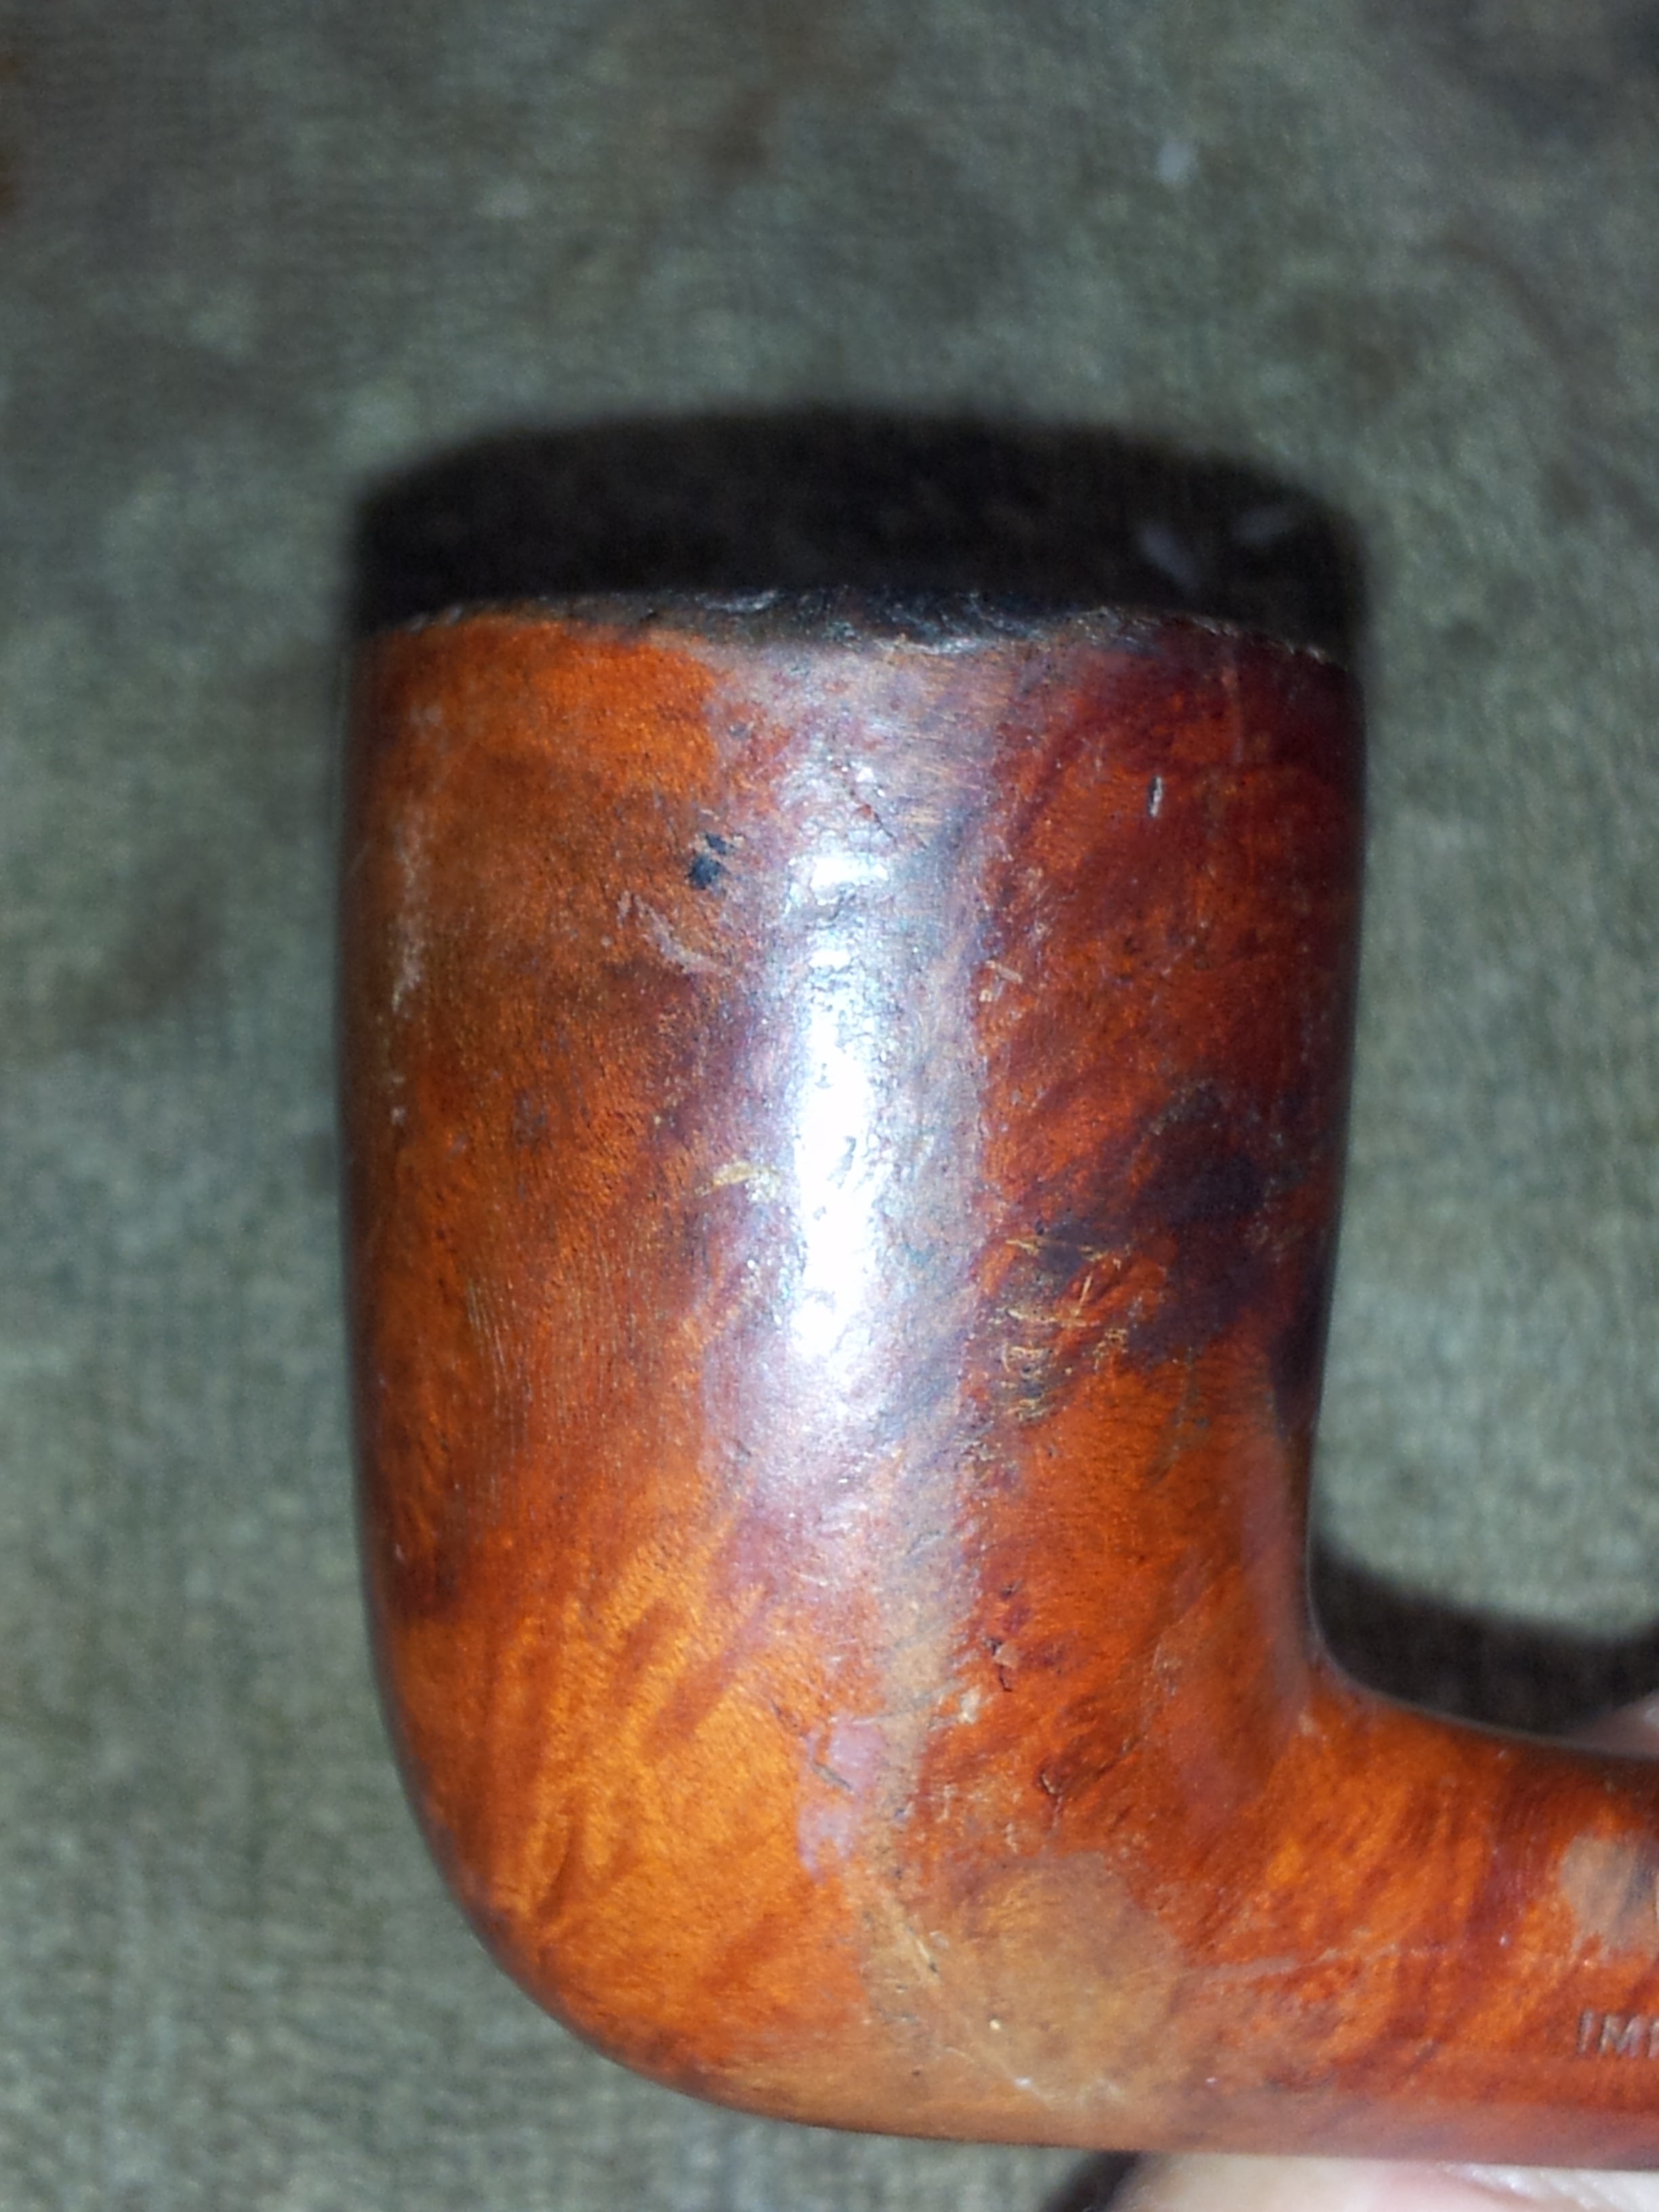
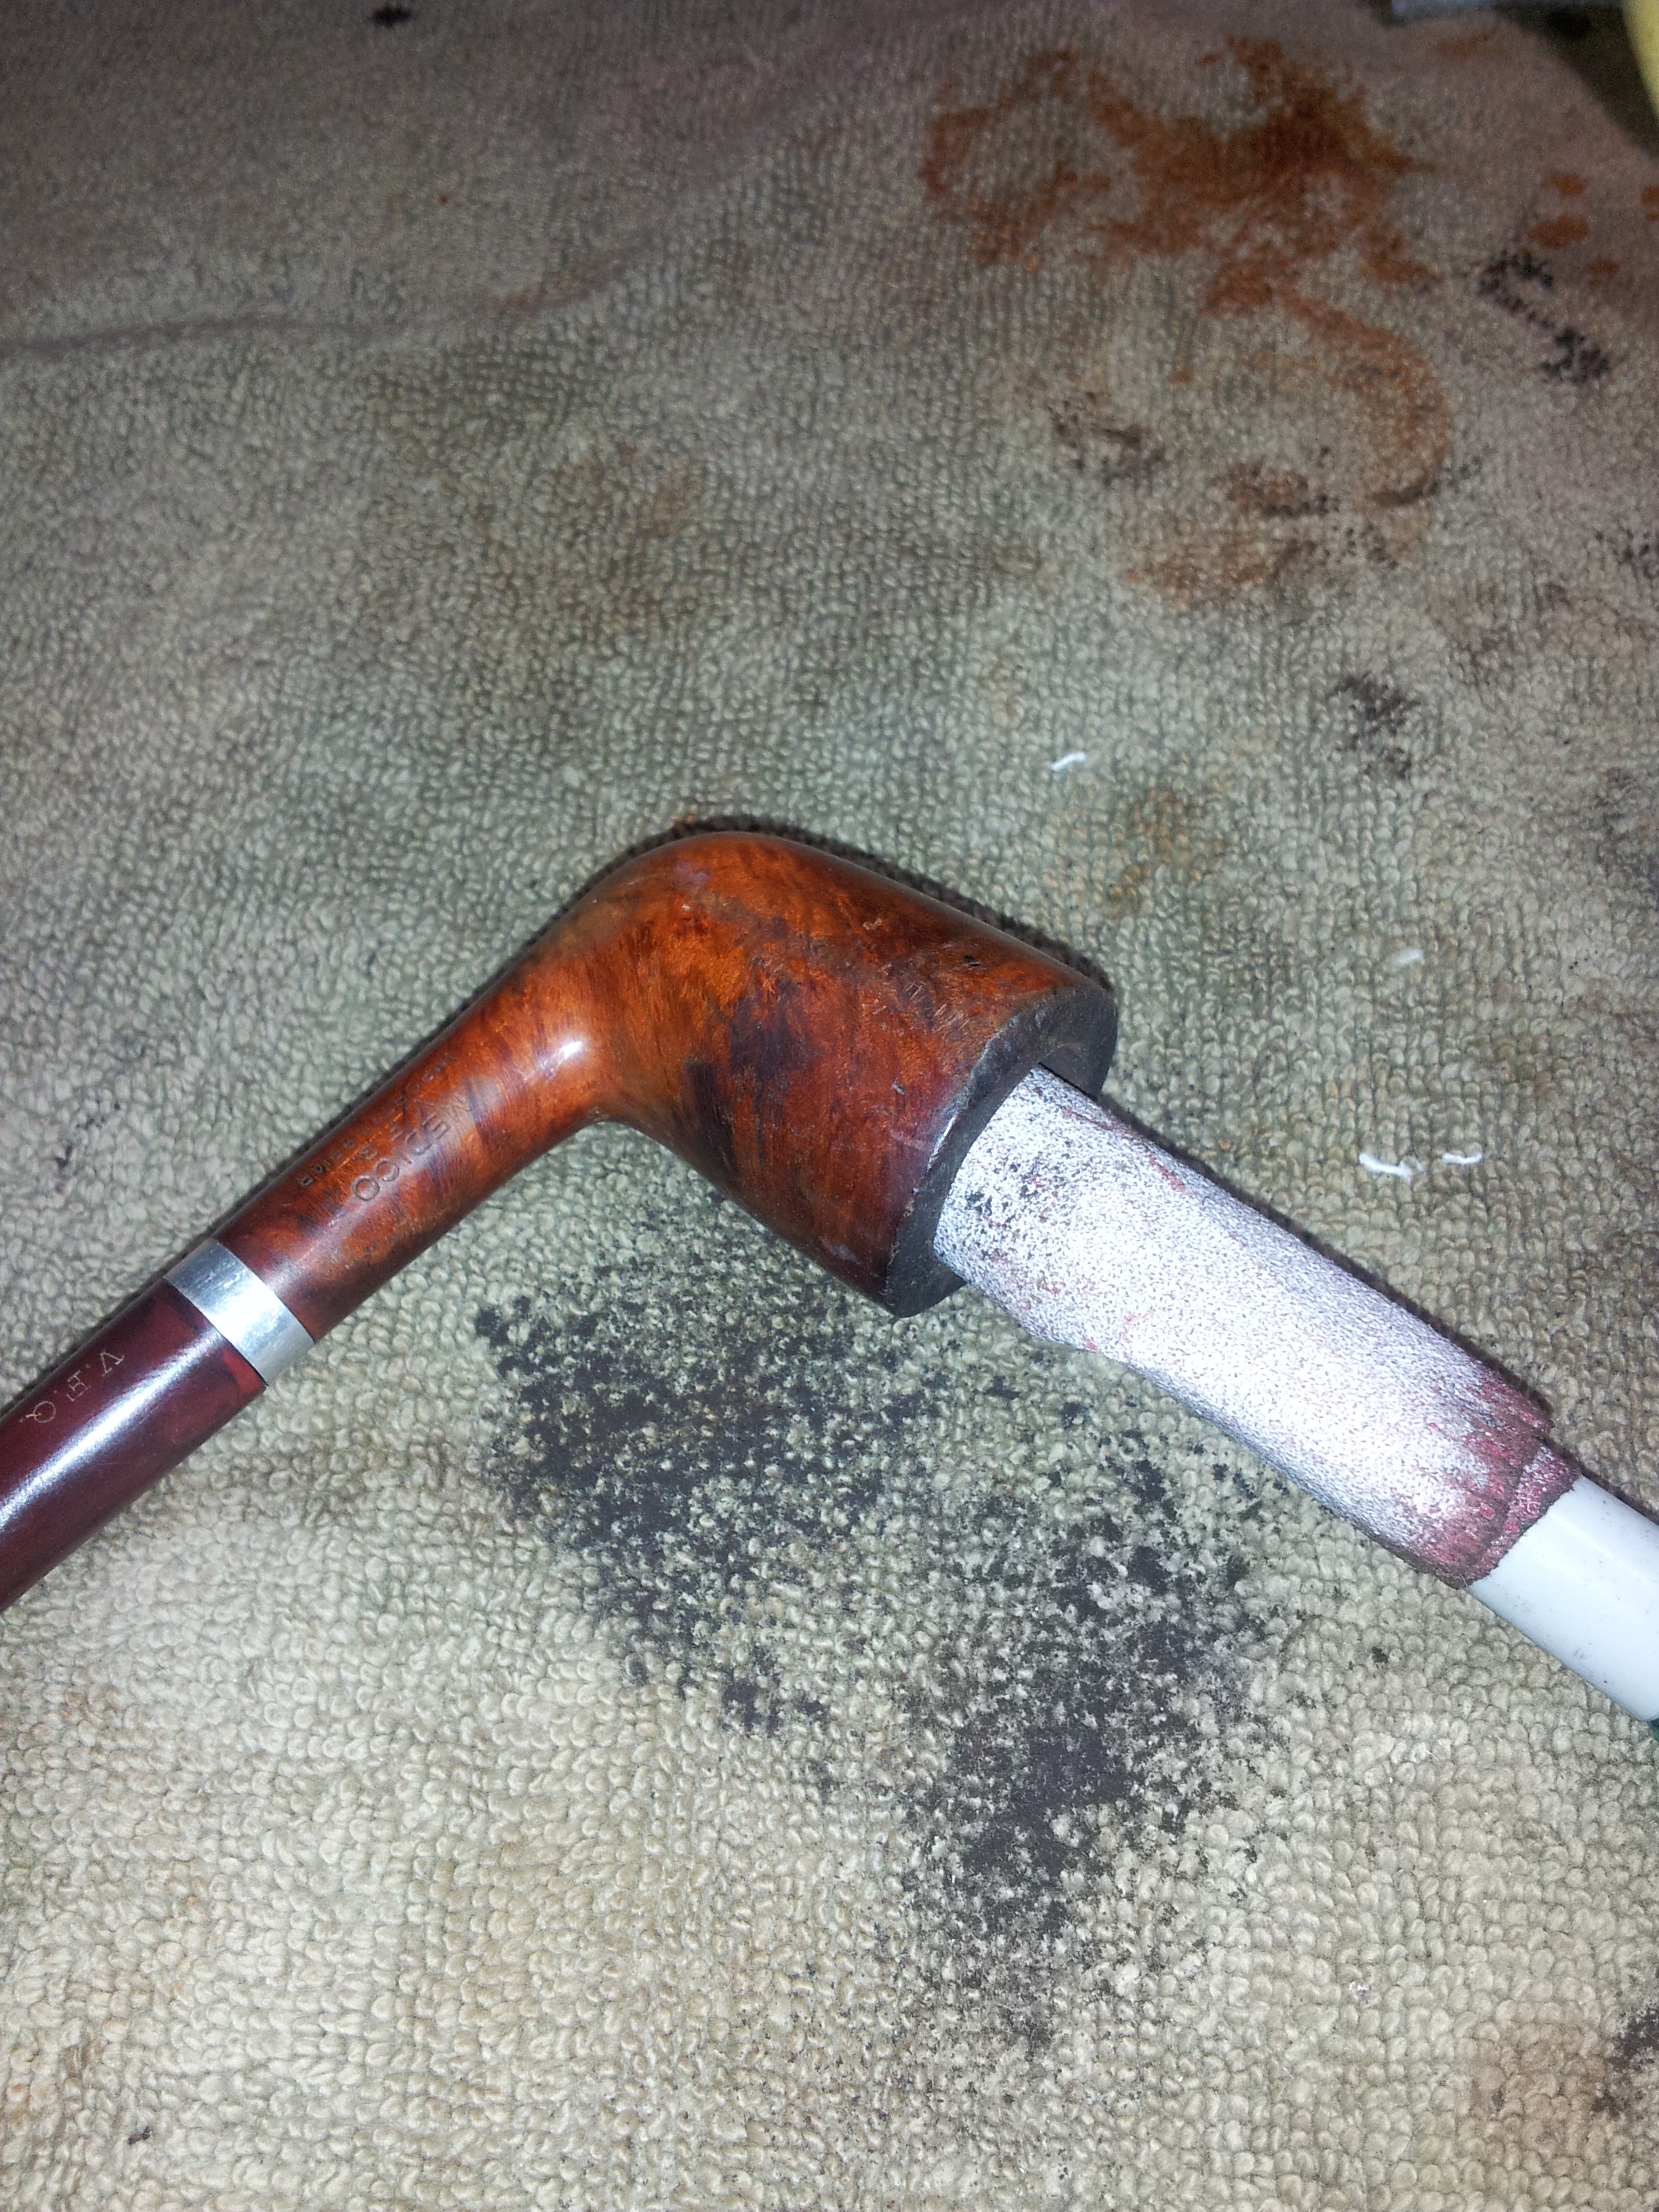
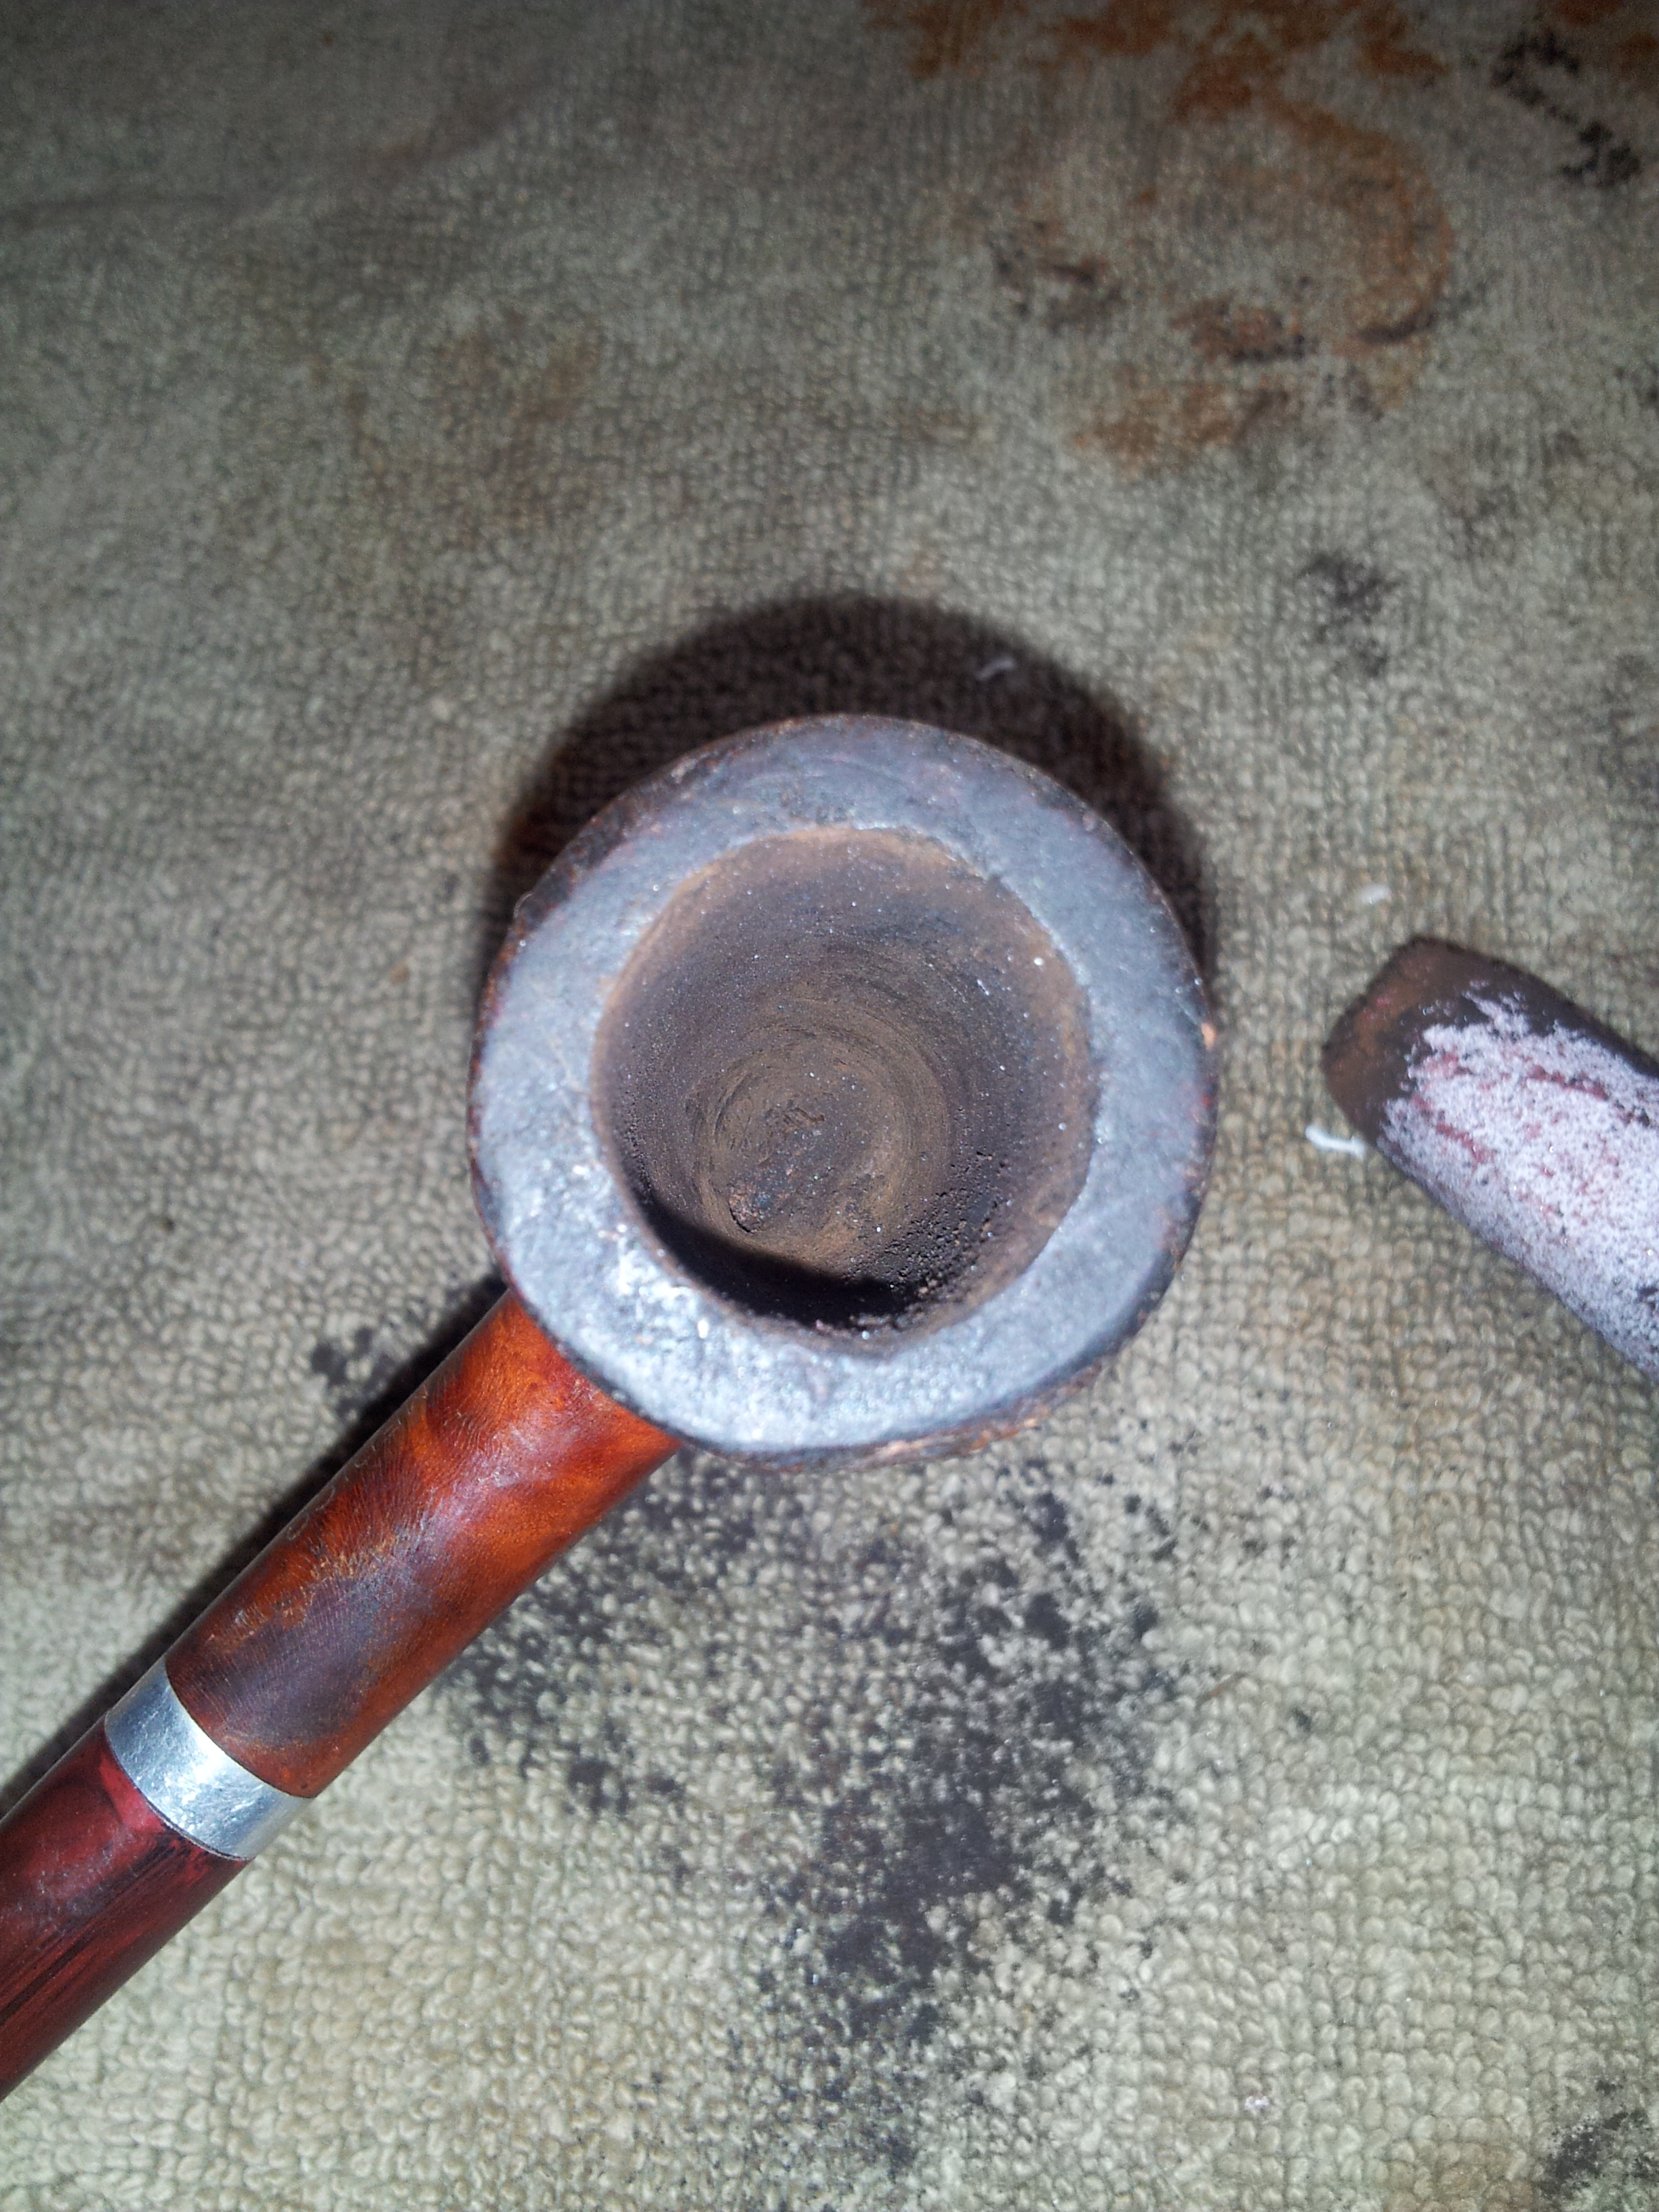
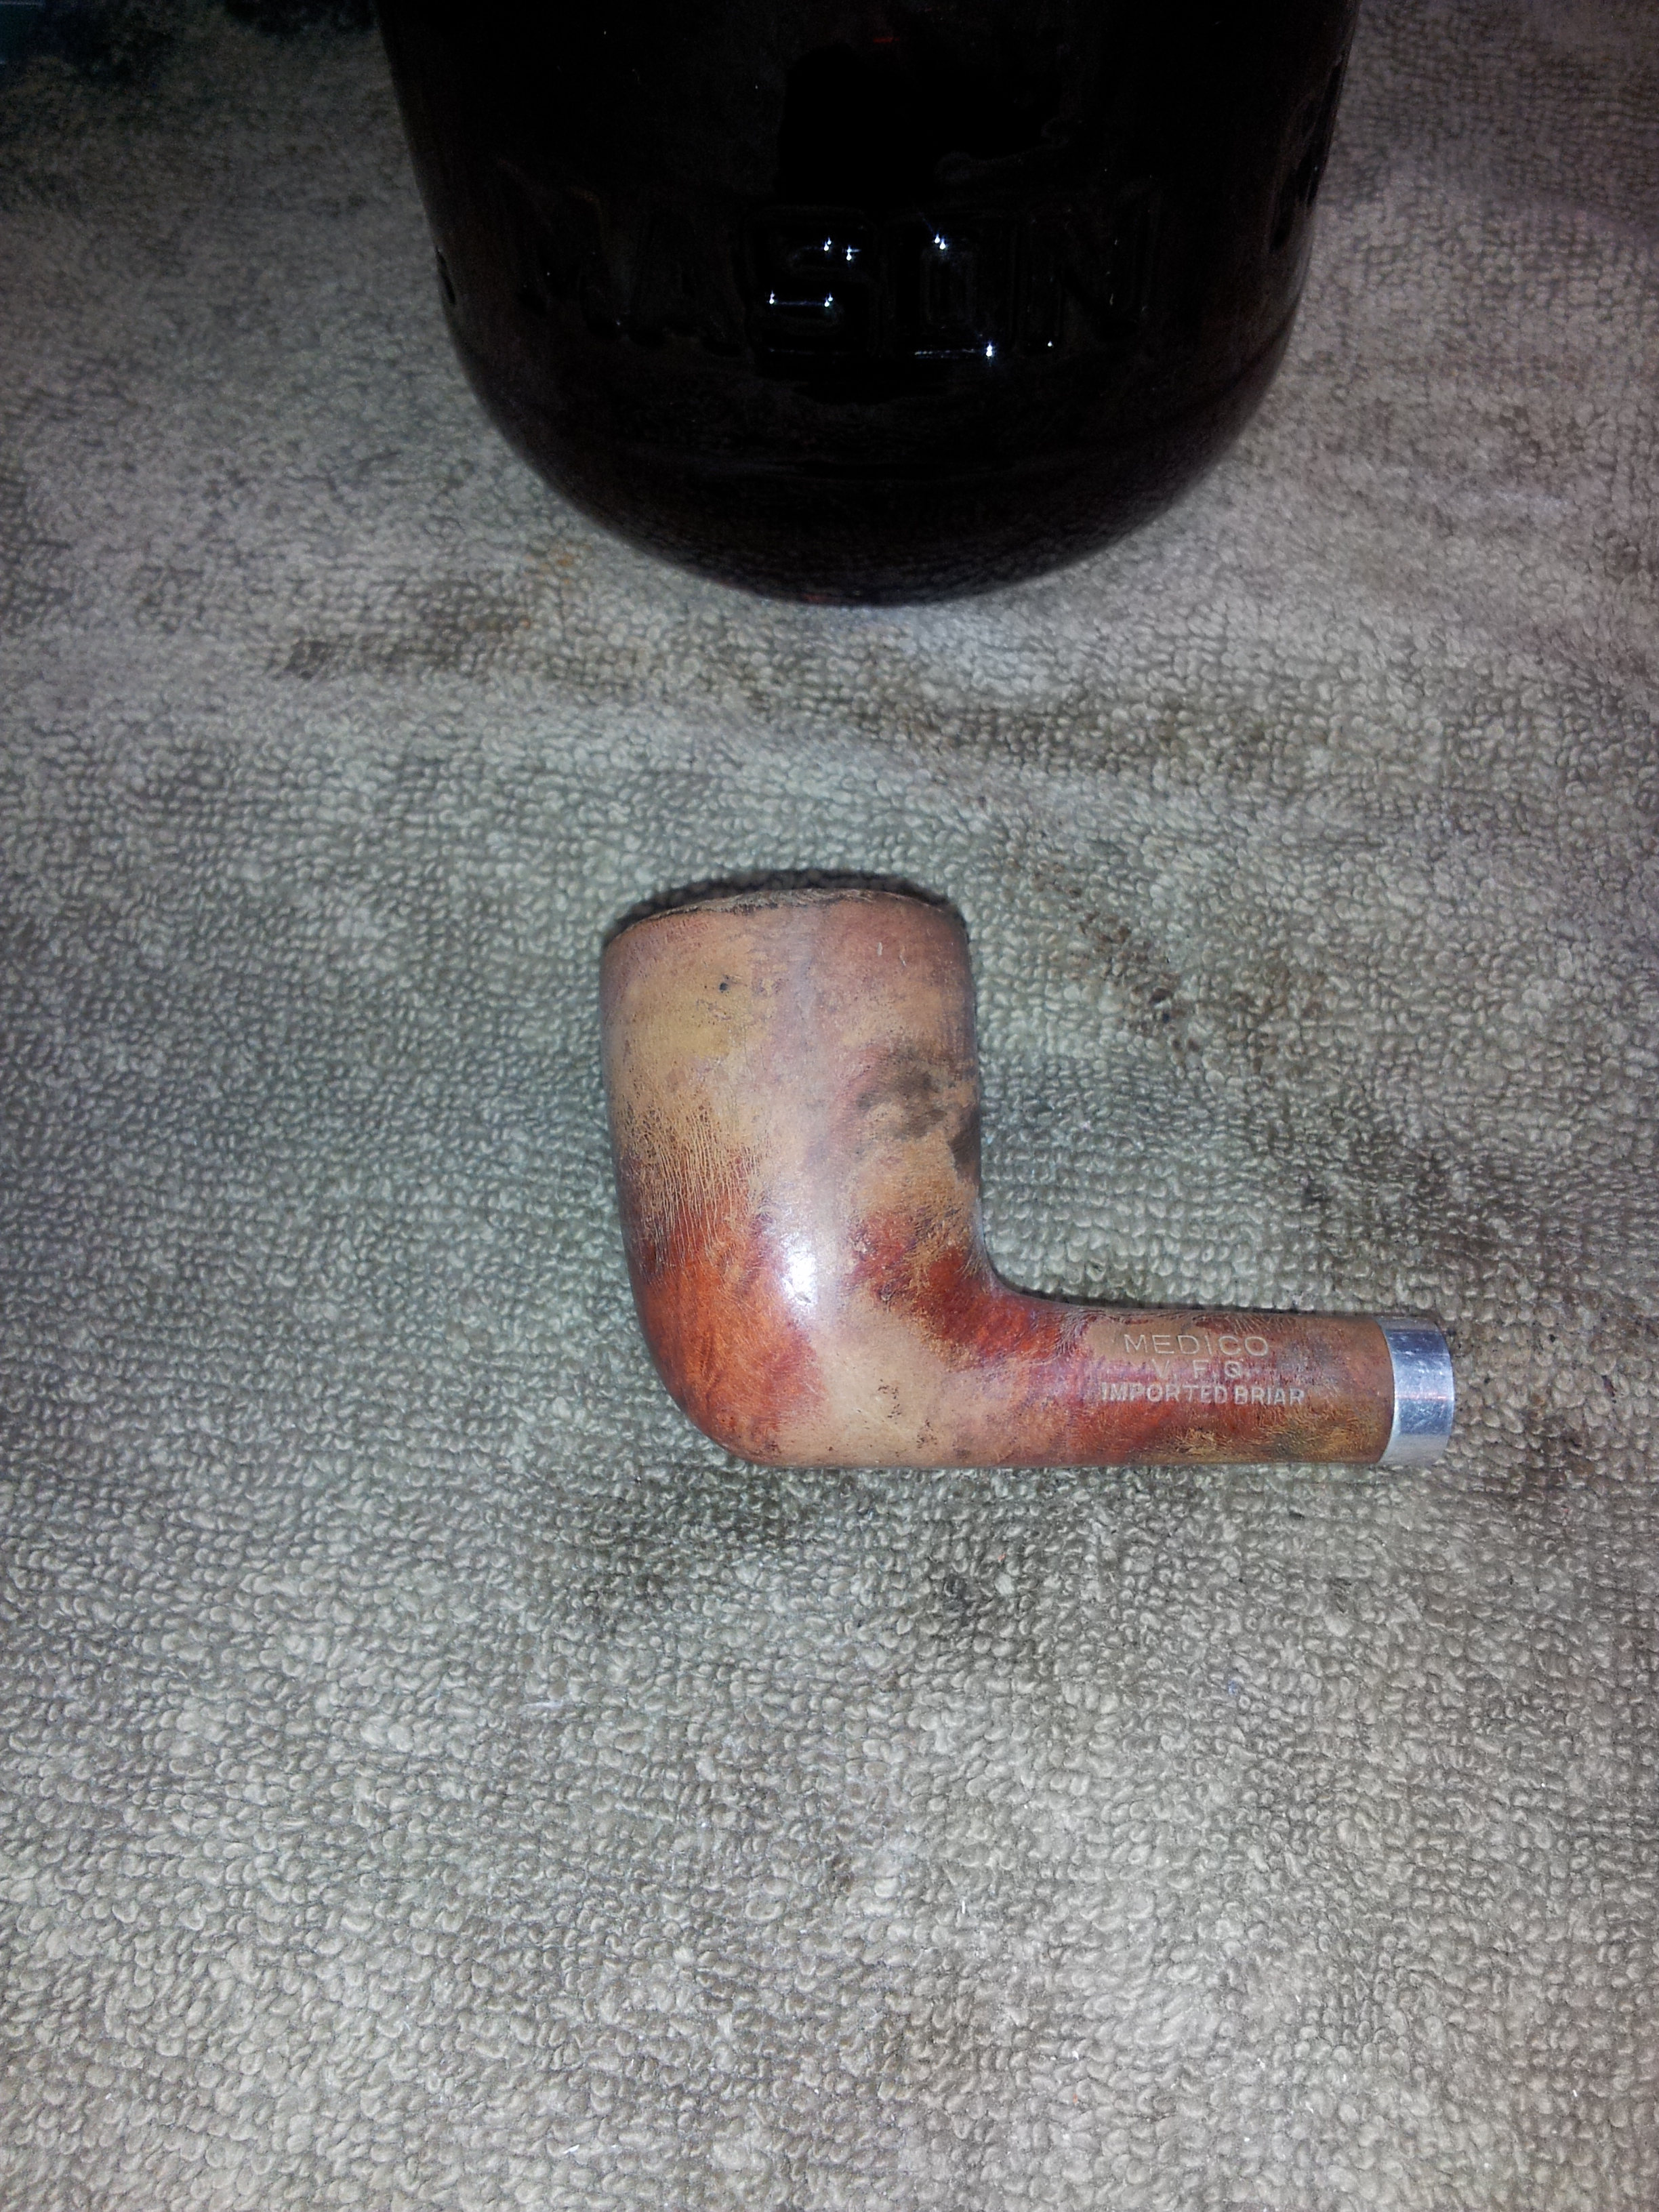
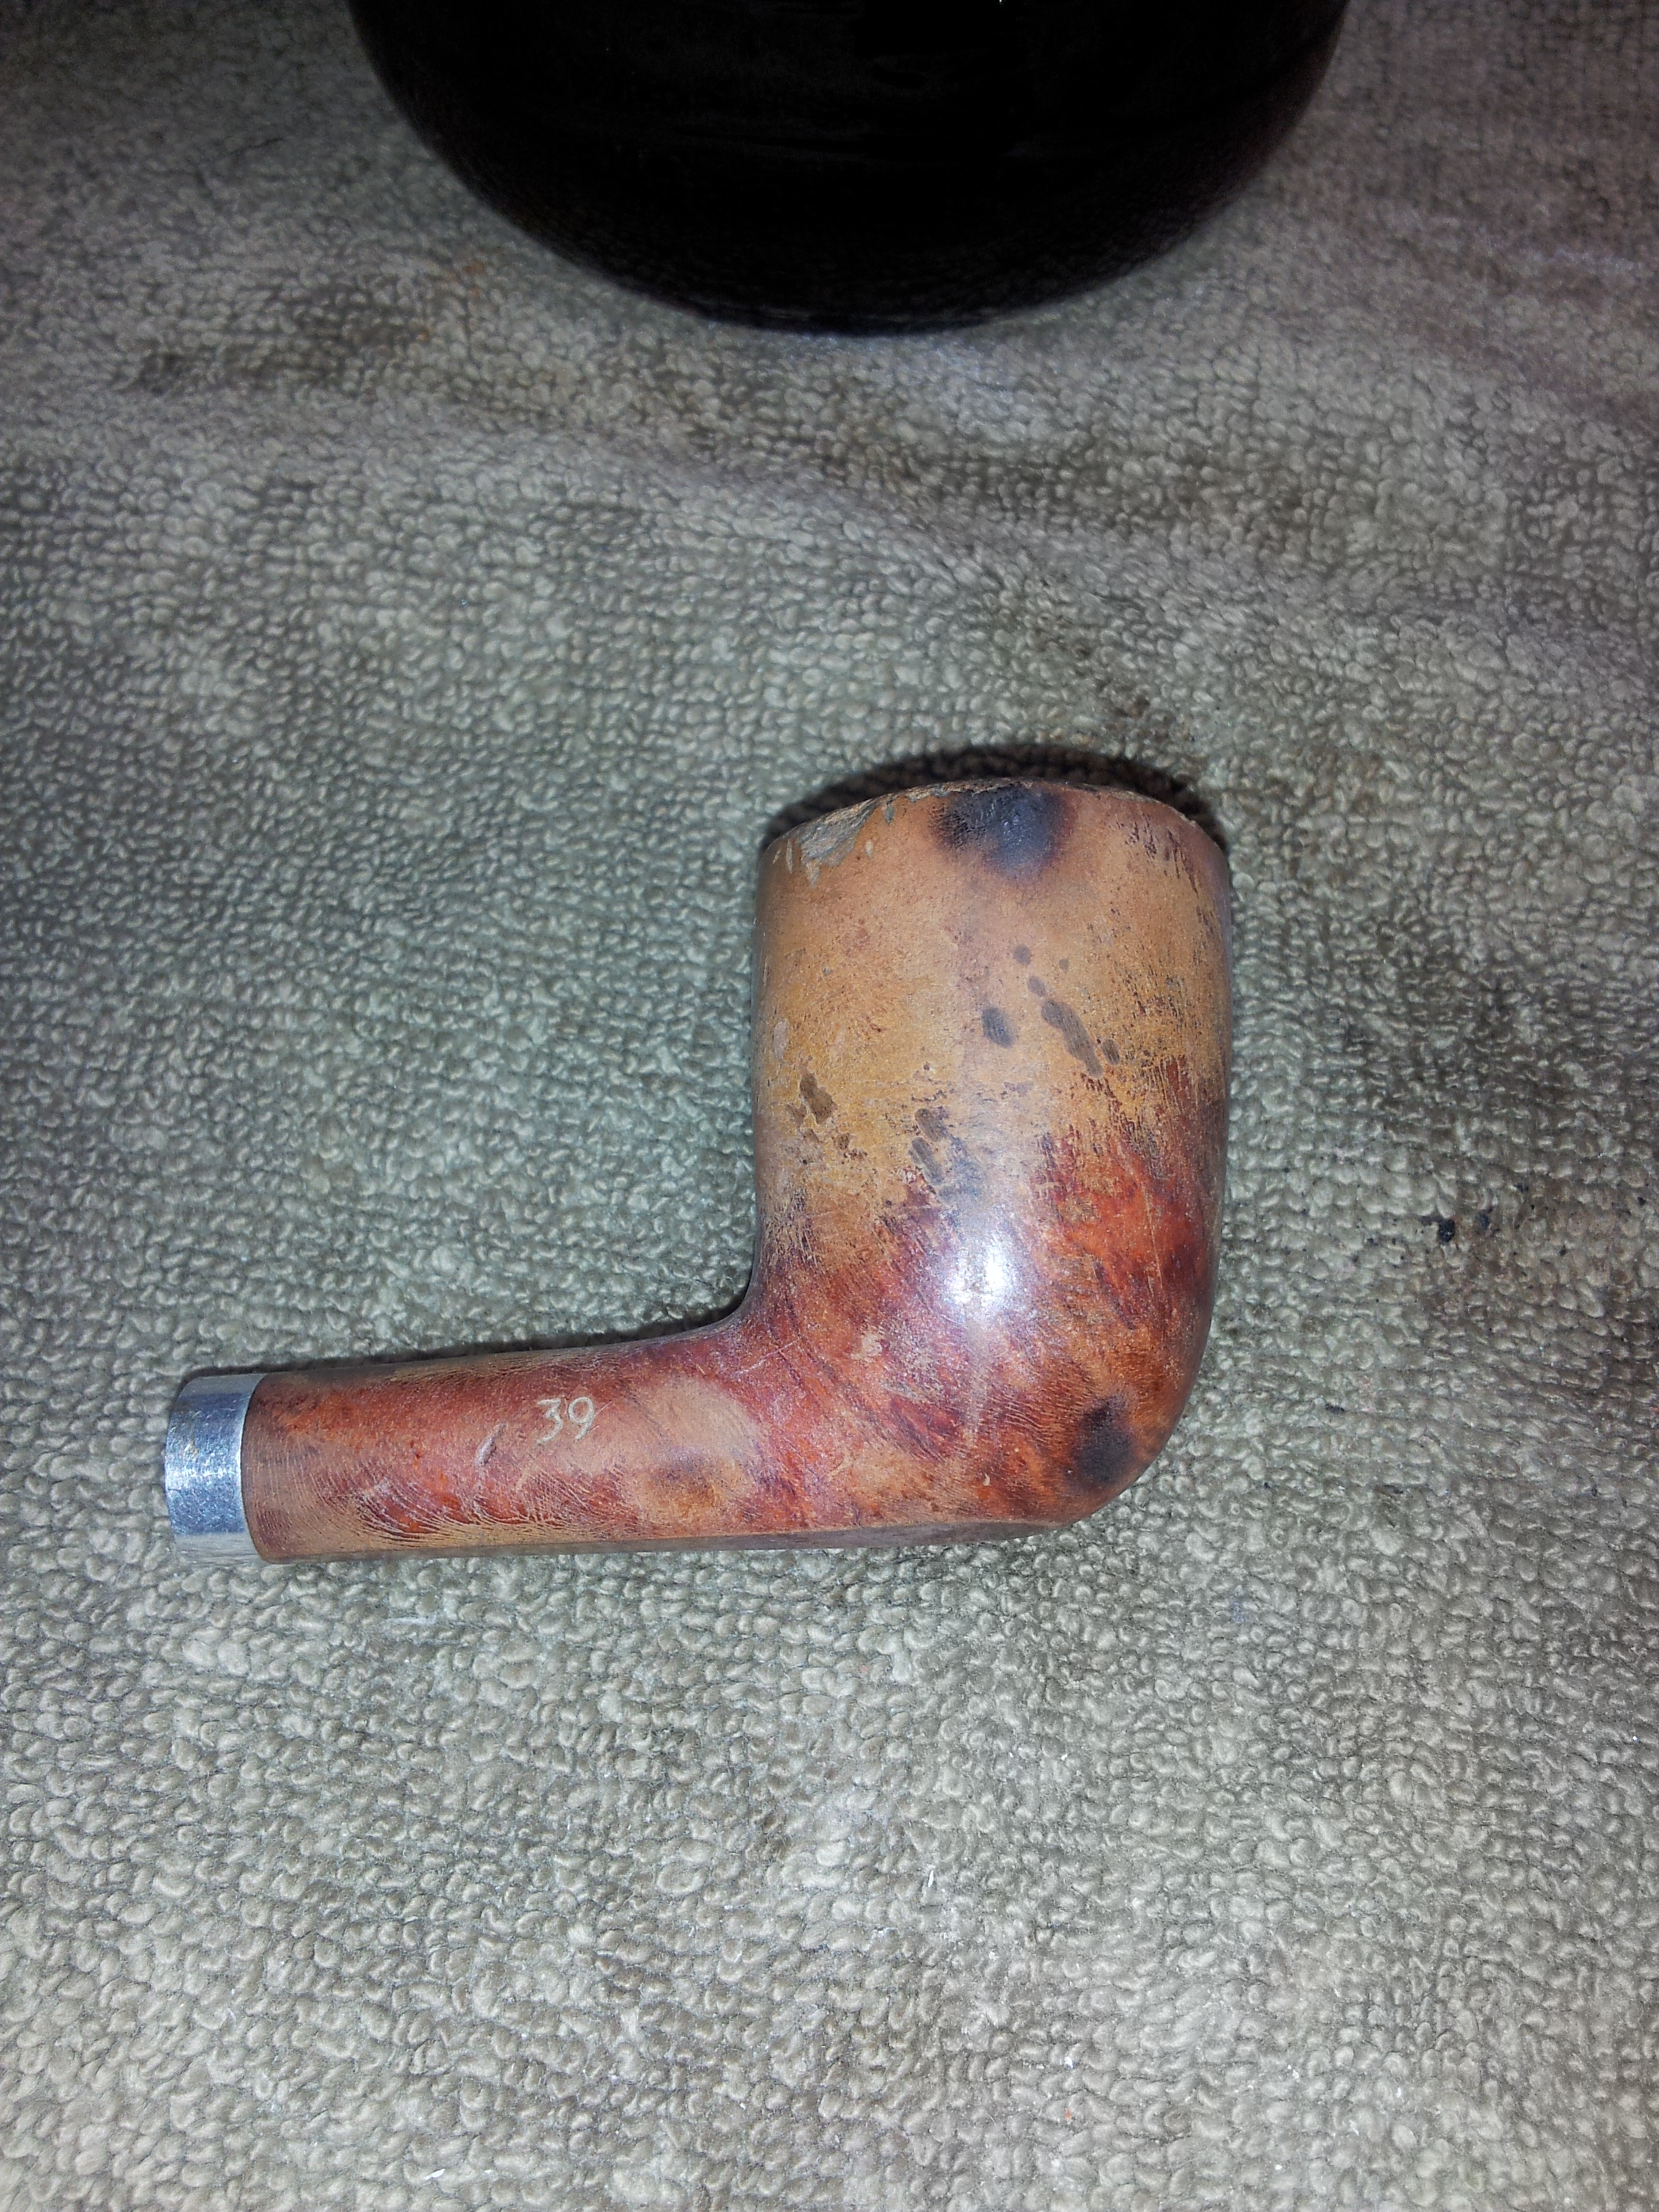
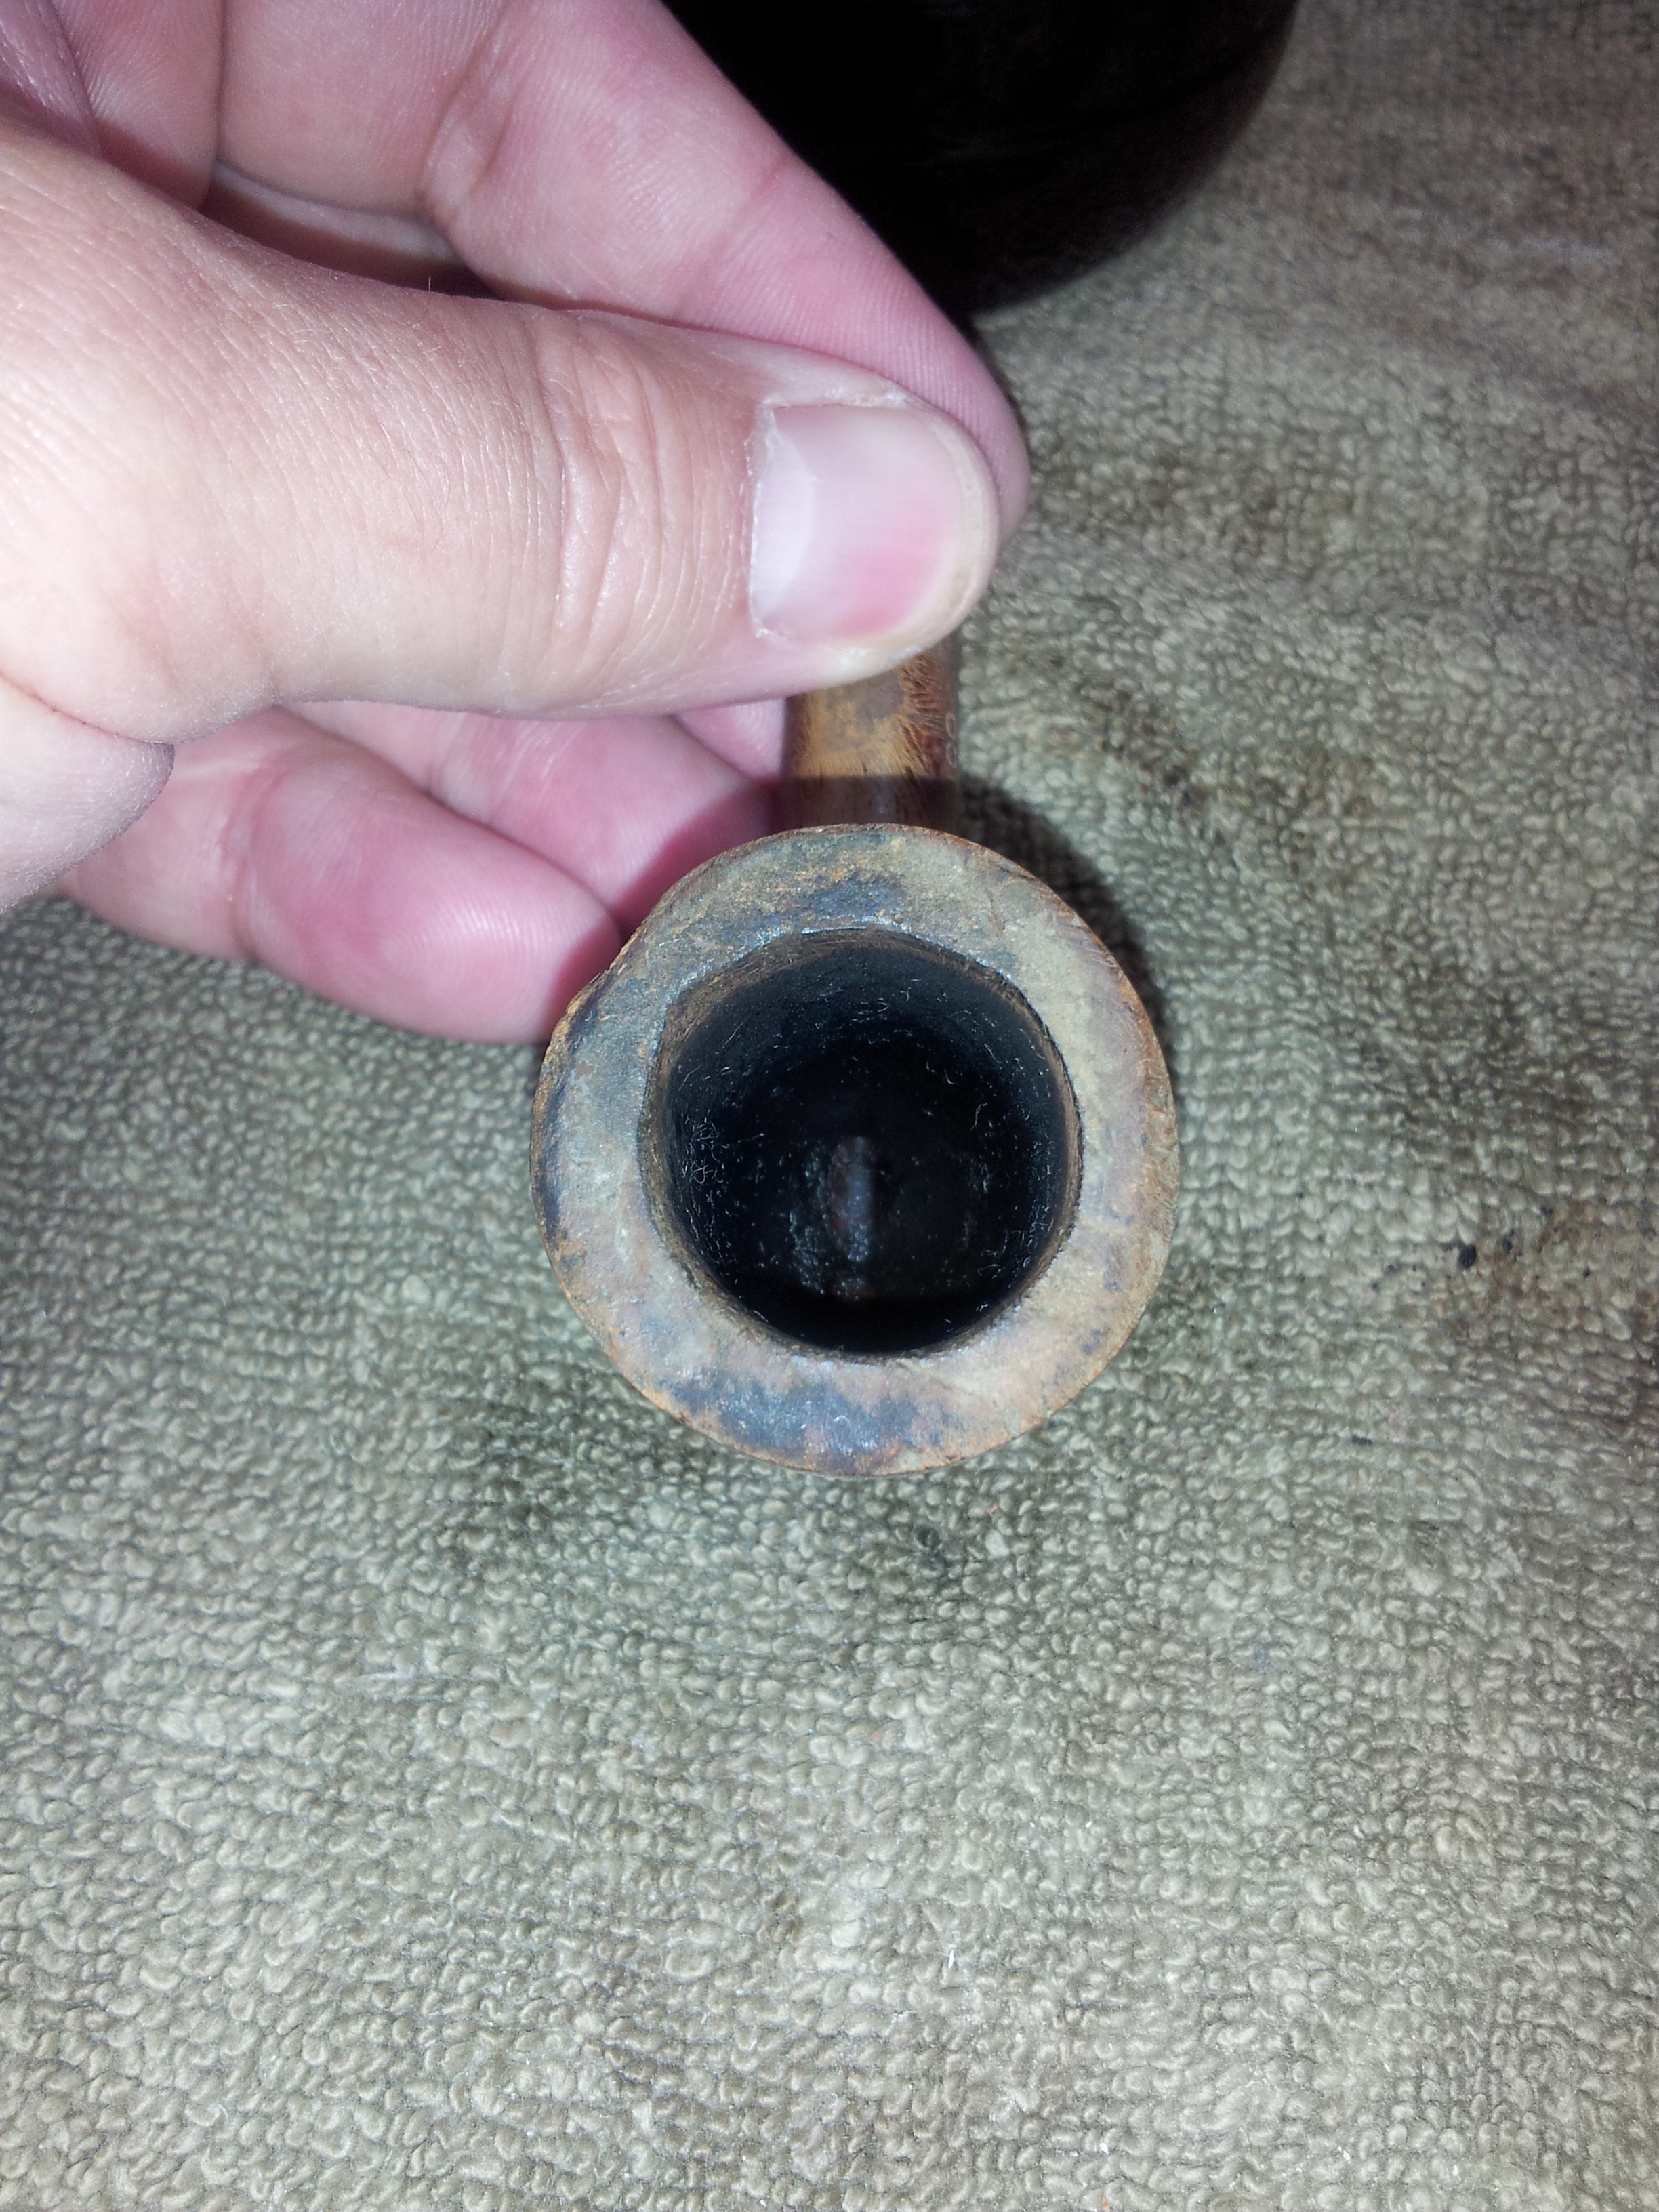
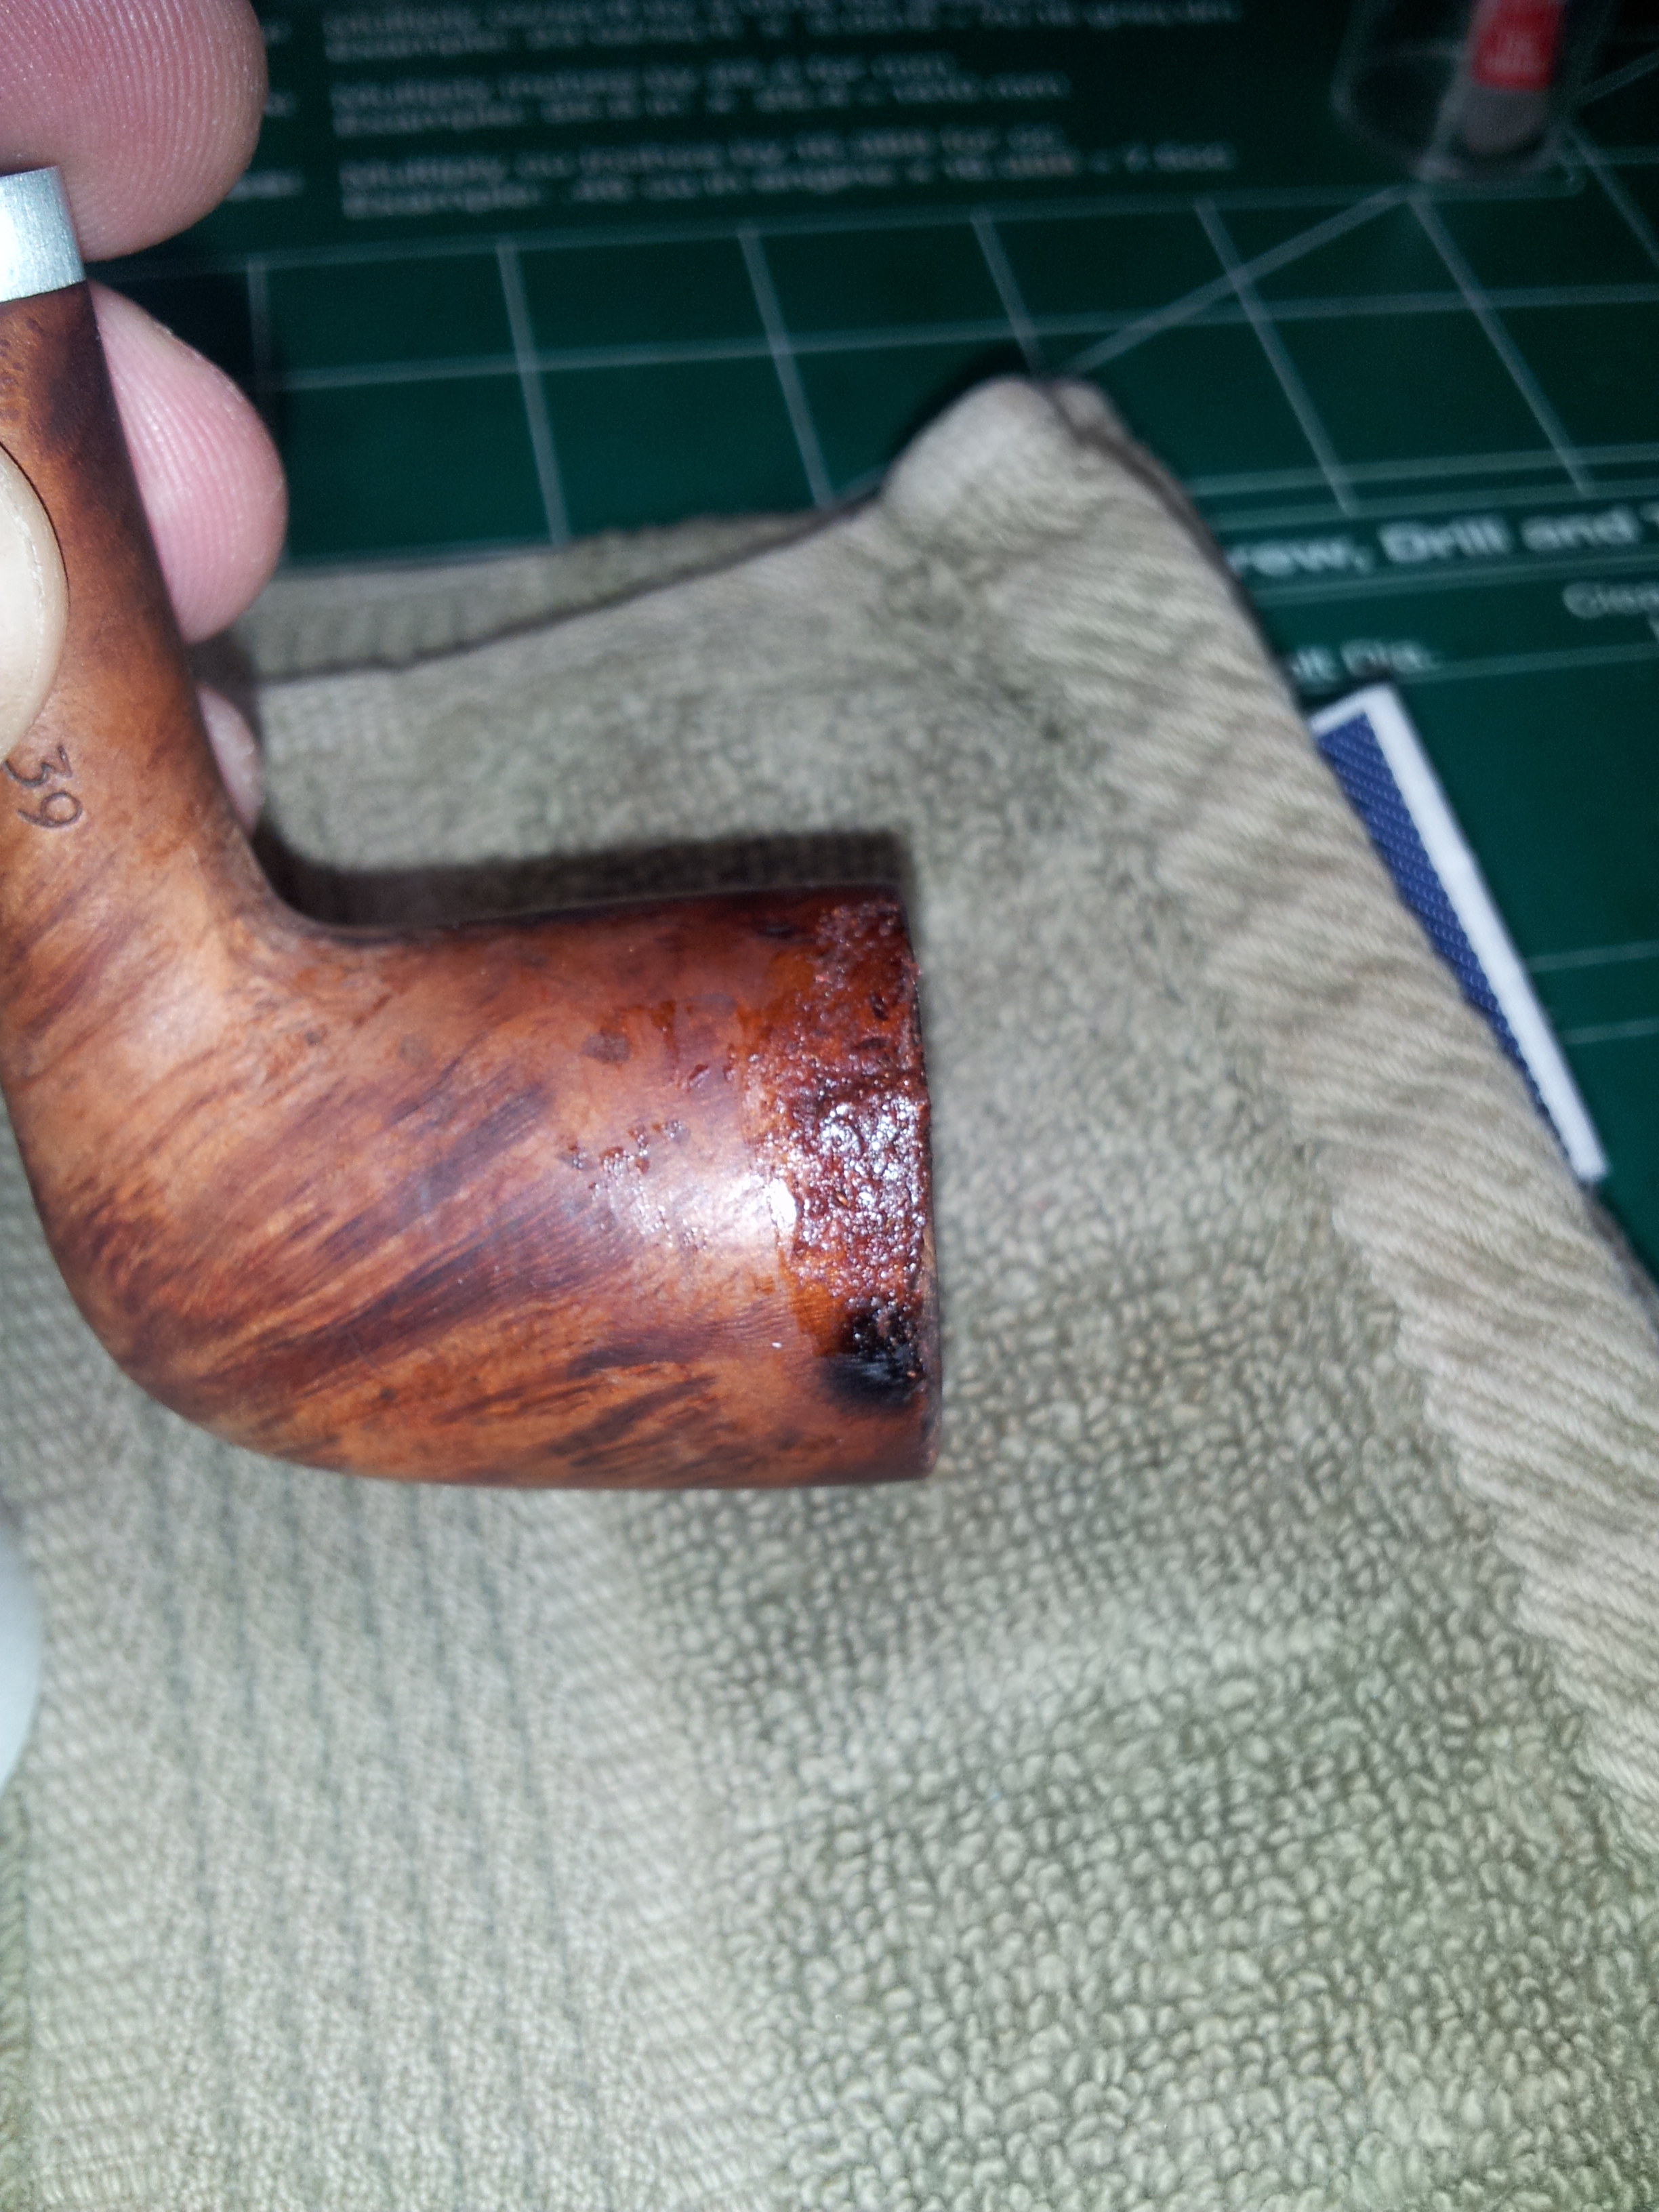
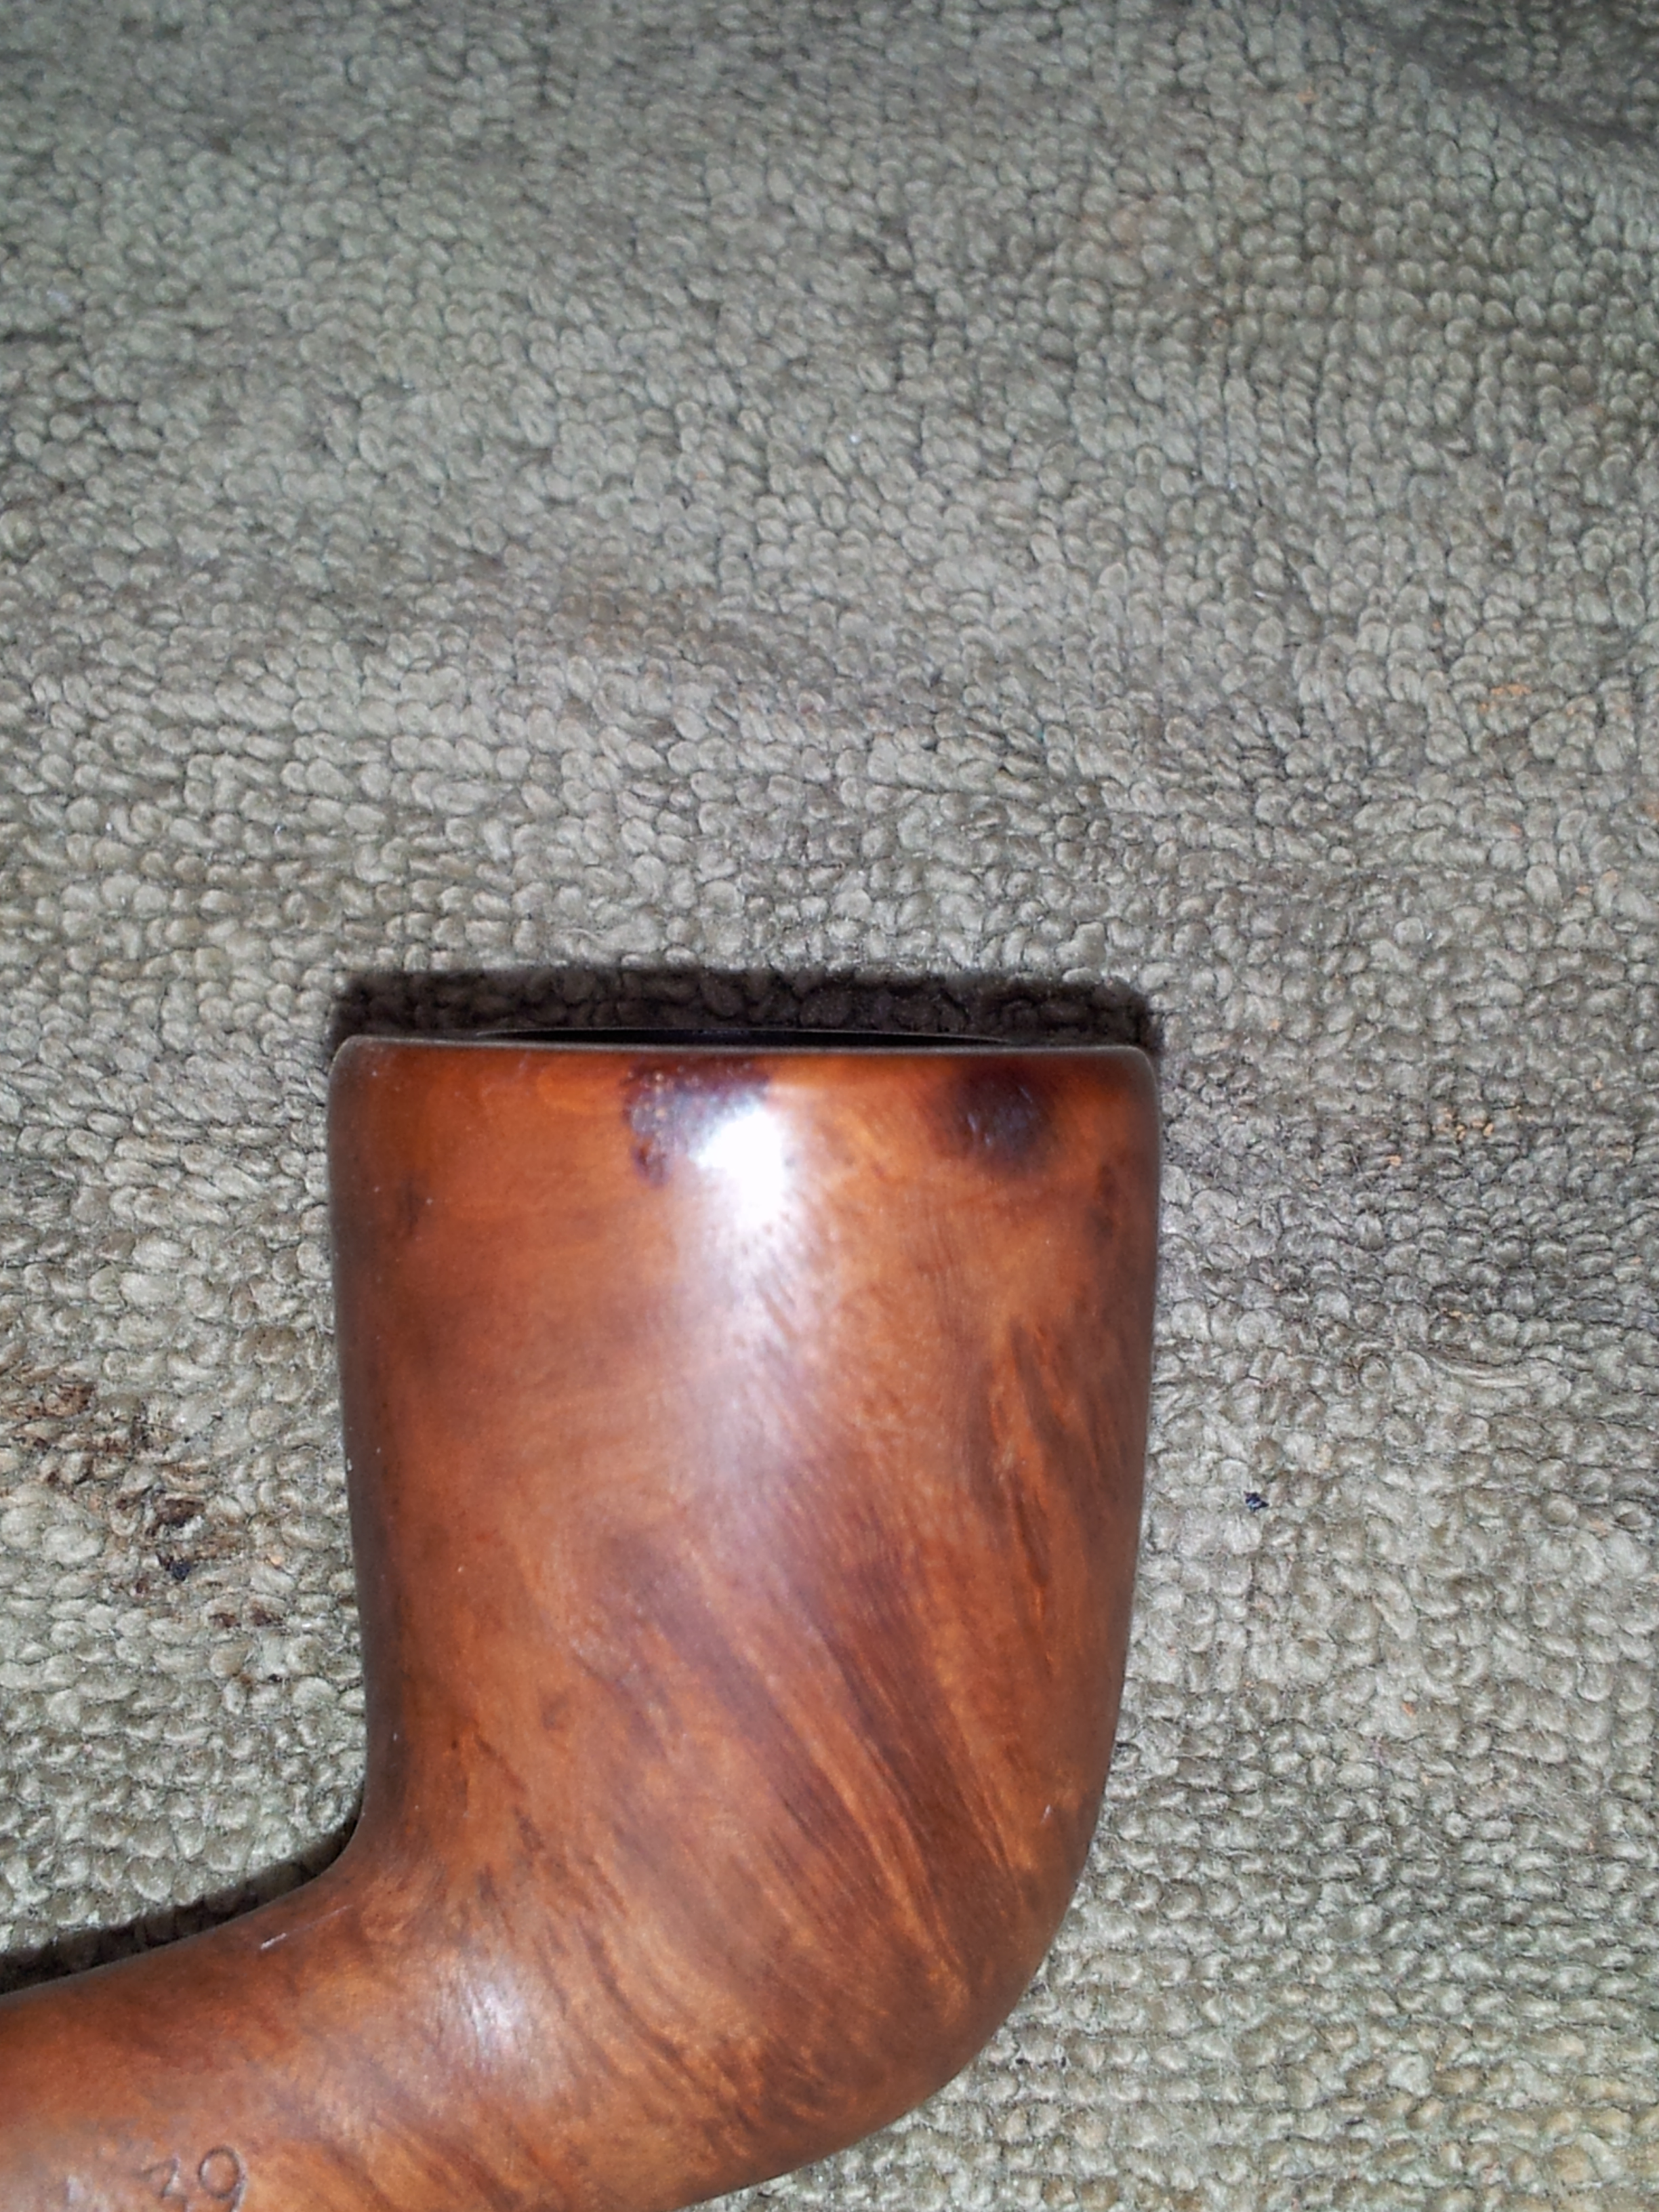
I reached into my box of pipes to refurbish the other day and this Medico VFQ billiard came out. It was in rough shape – the rim was worn nearly all the way around from being knocked against something to clear the dottle from the bowl. The previous piper evidently also had dubious aim with his knocking, as there were also dents and dings on the back outside wall of the bowl in line with the stem. There was a significant chunk of briar missing from the rear right rim of the bowl, and a few good char marks just as a bonus. The pipe’s finish was shot – ragged and patchy, with bare briar at the bottom of the stummel where the finish had been completely worn away by the friction of many hands. To top off the stummel’s list of woes, the rim was buried under thick tars and an uneven cake gave the bowl an out-of-round appearance.
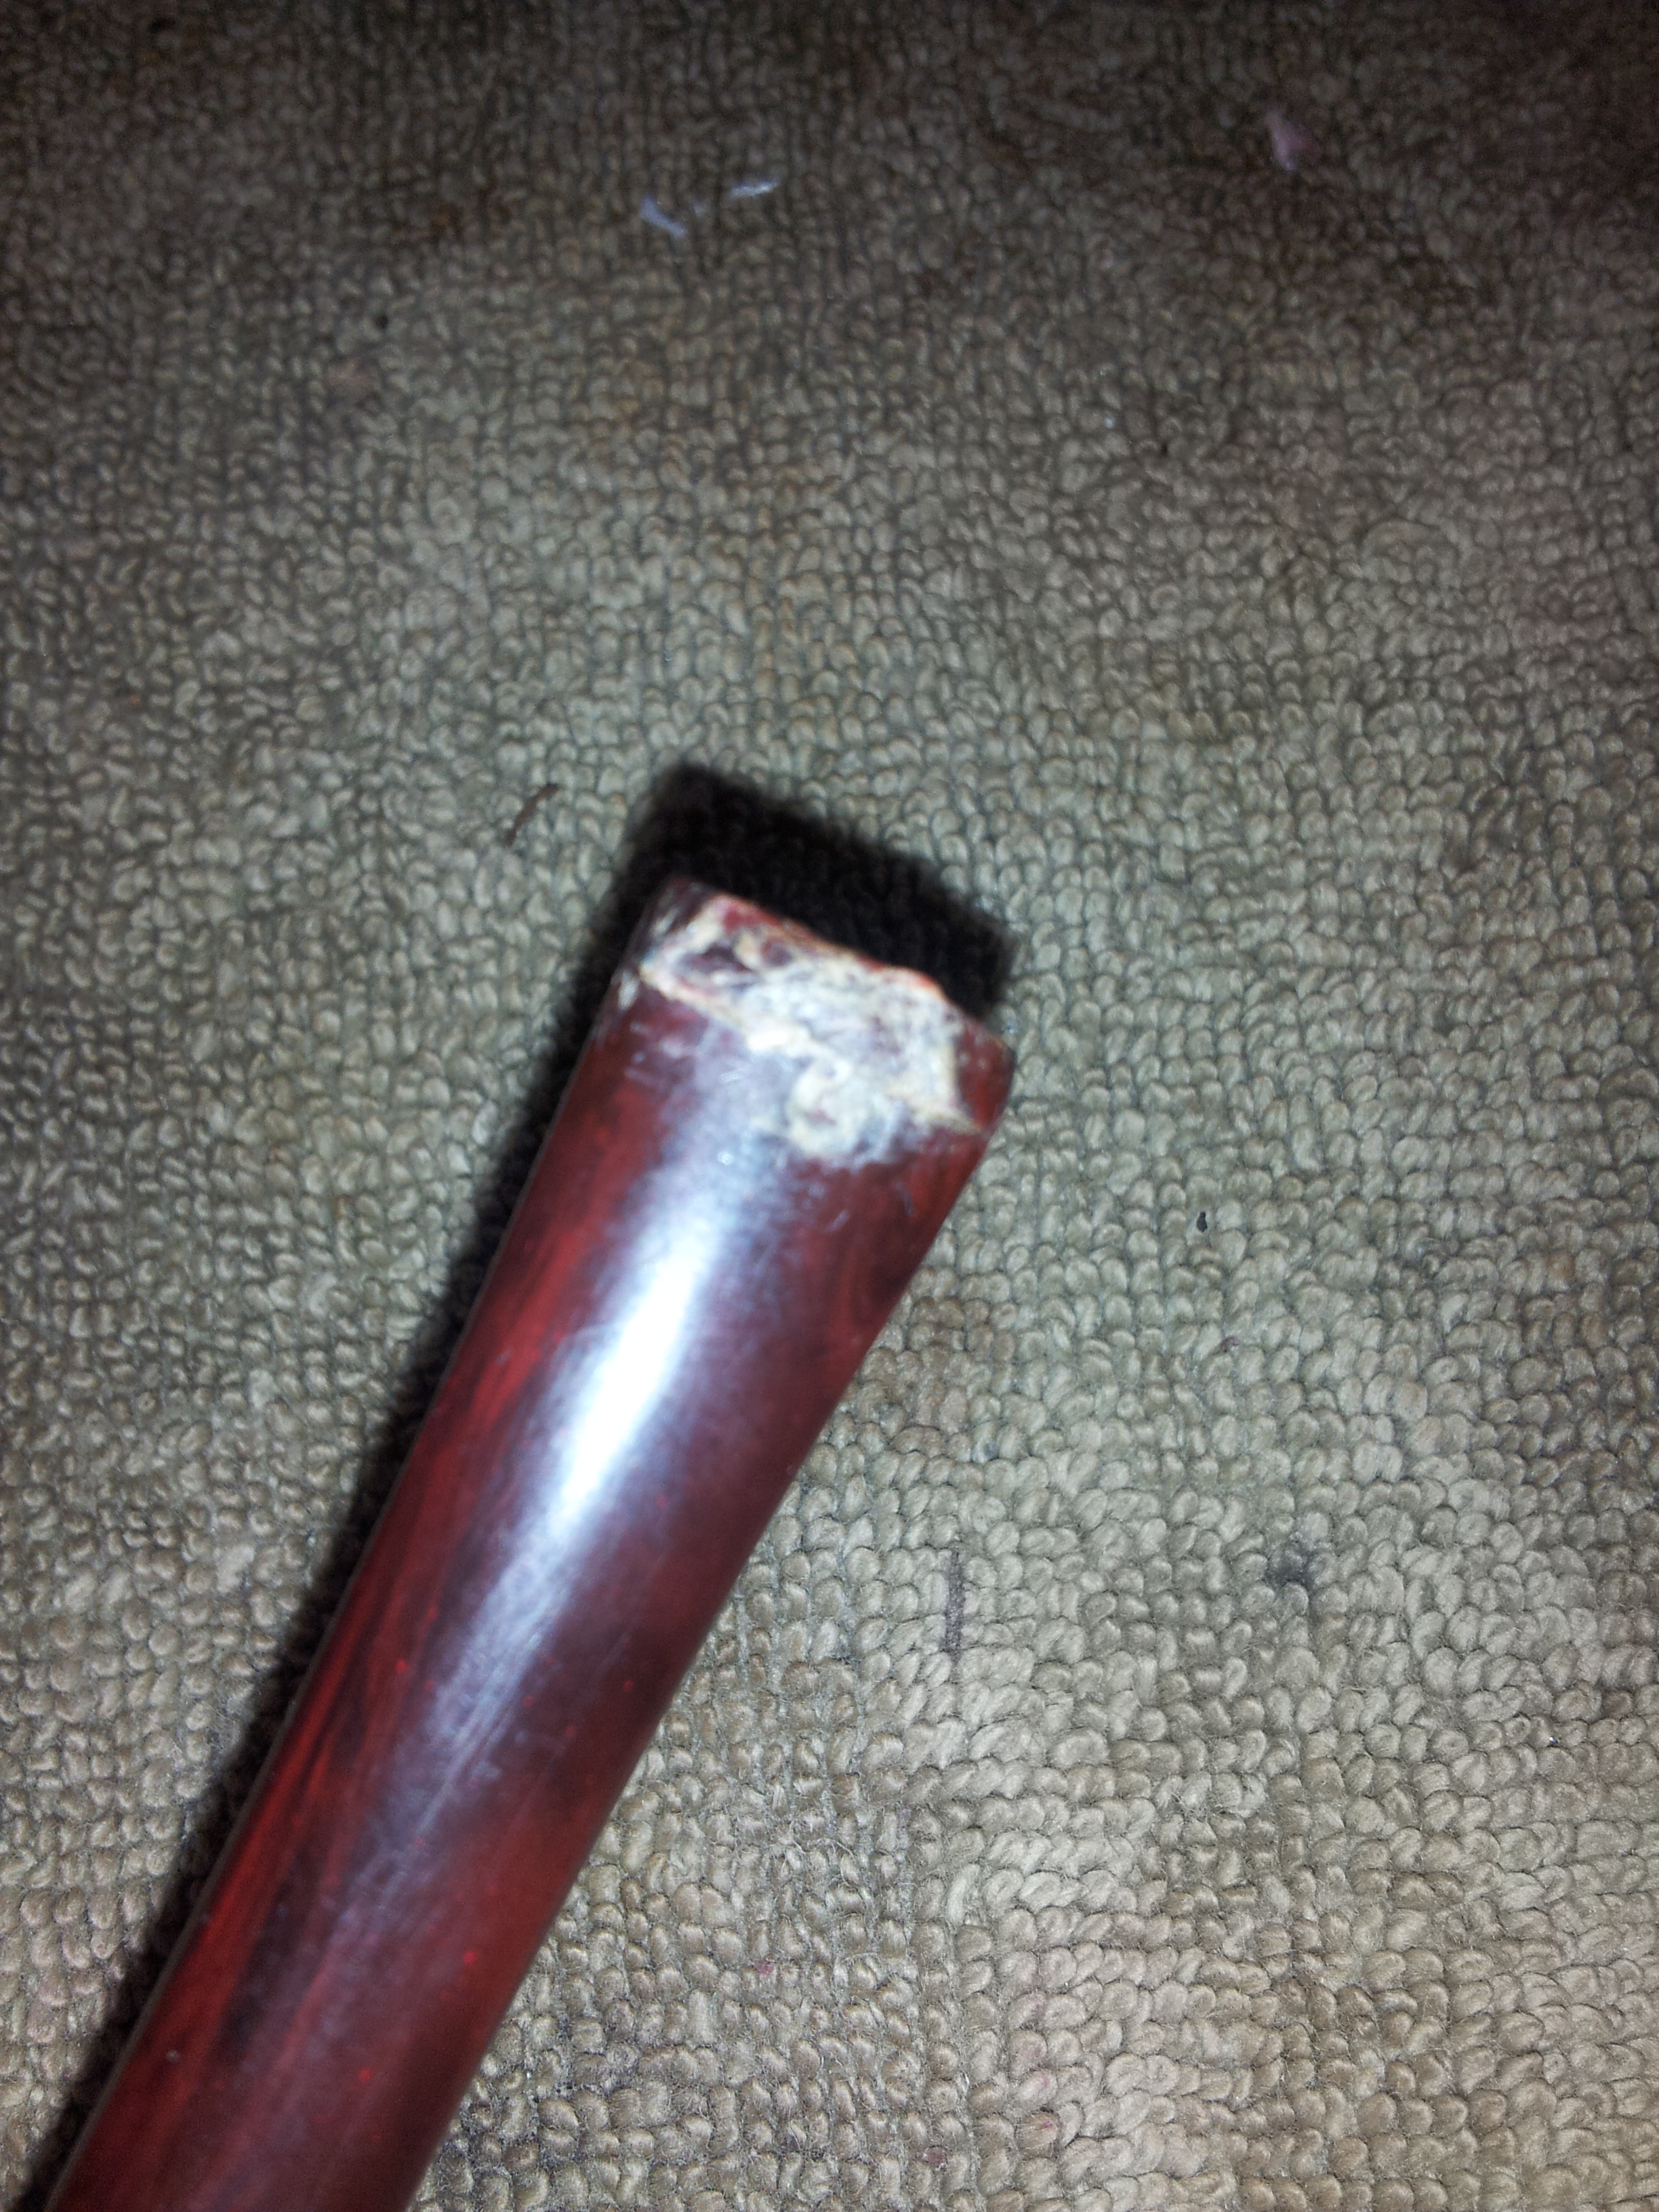
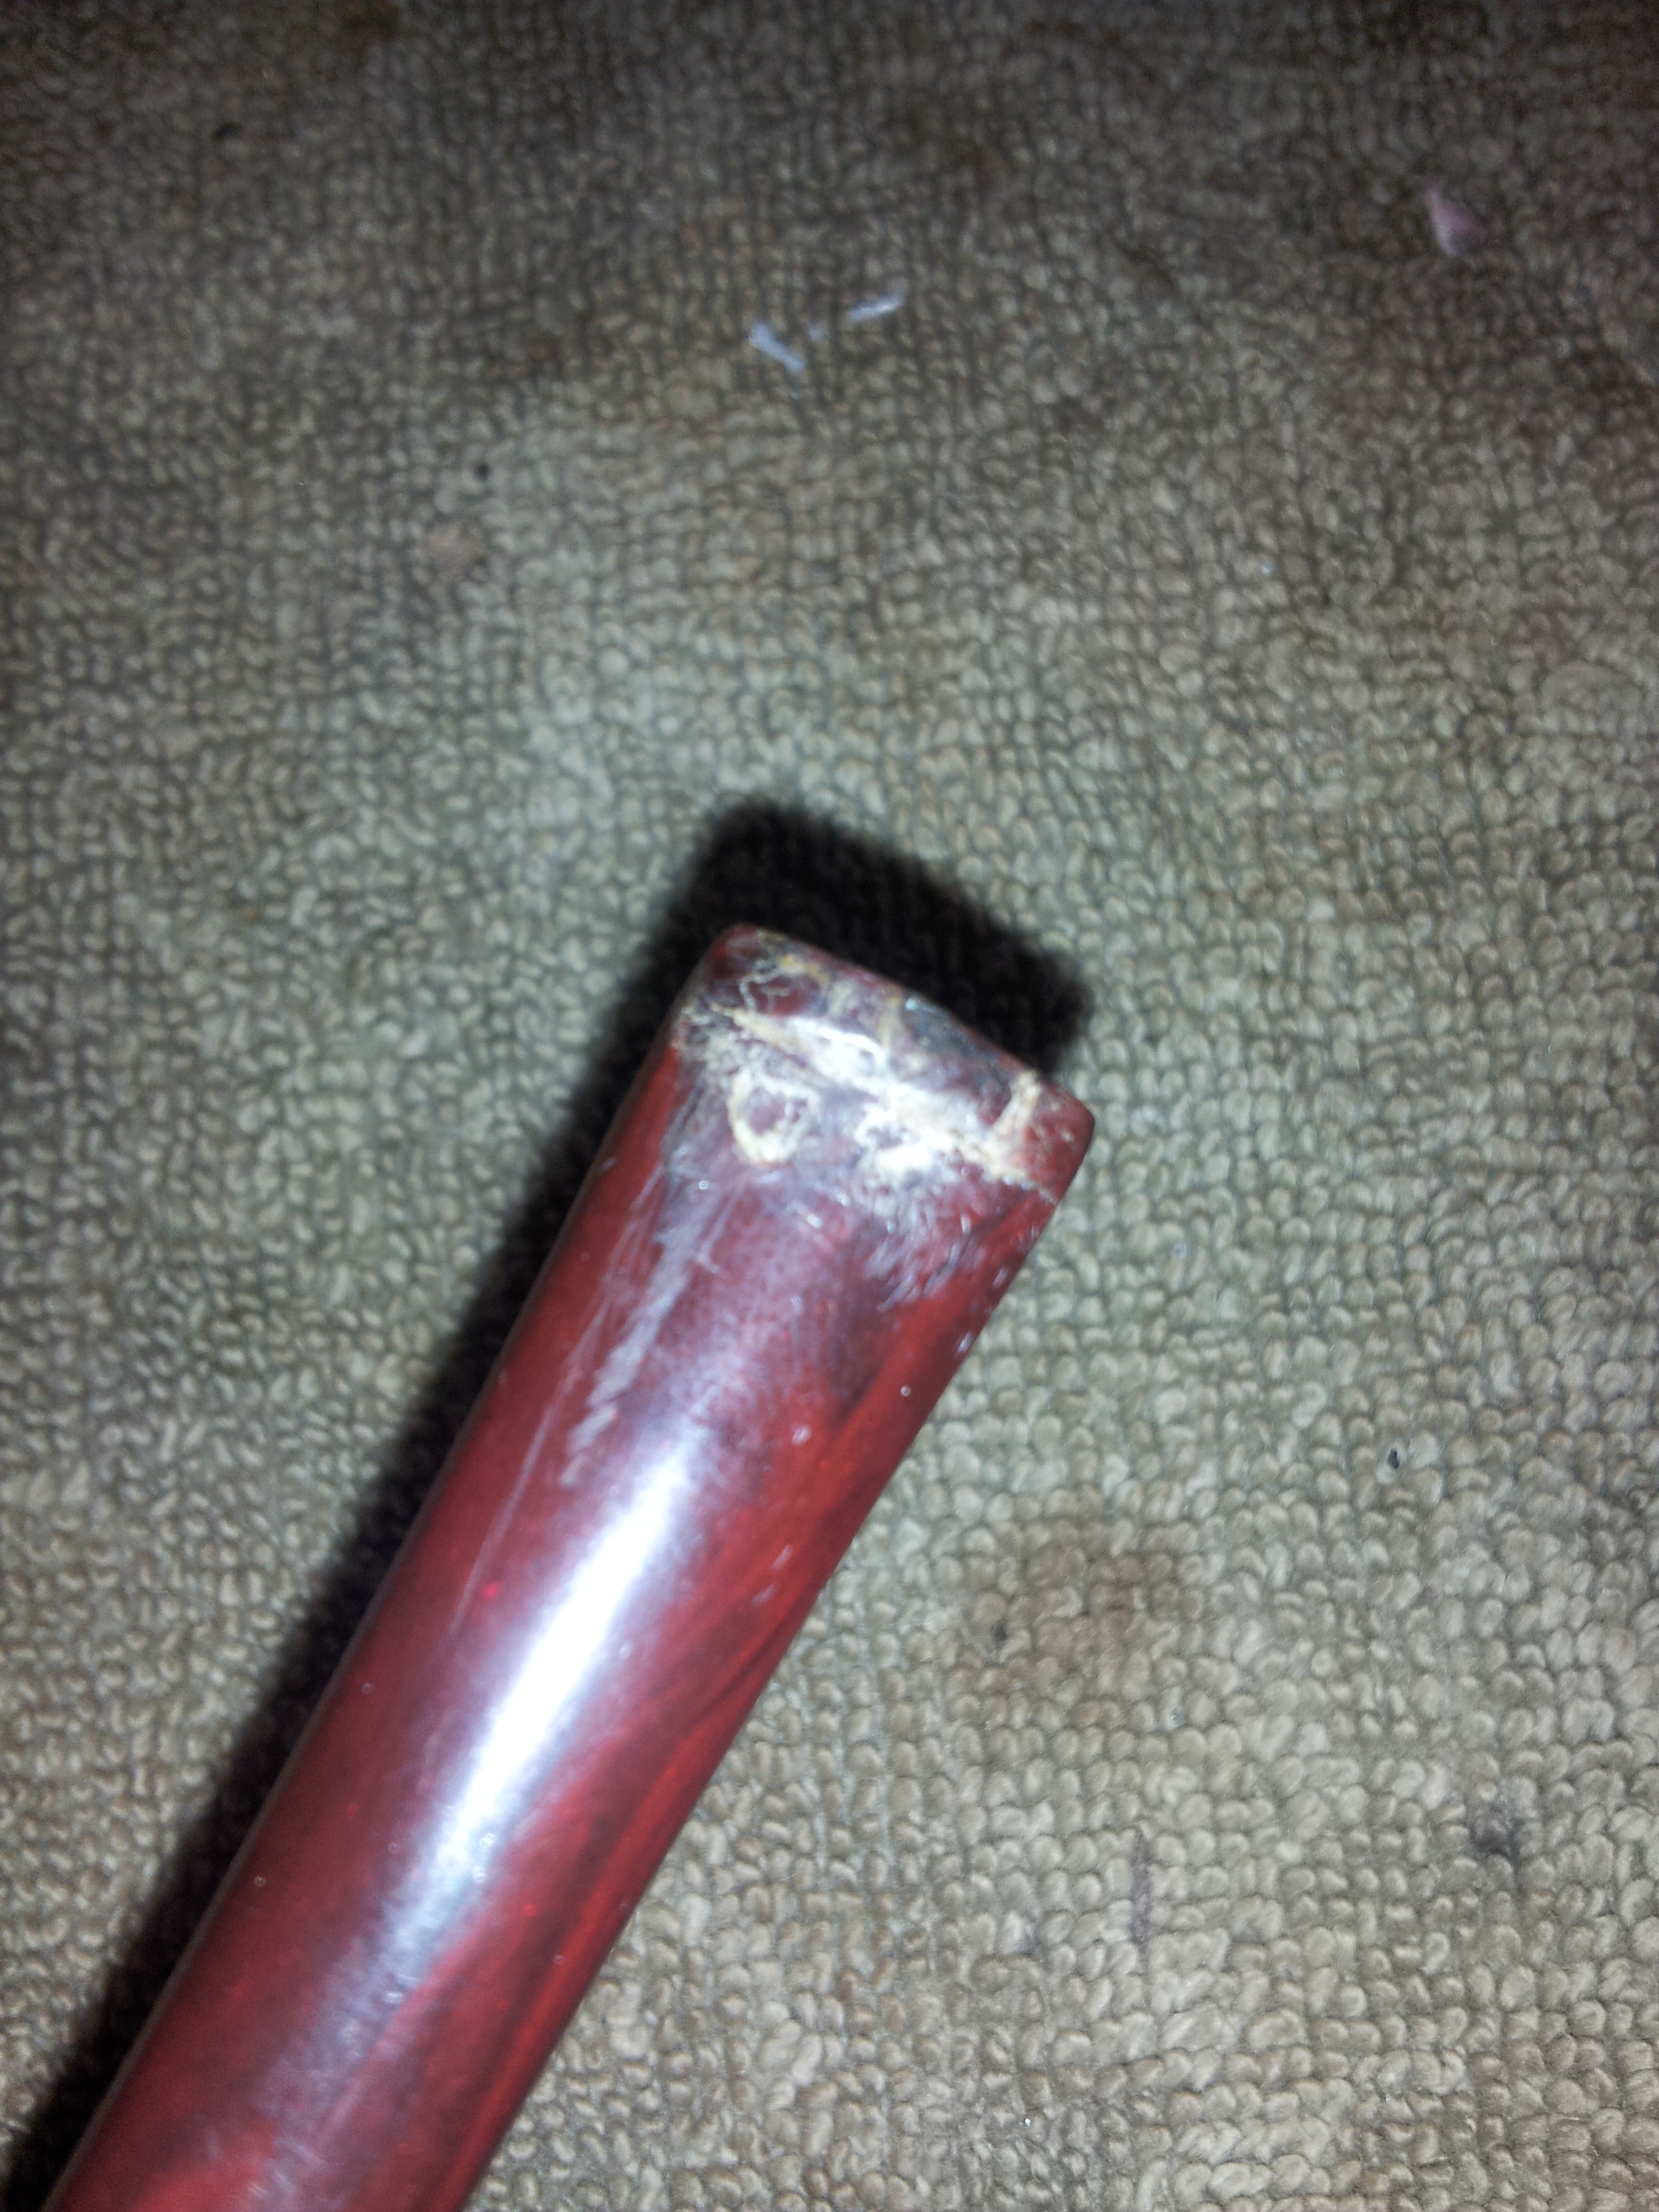
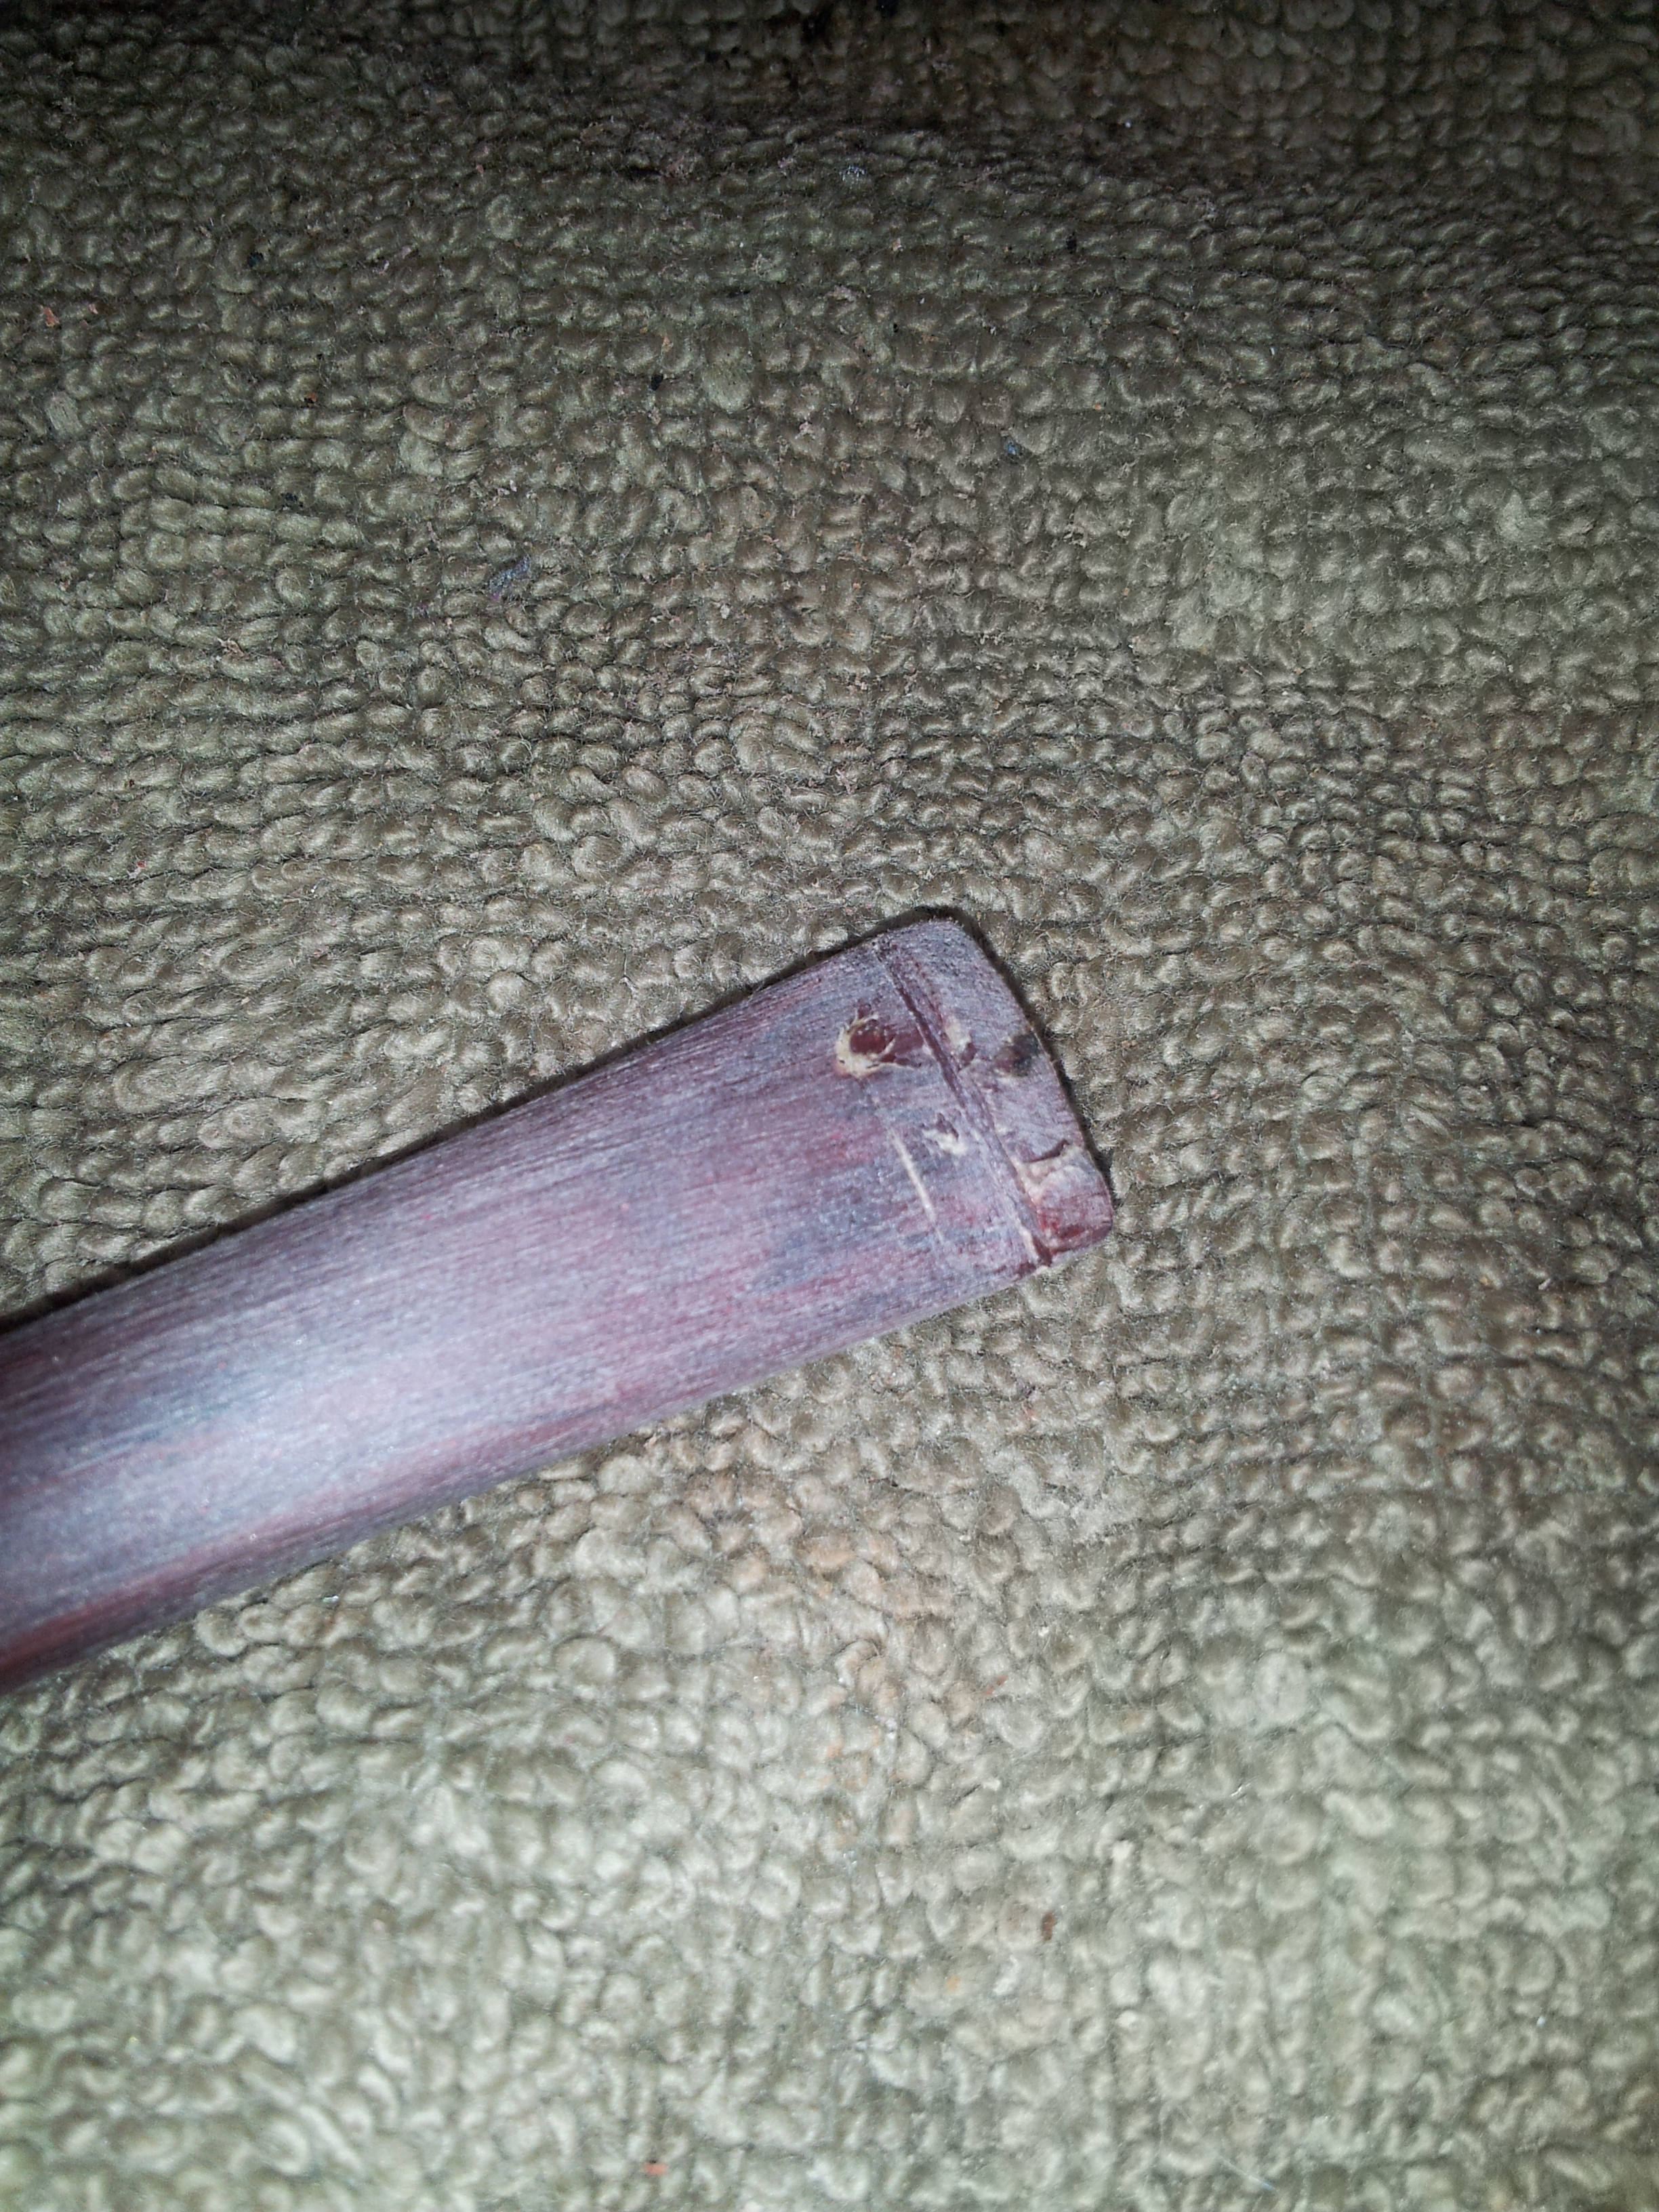
The pipe’s stem was in similar condition – it’s a nylon stem, so it’s softer than vulcanite. The previous owner of this VFQ was obviously a stem-chewer as well as a bowl-knocker. The button was a mess, with several deep tooth marks top and bottom.
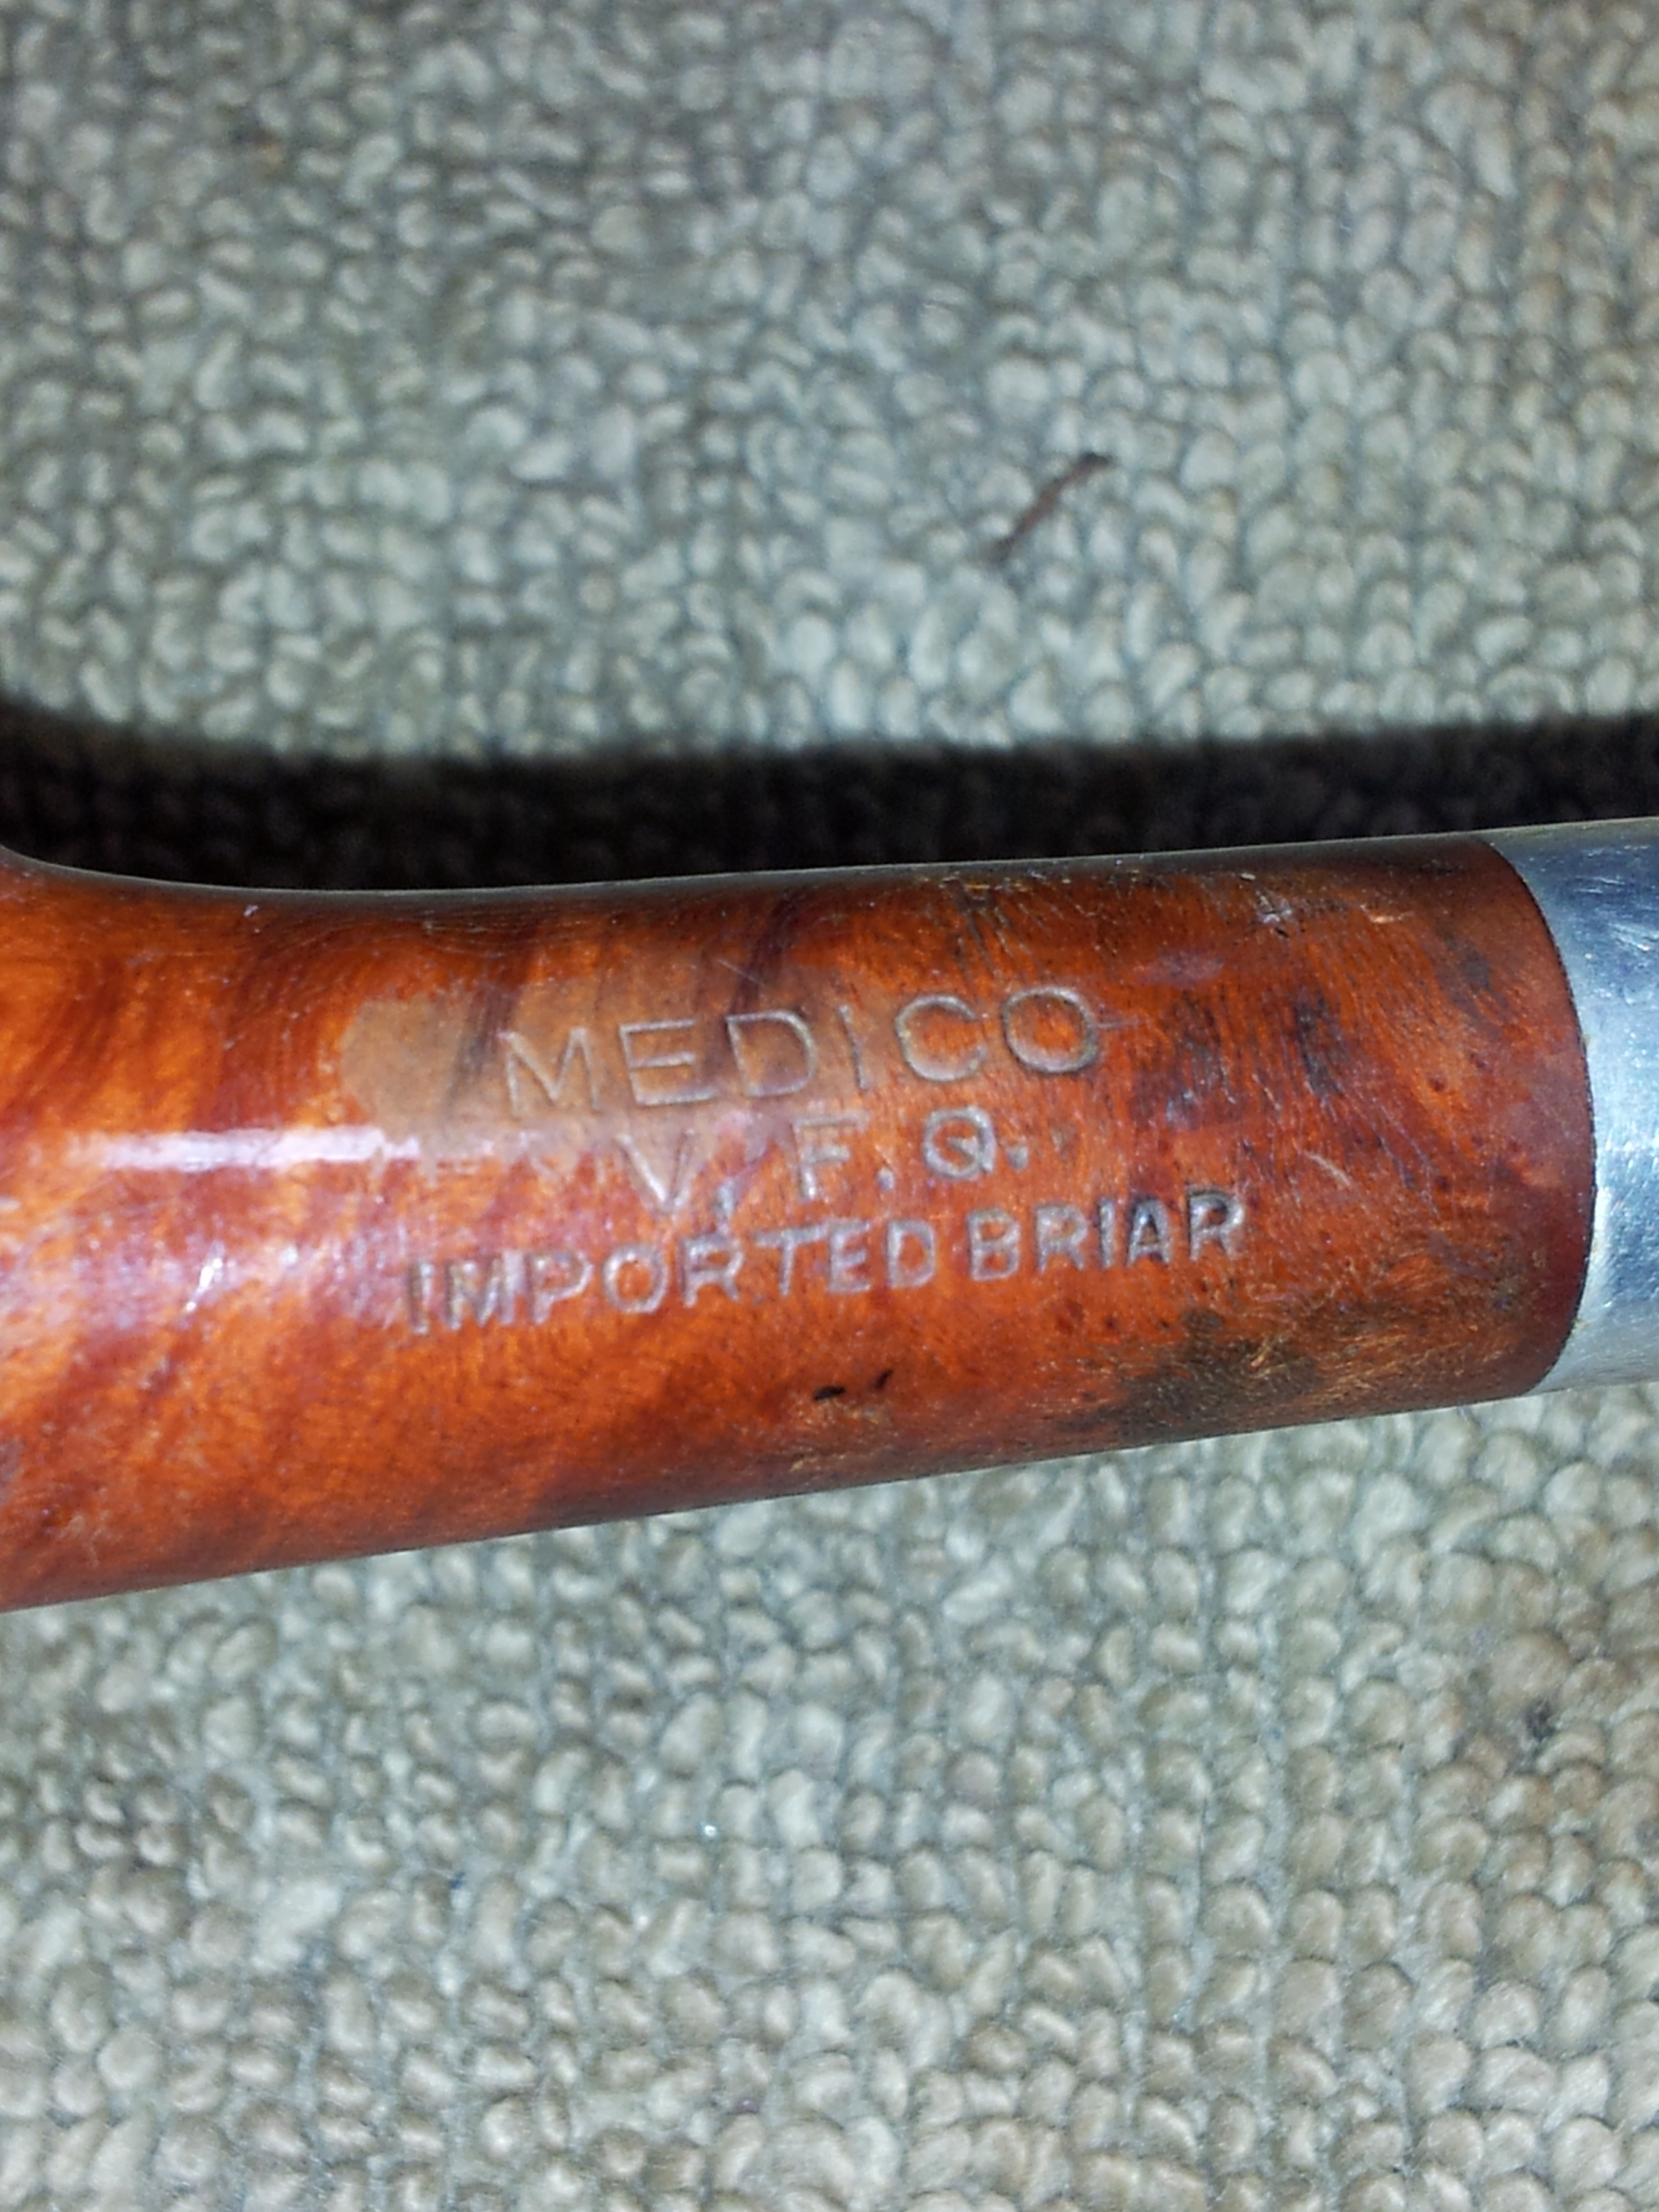
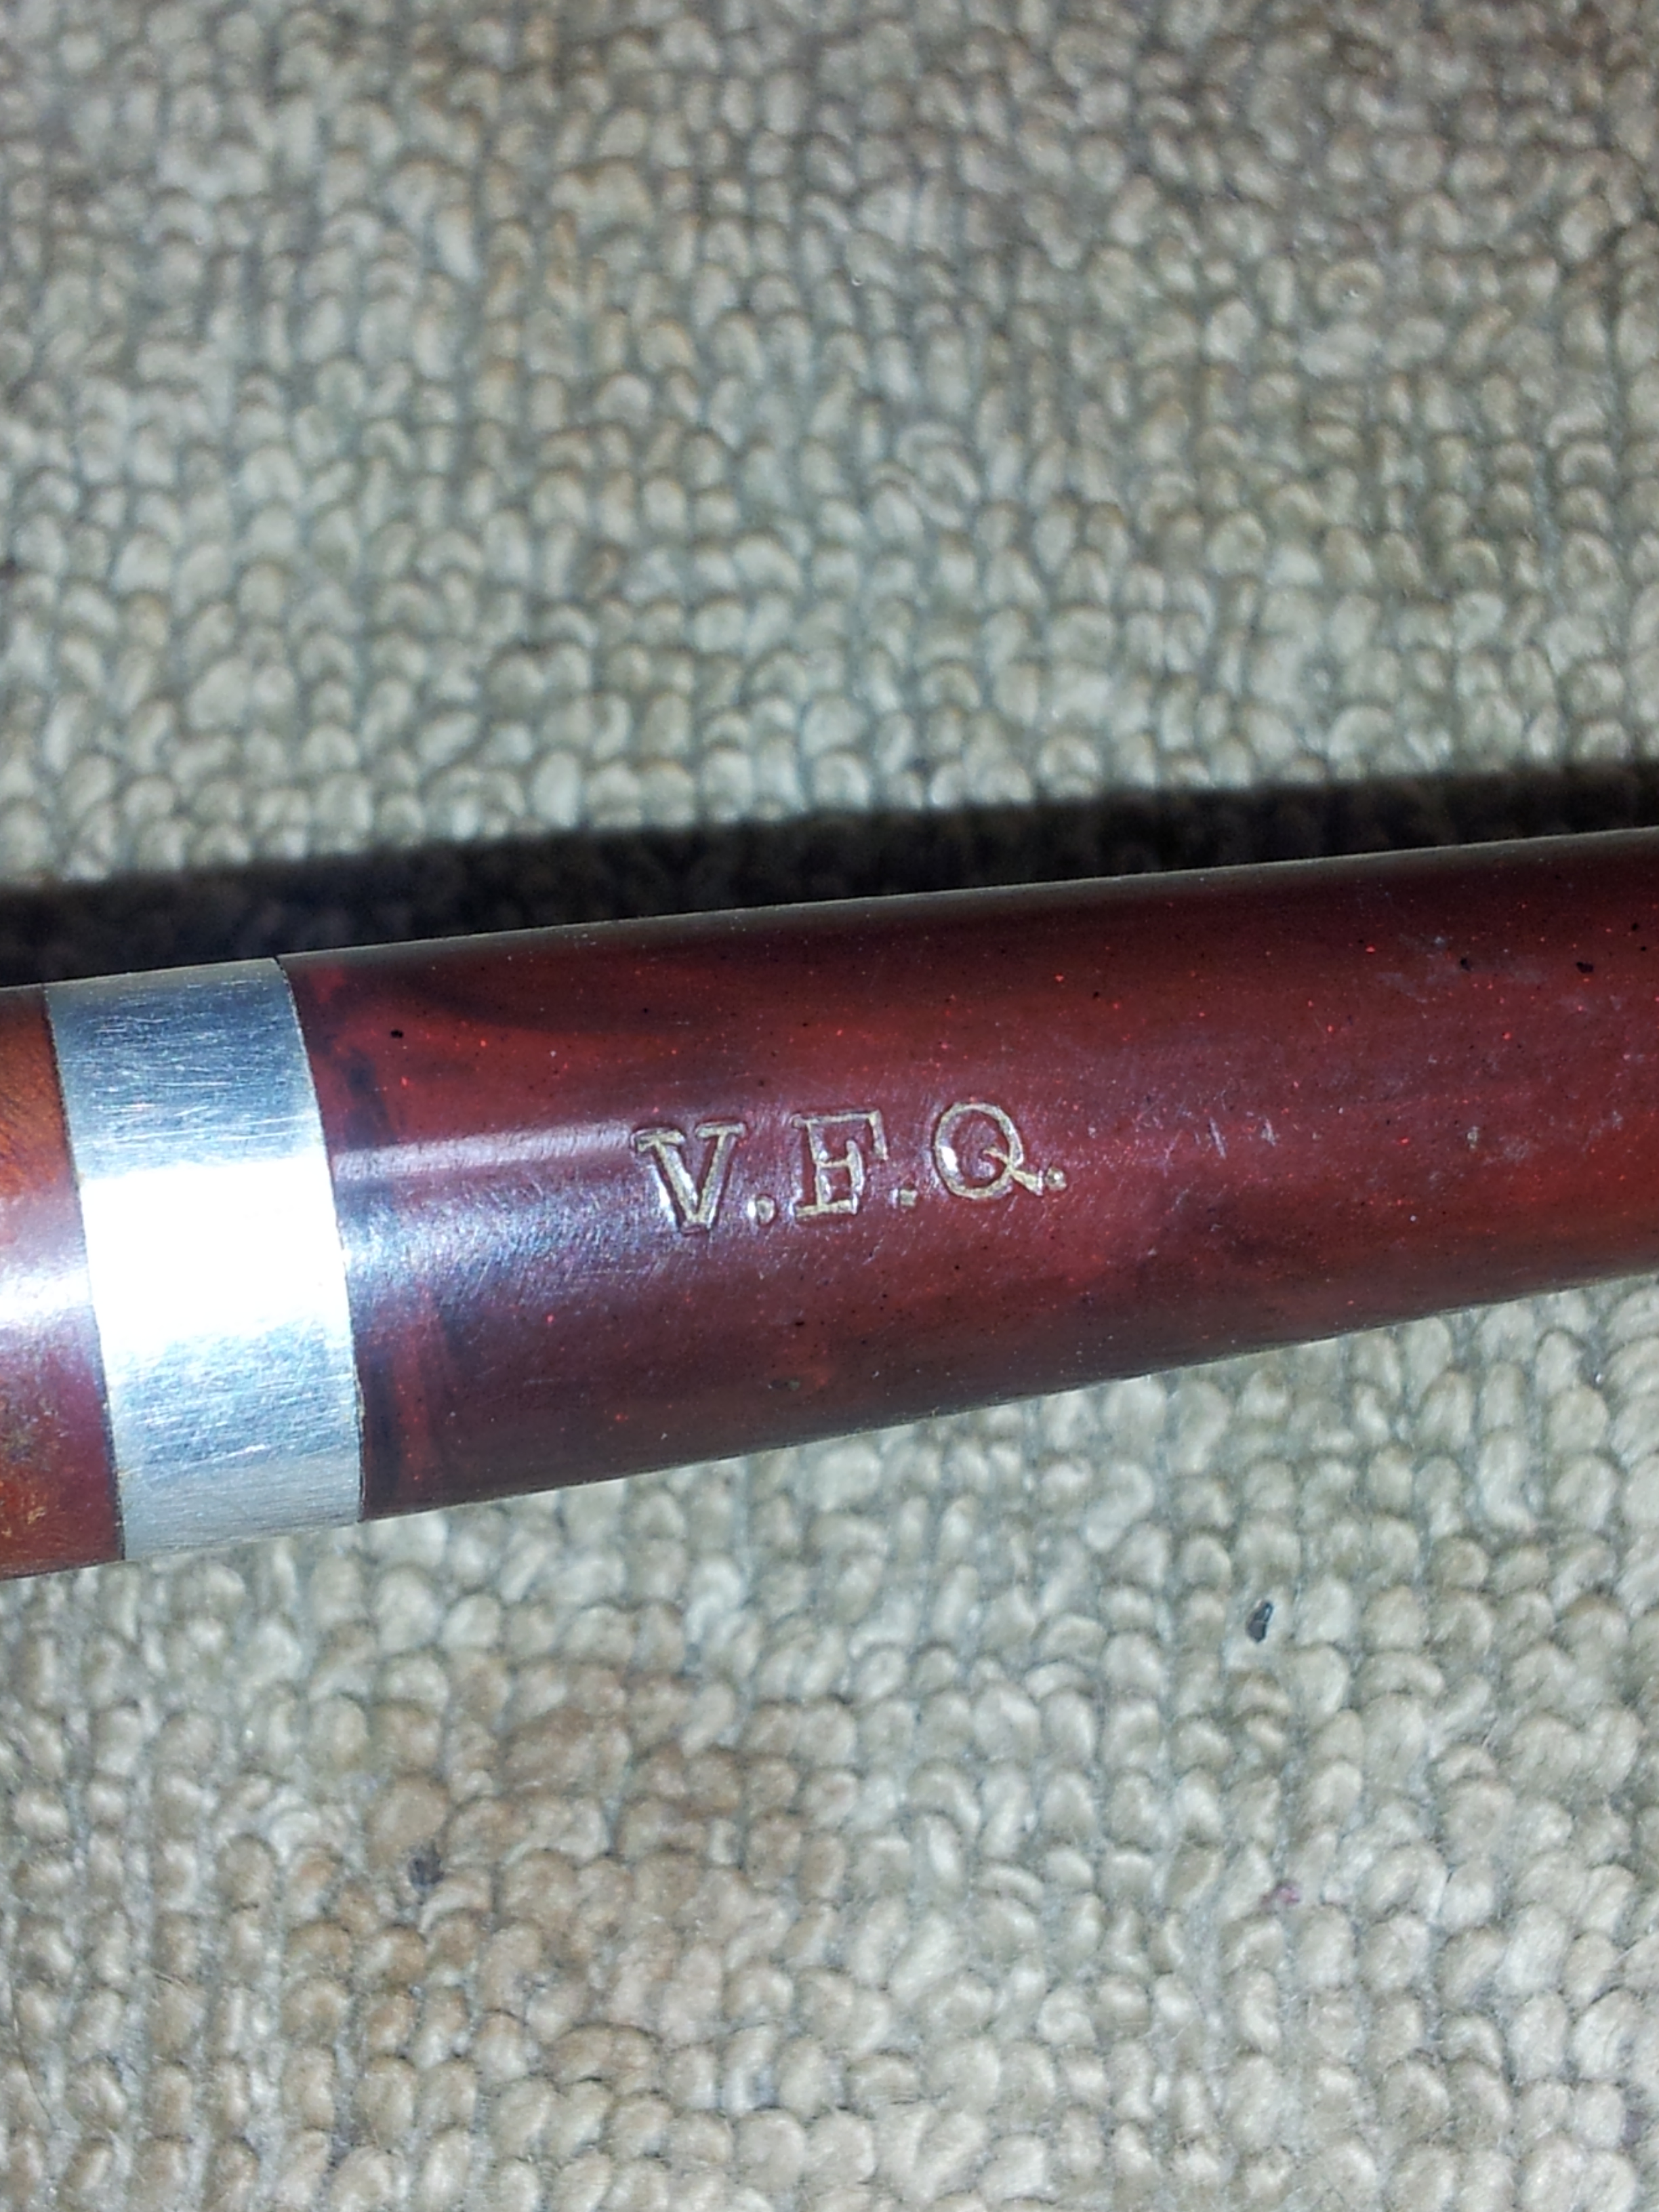
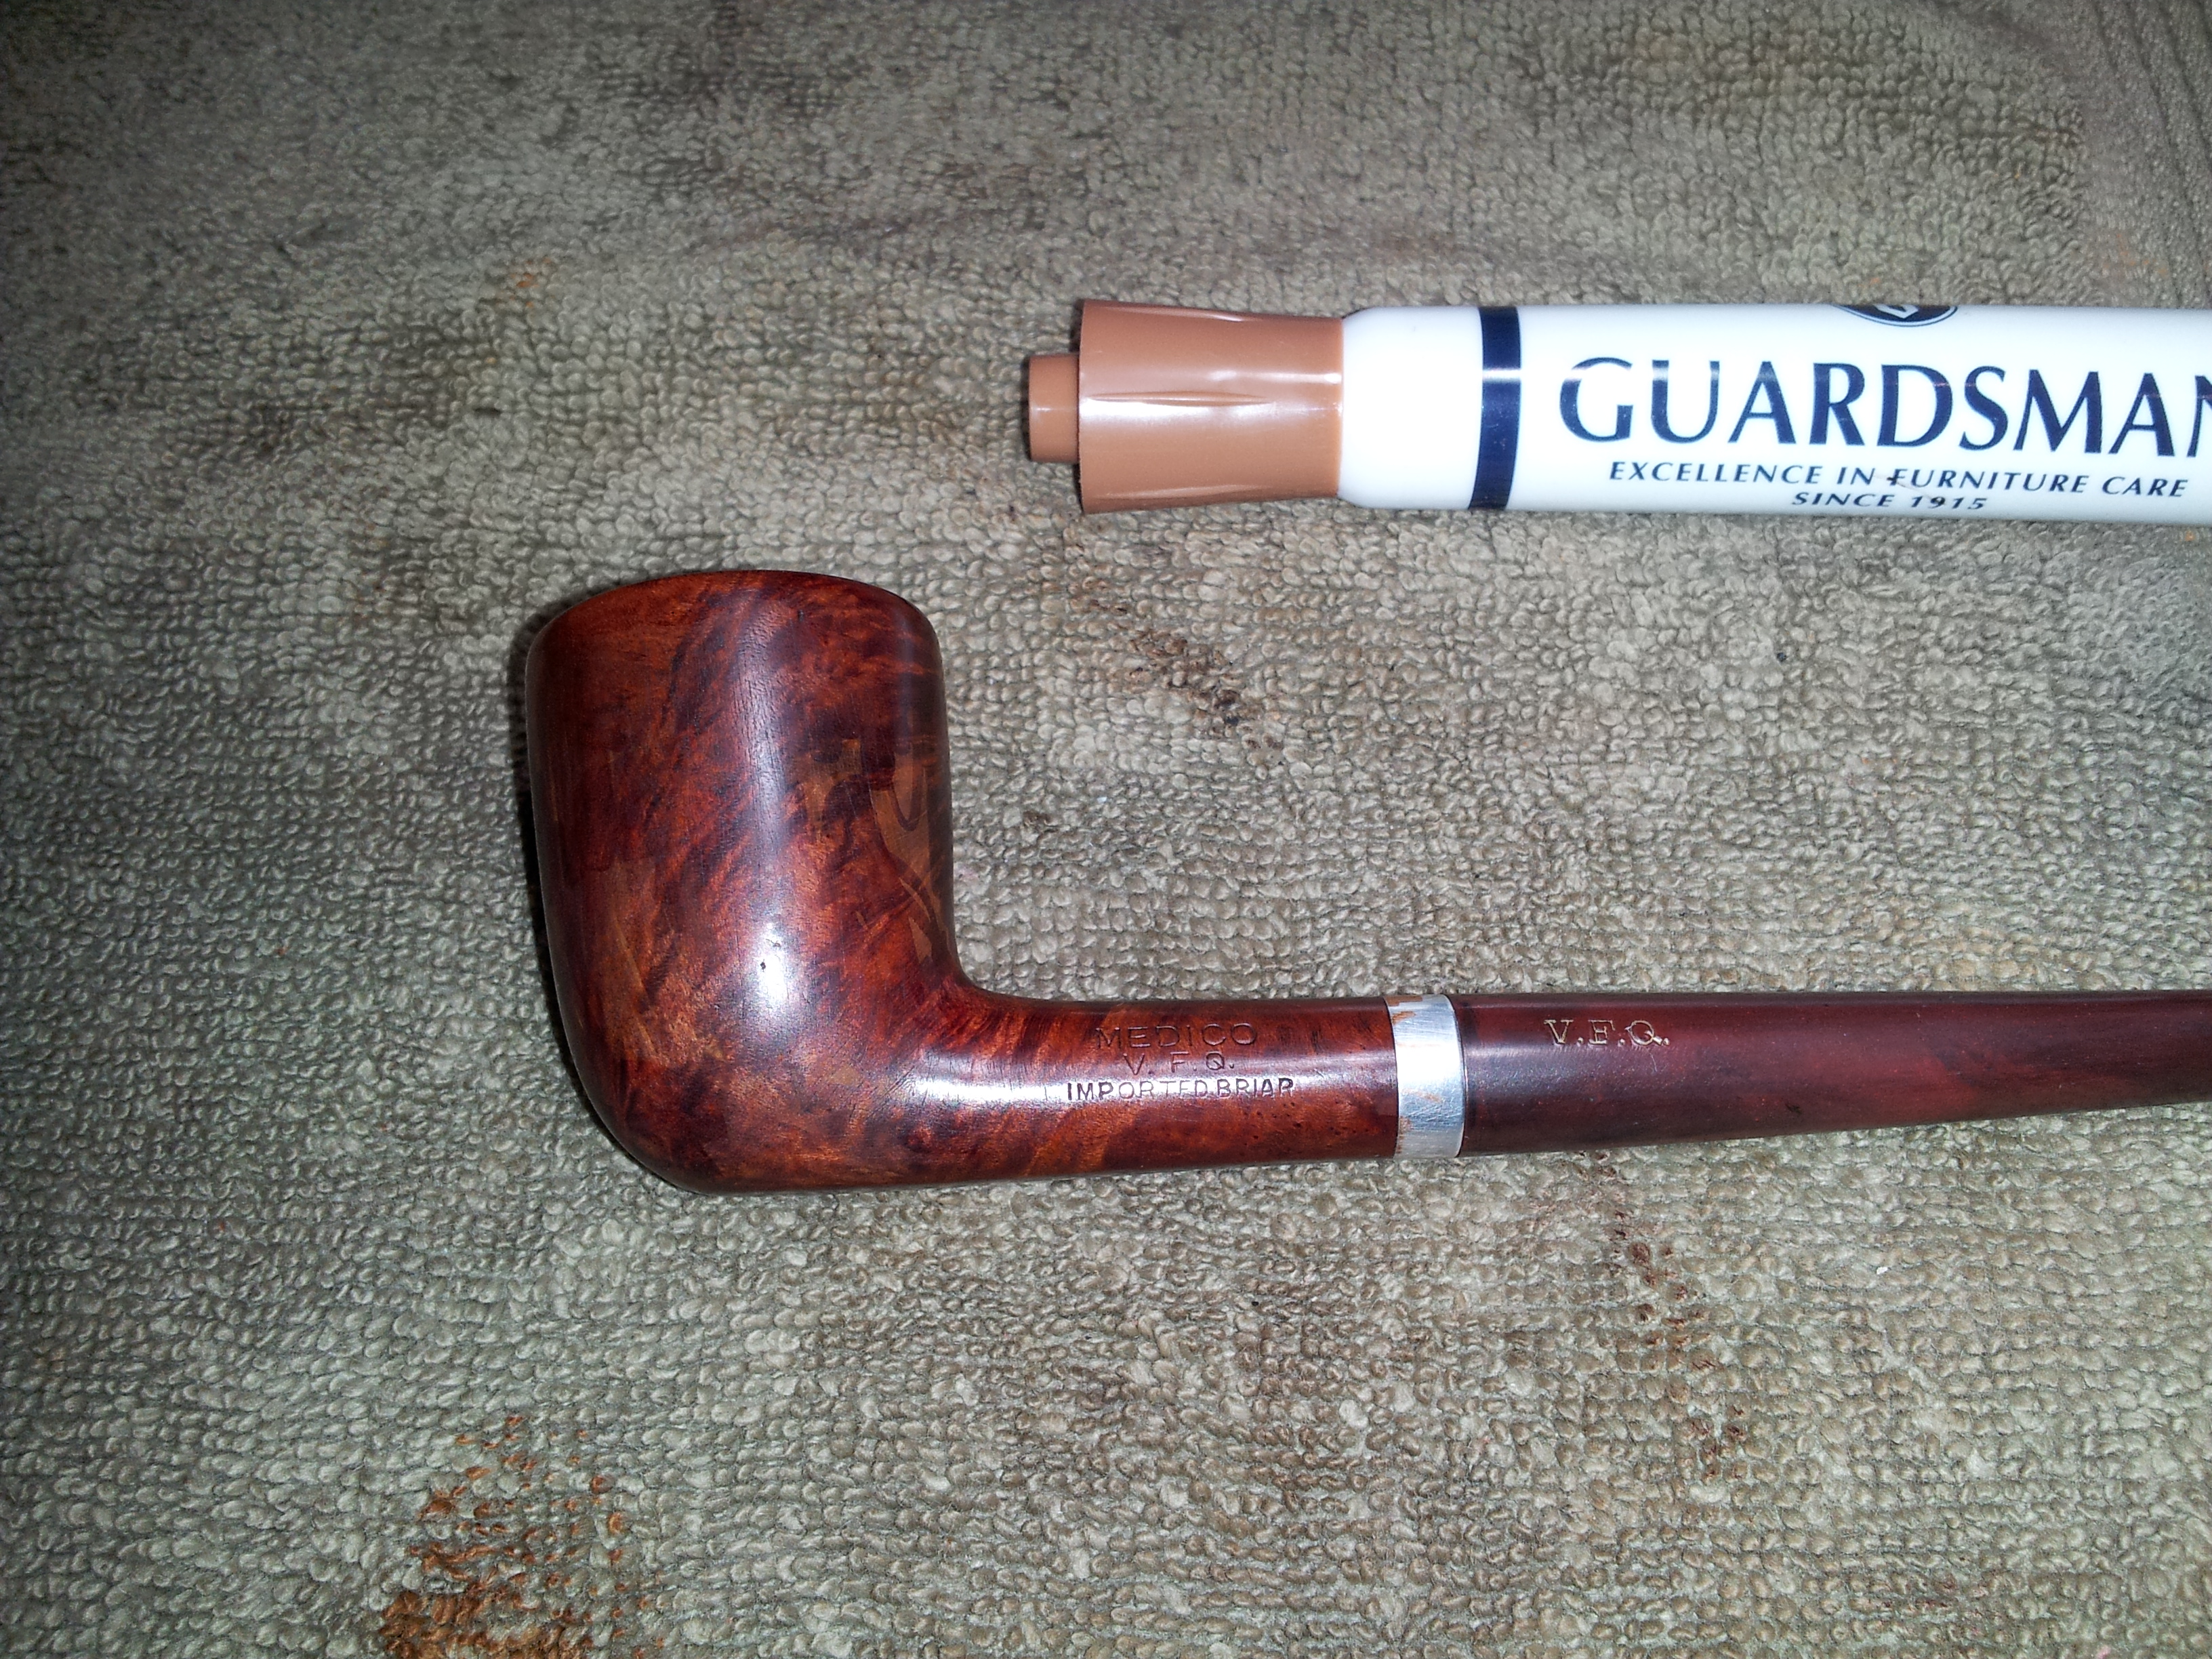
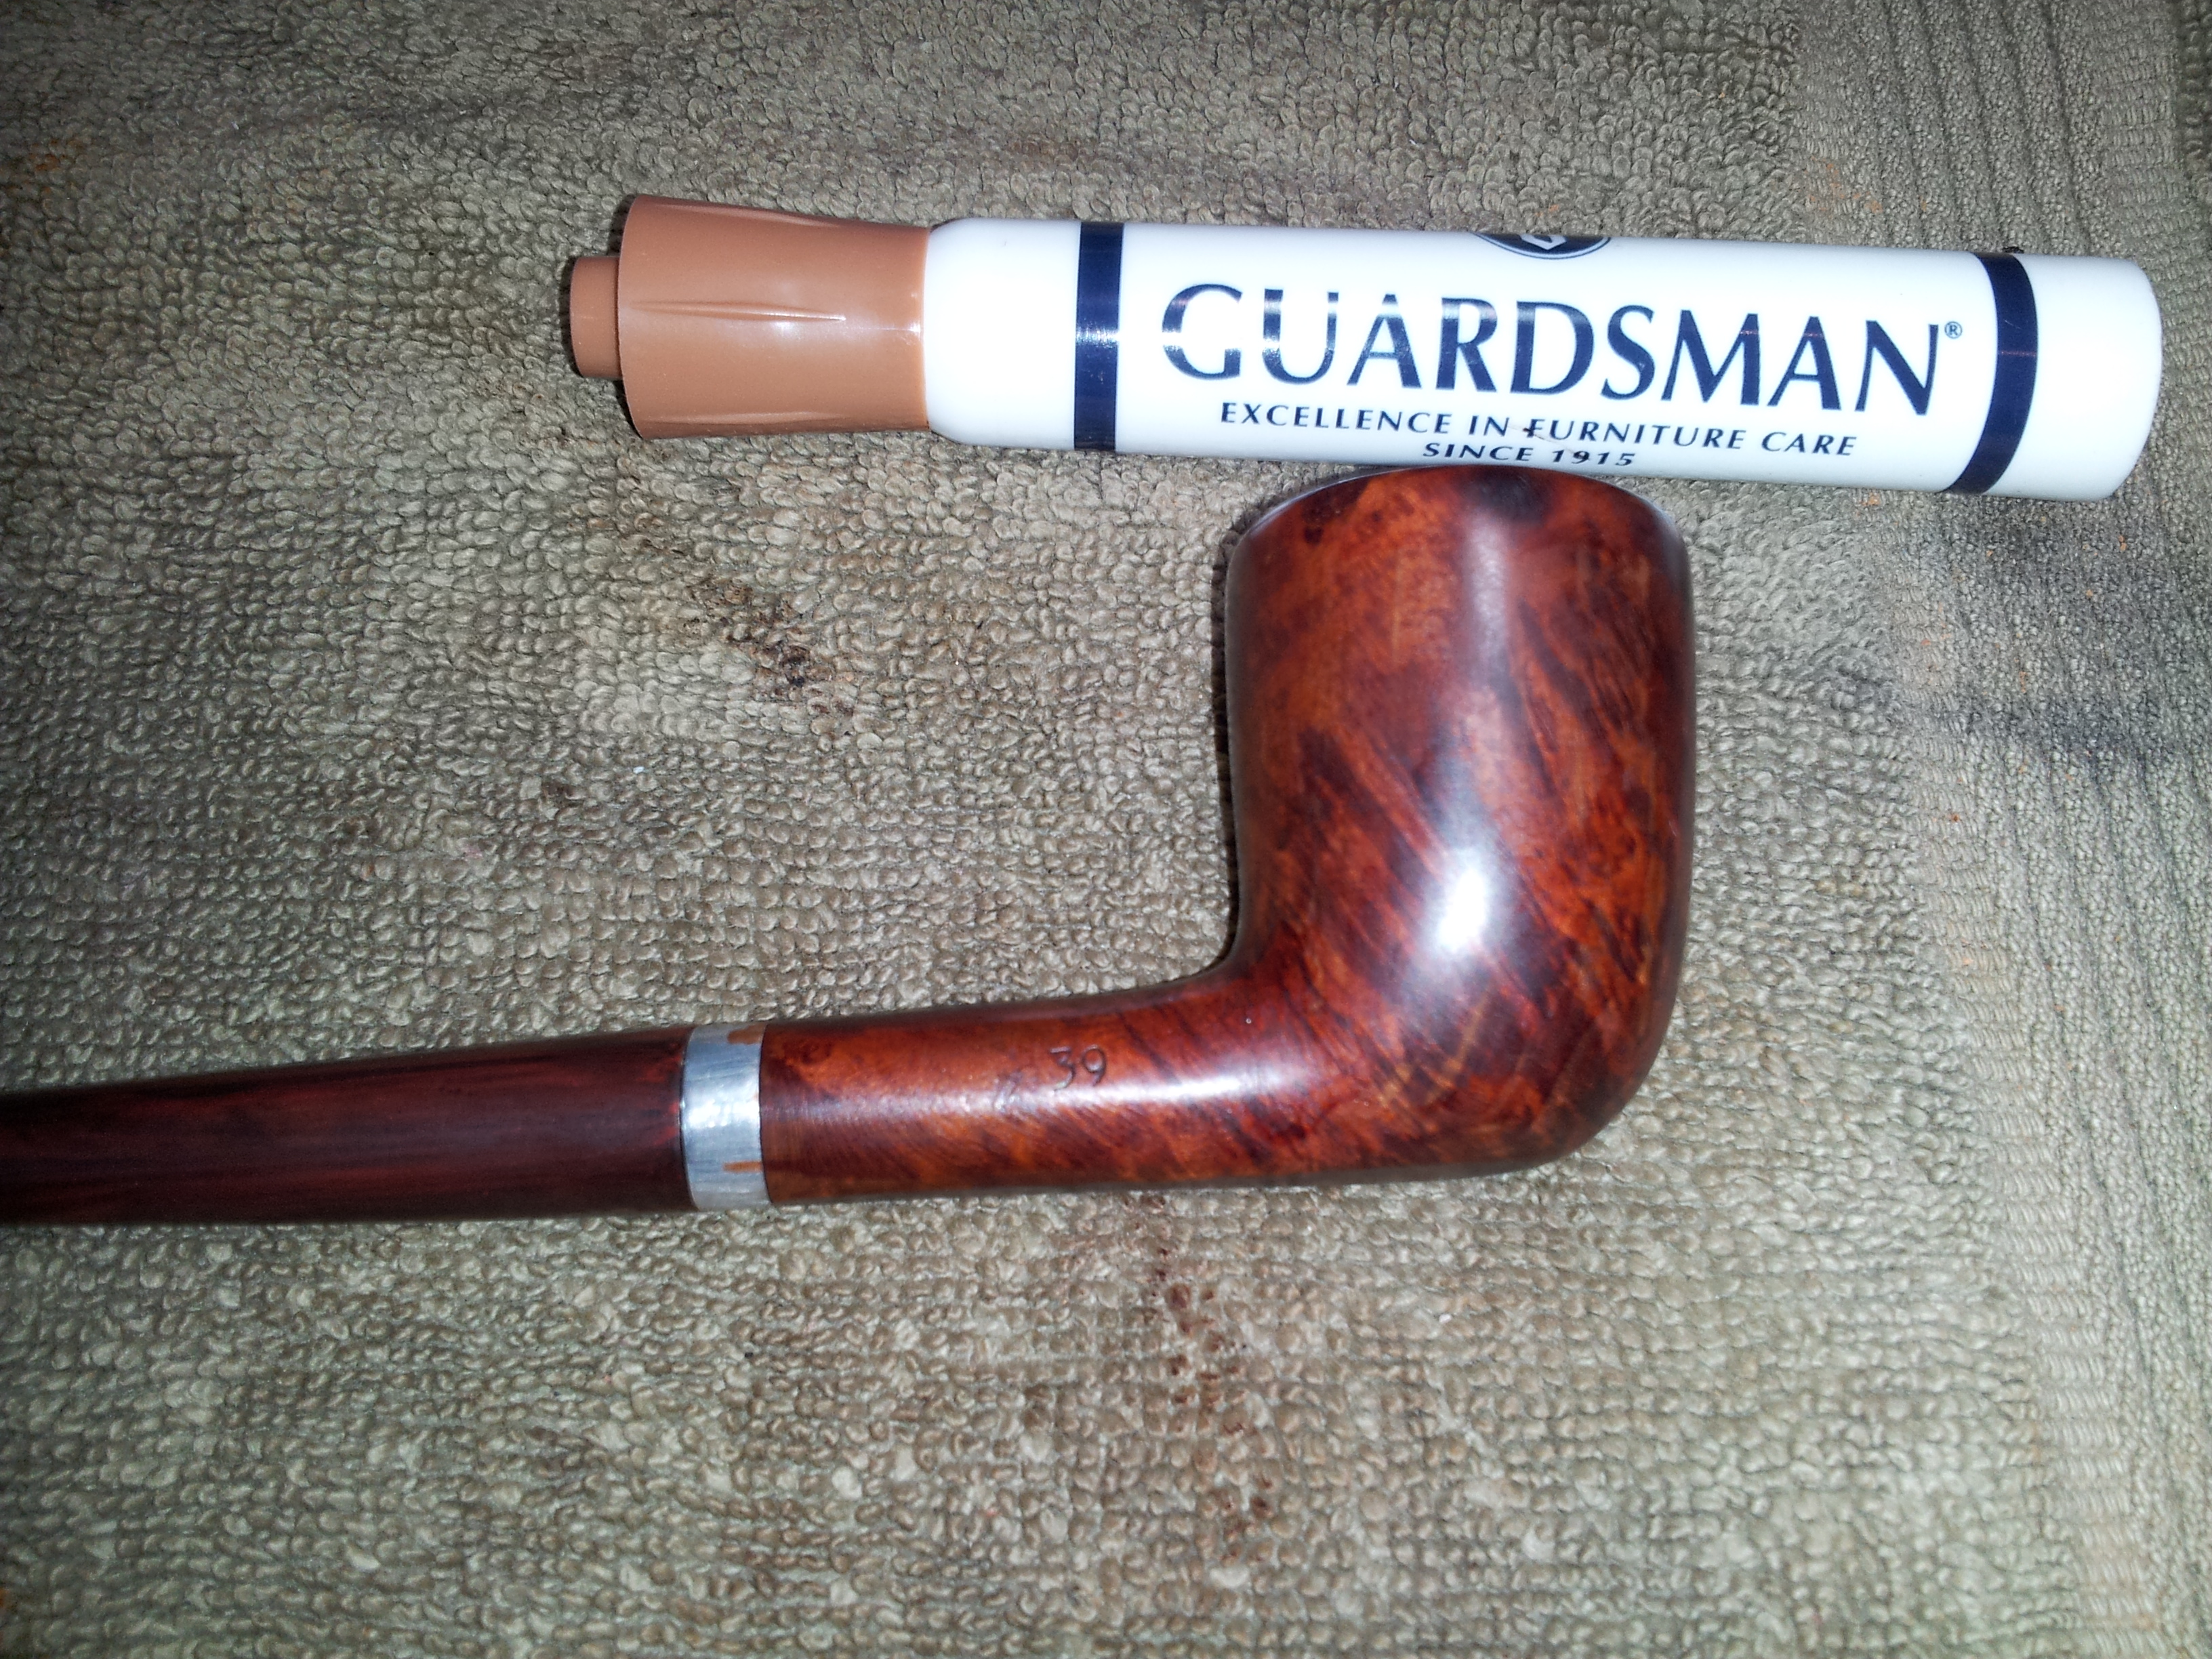
My mother always told me to look for the silver lining in every cloud, and sure enough this old Medico had one. The stampings were clean and crisp, even after what was evidently a past life of hard use and hard knocks. The left shank bears the stamps “Medico” over “V.F.Q.” over “Imported Briar”. The right shank carries a shape number, 39, while the stem also retained its own VFQ stamping.

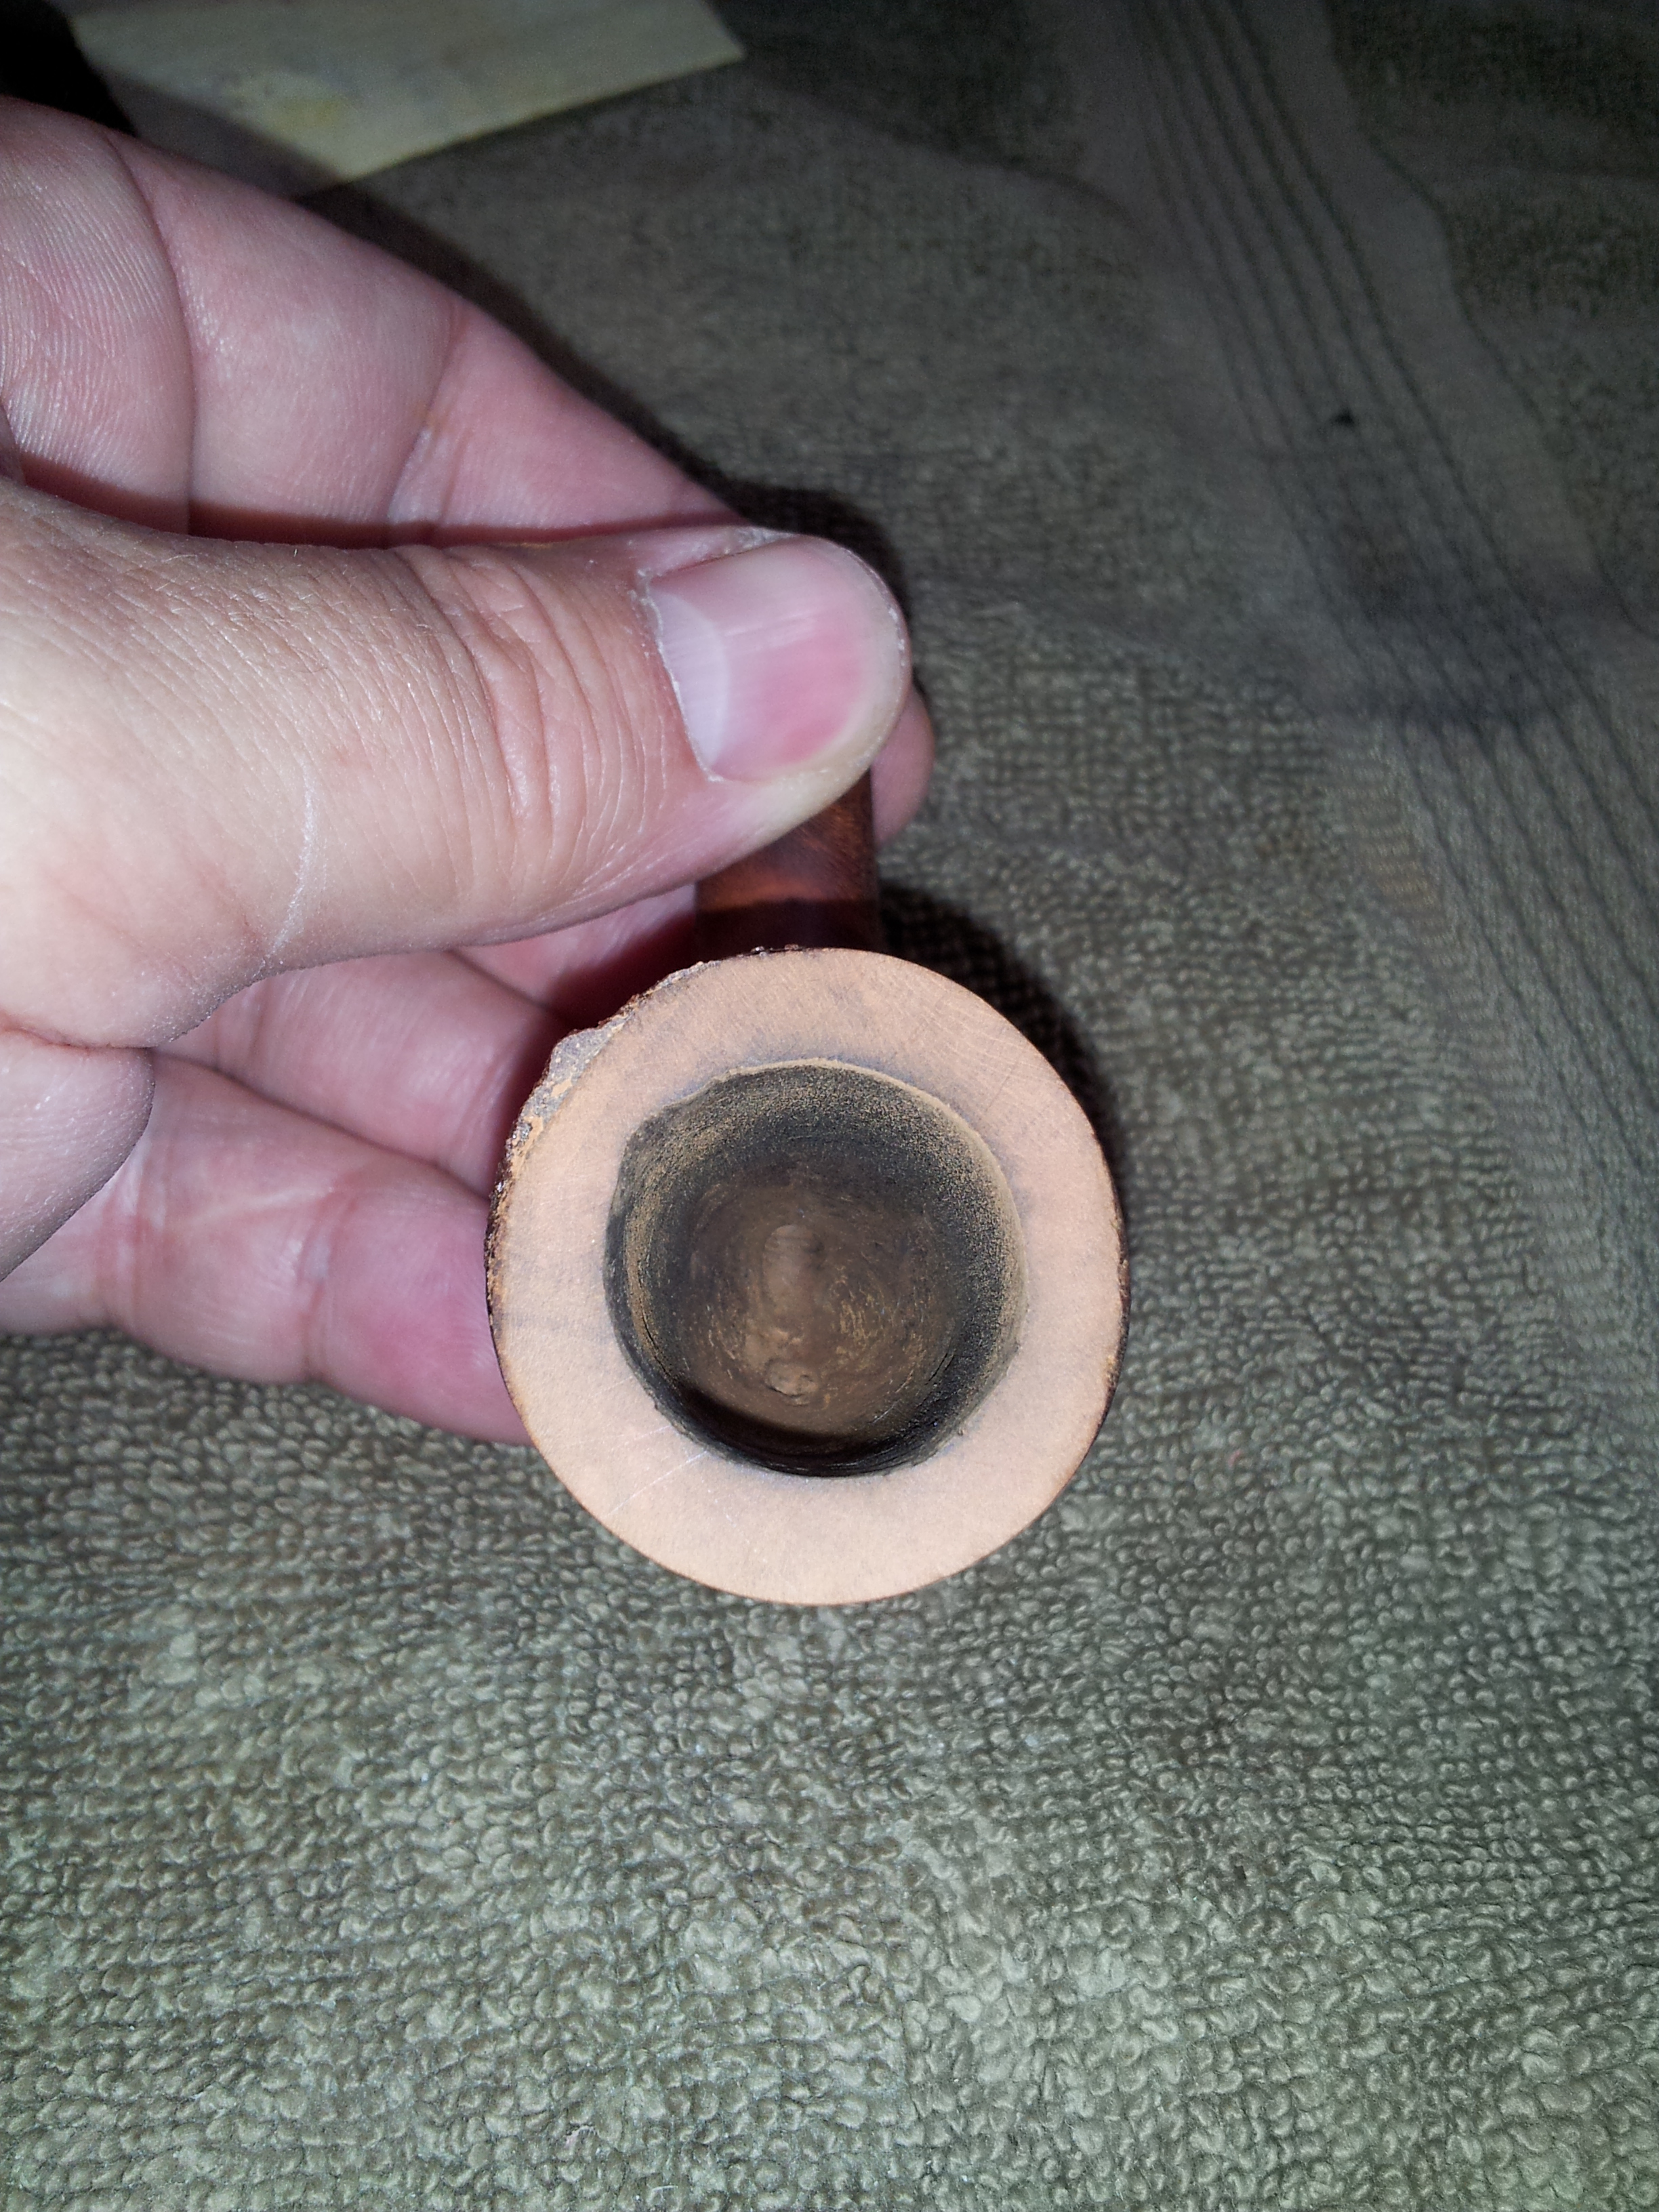
 I knew at this point that it would take nothing less than a total, bowl-to-button refurb job to make a silk purse out of this sow’s ear. I started by reaming out the uneven cake from the bowl. This helped immensely in restoring the bowl’s round appearance.
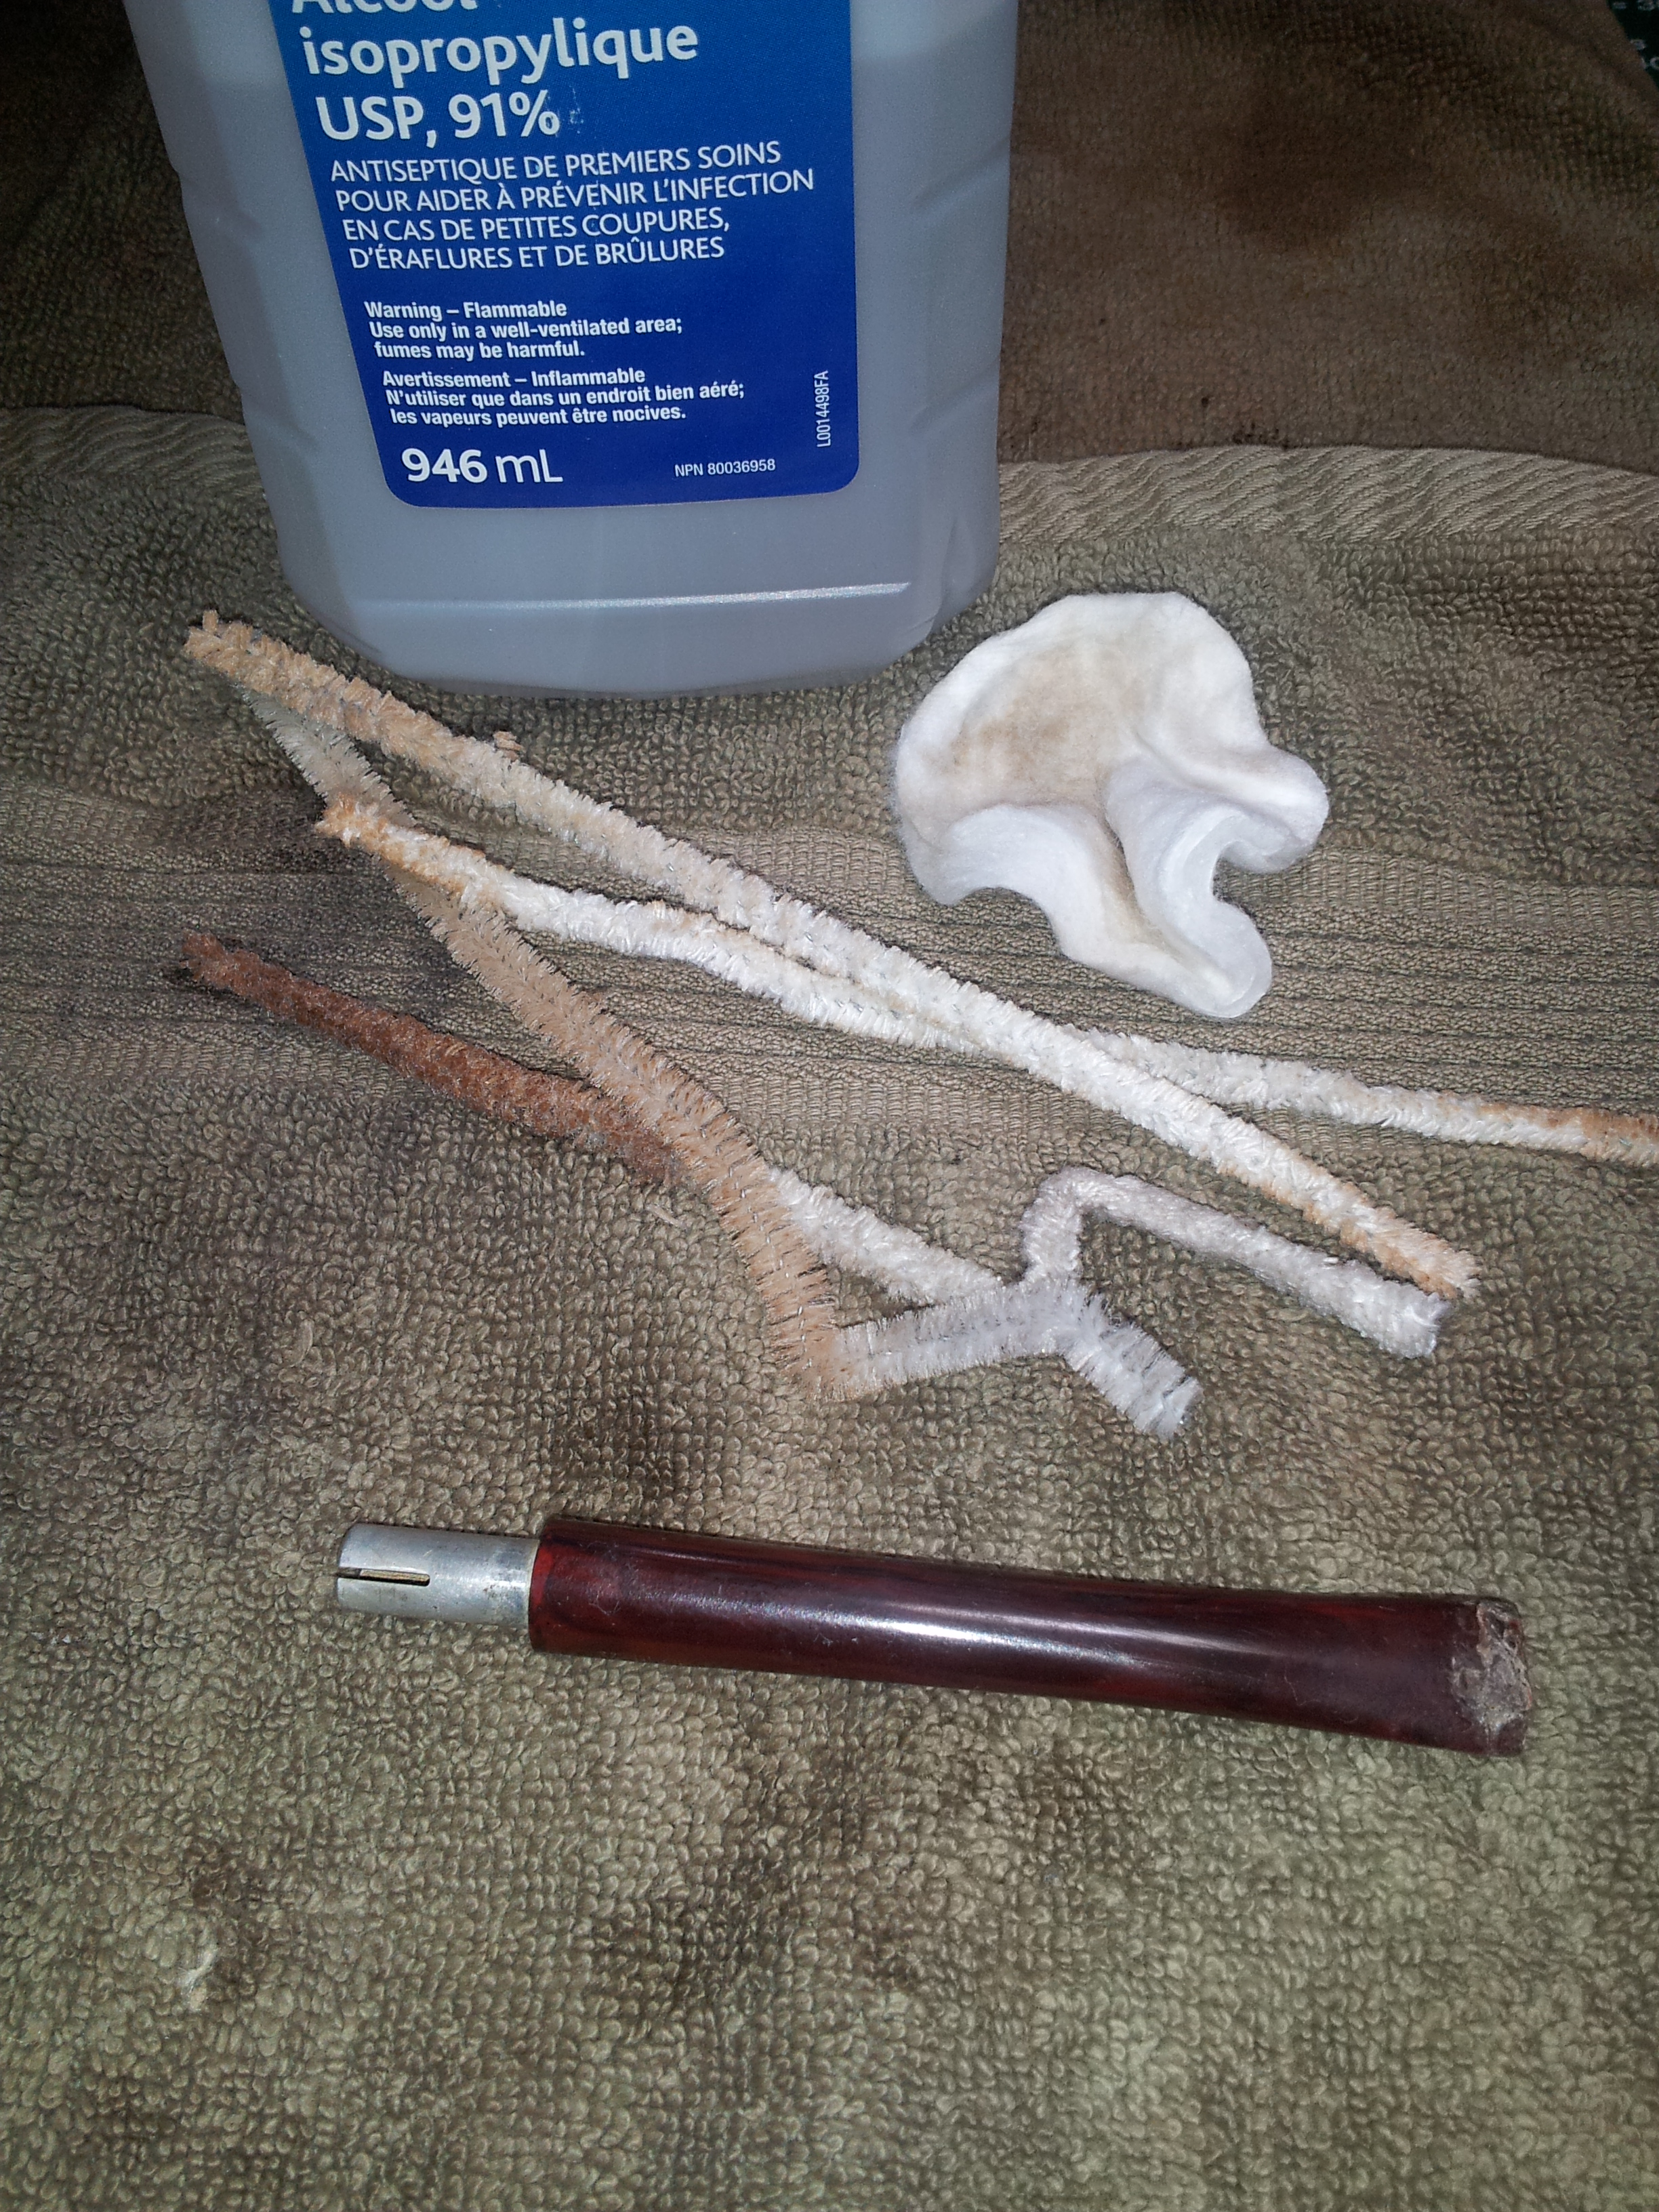
I dropped the reamed stummel into my jar of isopropyl alcohol to soak off the grime of years and hopefully most of the old factory lacquer finish. While it soaked, I went to work on the stem. It took only a few pipe cleaners to bring the stem’s airway back up to snuff.
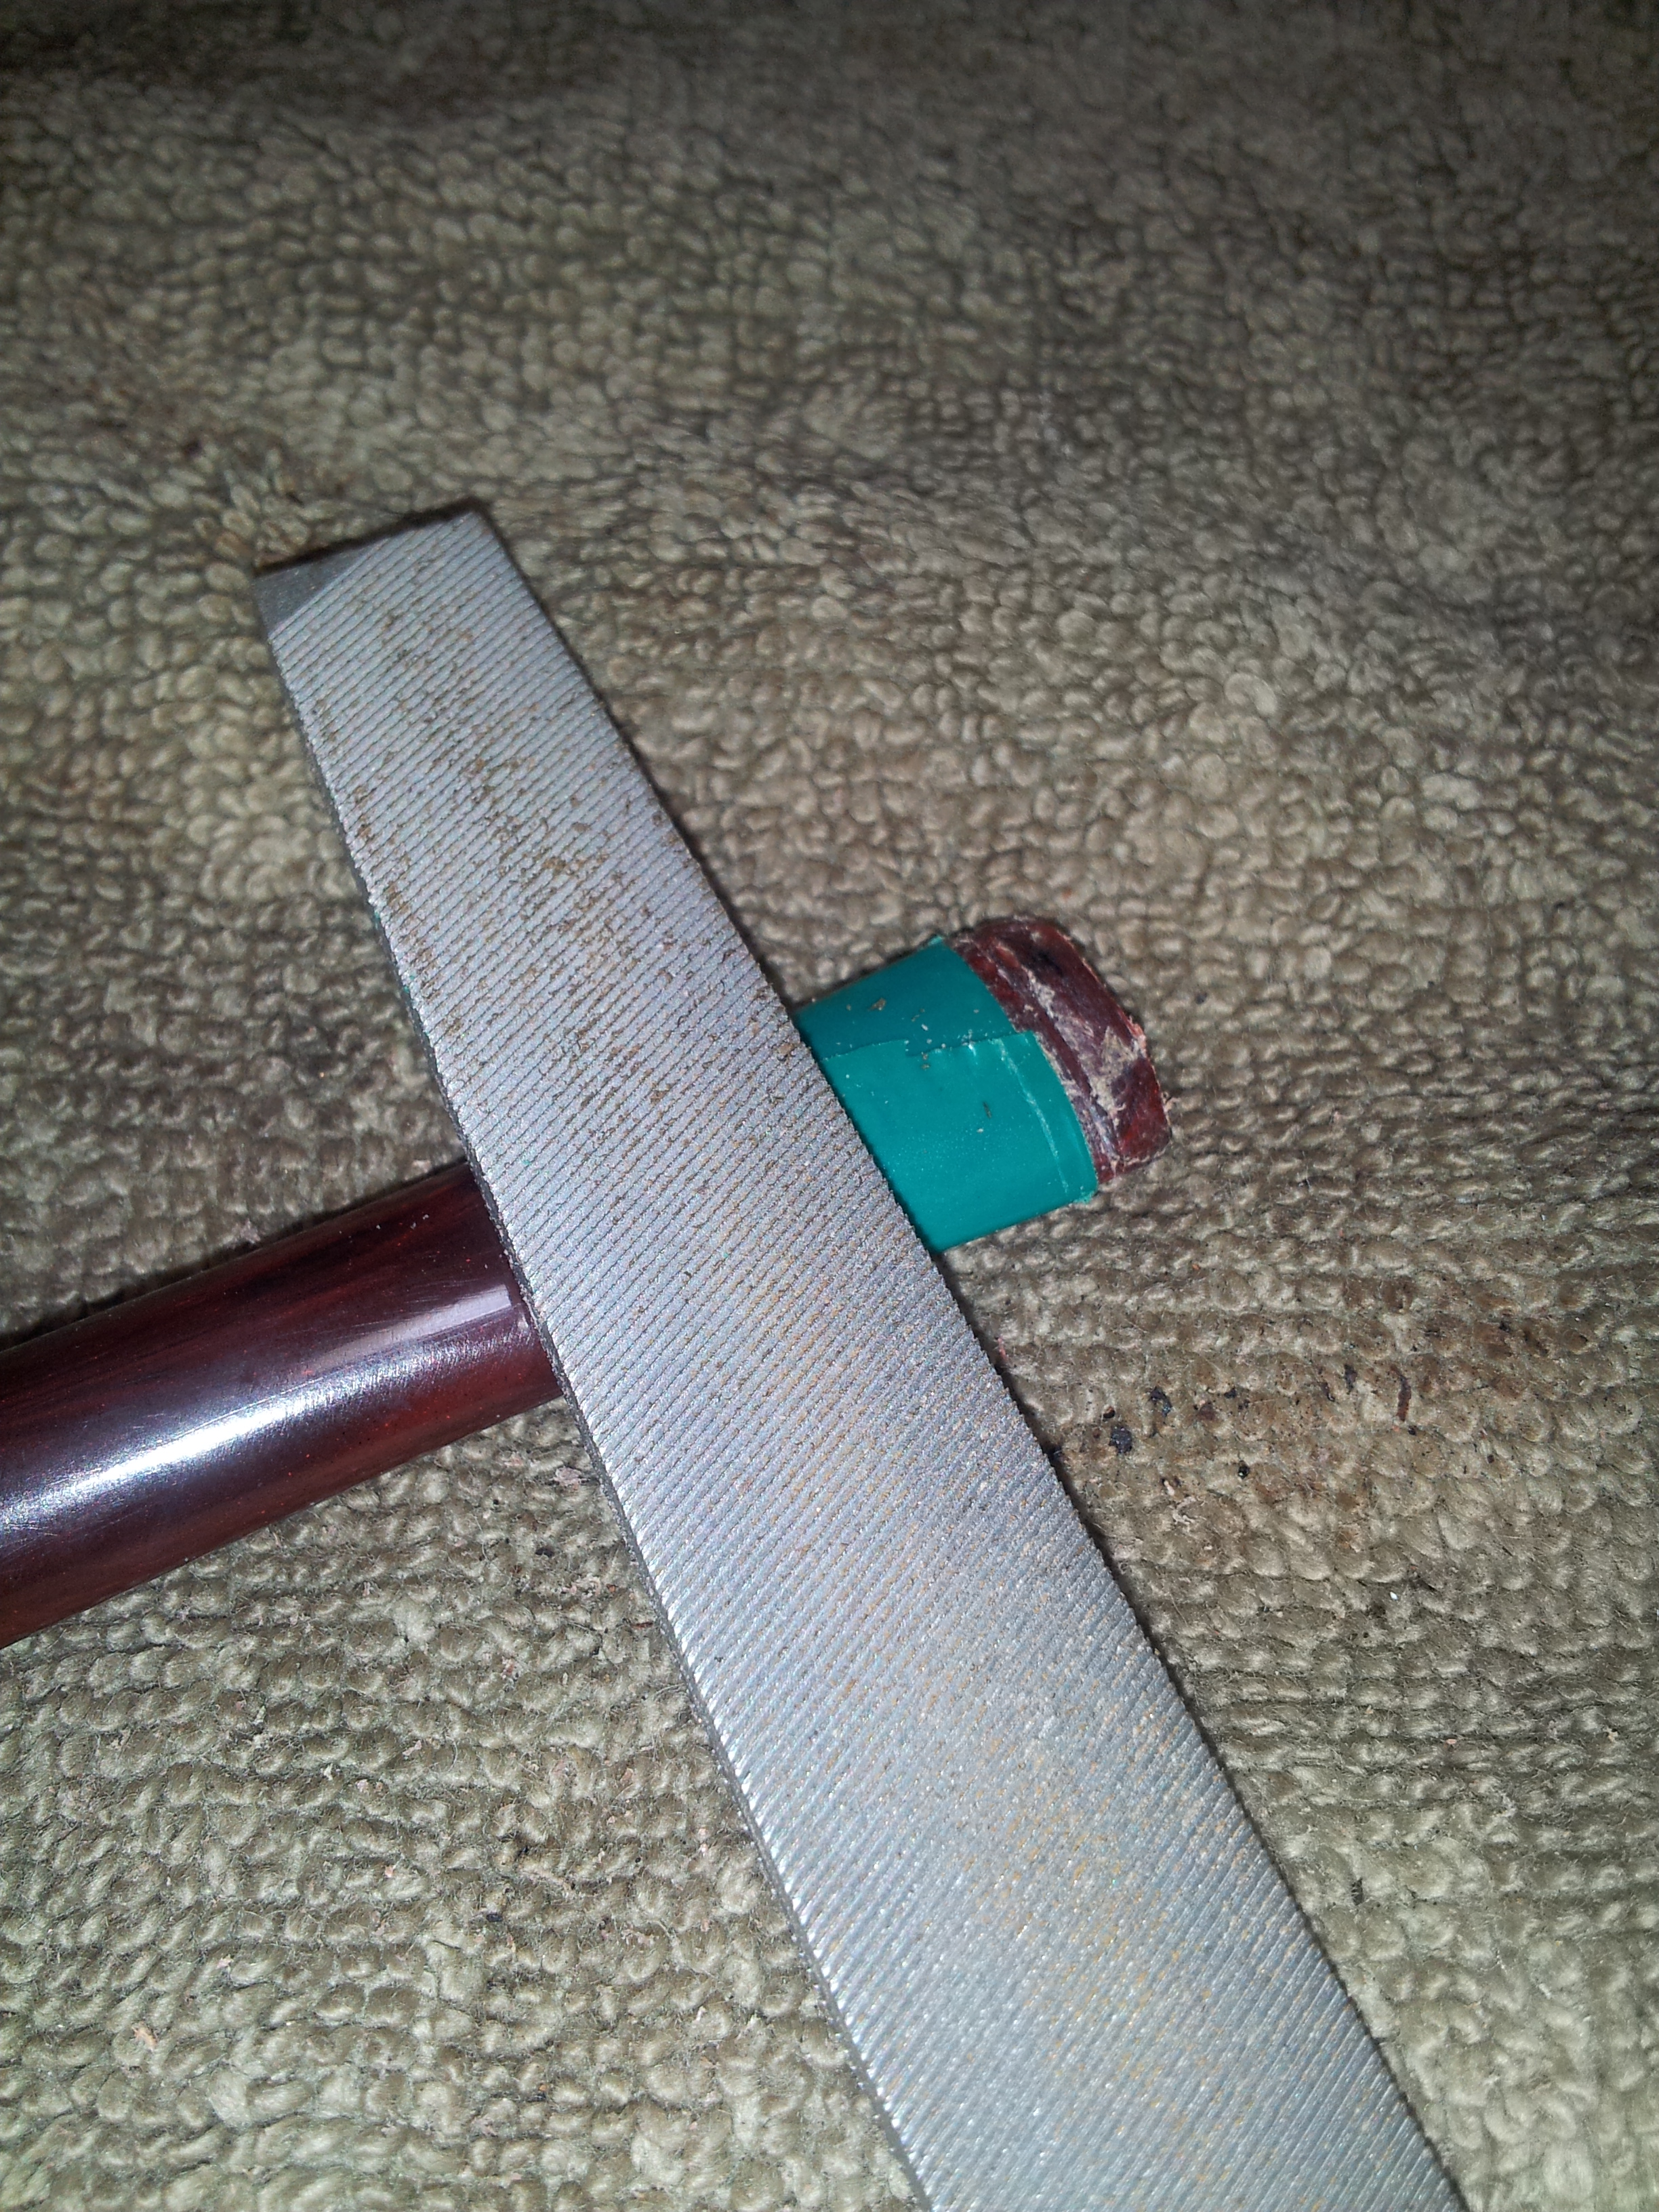
 The button area would be a much more involved process. I began by removing the wispy bits of nylon from the top of the bite marks, then set out to tidy up what was left. I wrapped a bit of electrical tape around the stem parallel to the button to protect that area from my file, then worked on the vertical face of the “rear” of the button to give it some definition.
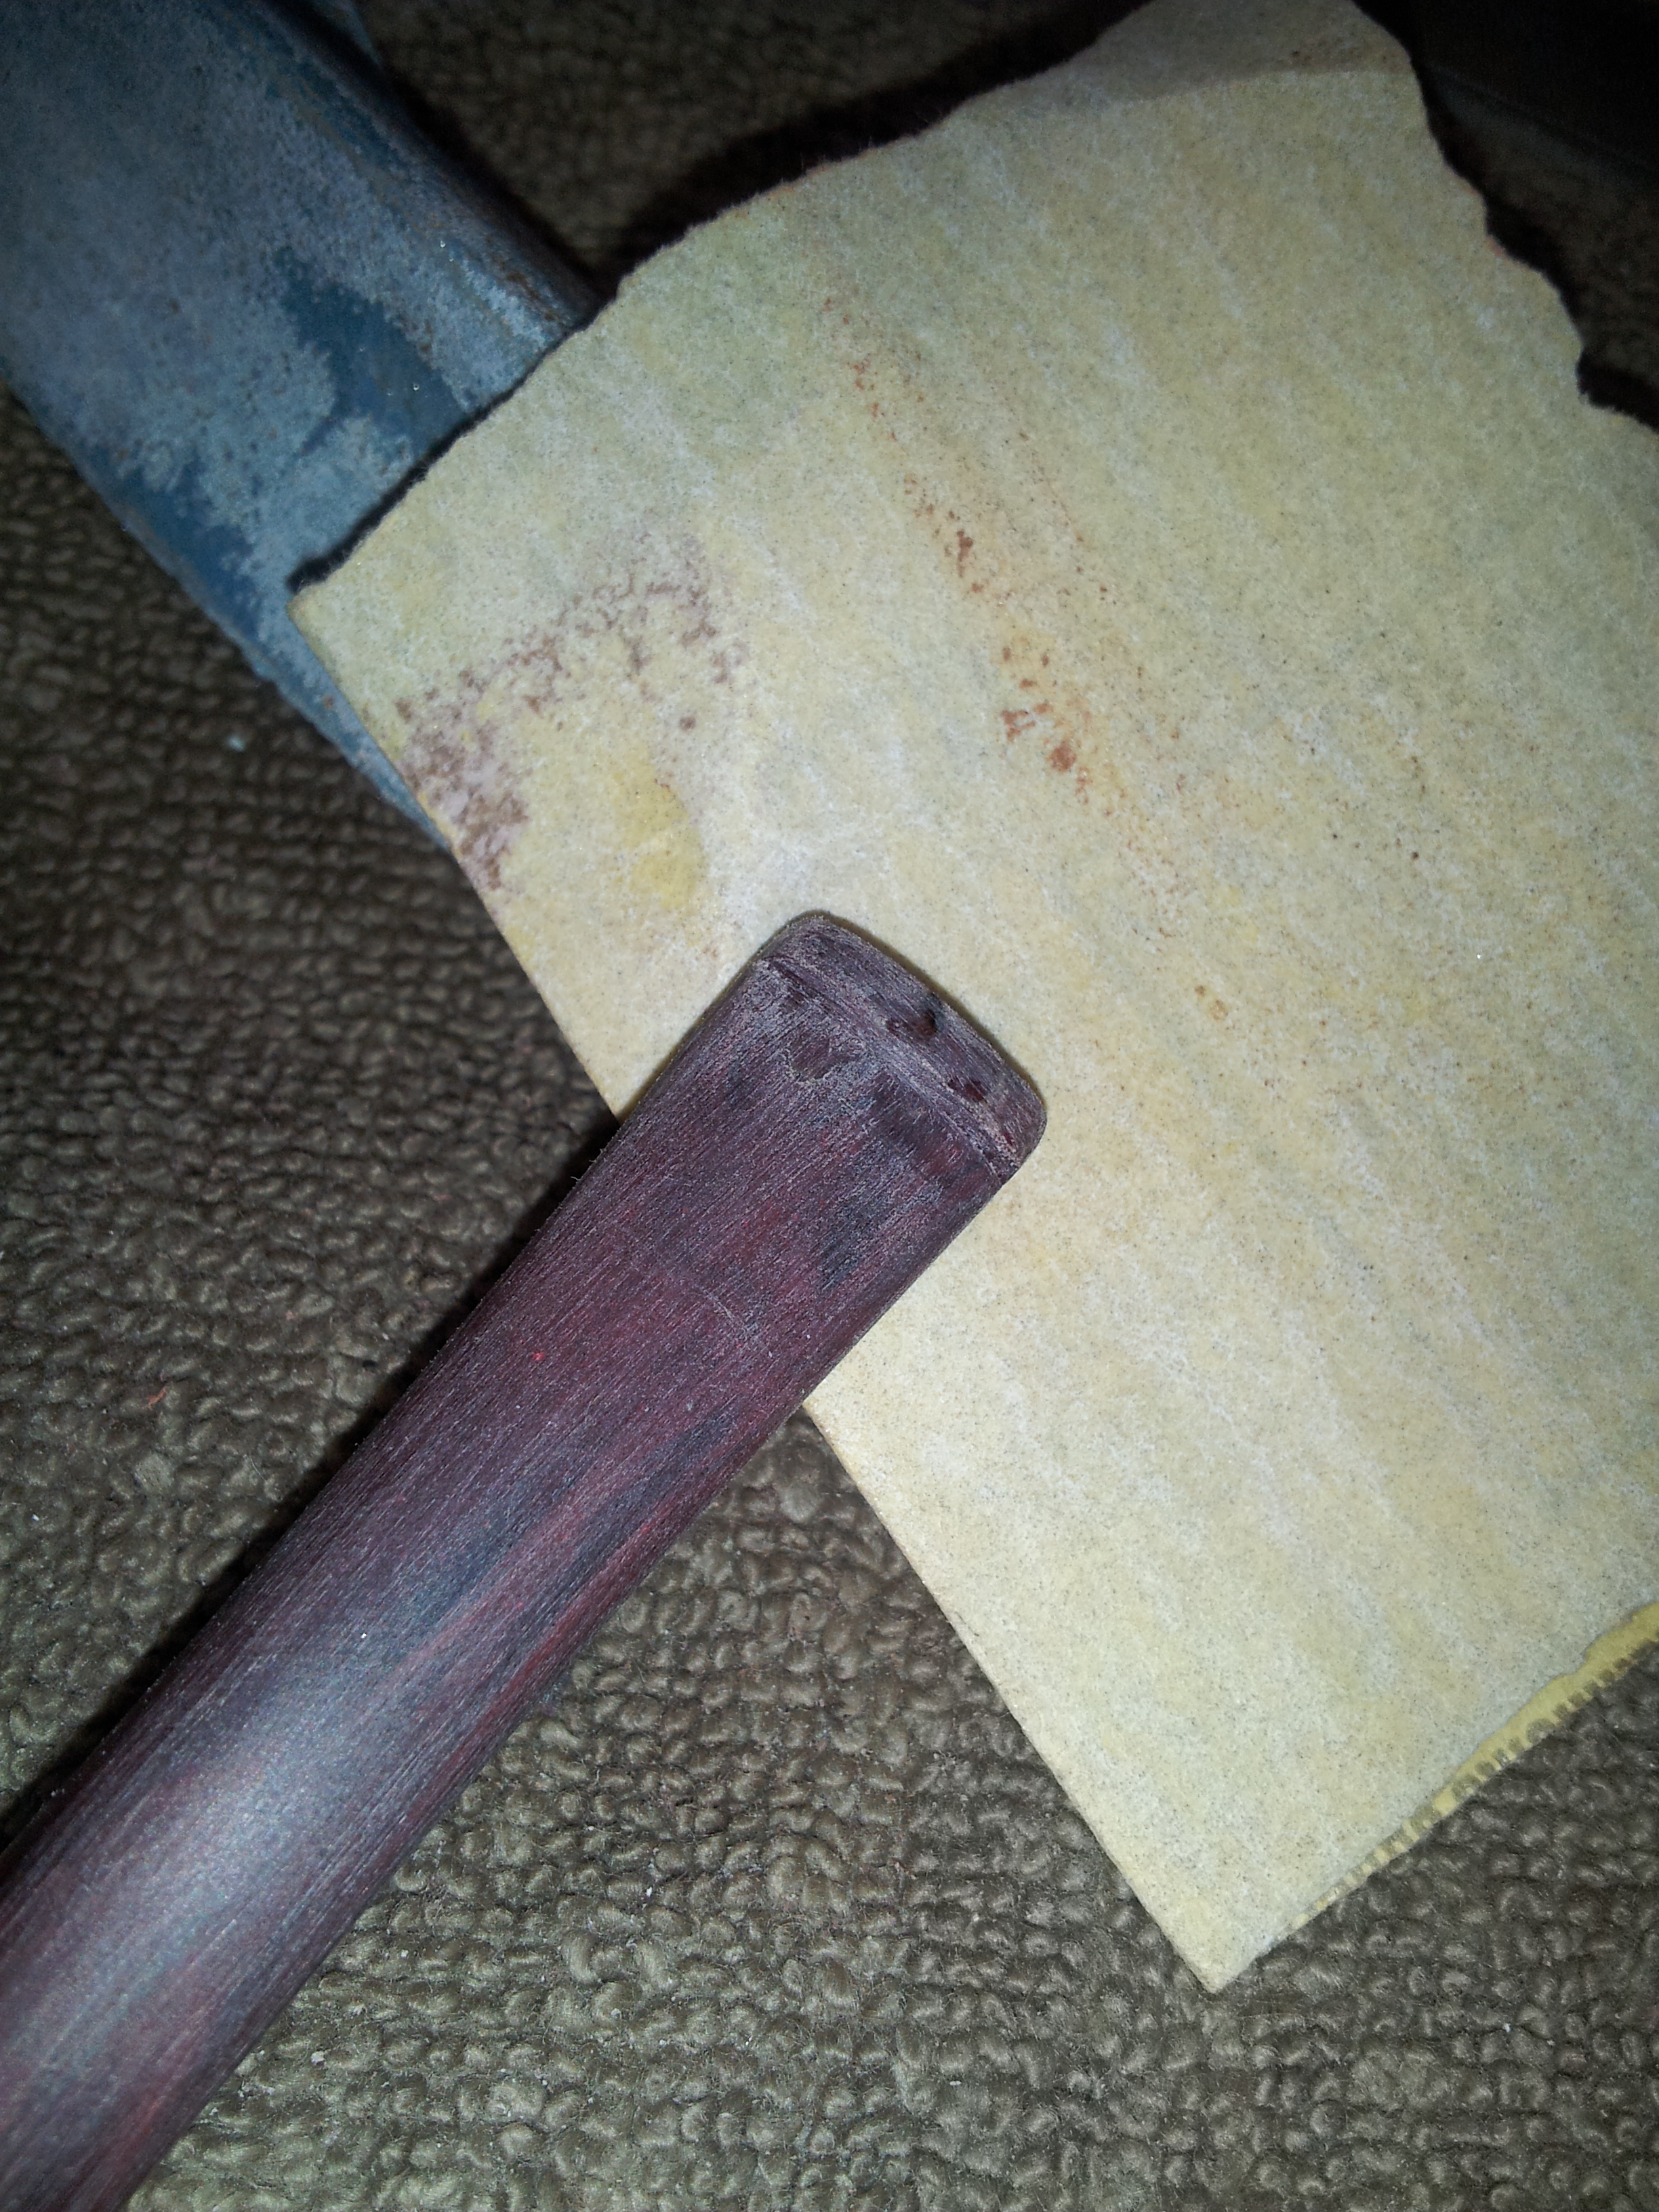
I then sanded the stem with 220 and 320-grit papers to remove tooth chatter. I would have normally filled the tooth dents with CA and charcoal powder, but that wasn’t going to work with this red/gold swirled stem. I settled for dropping clear CA glue into the remaining dents, and sanding the fills smooth after the glue had cured. I wiped the stem down with mineral oil at this stage to get an idea of how the final stem would look.

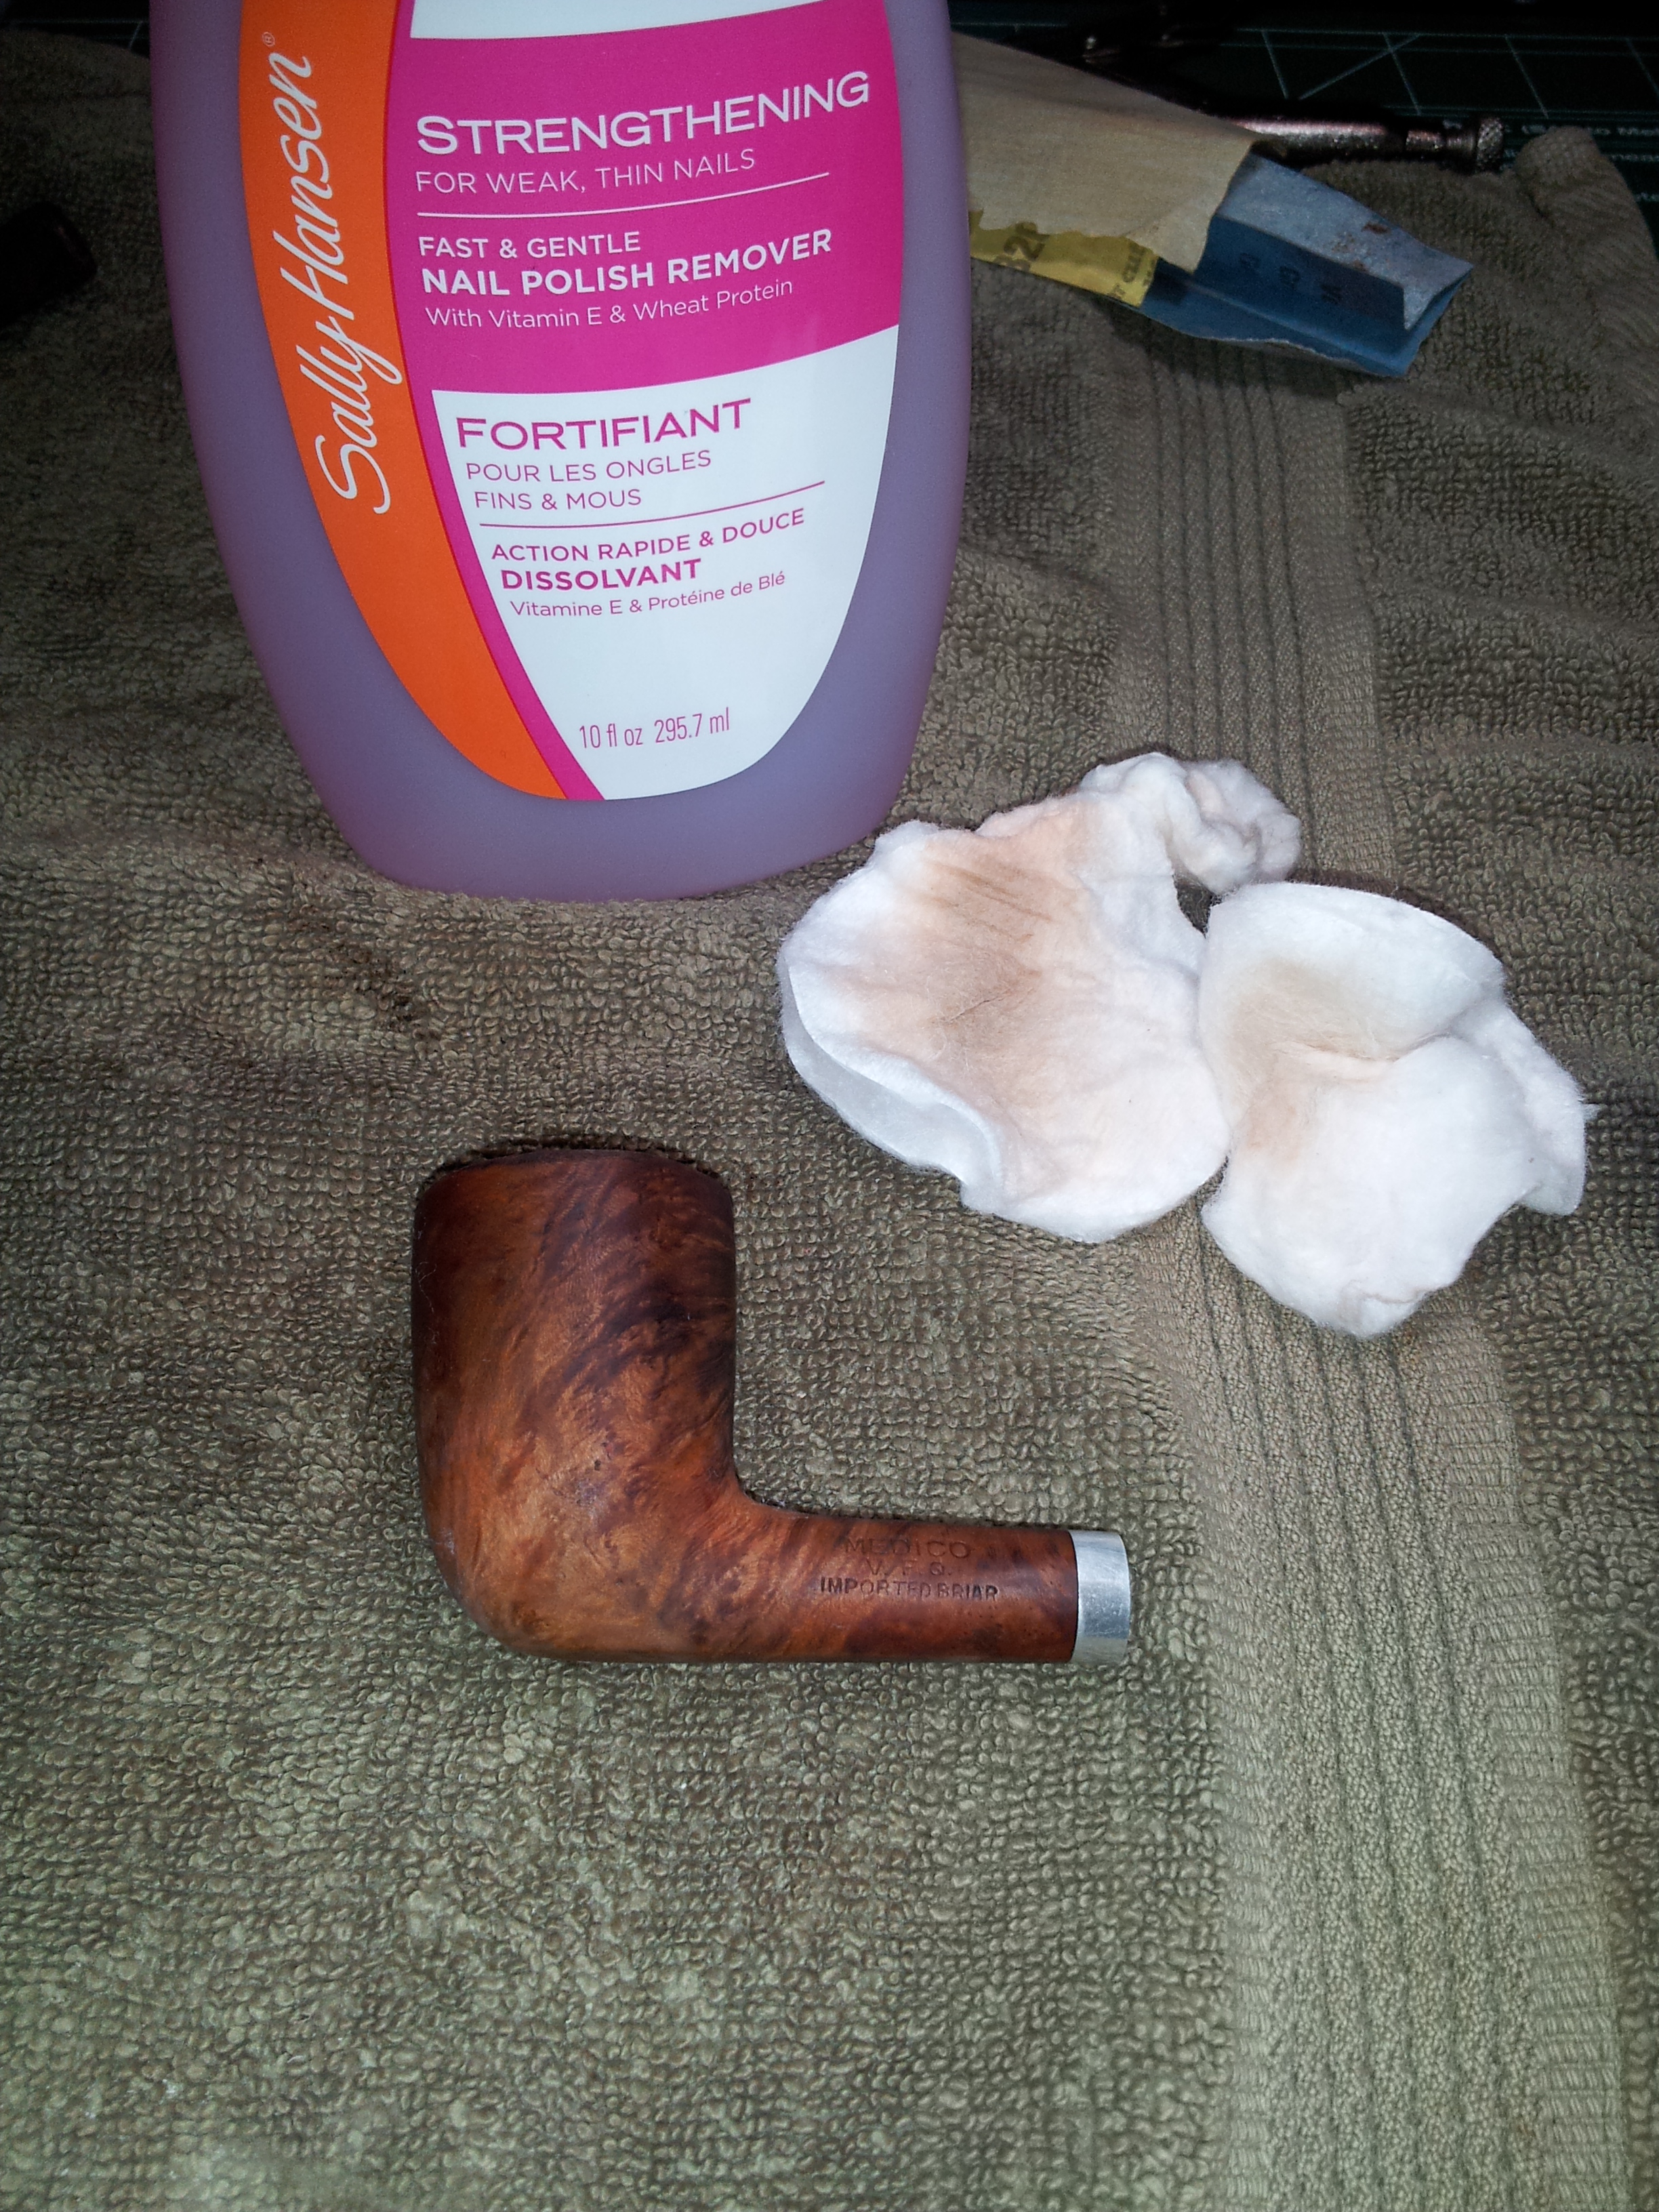
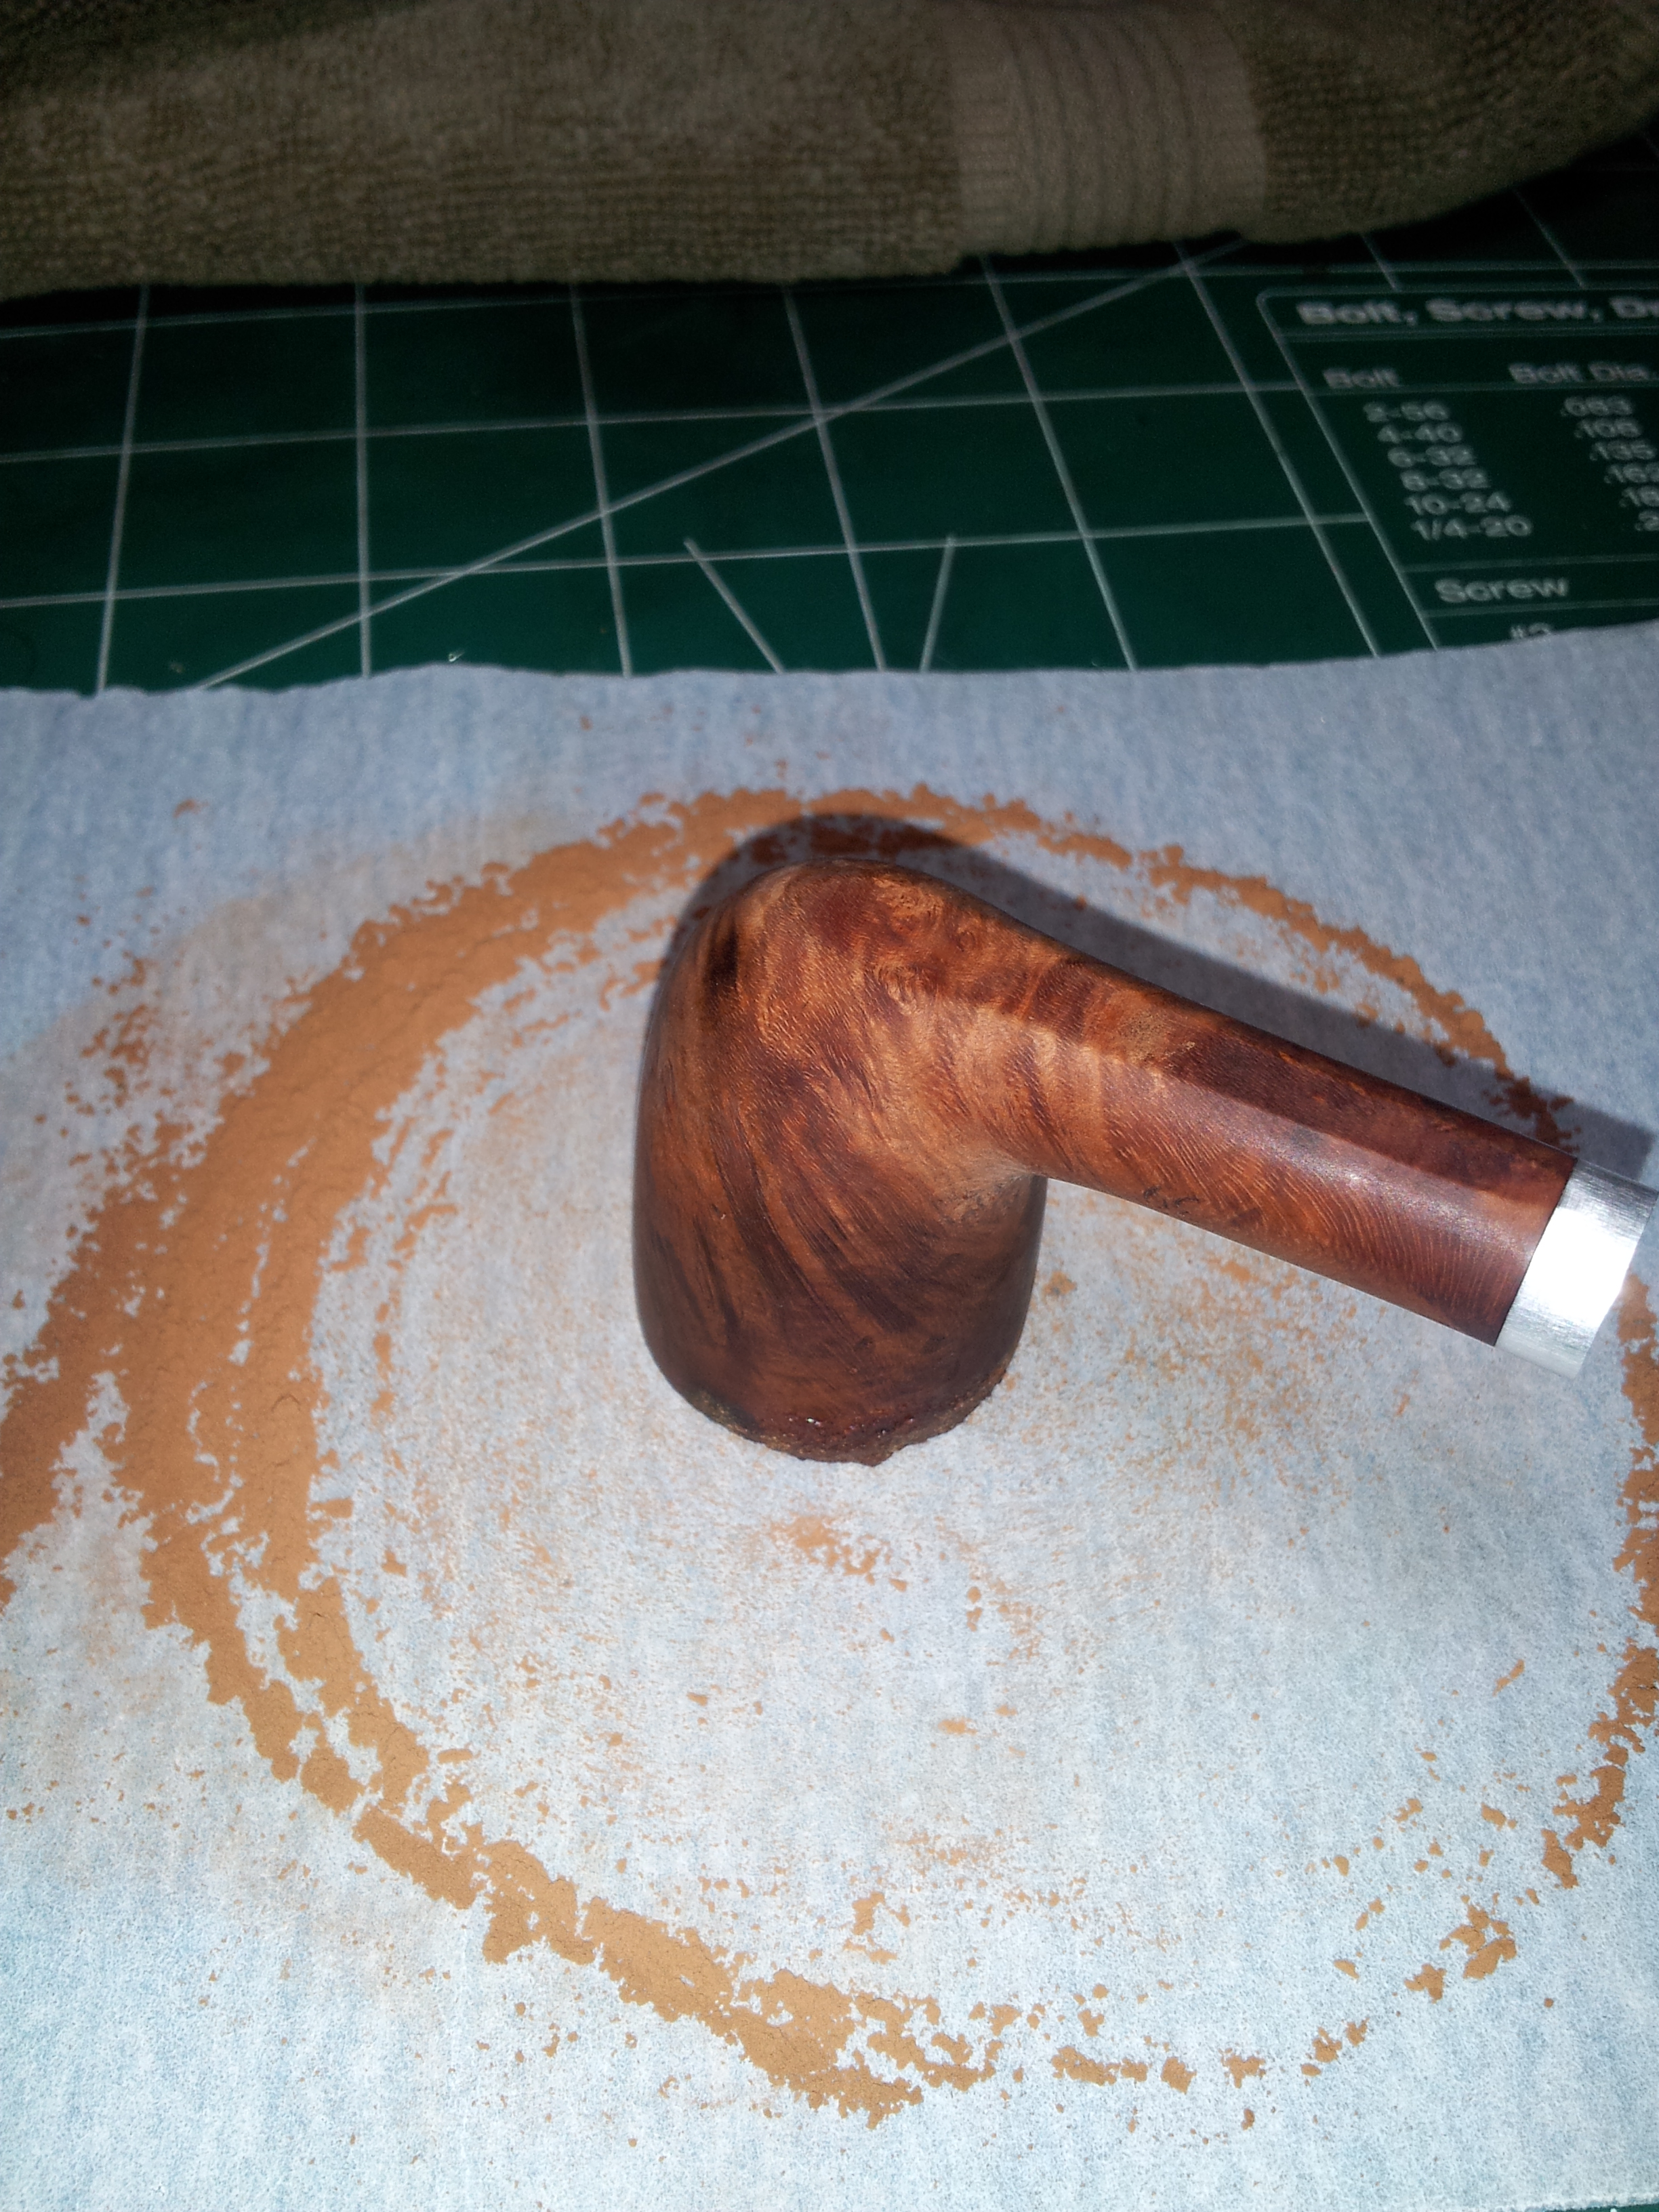
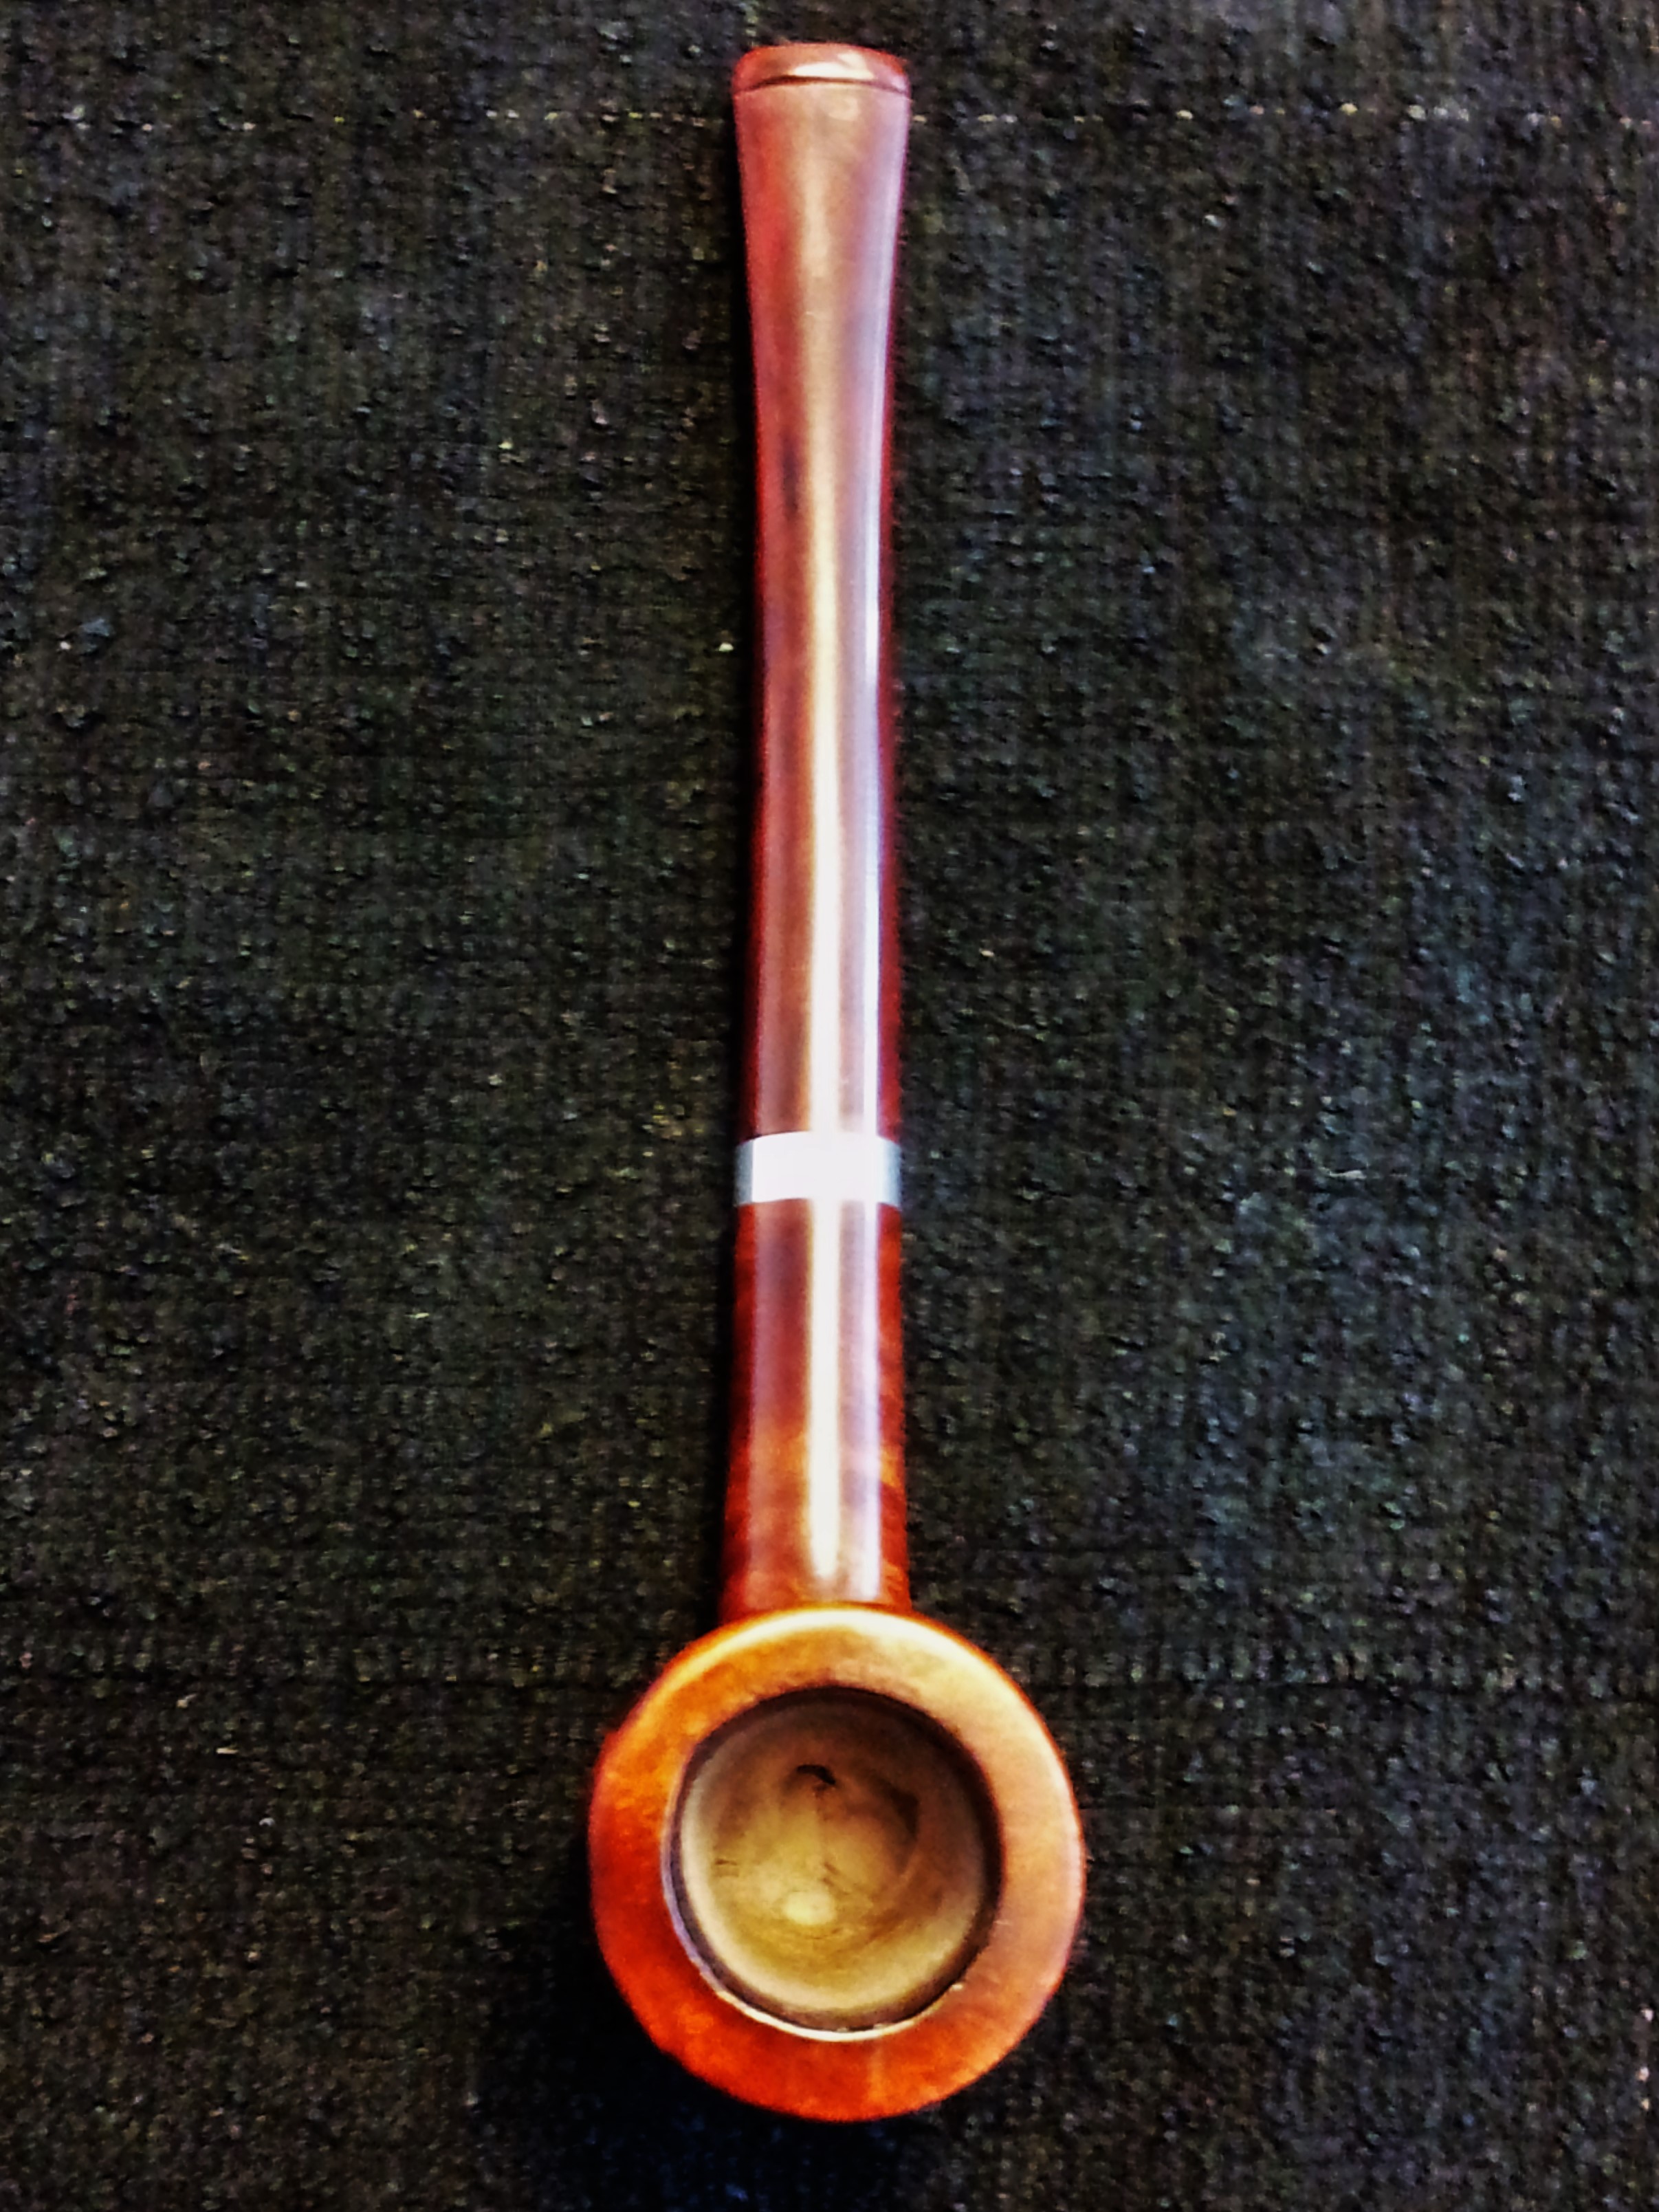
For a change of pace, I pulled the stummel out of the alcohol bath and had a look. As you can see, the isopropyl does a good job removing the old finish.
There were still a few rogue spots of the old lacquer clinging to the briar, so I wiped it down with nail polish remover and cotton pads to finish the cleaning.
With the briar as clean as it was going to get, it was time to patch the missing chunk of rim. I mixed up a small amount of briar dust and CA glue and smooshed it into the divot, working quickly to smooth the fill as best I could before the glue set.
When the patch was solid, I took the bowl to the topping board to reclaim a smooth rim surface. I followed this up by sanding the entire surface of the bowl with 220 and 320 grit paper, also adding a small bevel around the outside rim to remove the last of the my-pipe-is-a-hammer dents and dings.
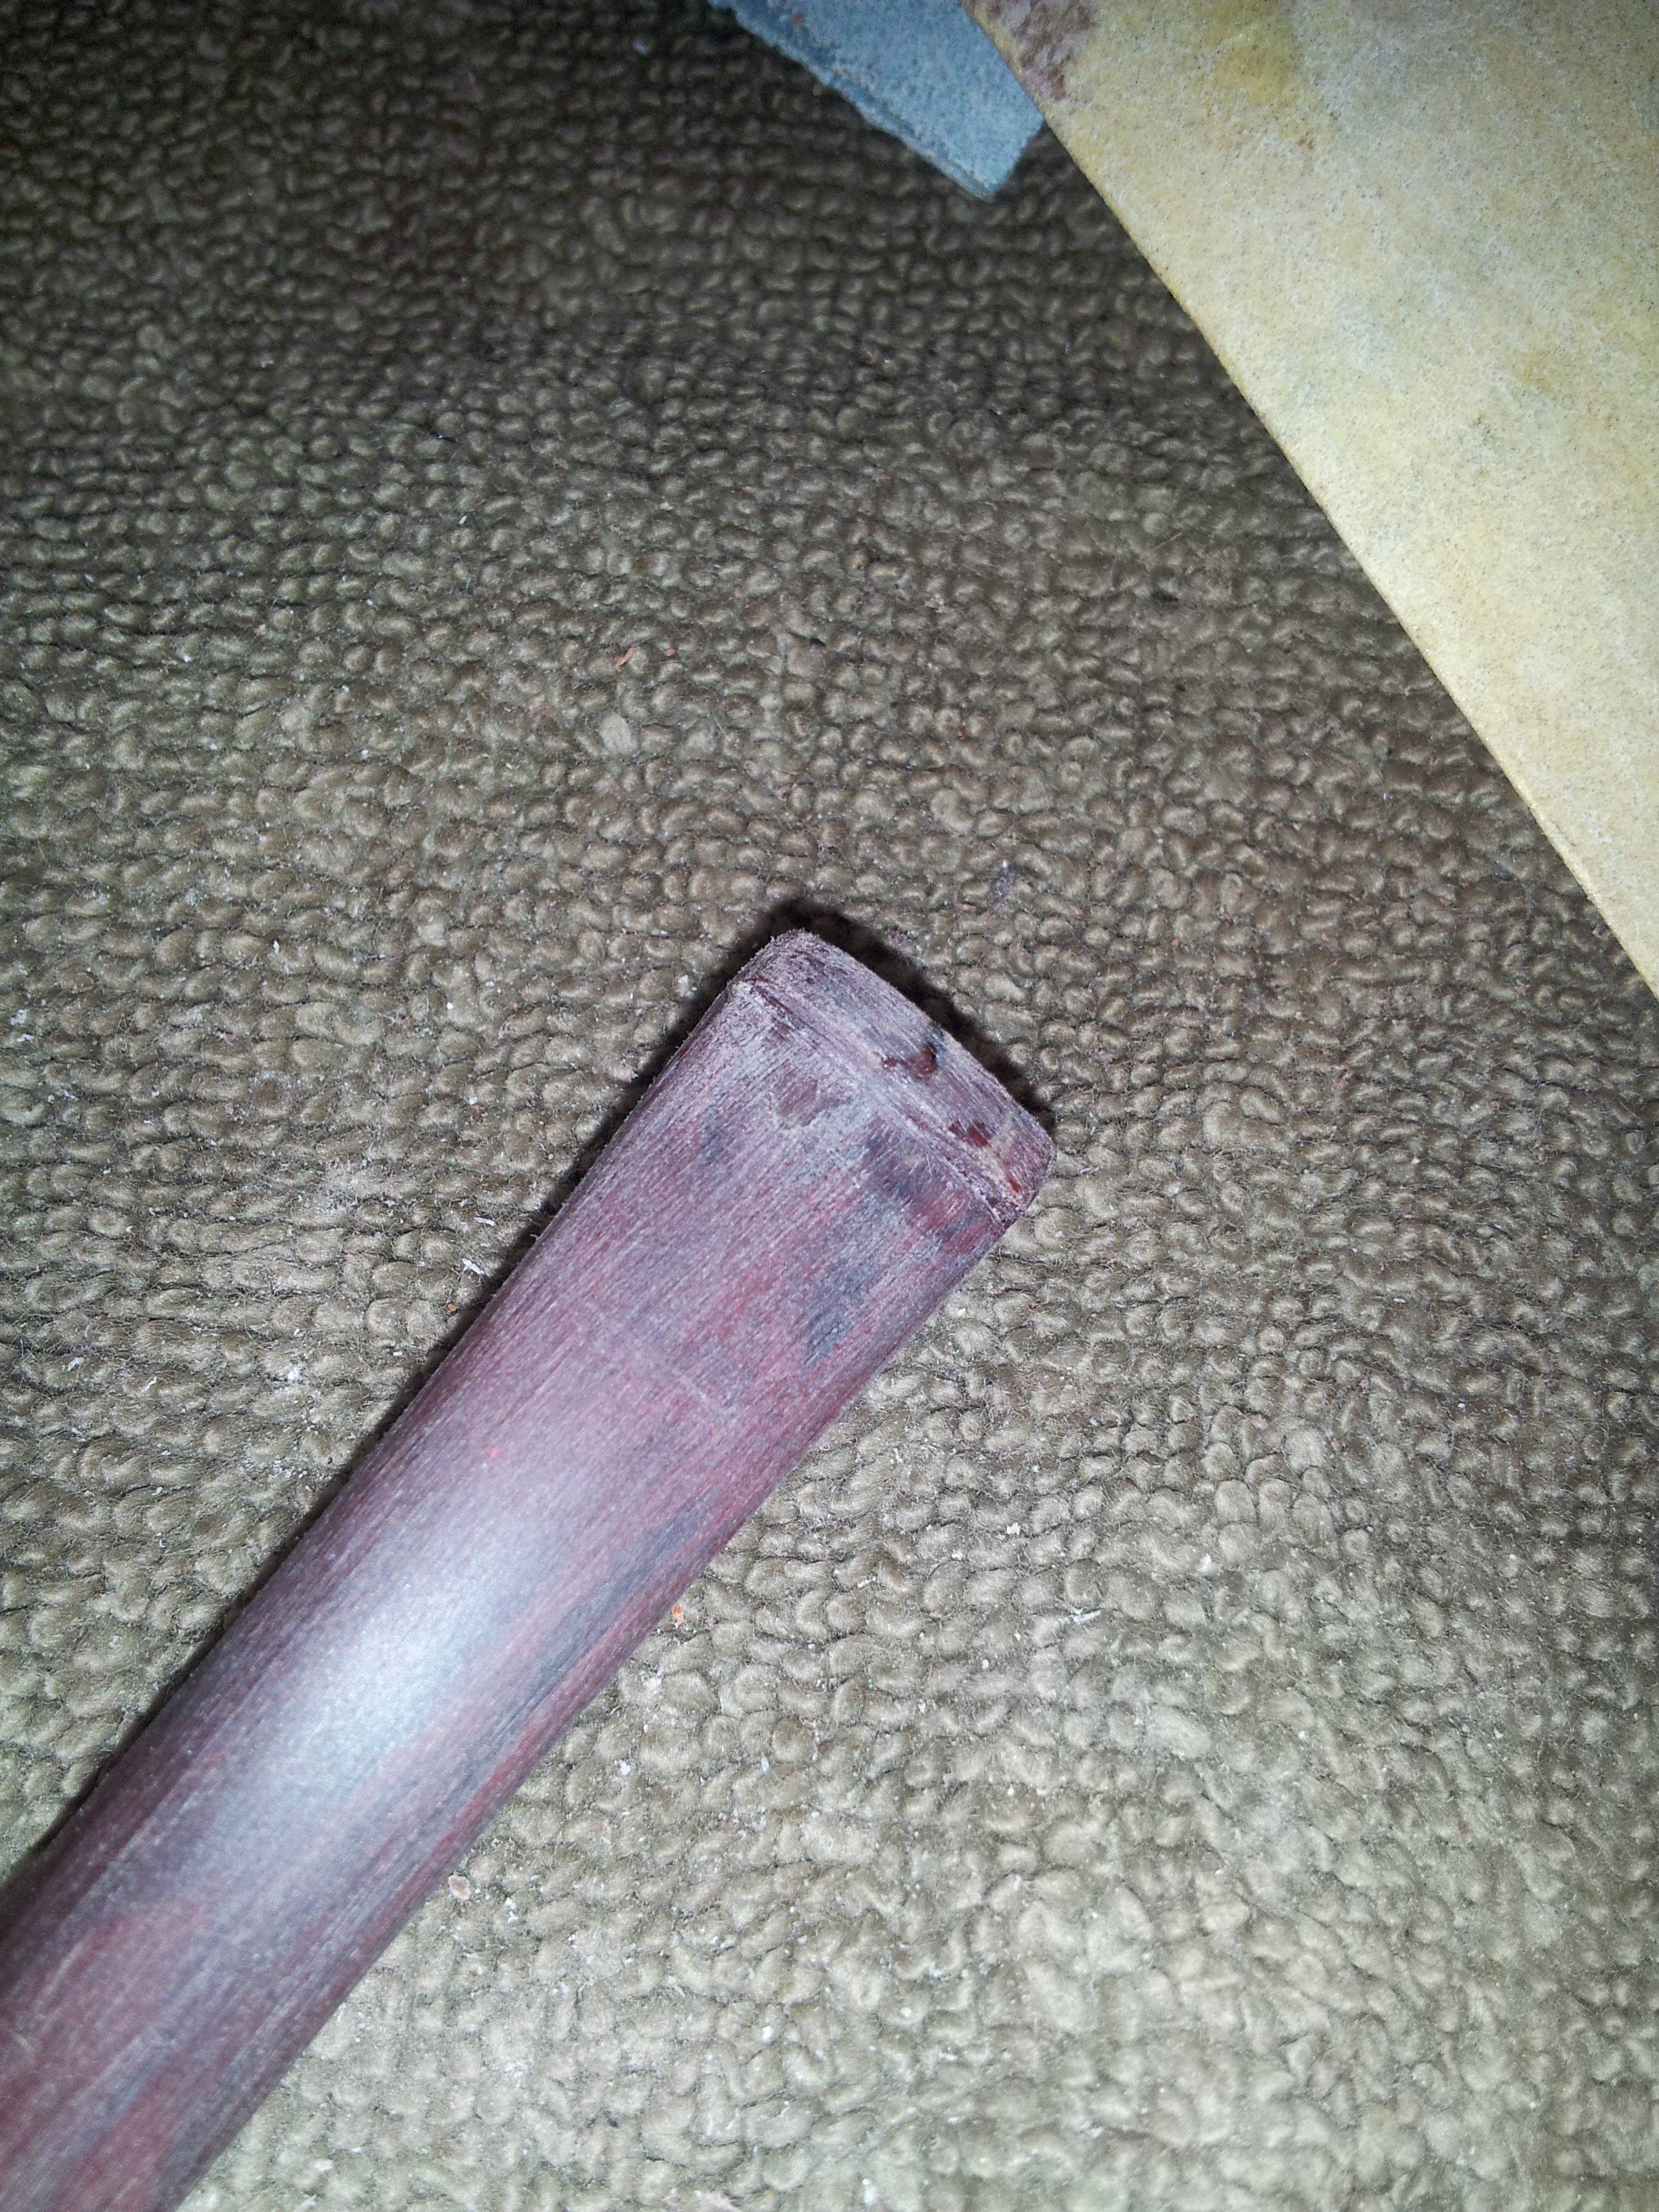
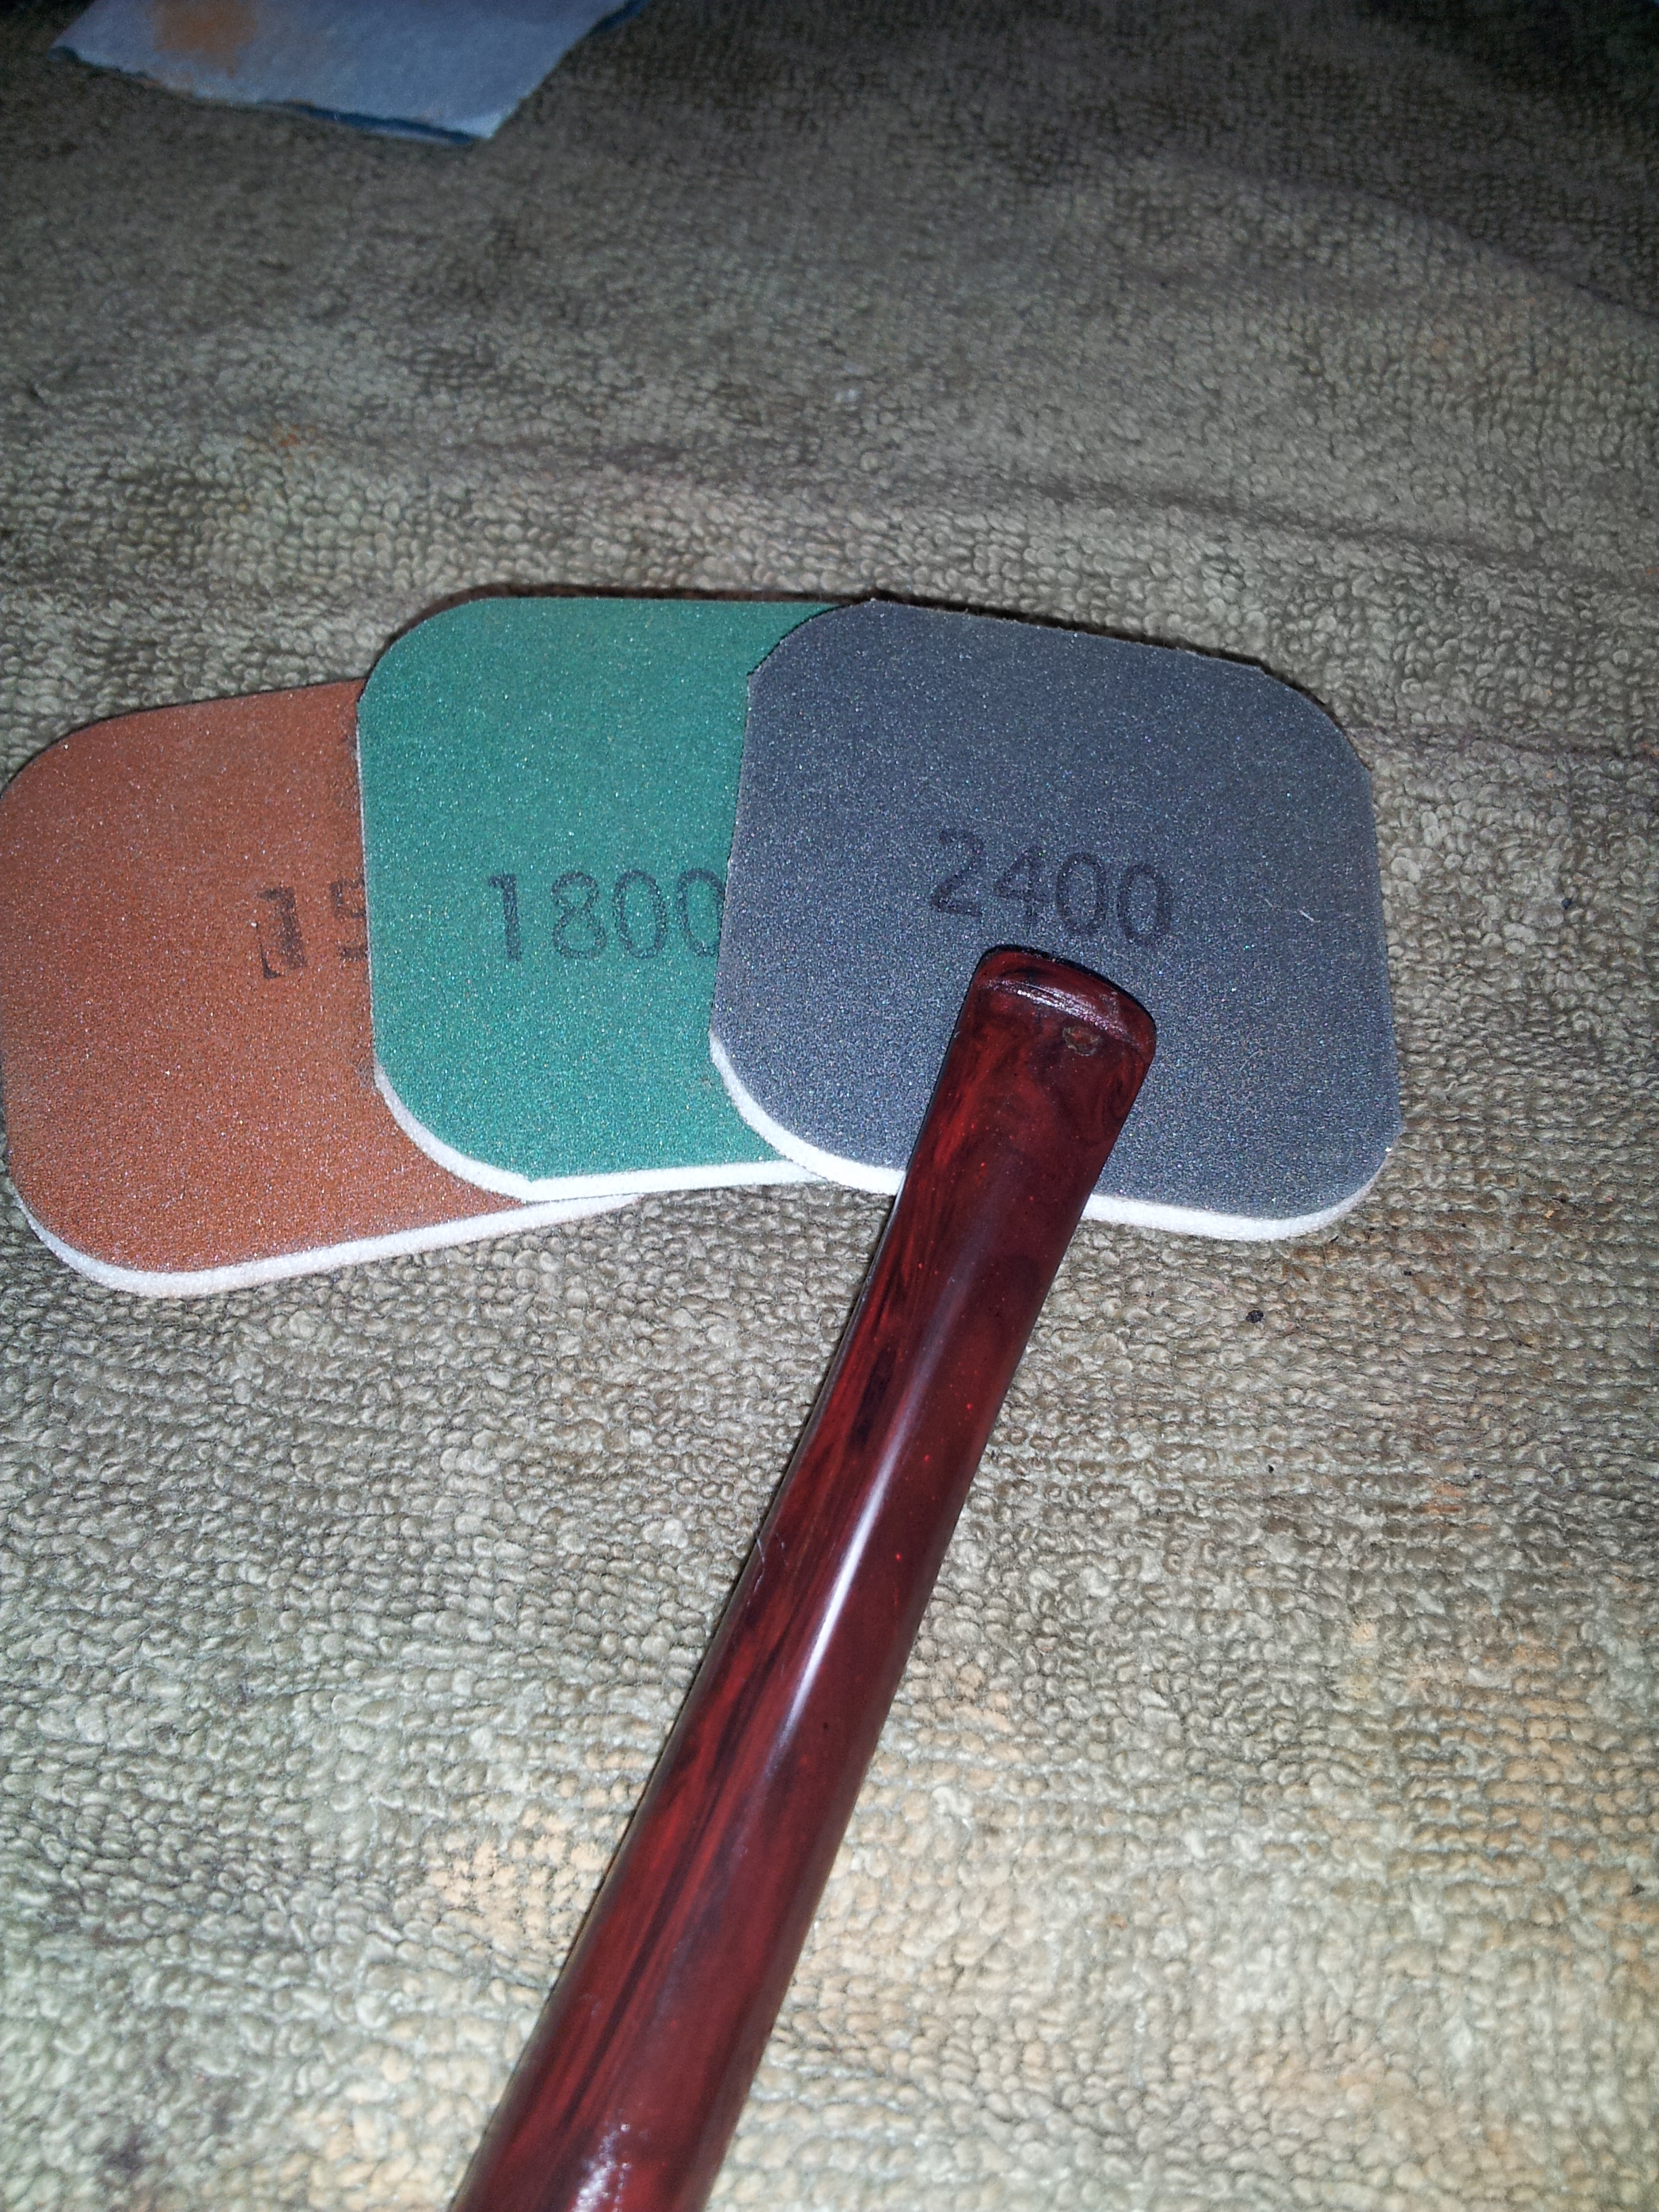
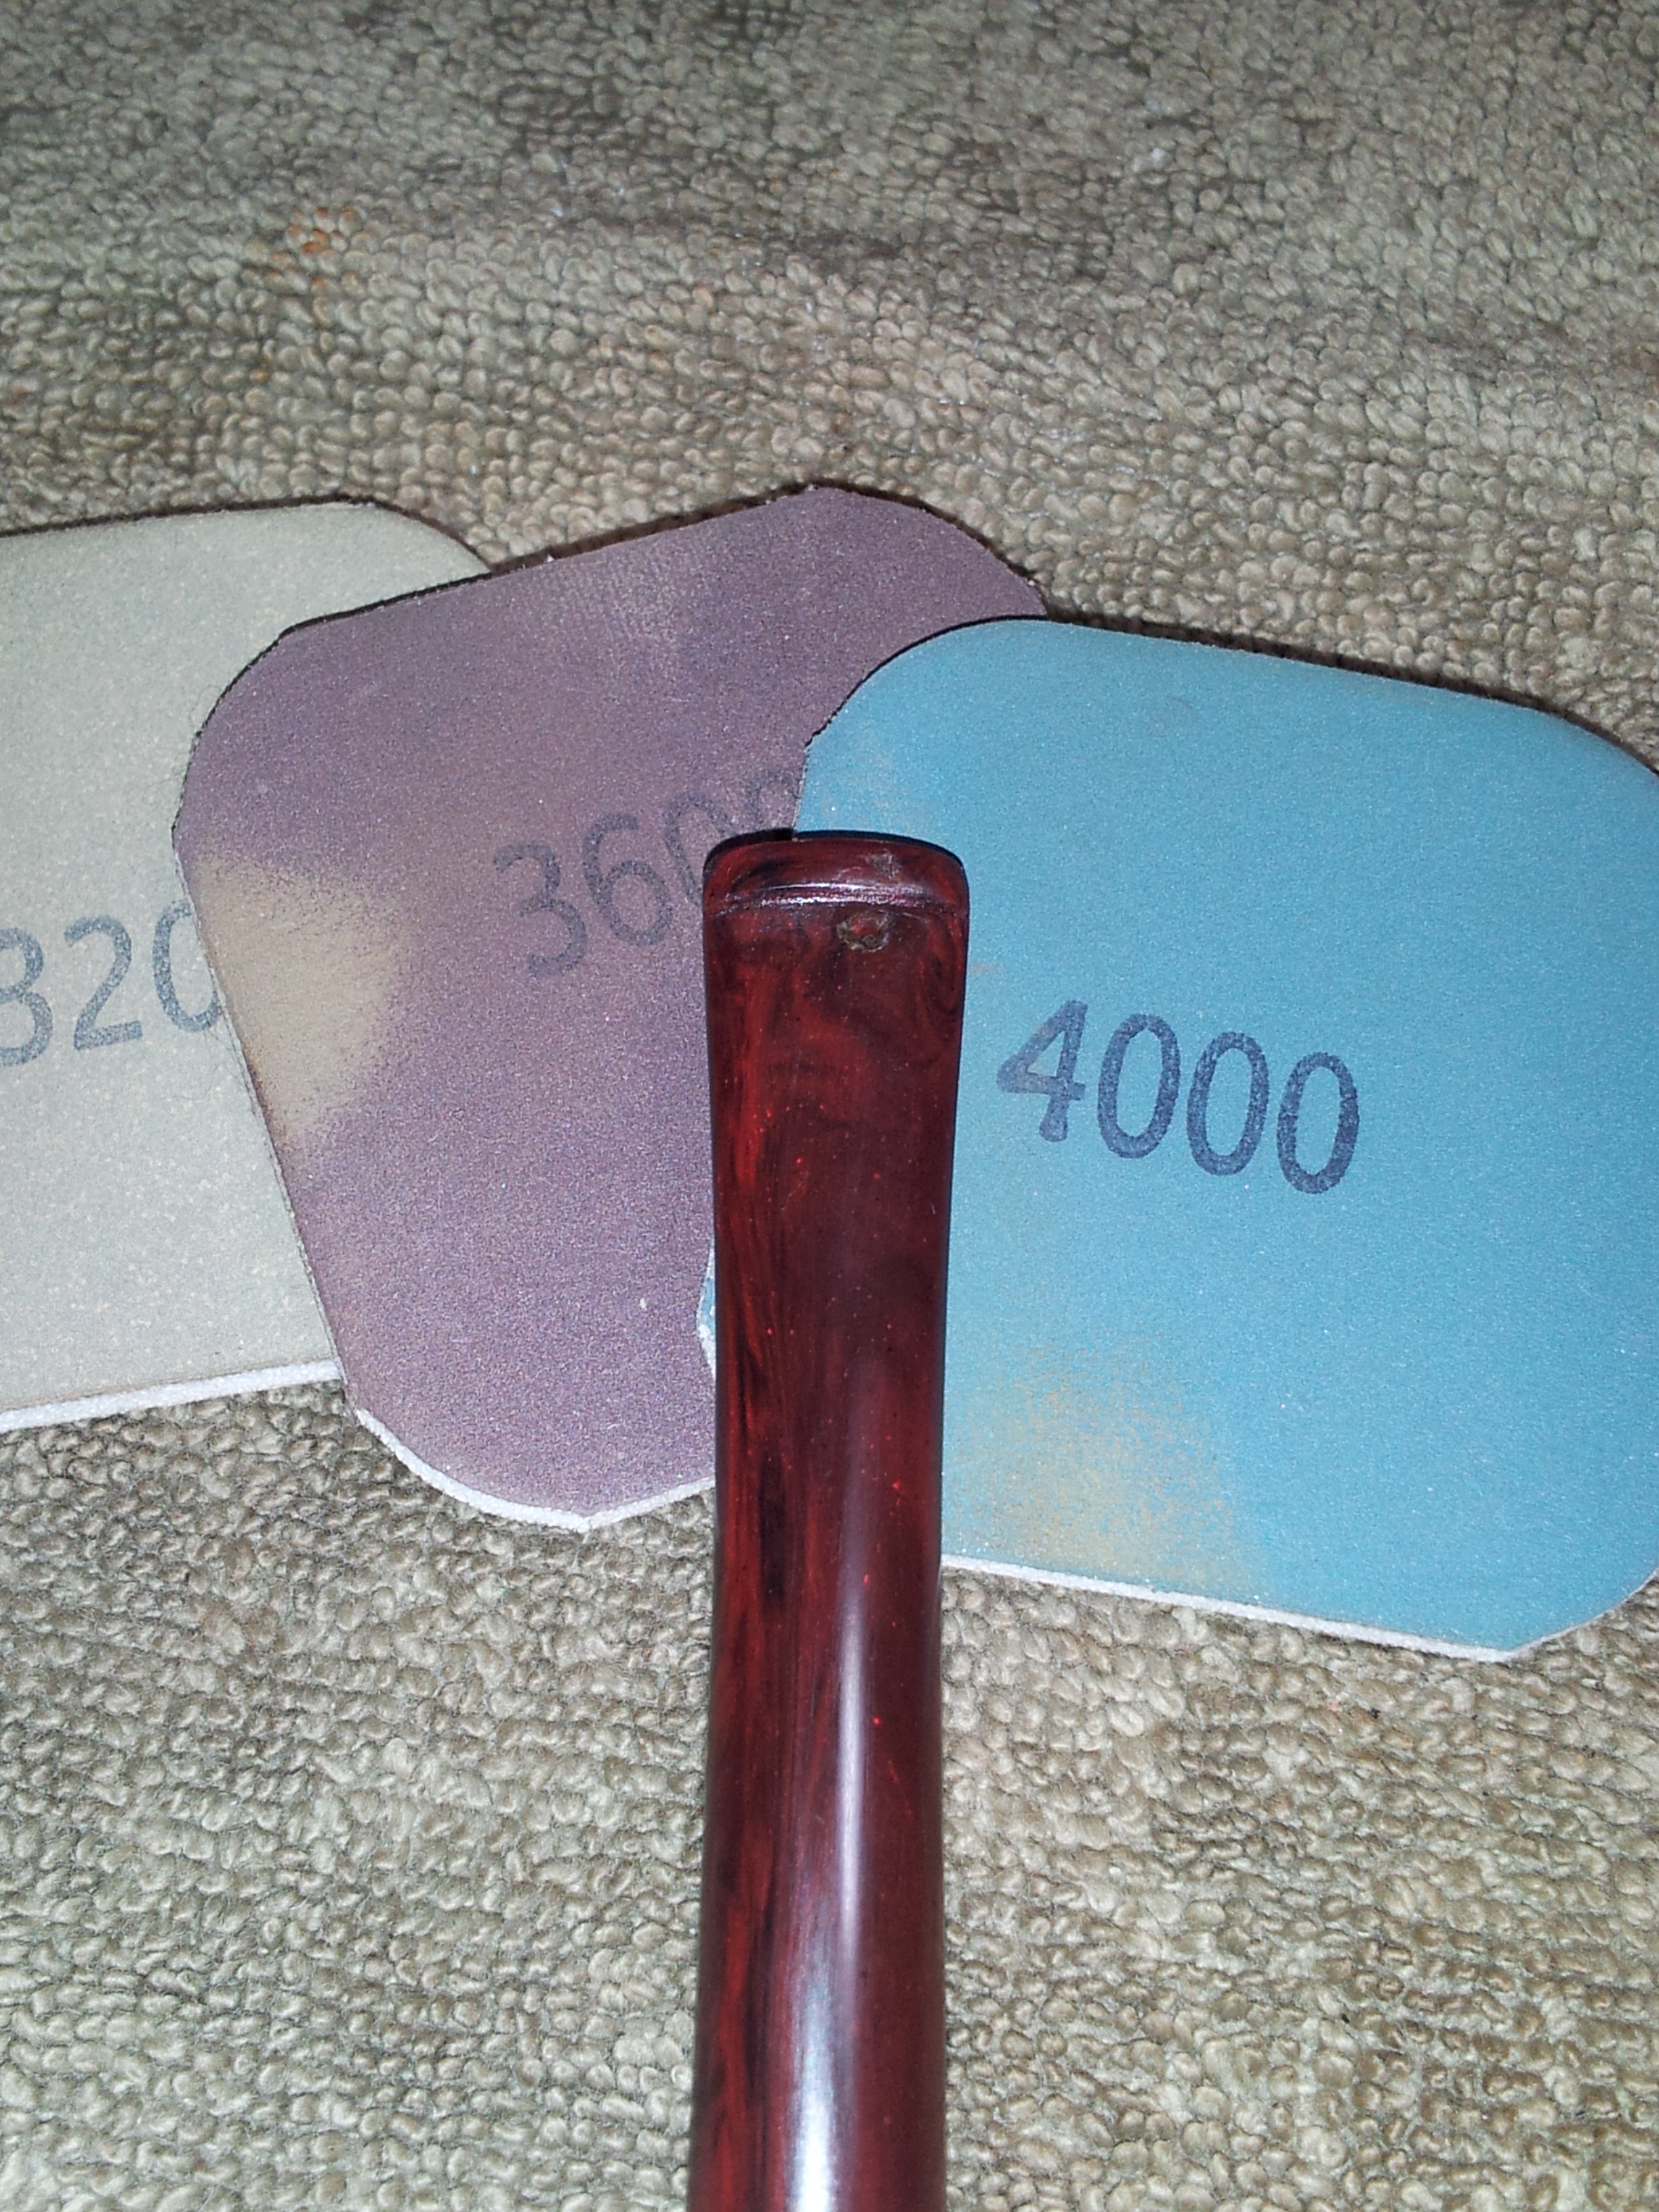
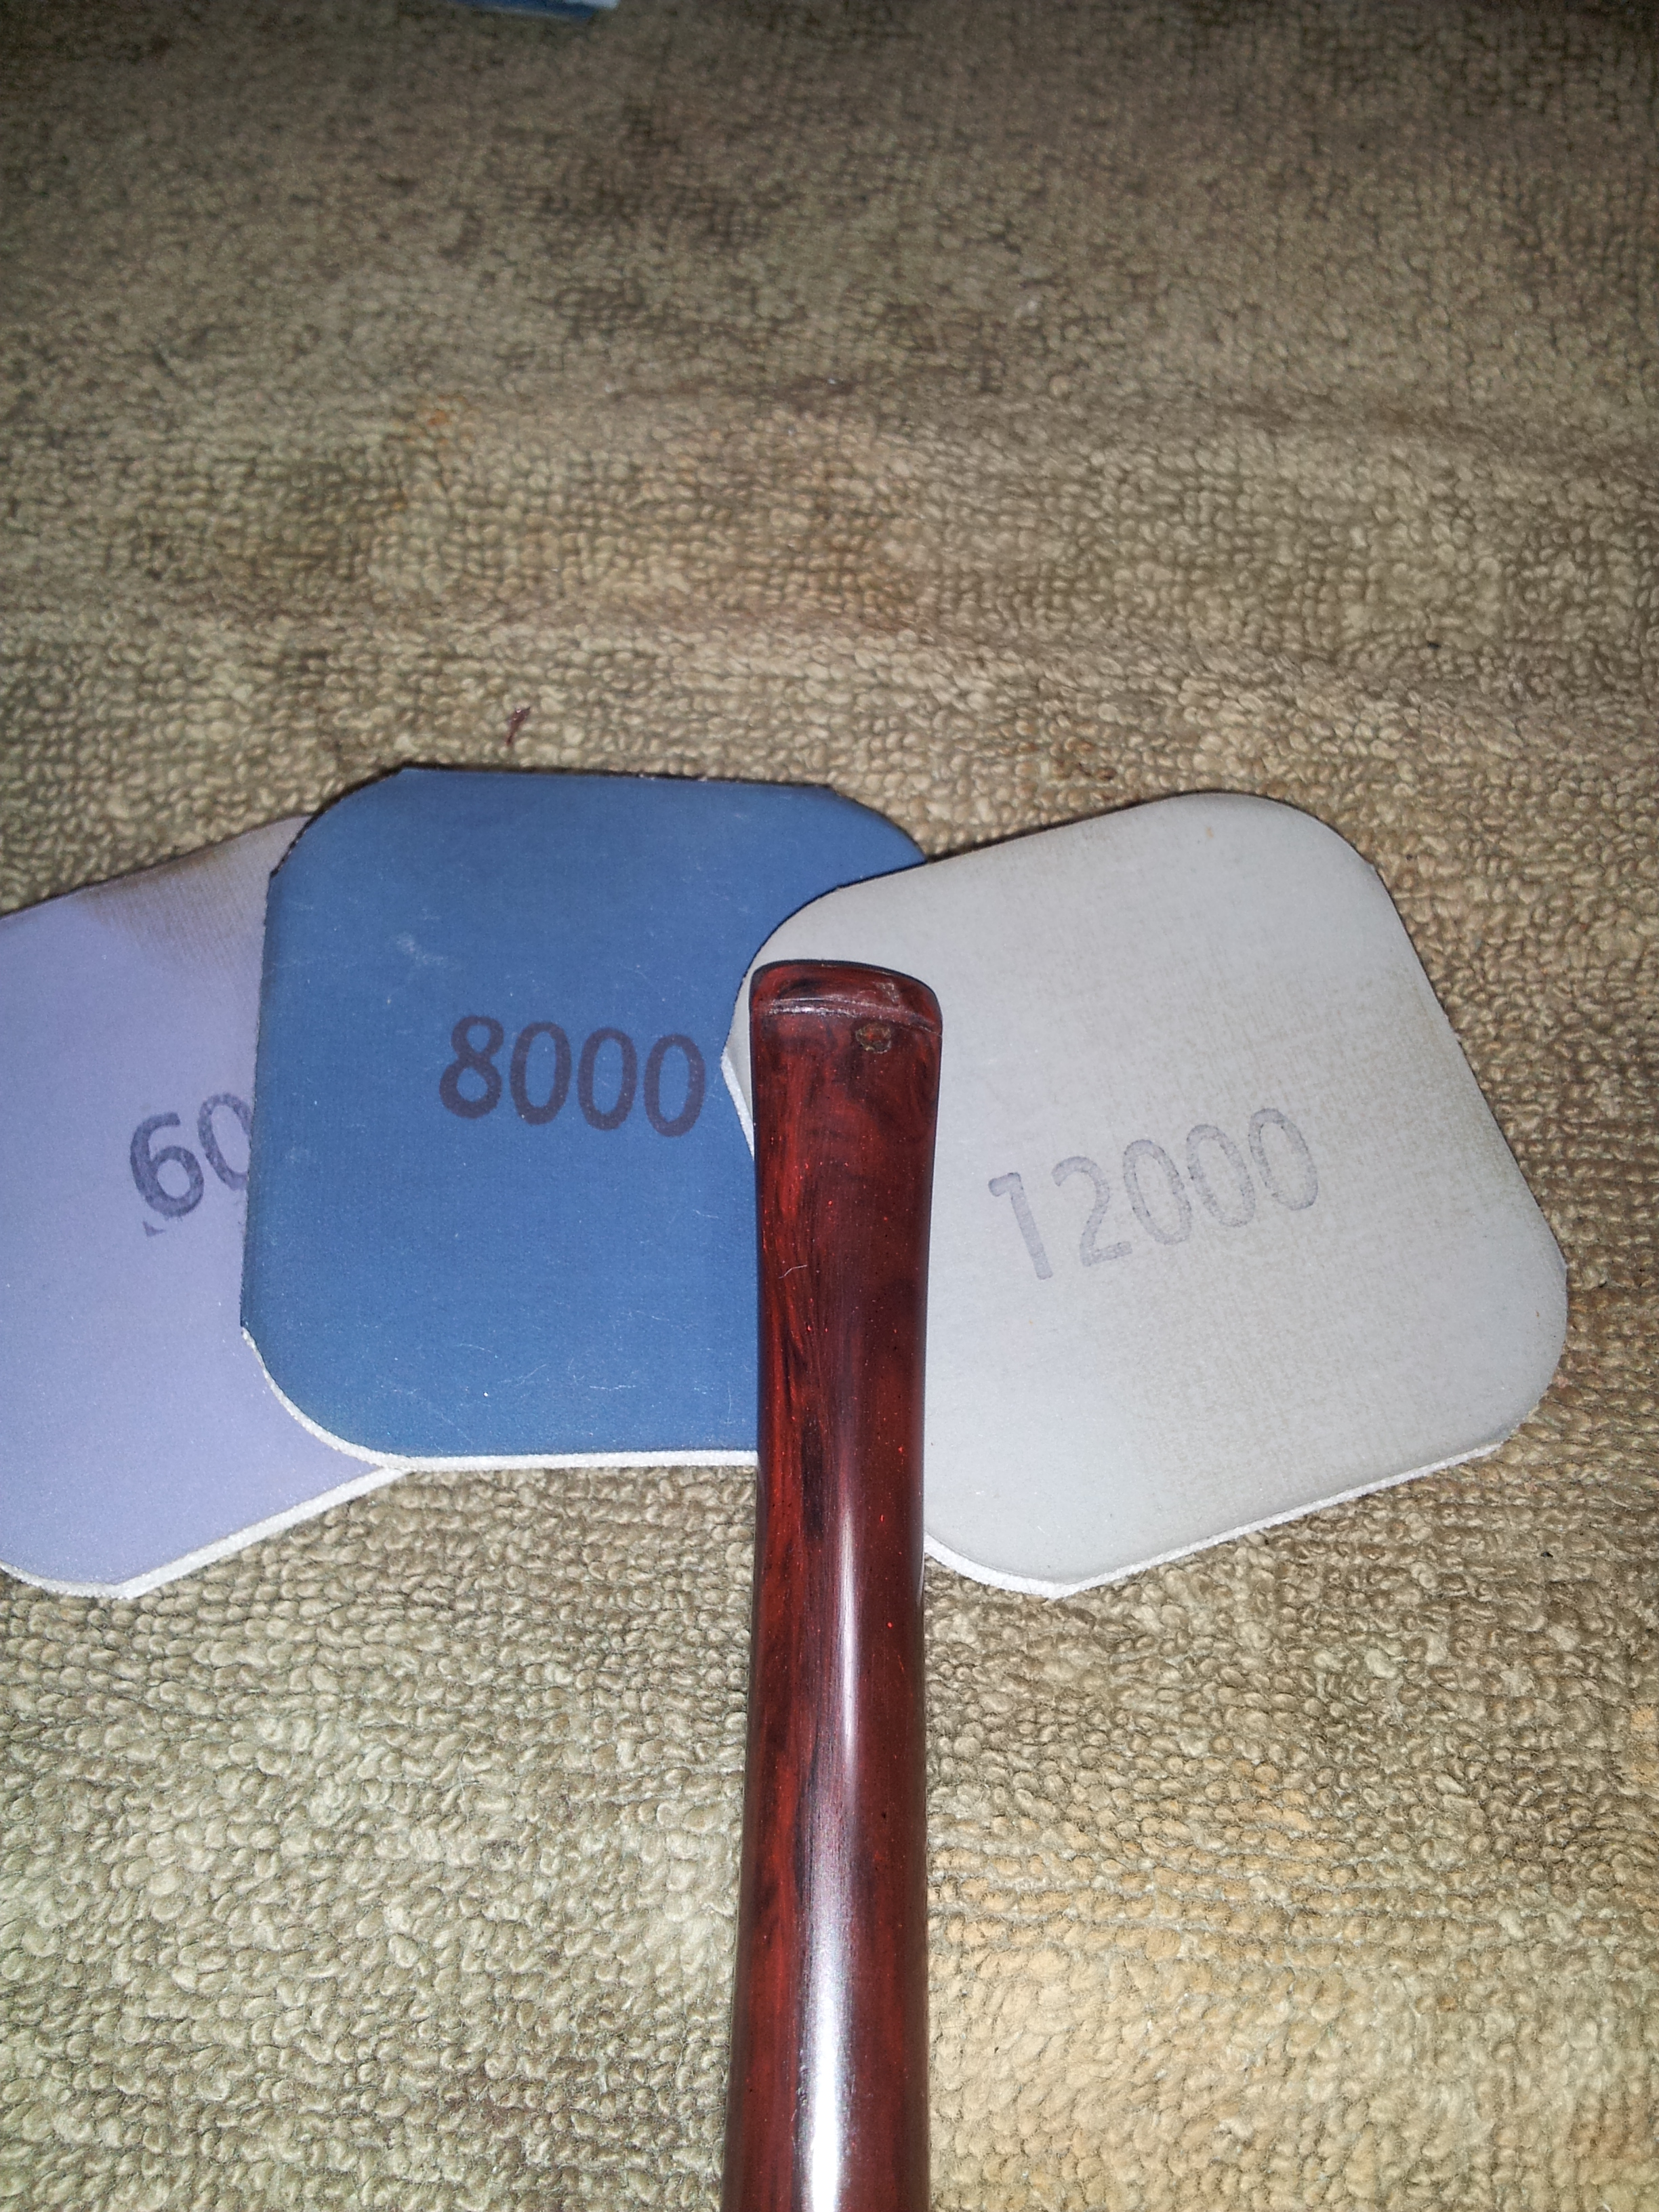
I set the stummel aside at this point and returned to the stem. I wet-sanded with 600 – 2000 grit sandpaper, followed by Micro Mesh pads. I wiped the stem with mineral oil in between sets of three pads, working through the entire 1500 – 12000 grit range.
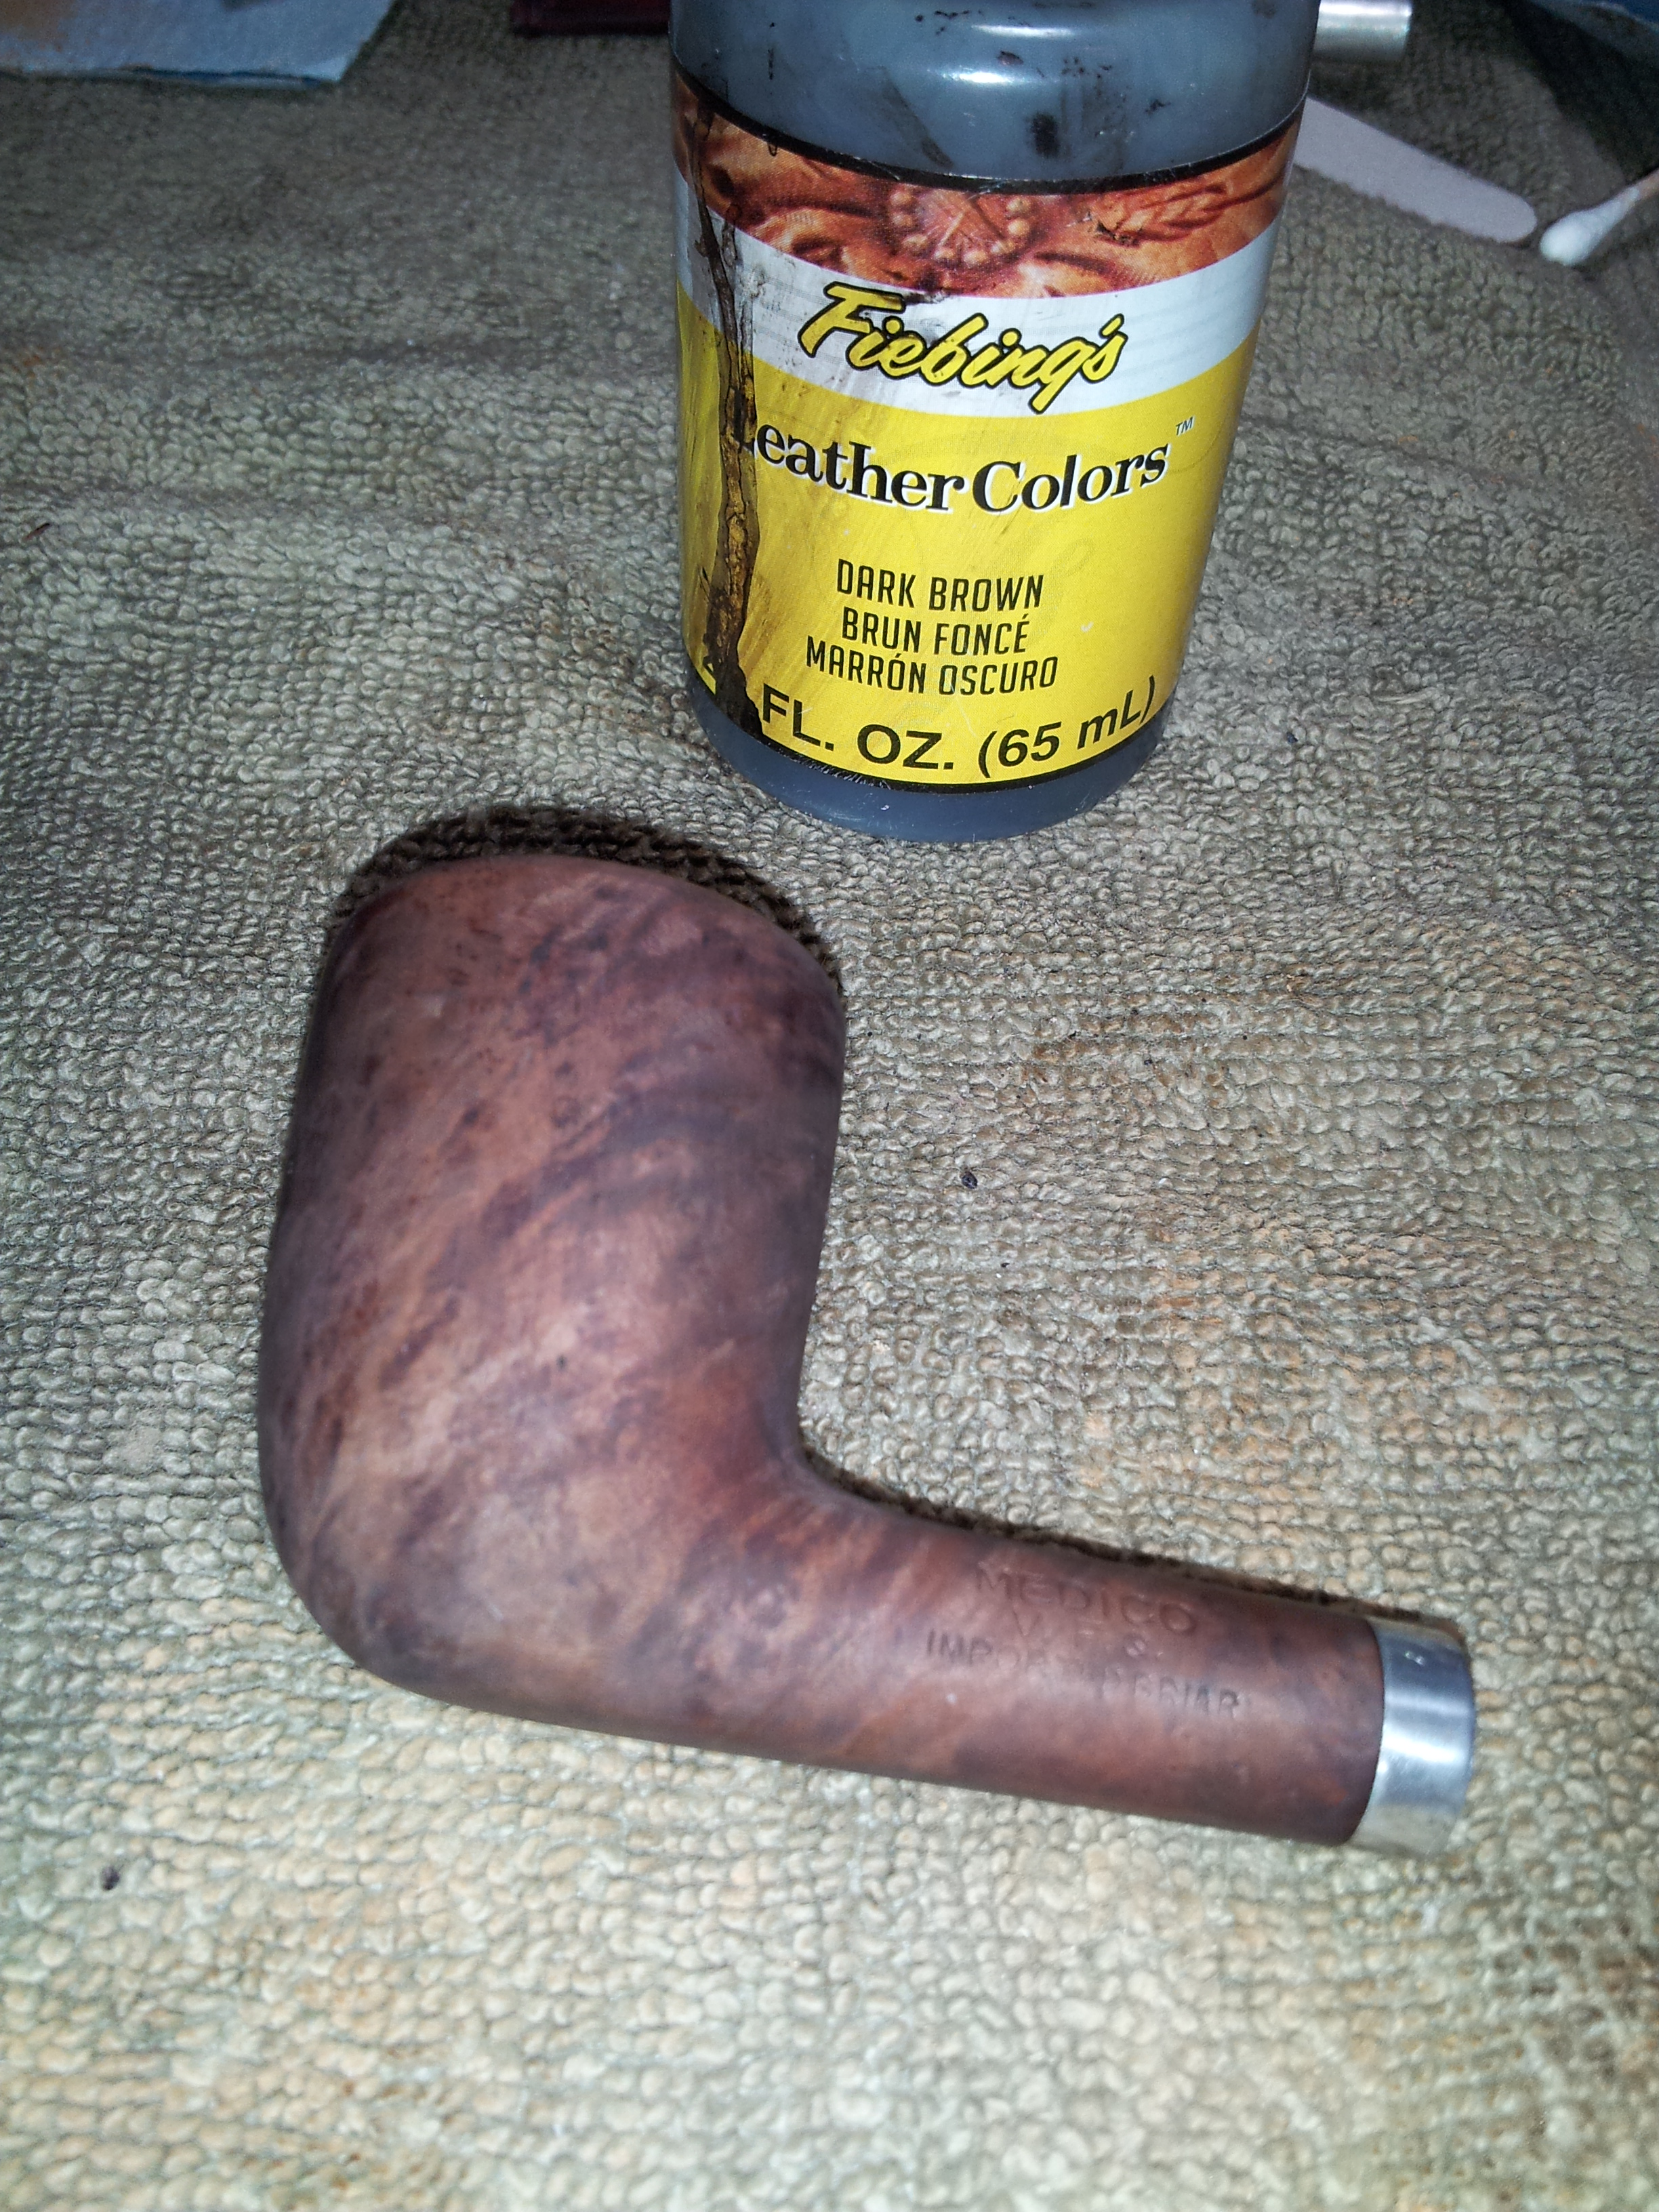
The pipe was now ready for stain. The briar dust and CA fill was still very much in evidence, so I went with a contrast stain that I hoped would minimize the appearance of the large fill. I first applied a coat of Fiebing’s Dark Brown stain. I use the water-based Fiebing’s colours, so when the dark brown had dried, I scrubbed it lightly with 2000-grit wet paper to lighten the overall colour. This left the dark brown in the soft grain of the briar, which I then hit with a coat of Saddle Tan stain. I allowed the tan to dry fully, then hand buffed the excess off with an old terry towel.
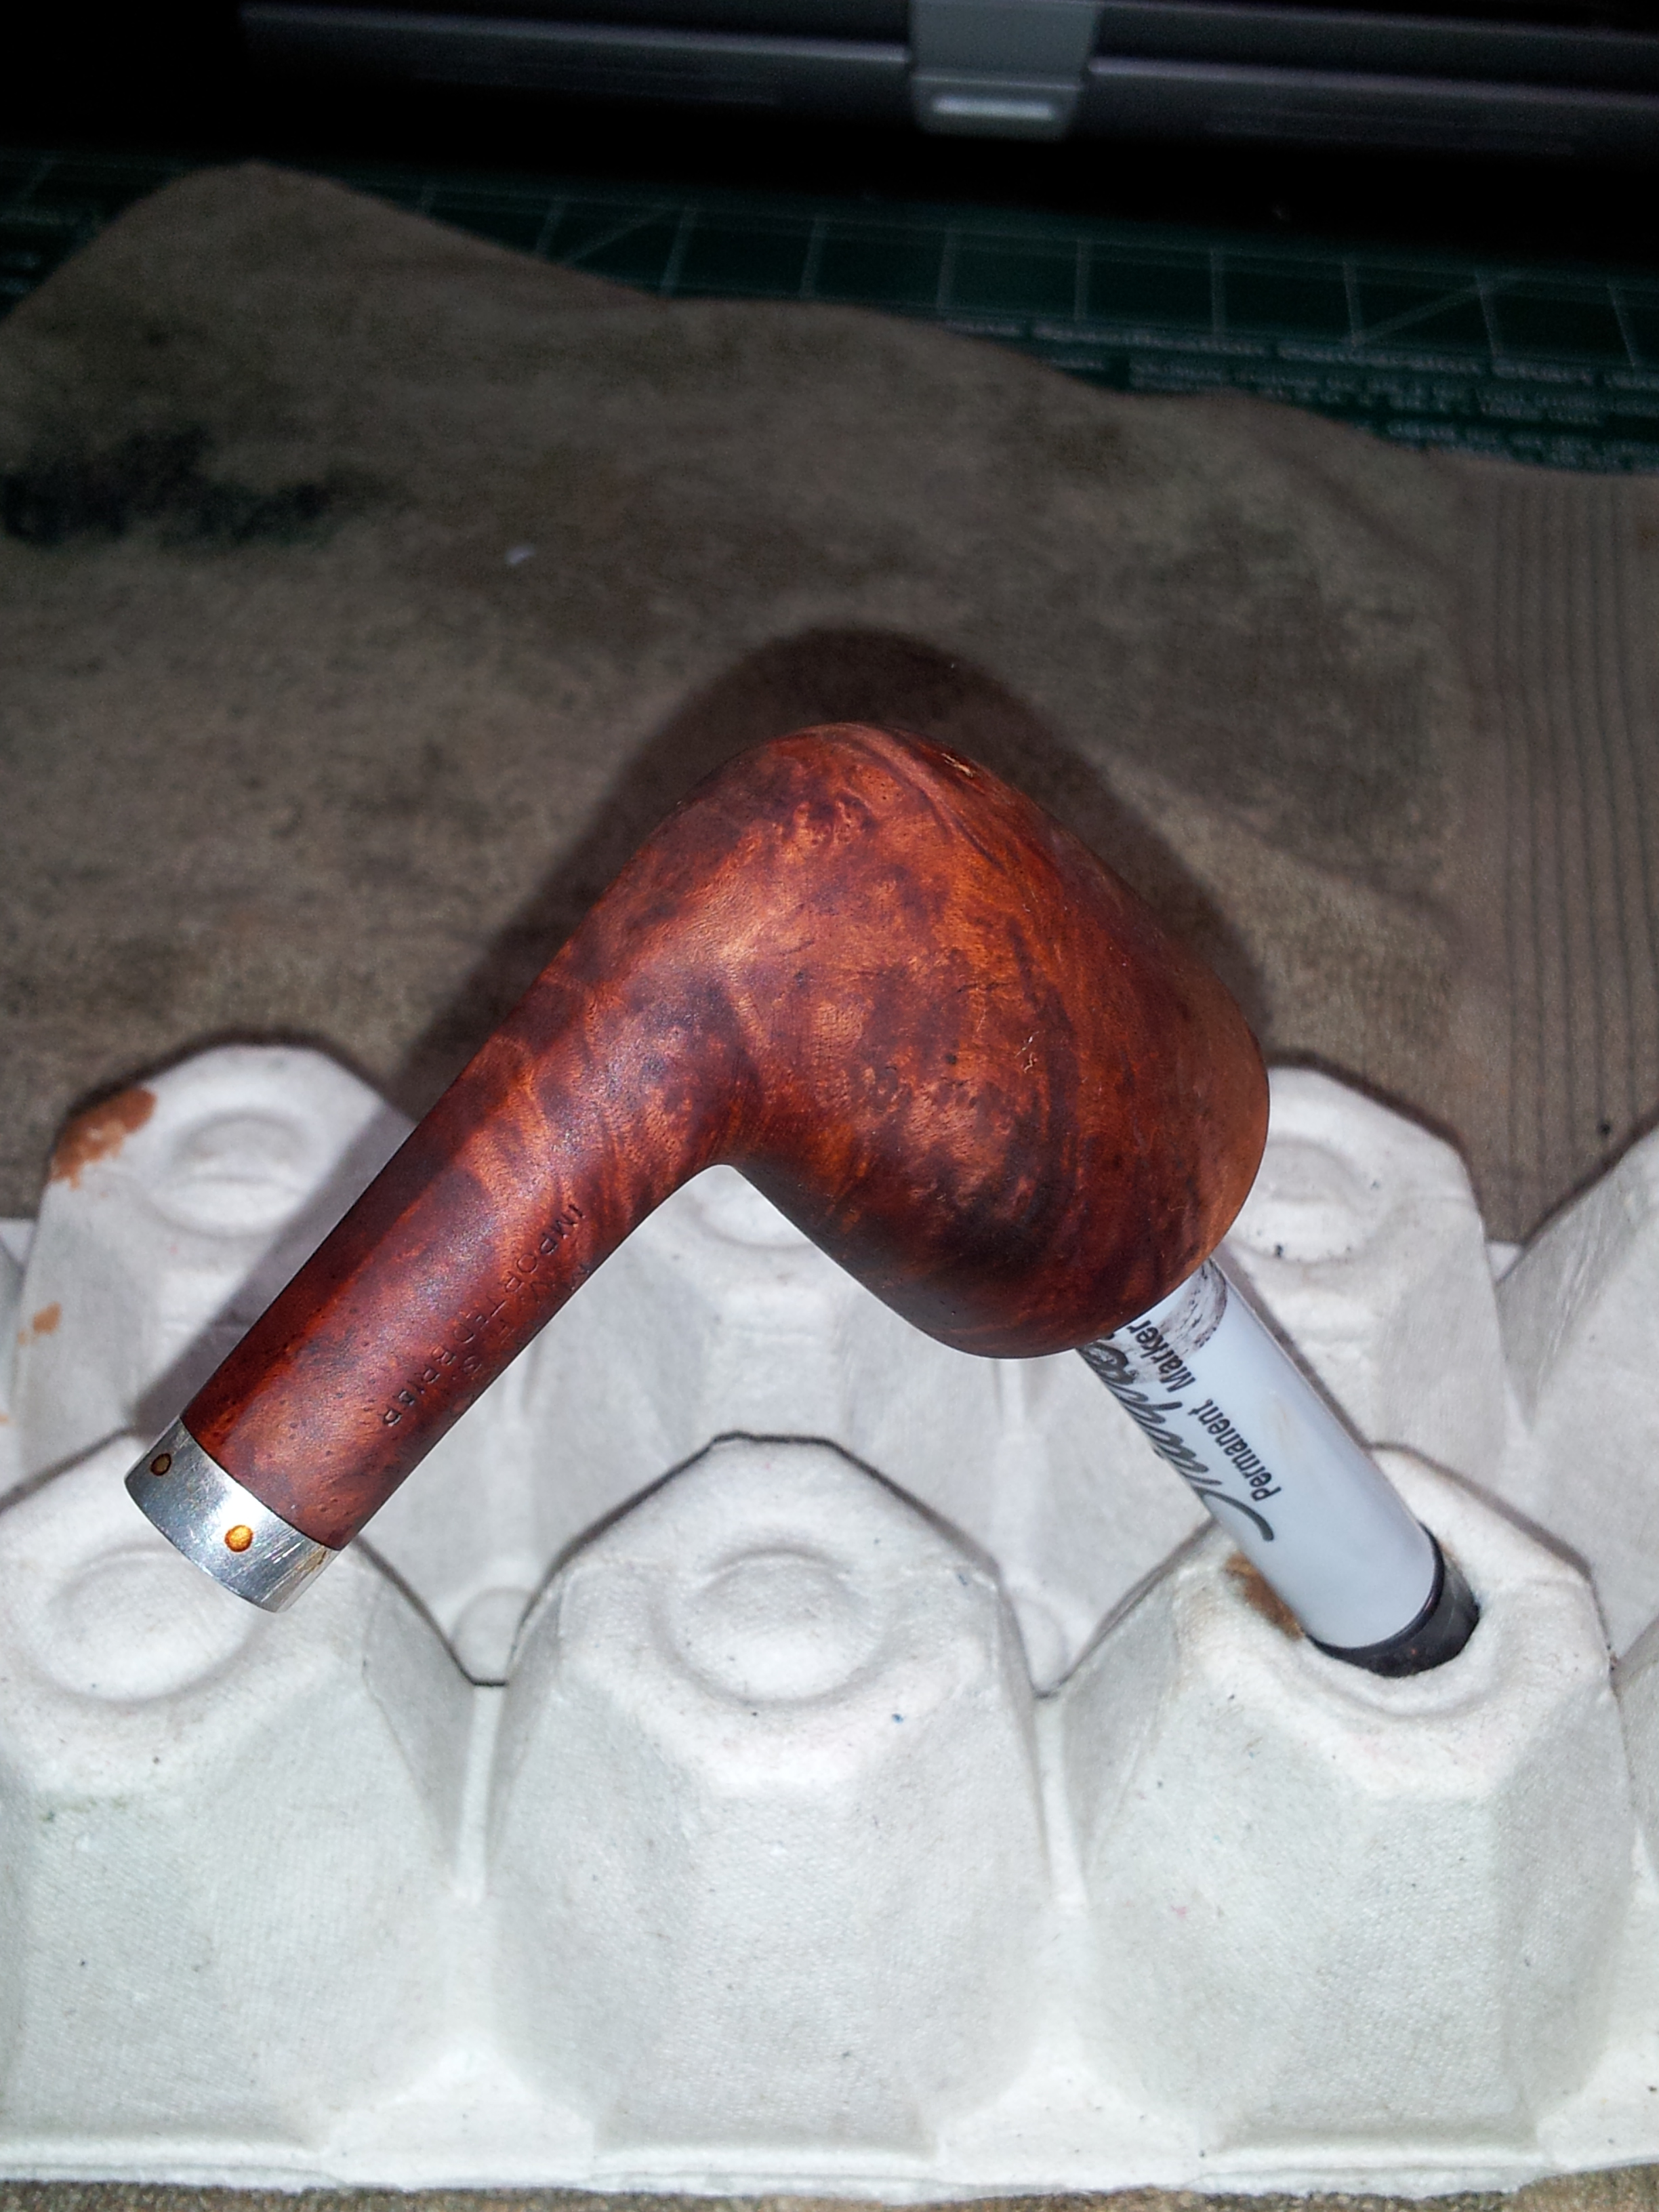
The large fill was still rather glaring, so I went over the lighter areas of the stummel with a Medium stain marker to deepen the finish colour. This drew both the large fill and the adjoining scorch mark farther into the background.
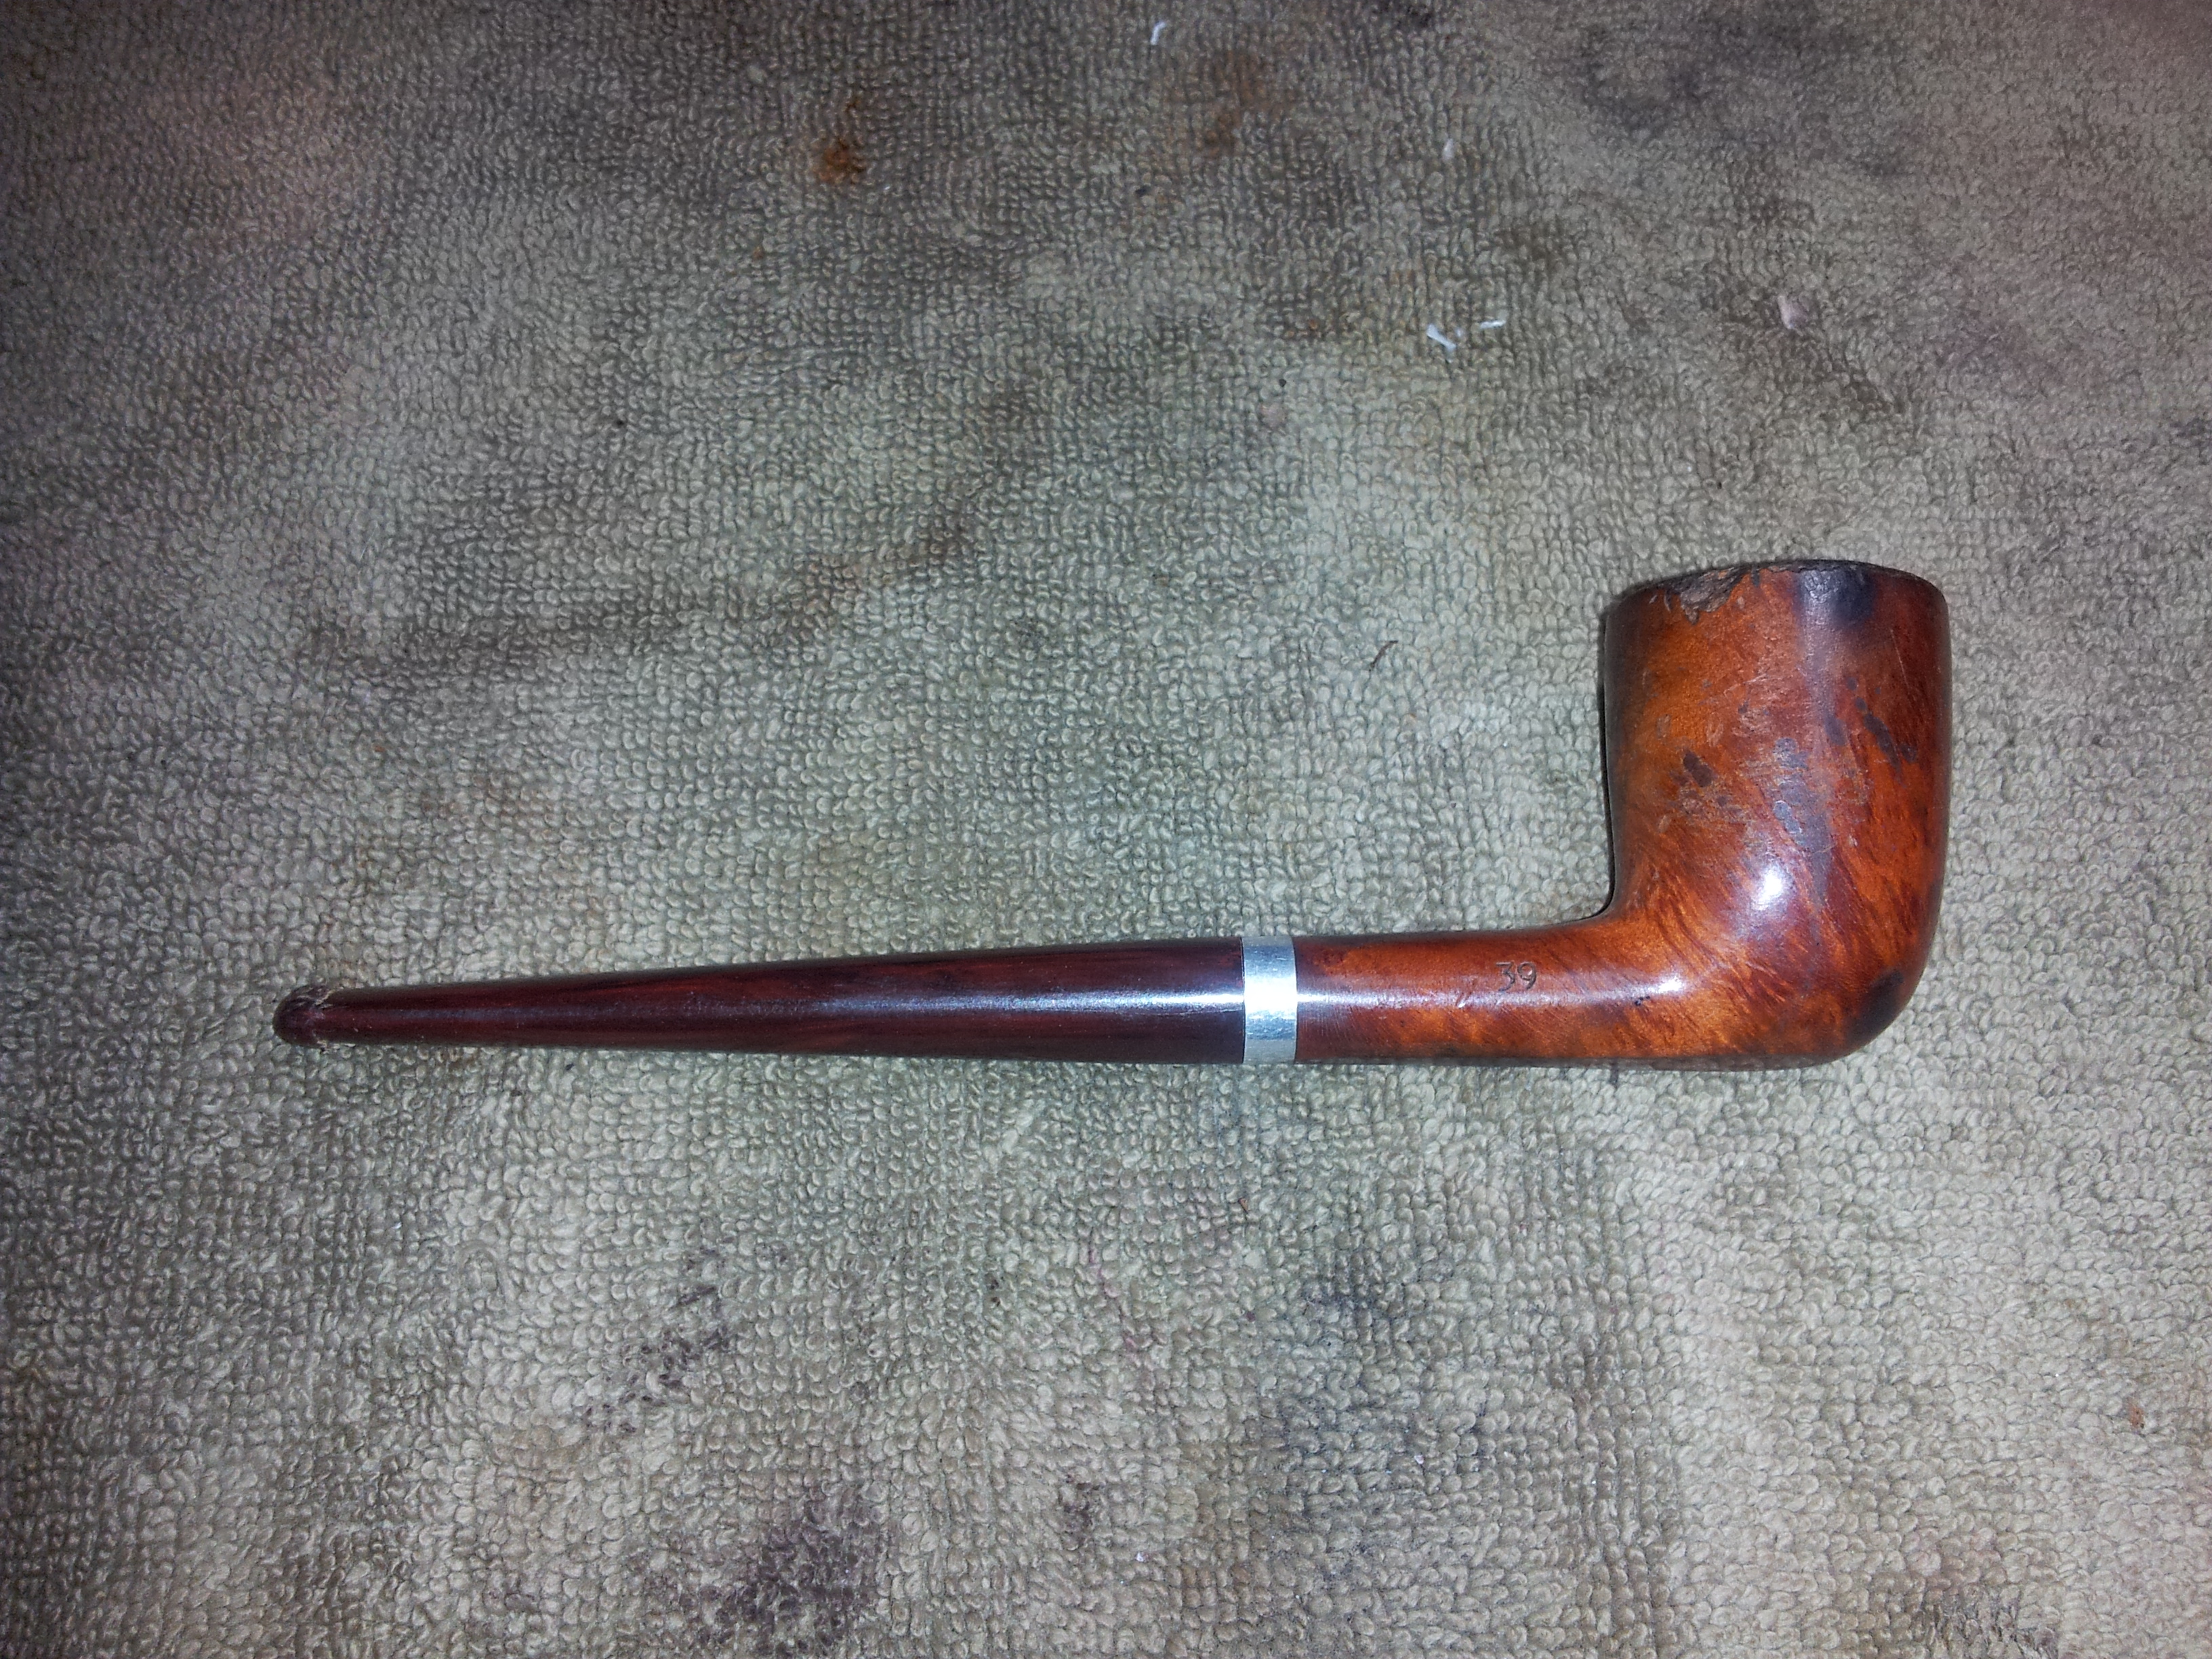
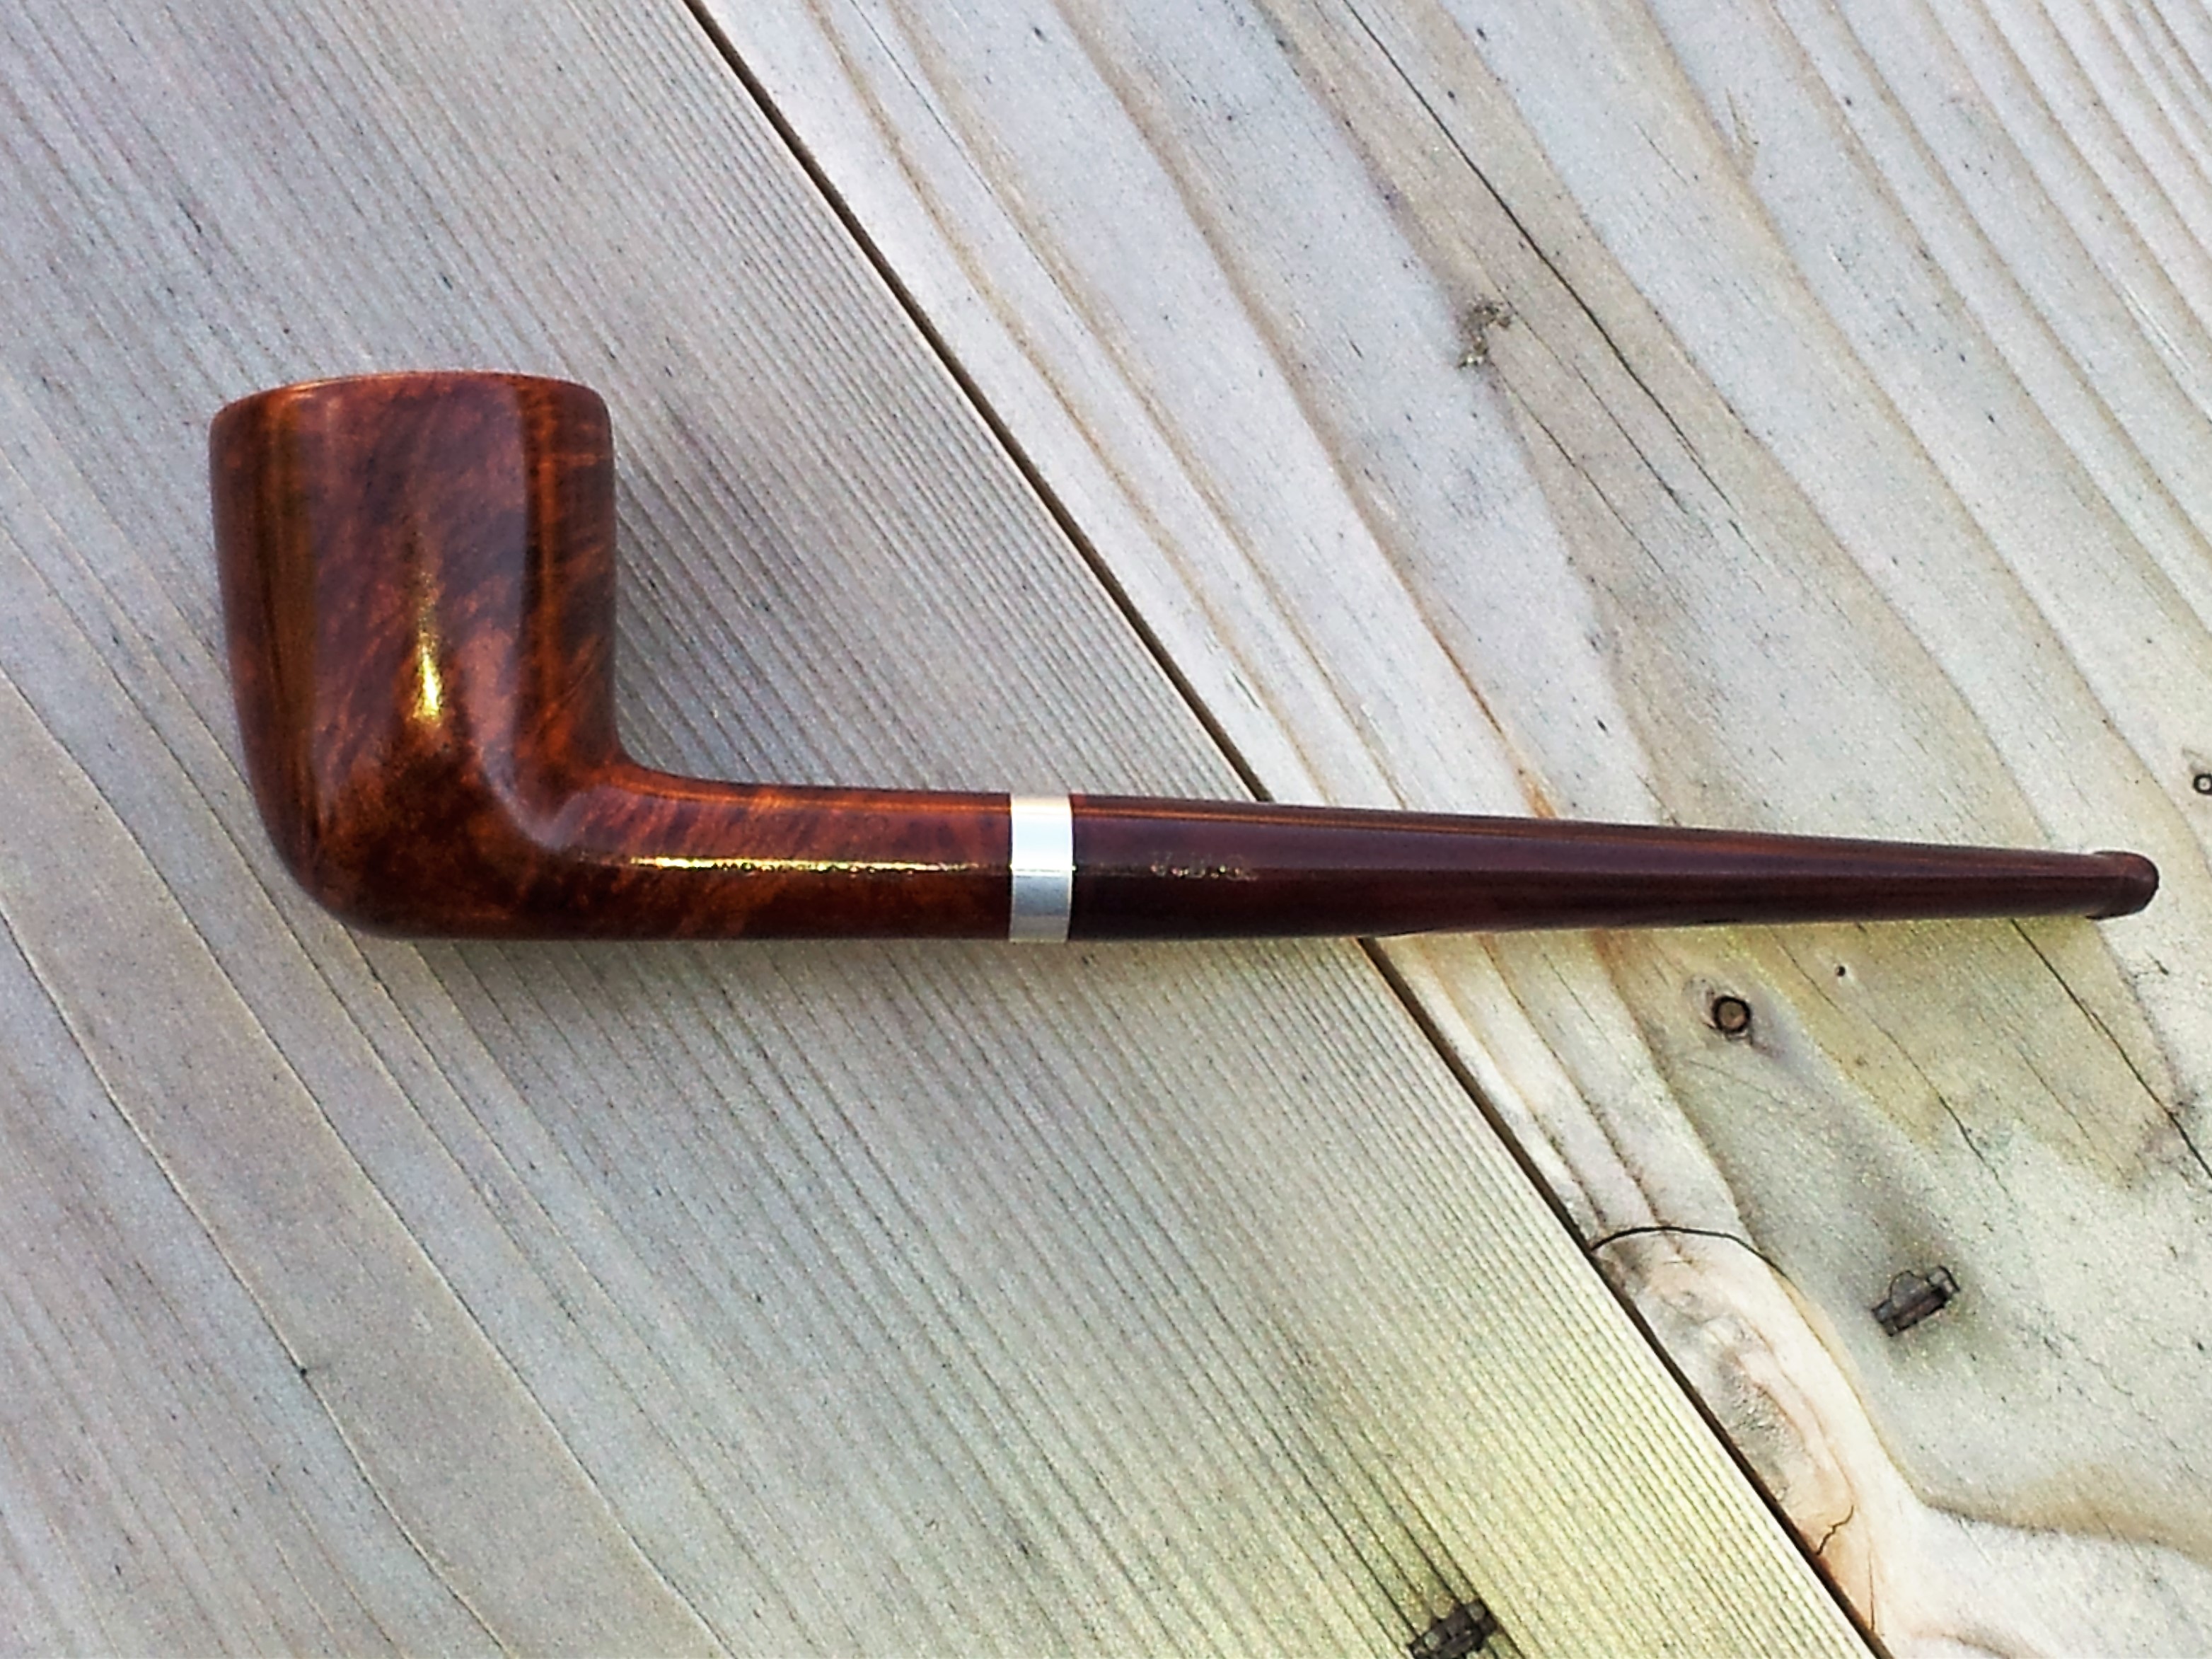
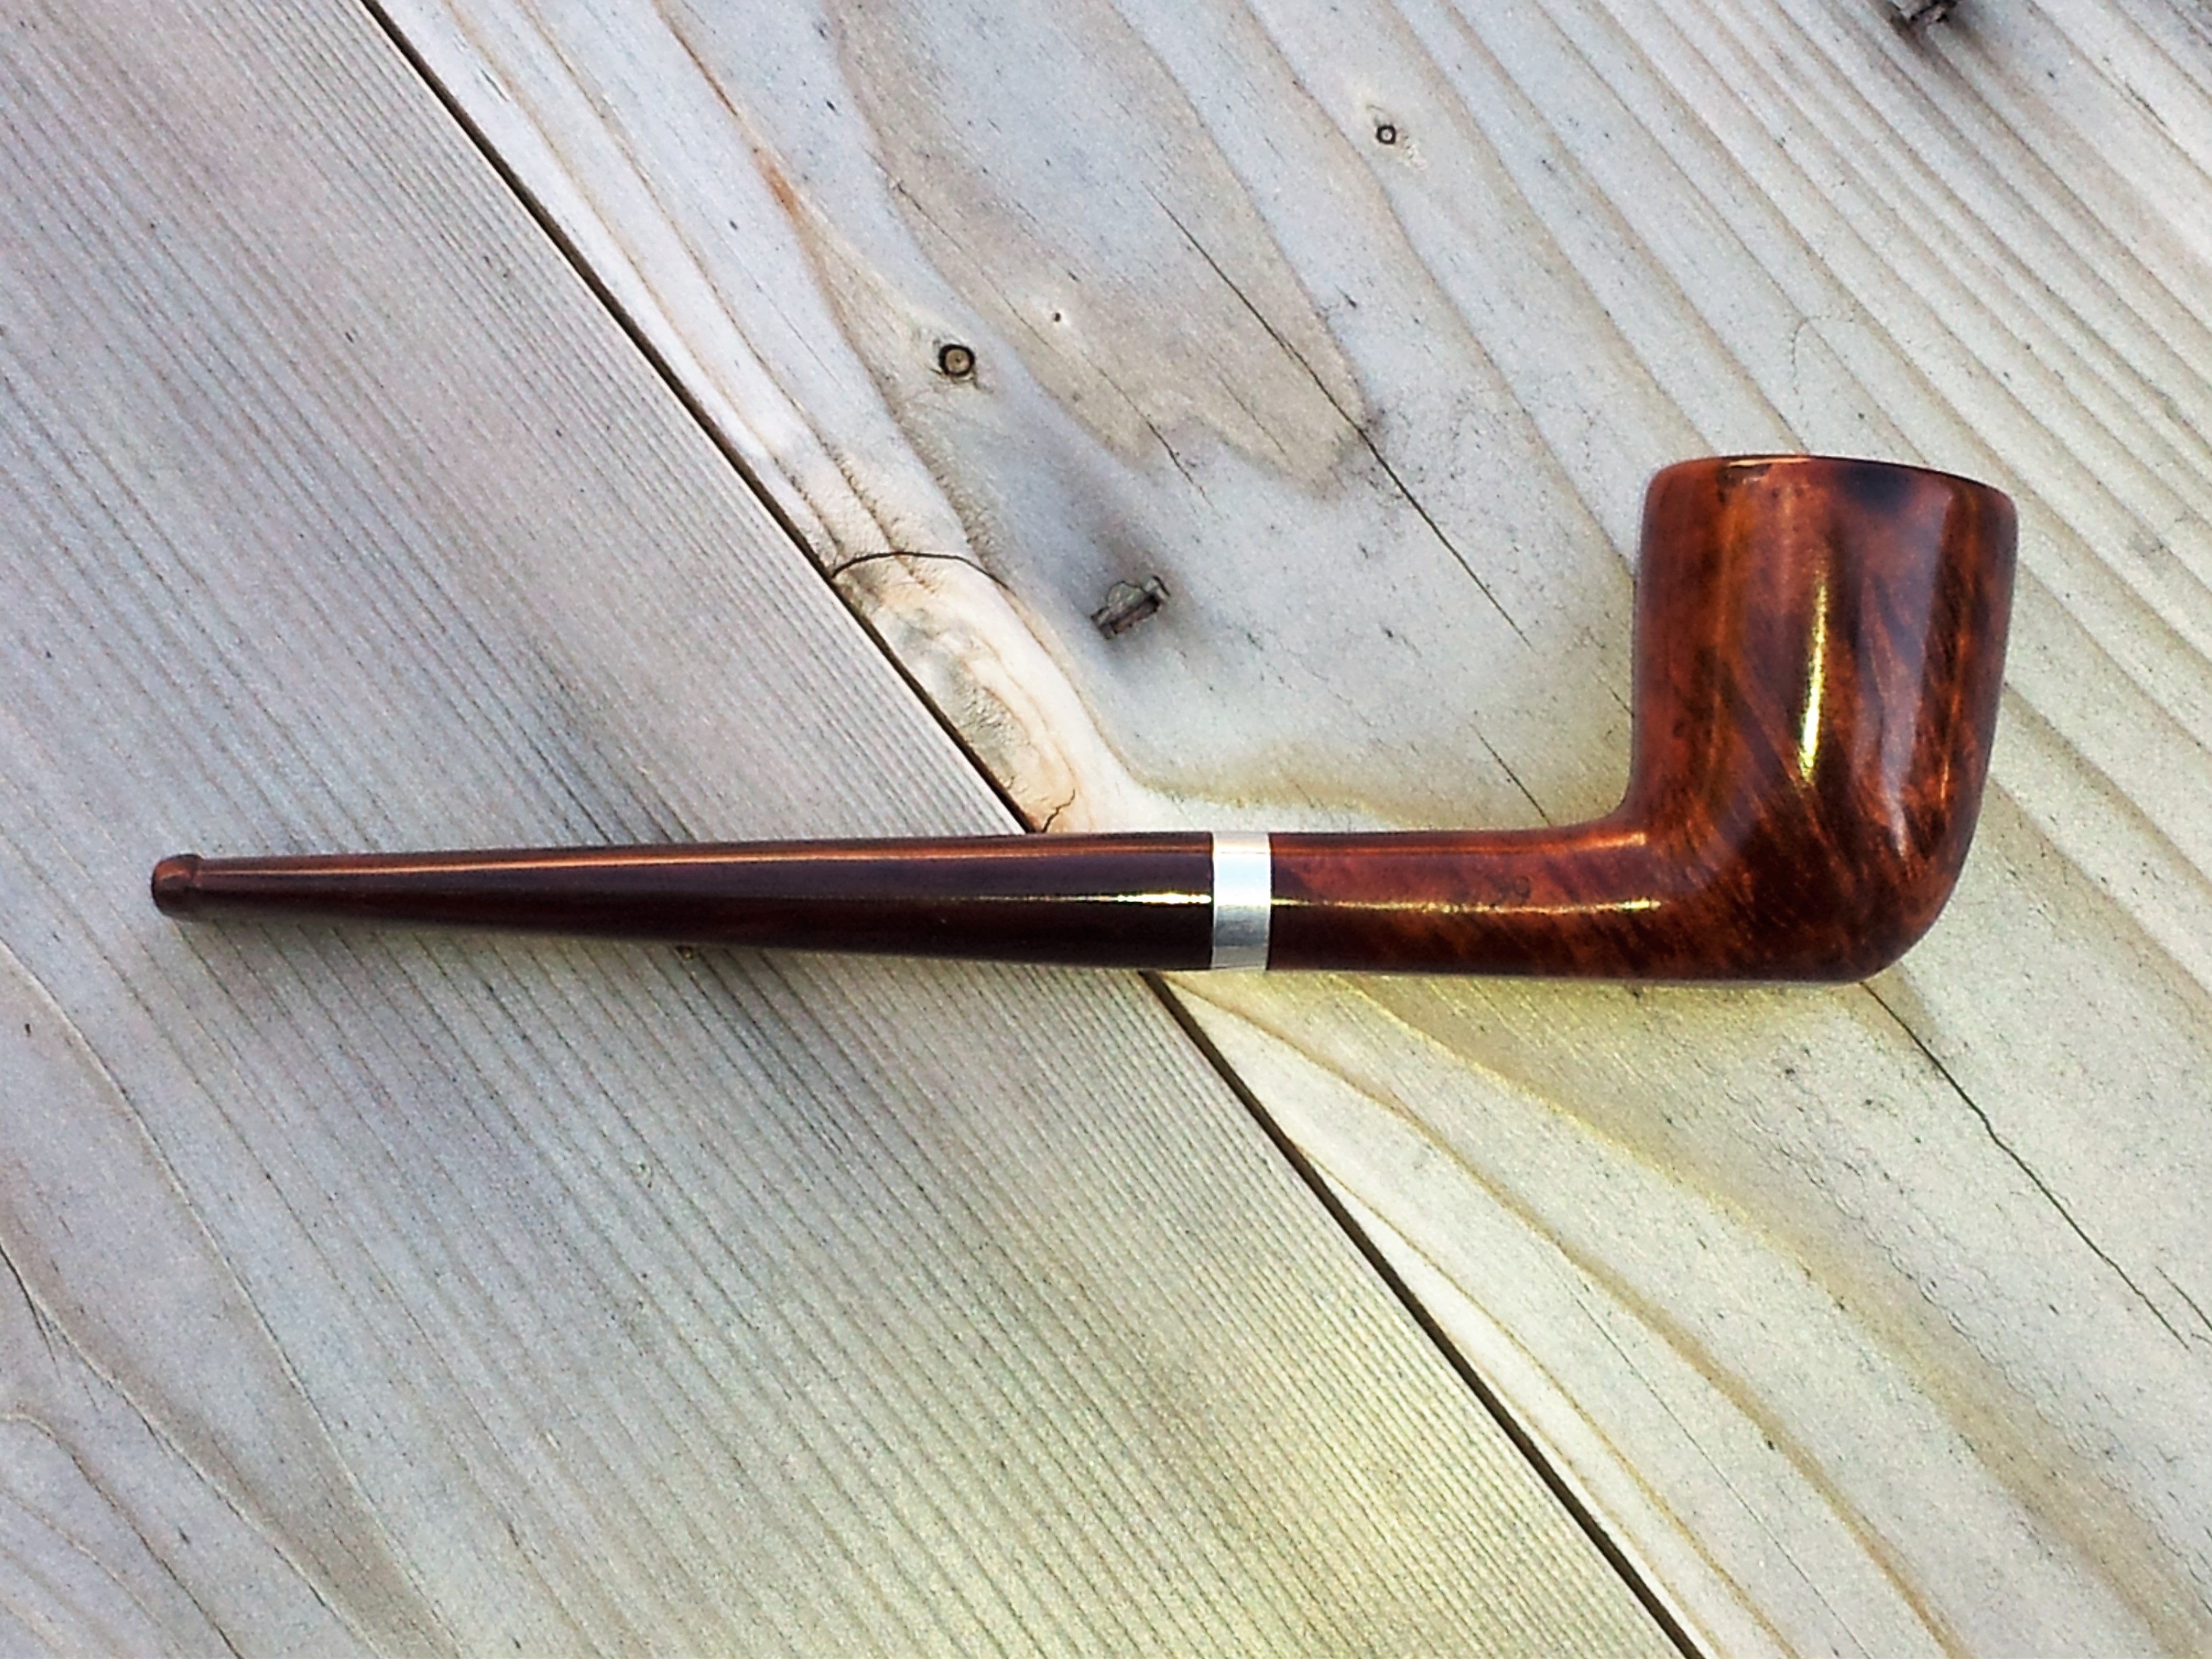
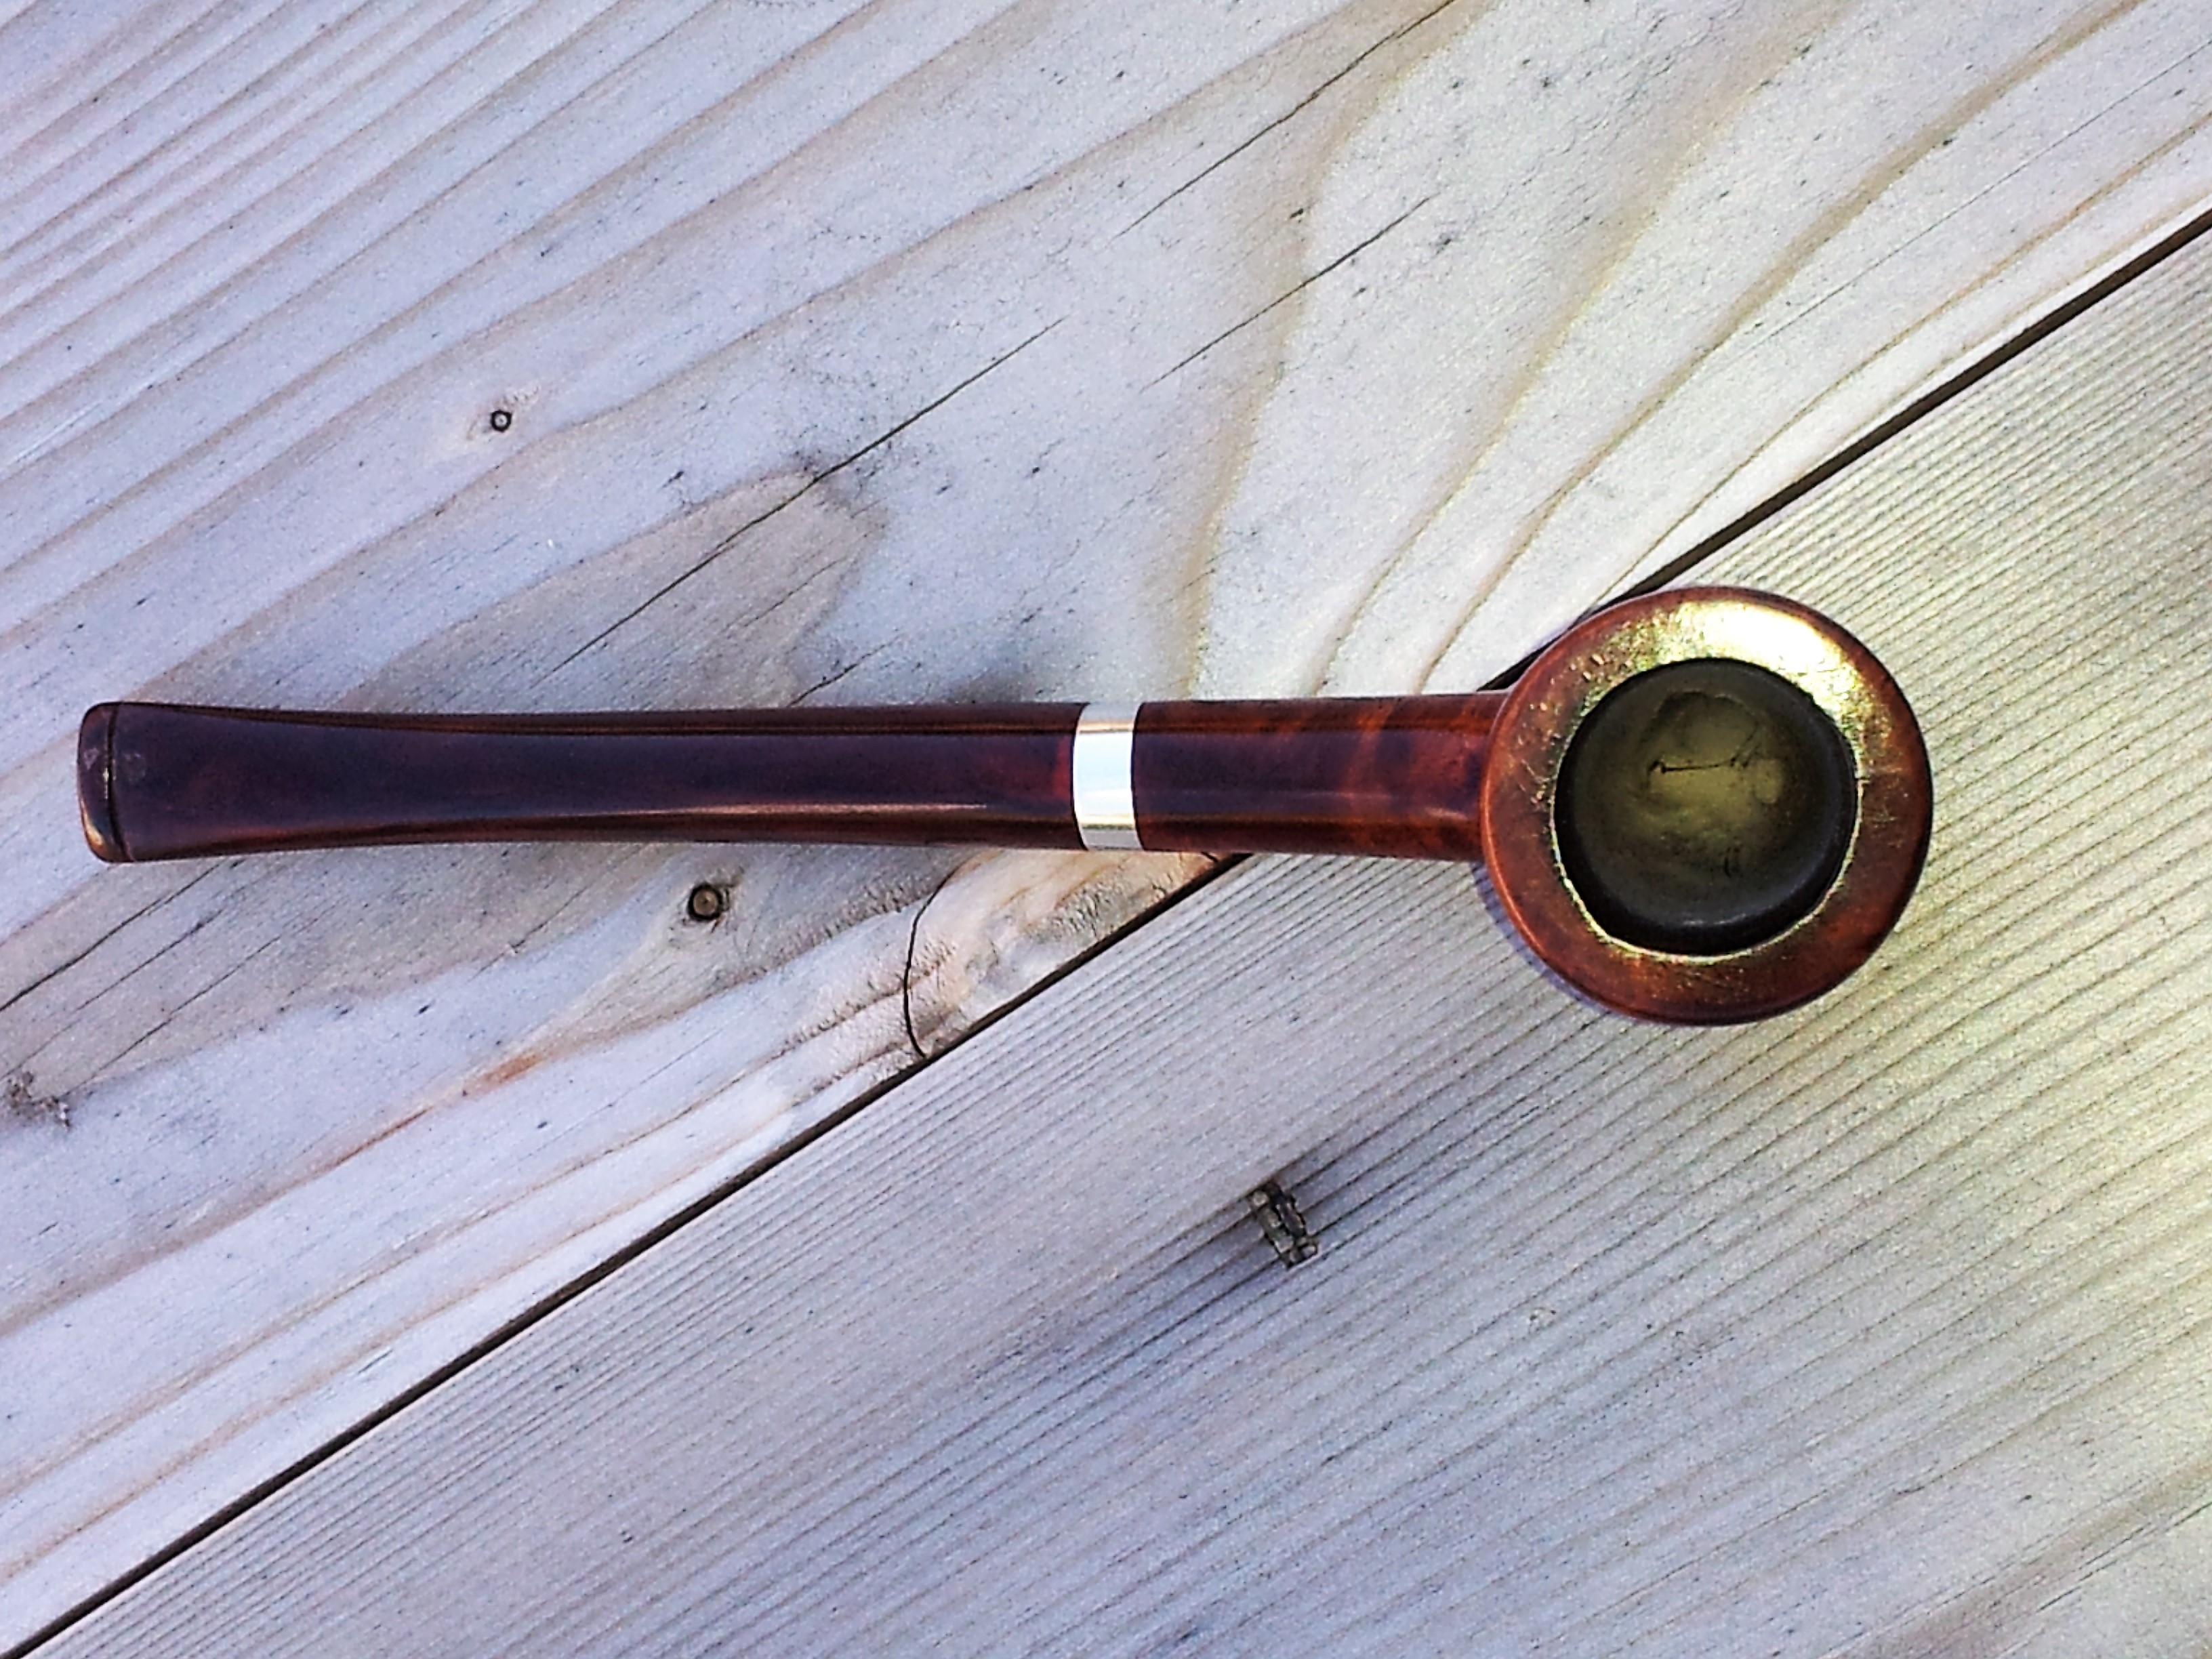
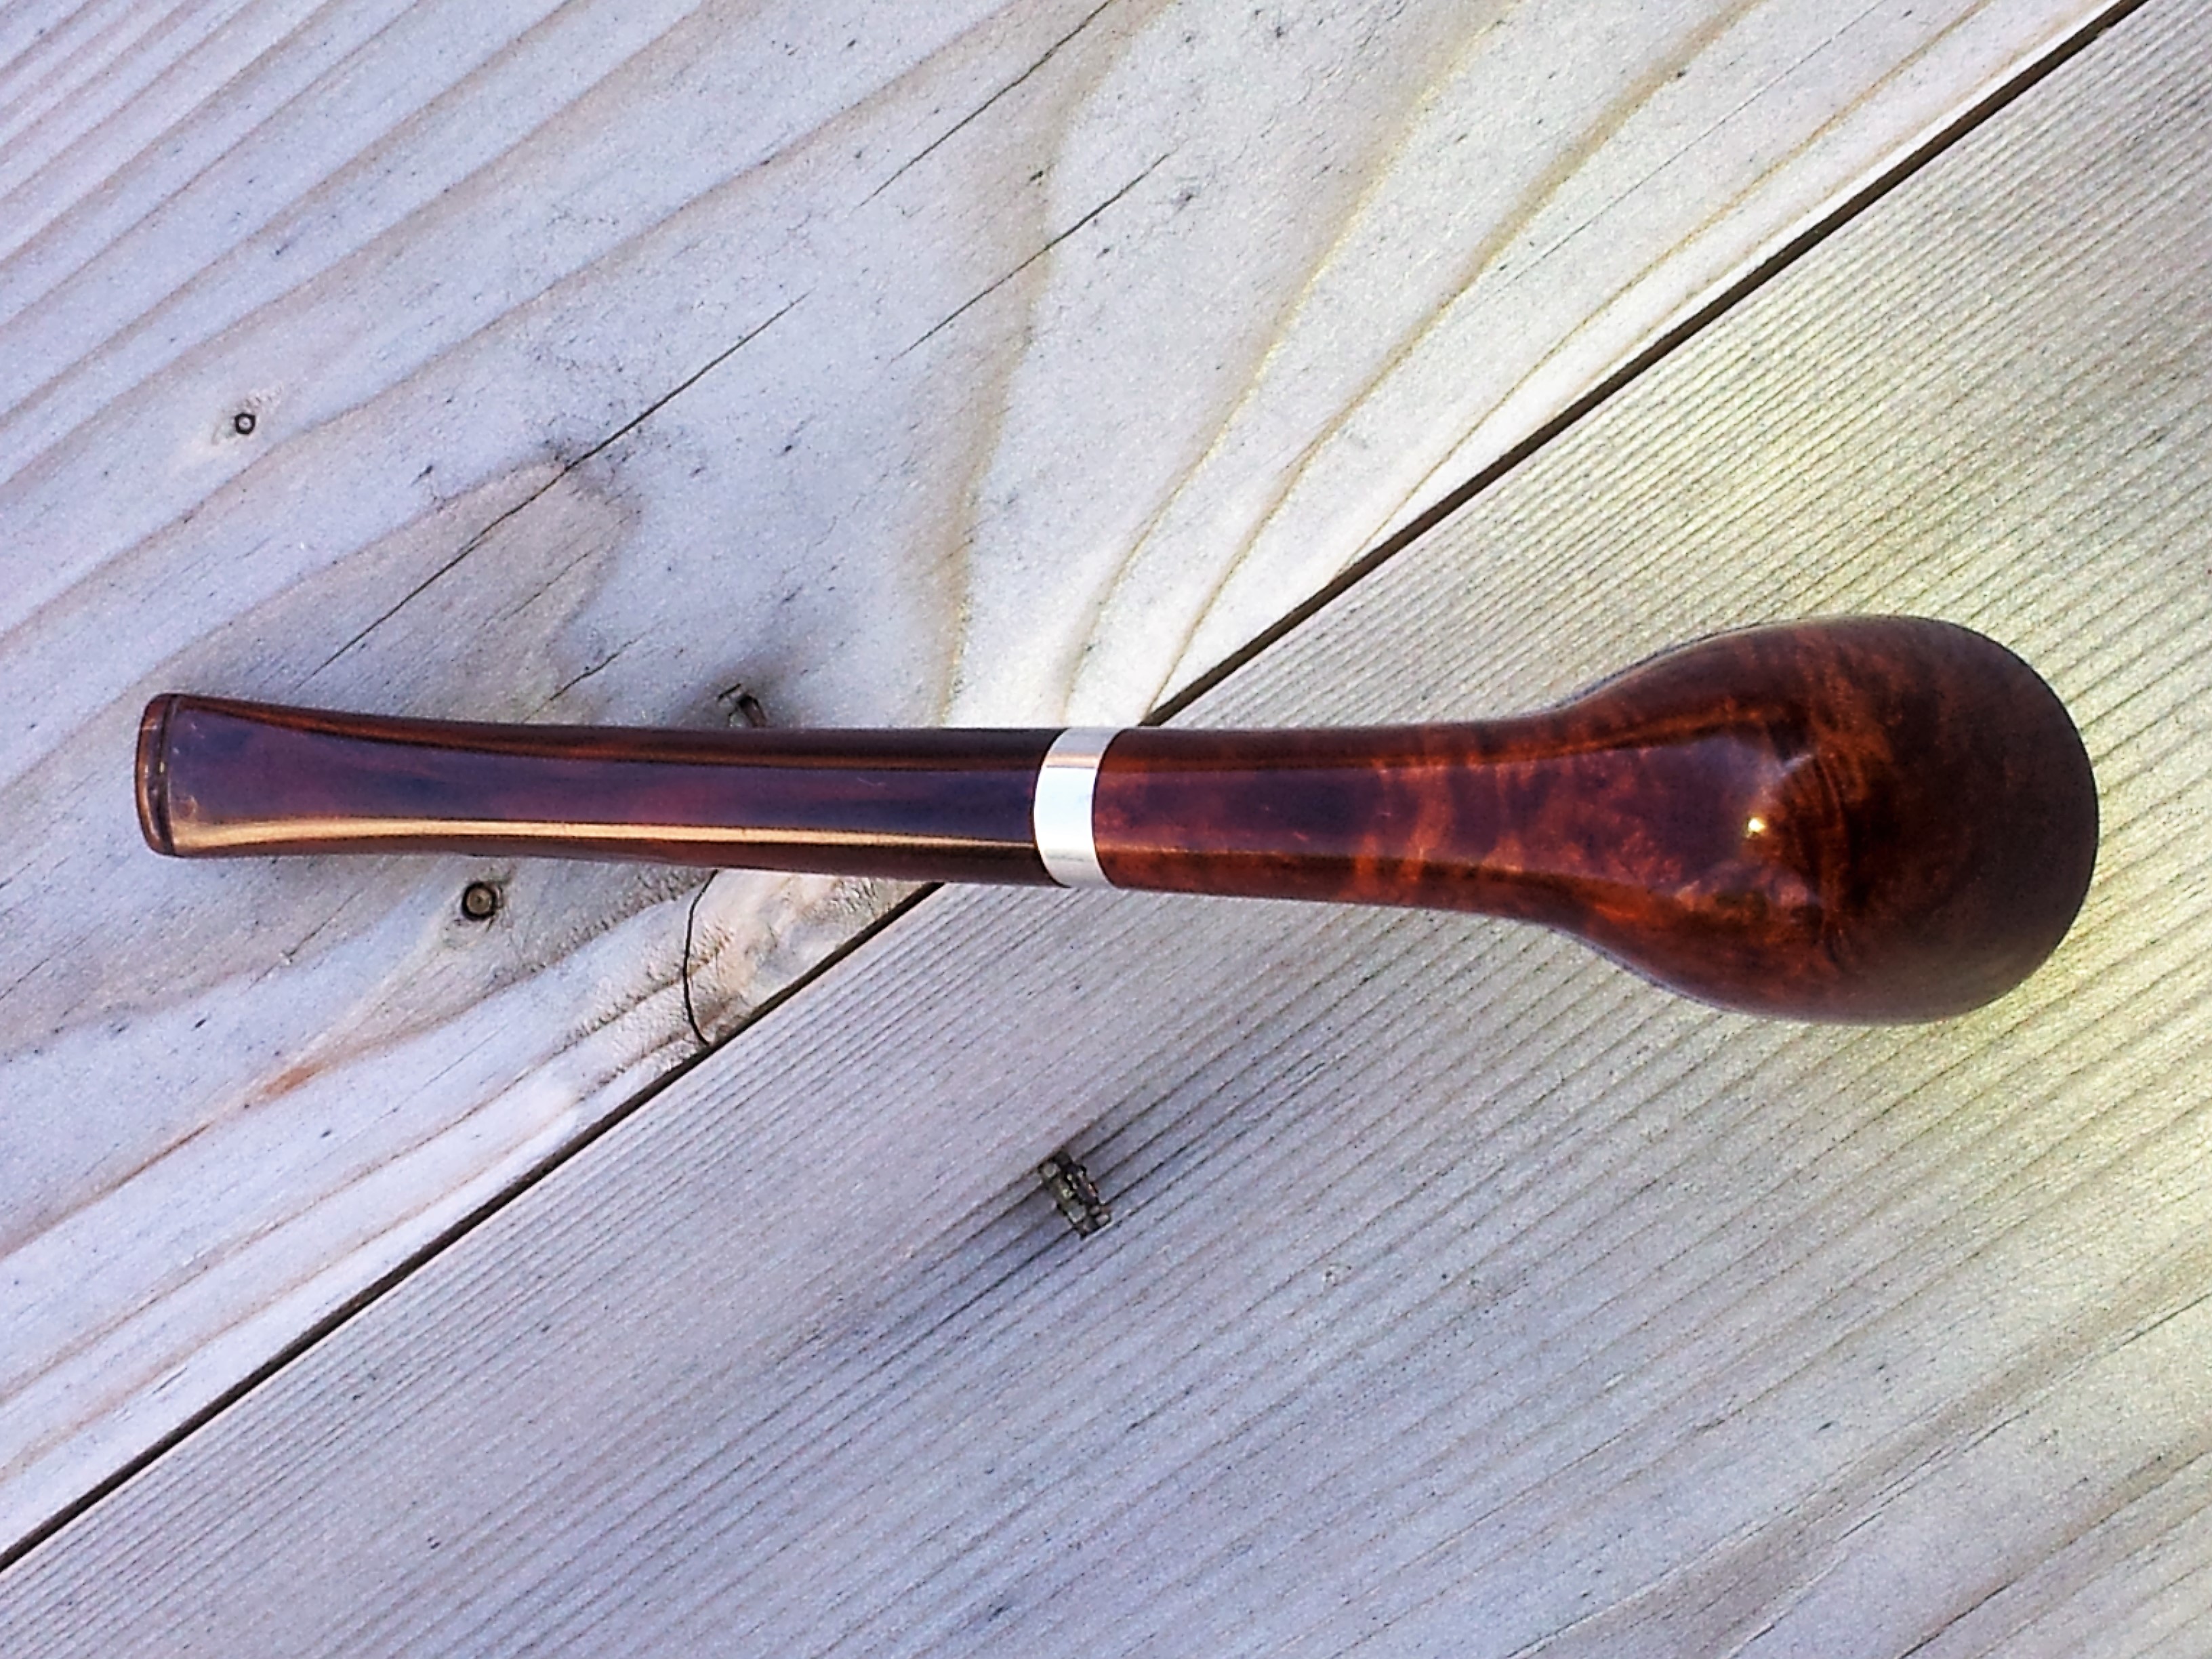
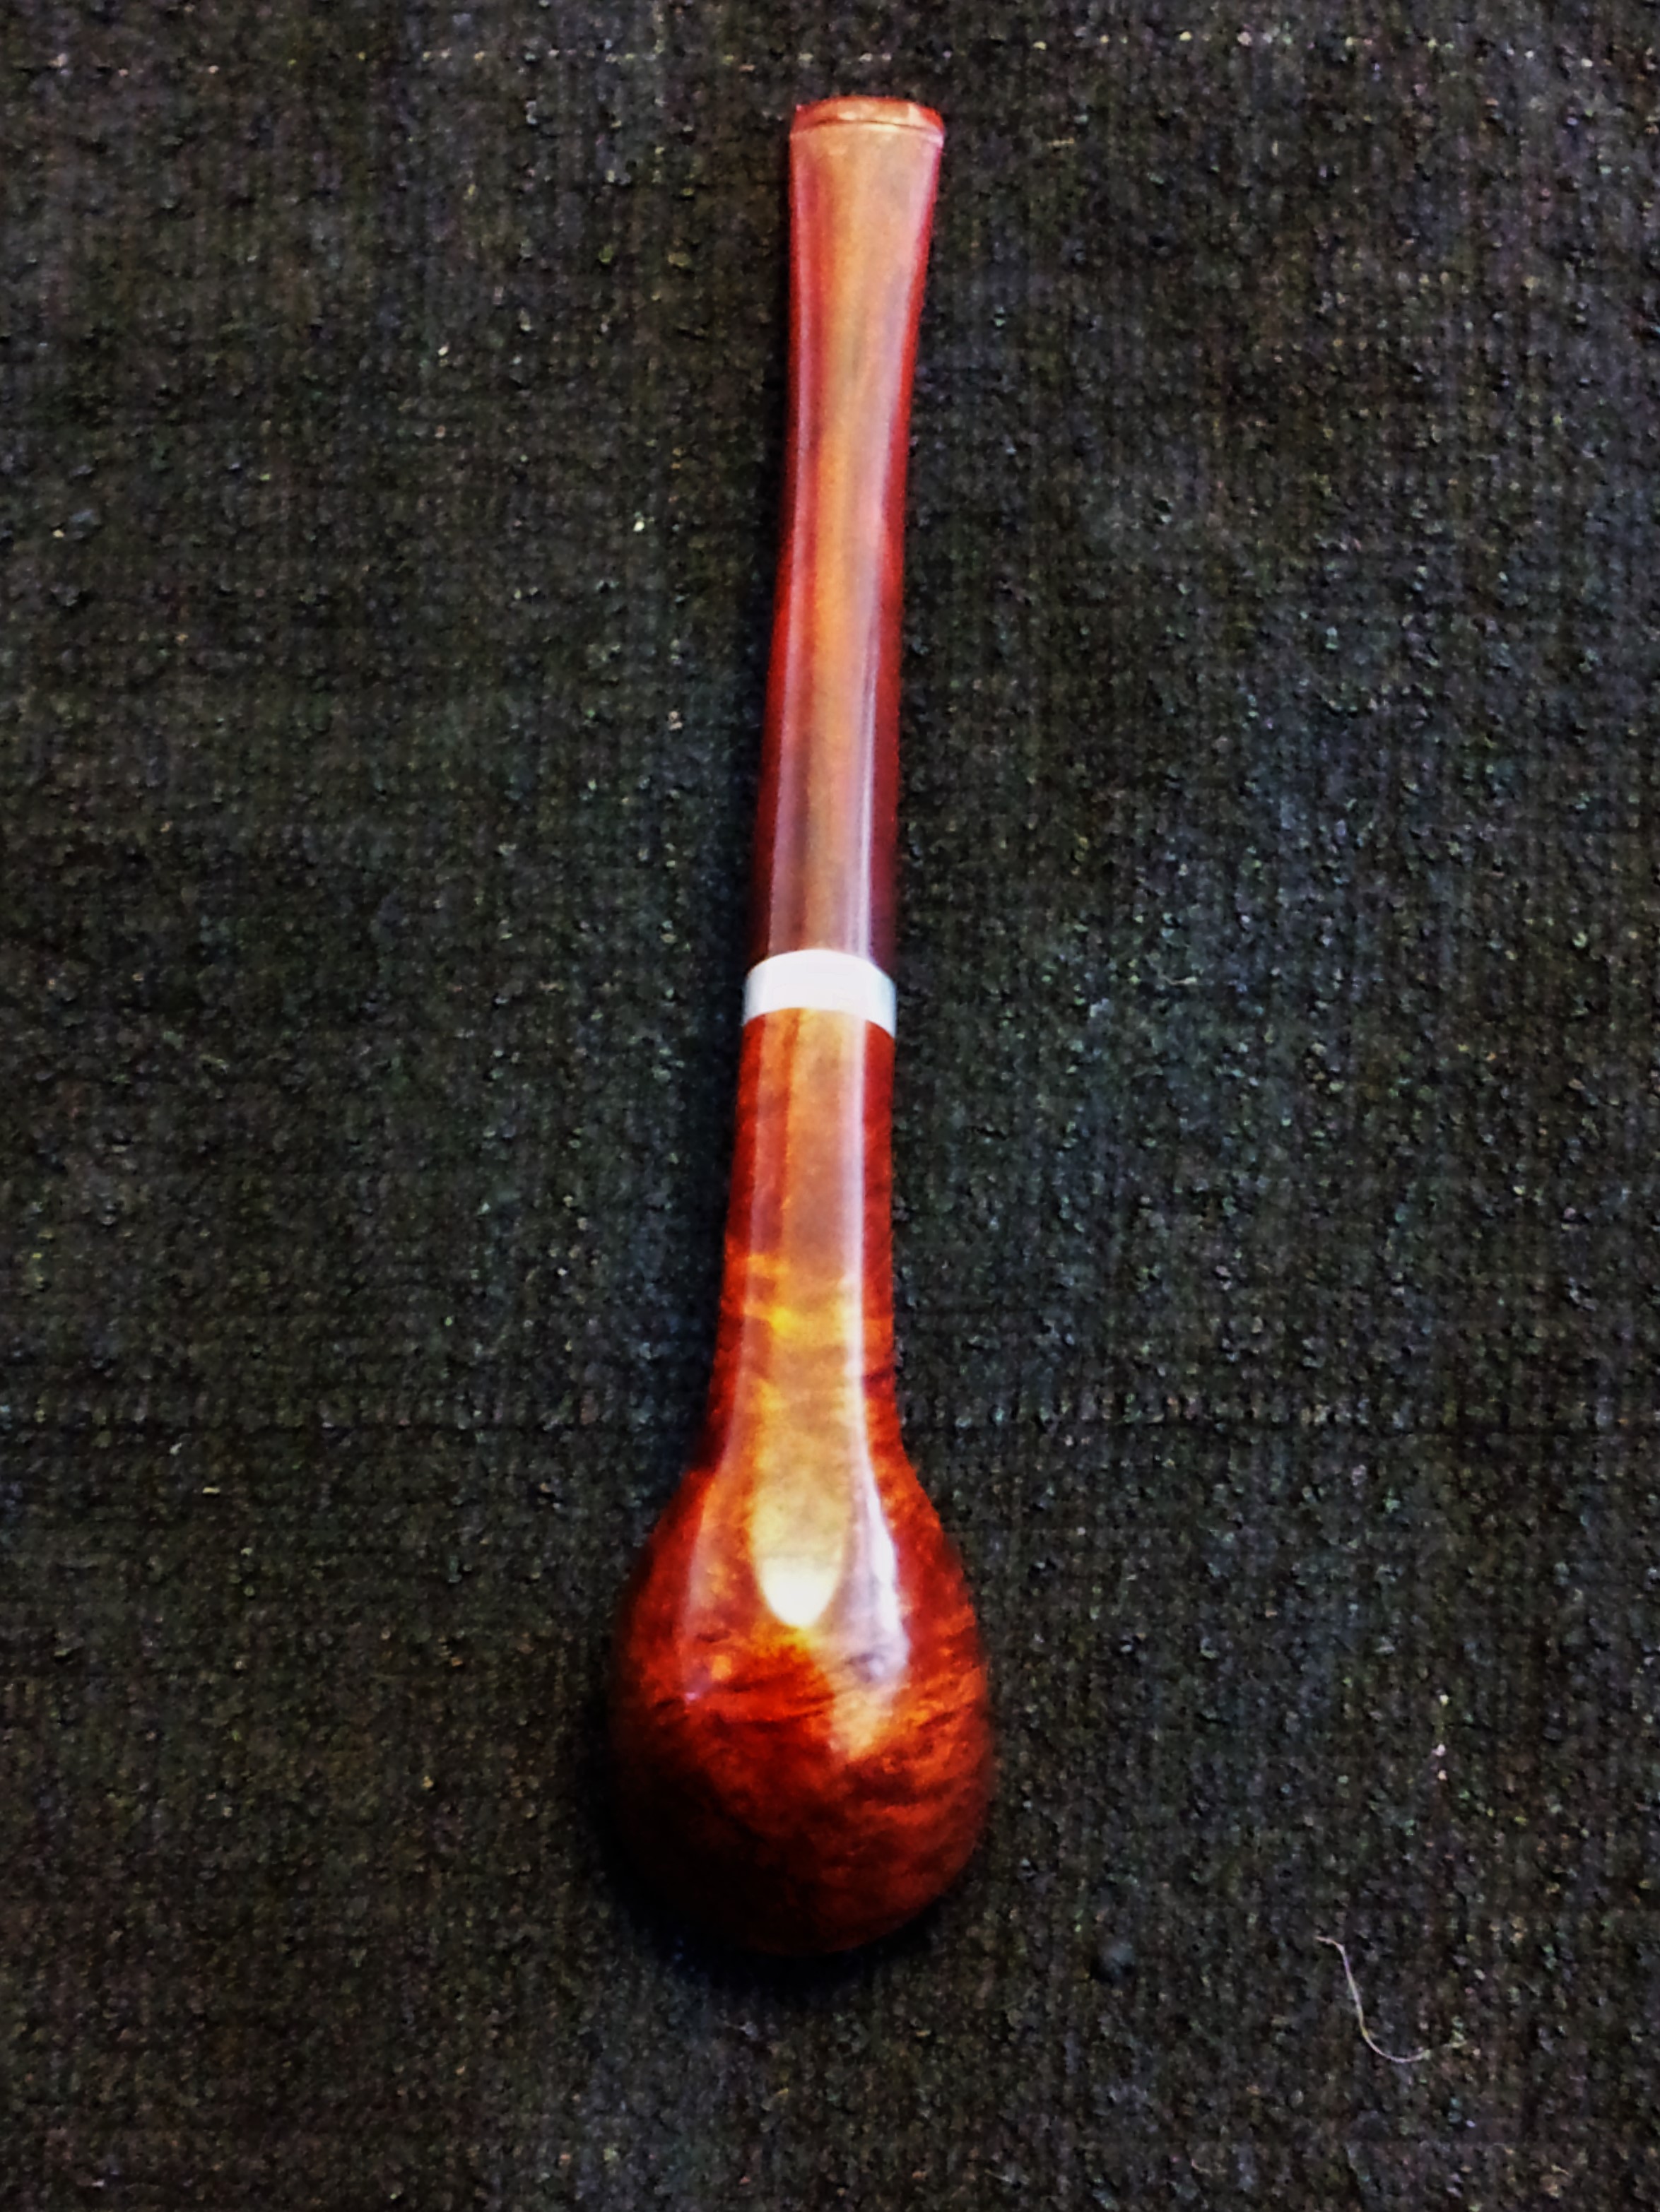
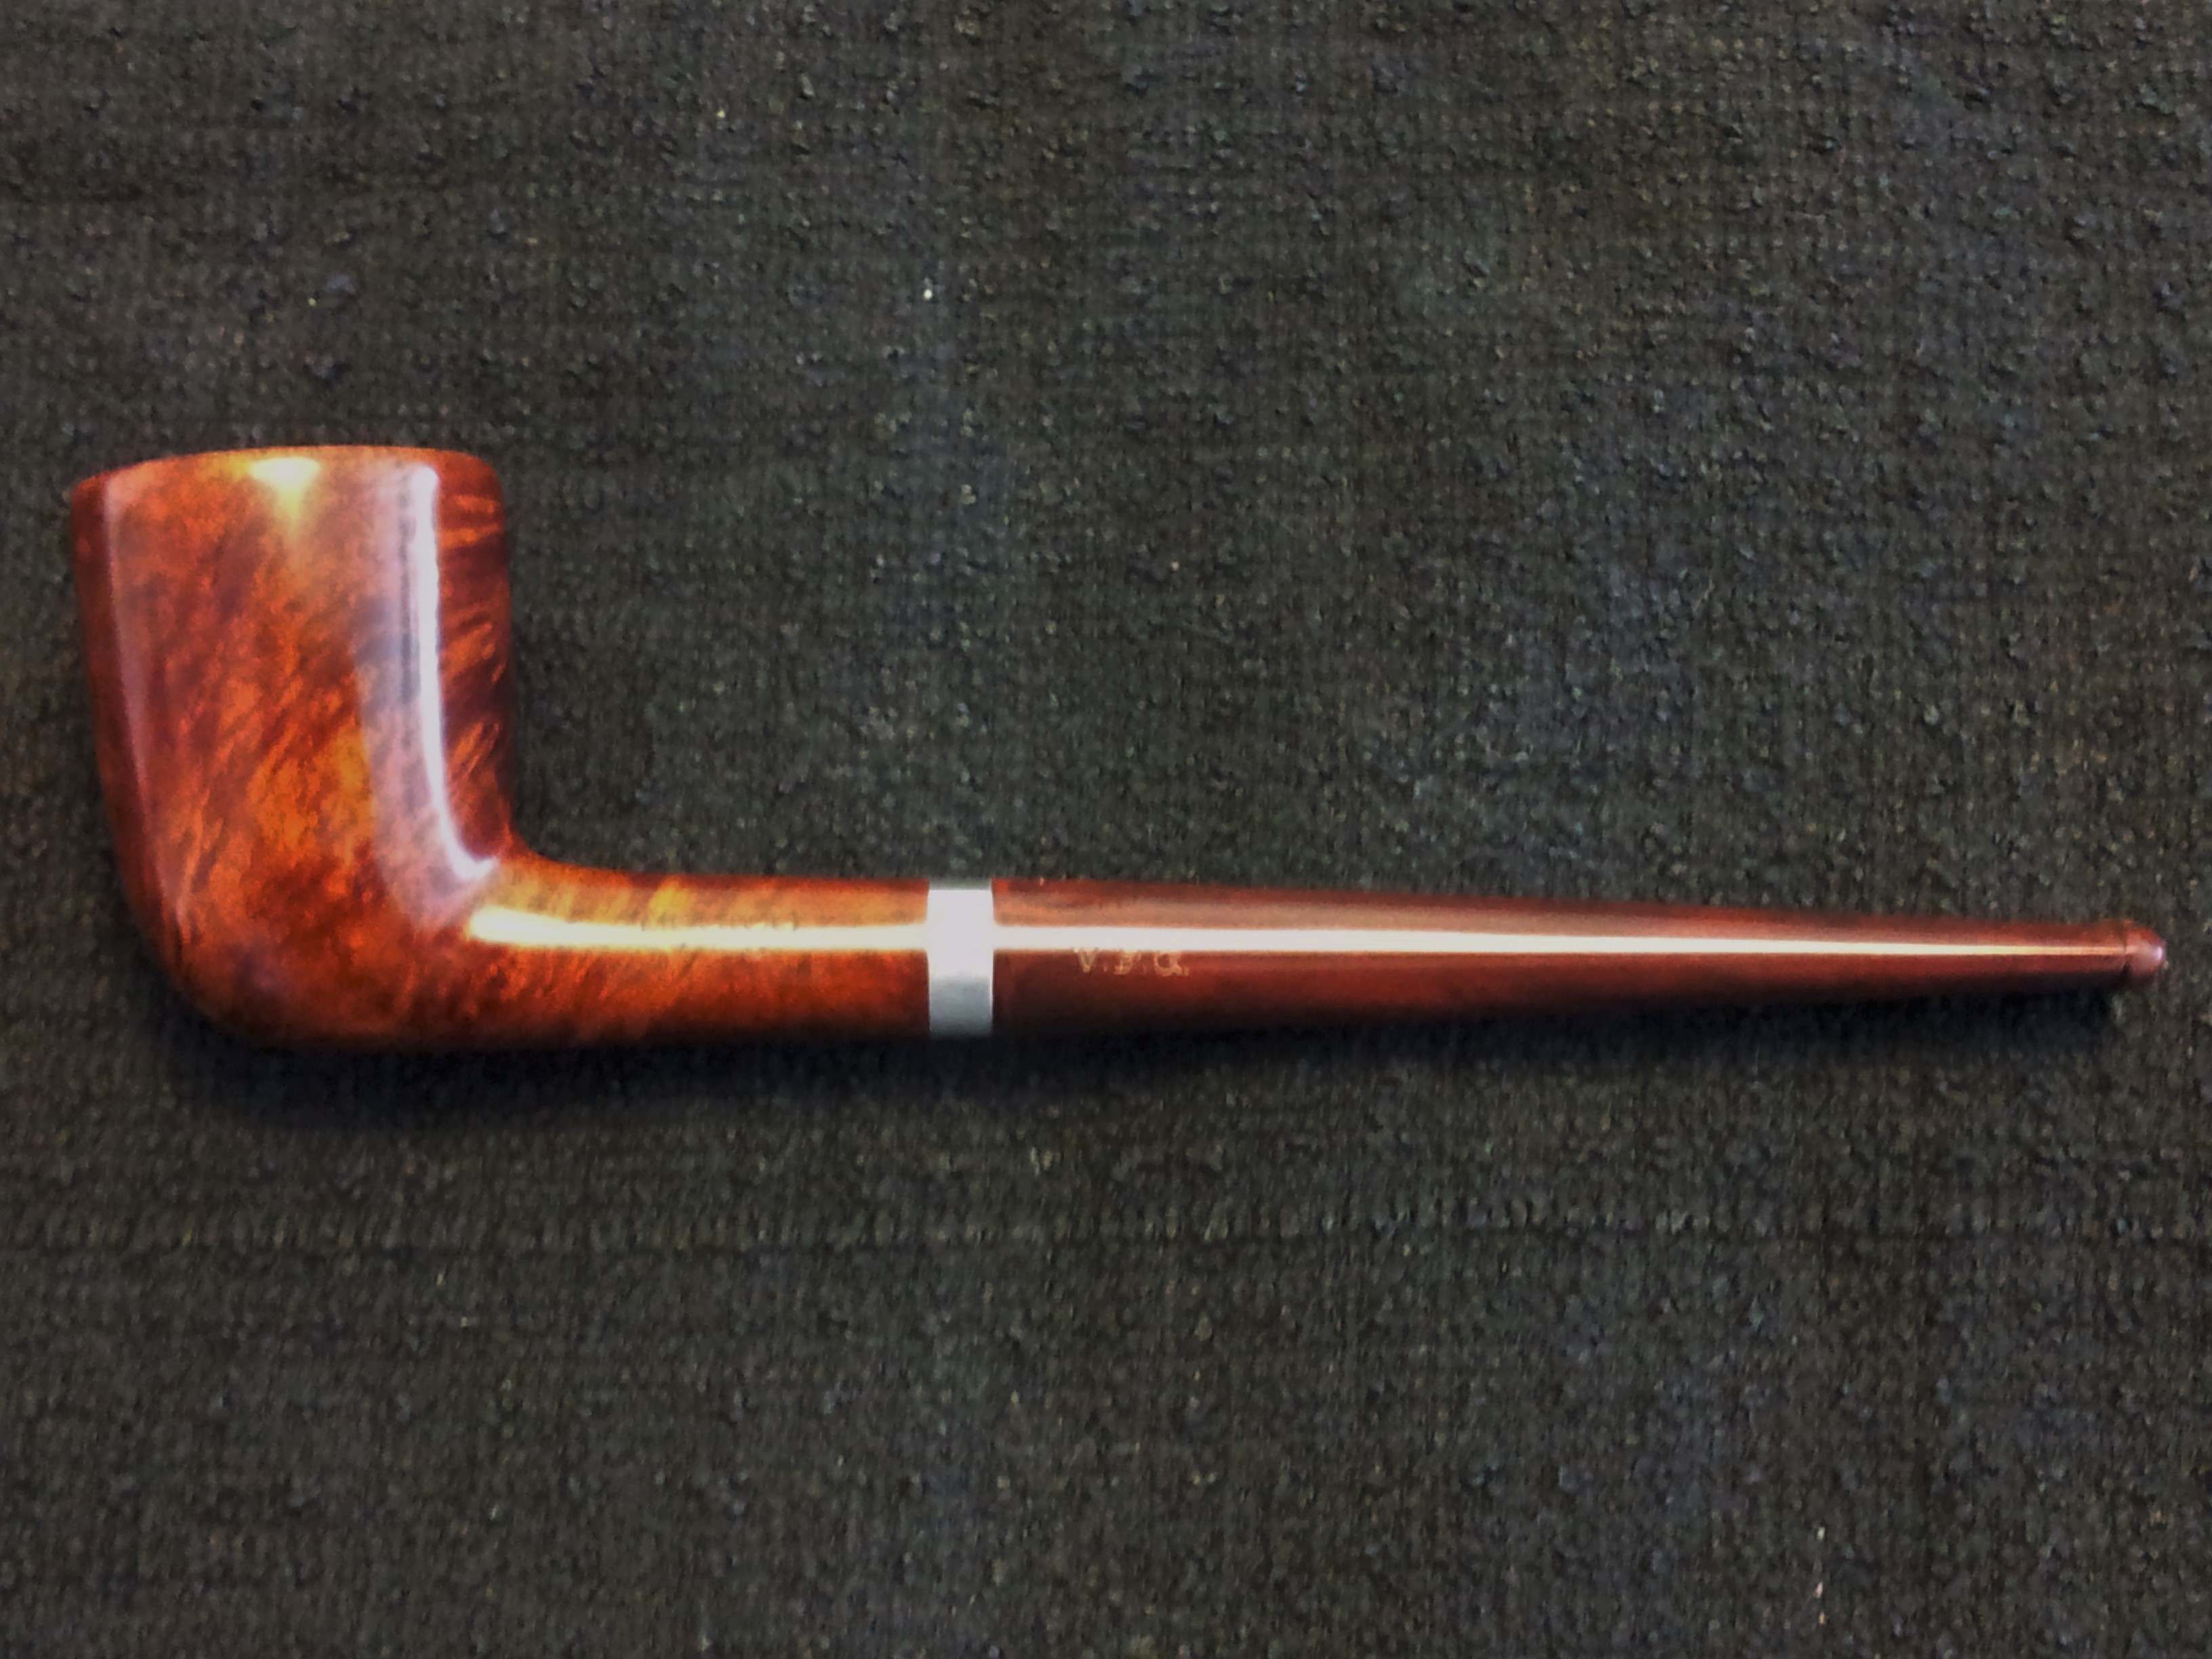
Then the pipes was off to the buffer for a run of Red Tripoli and White Diamond before getting multiple coats of Carnauba wax. The finished pipe is shown below. It’s made a remarkable recovery from such a poor starting condition. It’s ready to be put into rotation by a new, and hopefully more careful, piper.

Very nice save! That was an awfully beat up stummel you started with, showing us once again that almost every pipe can be brought back to life.
LikeLiked by 1 person
Thanks Al. This VFQ will never be “as new” again, but it’s definitely looking better. 🙂
LikeLike
Wow! Nice work all around. “Button to bowl” I love it. I might even steal that phrase. LOL Very nice work on the rim. You fixed and blended that in very well.
LikeLiked by 1 person
Thanks. I’m hoping that the modern piper has learned that a pipe is NOT a hammer, unlike our predecessors in the 1950s & 60s. Judging by the number of rims I find in this condition, it was de rigueur back then to bash the dottle out of your favourite pipe!
LikeLike
Nice save. I have a VFQ that is almost the twin to yours, and it was in similar condition when I got it. There’s a write up on RebornPipes.com about it if you’re inclined to see it.
LikeLiked by 1 person
I have indeed seen your VFQ write up, Greg. It was very helpful when I started this one!
LikeLiked by 1 person
Looks really good Charles. That was a major improvement
LikeLike
Thanks Steve. I love how the stummel came out after staining. That nylon stem was a bear, though! The soft material feels great in the teeth but it dents very easily.
LikeLike
Thanks Charles! I took notes! I have a VFQ billiard that I am just getting ready to start and it too has seen a hard life. After seeing what you achieved I now have hope that it will be worth the effort. Either outcome, it will be a good test of my skills. If successful, I will send a write up into Steve for his consideration.
LikeLiked by 1 person
Sounds great Aaron. Looking forward to seeing your results!
LikeLike