
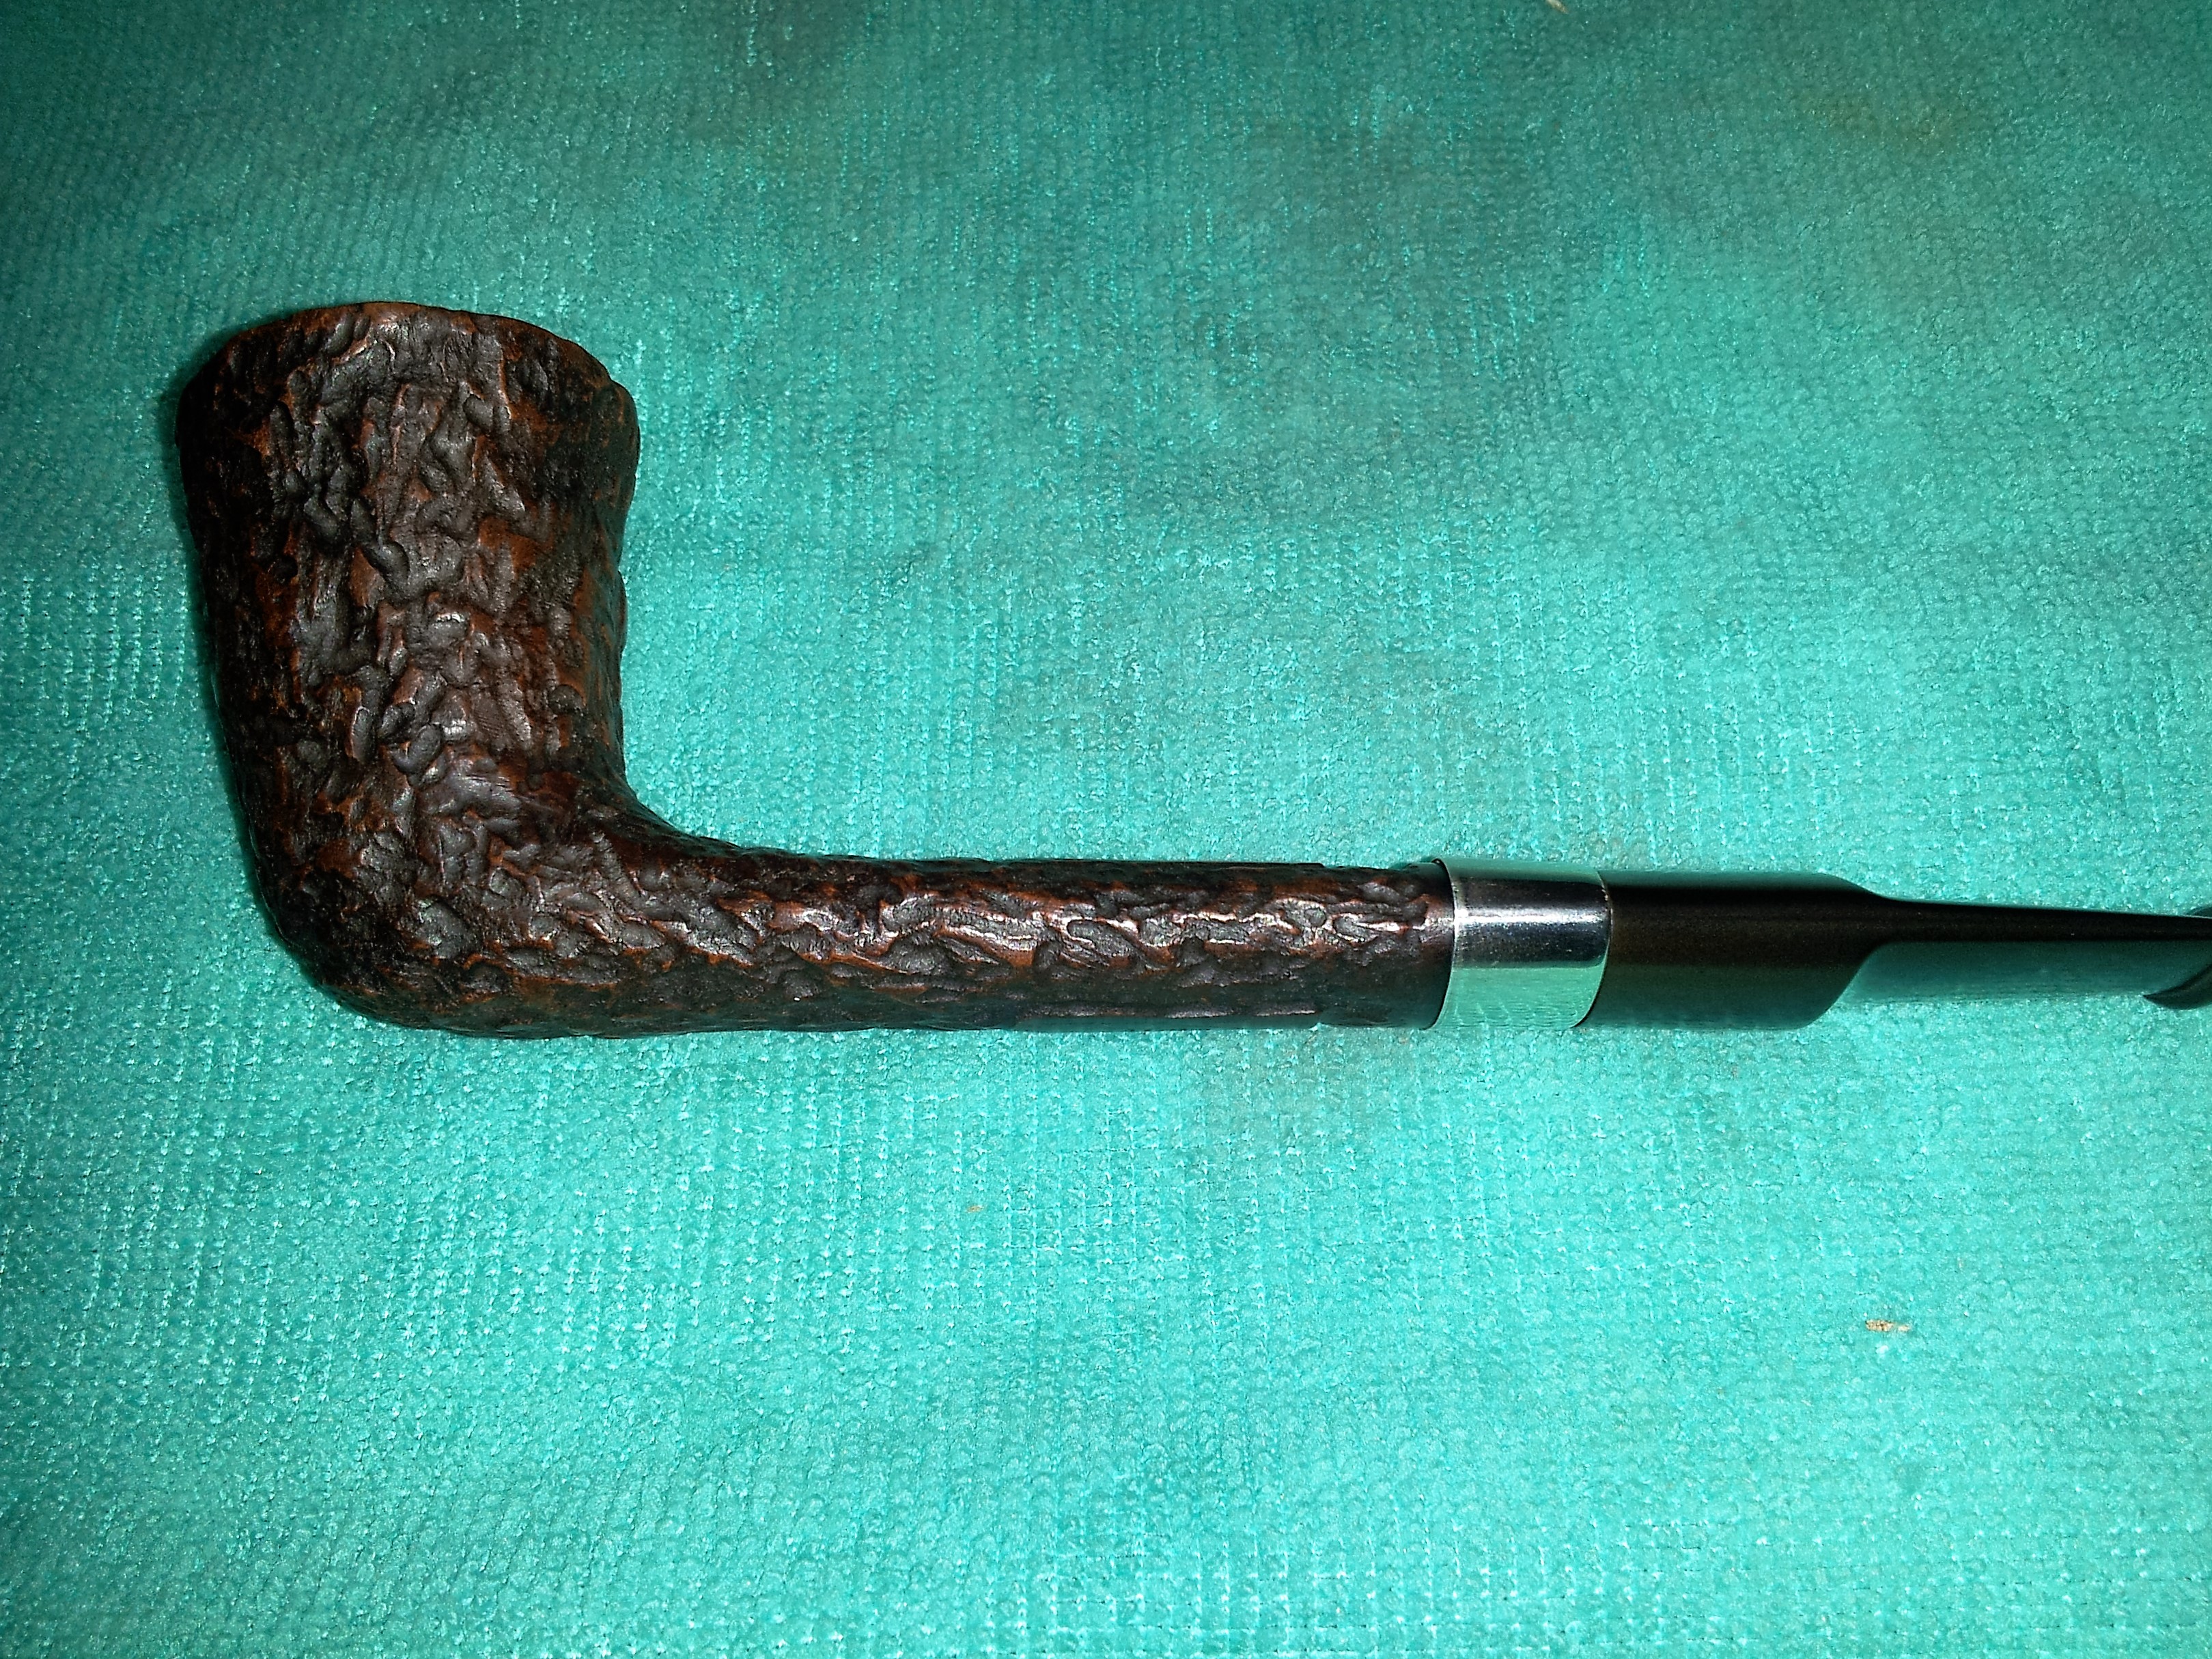
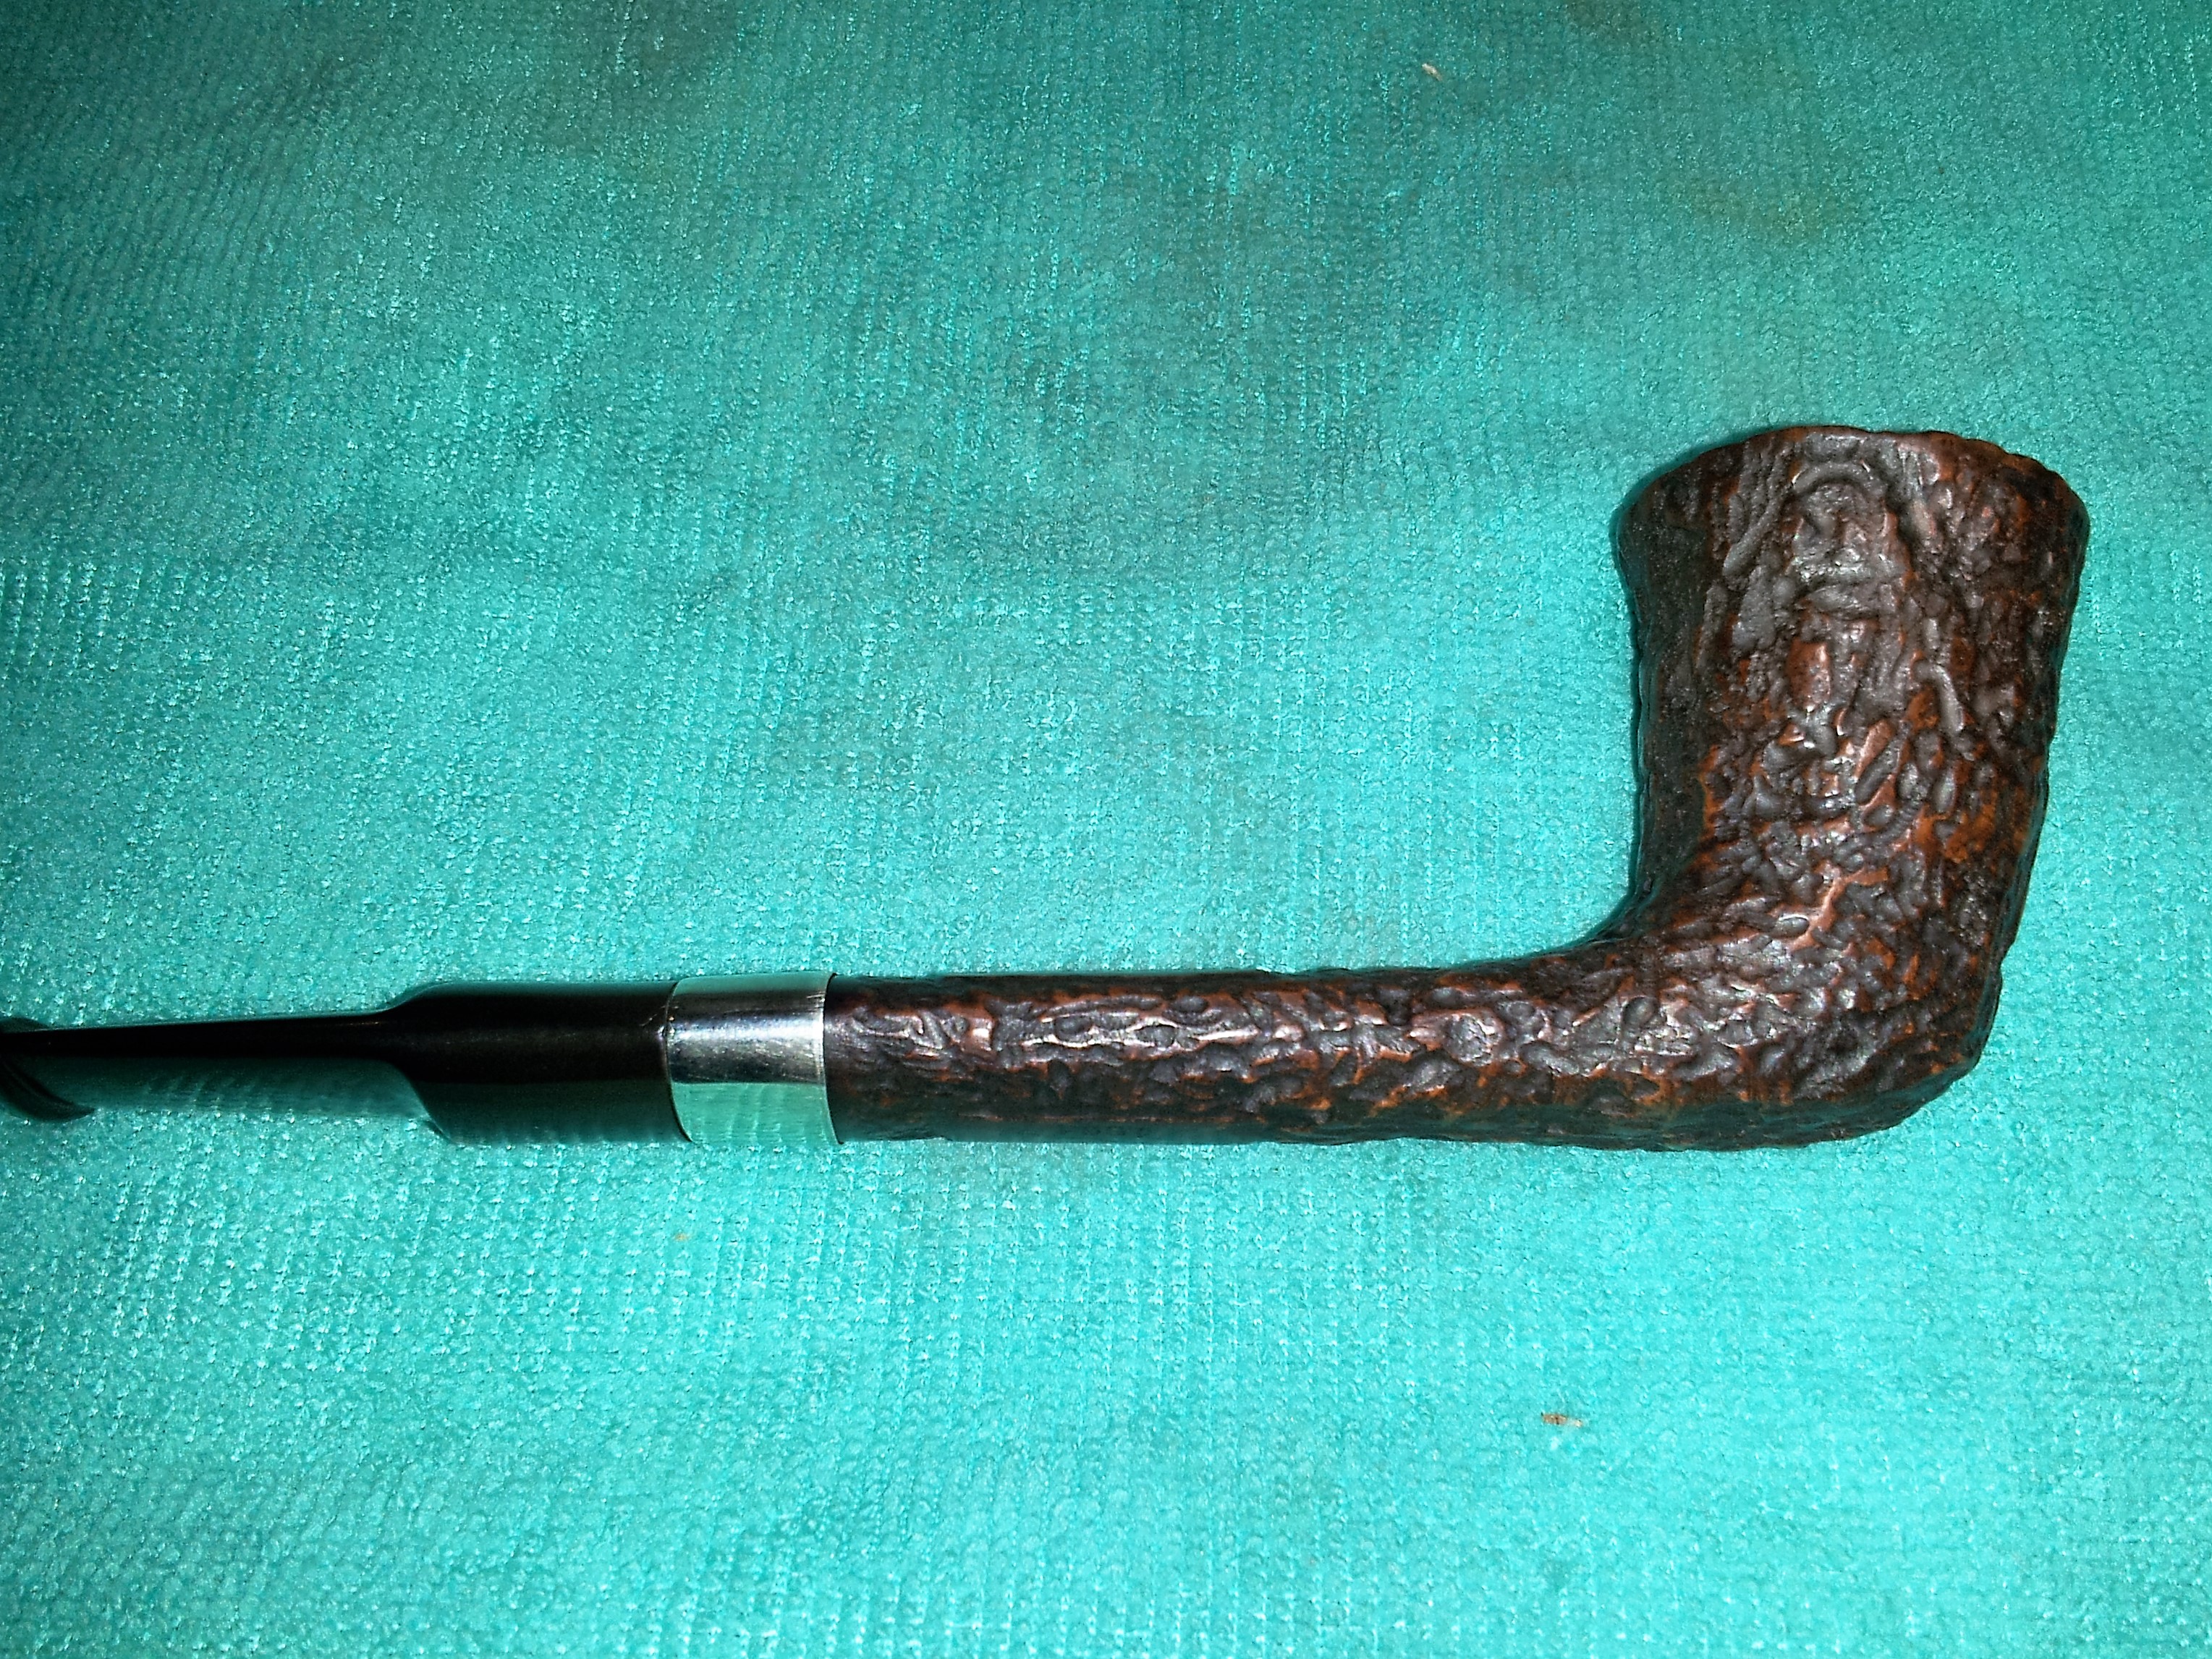
This is a story about potential and a bit of risk-taking to fulfil it. When I pulled this pipe from the refurb box, I immediately felt that it wasn’t quite living up to its potential, not necessarily as a functional pipe, but rather as an “objet d’art”. Pipes, in my mind, fall into that rare category of things that serve a simple function but can also be beautiful works of art in their own right. This large Butz-Choquin sitter was several points off course in that respect. It’s shape seemed heavy and ponderous, and to top it off, it had been “customized” by a previous owner who carved a linear design around the bowl, and signed it with a large “SK” on the bottom. He was presumably proud of his handiwork, but it did not ring any aesthetic or artistic bells for me.
Apart from the custom carvings, the pipe was stamped “Butz-Choquin” in script over “Galion” in block type on top of the very wide (almost an inch) shank, while the underside was marked “St Claude, France”, faintly, over a well-struck “1661”.
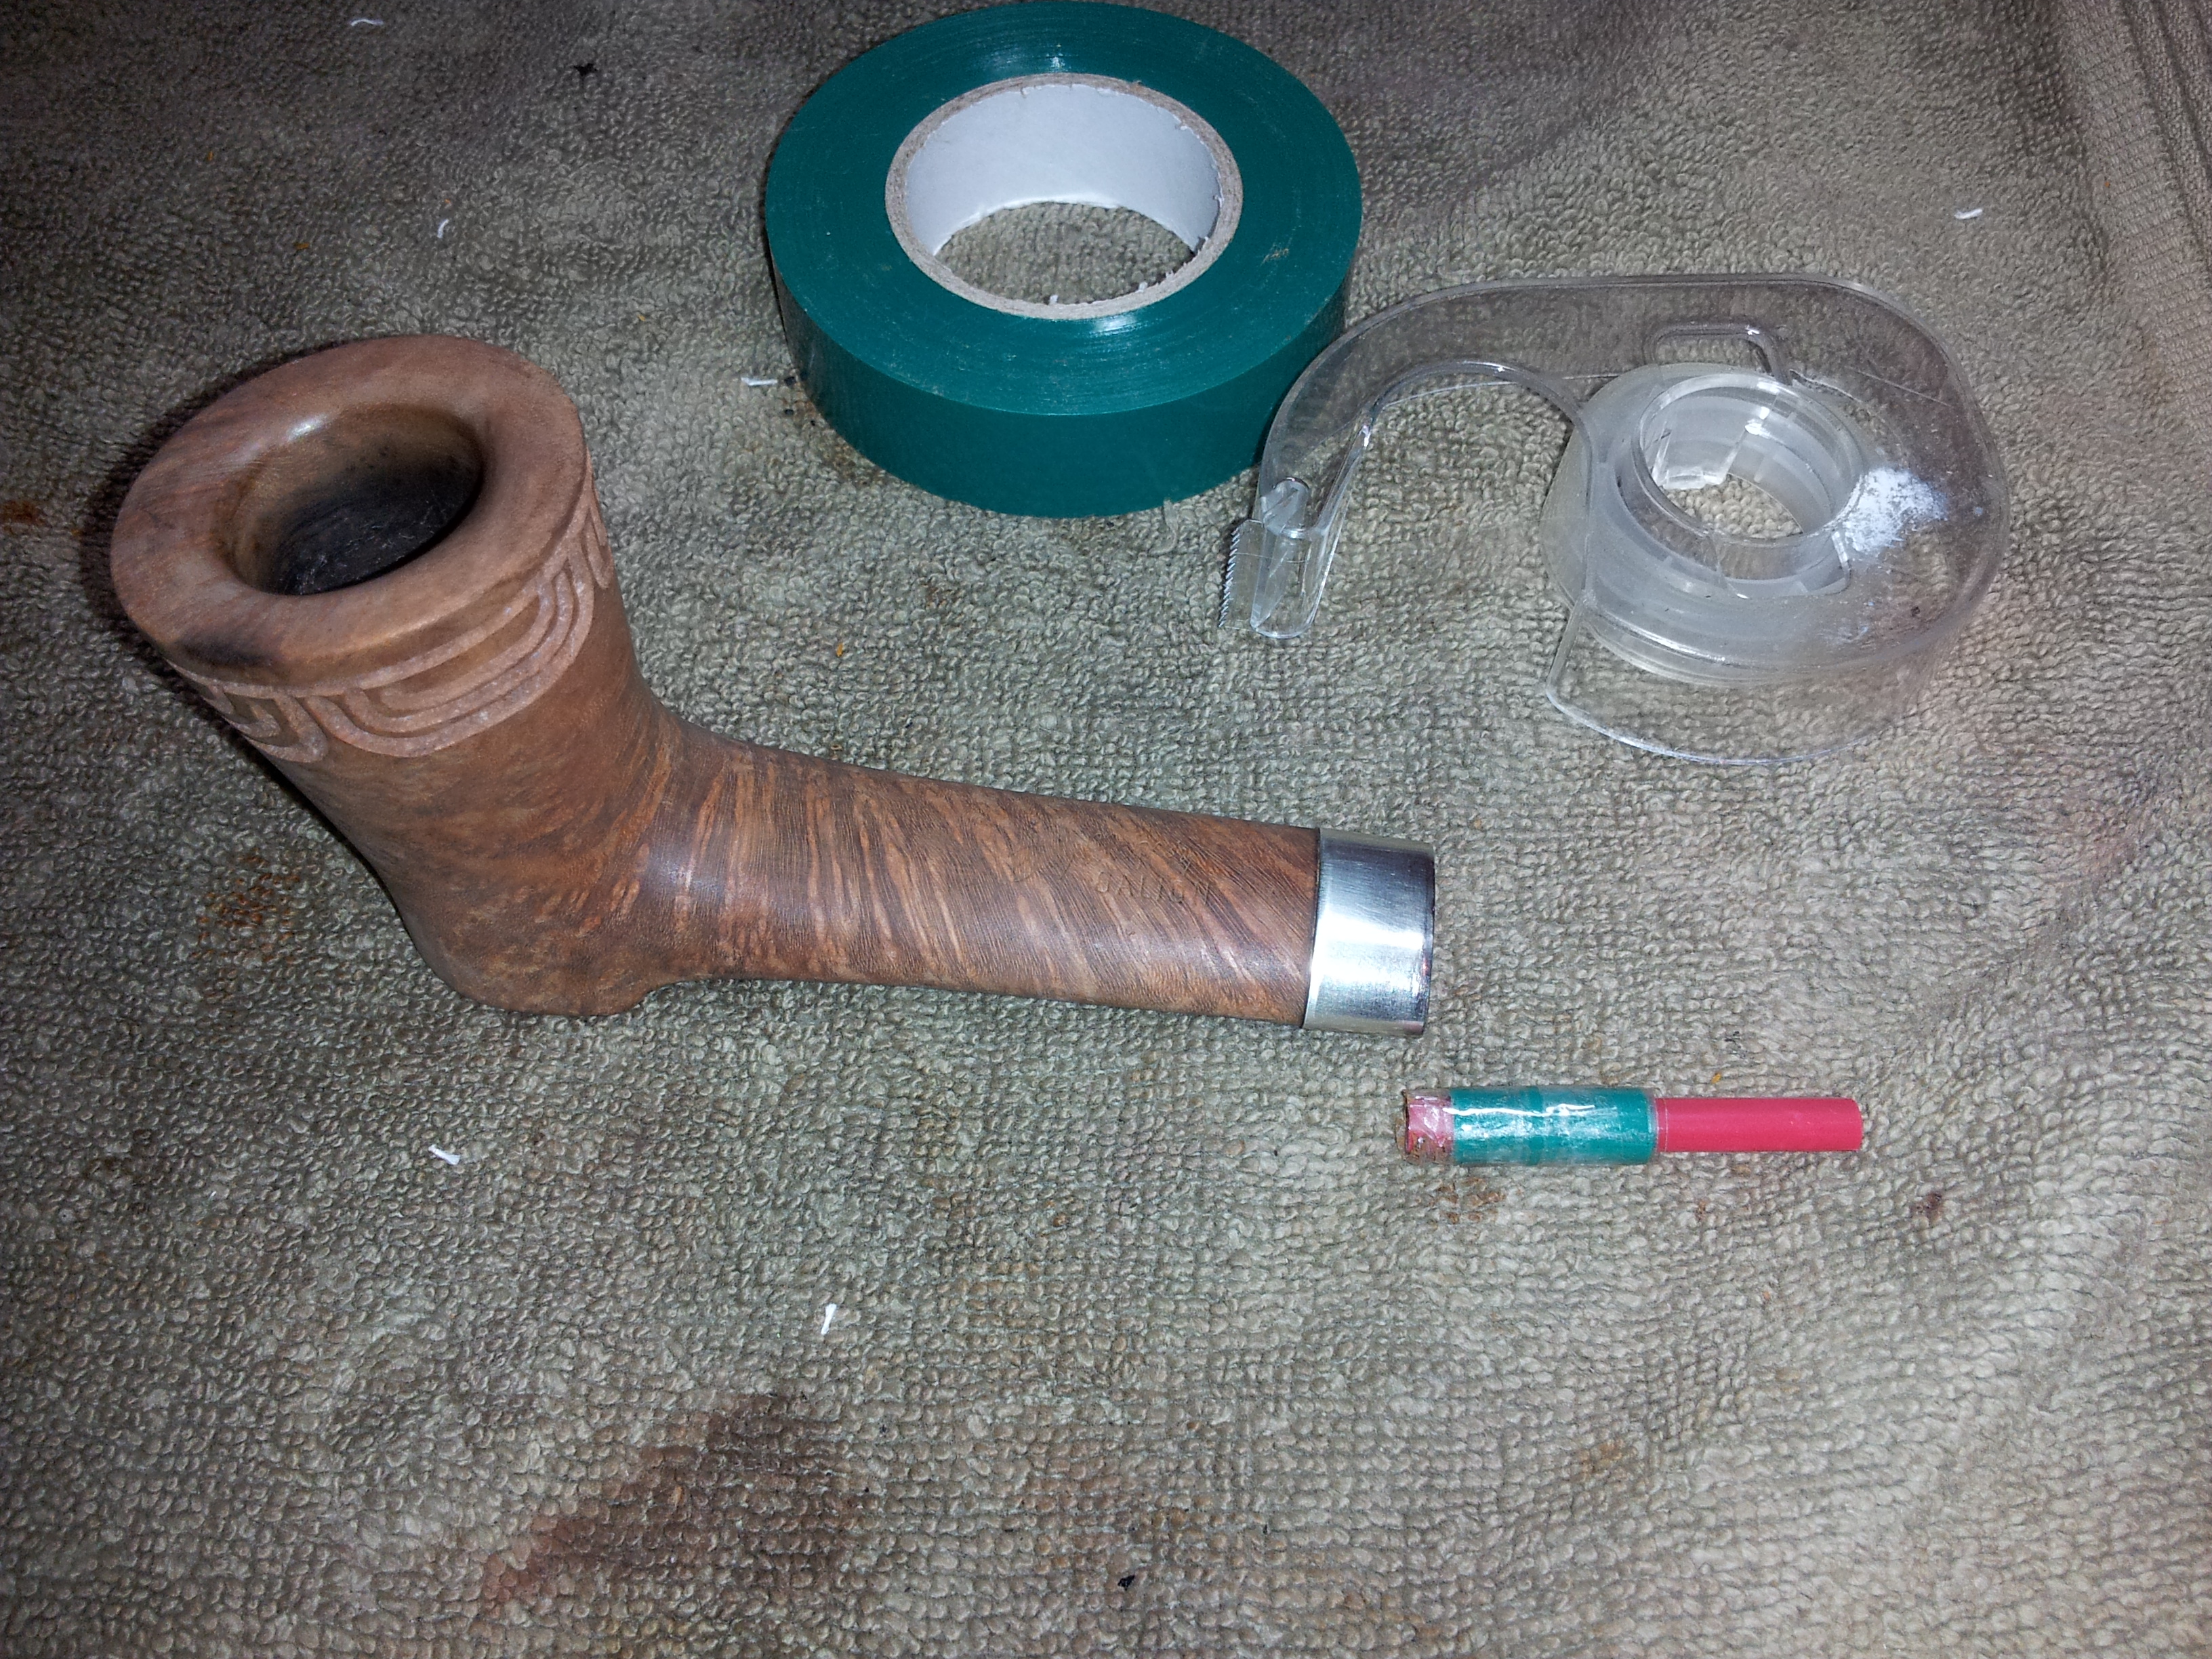
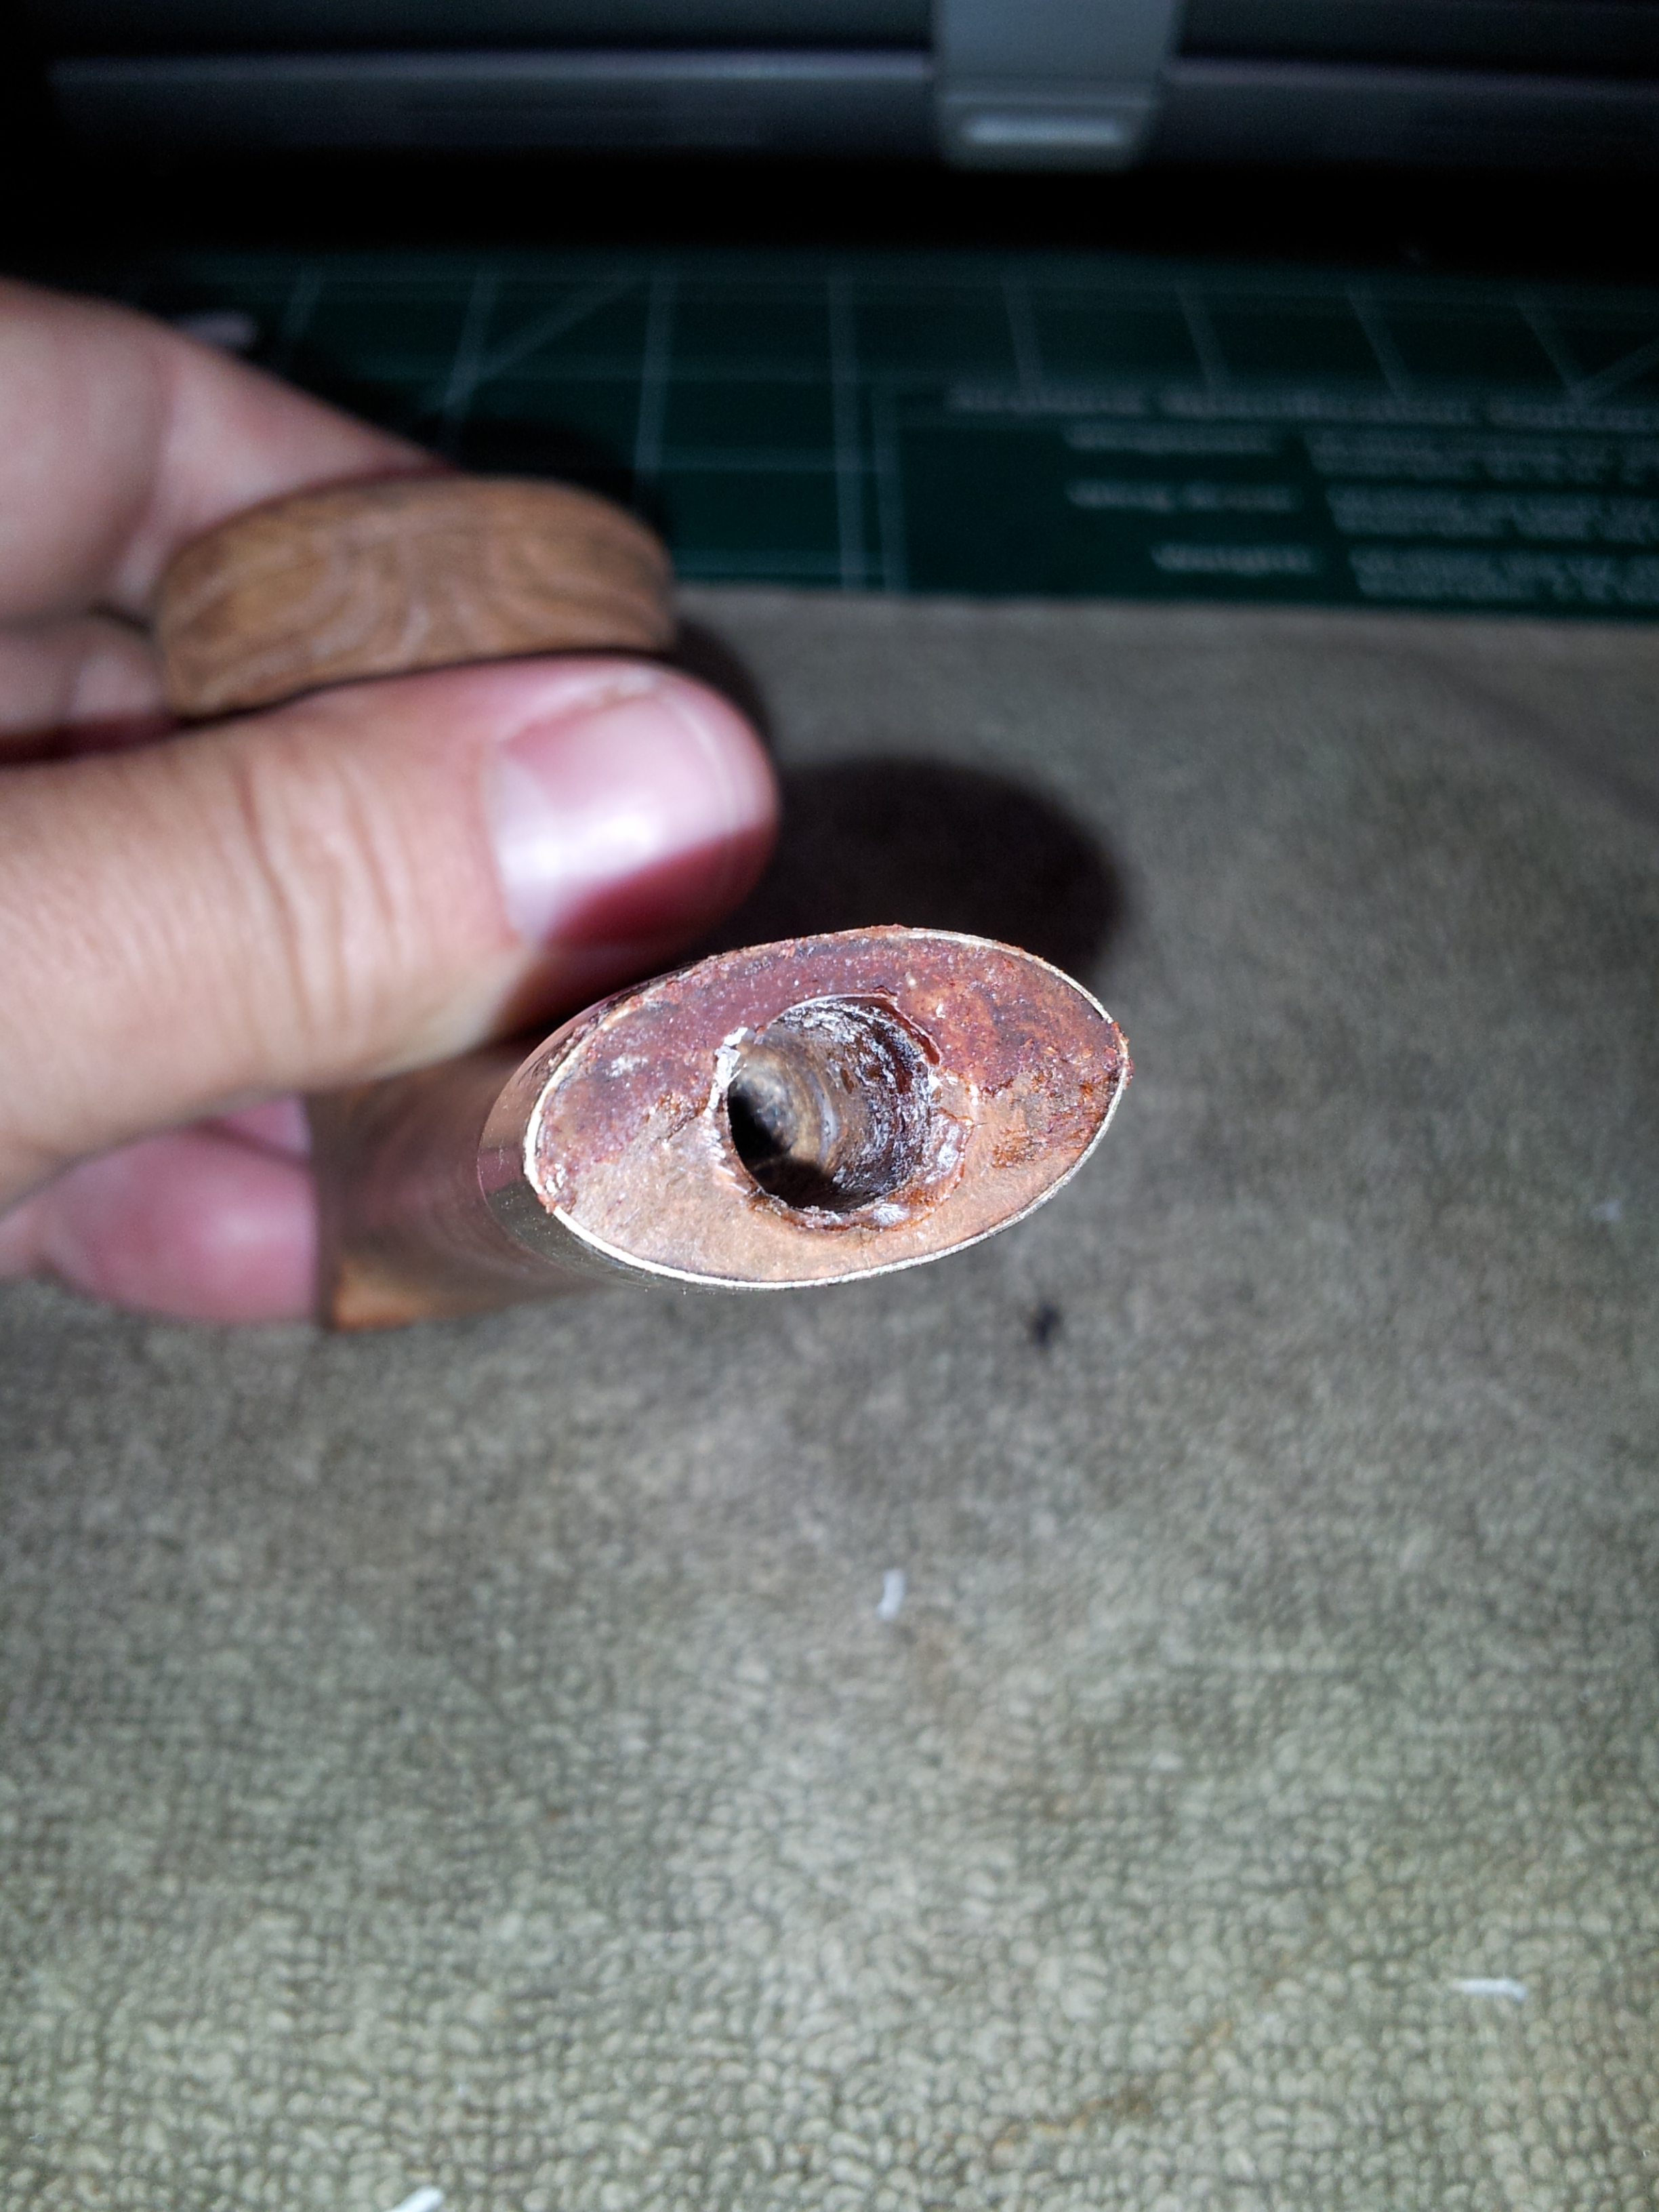
The pipe was in overall decent condition, with only a reasonable amount of cake in the bowl, some tars on the rim and only a little oxidation on the stem. The shank had been banded at some point, though the band didn’t quite look right for some reason. When I removed the stem, I realized why – there was a chunk missing from the top end of the shank. The unsupported area of band above the void had begun to flatten.


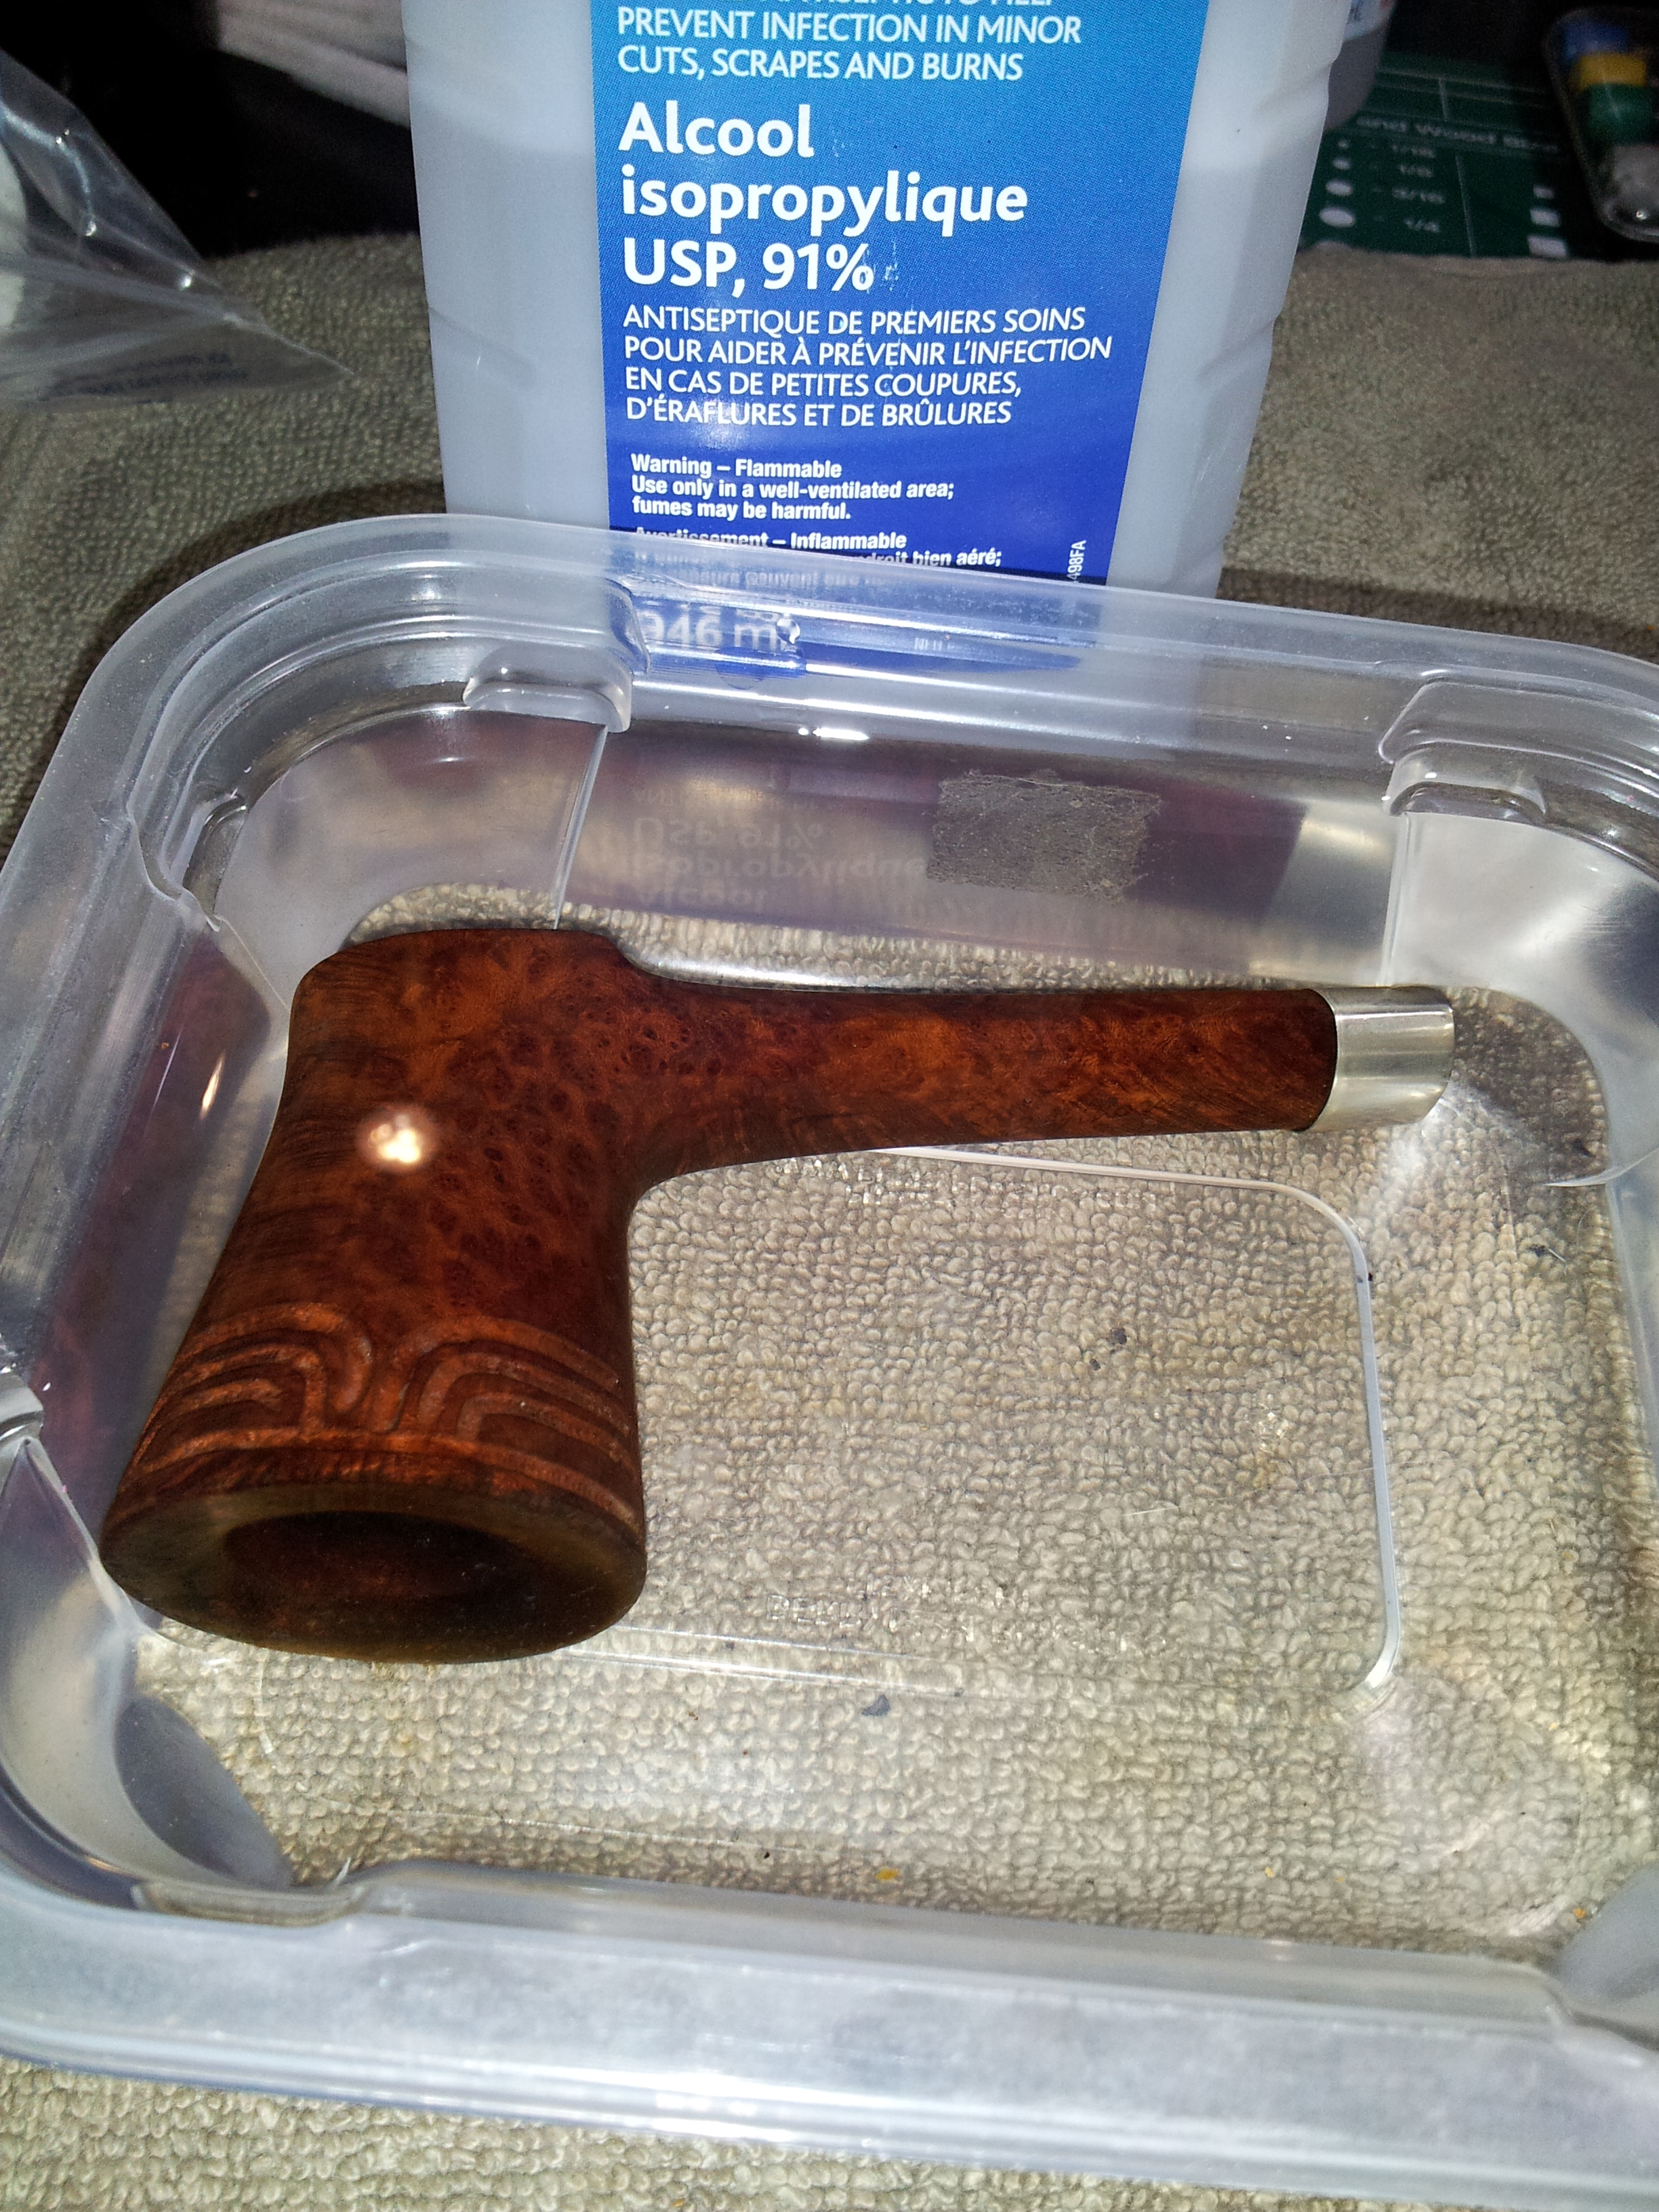
I started out in my usual pattern – reaming the bowl, and then soaking the stummel and stem separately overnight in baths of isopropyl alcohol and Oxyclean, respectively. In case you haven’t done this yourself, here are a few pics of the stummel going into the alcohol bath, and then again after sitting overnight. The soak dissolves a LOT of the built-up tars and gunk that would otherwise have to be removed with a comensurate amount of elbow grease.

While the stummel was still fresh from the bath, I cleaned the airway and shank with what turned out to be a hefty pile of pipe cleaners, alternating alcohol-dipped cleaners and dry ones until the internals were clean. The alcohol bath had also softened the light rim tars, which were easily removed with an old terry towel.


The stem came out of it’s Oxyclean soak coloured a rather diseased-looking yellowish brown. This is the oxidation and other contaminants that have been pulled to the surface by the Oxyclean, and are easily removed with 0000 steel wool and a Magic Eraser. I followed this for both pieces of the pipe with a scrub-down of 600 – 2000 grit wet sandpaper to remove surface scratches and prep the pipe for the work that lay ahead.

The stem’s internals were also cleaned out with isopropyl alcohol and pipe cleaners. Like the shank, there was a lot of grime hiding in there.
 Now that the pipe was clean, I turned my attentions to the missing piece of shank under the band. If left as it was, the band would likely continue to distort over time. This, and the possibility of another piece breaking off down the line, meant I’d have to fill in the missing briar to provide the necessary support for both the tenon and the band.
I decided to make a form to fill the mortise and cut down on the amount of filing and shaping I’d otherwise have to do to the patch. I took a plastic drinking straw from the kitchen and wrapped it with a few windings of electrical tape to build out the diameter to just smaller than the mortise. I then wrapped my ad hoc form with Scotch tape to make a snug-fitting plug for the mortise to which my briar dust and CA glue fill would not stick. The next series of pictures shows the process. I used a half-round needle file to shape the fill. It’s now solid and completes the structure of the mortise.

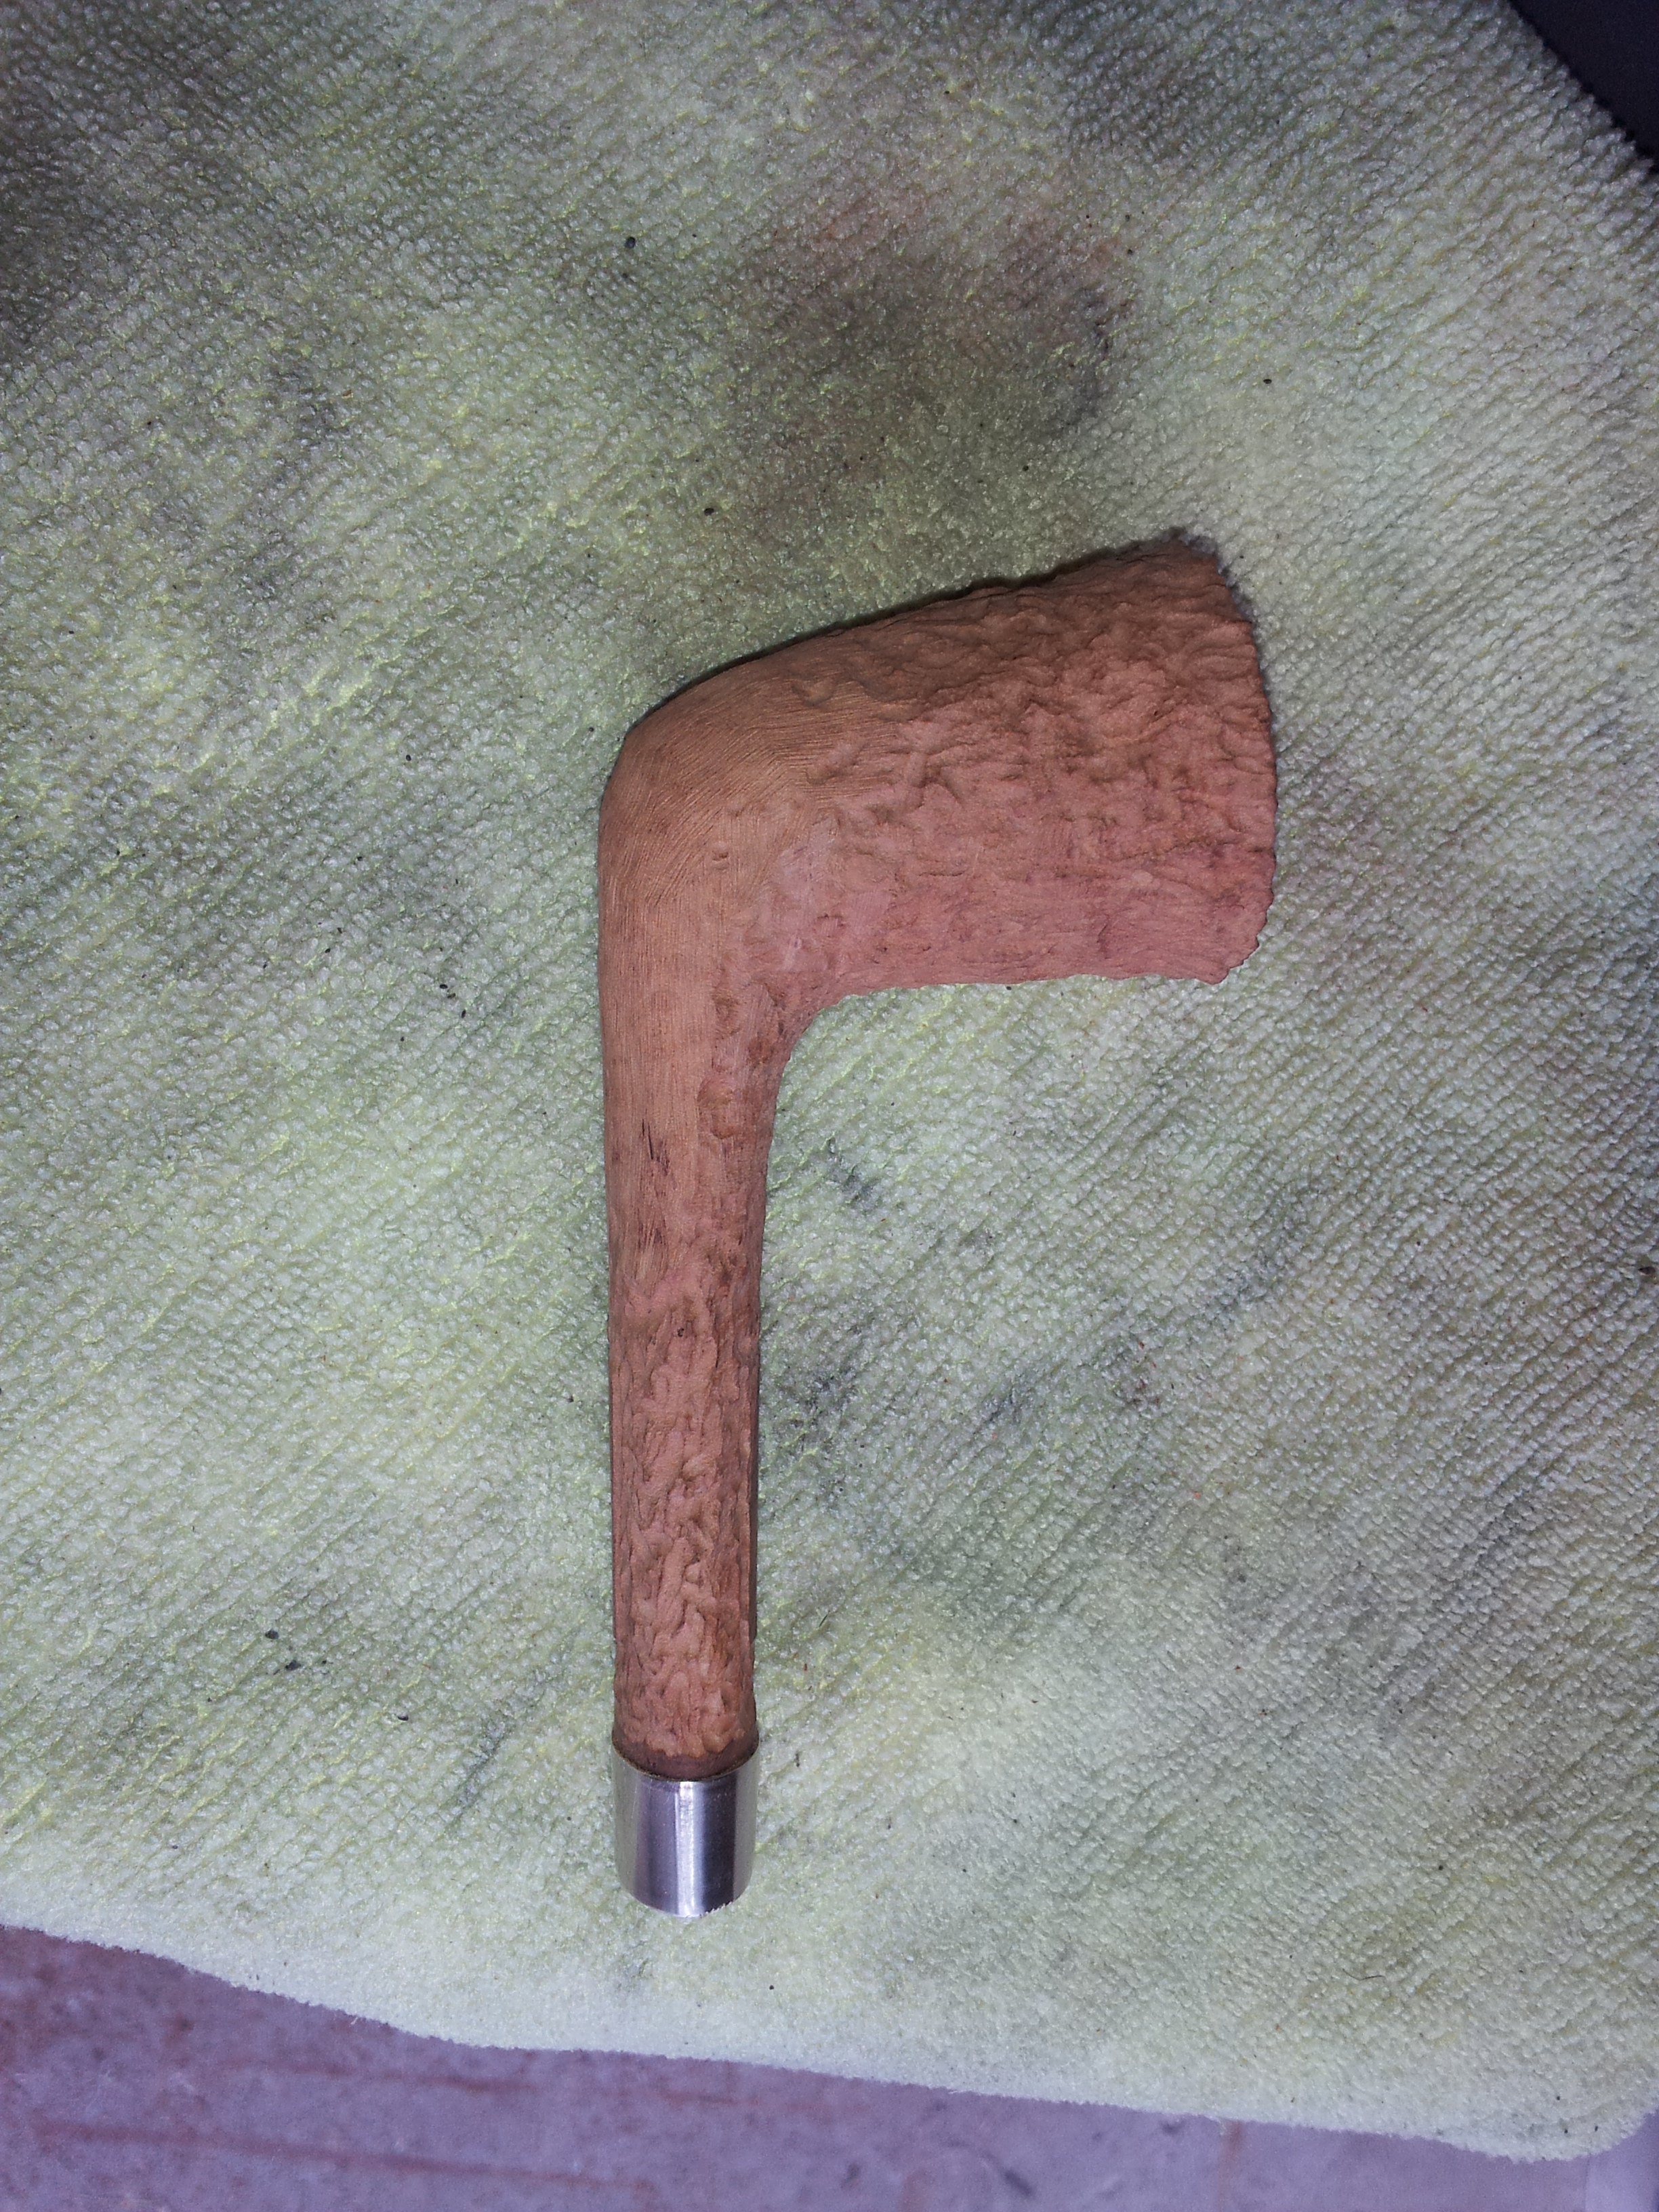
Now the pipe was clean and structurally sound, but still, well, ugly. That high-school-shop-project carving had to go! Thankfully the walls of the bowl on this pipe were definitely on the thick side, so I had no worries about removing too much material during rustication. I fired up the rotary tool fitted with a small round carving burr, and went at it. I rusticated every surface, including the bottom of the “foot” to remove the last carver’s initials. Here’s the pipe after initial rustication.


I could have moved on at this point, but the pipe still looked and felt cumbersome to me. The shape, especially the sitter foot, just did not appeal. So, having gone this far already, I decided to lighten things up. Using a sanding drum on my drill press, I removed the splayed foot from the bottom of the bowl and reshaped the pipe to a more classically pleasing Dublin shape. When I had the shape I wanted, I rusticated the freshly sanded areas to blend the new heel of the bowl into the rest of the pipe. .


Then it was time for stain. I stained the pipe with a coat of Fiebing’s Saddle Tan, followed by two coats of Dark Brown. When the stain was dry, I gave the entire pipe a wipe with mineral oil to freshen things up and let it dry overnight.

The next morning, I rubbed the stummel gently with some 0000 steel wool. This removed the brown from the high spots on the briar and let the reddish tan shine through from underneath. Then it was off to the buffer for my standard course of Red Tripoli and White Diamond compounds, followed by multiple coats of Carnauba wax.
The finished pipe is shown below. It’s still a big pipe, with a nearly one inch wide shank and a bowl height just shy of two inches. I do think that it has come much closer to realizing its full potential as an object of both beauty and function. And with the shank now stabilized under the band, I know this pipe will provide many years of companionship to a new piper.


From a frog to a prince. Lovely job.
LikeLike
Thanks Al. I had debated making such a radical change, but I’m glad I took the plunge. I like the “new” pipe a lot more than the “old” one
LikeLike
Wow! There really was a diamond hiding in the rough. Very impressive work on that pipe. Thanks for showing how you did the mortise repair. I like your rustication technique and the final color of the pipe. I have never soaked a stummel in alcohol before. I keep seeing that in refurb processes. I thought maybe that would help with cutting down on the amount of pipe cleaners used but, it looks like you had to use quiet a few anyway. Or does it vary? Again, nice work on the pipe.
LikeLike
Thanks JDD. The alcohol soak accomplishes several things: softens tars and gunk in bowl, rim & airway, dissolves residues on the outside of the stummel, and (usually) removes the old finish. All good choices for a battered estate pipe a lot of the time.
The amount of pipe cleaners it takes to get an airway clean varies with each pipe’s history. How much use it has had, what kind of tobacco was smoked in it & the previous owner’s maintenance habits all factor in. The alcohol soak, I suspect, may actually increase the number of cleaners used on occassion as more of the built-up tars are soft enough to remove.
LikeLike
Good points, DP. I have never had problems with those other issues but, it stands to reason it would help in the cleaning process. I am going to try it on one of my next projects. I am always trying to find ways of cutting down on pipe cleaners but, I have come to realize that it is a necessary evil ($). Thanks.
LikeLike
That was a great outcome; the new shape is by far better than the original! I love the idea you came up with for the “straw form”, too; just brilliant and yet so simple.
LikeLike
Thanks Greg! I had just come off a refurb of a stem bite-through so the tape-covered form was still top of mind 🙂
LikeLiked by 1 person
Reblogged this on rebornpipes and commented:
A wonderful example of risk/reward in pipe restoration displayed on this one.
LikeLike
I’m happy to report that this pipe is an excellent smoker – wide open draw and a big bowl made for a solid hour of contentment around the campfire last weekend. 😉
LikeLike