
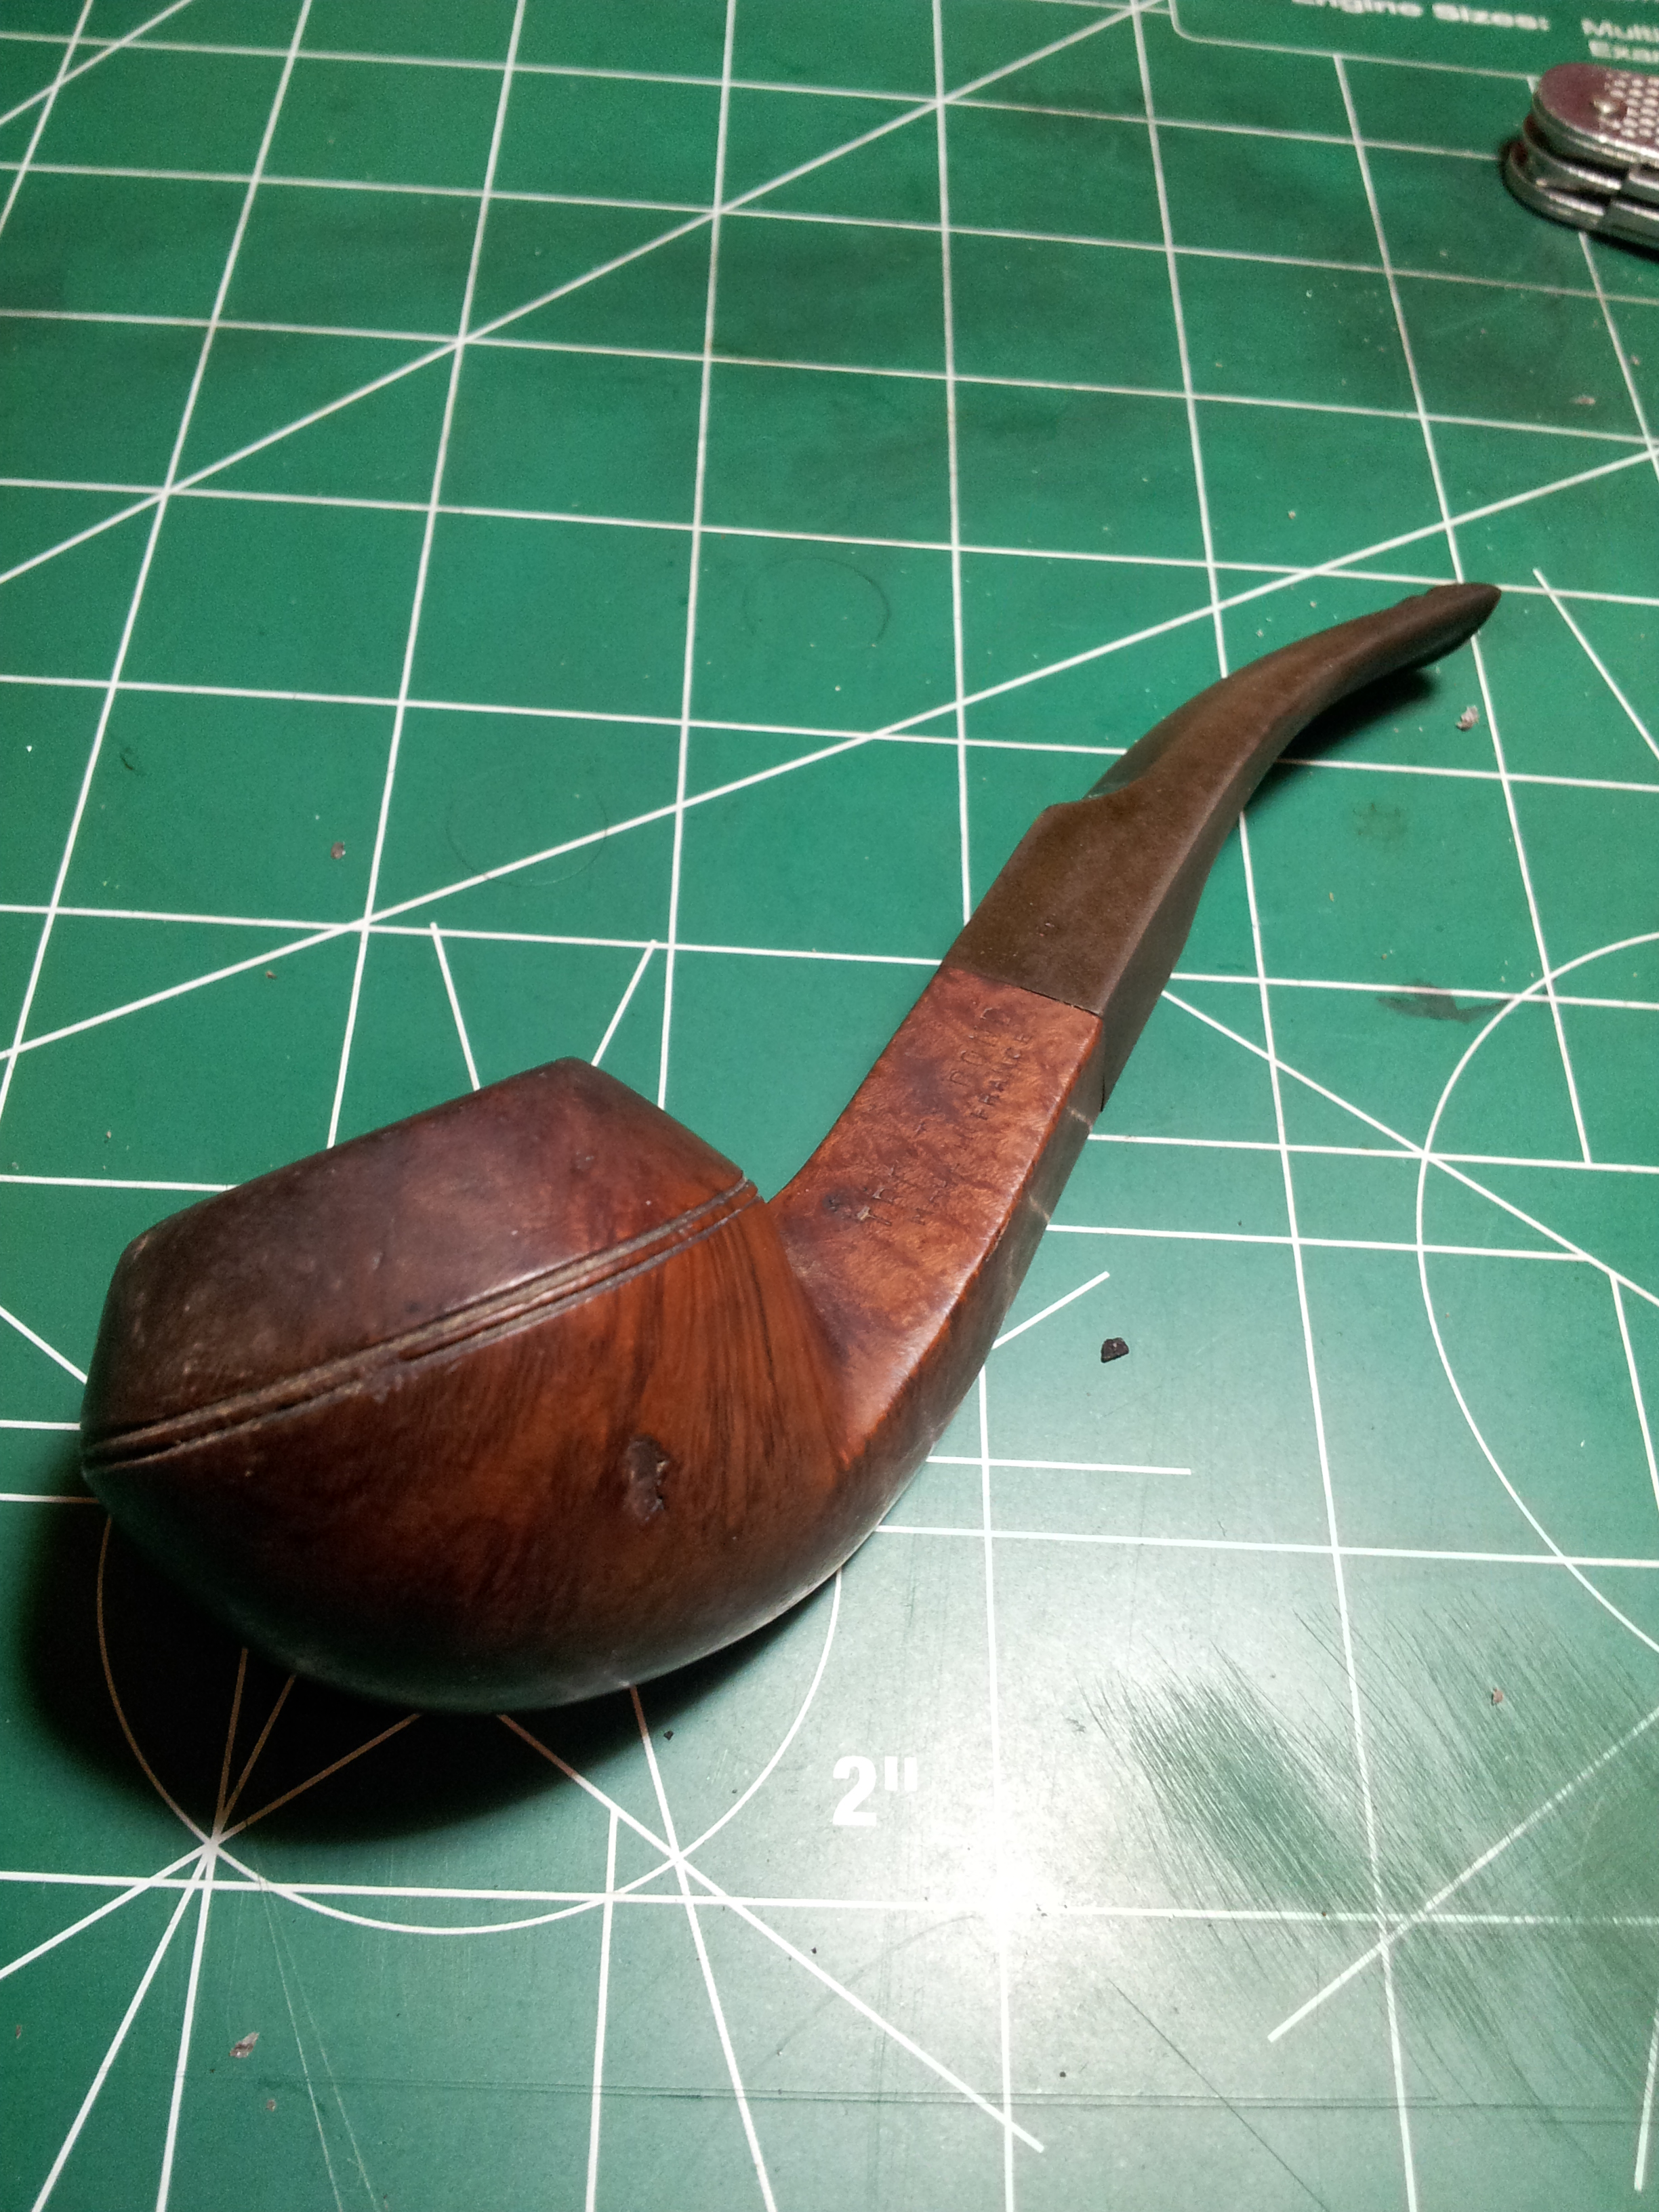
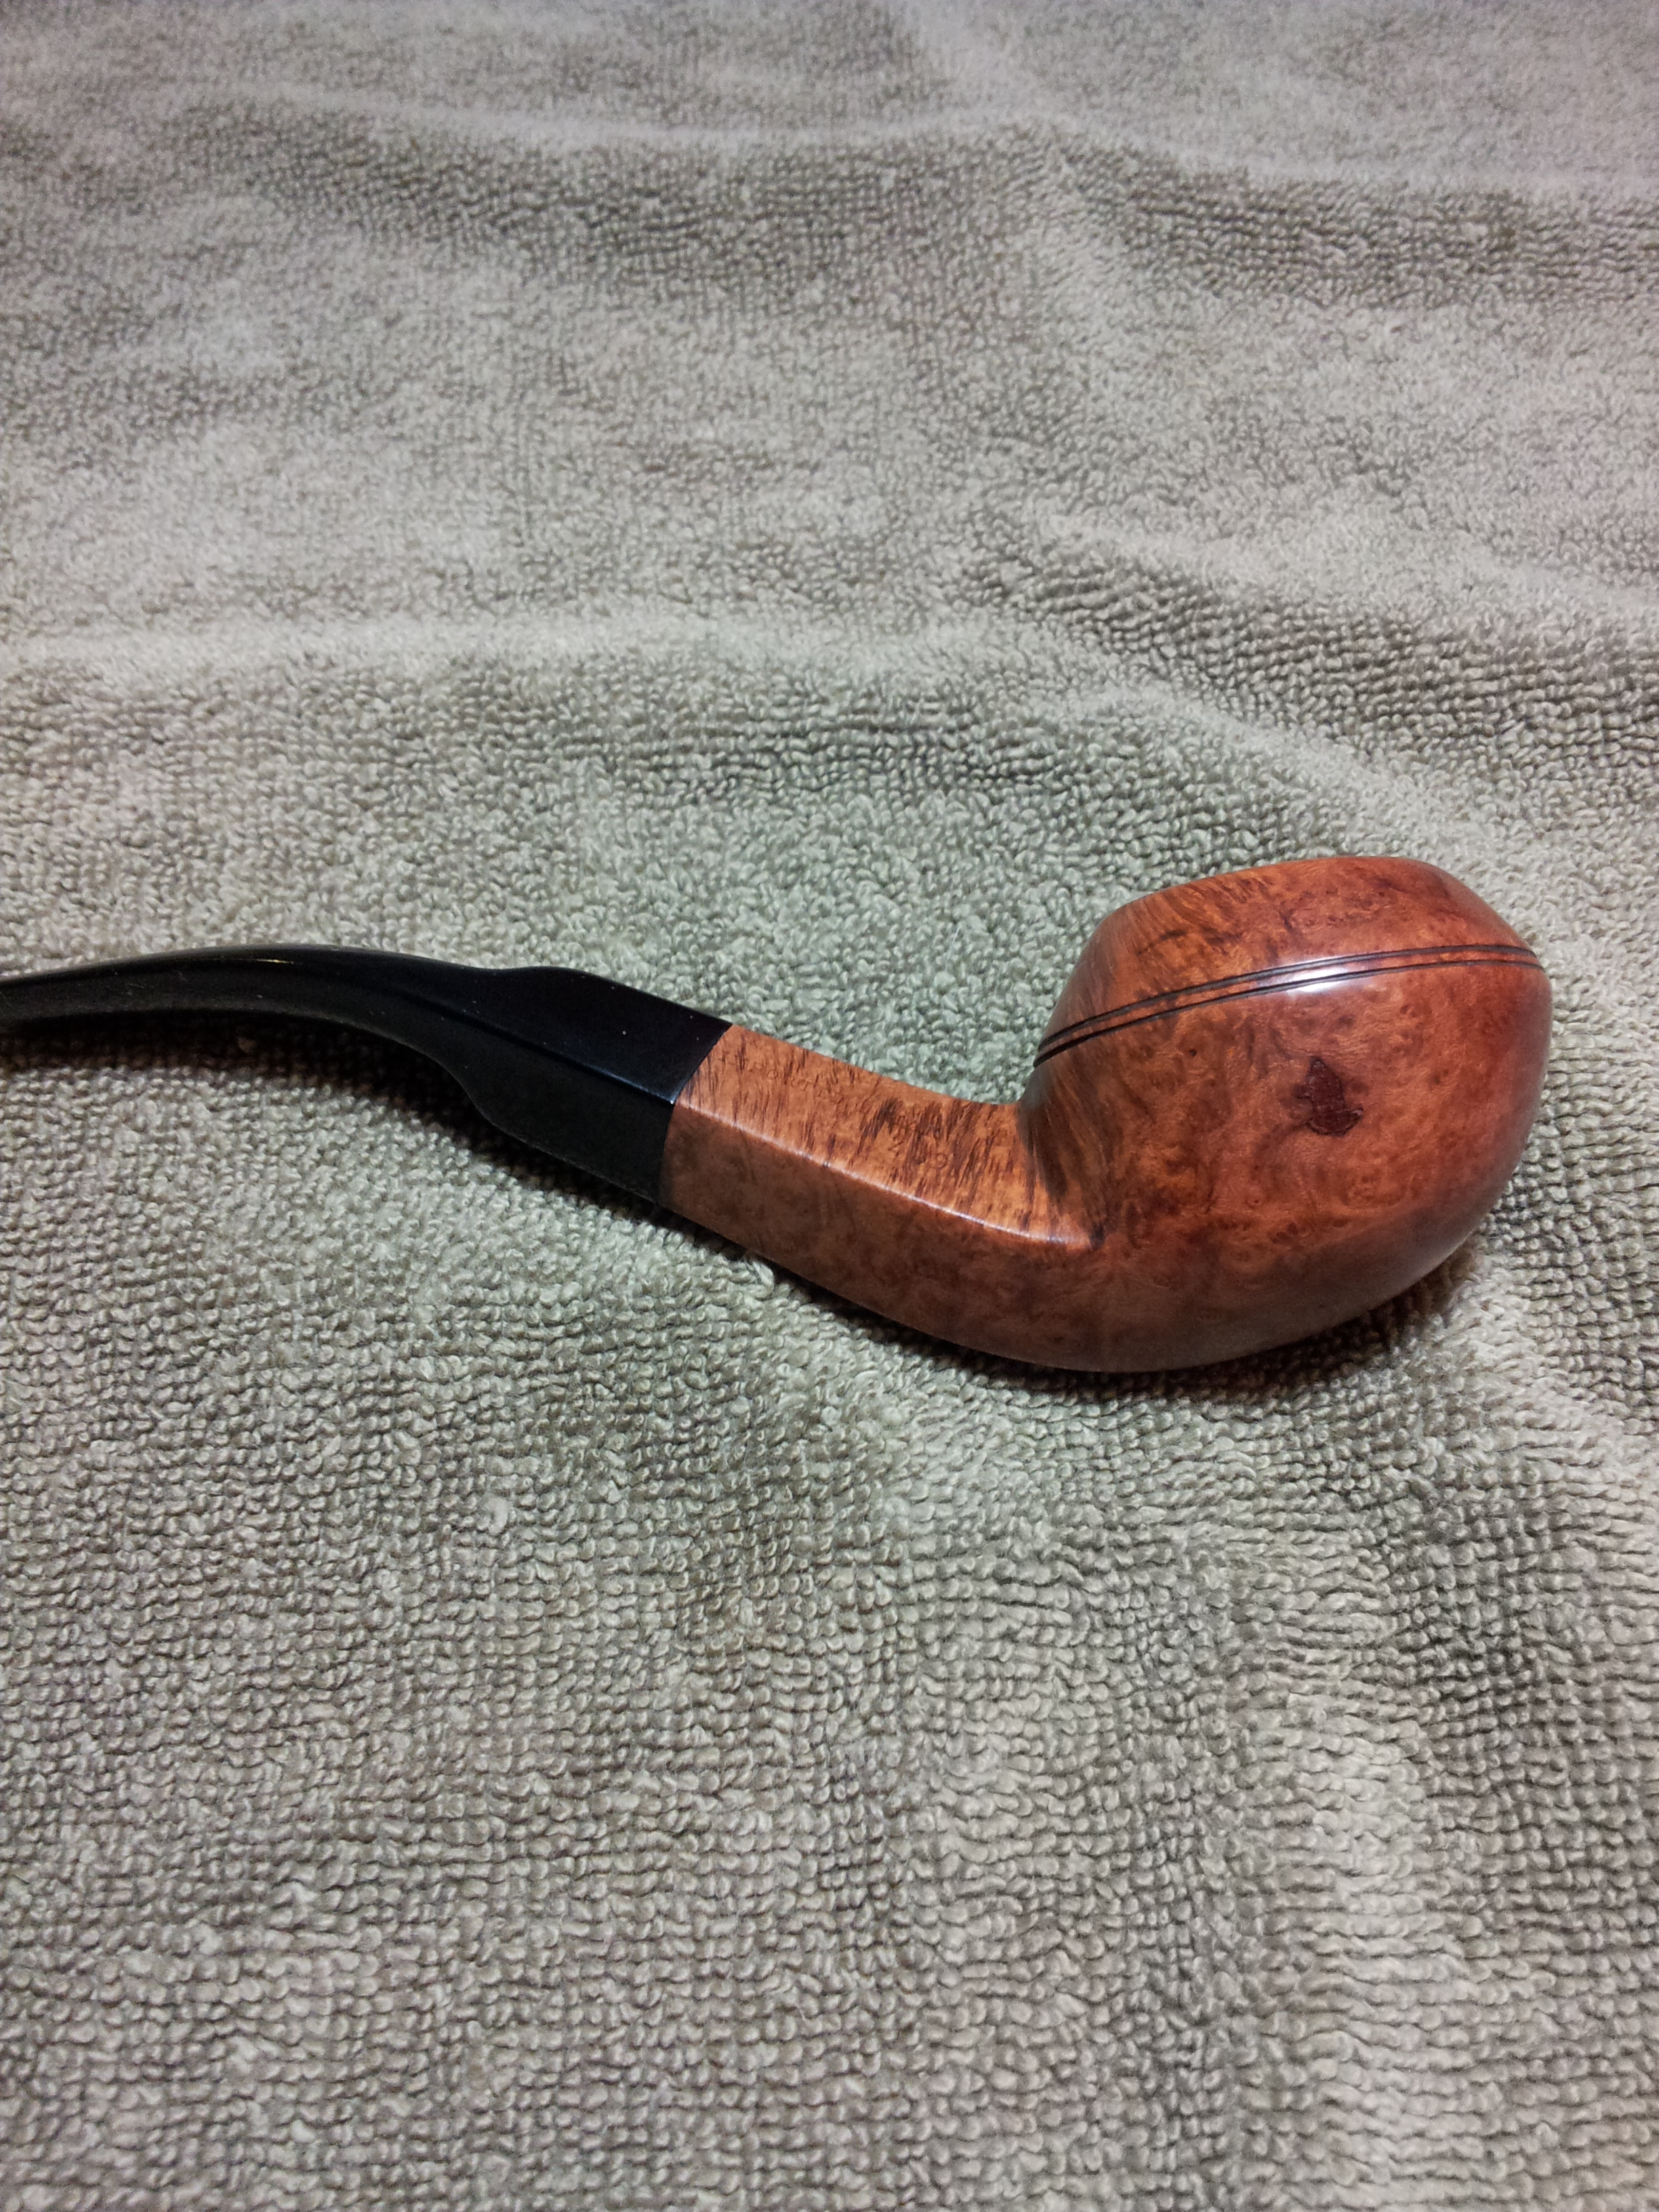
This is another pipe from my recently auction lot purchase. The shape and size of this Rhodesian is, at least for me, very appealing, though it may be a tad heavy for those that like to clench the pipe in their teeth. It is marked “Treaty Bond” over “Made in France” on the left shank, and, faintly, “Imported Briar” over “409” on the right shank.
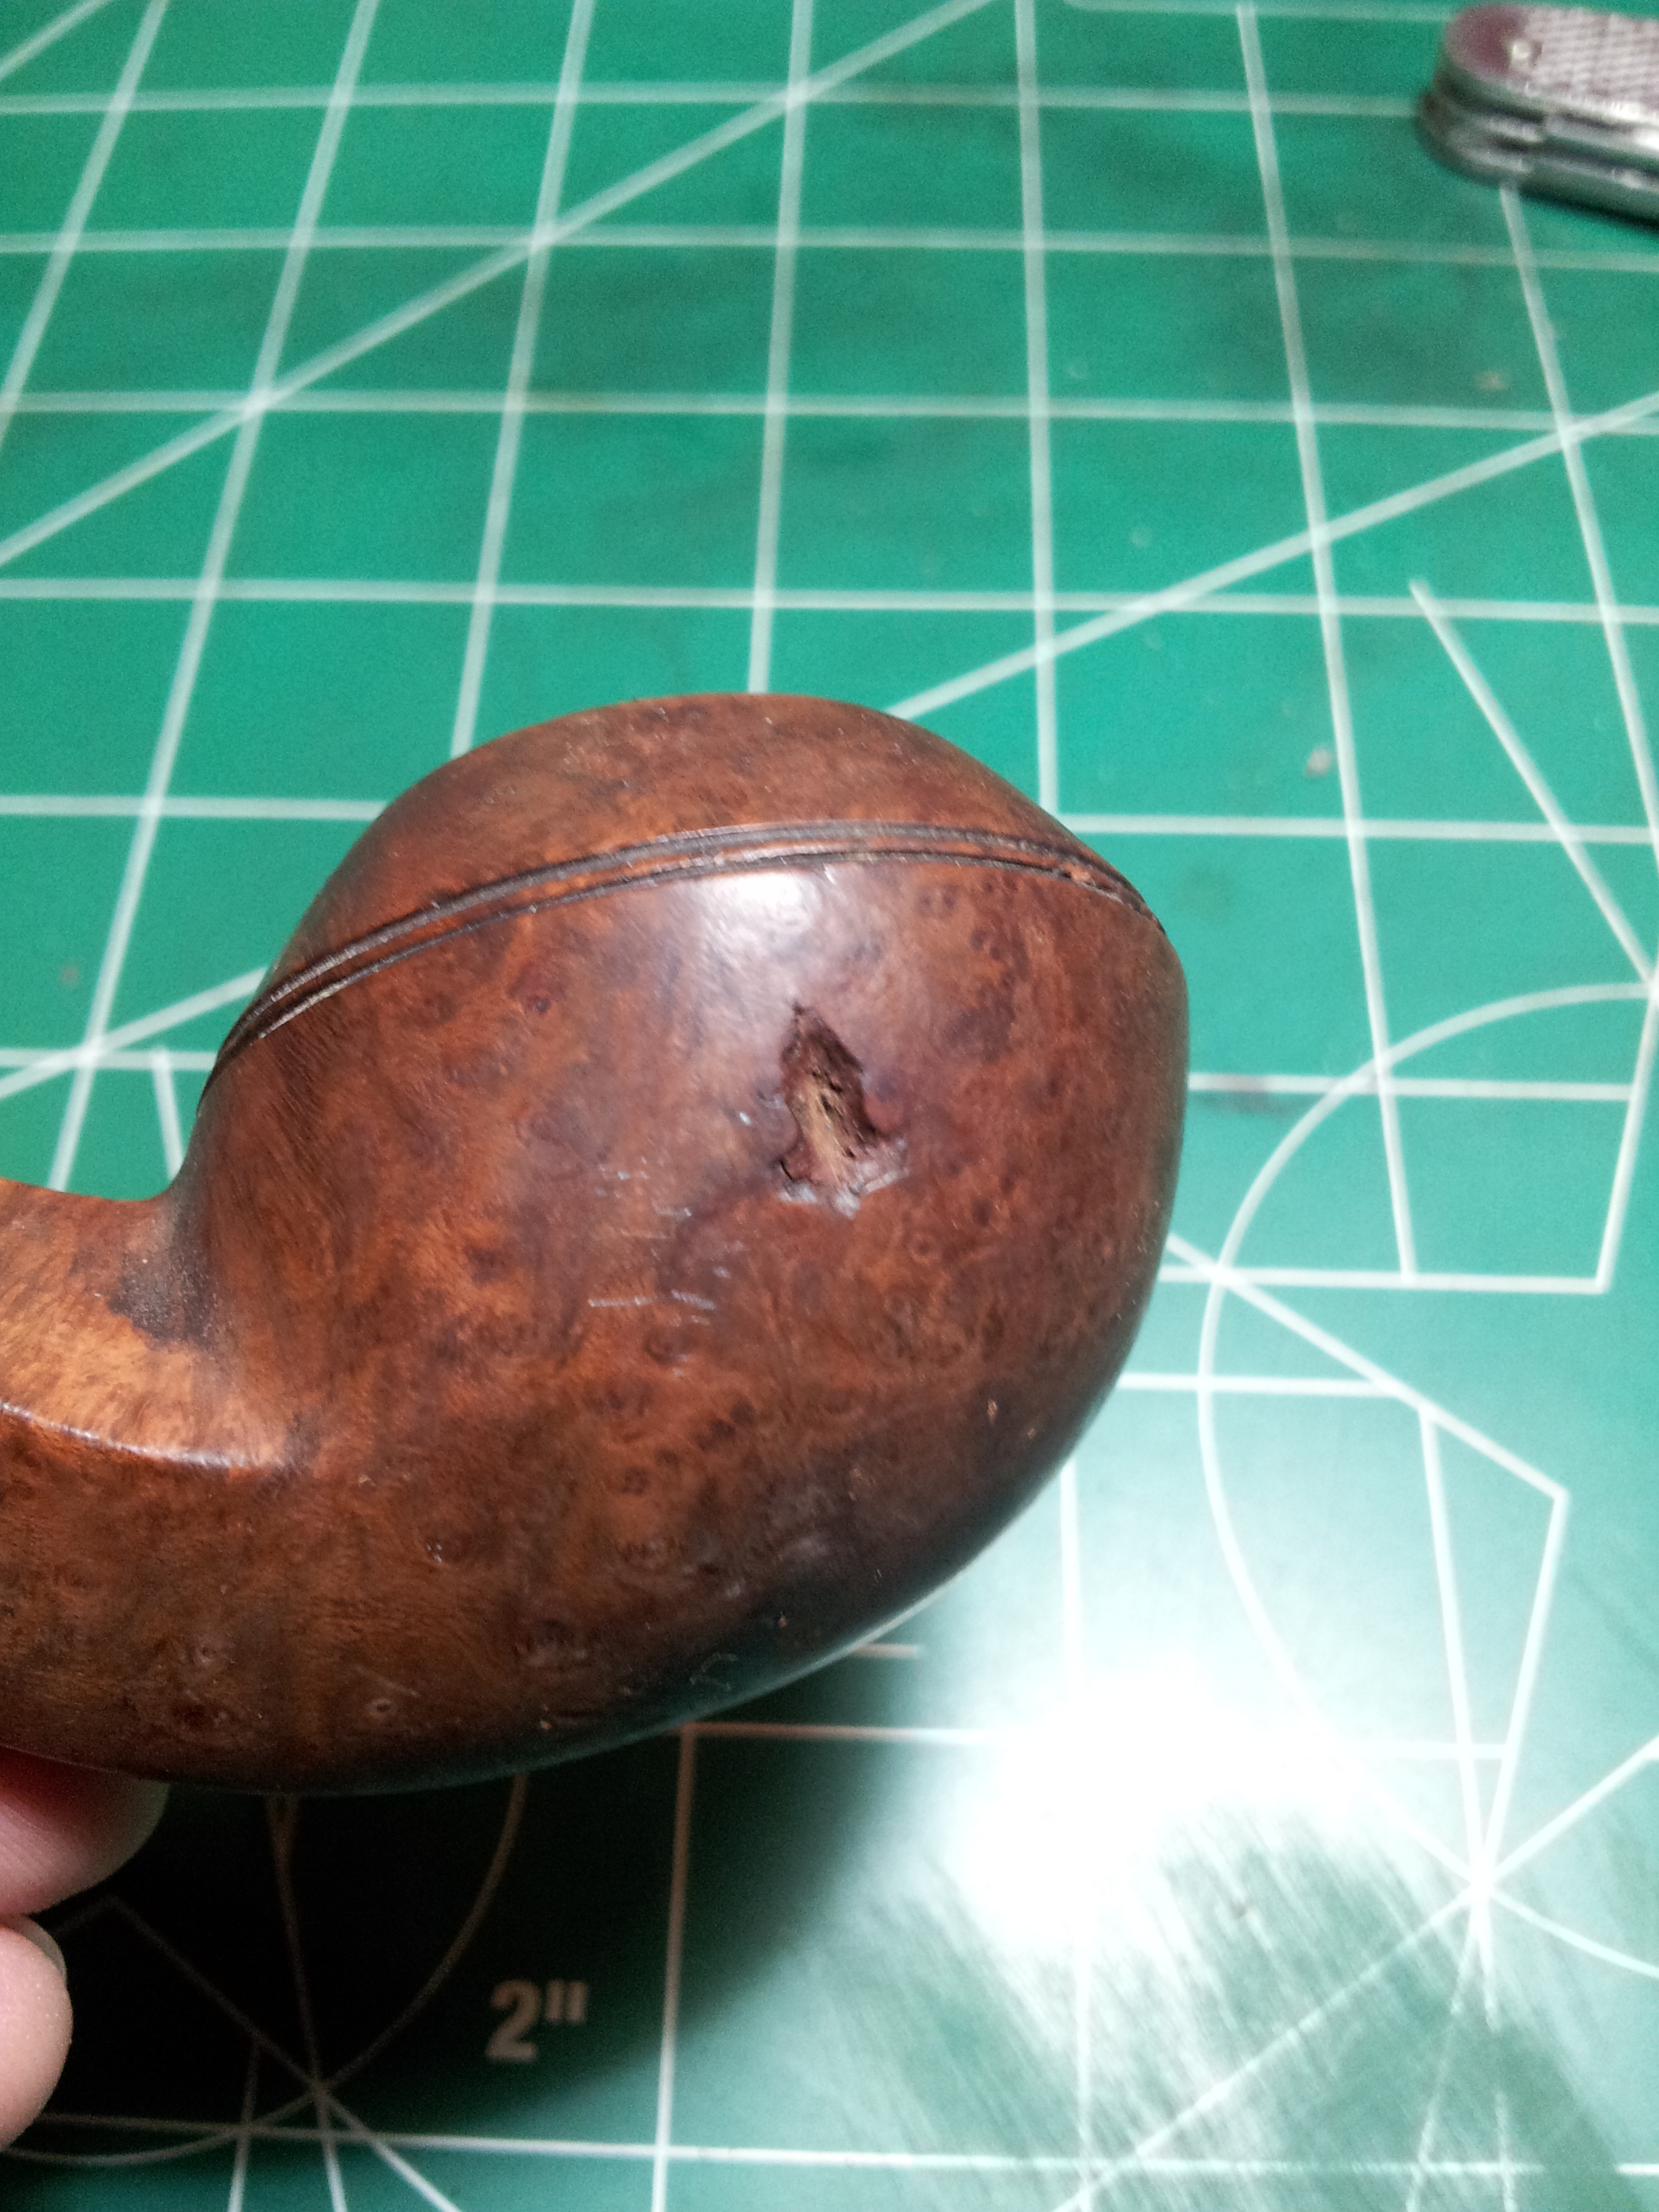
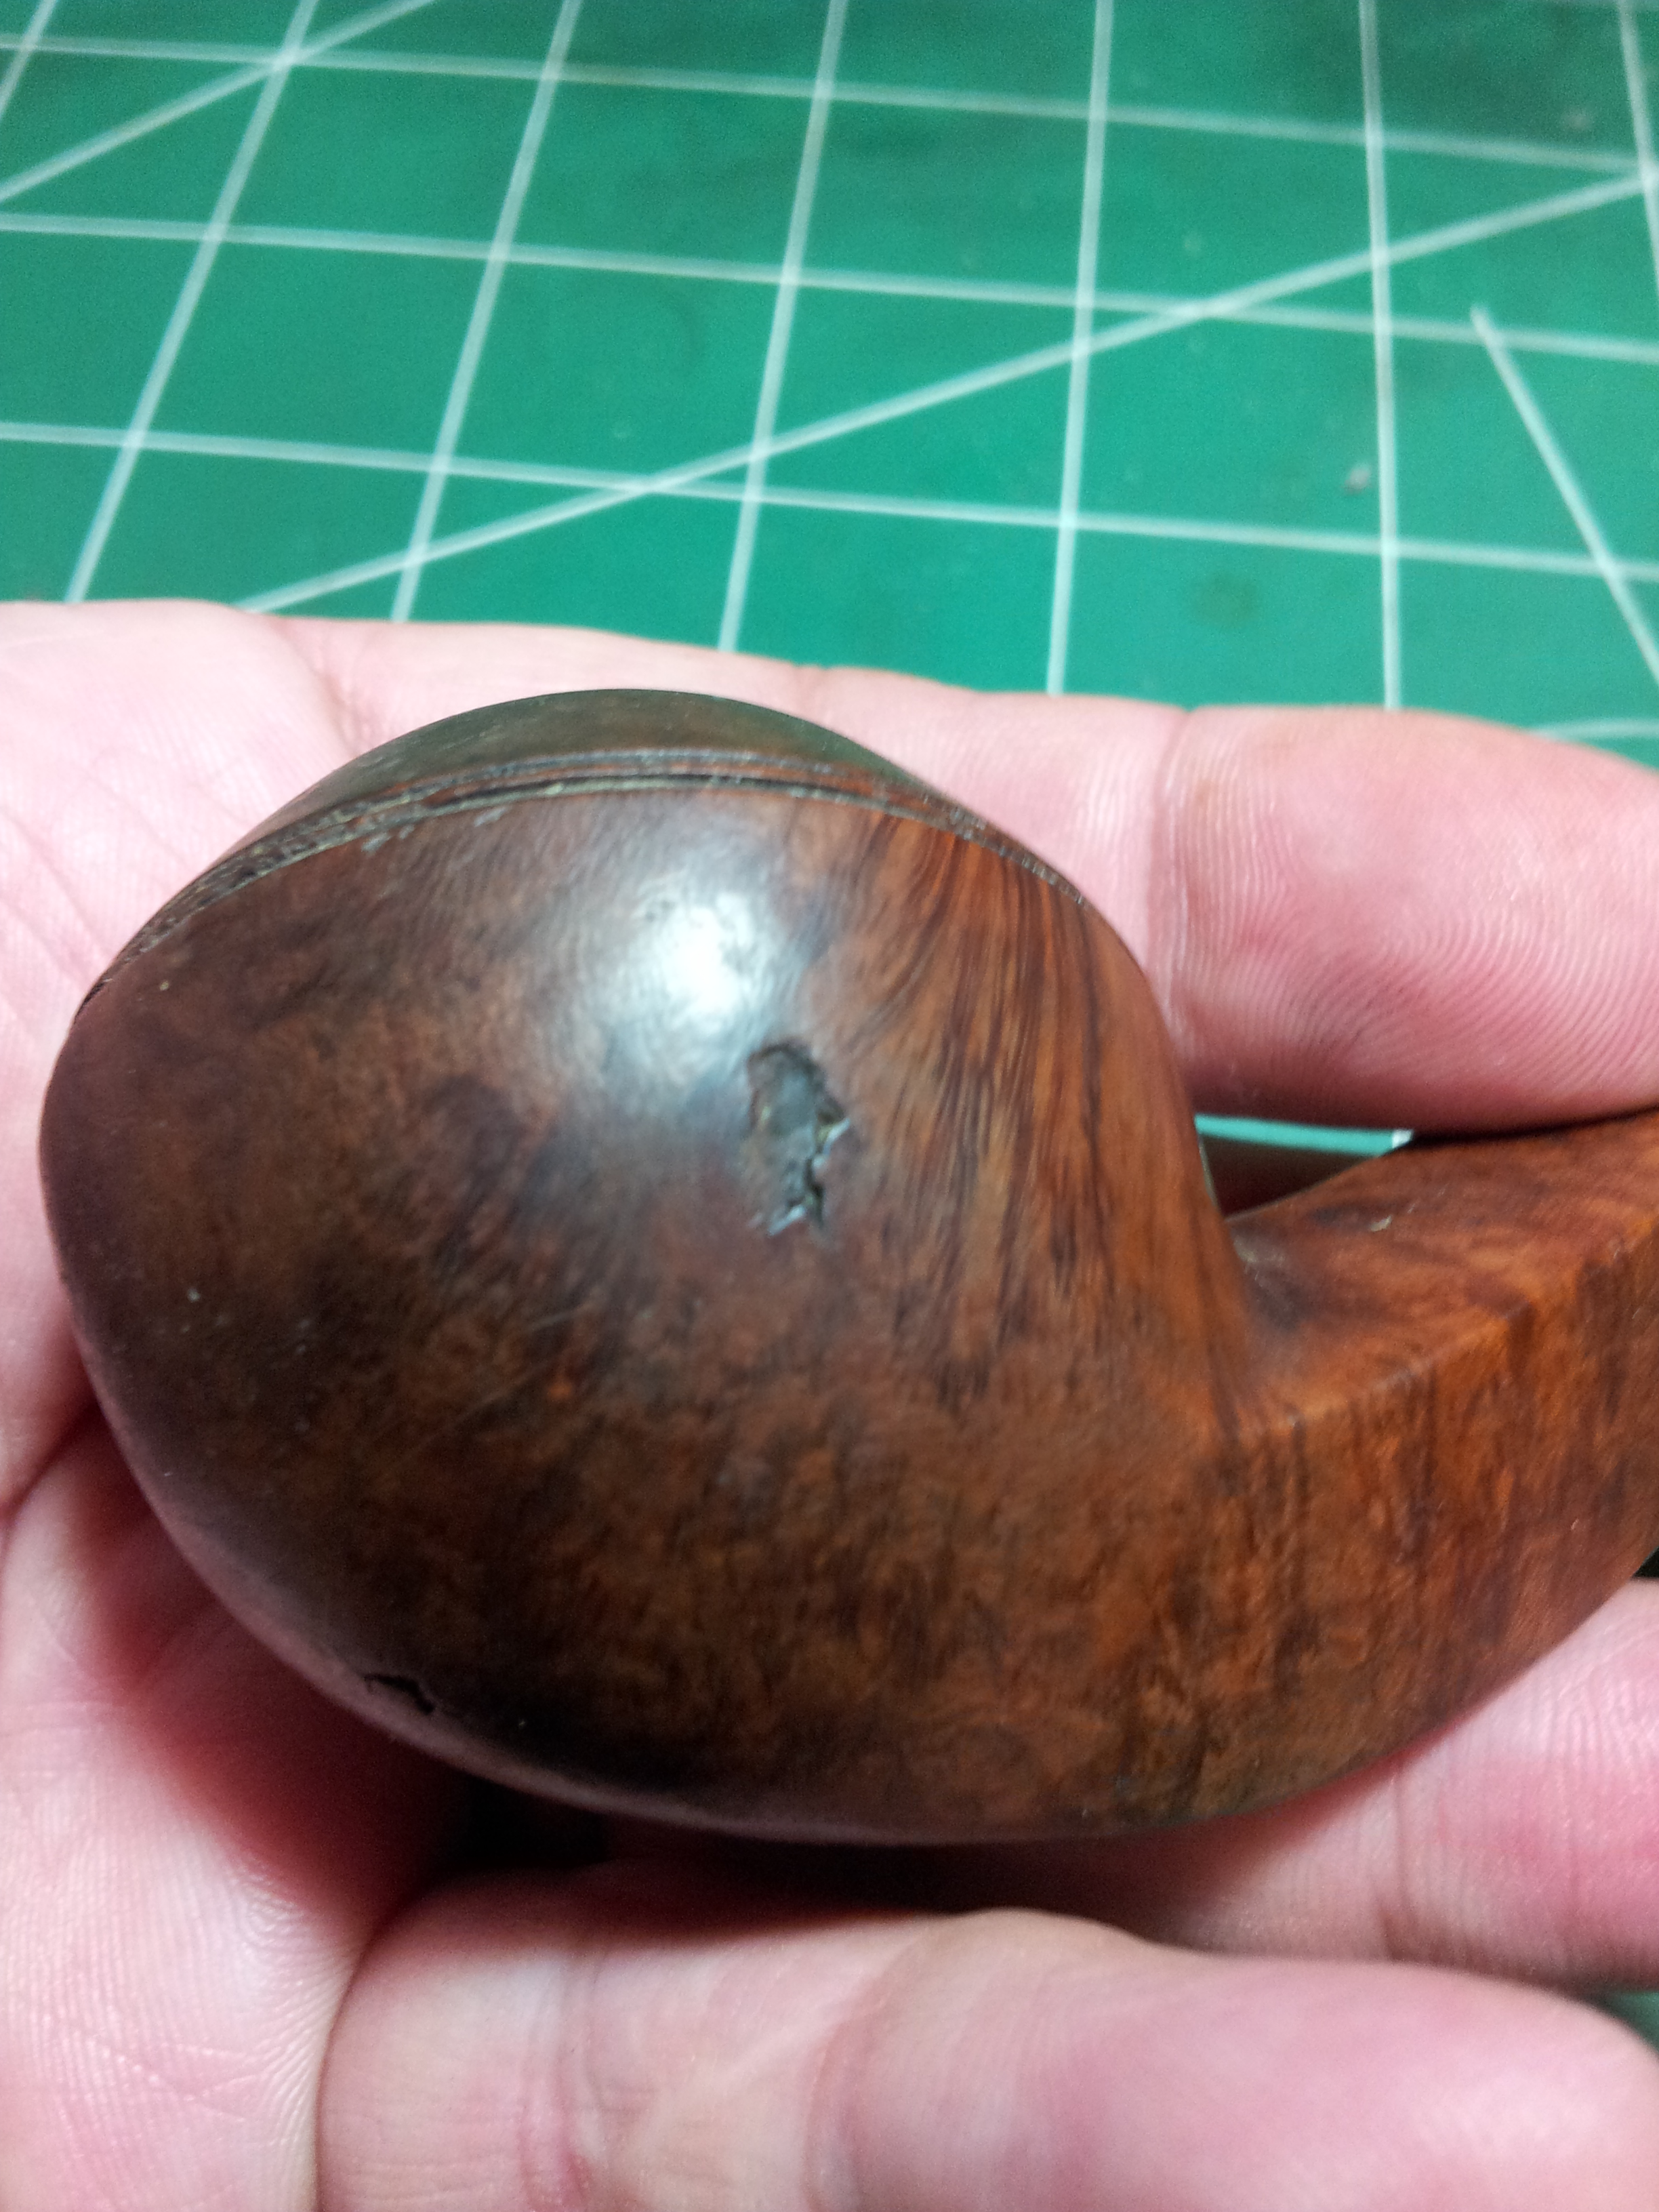
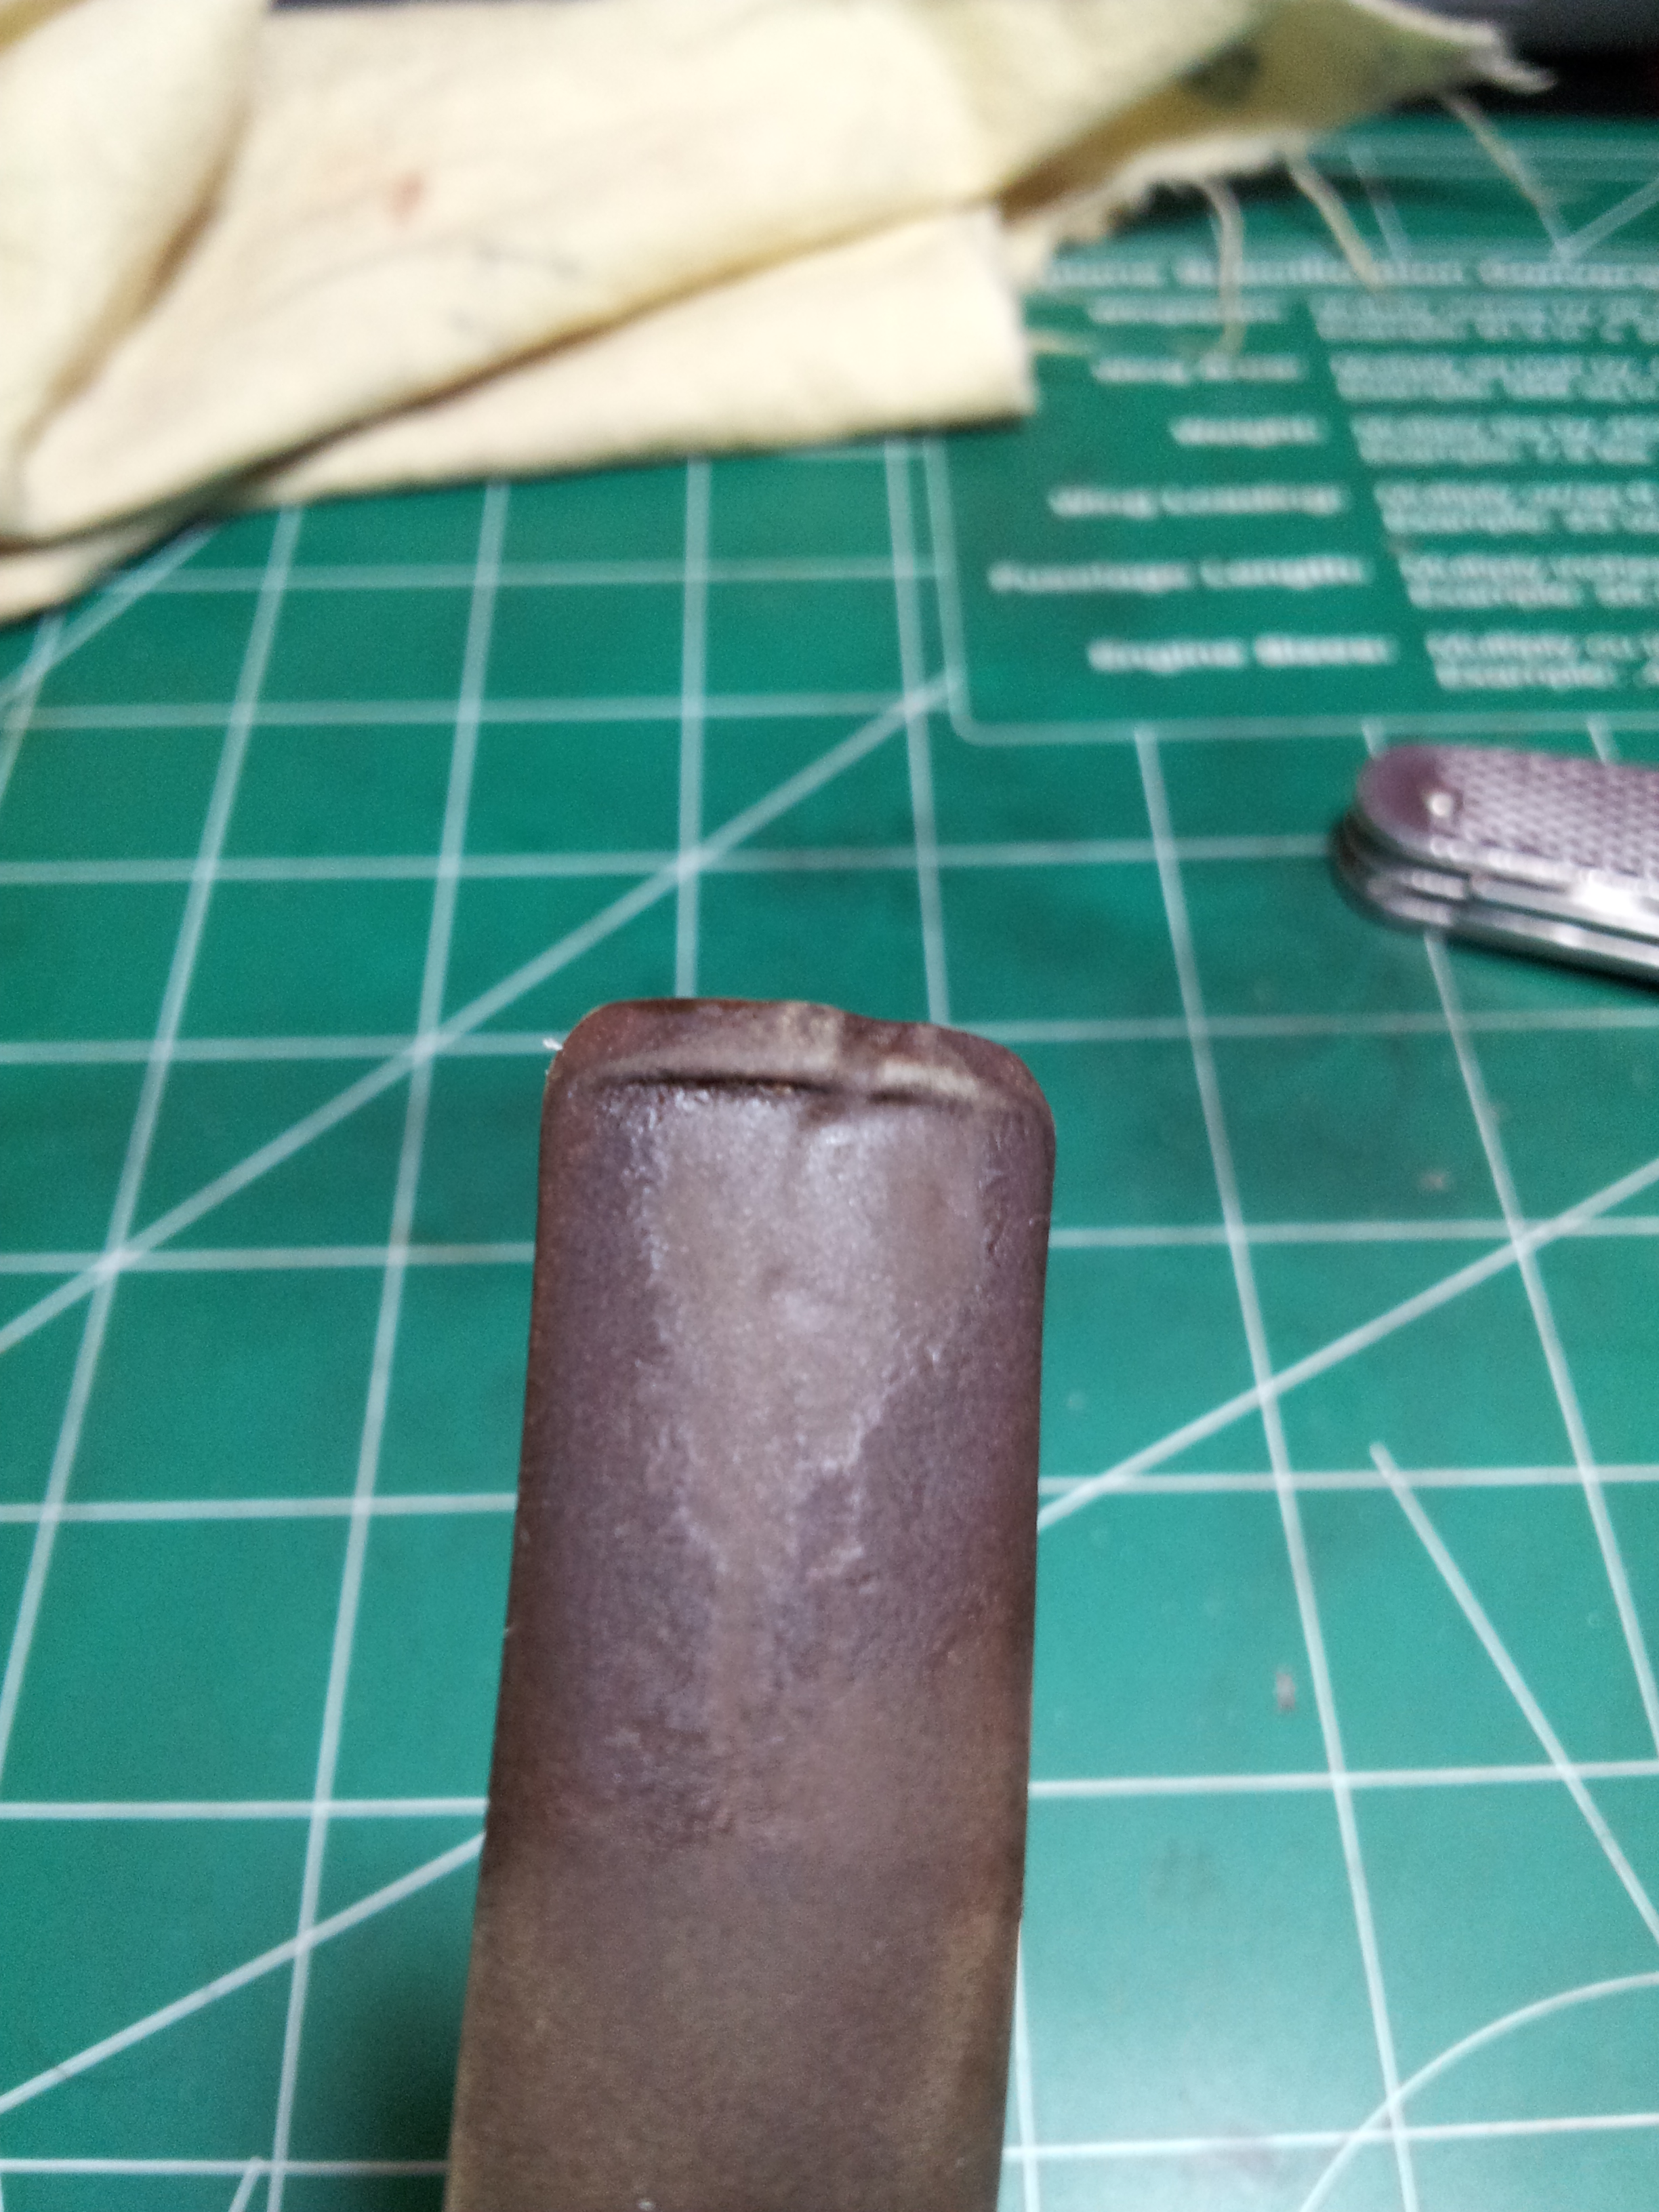
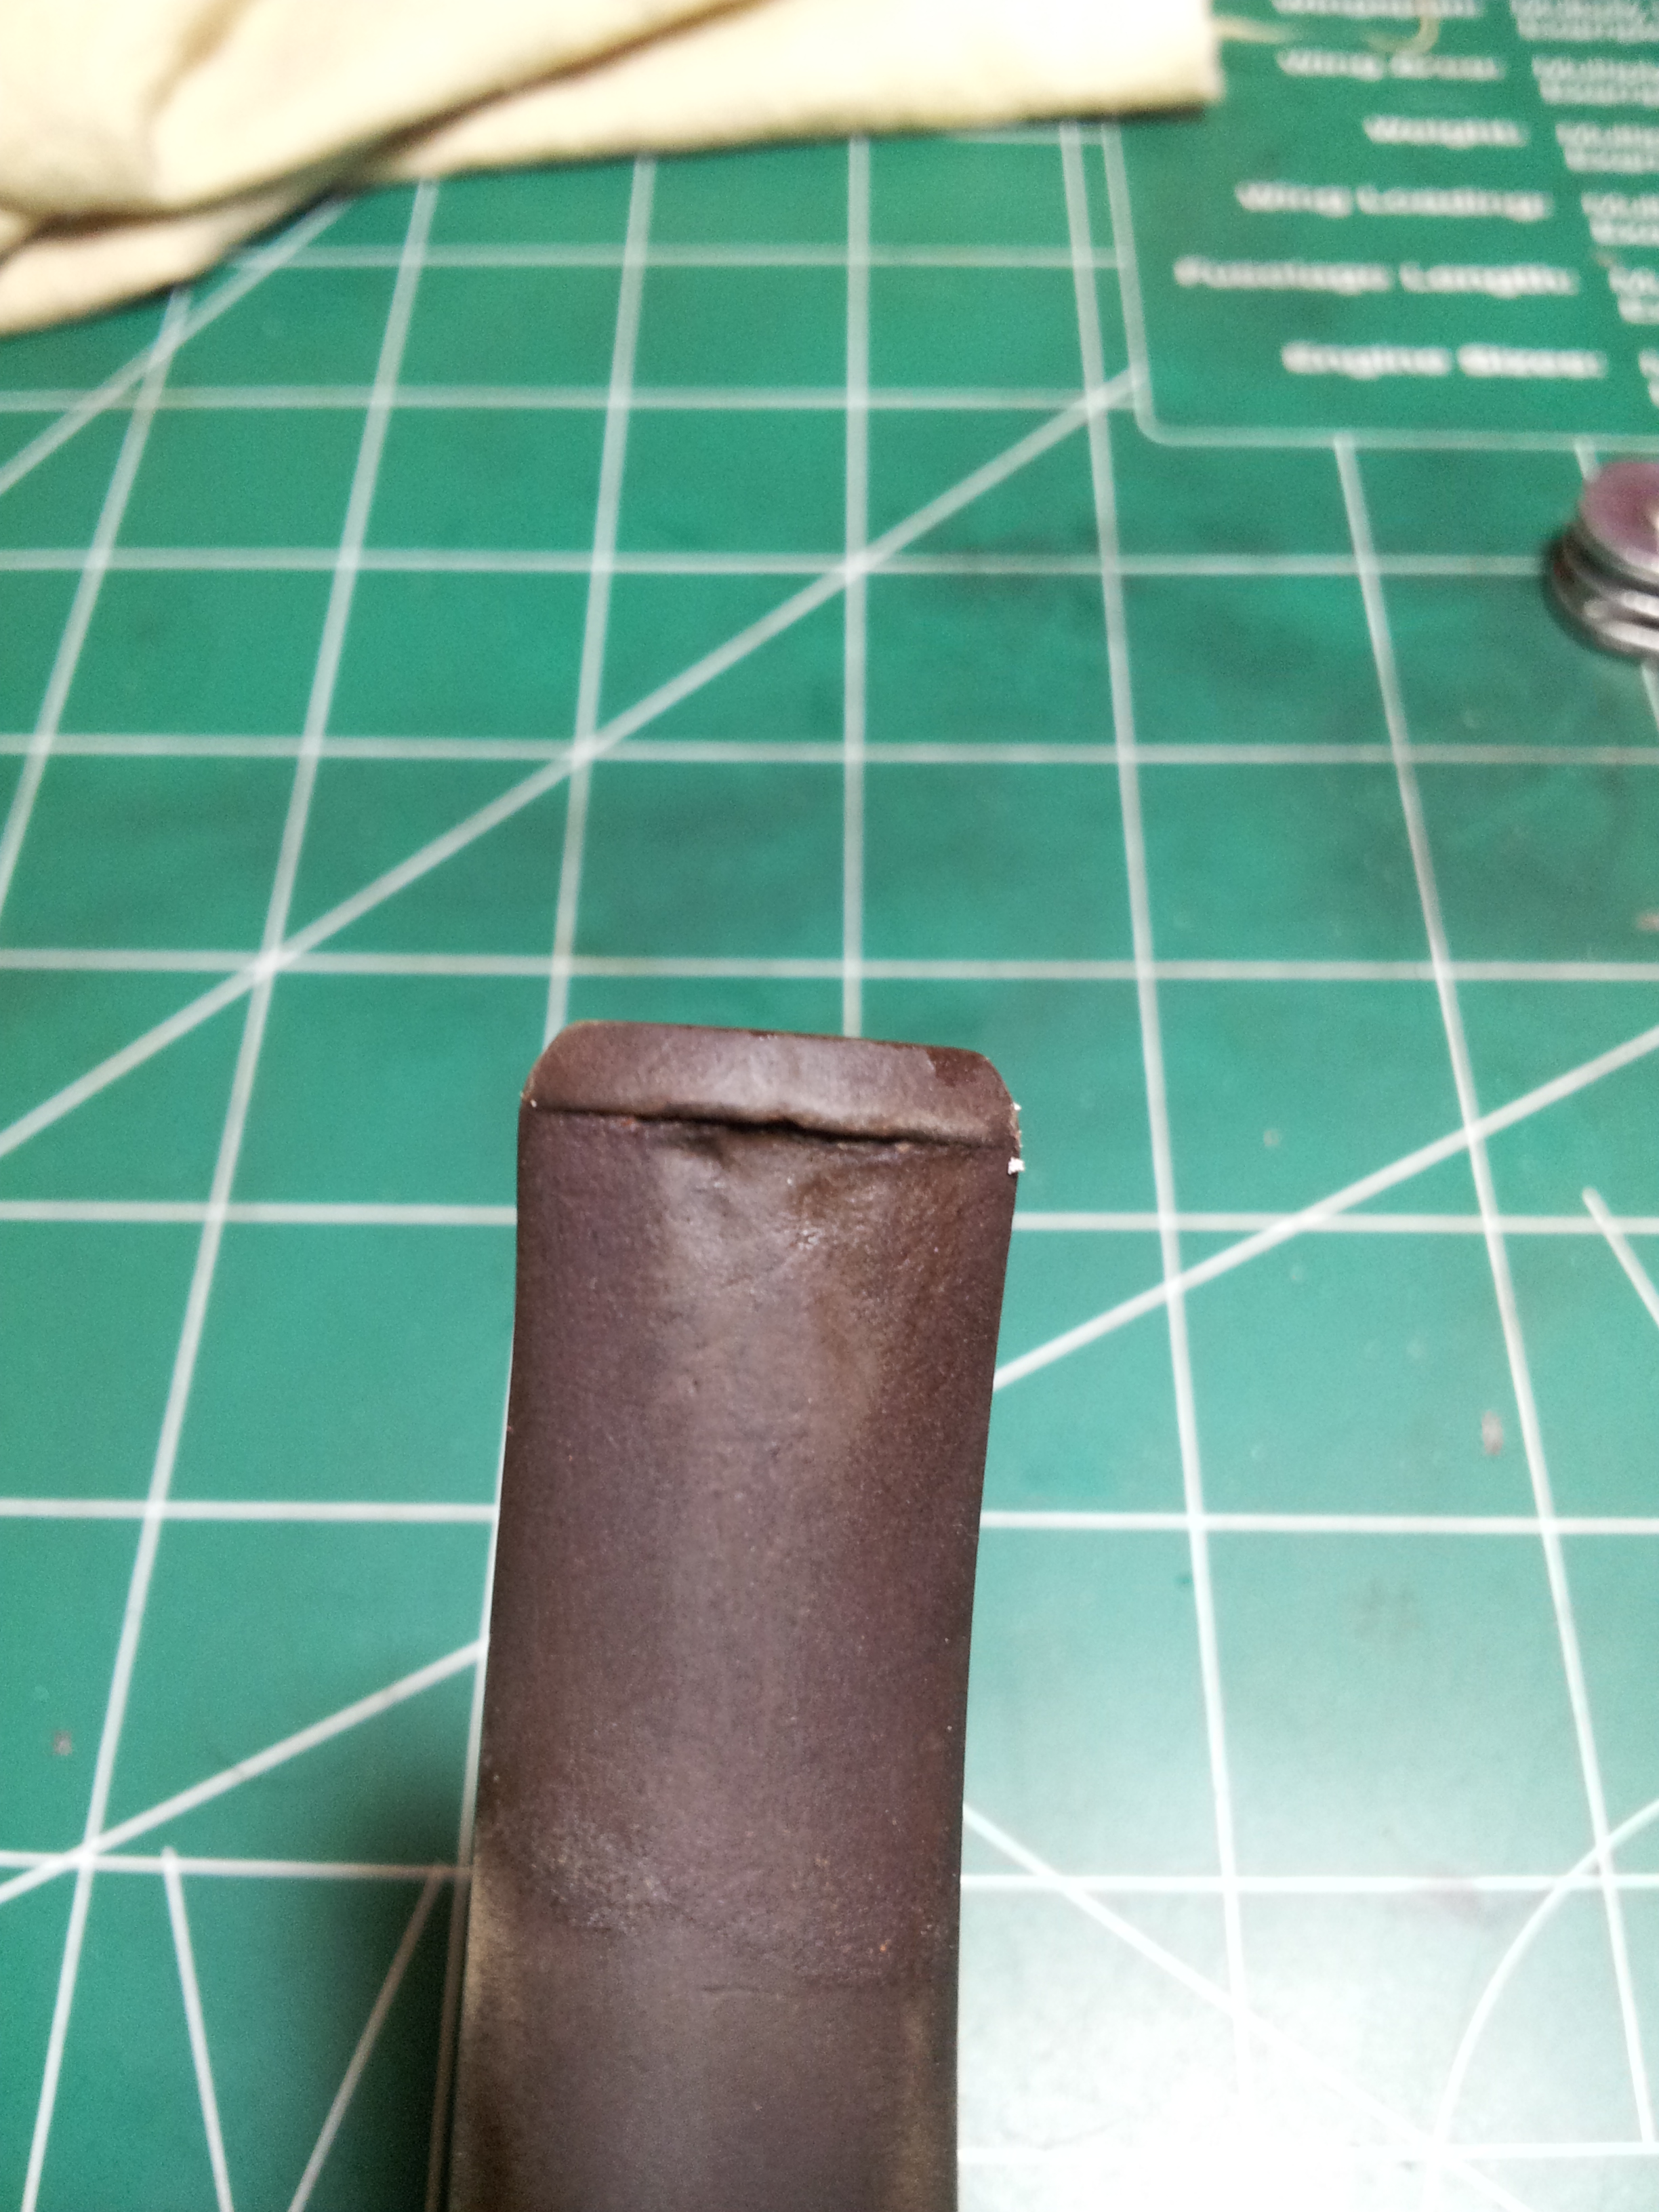
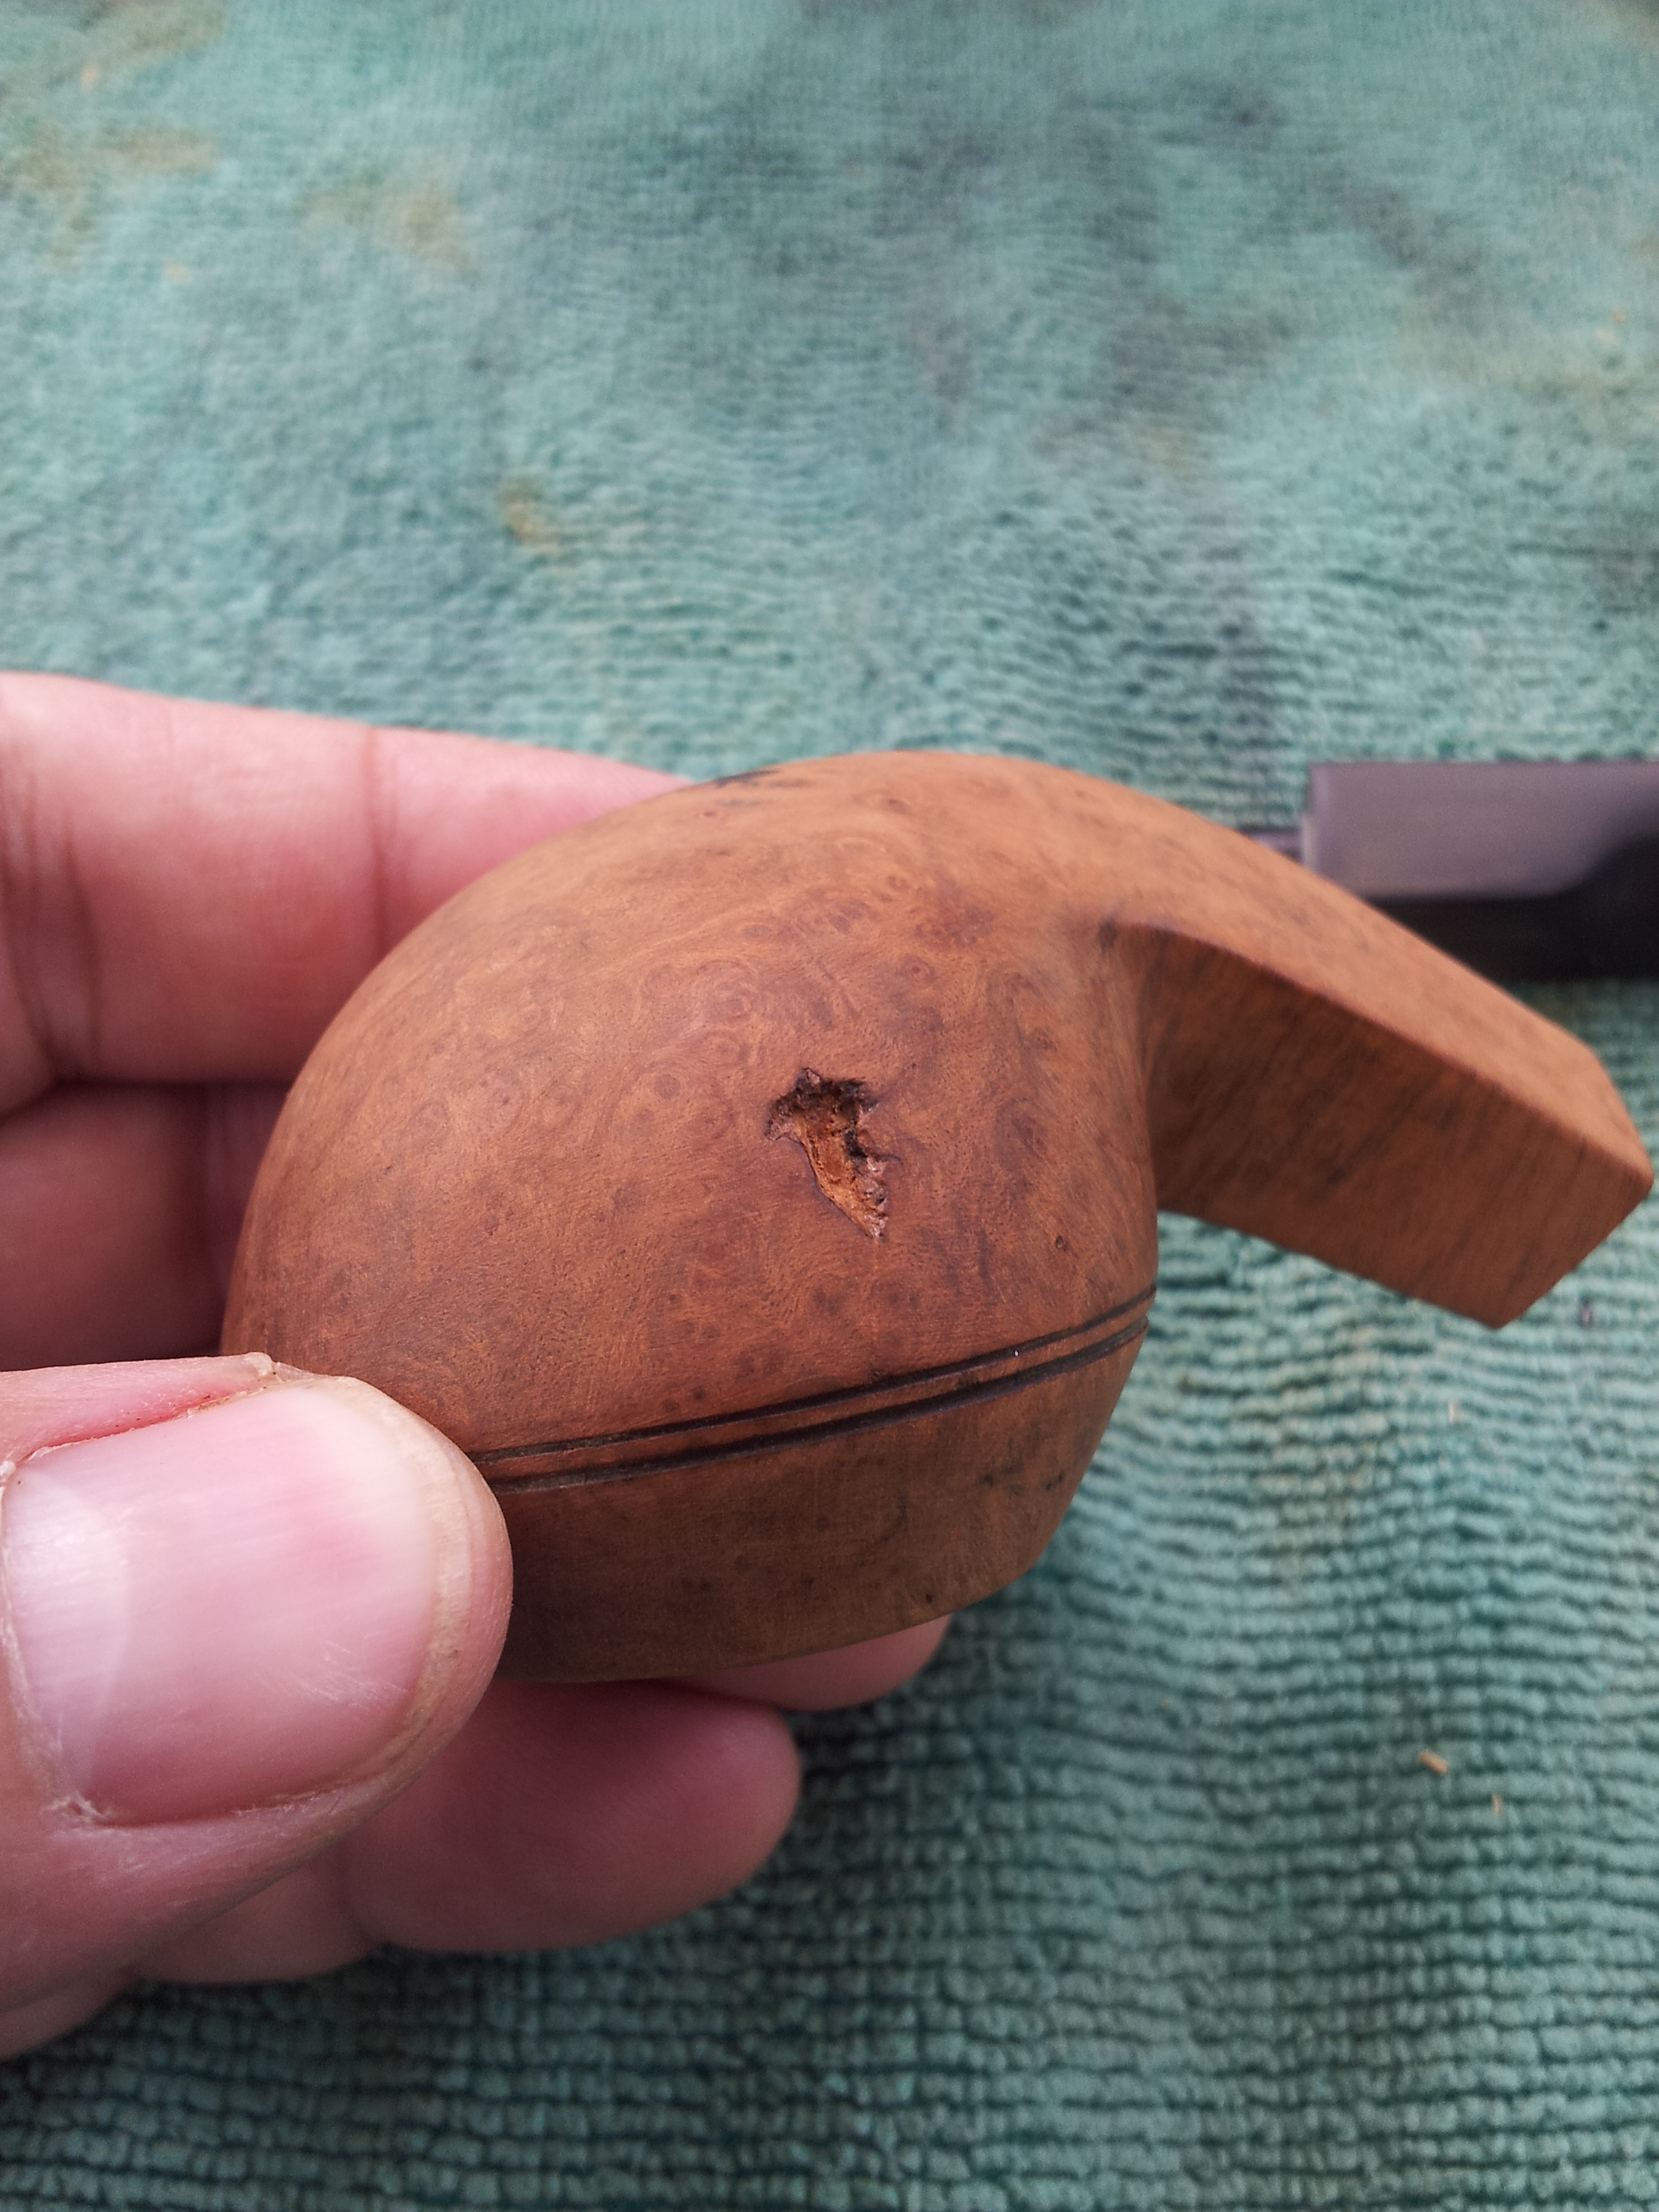
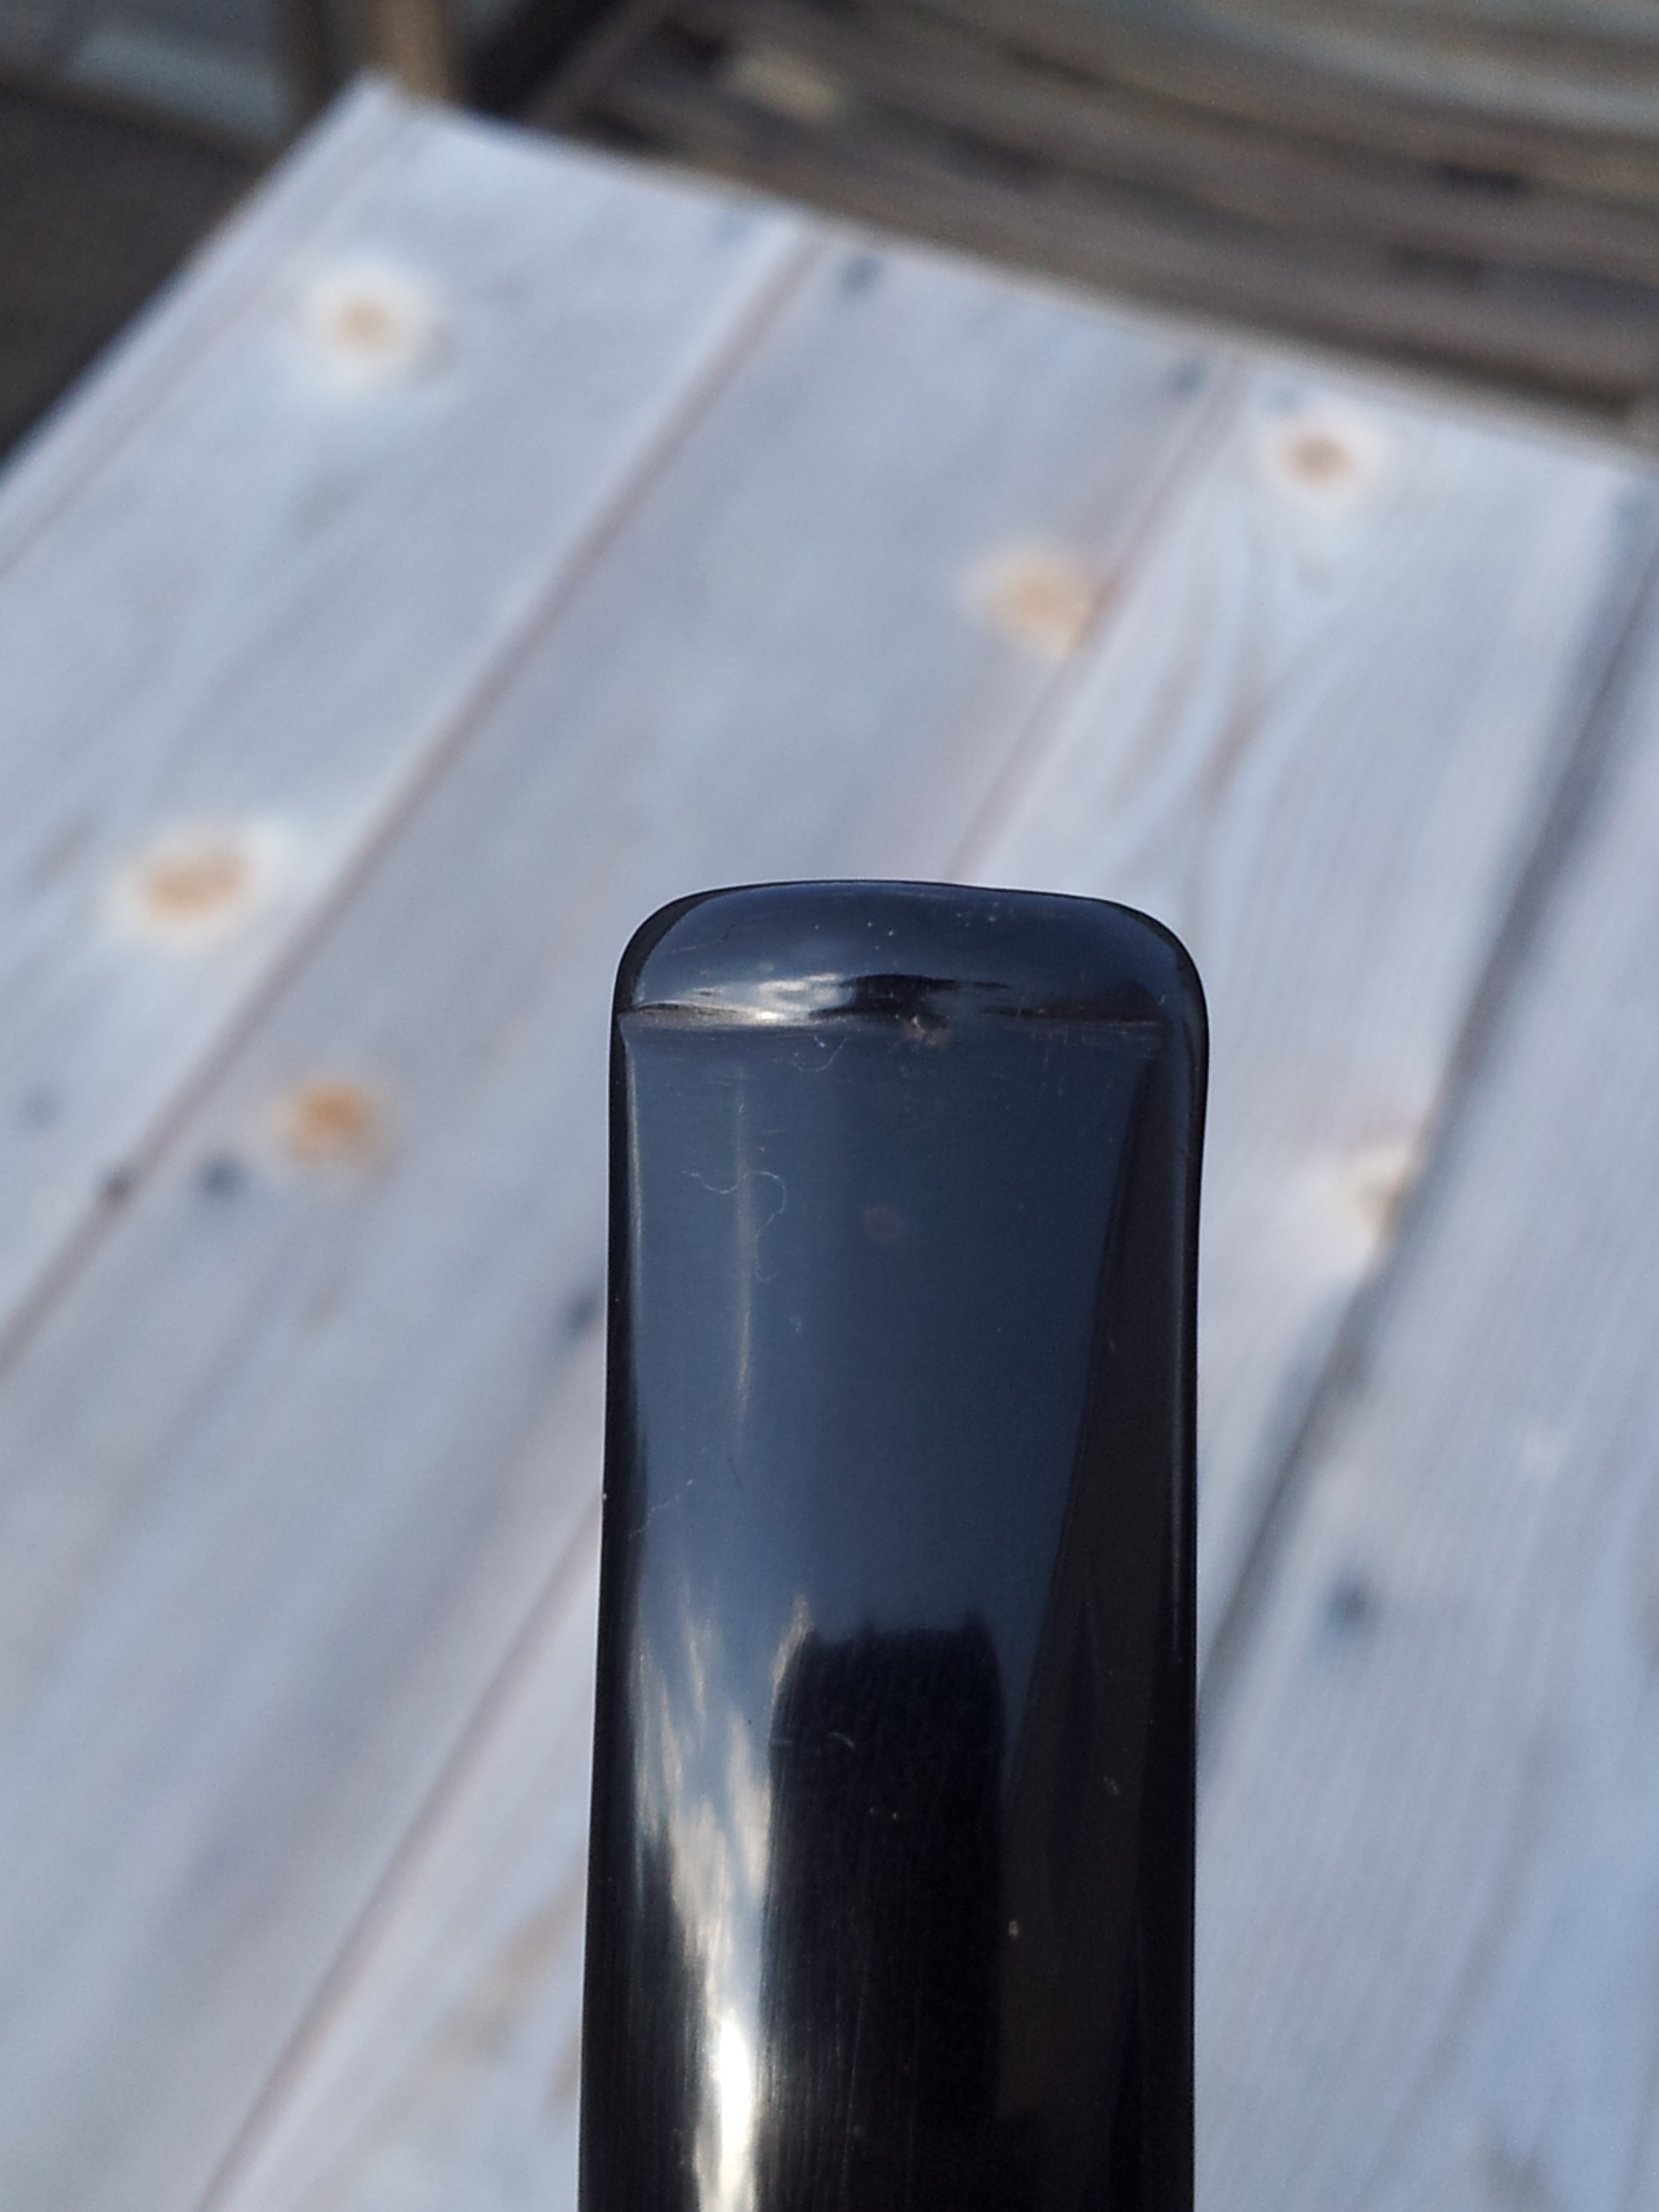
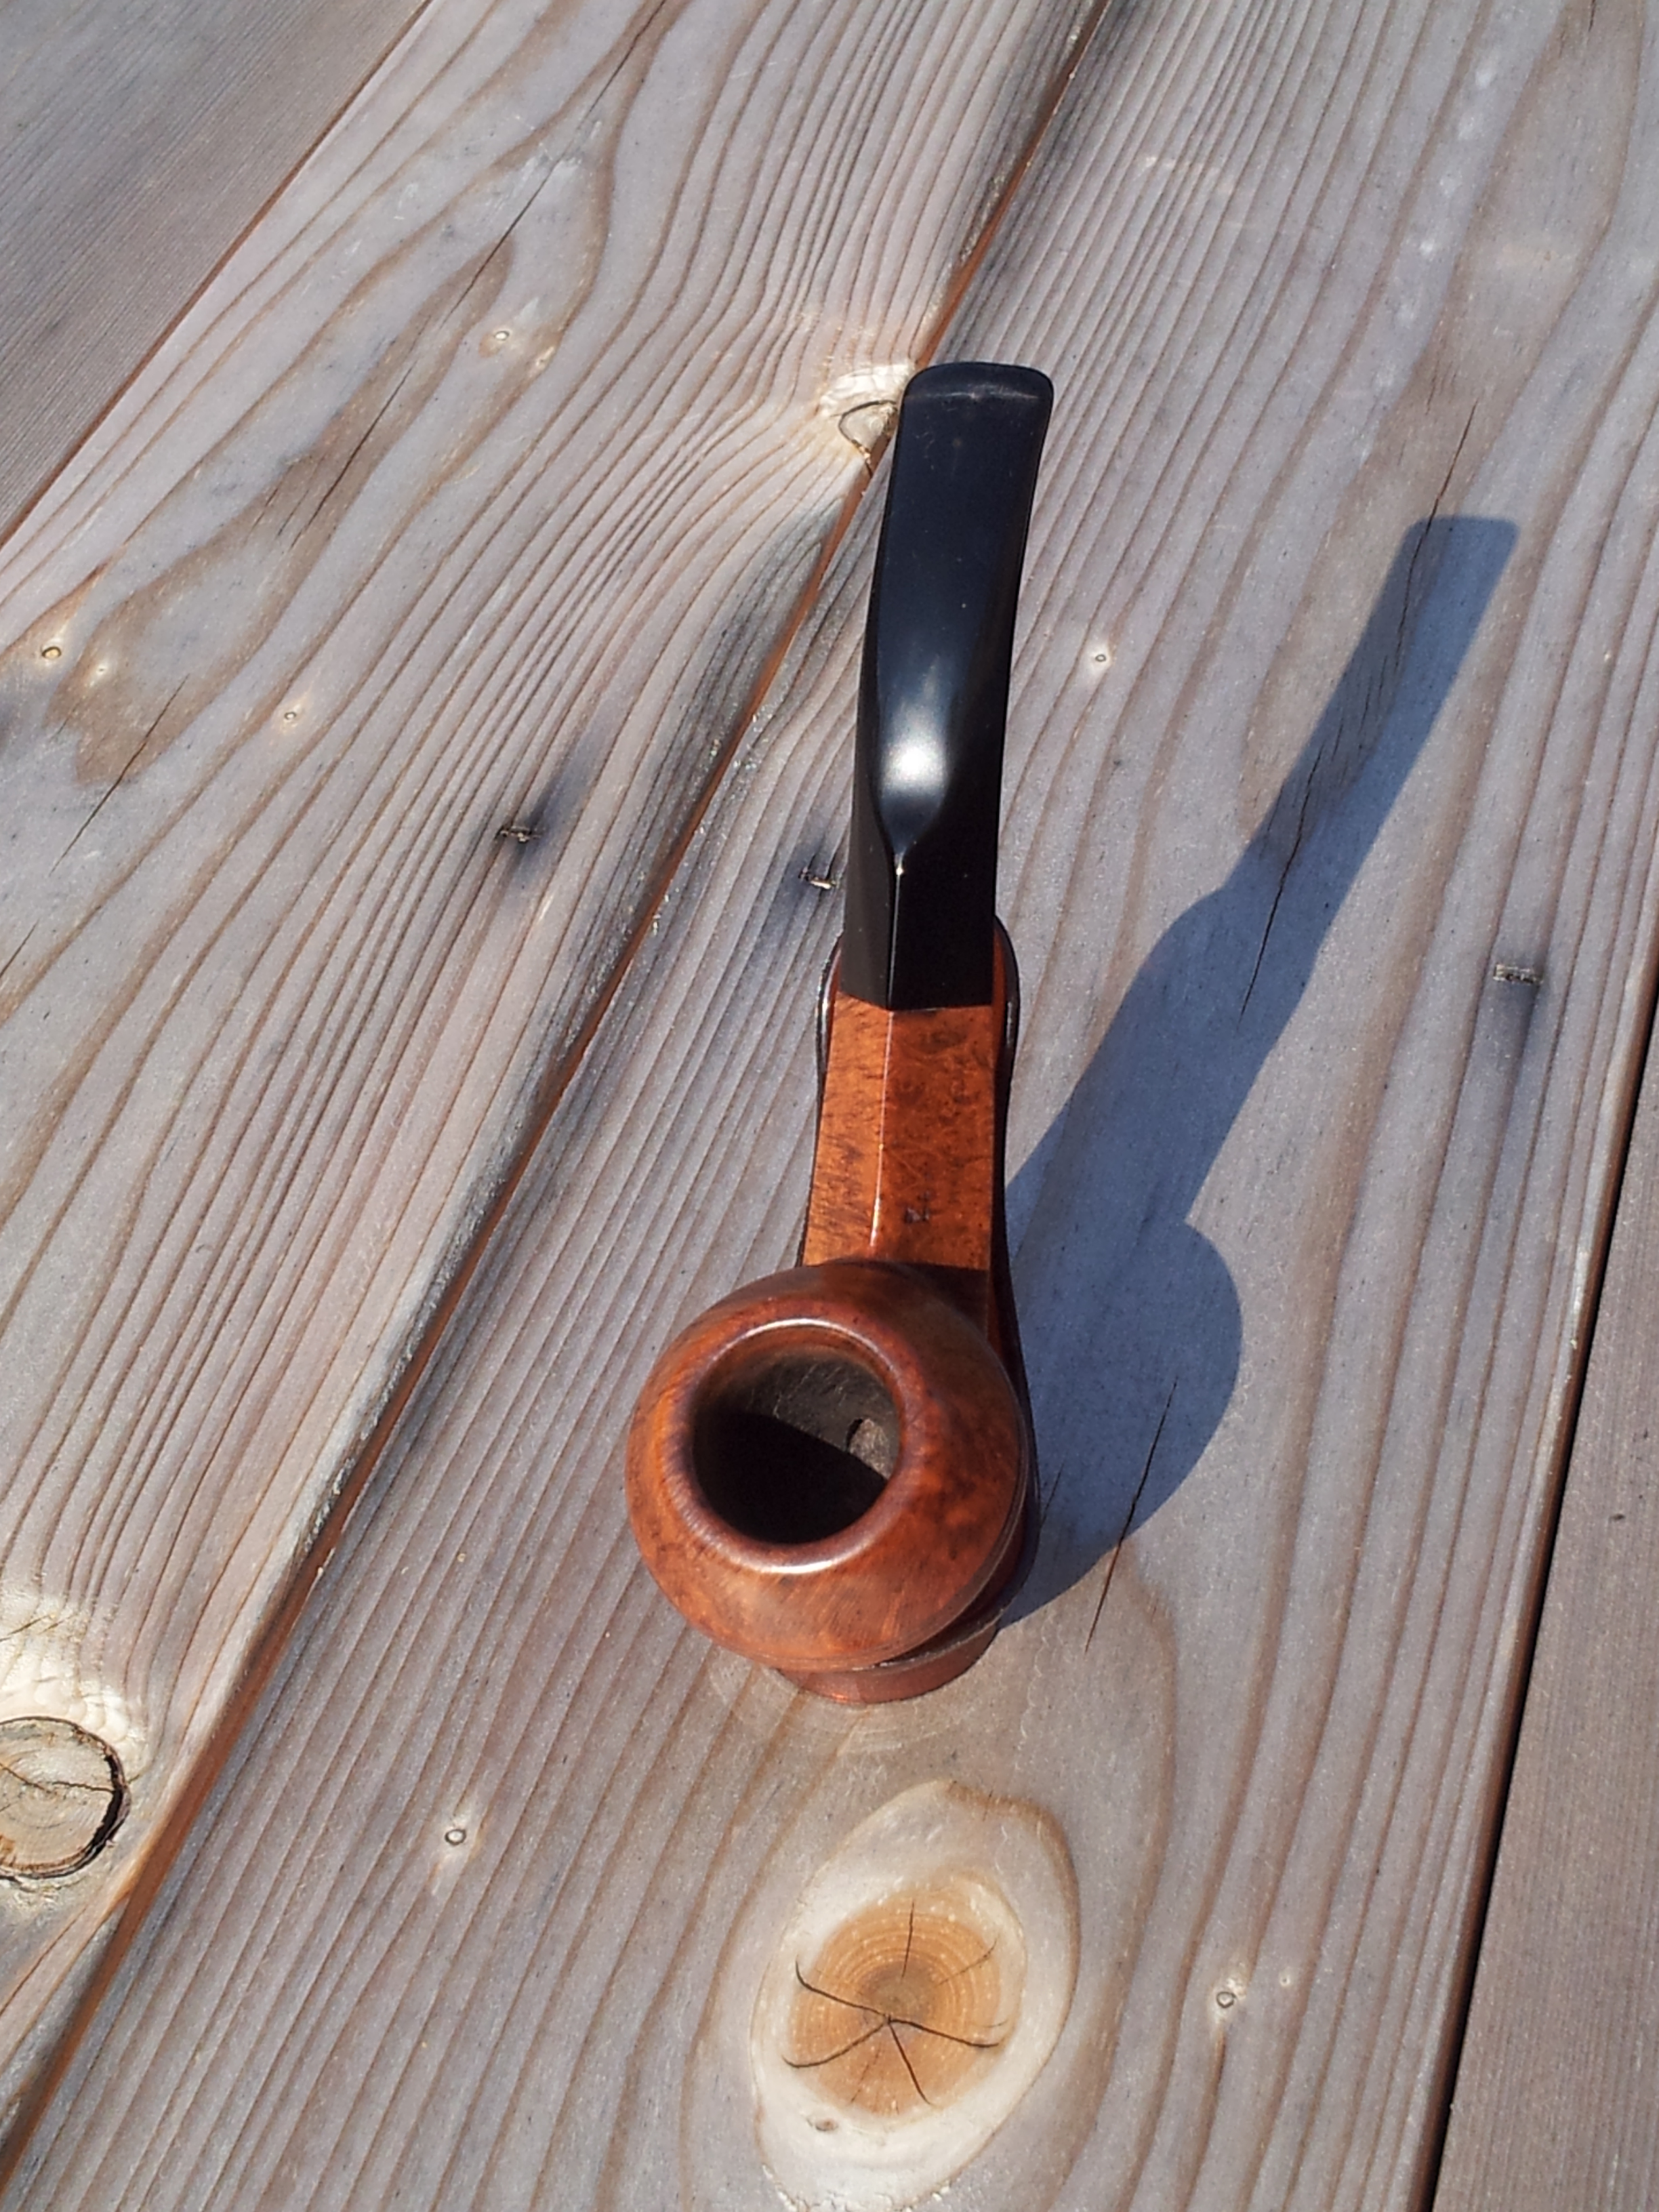
The pipe arrived on my work table like all the others from this lot – dirty! It had obviously been smoked a lot, as the bowl was clogged up with a heavy cake. In fact, the airway at the bottom of the bowl was completely caked over. The rim also had a layer of tars. The outside of the bowl was grimy and had two large spots where factory fills had fallen out. I also found a small crack on the bottom of the outside of the bowl. The stem was in similar condition – oxidized a grey/green colour and the bit was suffering from tooth dents top and bottom, including one that cut completely through the top of the bit.
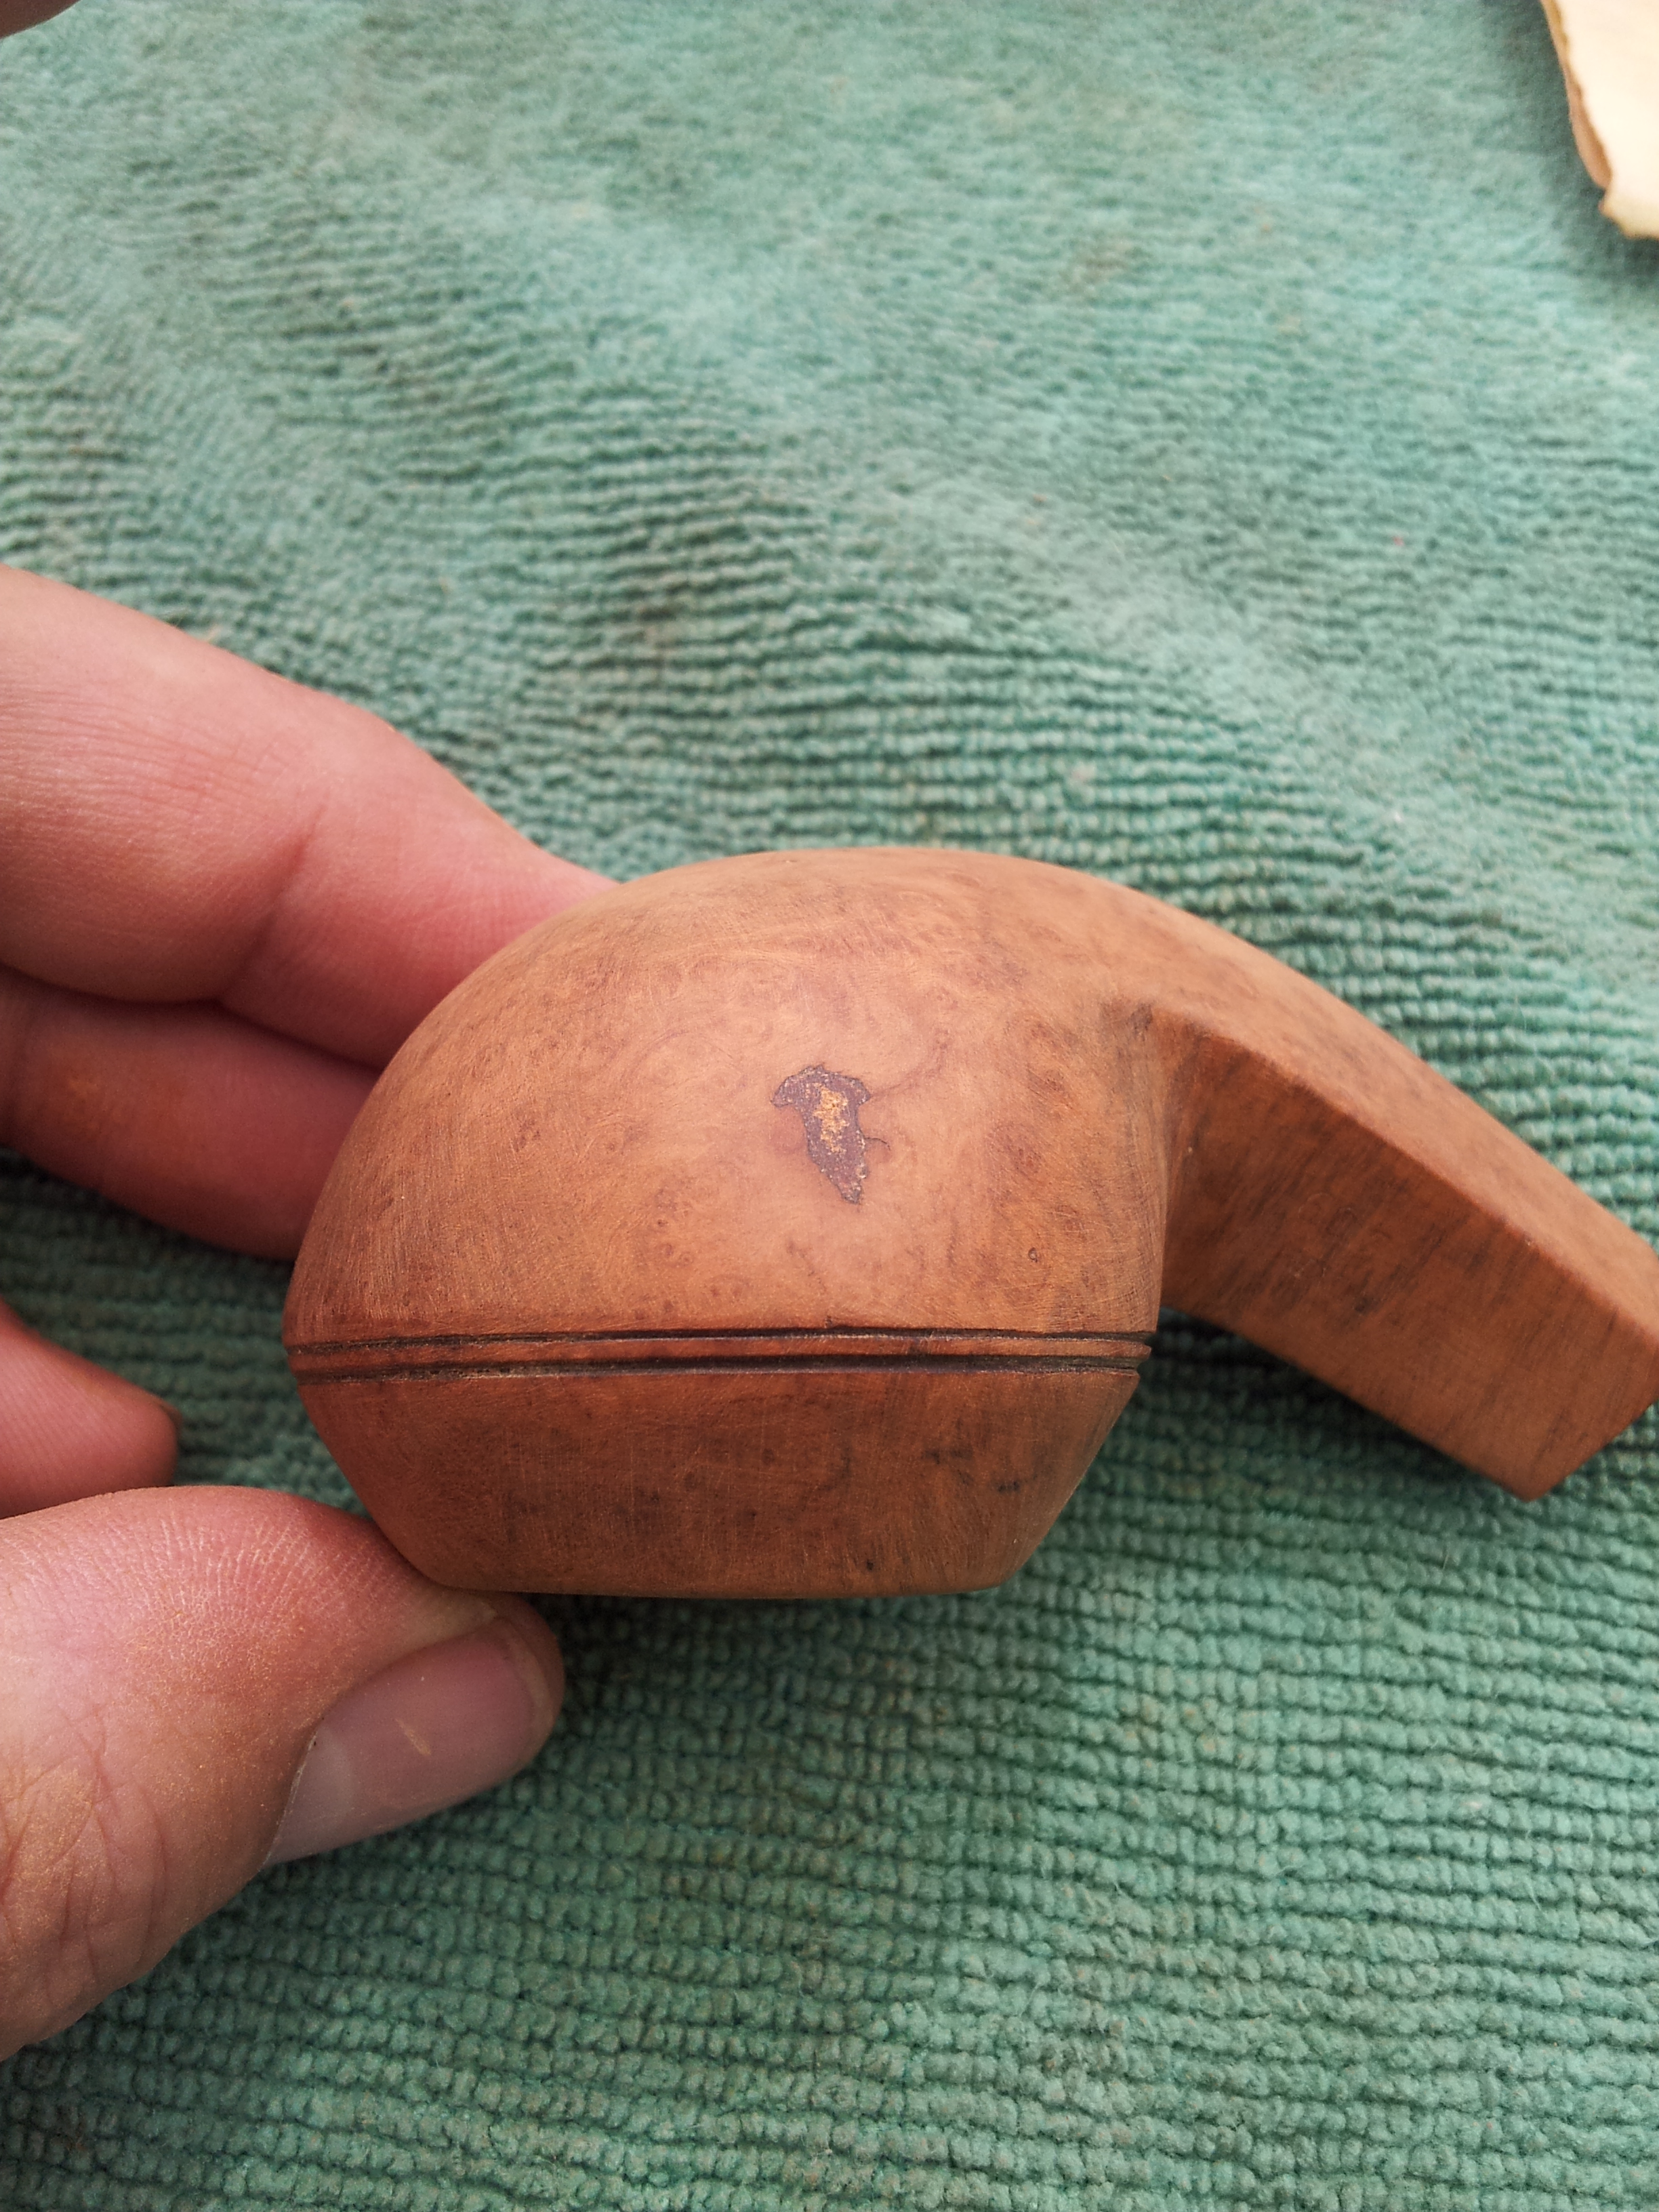
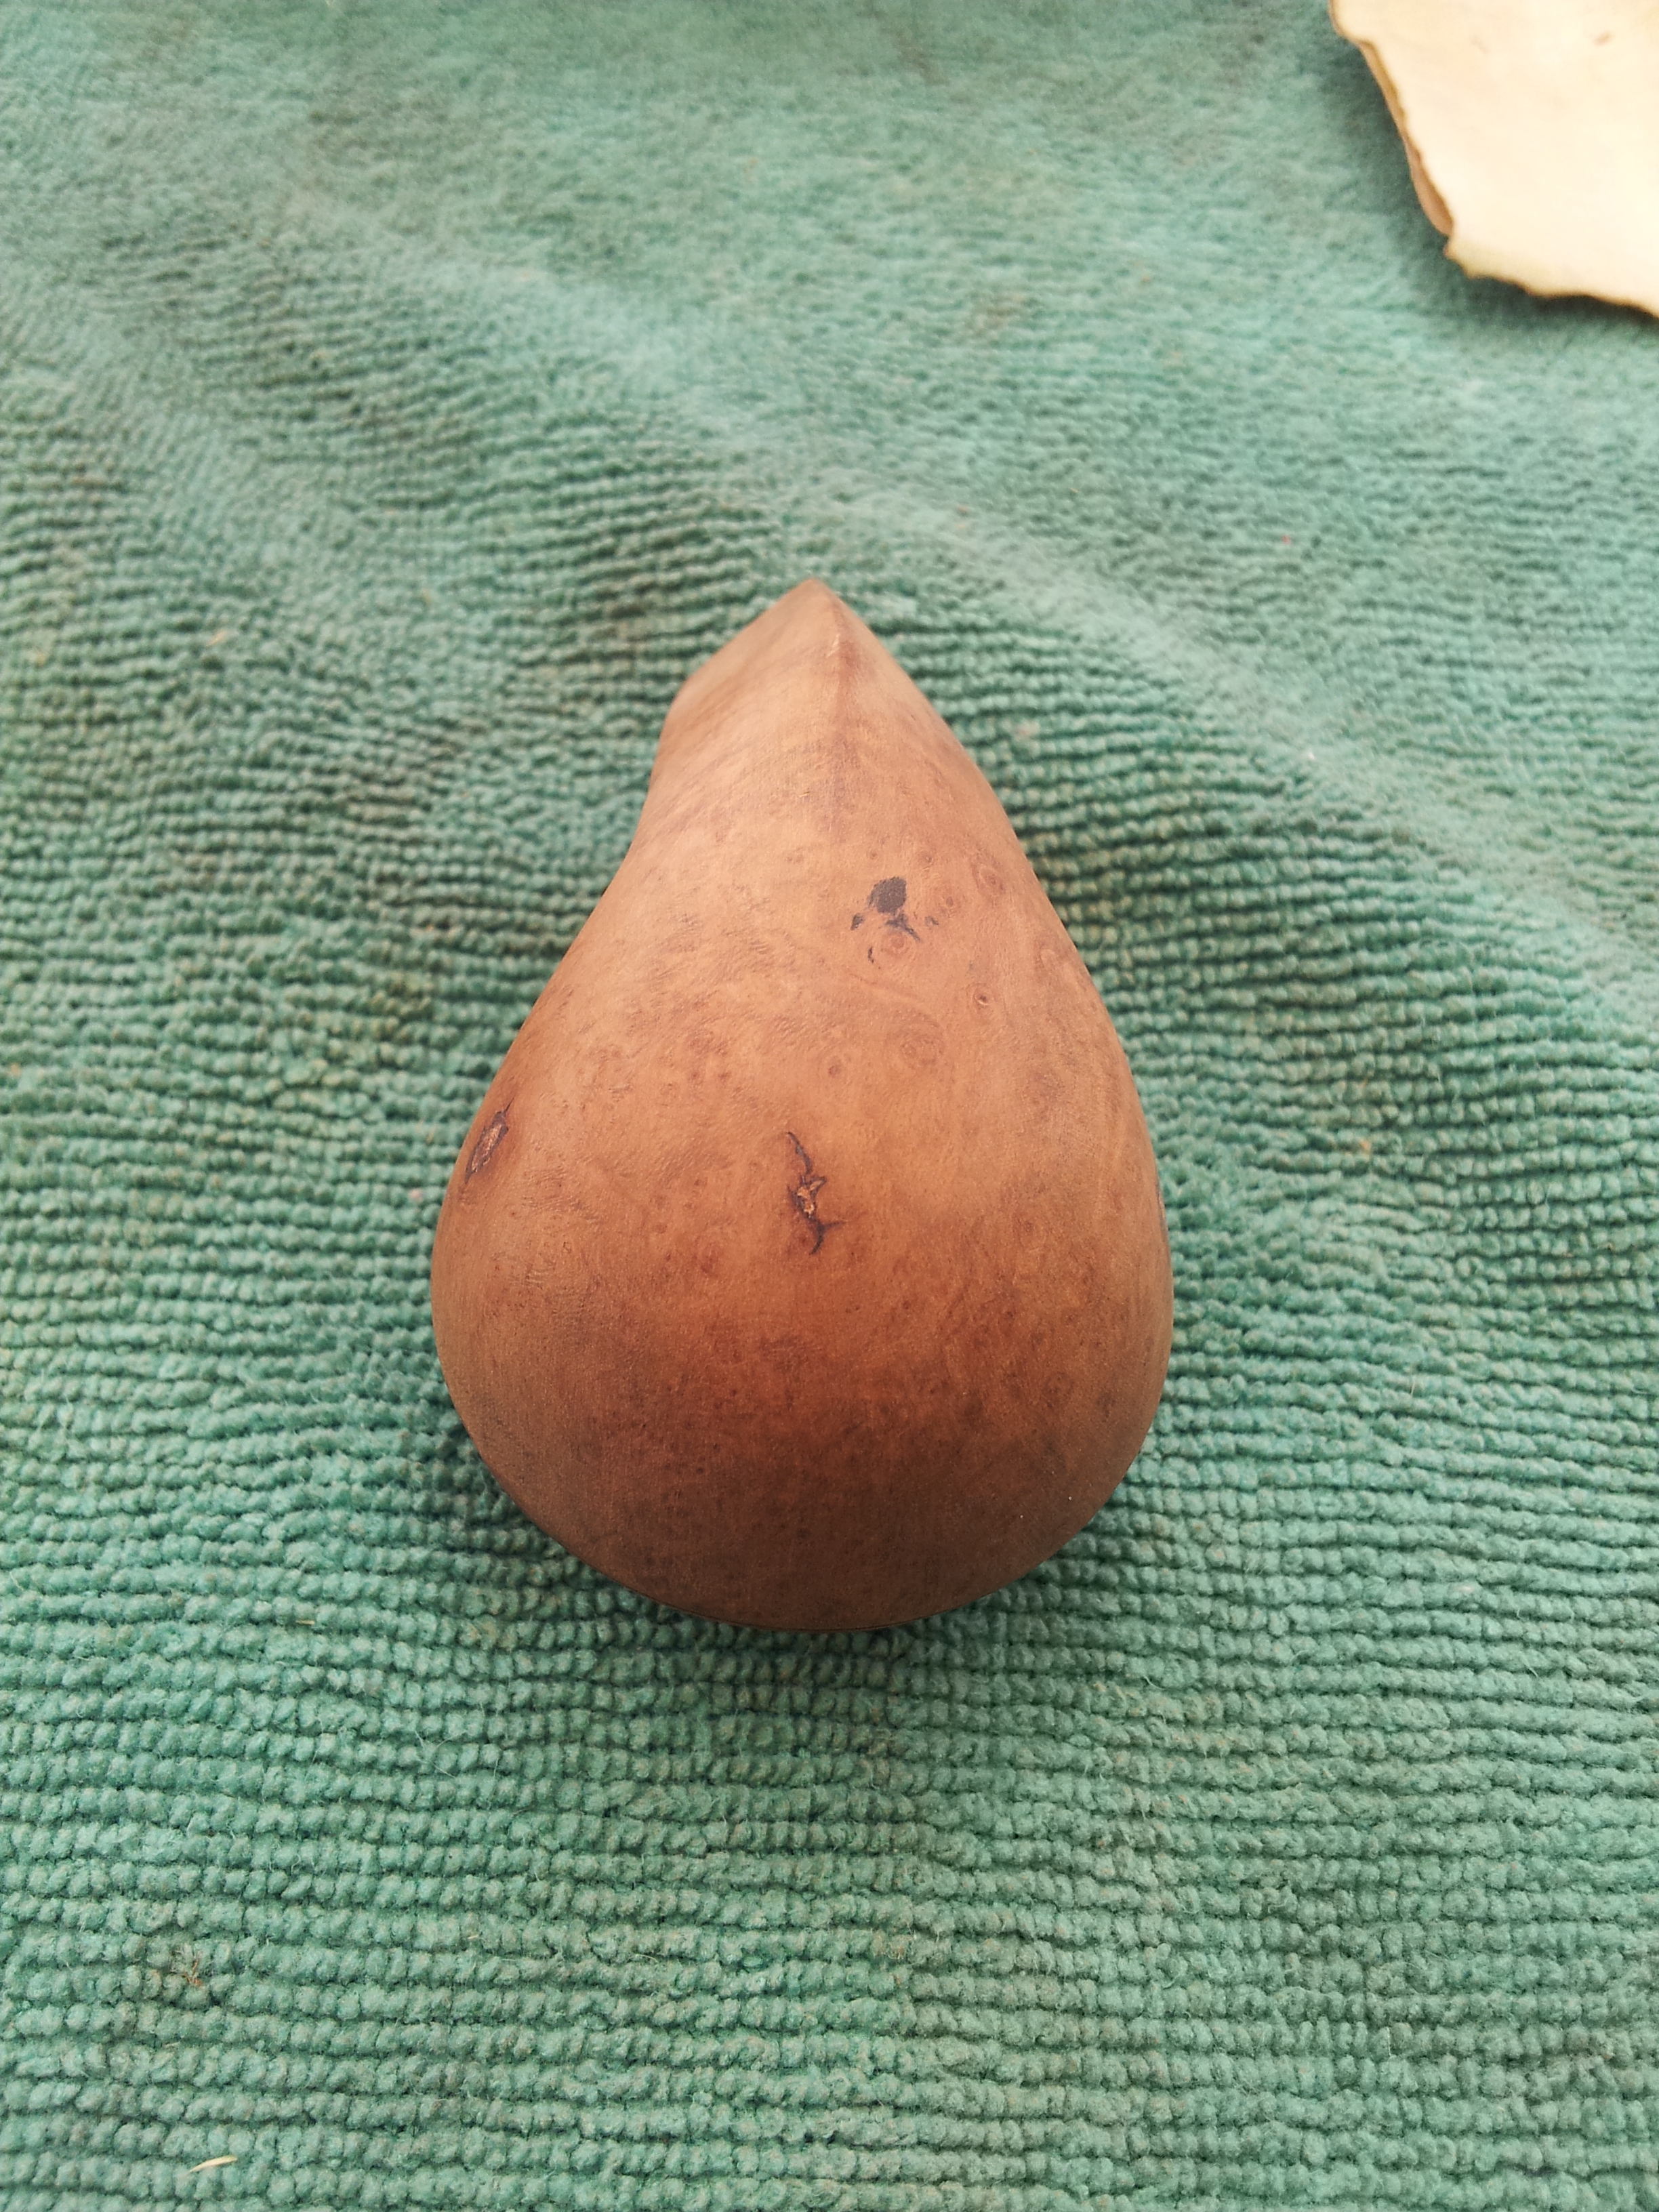
The pipe as found:


Step 1 was reaming the bowl to remove the old cake and inspect for interior damage. I was happy to see that the small crack I had found on the outside of the bowl did not penetrate through the briar into the chamber. I then used a series of small drill bits to reopen the airway from shank to bowl. I started with a 1/8” bit, and turned it by hand until the drill bit broke through the accumulated tars and cake into the bowl. I moved on to larger bits, ending at 5/64”. At this point a few pipe cleaners dipped in isopropyl alcohol finished the job, removing the last of the old tars and gunk from the shank.
Moving on, I dropped the stummel into an alcohol bath and the stem into an Oxyclean bath for a nice long soak. I pulled out the stem after about an hour and scrubbed the accumulated oxidation off with 0000 steel wool and a Magic Eraser pad. I paid careful attention to the shank end of the stem, as I didn’t want to round over the sharp edges of the diamond shank. After this initial scrub-down, I did all the stem sanding with the stem seated fully in the pipe shank so I could easily maintain the crisp transition from briar to vulcanite.
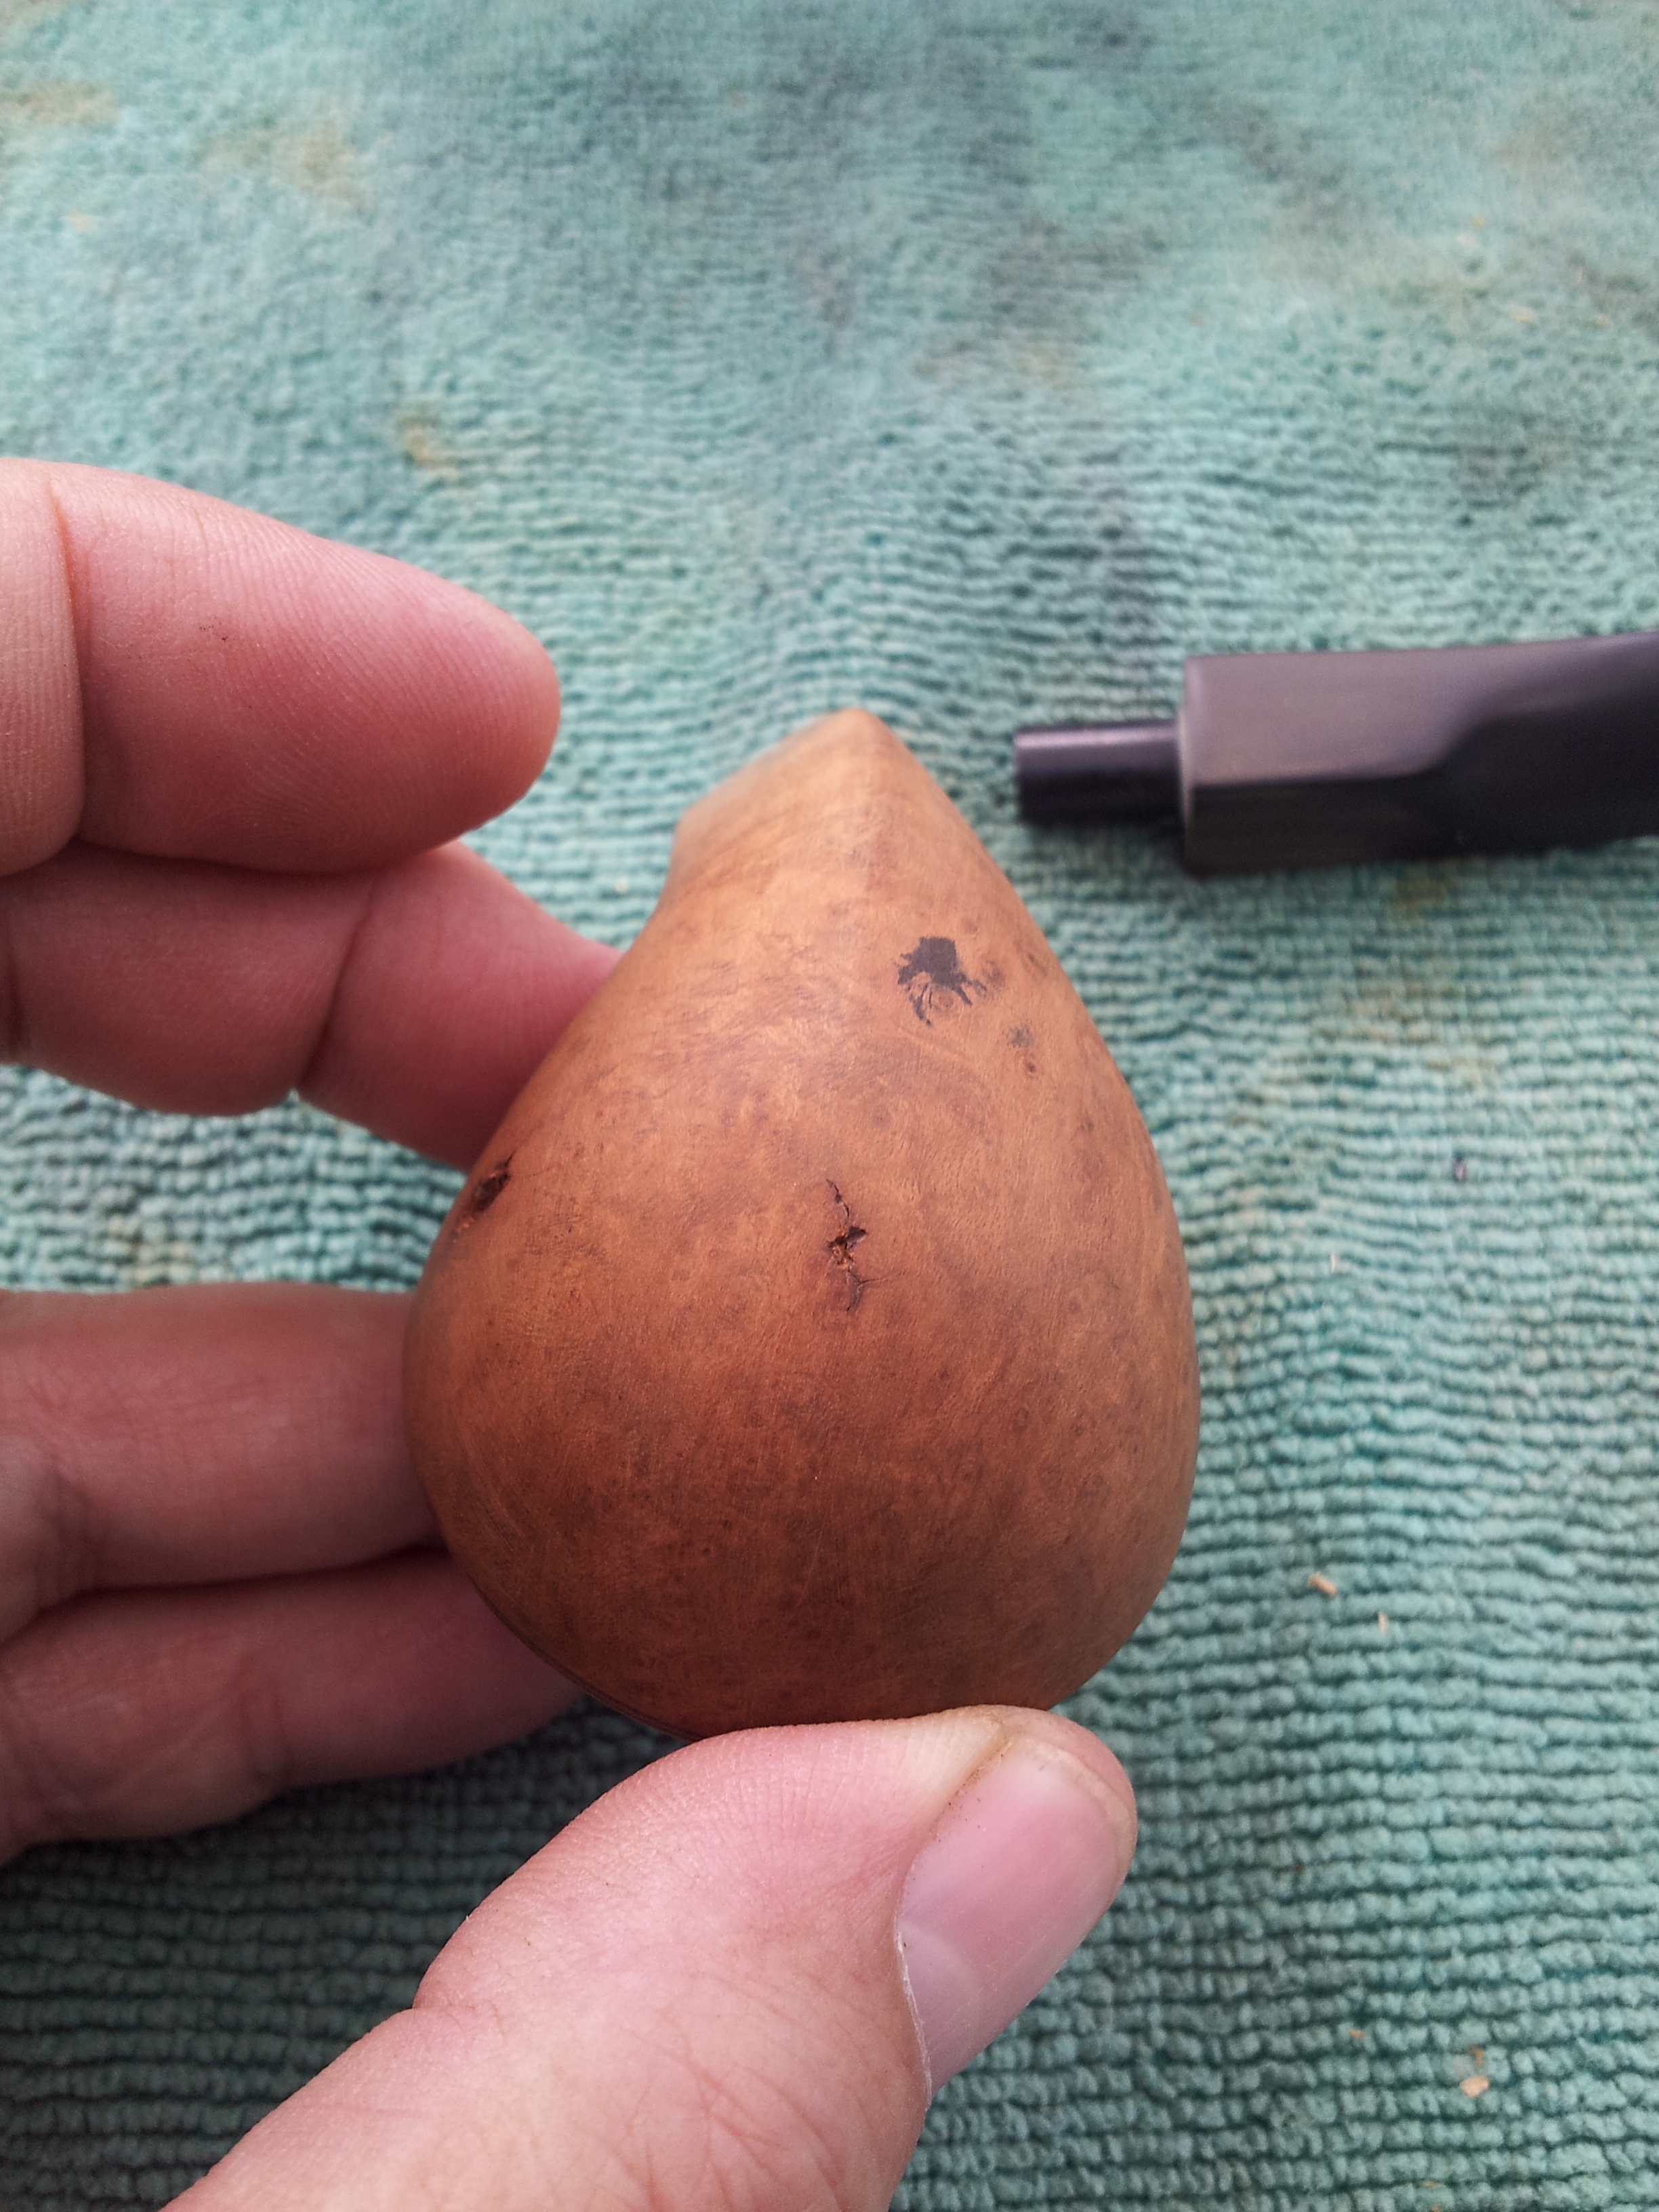
With the basic work on the stem complete, I moved to the stummel. I pulled it out of the alcohol bath and dried it with a towel before giving it a good inspection. The alcohol had softened the remains of the old putty fills in the two large dents. I carefully picked out what was left of the putty and gave the entire stummel a once-over with some 320-grit sandpaper. Here’s the pipe at this point.

Time to do something about those dents! I mixed up some fill material from CA glue and briar dust and pressed it into the dents. I overfilled the dents, as the glue will shrink slightly as it dries. The patches were then sanded flush with the surrounding briar. Because of the depth of these dents, I had to repeat the fill/sand process several times, gradually bringing the fill level up to the surrounding wood. The small surface crack on the bottom of the bowl was repaired with a quick hit of thin CA glue.

Then it was time to sand, sand and sand some more! The briar dust fills levelled out quickly. I then sanded the entire pipe, spending a lot of time working out a darker patch on the front face of the bowl and what looked like an ink stain on the lower left.
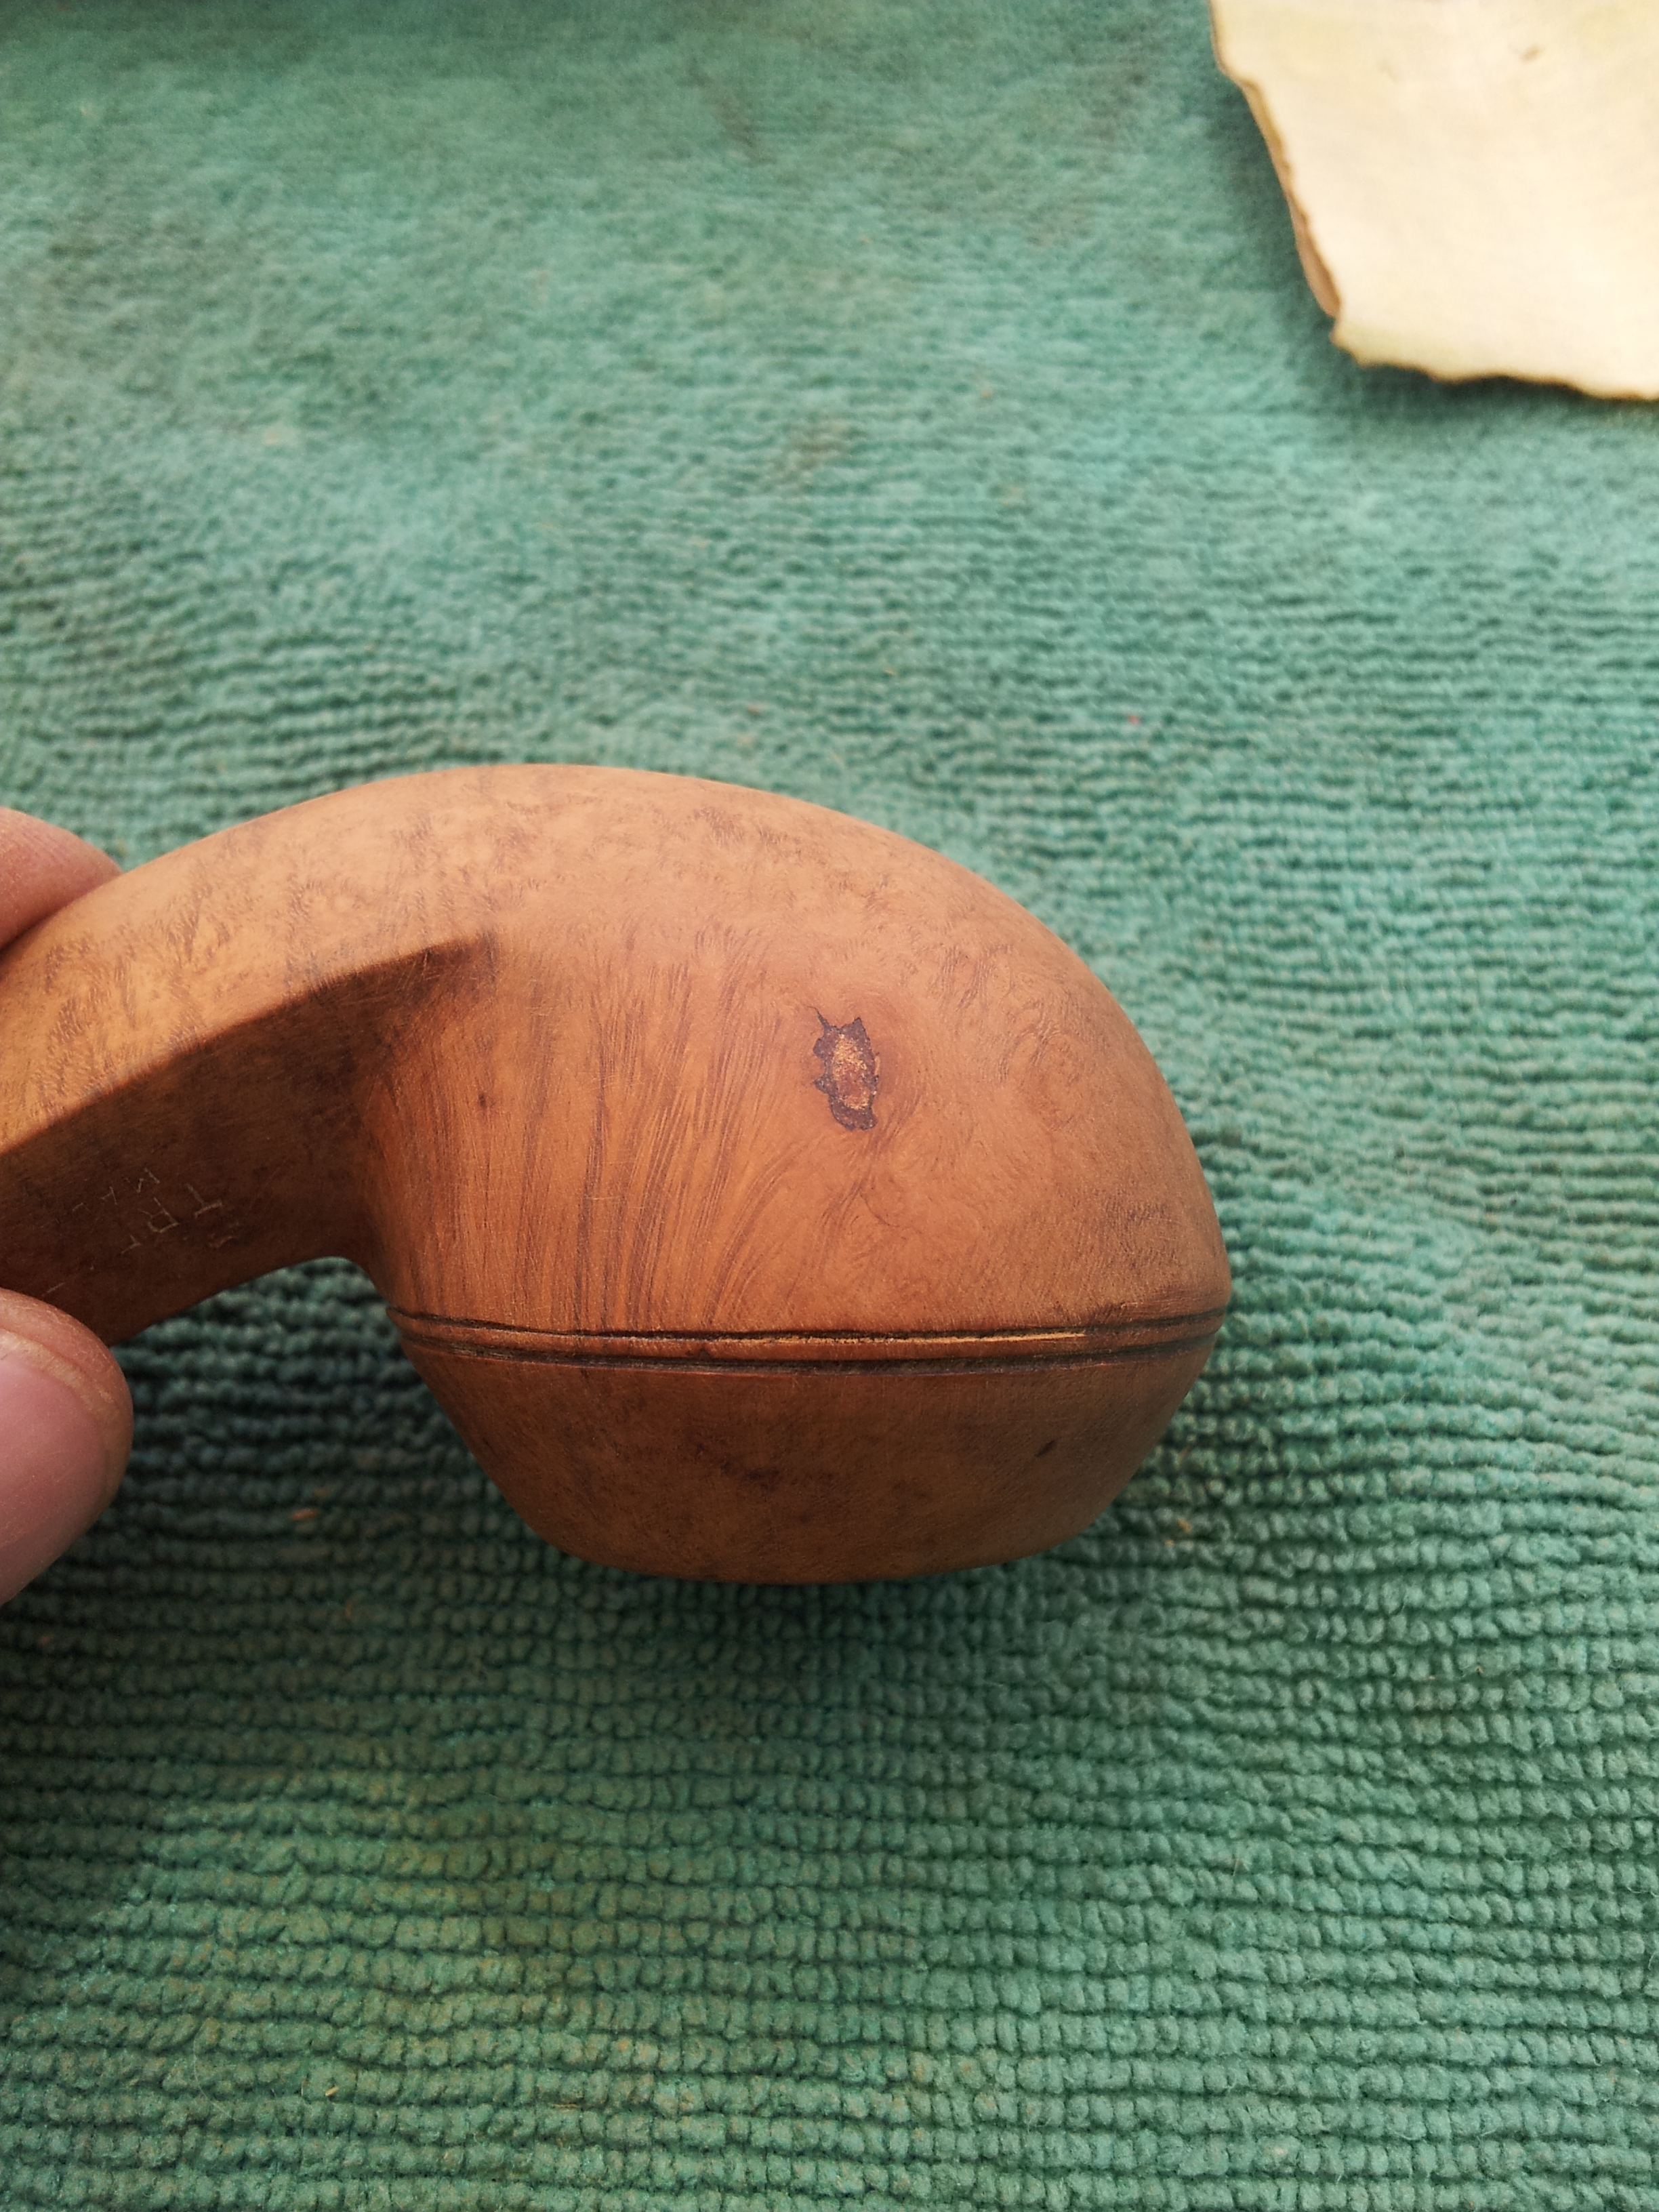
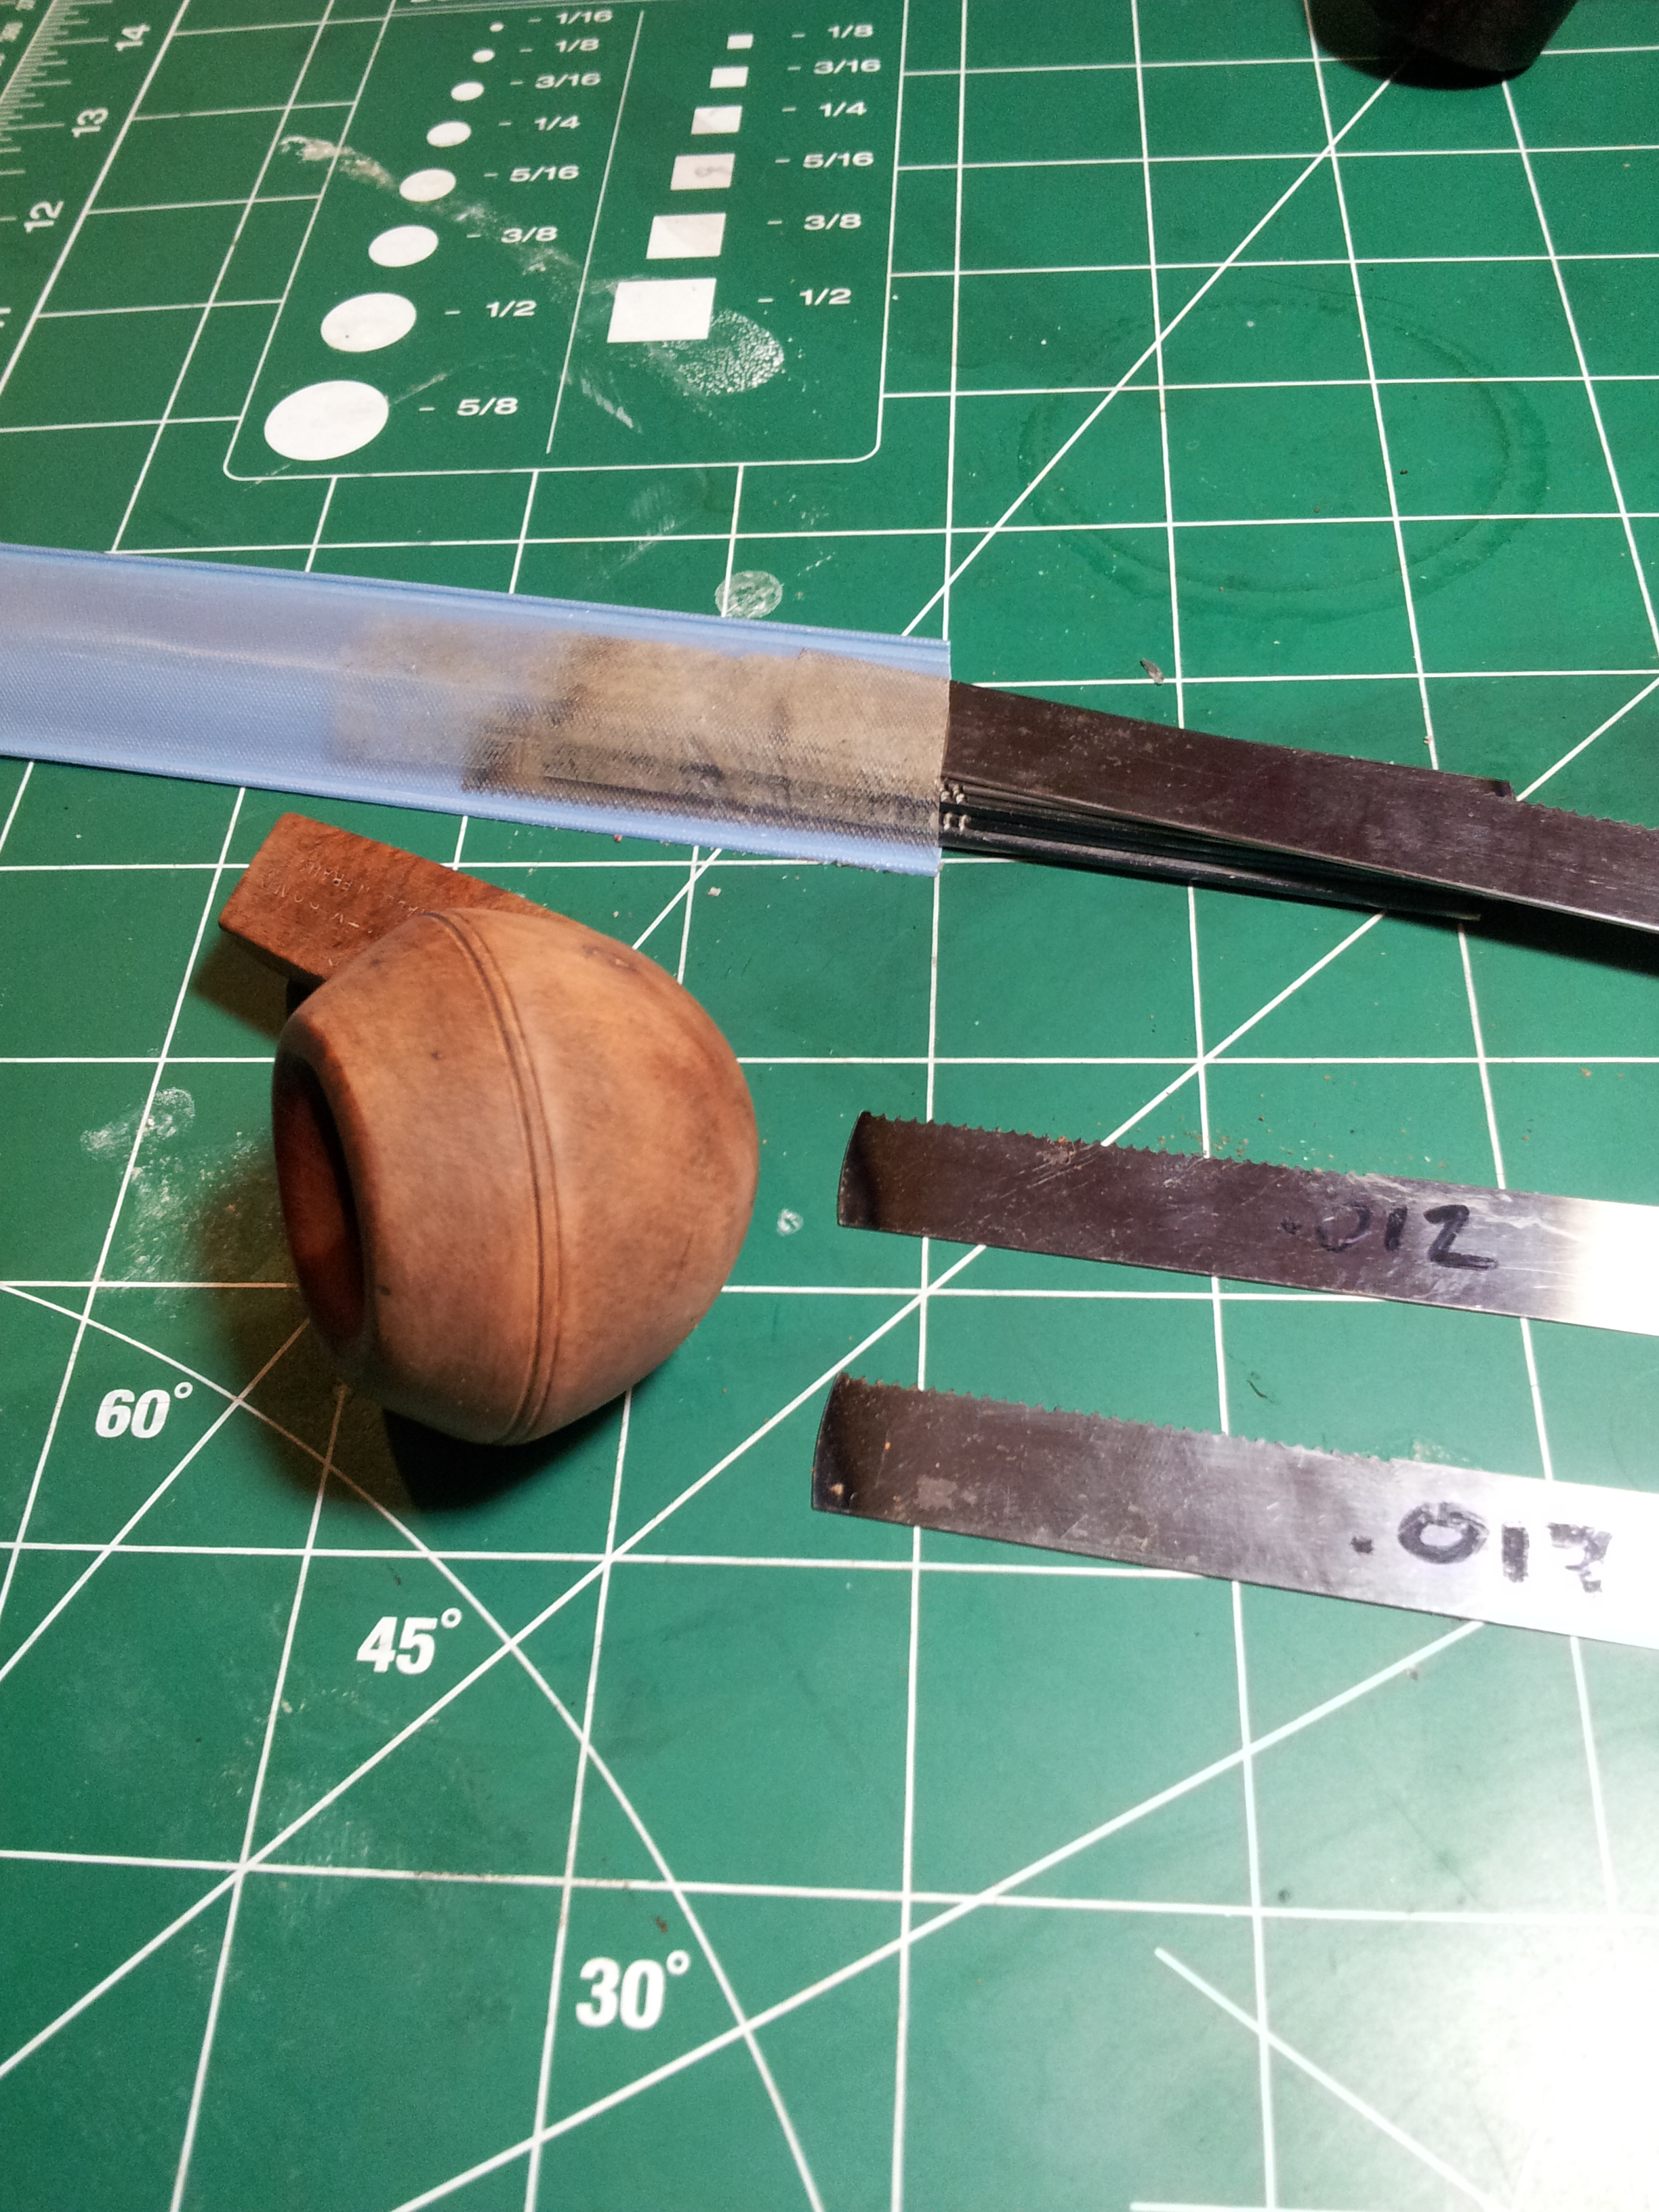
All the sanding left the twin rings around the bowl slightly shallow, so I dug into my guitar repair kit and used several thin files (made for cutting string slots in bone) to clean out and redefine the rings.
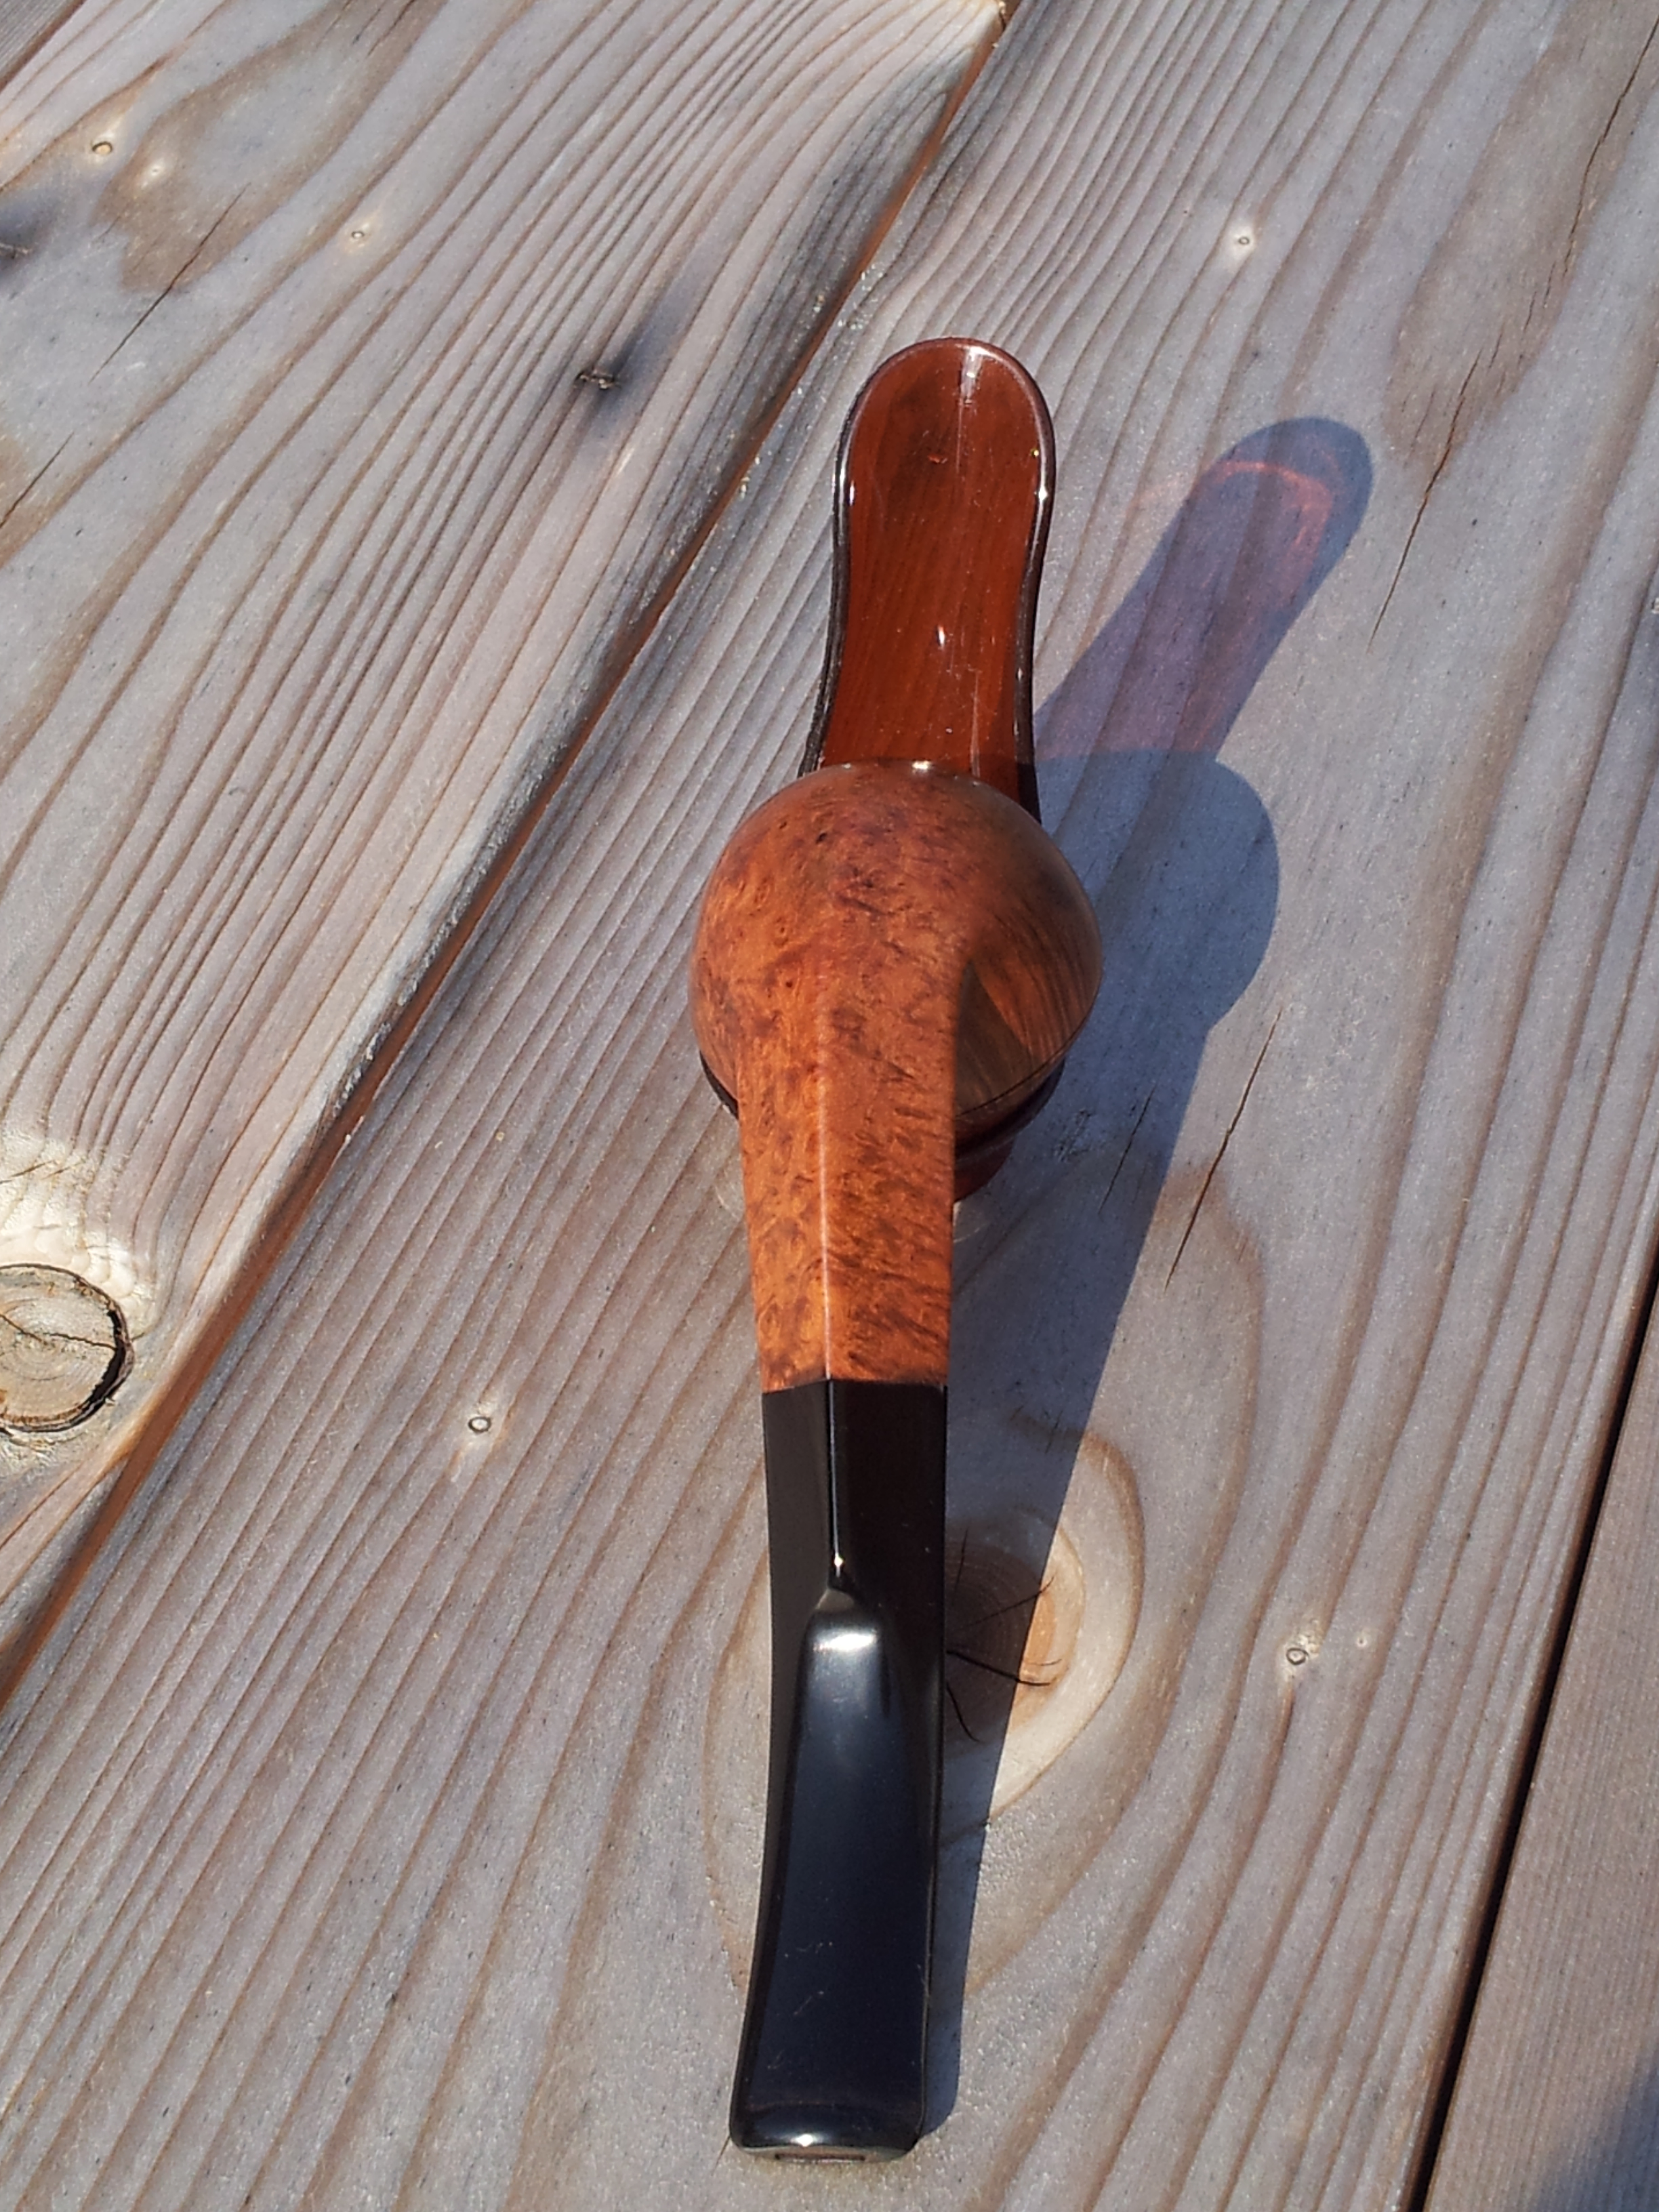
The pipe was ready for a final sanding/polishing in preparation for staining. I wet-sanded the pipe with 400-2000 grit paper, and let it dry. My original plan for staining this Rhody was to go with a two-colour contrast stain. I applied a coat of Fiebing’s Black to the briar and let it dry before sanding off the surface stain. The sanding exposes most of the briar while leaving the black colour in the softer grain. I decided that I liked the contrast between the black and the natural briar, so I left the stain as it was. I buffed the pipe quickly using Red Tripoli to remove leftover traces of stain, and then wiped the pipe with mineral oil to add depth to the grain and bring out the natural reds of the wood. The large fills on the sides of the bowl are still quite visible, but I think the original fills would have been as well. A darker overall stain would help to hide them, but this would have meant also covering the attractive birdseye and tiger stripe grain on the rest of the pipe. I chose to let the fills stand as proud reminders of battles fought and won during this pipe’s many past campaigns.


At this point, the stummel was ready for final buffing and waxing, but the stem still needed work to address the tooth dents. I decided to fill the dents with a mixture of CA glue and activated charcoal powder. I mixed a small amount of this filler in a disposable cup and, working quickly, applied the fill to the dents with a toothpick. I find this fill material dries VERY quickly, so in less than a minute I was filing down the excess fill, bringing it down flush with the original stem surface. The stem was then wet-sanded to 2000-grit to remove the sanding marks and polish the repair area.
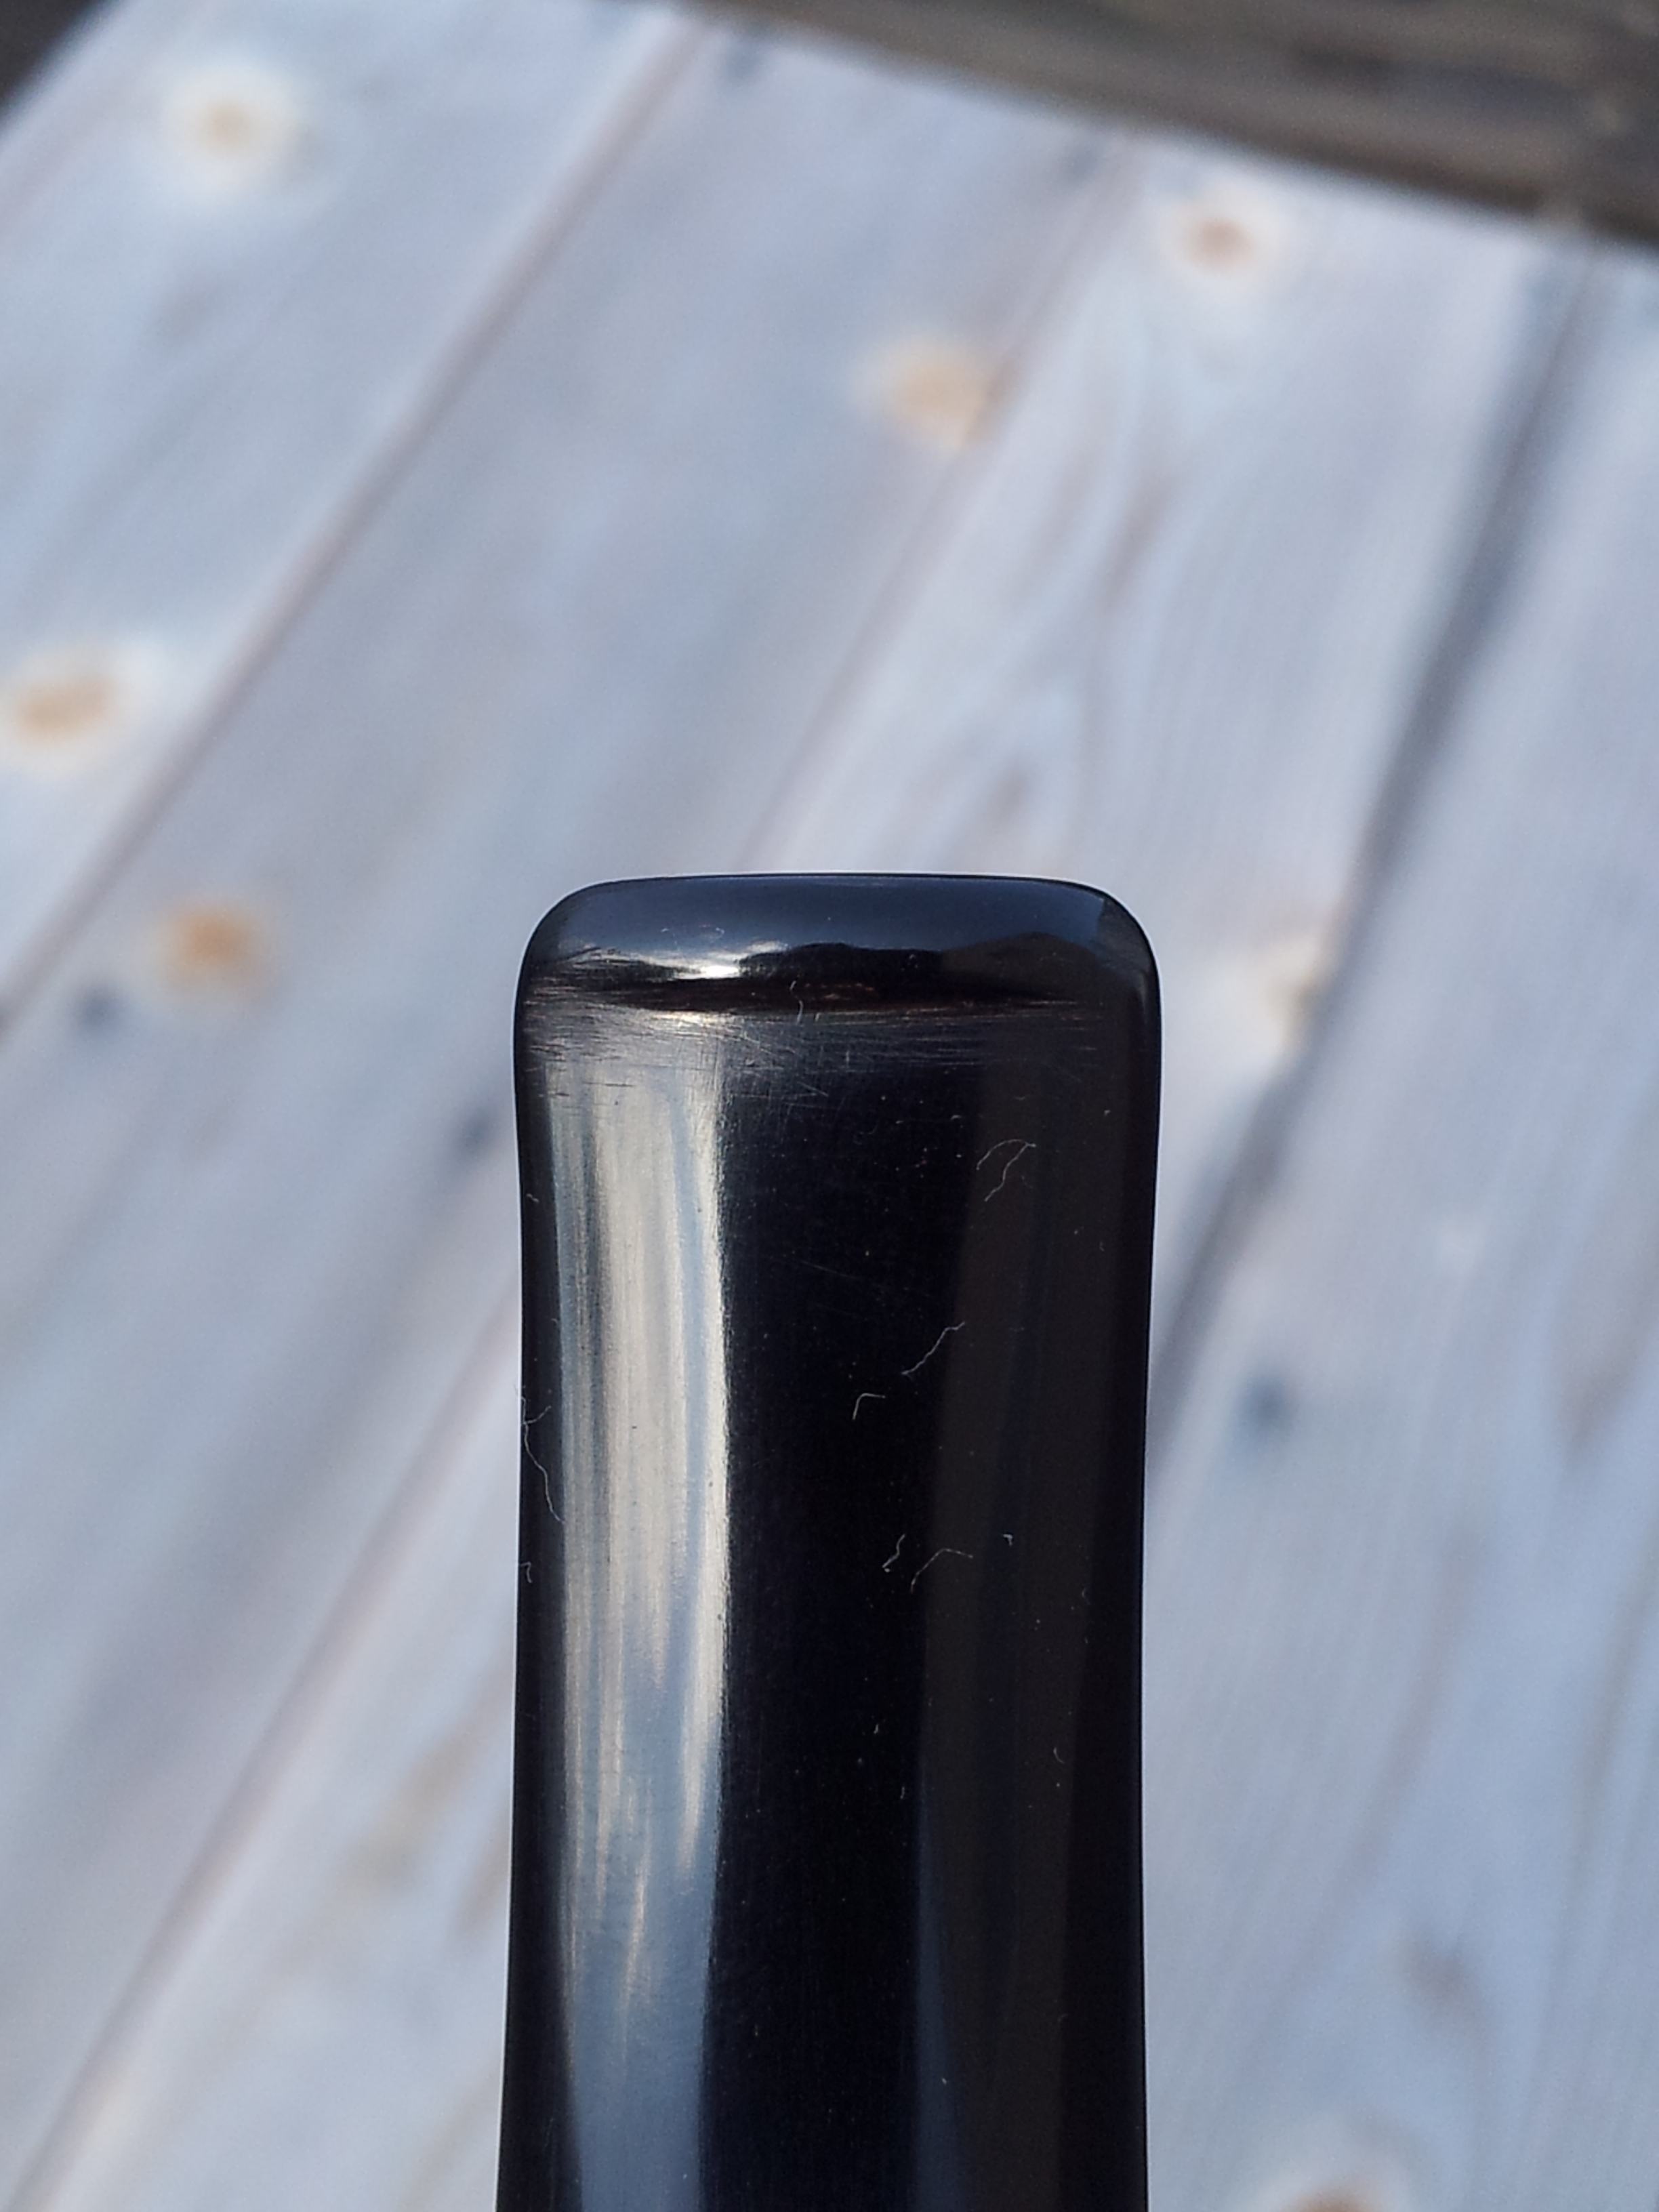
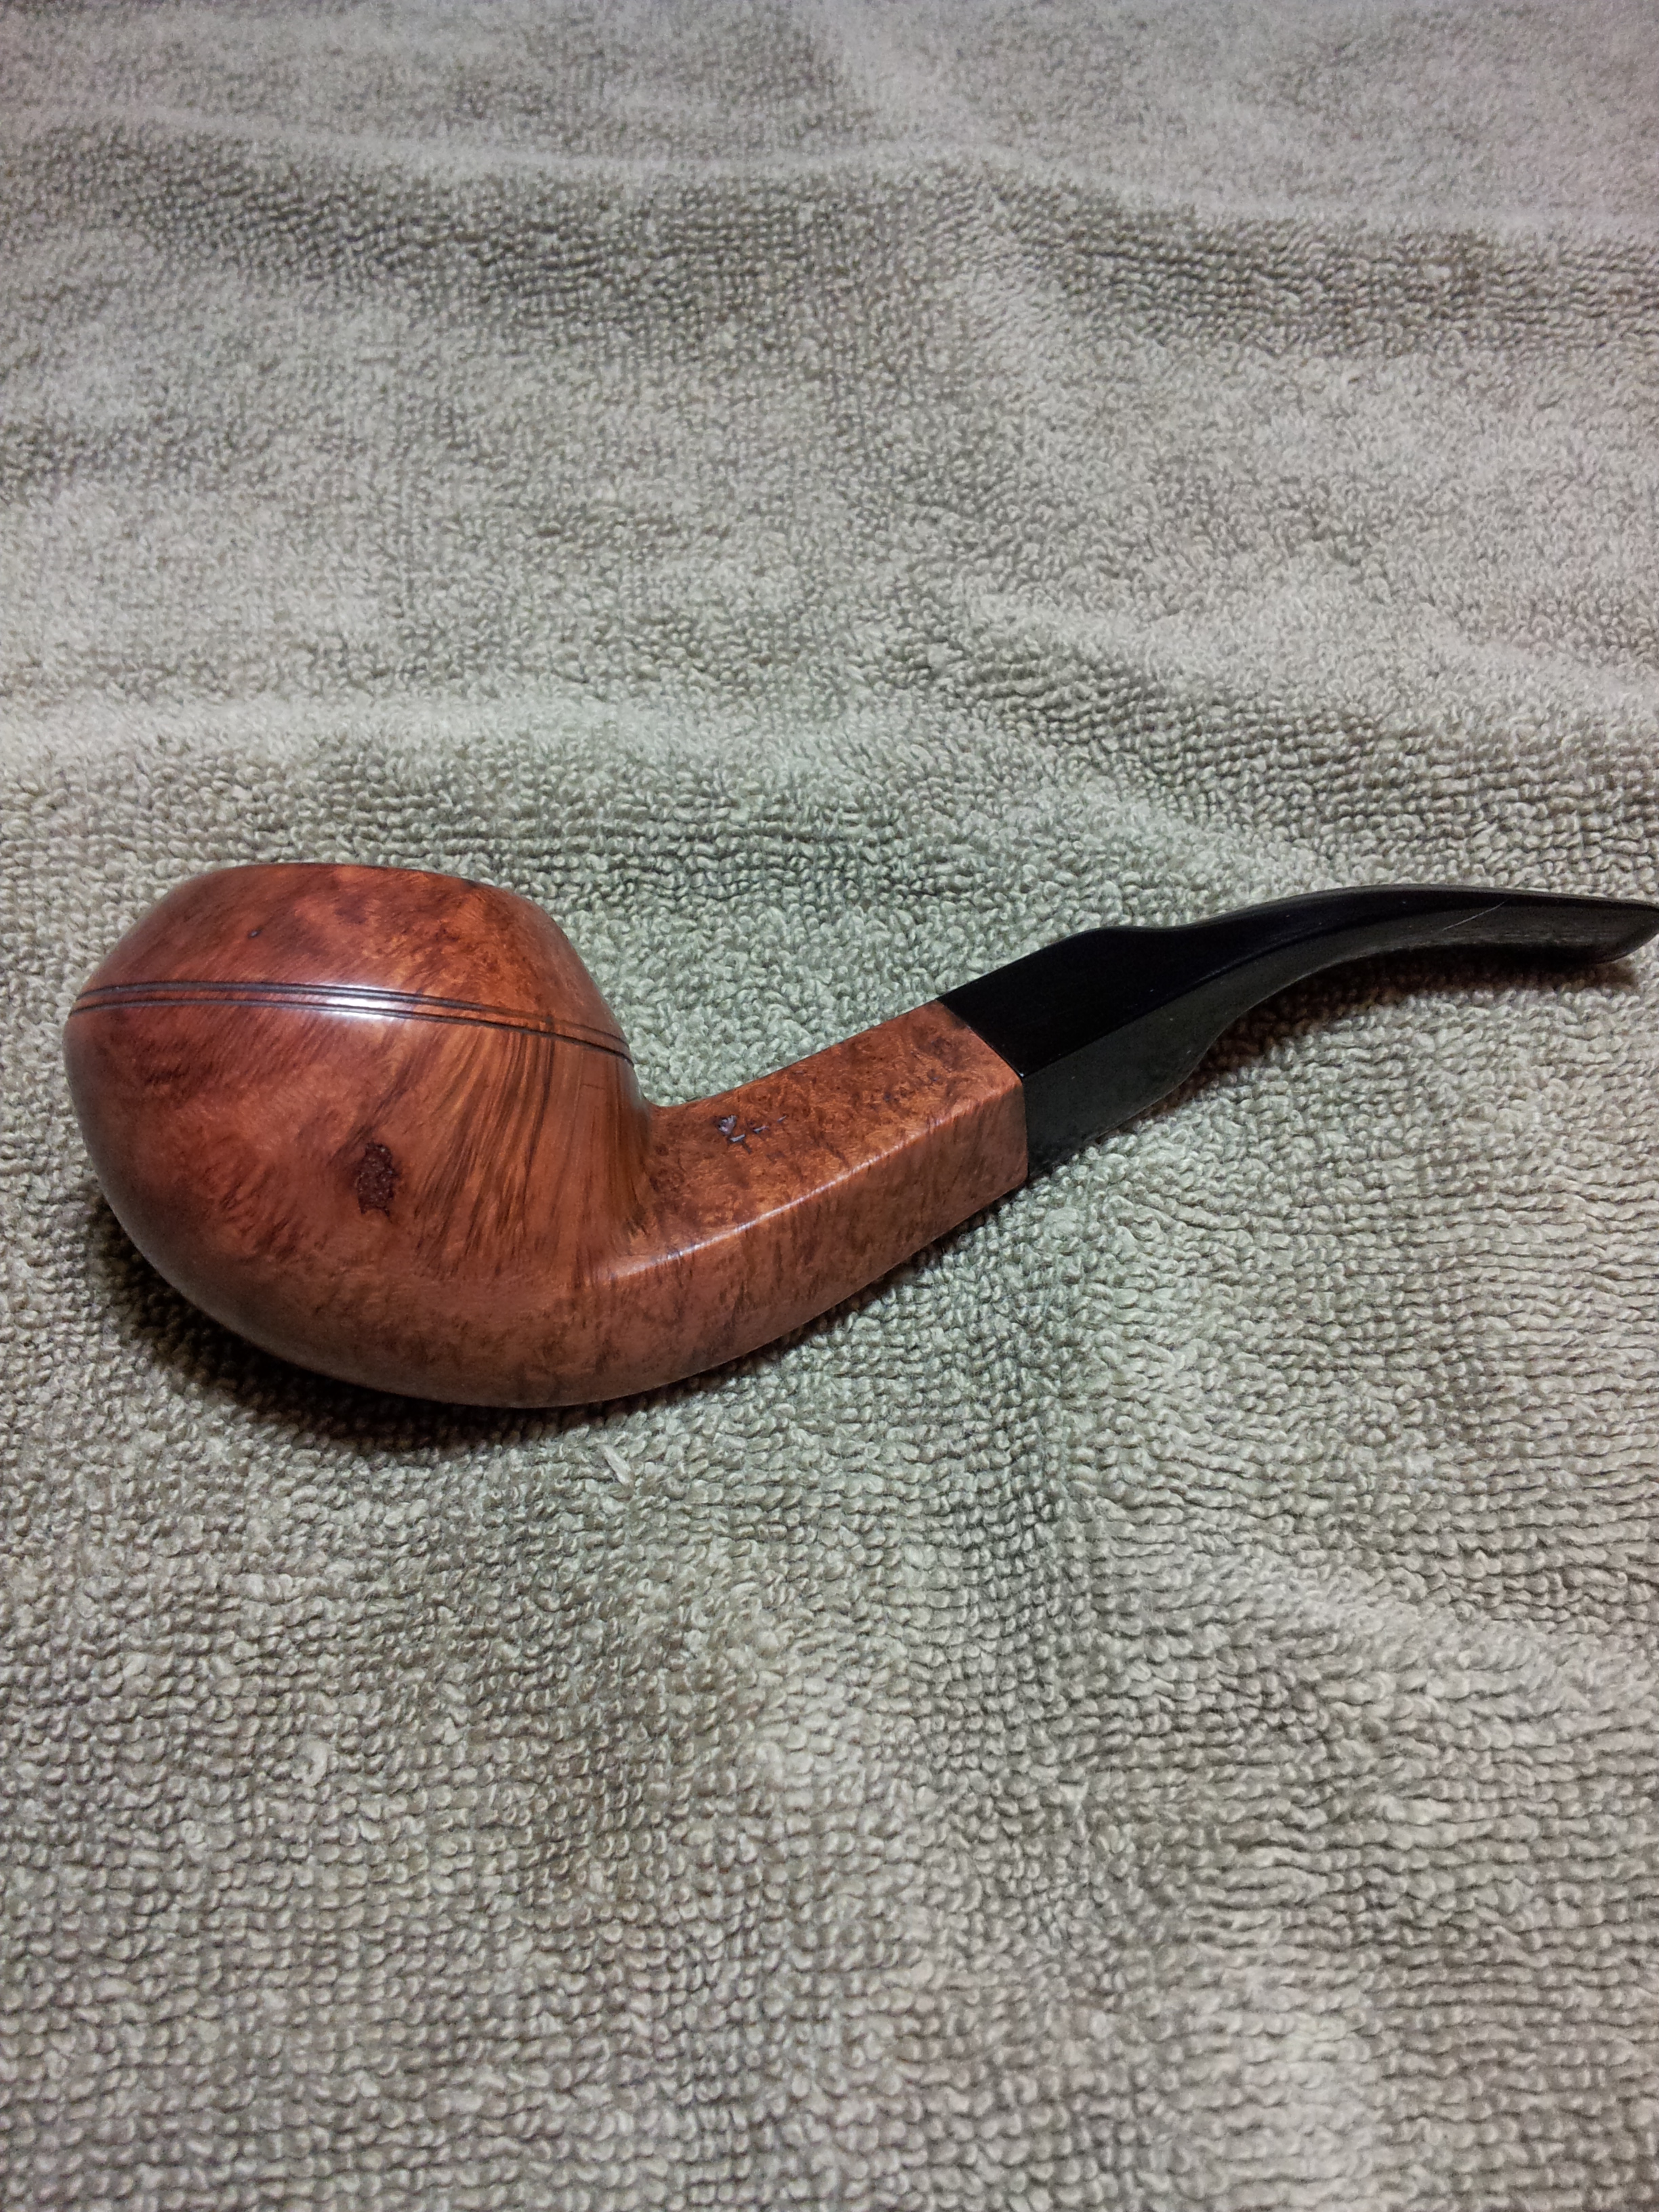
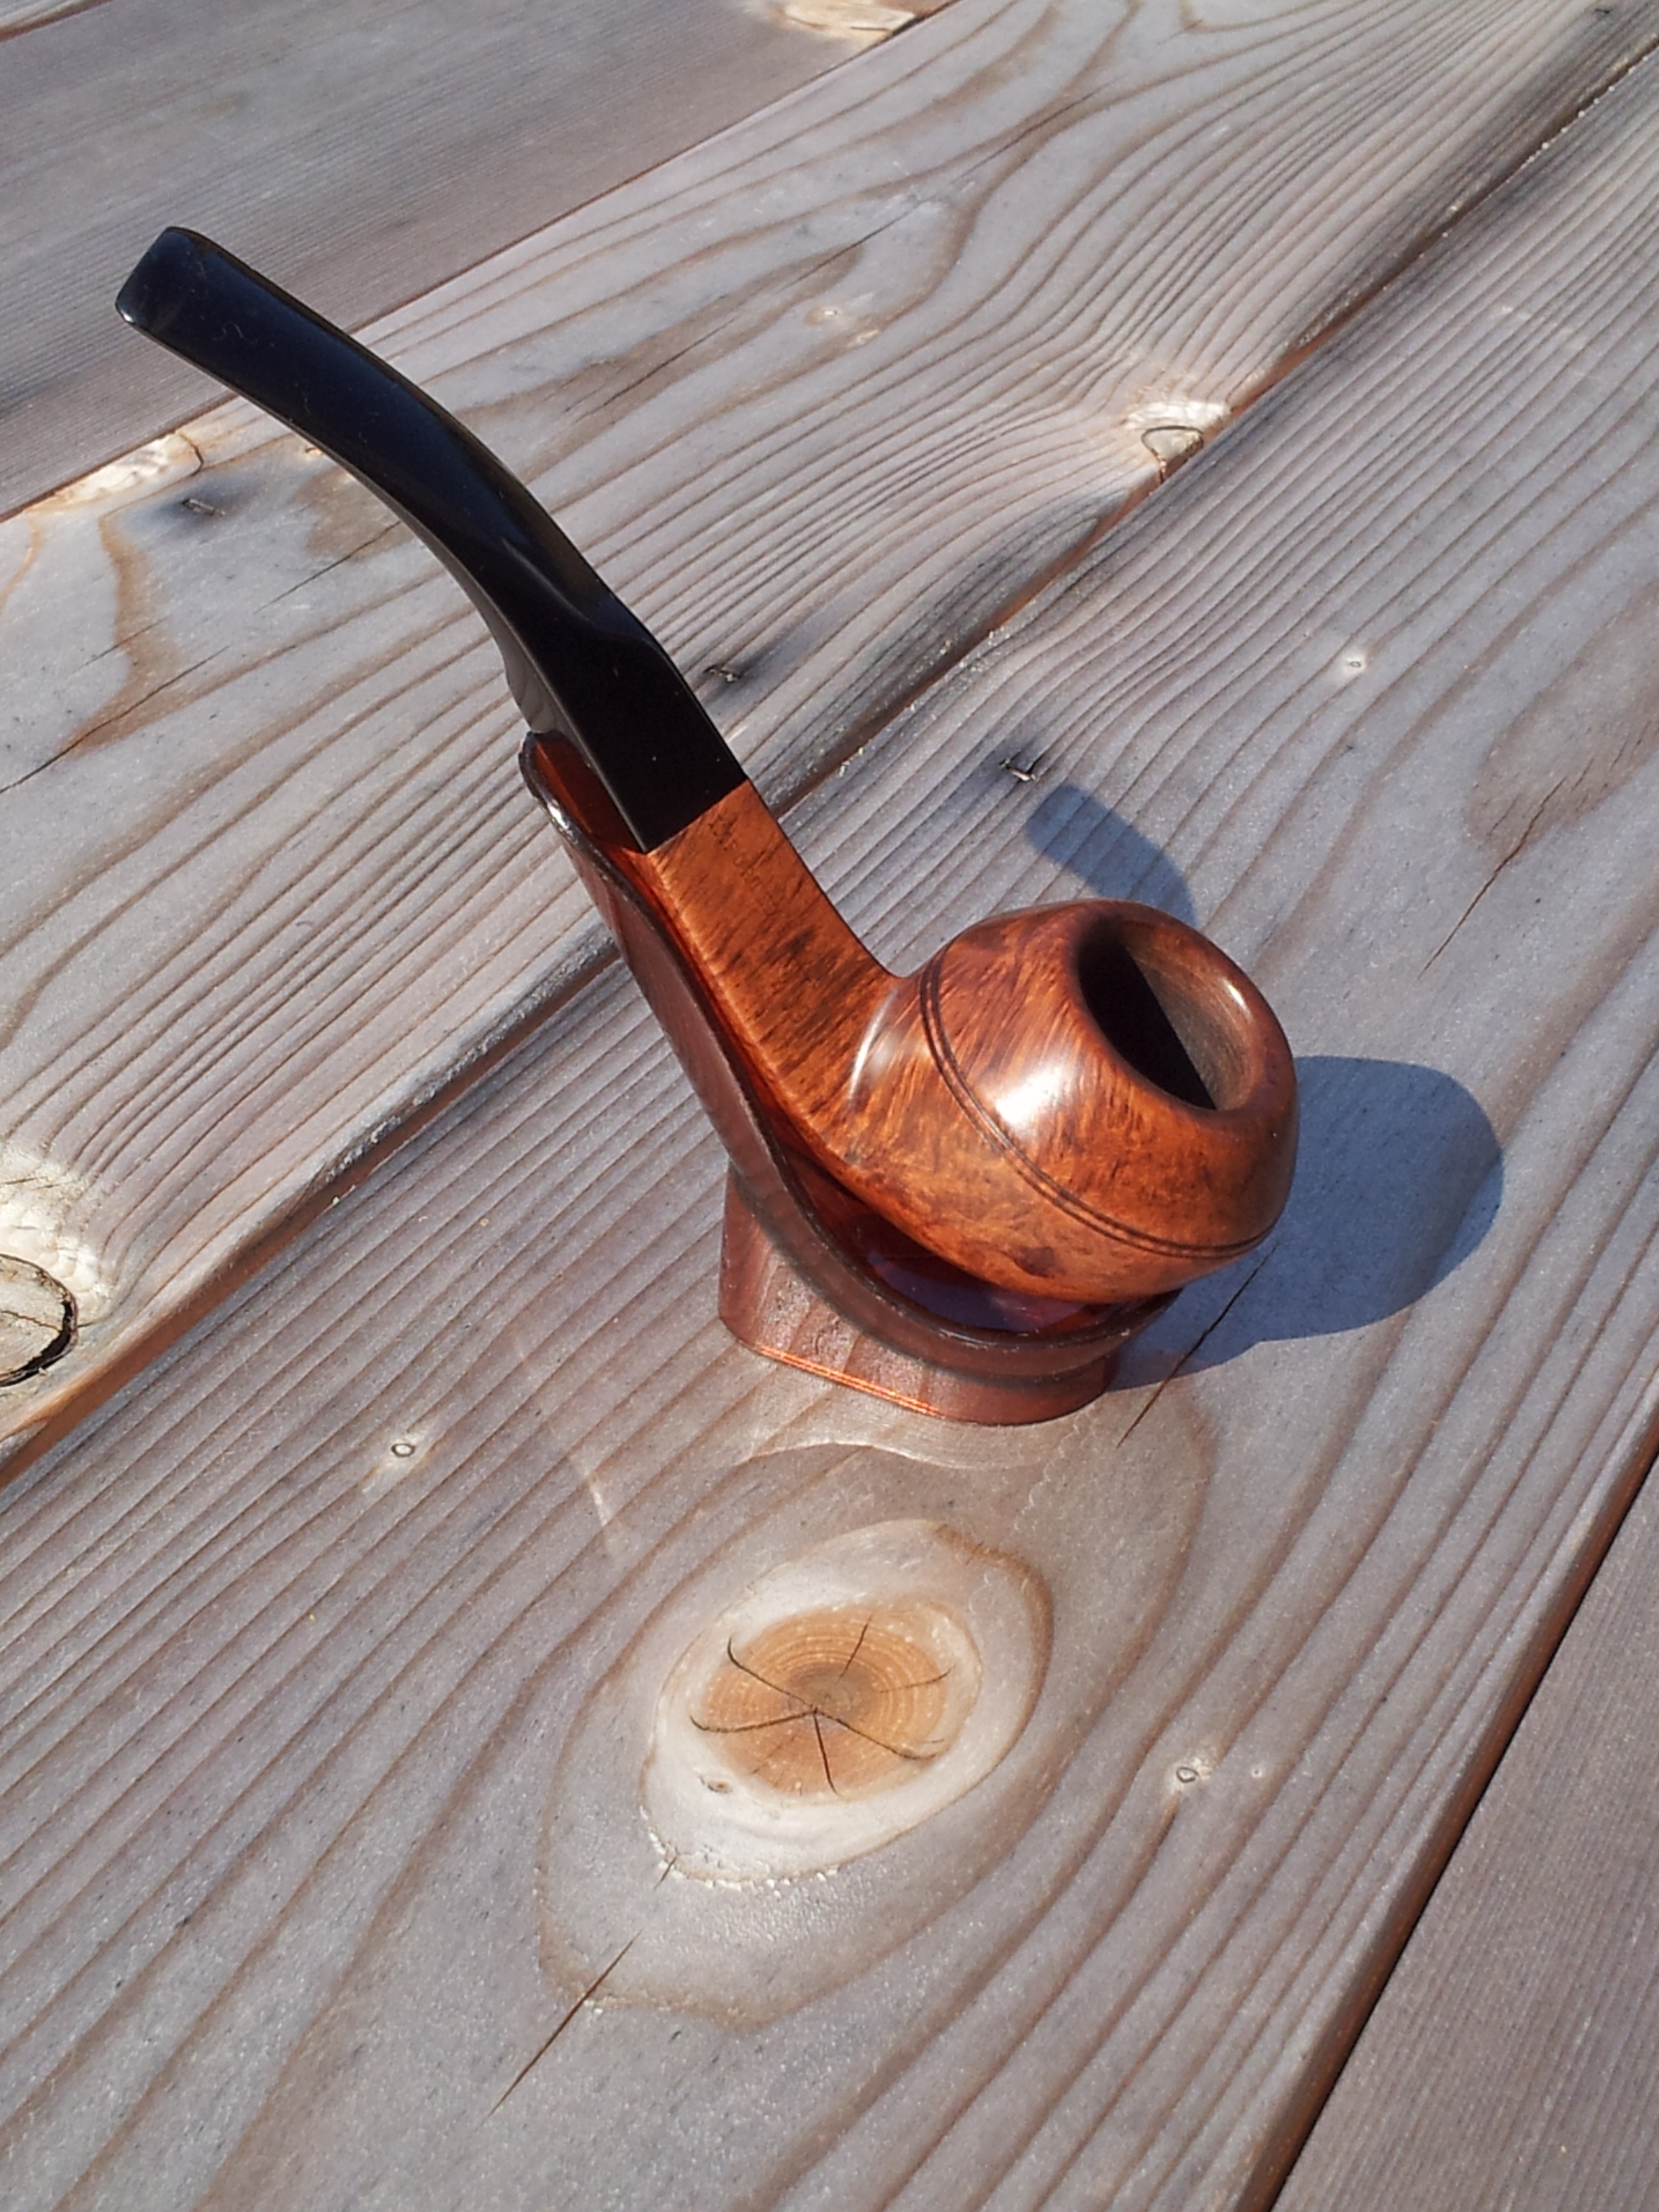
Finally, the pipe was given the full four-step buffing and polishing using Red Tripoli, White Diamond, wax and a final polish with a clean flannel buff. The finished pipe is shown below. The fills in the briar are still visible but smooth in the hand. I’m quite pleased with the way this pipe turned out. It looks pretty good, feels great in the hand, and the stem looks and feels good as new. This Rhodesian is ready for its new life in active rotation as part of a new piper’s rack!


Nice save and work on that old war horse . I hope it brings you many a fine smoke .
LikeLike
Thanks Troy. It certainly deserves a spot in someone’s pipe rotation!
LikeLike
LOL every time i refurb a pipe and say to myself im gonna sale it i end up keeping it and smoking it myself .
LikeLike
Now there is an honest statement! Just don’t let my wife read it. 😉
LikeLike
Nice work on that one.
LikeLike
Reblogged this on rebornpipes and commented:
Good repair and replacement of fills. Nice work
LikeLike
Thanks! I’ve been a fan of rebornpipes for a while – great work by everyone involved. It’s a real treat for me to have my refurb included in such fine company!
– Charles
LikeLike
Glad to do it Charles. It is a pleasure to follow your blog.
LikeLike
Nicely done! I really like the stain bringing out the grain. I’ve also tried dark brown mixed with a little black. Works well on some briars. I wish we could find a way of getting the briar dust to retain its natural color on fills. The CA glue tend to make them dark most of the time. I’m going to experiment this fall and winter.
LikeLike
Beautiful grain on this pipe. I can definitely see why you stayed with the contrast of the black dye and the natural grain. Yes, the fills are apparent but, I don’t think it takes away from its beauty. Not with graining that looks like that. Nice work.
LikeLike
Great work indeed! I’ve recently been bitten by the pipe restoring bug… I’ve been smoking a pipe only for a year now, but I really enjoy restoring estate pipes back to their former full glory….
Question I have is, after restoring and putting a common pipe up for sale…. How much would you ask for a sale price for such a pipe… lets say this pipe you restored here? Do you have a “for sale” page that I could use as a quick reference guide for sale prices?
thanks!
Mike B
LikeLike
Hi Mike and welcome to the pipe refurb/restoration community! I haven’t had much luck finding Canadian retail prices for refurbished estate pipes. I have used the Estate listings at SmokingPipes.com and Ebay’s SOLD listings as rough guides. Unfortunately, there’s no such thing as a Kelly Blue Book for estate pipes. Unless you’ve got a highly collectible pipe to begin with, refurbished estate pipes seem to be worth only as much as a buyer is willing to pay, which can depend on many things (brand, age, shape, condition, reputation of the refurbisher/seller, etc etc.)
LikeLike
Sometimes it is very hard to figure out a pipes worth. I always sell pipes in an auction format and all start prices are 0.99 cents. This way I let the market decide what the selling price is. Using this method of selling for over 200 pipes, I have only been disappointed once or twice with the final sale price.
LikeLike