
This is the second pipe I’ve tackled from my recent auction lot. It is a Dunhill Shell Briar which met a horrible, Anne Boleyn-esque fate – off with its head! I’m guessing most of the auction lot came from the same estate, as no less than four of the 17 pipes had similar injuries. Was the previous owner fond of knocking the dottle out against a wall a bit too fiercely? Or perhaps these pipes were the victims of a not so subtle campaign to “encourage” someone to quit the pipe altogether? We’ll never know for sure.
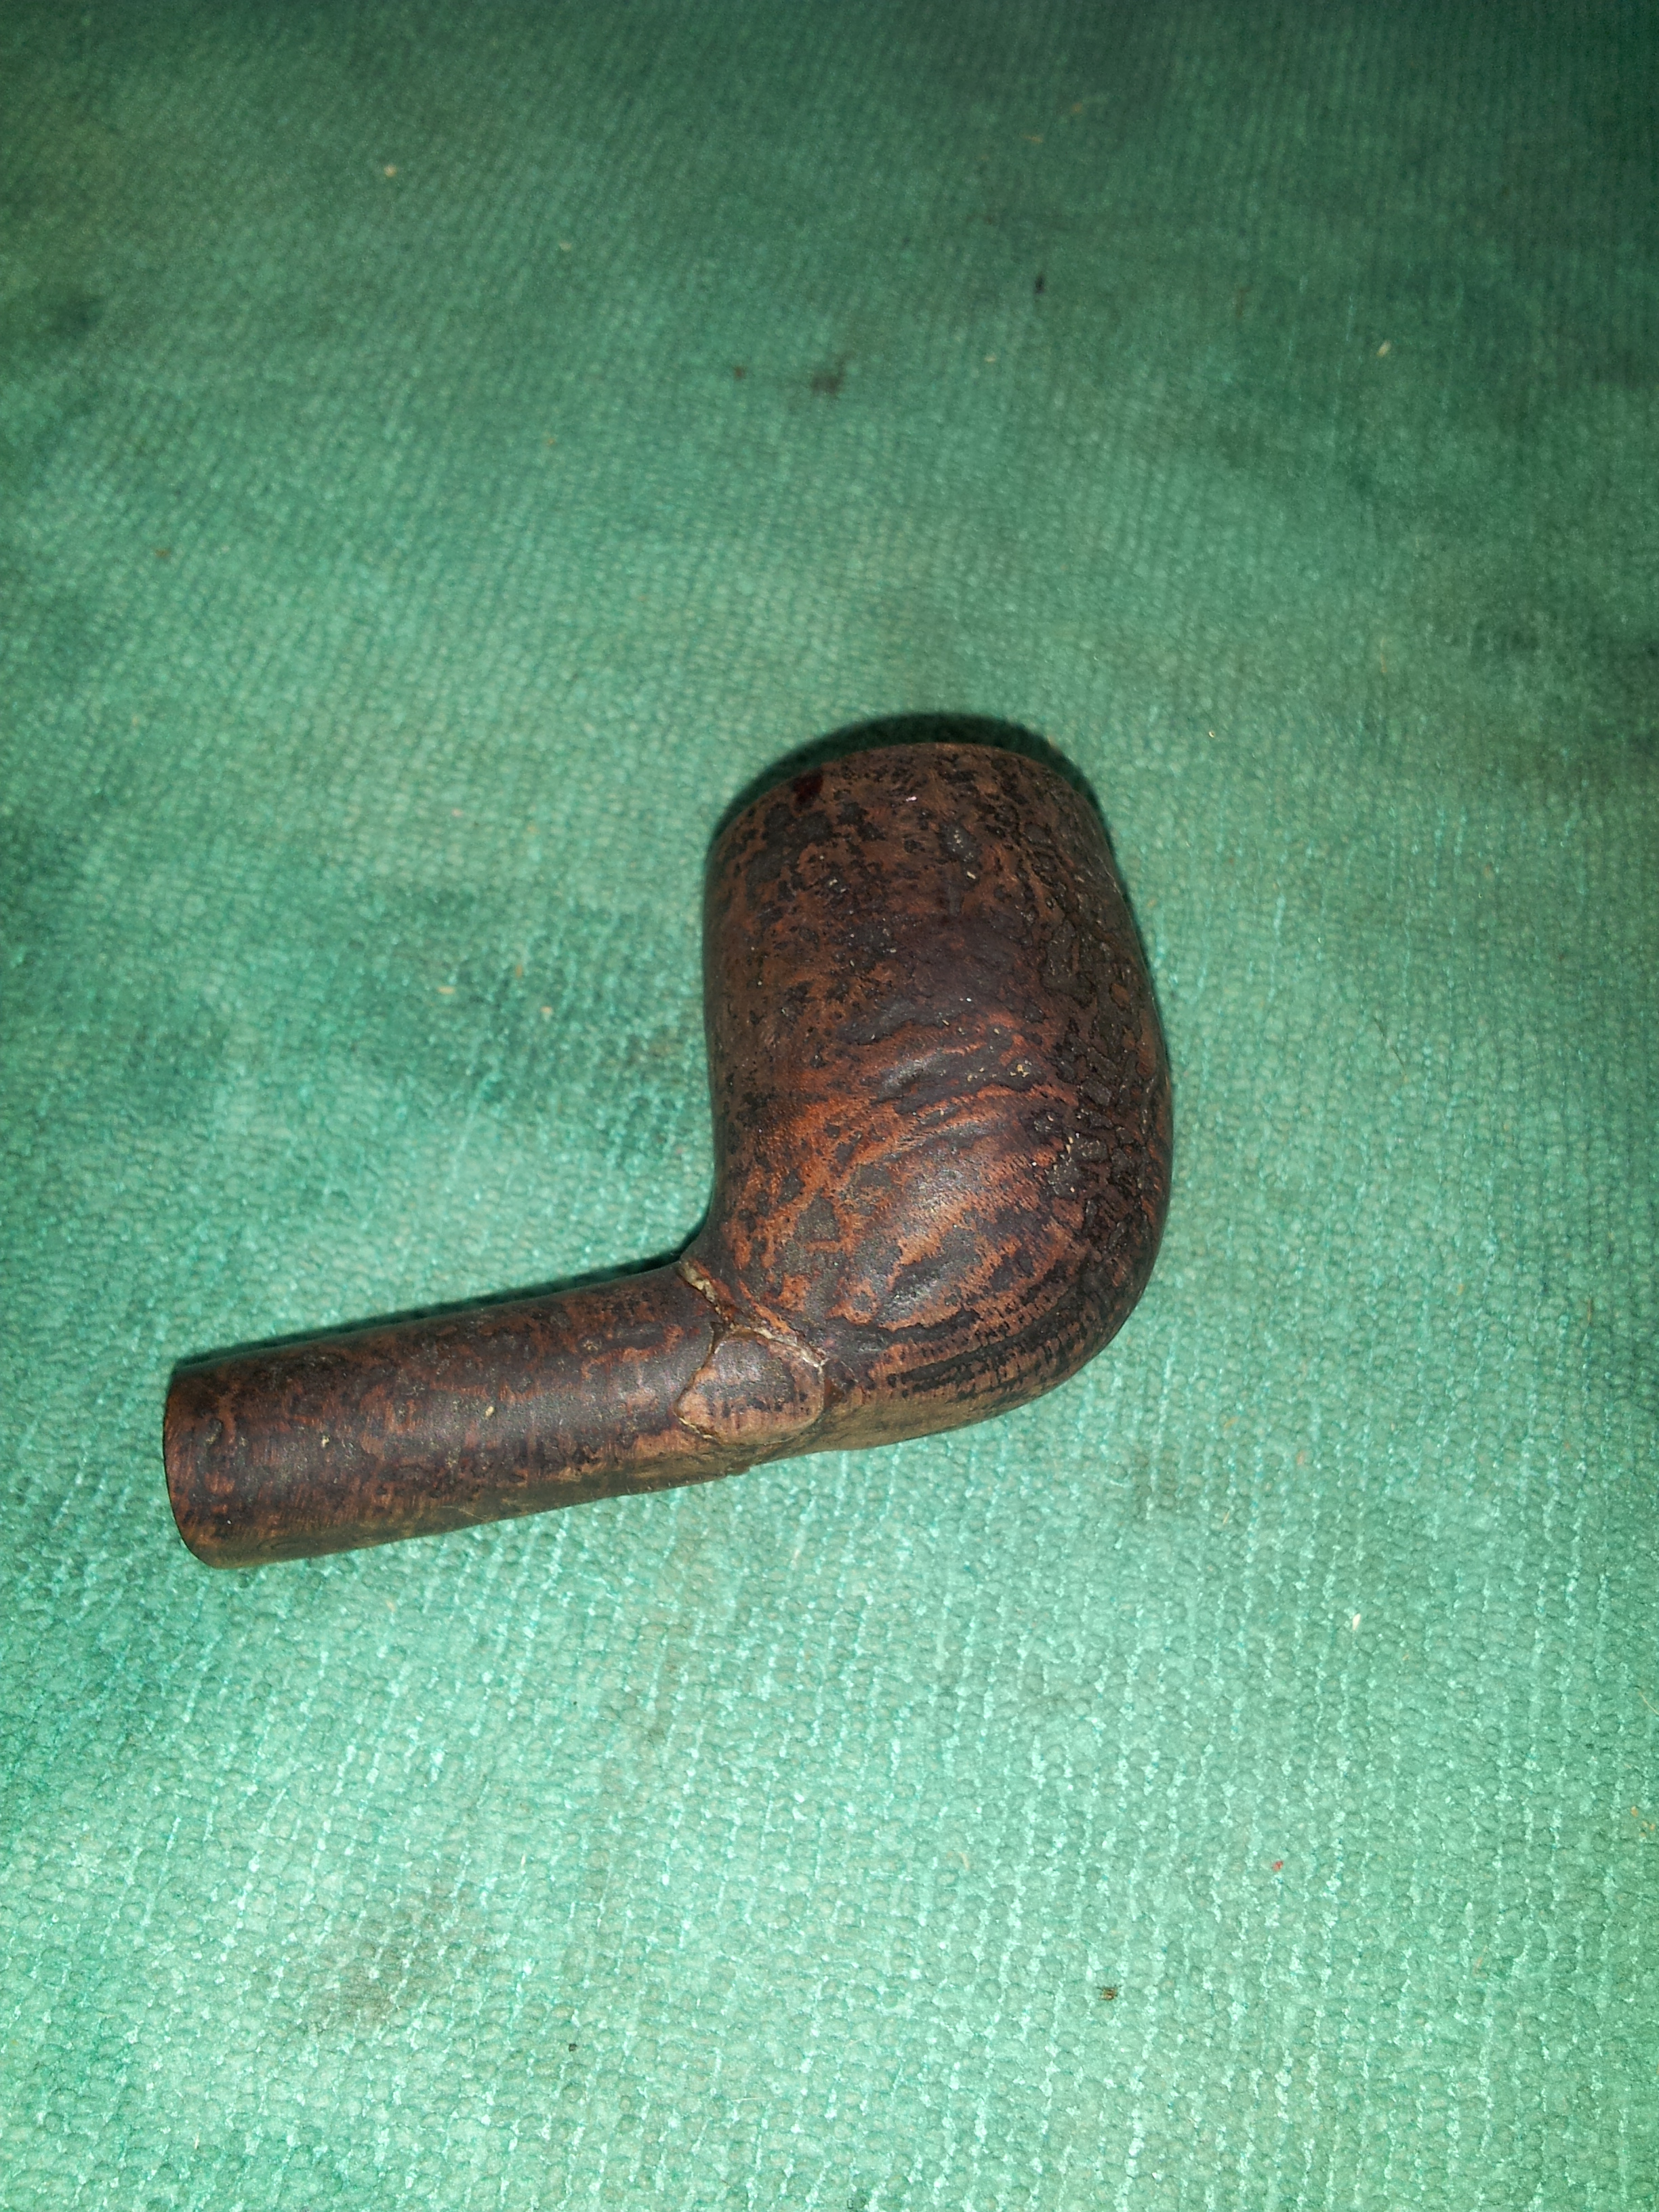
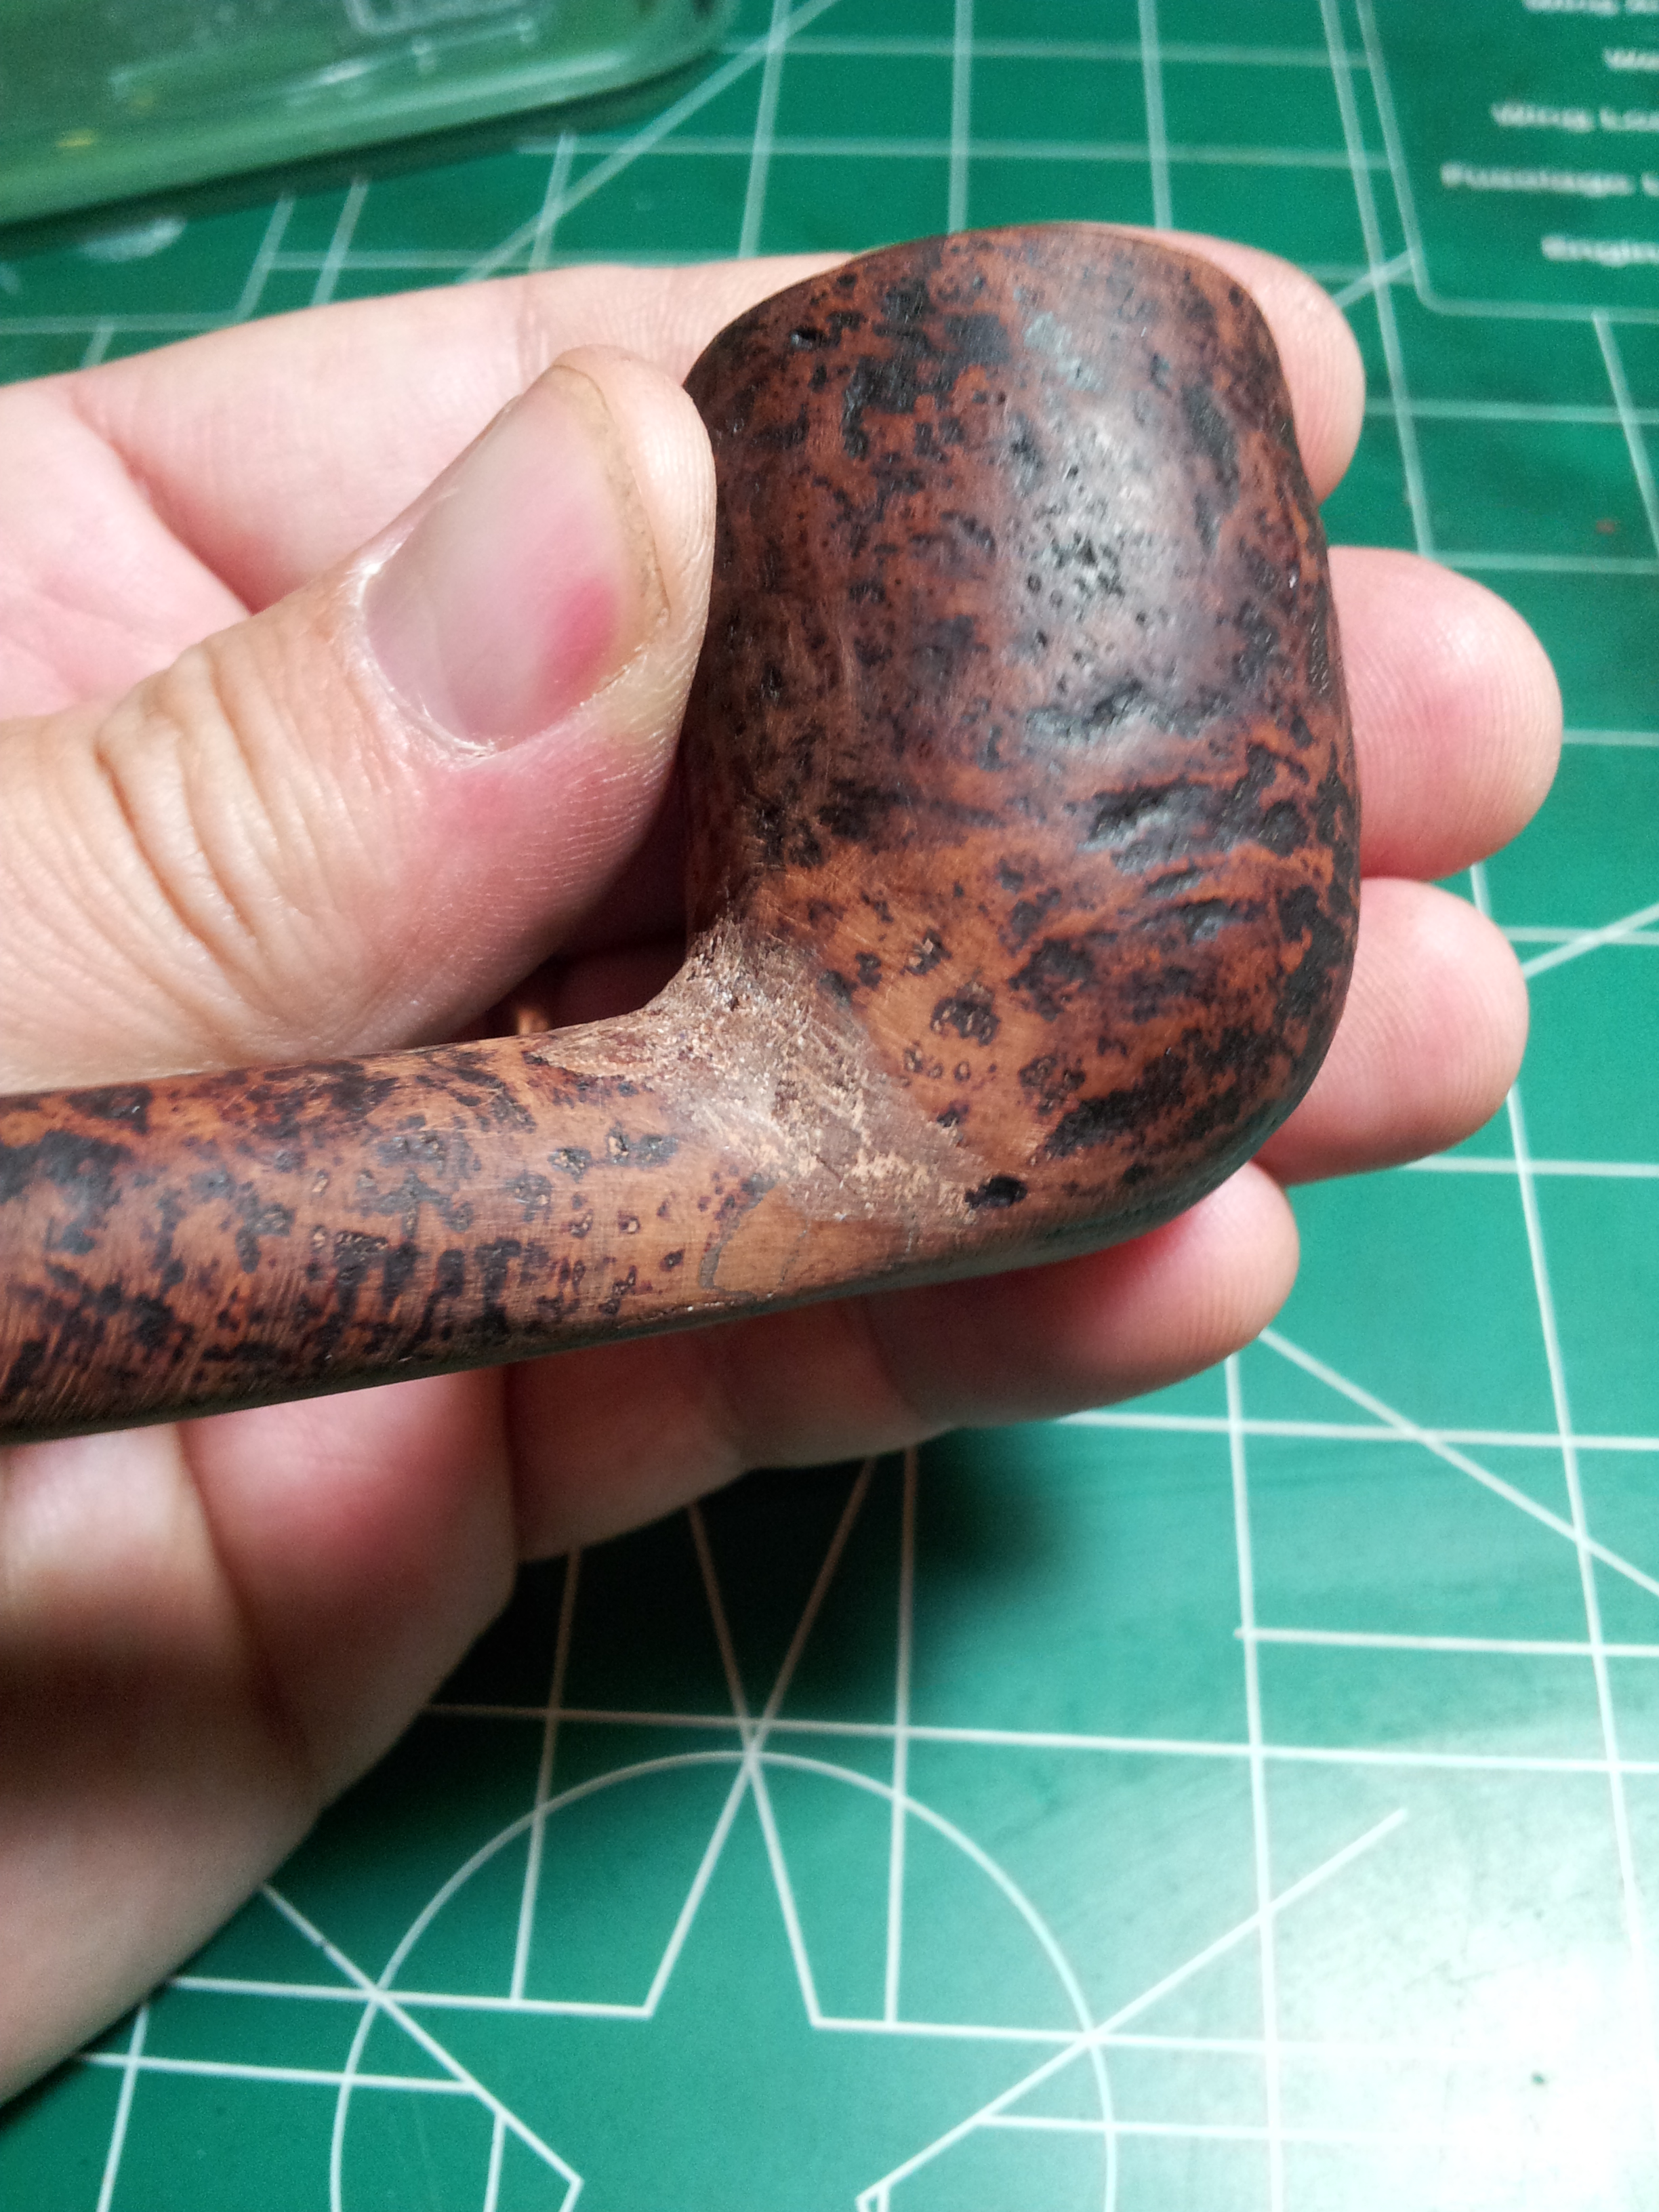
What I do know it that the bowl had broken off the shank and had been poorly repaired. The glue joints were uneven, and the pieces of the stummel were out of alignment with each other, leaving the pipe misshapen and awkward looking, like a broken arm that has been incorrectly set and allowed to heal. The pipe was also missing its original “white dot” stem, although the replacement stem was well made and fit well in the shank.
The factory stampings were not in good shape, as the break and subsequent repair ran through the middle of them, but there was enough left to readily identify the pipe as a Dunhill Shell Briar. After a bit of twisting and turning under a good light, I was able to read most of the stamping, and a bit of research online filled in the blanks: “39 (or perhaps 59) F/T” then “Dunhill” over “Shell Briar” followed by “Made in” over “England”, “3” (in a circle) and “S”.
According to a list published on RebornPipes.com compiled by Eric Boehm, (http://rebornpipes.com/2012/11/01/dunhill-pipe-shapes-collated-by-eric-w-boehm/), there are two possibilities for this pipe’s provenance. If it is a 39 F/T, my Dunhill Shell Briar was made in either 1950 or 1969 and originally came with a saddle stem, not the tapered stem that came with it. If the stamping is 59 F/T, this pipe came with a tapered stem like the replacement that came with it, and was offered in three production years – 1928, 1950 and1969. Dunhill used a date code stamp located after the word “England” to indicate year of manufacture. Unfortunately for me, that part of the stamping is worn away on this pipe, so accurate dating is now impossible. Suffice to say, this Dunhill has been around for a while, and was clearly well used and loved enough to repair when it broke.
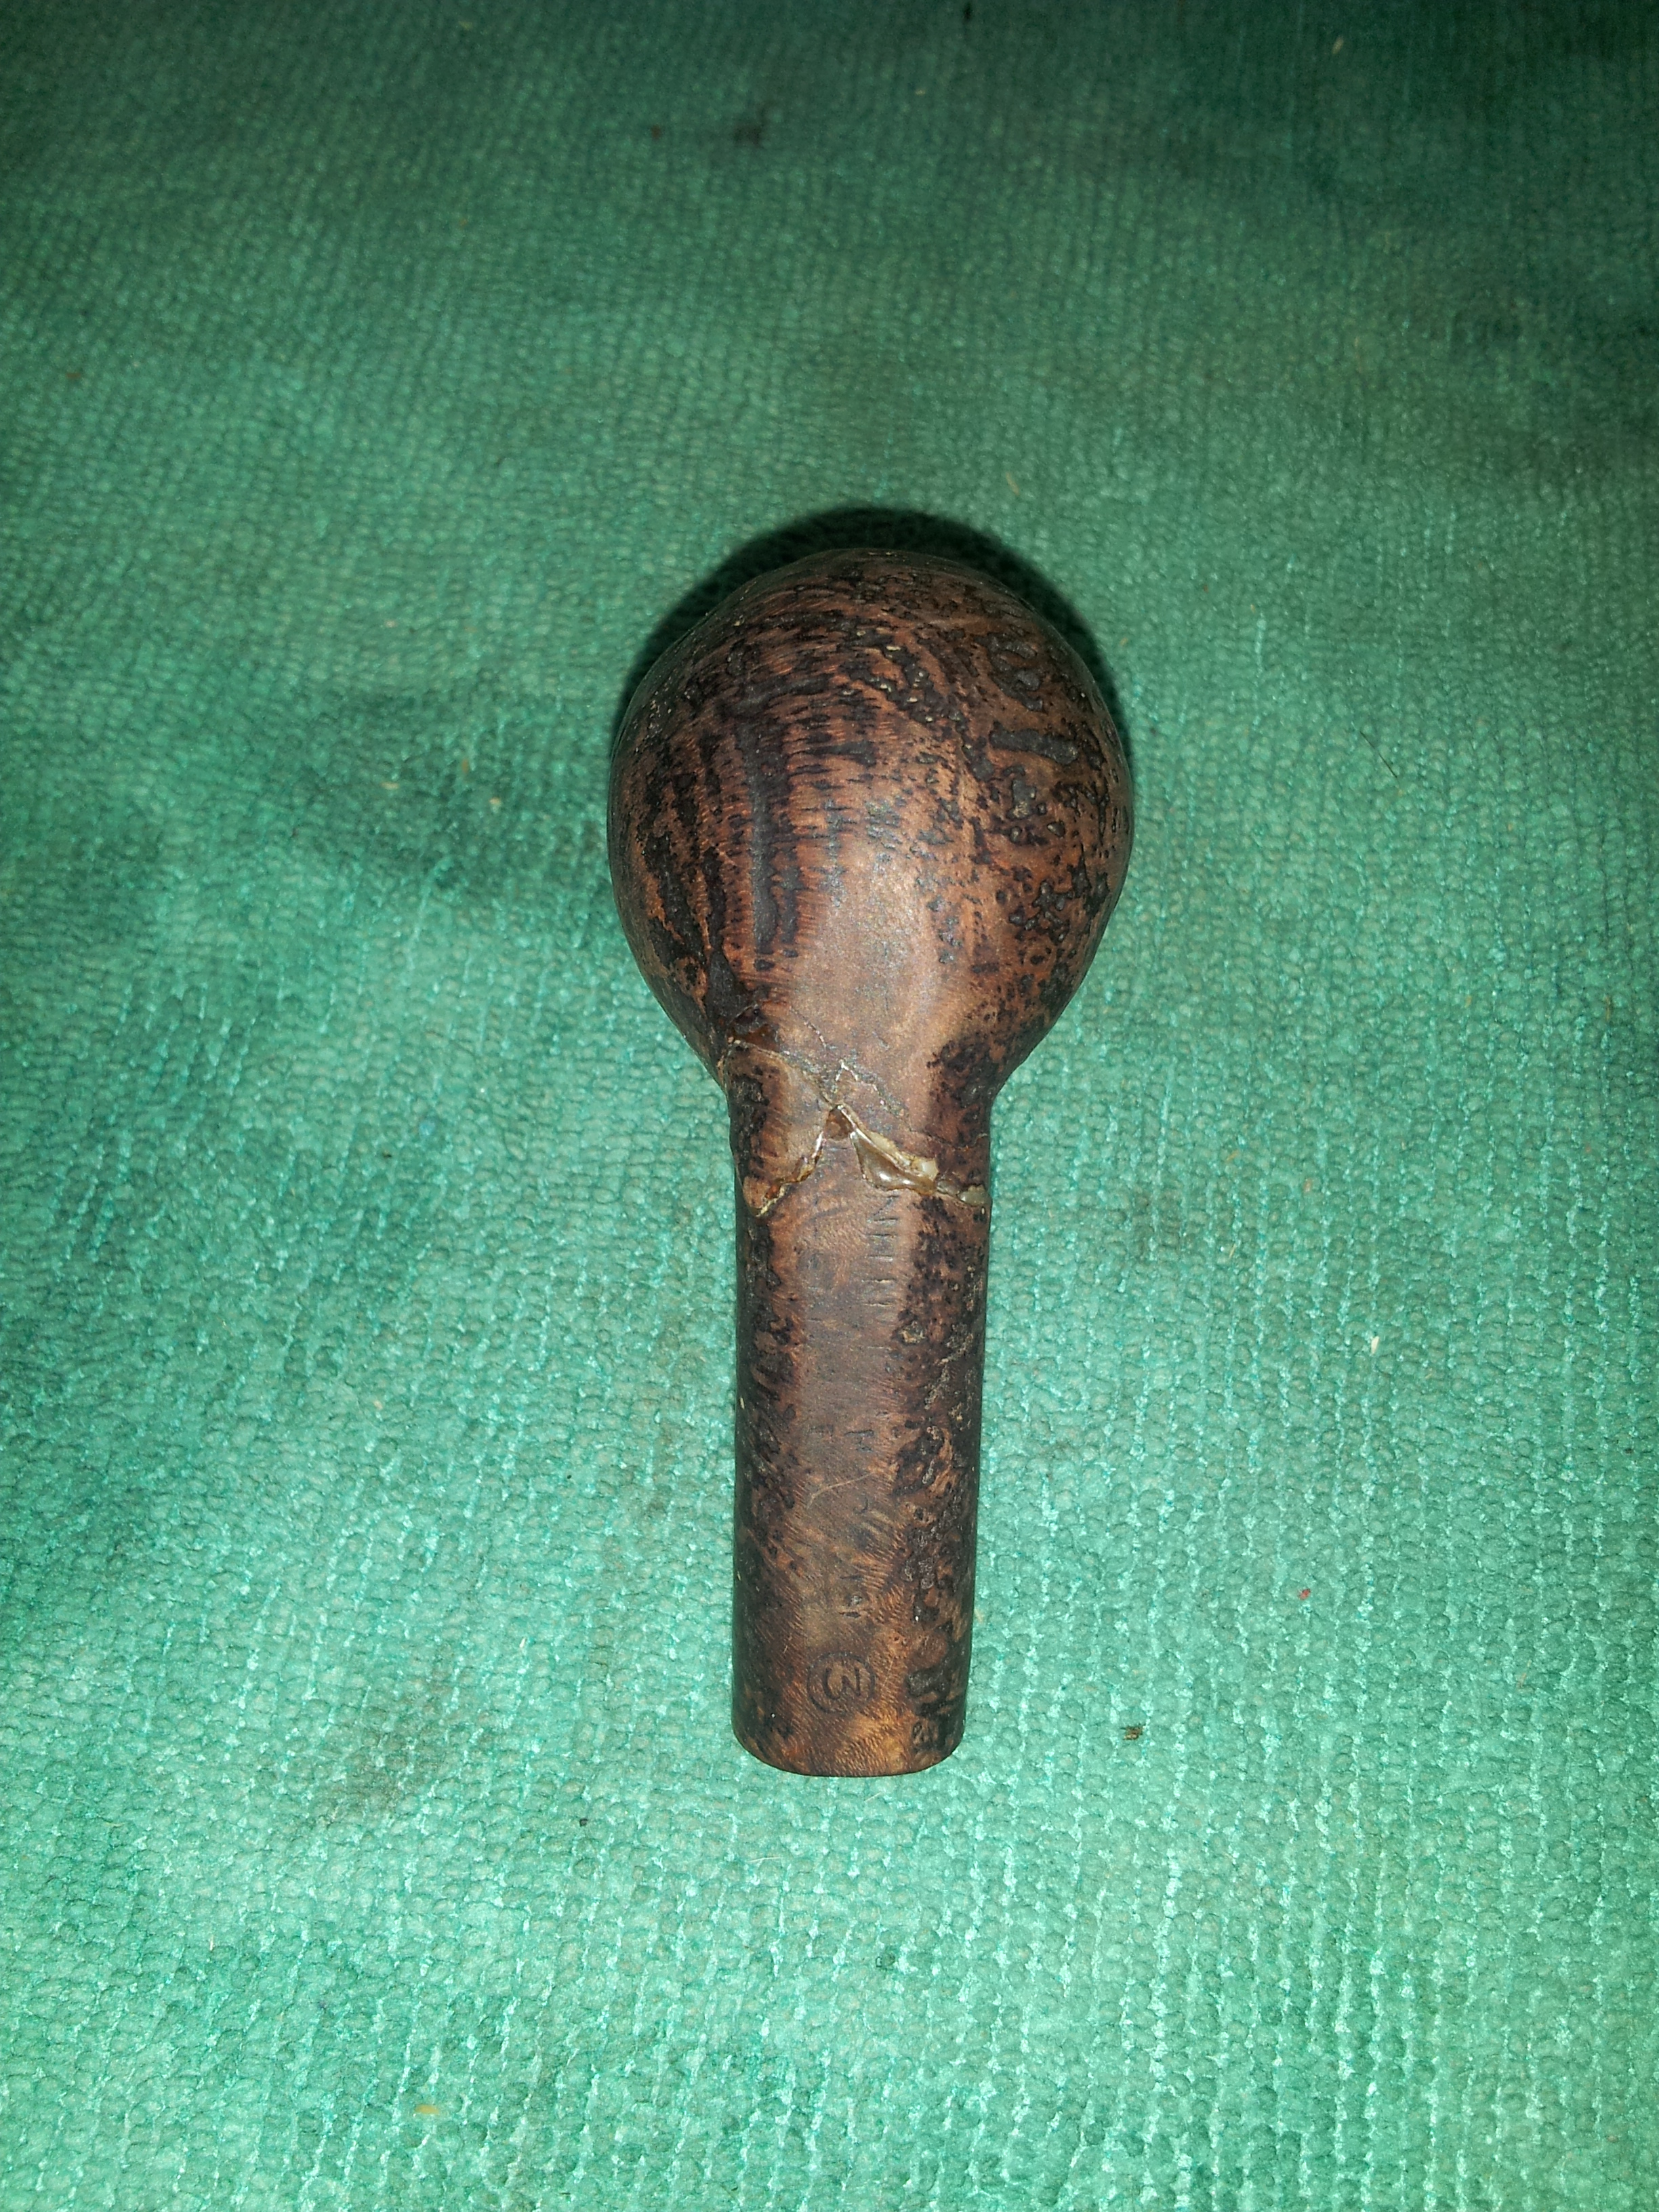
Here are a few pics of the stummel, the replacement stem having been removed and set aside. The whitish band of old glue is clearly visible. Also notice the bulge in the shank in the second pic, caused by misaligned pieces.


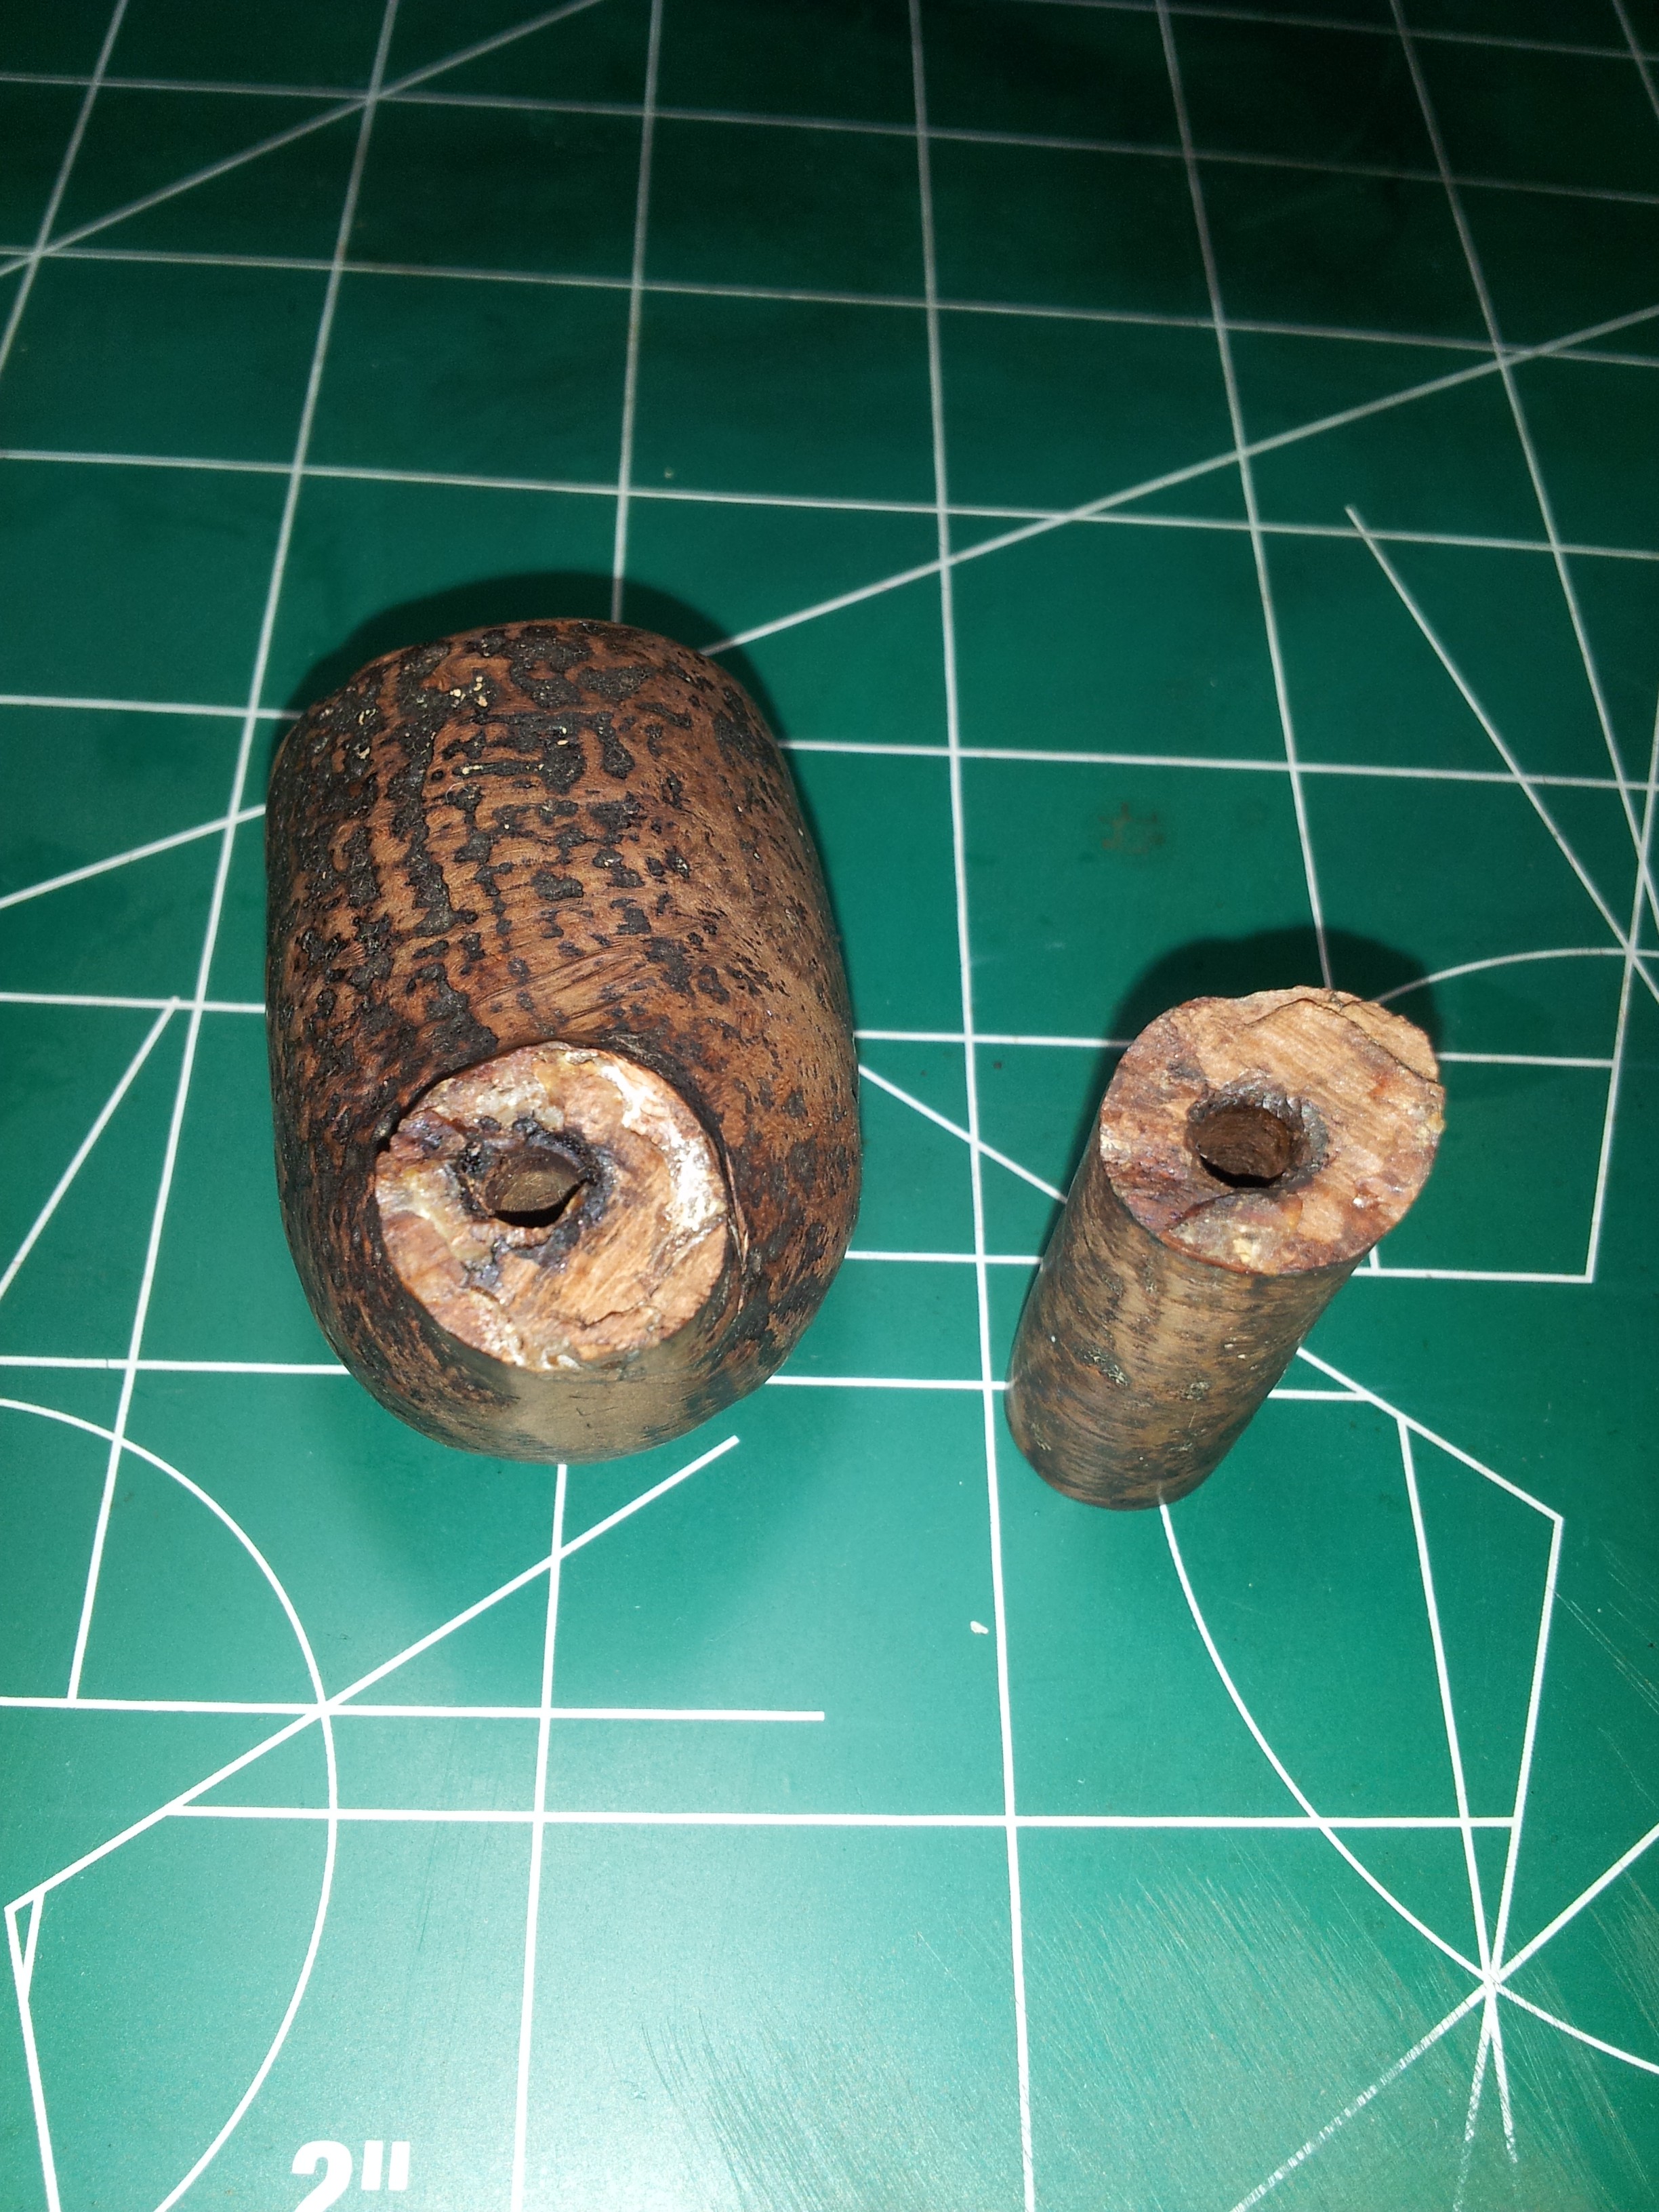
Based on it’s poor condition and replacement stem, I decided that I had nothing to lose by attempting to restore this pipe to at least a measure of its former usefulness if not glory. My course thus set, I dropped the stummel into an alcohol bath and the stem into an Oxyclean bath to start the cleaning process. The stem didn’t need much more than a quick wipe and a good internal cleaning with pipe cleaners and alcohol to remove the traces of use. The stummel was an entirely different story, however; when I removed it from the alcohol bath and started cleaning it, this is what happened:

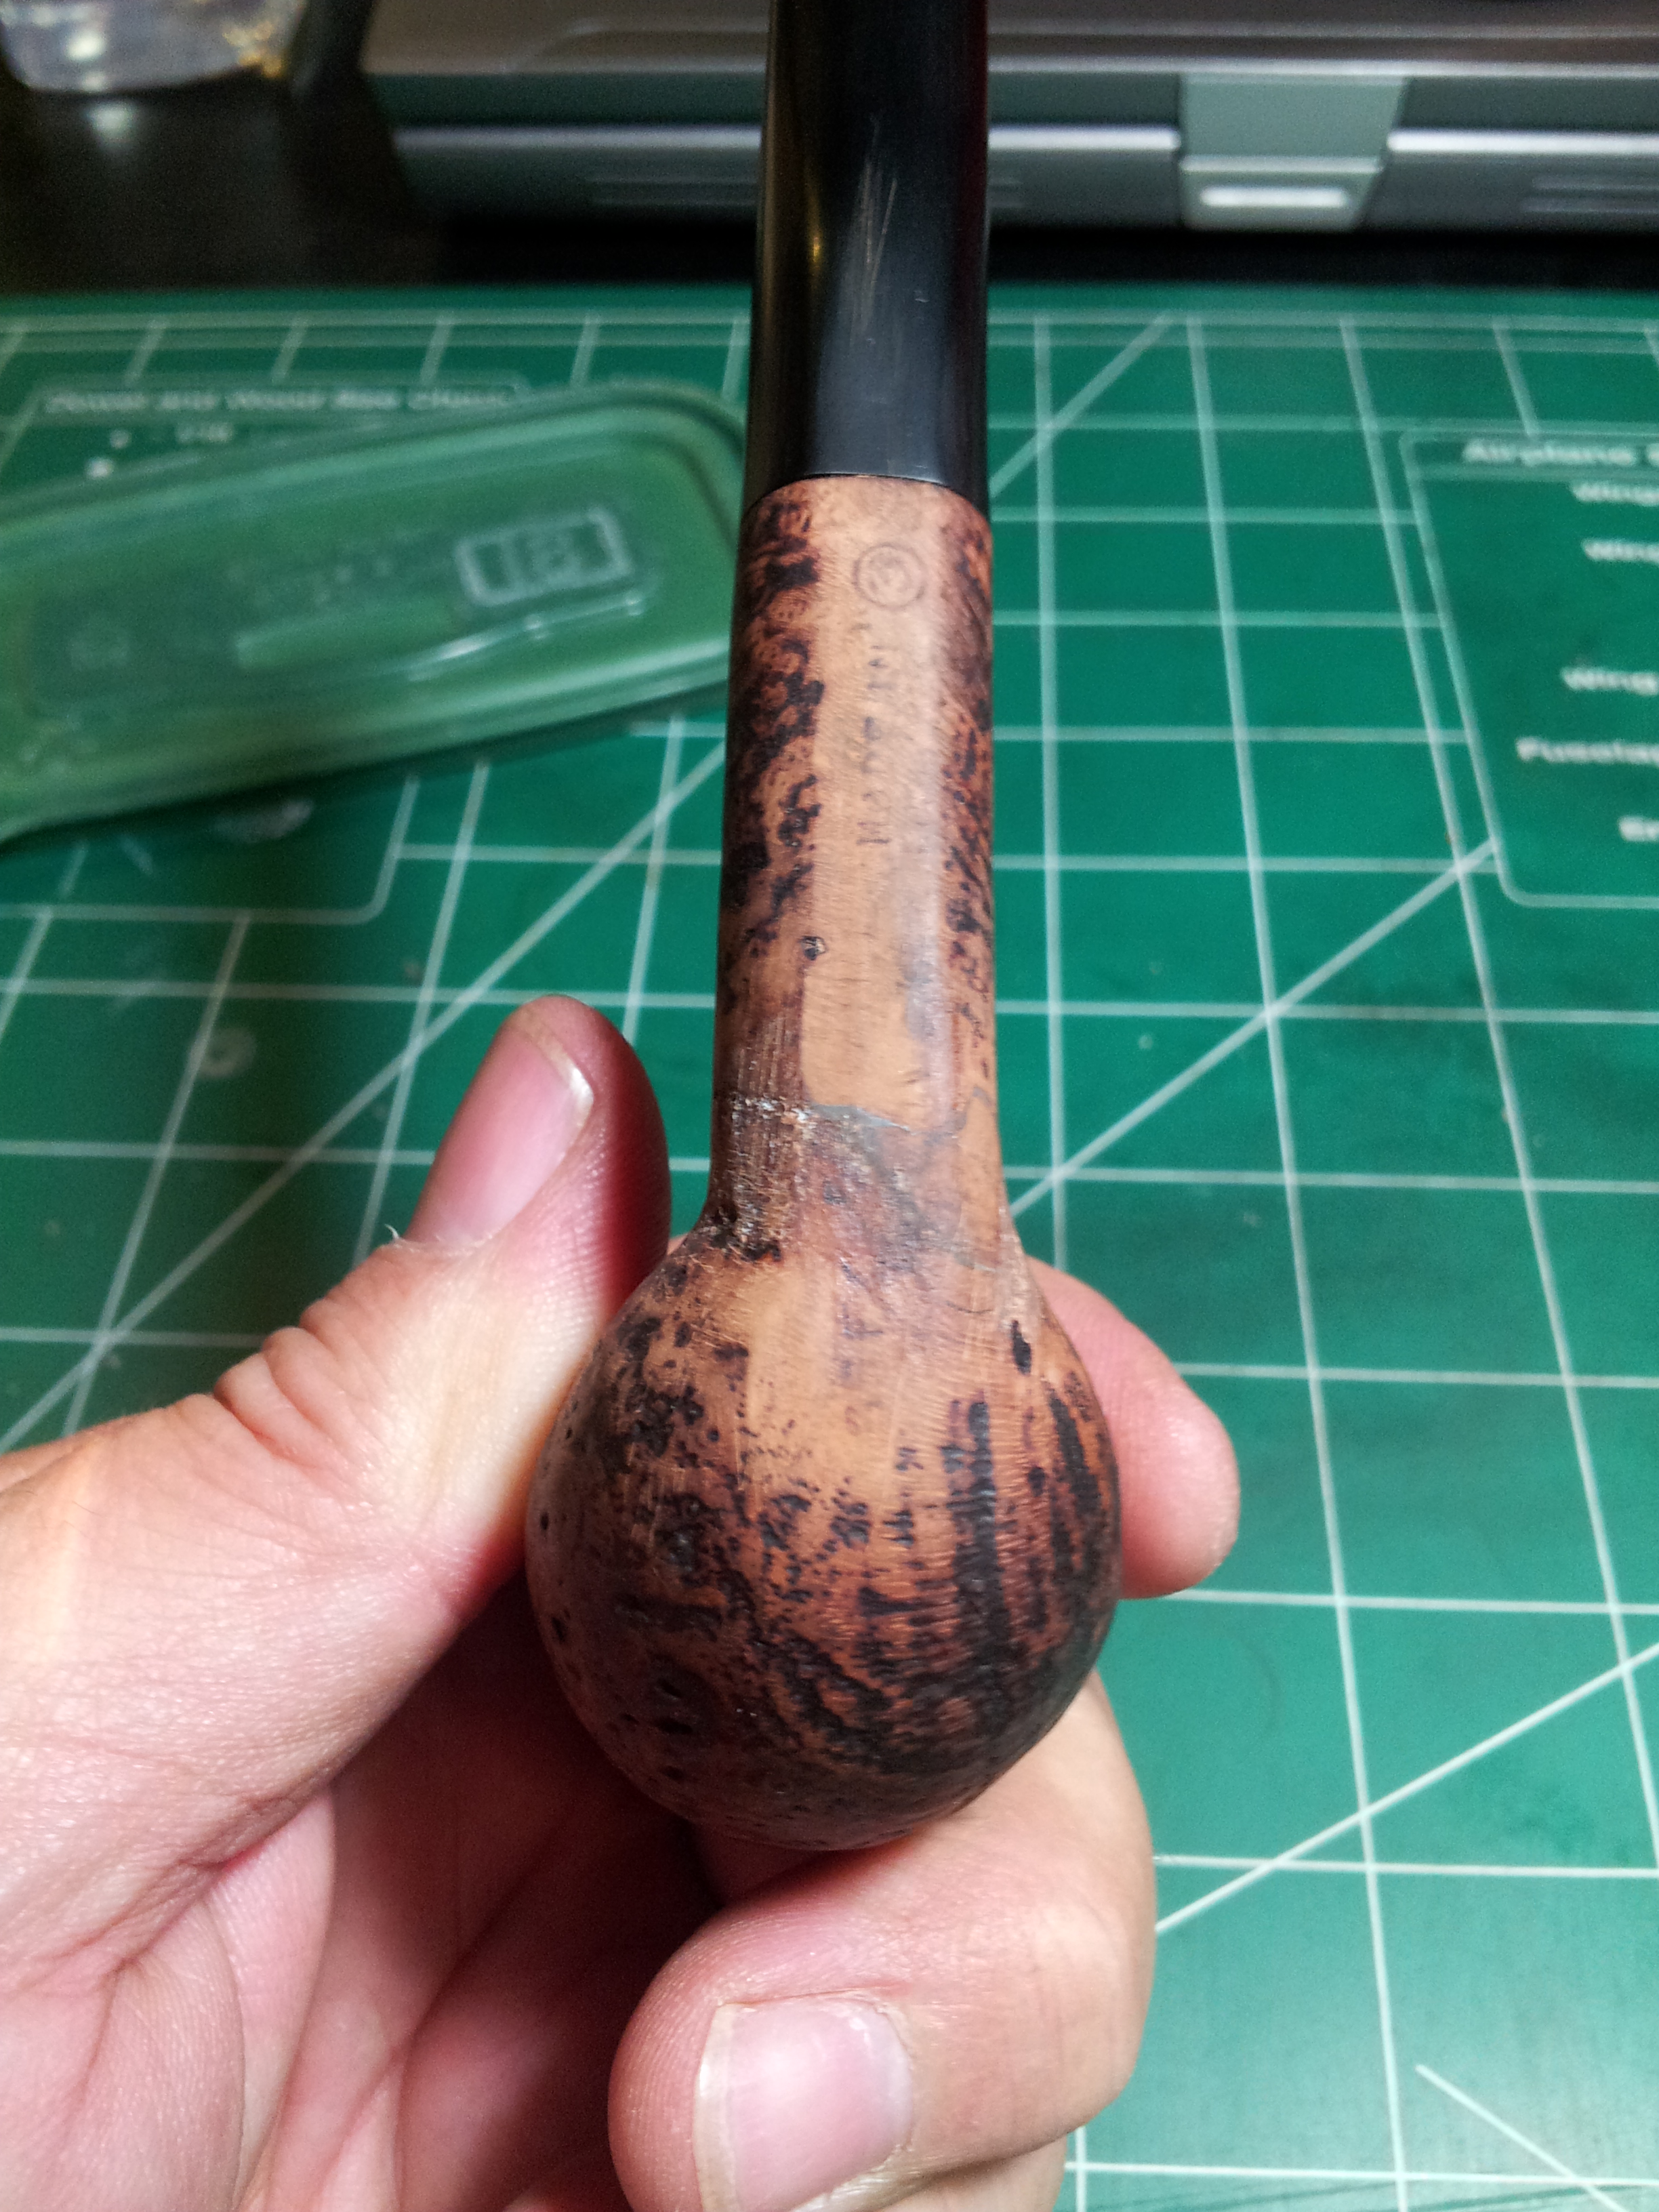
The original repair was evidently done using some form of wood glue, which the alcohol bath softened to the point of failure. Now I was faced with trying to piece the pipe back together and make it not only functional but also look as good as I could. Challenge accepted!
I used my smallest precision screwdriver as a makeshift pick to remove as much of the softened old glue as I could. When I had both sides of the break clean, it was evident that the original repair had been destined to fail. There were small pieces missing from the broken ends, which meant that the glue had to fill some relatively large gaps. As any woodworker will tell you, wood glue is not the glue of choice for this application.
The parts cleaned up:
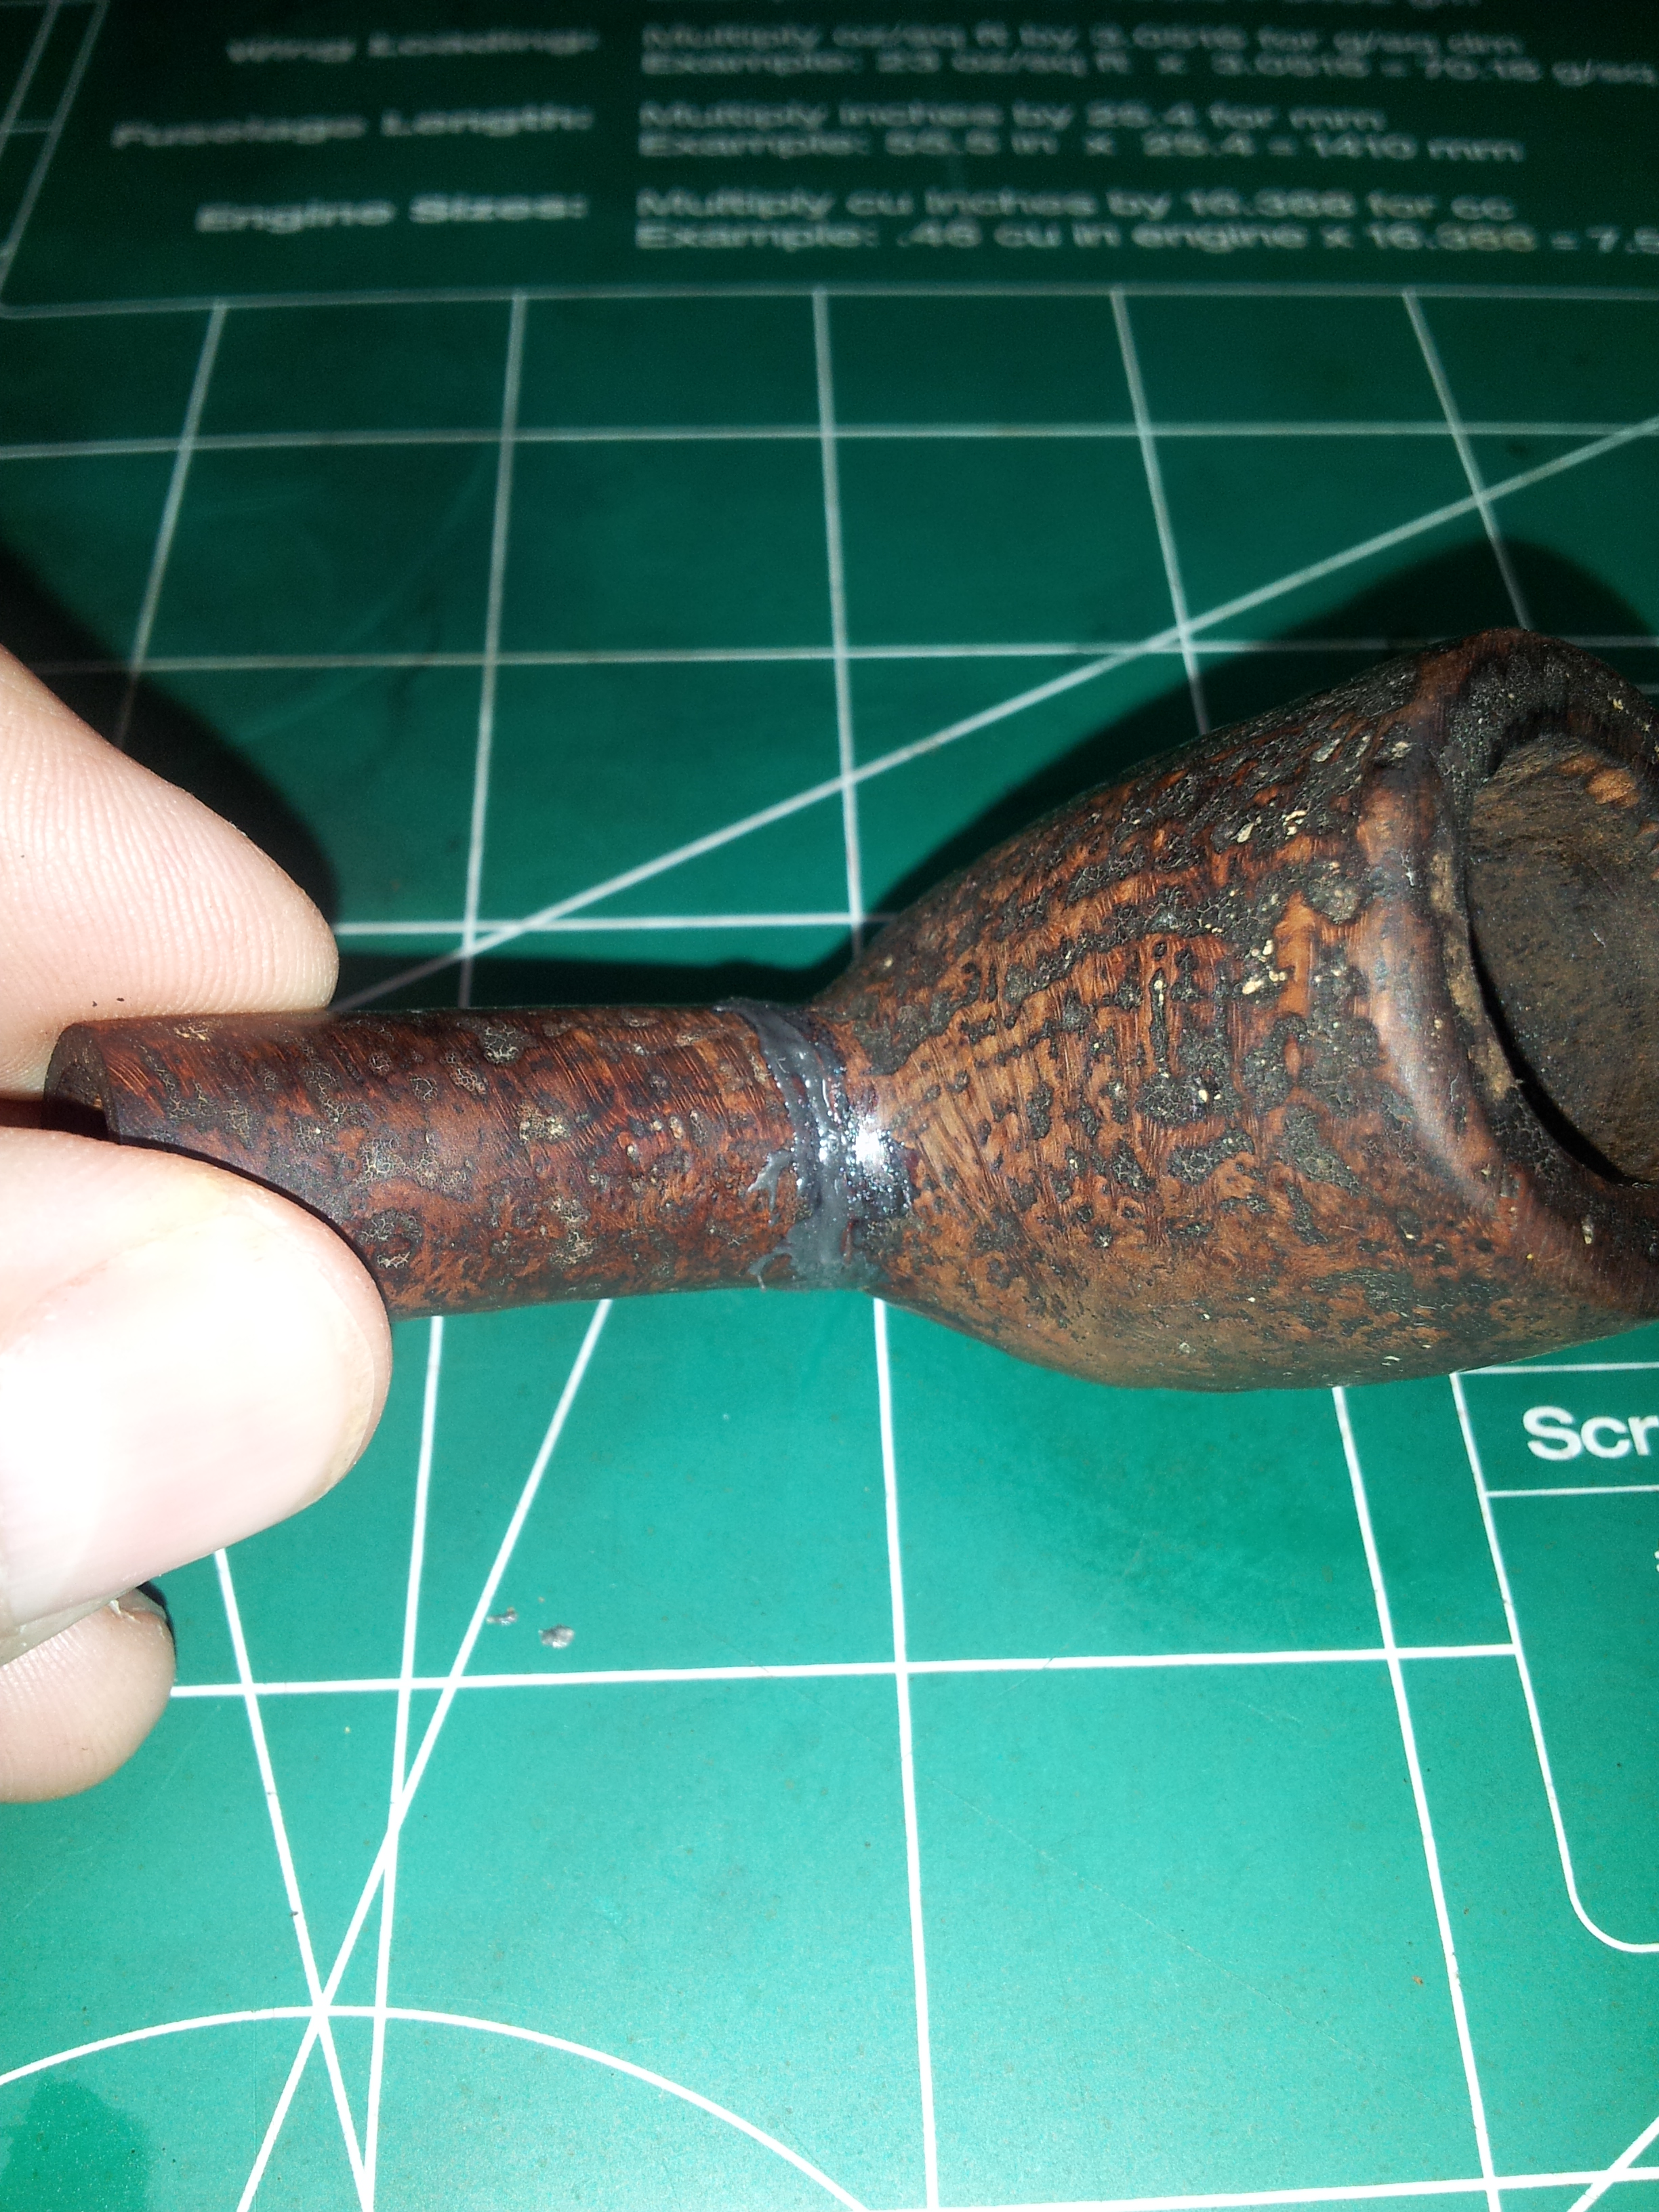
After ruminating for a bit about adhesive options, I settled on JB Kwik, the fast-setting version of JB-Weld. JB-Kwik is a steel-reinforced heat-resistant epoxy that sets in 6 minutes and cures in a few hours. It can fill gaps while maintaining its bonding strength, and most importantly, it dries to a stable, inert compound safe for use on pipes.
I quickly mixed up a small amount of JB-Kwik, and applied a good coat to both surfaces of the break. I pressed them together, carefully lining up the pieces to ensure a straight airway, and held them together for a few minutes until the epoxy began to set. I then used the end of a wooden skewer to shape the epoxy on the outside of the stummel and remove the excess. Here are a few pics of the repair after the JB-Kwik set up. The second and last pictures in particular show how much of a gap the adhesive was required to fill.


I let the stummel sit overnight to allow the epoxy to cure fully. The next day I sanded down the repair area with 320-grit paper to smooth the epoxy and prep the repair for stage two – a top-coat of briar dust and CA glue. This isn’t strictly necessary, as the pipe was functional at this point, but JB-Kwik dries a light grey colour, and I wanted to blend the repair into the surrounding shank. I mixed up some Gorilla brand gel type super glue with briar dust to form a thick paste, which I then applied over the epoxy repair, feathering the paste out to completely cover the repair area. I worked quickly, as this stuff sets rock hard in about 10 seconds. When it was dry and cured, I sanded the repair, removing as much of the briar dust cement as I could without sanding into the JB-Kwik. I then touched up the overall shape of the stummel and shank, being careful not to sand off what remained of the Dunhill stampings.


Before I went any further, I checked the alignment of the airway through the stummel. It was pretty much bang on straight, but still dirty from past use. I used a succession of drill bits ranging in size from 1/8” to 5/64” and turned by hand to gently ream the airway and open it up. This cleared out the accumulated tars and ensured that the airway is nice and straight from bowl to stem. I can easily pass a pipe cleaner through the entire pipe from button to bowl.
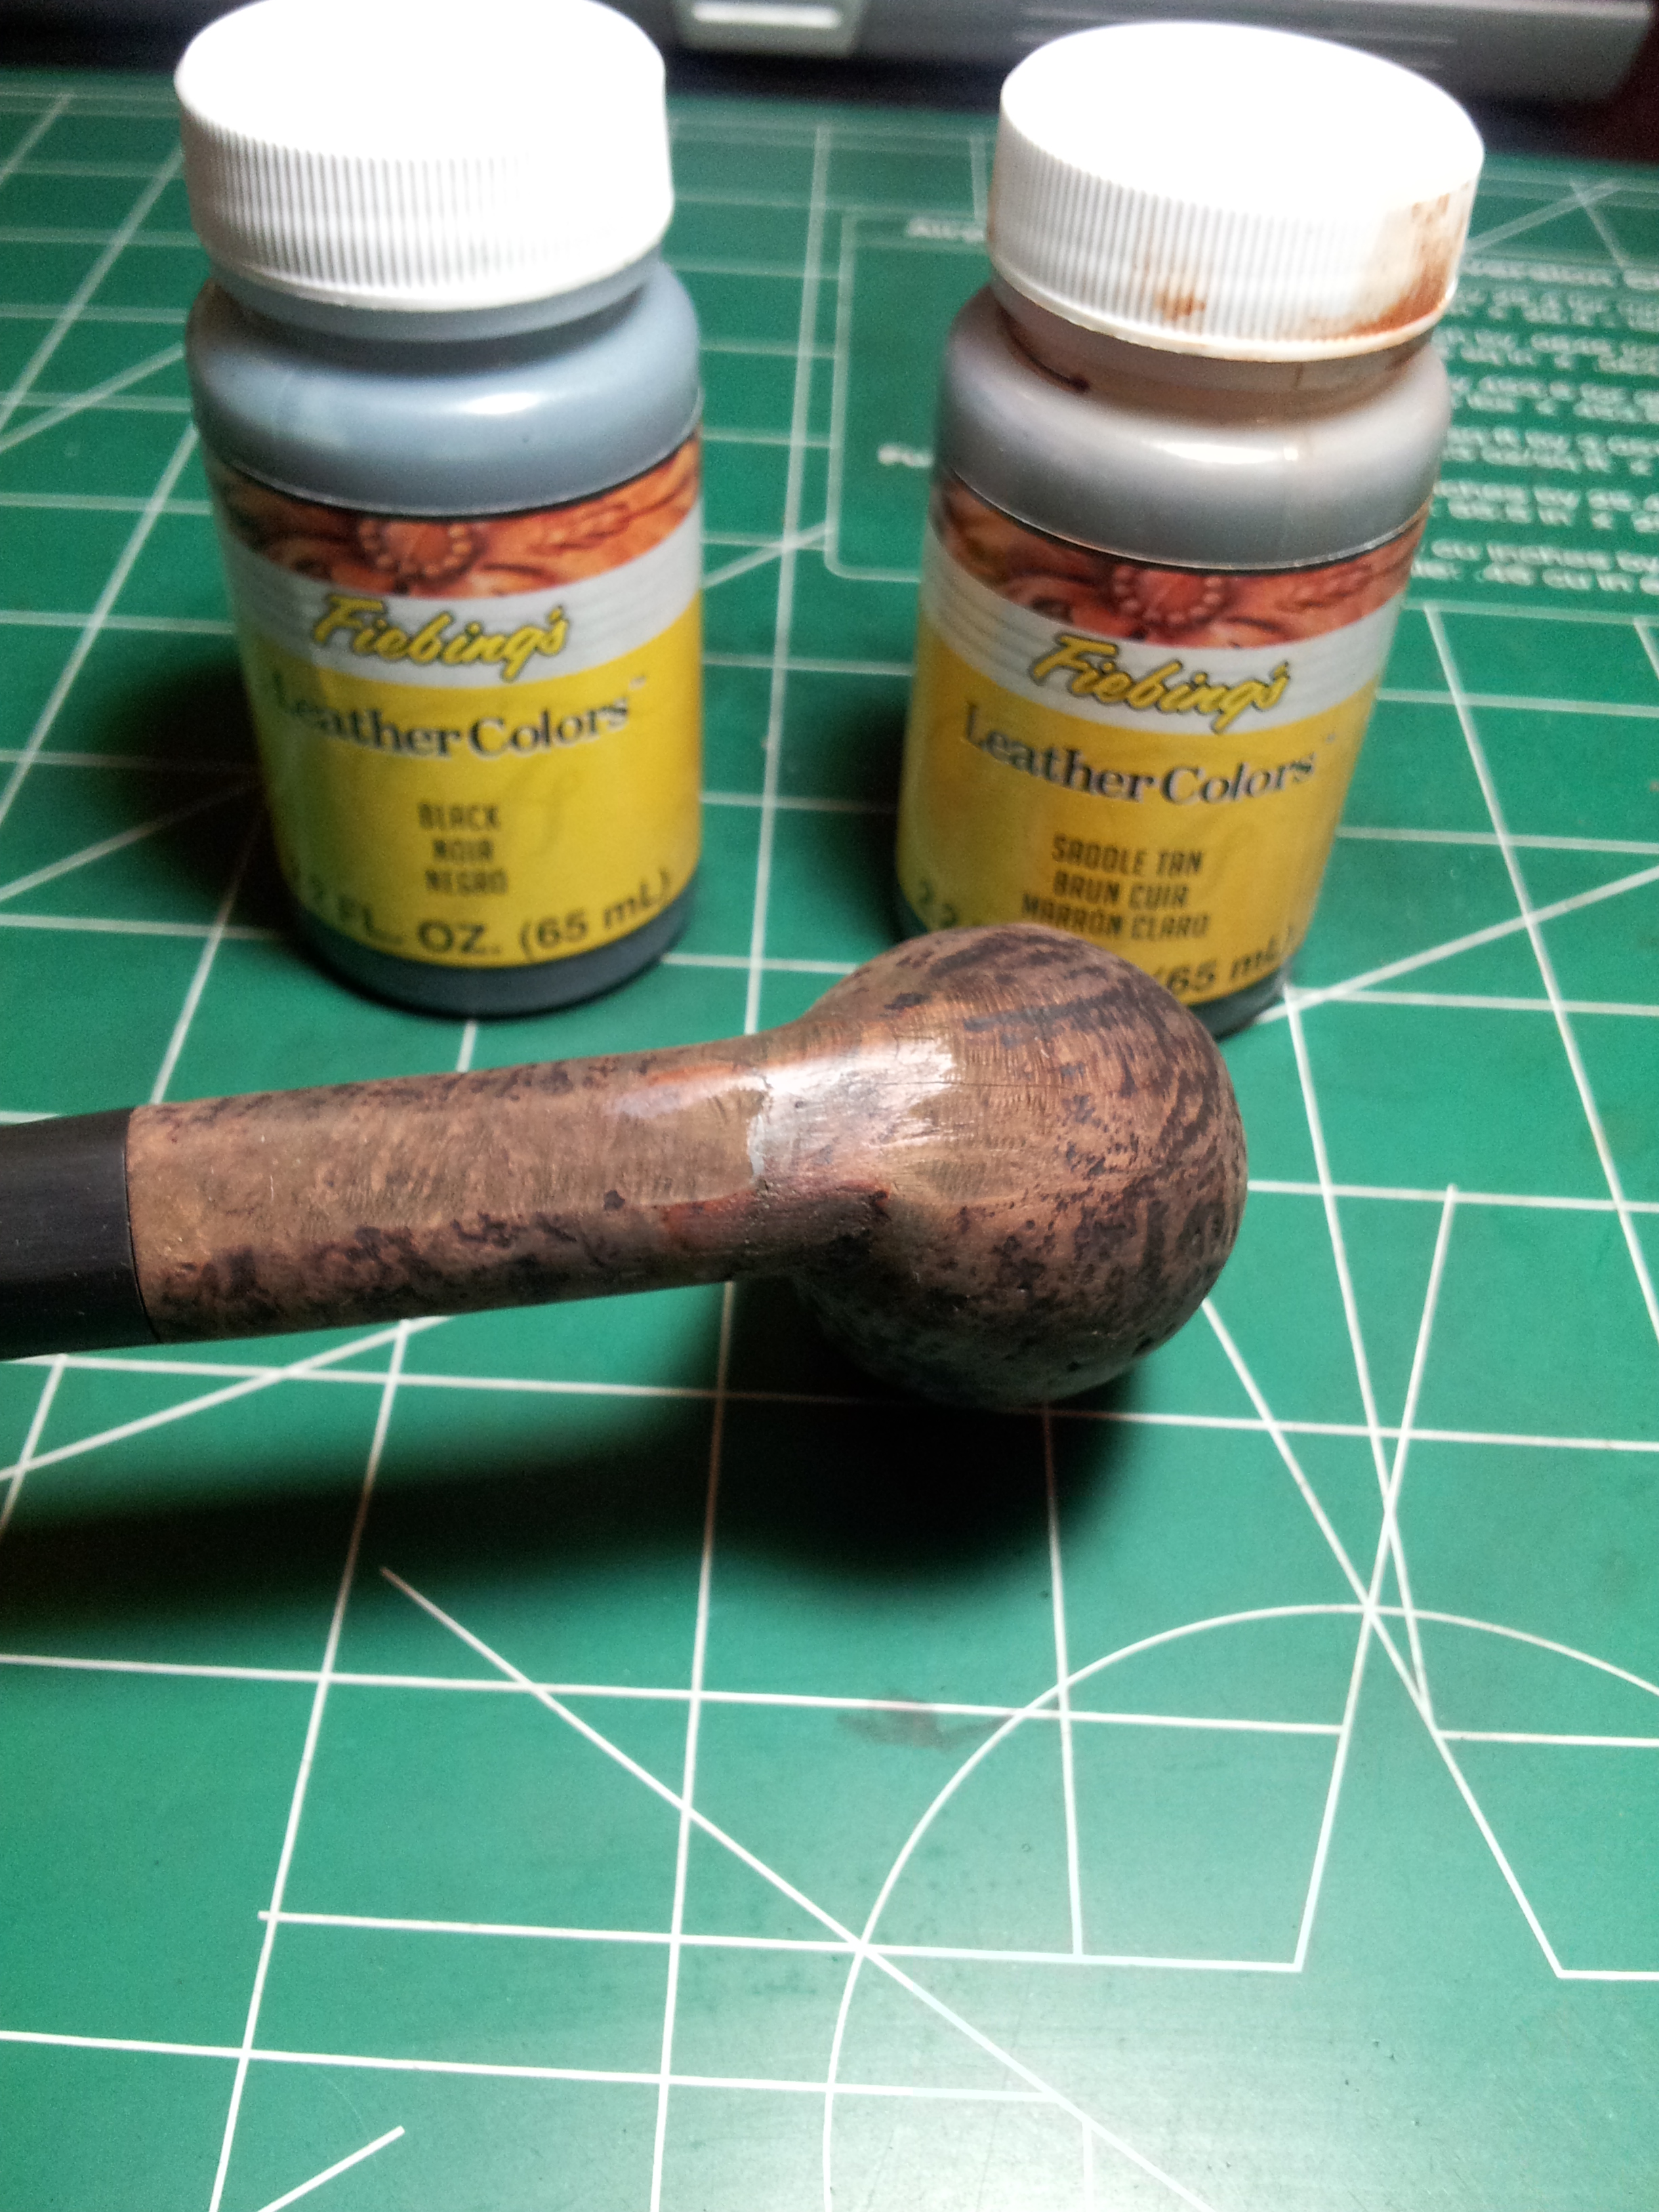
The Shell Briar finish is a multi-colour stain, with a reddish tone under a black/dark brown overcoat. The surface is then sanded away to reveal the red colour underneath. The rusticated finish of the briar means that the red shines through only on the high points, leaving the valleys of the rustication dark. To blend the repaired area into the pipe, I first applied a full-strength coat of Fiebing’s Saddle Tan leather dye (which is actually a brownish red) over the entire stummel, applying several heavier coats over the repair area. When dry, I applied a coat of Fiebing’s Black dye and let it dry too. A few minutes of scrubbing with 0000 steel wool took the black off the high spots and let the red shine through while still maintaining the overall dark finish of the pipe.
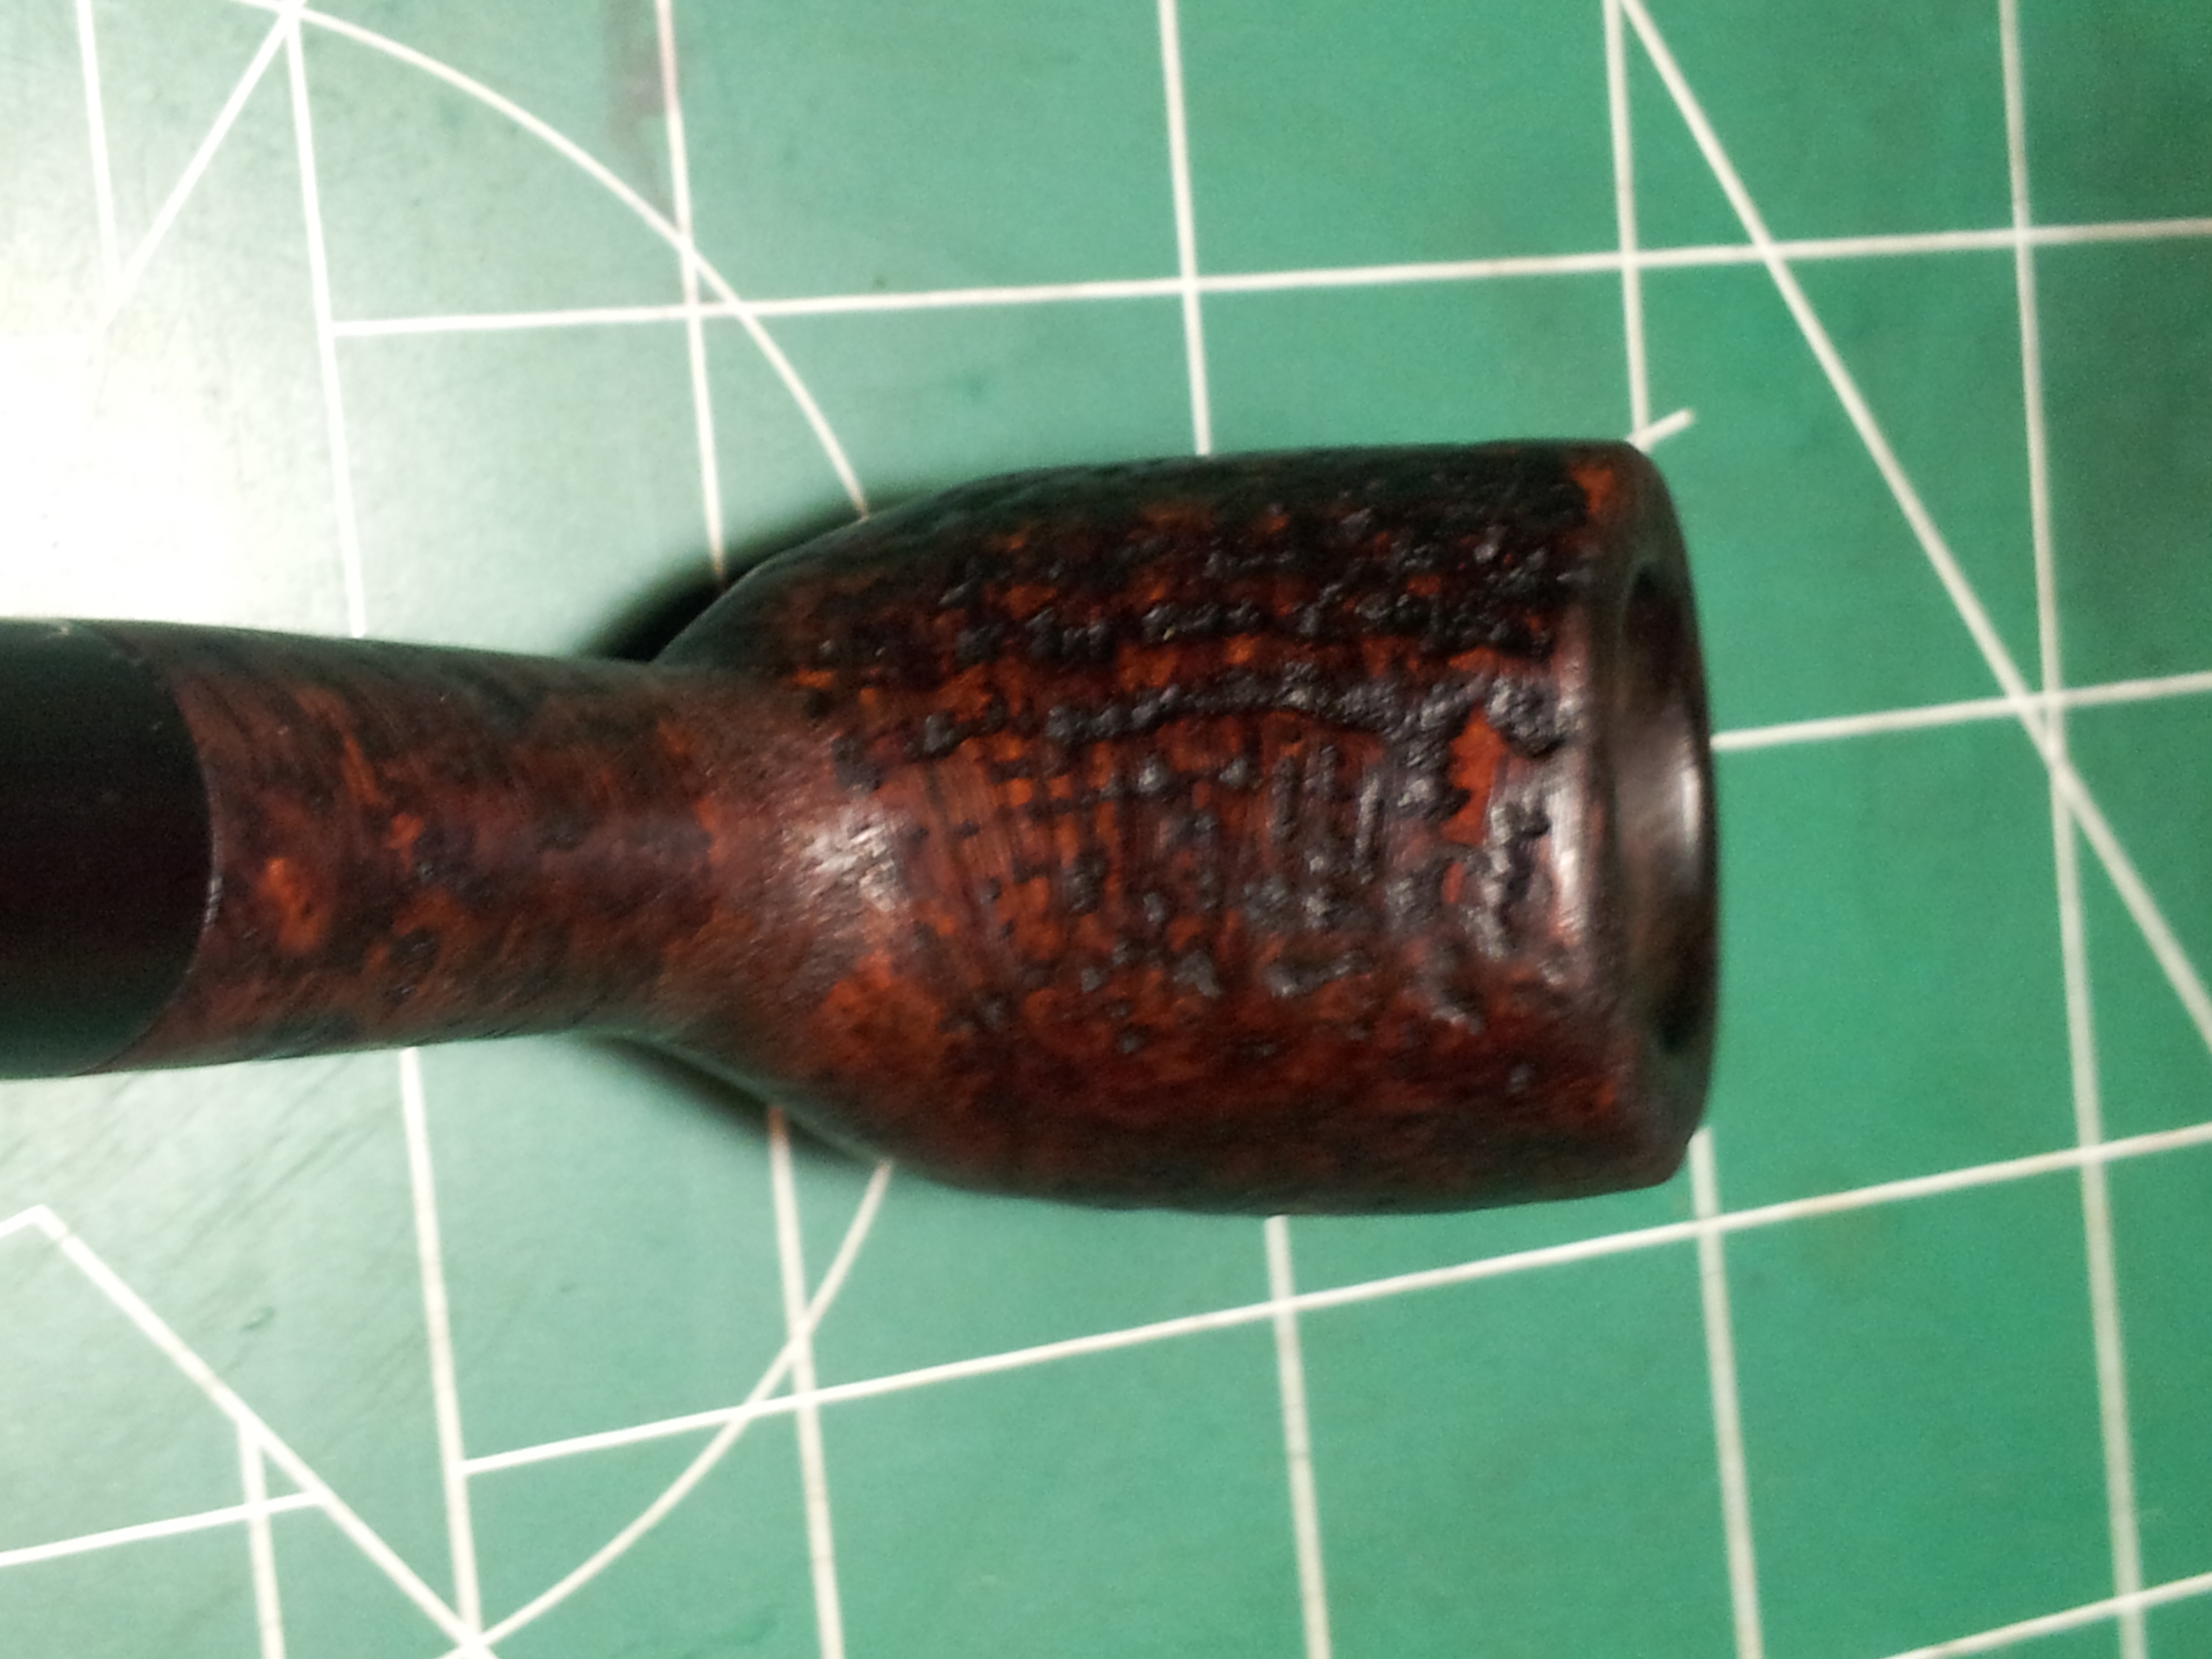
As you can see in the next series of pics, the briar dust fill took the stain rather well. The glossy area on the bottom of the stummel is a bit of leftover CA glue. Removing this would have been a matter of mere seconds with the sandpaper, but would have meant deliberately sanding away what remained of the Dunhill stampings. I wanted to preserve what little provenance this old pipe had left, so the glossy patch stays.


At this point in the restoration, the pipe looked dull and more grayed out than I wanted, so I rubbed the stummel down with mineral oil to both darken the briar and boost the contrast between the red and black stains. I let the oil soak in for a few minutes before buffing the pipe with a soft flannel cloth to remove the excess. This was more like it!


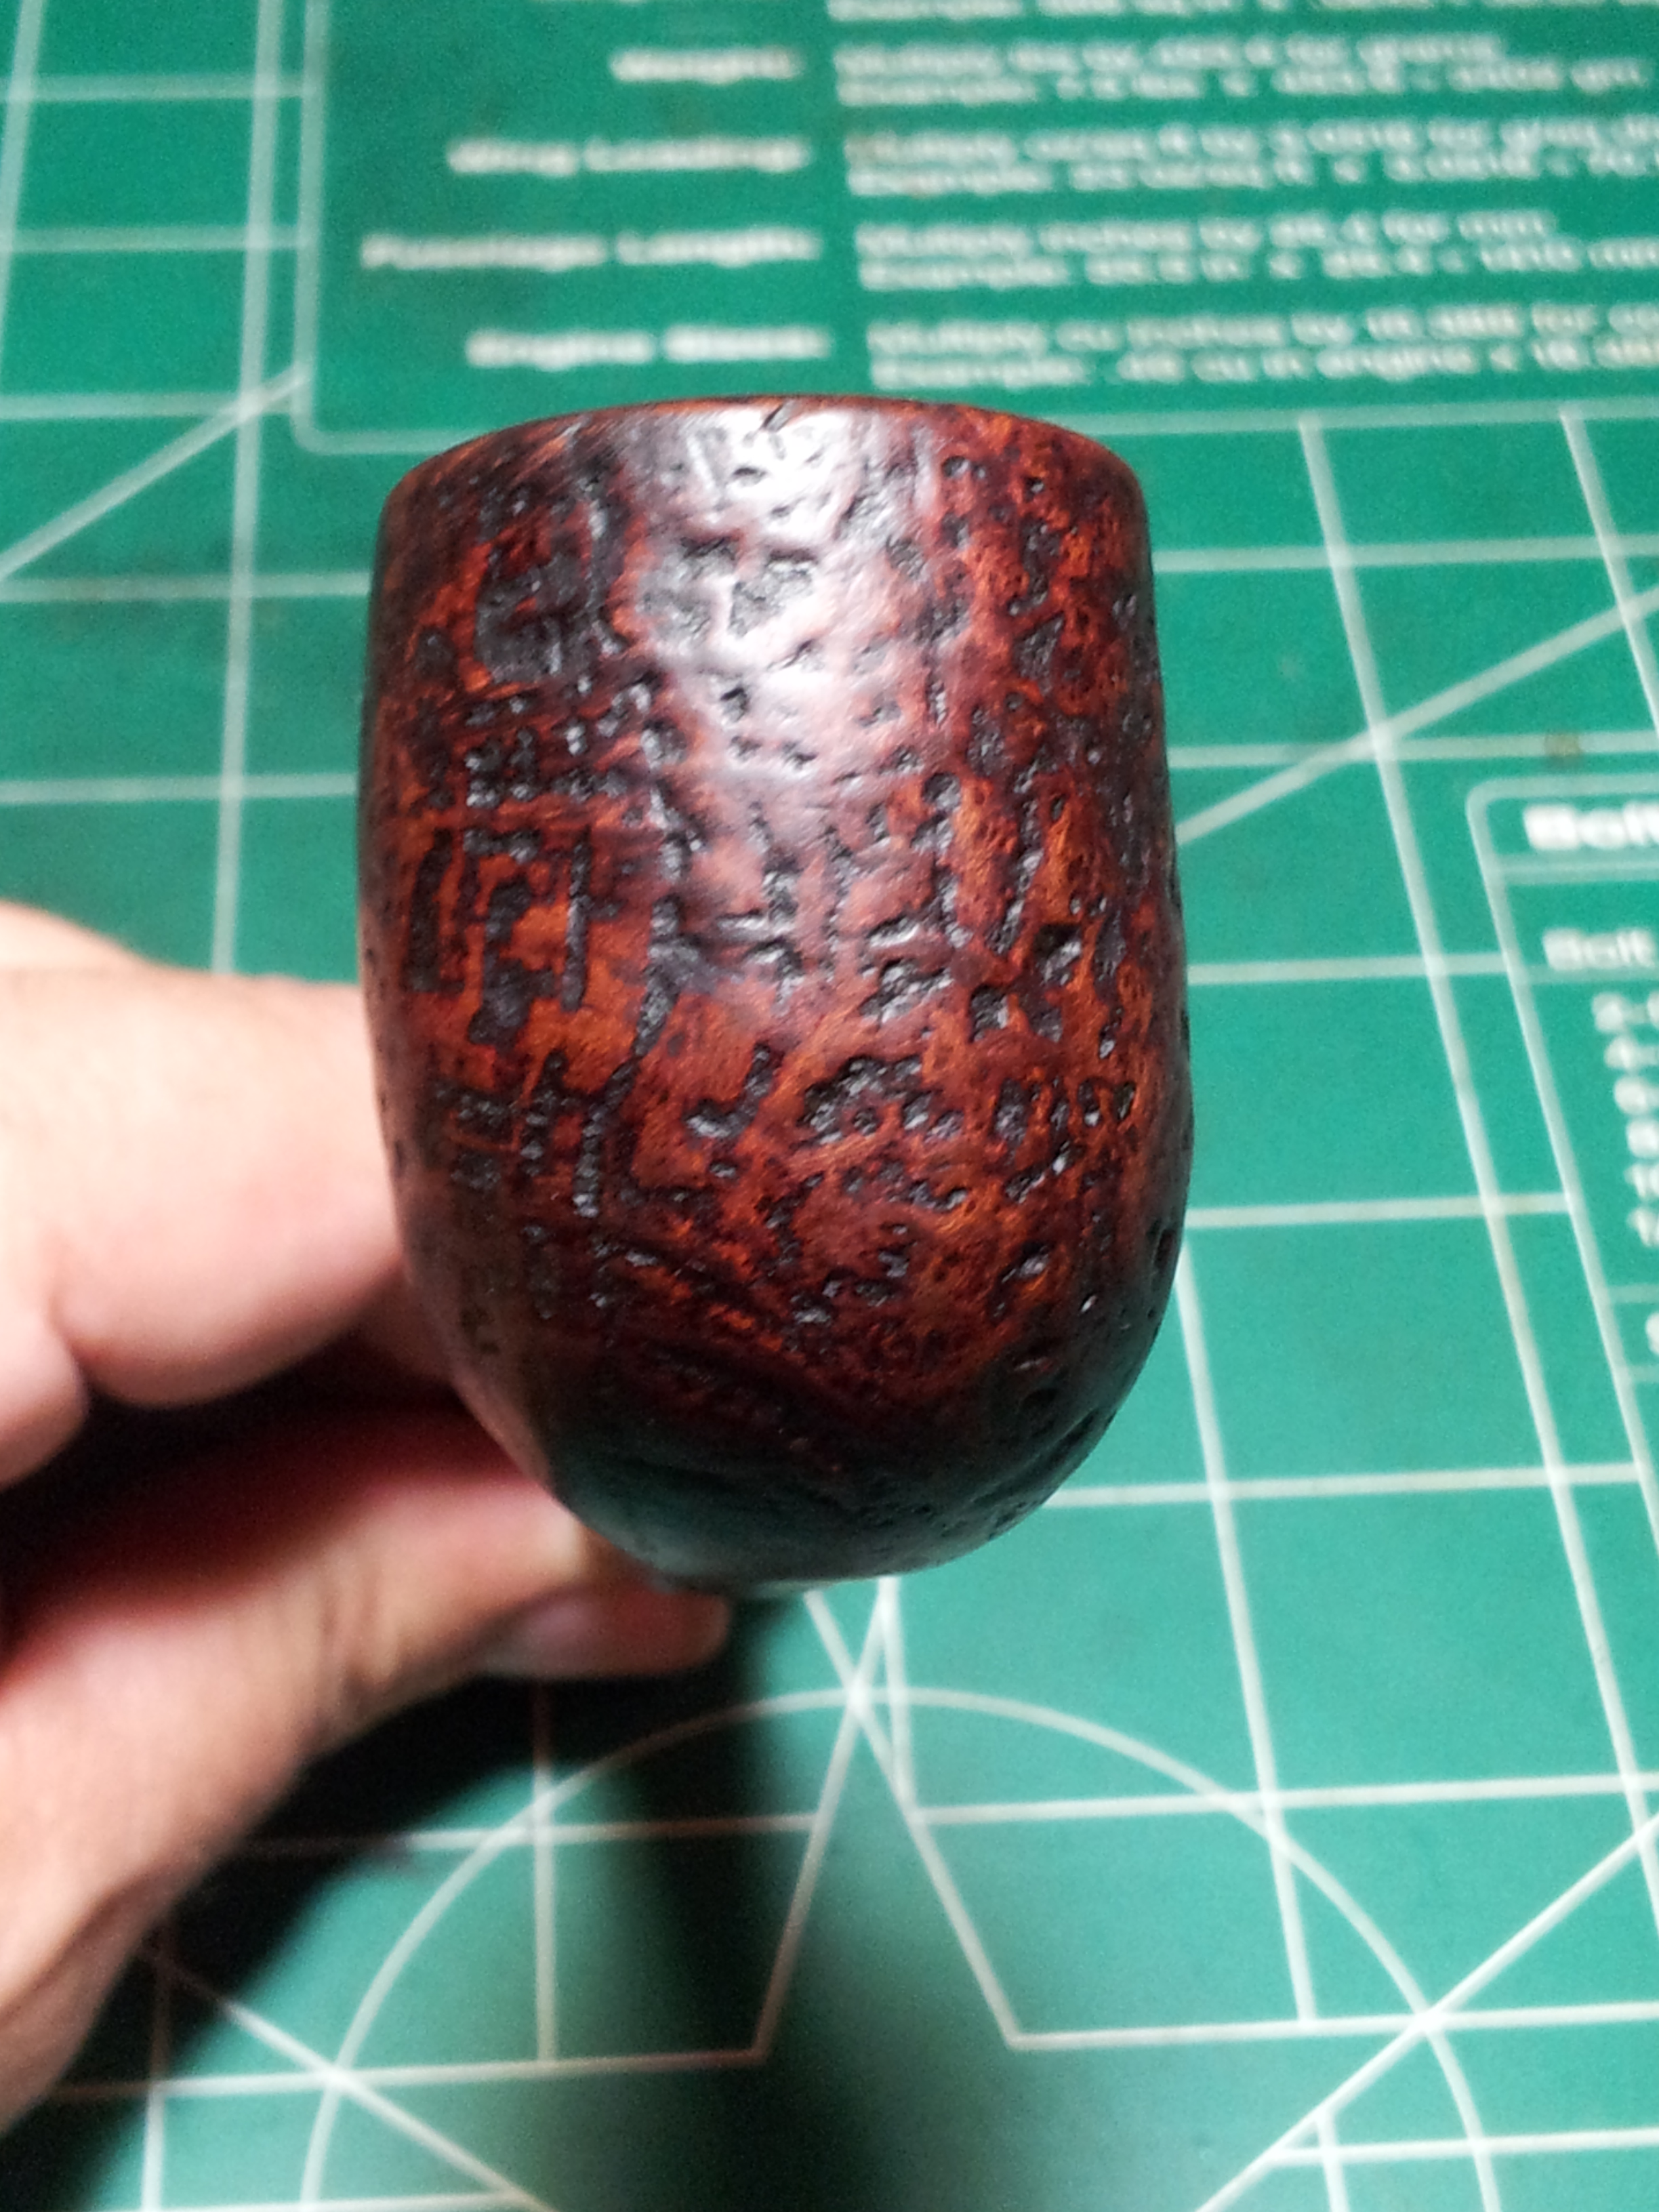

I was happy with the overall finish, and the nearly undetectable repair, so the next step was buffing and waxing. I gave the pipe a light buffing with Red Tripoli and White Diamond compounds before applying two light coats of wax. I’ve found that several light coats give a better depth of shine than one heavy coat. It also makes it easier to get the wax out of the tiny pockets in a rusticated finish. There were a few stubborn pockmarks in the finish that wax got stuck in, so I washed the flame of a lighter gently over the surface of the pipe to carefully melt the wax out. I finished with a hand buffing using a soft clean flannel cloth.
Below are pictures of the finished pipe.


This was a fun and challenging repair and refurbishment for me, and I’m very happy with the final result. I will keep this pipe for my own use. While I would have preferred to have the original Dunhill stem, the replacement stem that came with the pipe fits well and is comfortable in the mouth. I may someday send it out to a Dunhill repair facility to have a new White Dot stem fitted, but the pipe is now ready to be enjoyed again for years to come.
Thanks for reading!
Update: I had the opportunity for an inaugural smoke of this Dunhill Shell Briar today. I filled it with a fitting Dunhill English blend (what else?), in my case Dunhill Nightcap. I am pleased to report that she smokes very well, and the Group 3 sized bowl holds, for me anyway, about an hour’s worth of smokey contentment. 😉

Reblogged this on rebornpipes and commented:
I thought this was an interesting repair. The combination of methods used gave a good result.
LikeLike
Now thats what i call a resurrected pipe ! Great save on the old war horse.
Its amazing what a little mineral oil can do too bring life back into old briar . I use it on every pipe i do .
LikeLike
Masterful repair! You’ve given me the courage to tackle a Dunhill inner tube I have with a previously repaired broken shank and the inner tube stuck in the stem end. I scraped off all of the old glue someone had put on the repair but am still trying to figure out how to get the inner tube out. My thinking leads me to heating the aluminum tube, but I’m not sure. I might want to try the alcohol soak first. I haven’t touched the pipe in months. Saving it for a fall project, I guess. Any ideas?
LikeLike
Thanks, Al. I’m glad you found this entry motivating! I think you’re on the right track with your repair plan. My experience has been that the alcohol bath will soften PVA/Elmer’s type glue, but not CA glue. Heating the inner tube should allow you to remove it. Knowing me, I would probably decide to use both – heat to remove the tube, then an akcohol bath to remove the remaining glue.
Be sure to post your results!
LikeLike
Fantastic repair! The CA/briar dust patch took that stain like a champ!
LikeLike
I hadn’t tried this combination of techniques before. It was a bit of a gamble but it paid off. FWIW I tried to keep the fill mix on the “woody” side.
LikeLike
Charles you’ve done a grand job on blending this one back together. The collar of these older pipes has a lot of character just in the way they were made.
LikeLiked by 1 person